 "Aremmes" (aremmes)
03/25/2019 at 12:00 • Filed to: weekend wrenching, miata, suspensionolopnik, done with this
 5
5
 5
5|
"Aremmes" (aremmes)
03/25/2019 at 12:00 • Filed to: weekend wrenching, miata, suspensionolopnik, done with this | 5
| 5 |
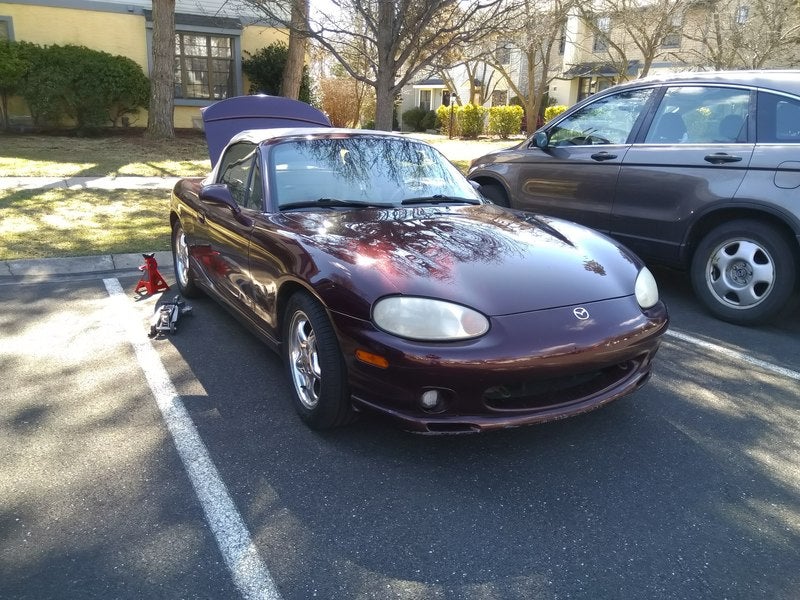
A week ago, preparing to begin work on the rear suspension.
This is #377, a 2000 Miata MX-5 Special Edition that came from the factory with standard suspension, which after about 148,000 miles showed serious signs of sagging along with a harsh ride and daily excursions to the bump stops. I had planned on swapping the suspension last fall, but fall ended suddenly and so I rescheduled for spring, which here in Southeastern Pennsylvania began in earnest just over a week ago. I’m happy to say that it was worth the wait.
As usual when I do any work on cars, the work began with the usual portage of tools from basement to lawn alongside the parking lot in front of my house. Fortunately I already had many of the necessary tools in the car’s trunk, so I brought those out and placed them on the lawn.
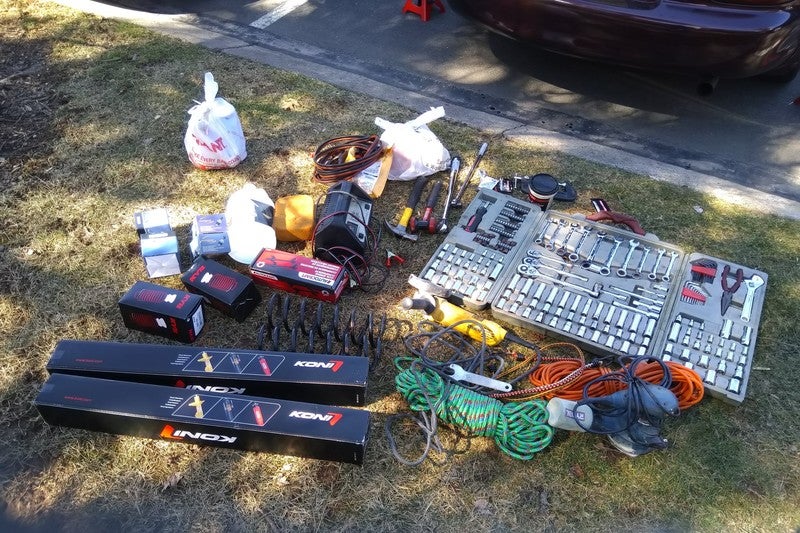
Tools and parts laid out and ready to go to work. Mind you, not all of the tools shown here were used for this work.
Since it’s the easier side, I started on the rear axle. The first thing to do here is to remove the trunk liner pieces and the plate that covers the fuel fill hose to expose the shocks’ top hats, immediately followed by removing the lock nuts on the shock shafts and loosening the shaft nuts. The nuts holding the top hats do not need to be loosened. This will come into play later.
!!! UNKNOWN CONTENT TYPE !!!
With that done, we can now lift the rear end and begin disassembly. I placed the rear on jack stands and pulled the tires, exposing the rear suspension. Then, I went to disconnect the sway bar end links, which on a 19-year-old car in road salt country will not come off without destructive force.
!!! UNKNOWN CONTENT TYPE !!!
After disconnecting the sway bars from the lower control arms, I compressed the suspension with the jack to release tension from the top hats, removed the shock shaft nuts, and lowered the suspension back. I then disconnected the upper control arms from the knuckles, which allowed the lower control arms to swing out. Step on the knuckle to lower the control arm, and the shock assembly comes out, with the spring already decompressed. Then it’s just a matter of removing the bolt holding the shock to the lower control arm before removing the assembly entirely.
!!! UNKNOWN CONTENT TYPE !!!
Here’s where I noticed how tired these springs were. The springs showed some rot, but most noticeably I couldn’t find any bump stops, or at least anything that looked like a bump stop.
!!! UNKNOWN CONTENT TYPE !!!
Next up I started to assemble the new shocks with their springs and associated hardware. I bought a set of Koni STR-T shocks and was under the impression that these had a 10mm thread on the end of the piston rod, but alas, they do have 12mm rod ends like other Koni models. Nothing that some quick drill work can’t fix, though. Fortunately, I only had to drill the metal bushing caps; the rubber bushings went on the shaft unmodified with only a bit of manual encouragement.
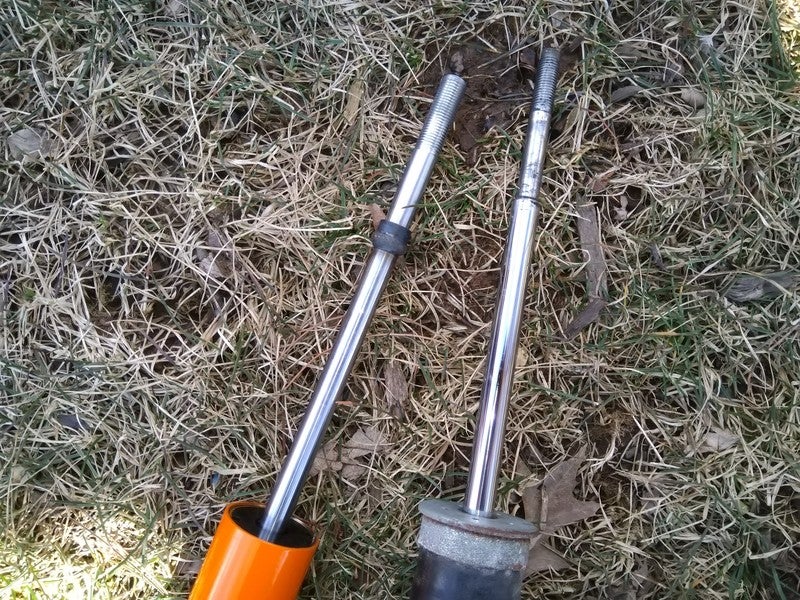
New and old shock piston rods, with their difference in diameter clearly visible.
With the shock body, spring cup, shock boot, bump stop, lower bushing cap, and lower bushing assembled, I then mounted it on the lower control arm, stepped on the knuckle to swing the control arm down, and swung the shock assembly into place. Then I jacked the control arm to compress the spring and bring the shock shaft through the top hat, reattached the knuckle, installed the upper bushing and cap and screwed the nut onto the shaft.
!!! UNKNOWN CONTENT TYPE !!!
Now back to the end links. I had only cut the end links at the control arm end, but still had them hanging from the sway bars. Here too I ground them off and prepared to install the new end links.
!!! UNKNOWN CONTENT TYPE !!!
With both end links attached, it was then time to button everything up and lower the car. Something then immediately drew my attention: the rear end was now waaaay higher than before.
!!! UNKNOWN CONTENT TYPE !!!
At this point the sun was ready to set, so I cleaned up, stored the tools, and took the car out for a short test drive. The rake was evident even with the car stopped, but I confirmed there were no loose bits.
From start to finish these two corners took me about seven hours, including prep and cleanup, which isn’t particularly impressive, but I did all of the work alone and took things slowly. Given how easy this was, I hoped that the front axle would be similarly straightforward. LOL, nope.
Part 2 will cover the front end, which is
!!!error: Indecipherable SUB-paragraph formatting!!!
.
 CalzoneGolem
> Aremmes
CalzoneGolem
> Aremmes
03/25/2019 at 12:53 |
|
It’ll probably settle more with driving.
|
Aremmes
> CalzoneGolem
03/25/2019 at 13:27 |
|
My fat ass will make sure it does. It’s down to 2.25 in. (57 mm)
of
gap all around currently.
|
CalzoneGolem
> Aremmes
03/25/2019 at 13:32 |
|
Also rake looks pretty cool so there’s that.
|
Aremmes
> CalzoneGolem
03/25/2019 at 13:40 |
|
NA/NB Miatas do need
a little bit of rake, the rear suspension has very little travel.
 Future Heap Owner
> Aremmes
Future Heap Owner
> Aremmes
03/26/2019 at 01:16 |
|
Great writeup, I love the thorough details and copious pictures. Looking forward to part 2!