 "Distraxi's idea of perfection is a Jagroen" (distraxi)
10/08/2018 at 20:14 • Filed to: Make Casey Great Again
 6
6
 5
5|
"Distraxi's idea of perfection is a Jagroen" (distraxi)
10/08/2018 at 20:14 • Filed to: Make Casey Great Again | 6
| 5 |
More progress in project !!!error: Indecipherable SUB-paragraph formatting!!! : we have motion!
This one was easy - 3 litres of fluid for the power shuttle
and a couple of
litres of transmission oil. H
ardest part was finding out what the correct shuttle fluid was
- the manual says Case TCH Fluid, and even the
Case dealer
couldn’t tell
me w
ha
t that translates to in modern parlance. Went with Case’s current torque converter
fluid (Hytran)
in the end.
Motion now reveals the next obsta cles:
the brakes only grab a fraction
,
which means it doesn’t steer to
speak of
. Hopefully adjusting the pullrods will fix that: I
did one side but the other’s seized - its soaking in CRC till I next get a cha
n
ce to
pl
ay
. If that doesn’t fix it the diff cover’s goi
ng
to have to come off to
tighten (
or
worse, reline)
the brake bands
.
my previous statement that the hydraulics work was opti
mistic. T
he bu
cket goes up but it won’t stay up -
one of the cylinder seals is shot and the oil weeps out
.
either the trans or power shuttle (or both)
has a pretty decent leak - non
stop stream of drips. Which expl
ains why the need for lo
ts of fluid. This one may turn out to be a project killer, if its a gasket that needs dismantling half the dozer to repair it. I could ignore it, but
if I piss away litres of
fluid every time I use it, it’s going to get
expensive (not to
mention messy). If I’m lucky it’ll fix itself once the of
fending seal soaks a bit, or at
wo
rst turn out to be
replaceable hose or plug.
Tune in for the next installment, where I hopefully achieve turning and stopping, and learn how to replace a cylinder seal.
 ITA97, now with more Jag @ opposite-lock.com
> Distraxi's idea of perfection is a Jagroen
ITA97, now with more Jag @ opposite-lock.com
> Distraxi's idea of perfection is a Jagroen
10/08/2018 at 21:27 |
|
I used to be a hydraulic mechanic. Show me some pictures of the cylinder and gland head, and I can tell you how to do the job and what to look for. Fortunately you’ve got a C ase, so the cylinder should be much more friendly to disassemble and there probably won’t be proprietary parts inside (anyone who has worked on John Deere hydraulic systems would never buy one ).
 M.T. Blake
> Distraxi's idea of perfection is a Jagroen
M.T. Blake
> Distraxi's idea of perfection is a Jagroen
10/09/2018 at 04:34 |
|
We just sold the family Cat D7E that was 1/2 over grown with blackberries and hadn’t run in 20 years. Pony motor leaked everywhere but once plugged, started the diesel. Sadly not worth much due to high hours, and neglect.
|
Distraxi's idea of perfection is a Jagroen
> ITA97, now with more Jag @ opposite-lock.com
10/09/2018 at 08:05 |
|
Thank you sir, I’ll take you up on that. Will be Friday before I’m back out on site, so I’ll take some photos and reply again to this comment then.
|
Distraxi's idea of perfection is a Jagroen
> ITA97, now with more Jag @ opposite-lock.com
10/14/2018 at 18:30 |
|
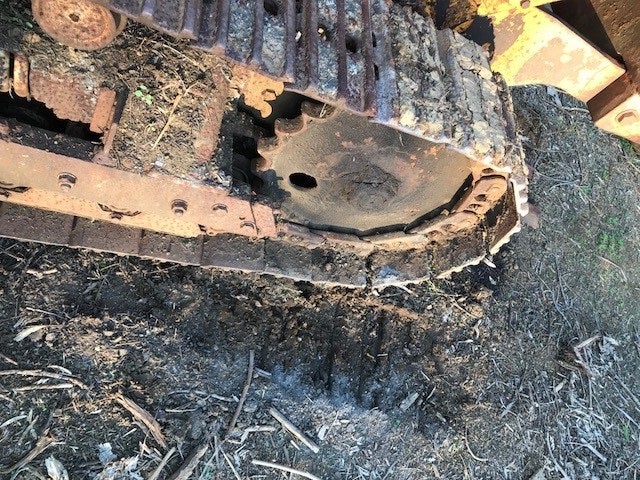
Here’s some photos. Can’t see a part number or any other identifying marks on the cylinder. Also can’t see an obvious way to pull the lower trunnion pin. Which probably doesn’t matter if I can just disconnect the upper, tilt the cylinder over, and remove the piston with the cylinder in place : the upp er trunnion looks easy enough if that C clip’s not too rusted on.
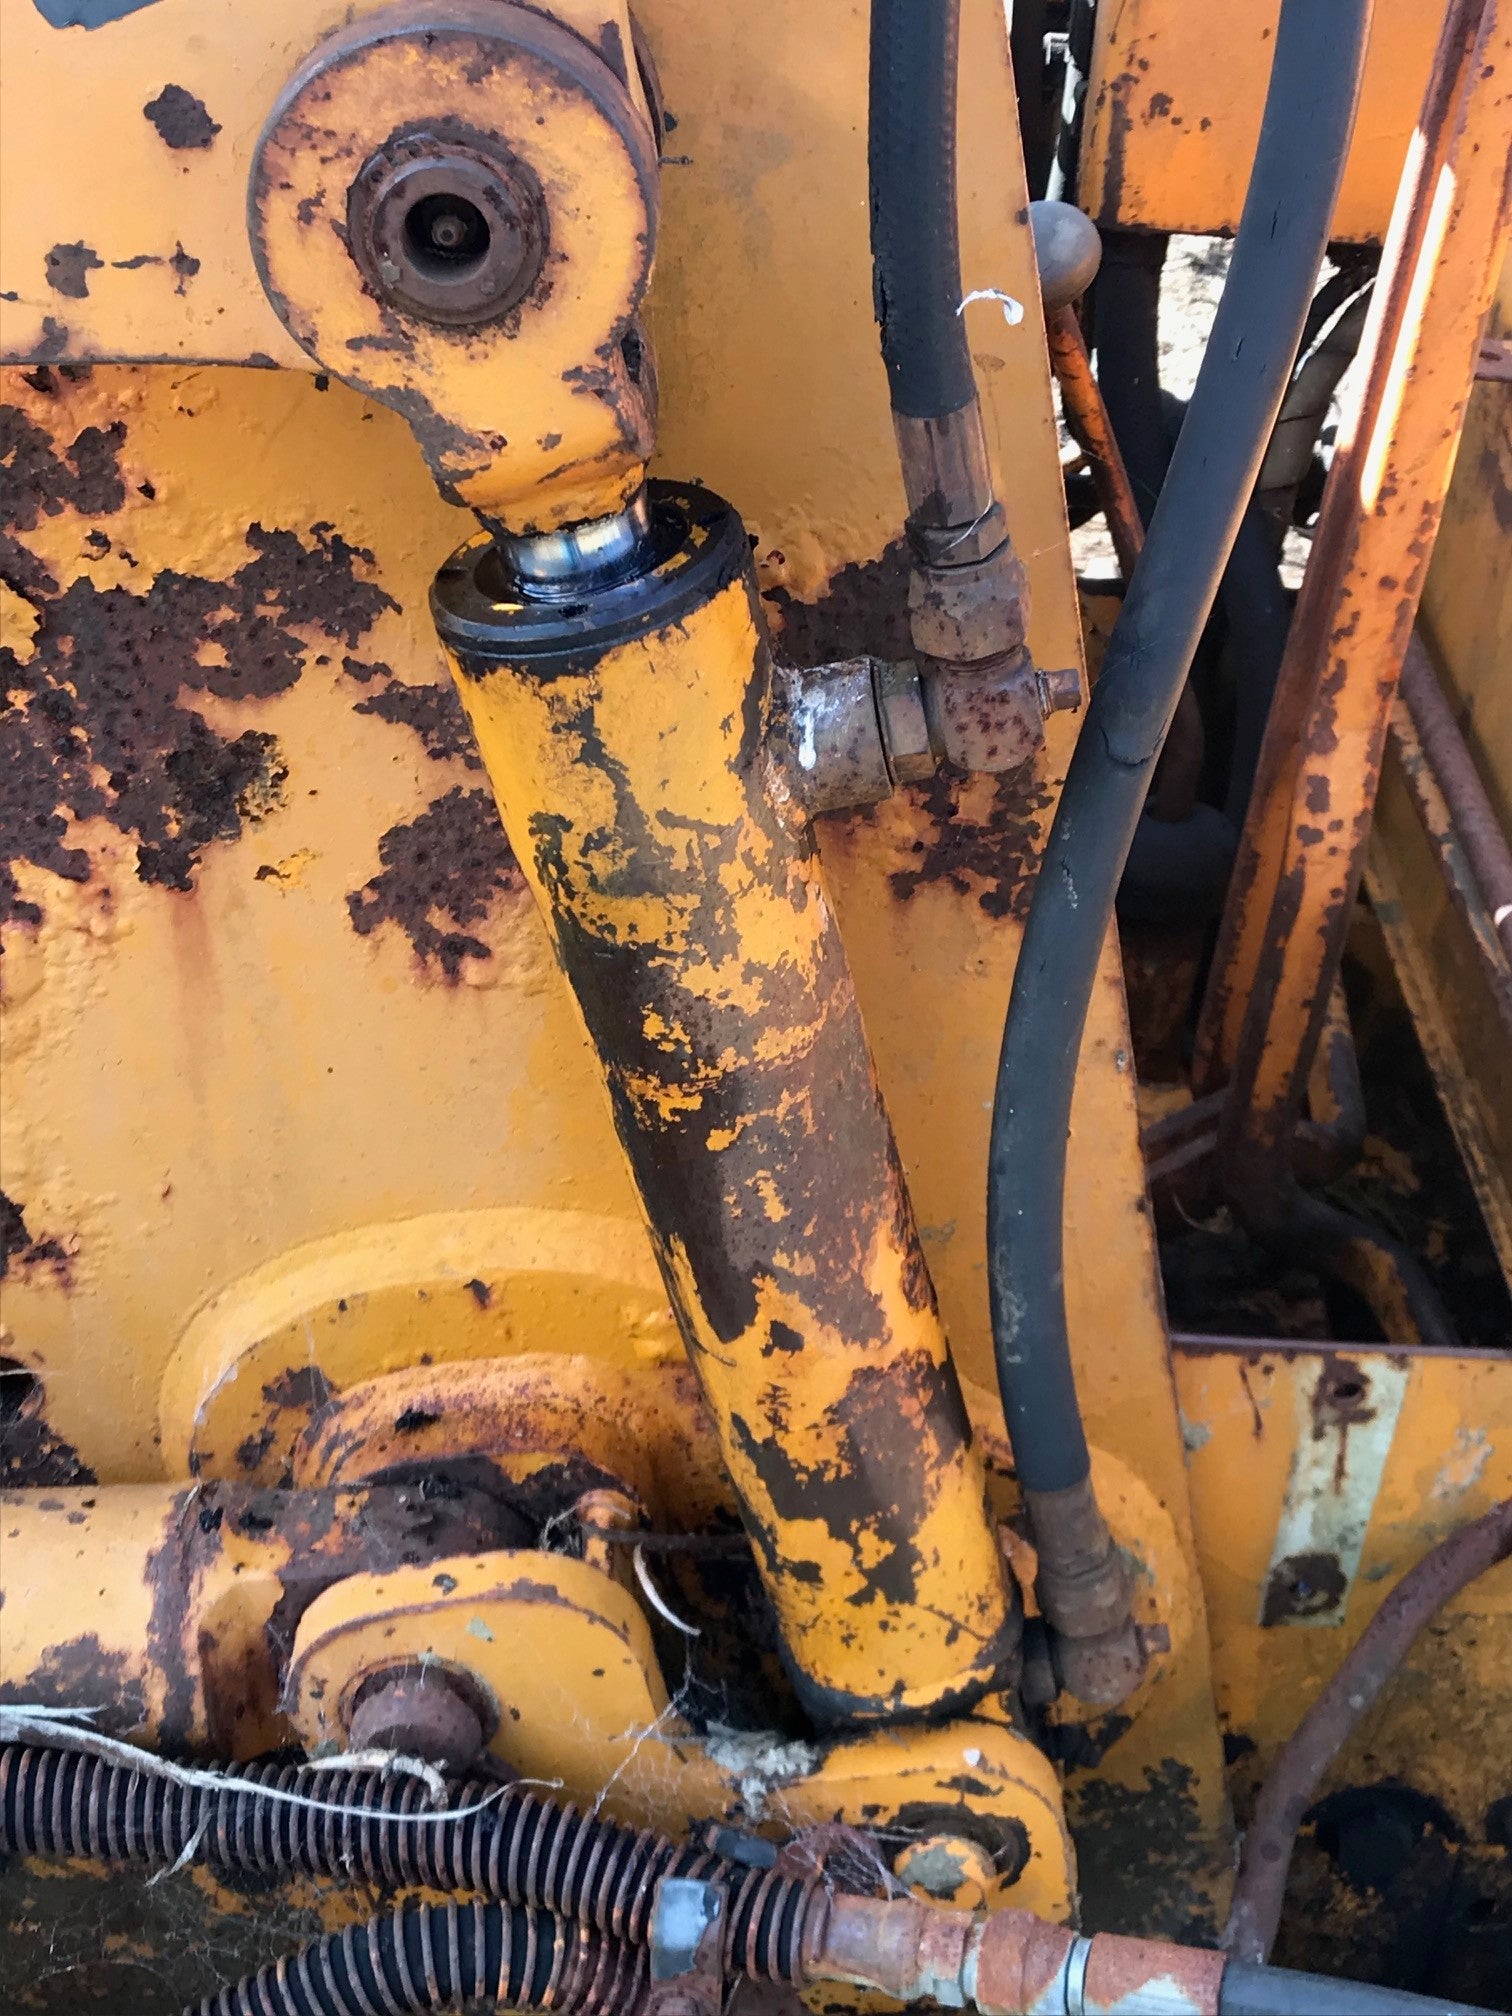
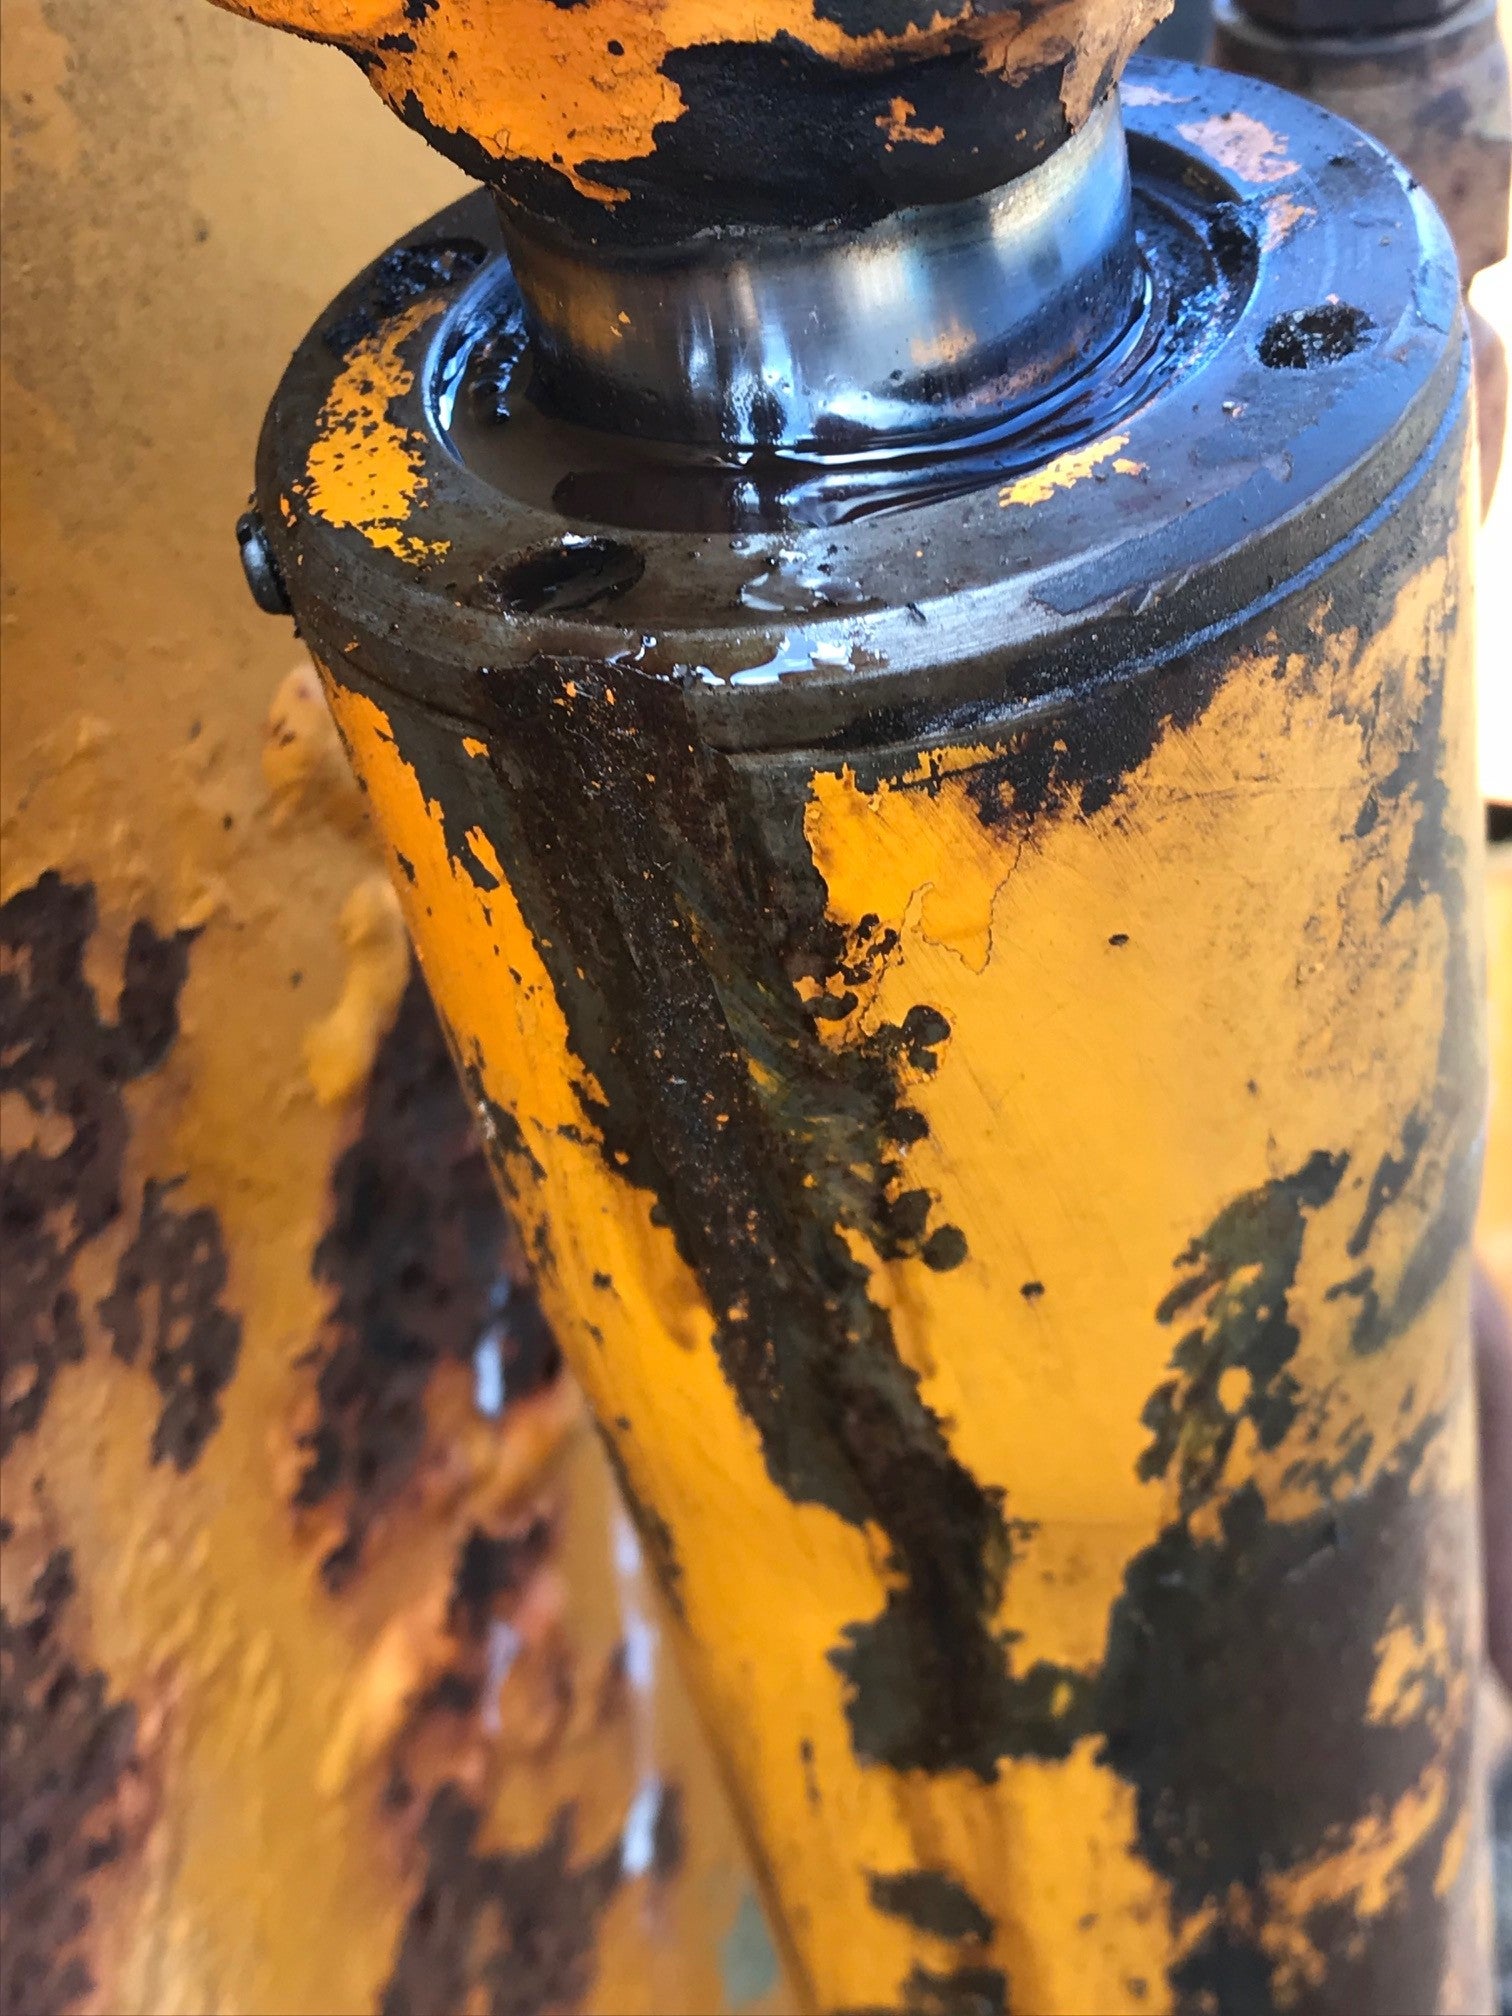
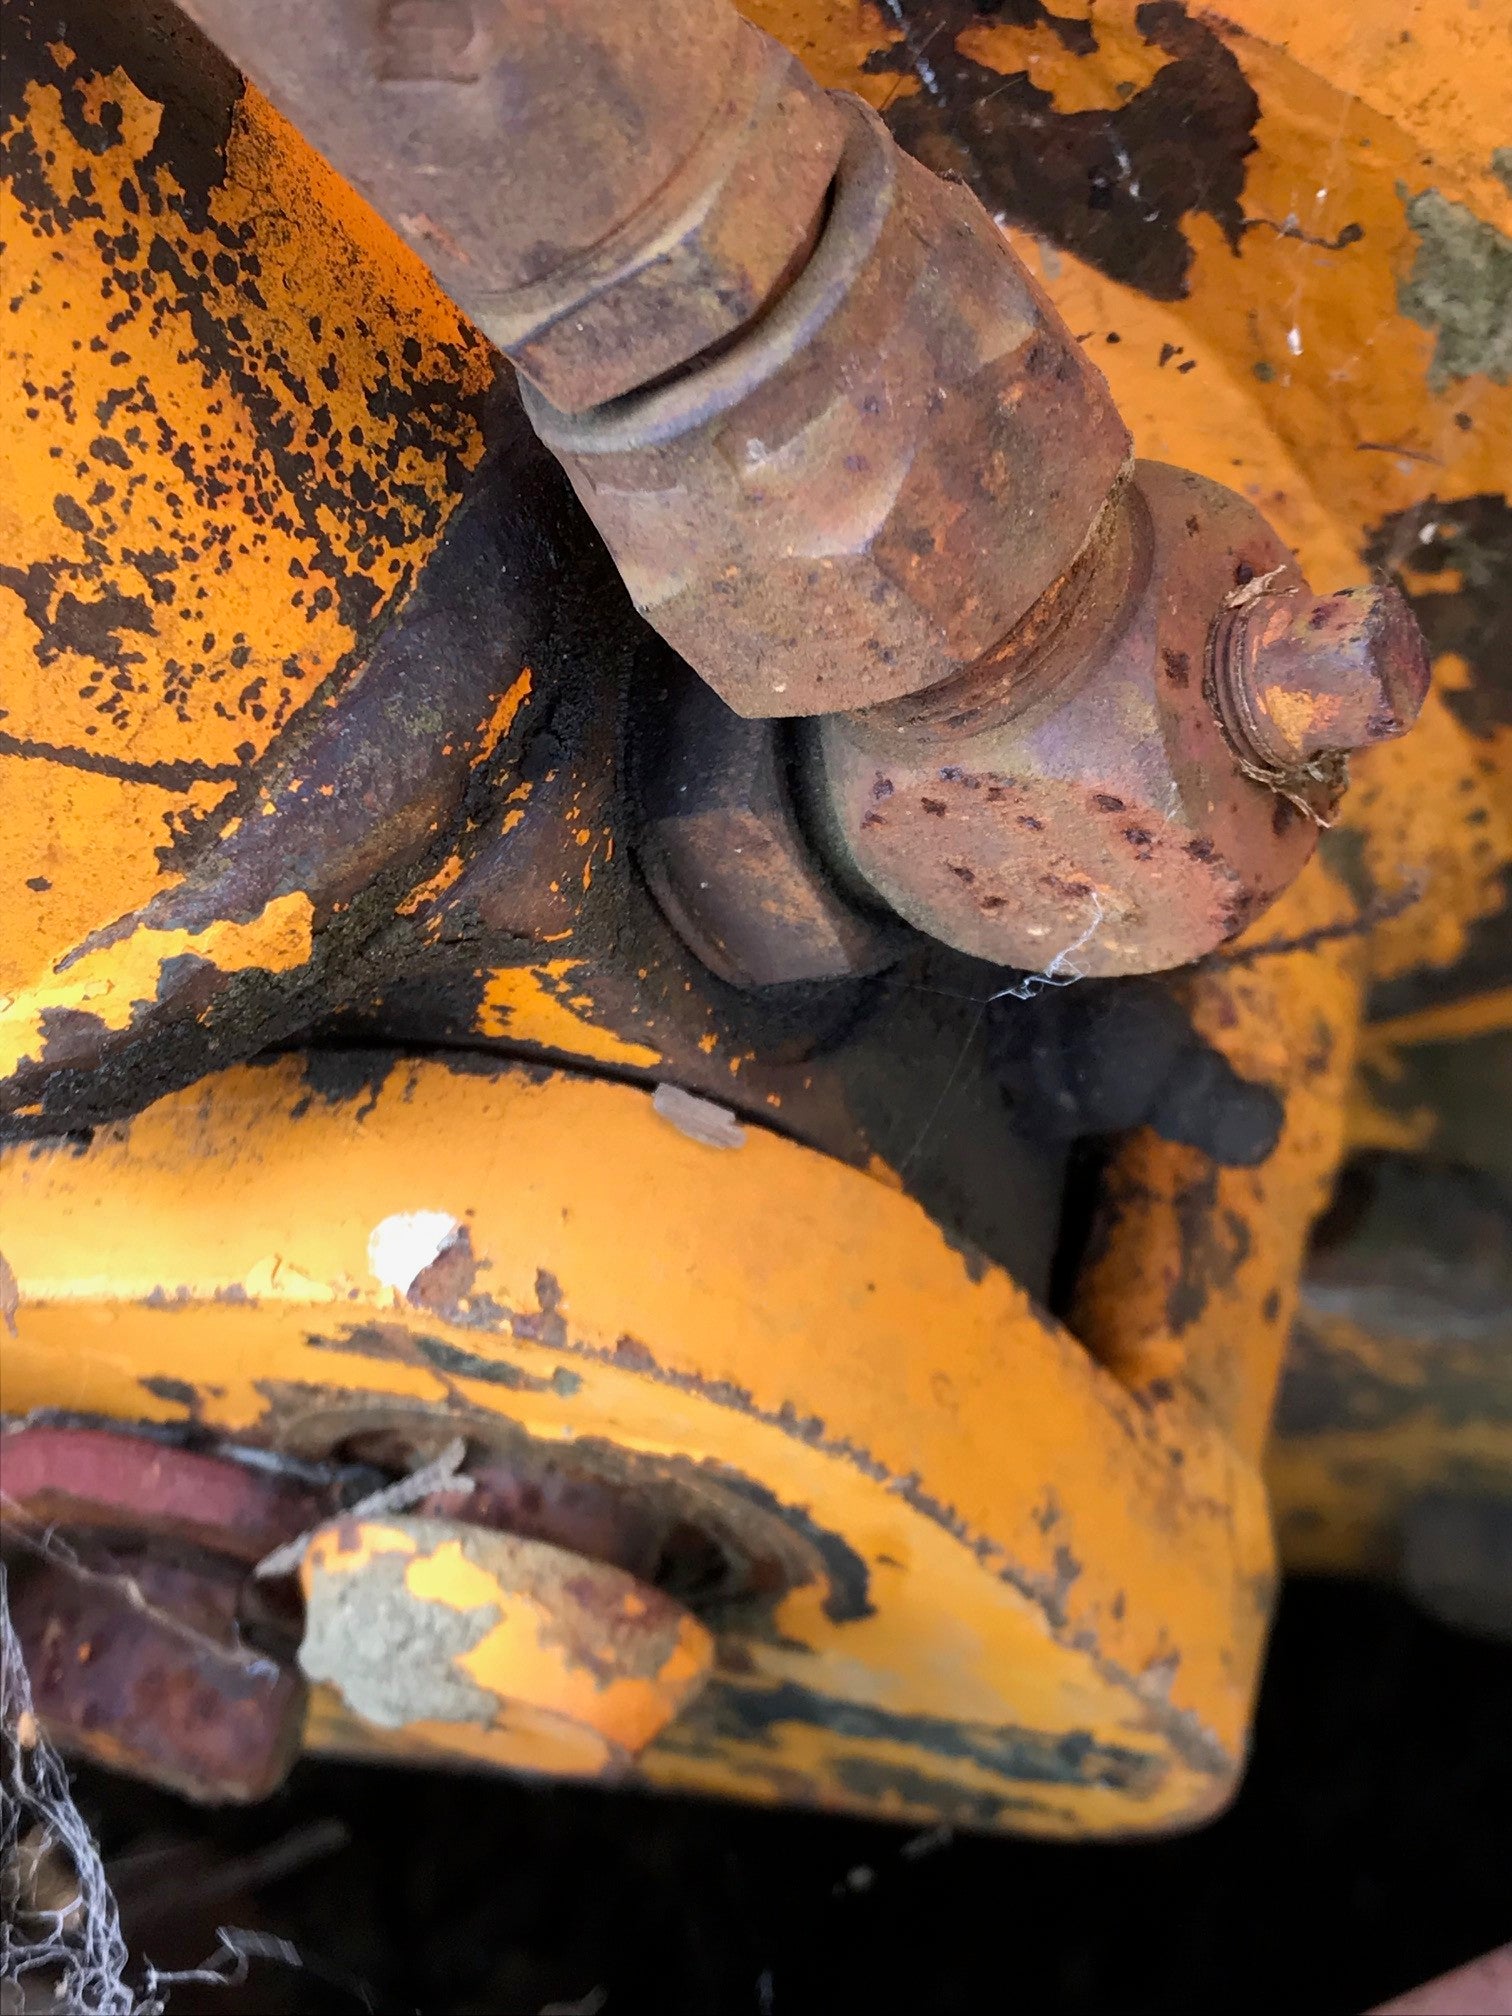
Turns out the cylinder leak’s not the primary problem anyway - the puddle you can see there is the result of about 5 minutes playing, so it’s leaky but not disastrously so. T
he main problem’s a pinhole in the hard line across the footwell: fortunately pulling that and getting it copied shoul
dn’t be hard.

|
ITA97, now with more Jag @ opposite-lock.com
> Distraxi's idea of perfection is a Jagroen
10/14/2018 at 21:26 |
|
For that lower pin, I my guess would be that there may be a fastener on the backside, but maybe not. If it is press fit, an air hammer with a chisel bit would the only was I see to remove it. Leaving on the machine may not be the worse idea, depending on how you’re planning on holding the cylinder in place for disassembly . For the cir clip on the upper pin, the pro trick is to take a hammer and a punch to the ears in each direction to break it loose and rotate it a bit . Once its loose, it should remove as normal. If not, that hammer and chisel will be handy for remove it in pieces (If you didn’t know, there is actually a way they’re supposed to face. One side will be flat, and one will have slight radius to the face from stamping in production . The flat side should be installed against the direction force would be applied to it, in this case the flat side should be facing out ).
If you dissemble it on the machine, disconnect the hoses first so that you’re not fighting suction trying to remove the gland head. There’s probably around a gallon of oil in it, so be ready for that. Remove that flathead screw someone fashioned as a set screw (they’re usually an Allen head set screw, so make sure there isn’t another). I would take a die grinder and a metal cutting bit to that gash across the top of the cylinder and clean it up where the head and the cylinder meet to make sure that won’t bind up the head and keep it from unscrewing.
In a hydraulic shop, we hold cylinders in place with a chain vice, which is bolted to metal table made from 1/2" steel plate, which it self is very well anchored to the floor. Using the machine to hold in place may not be a bad idea. If you do it off the machine, don’t clam p the cylinder at the very end over the threads for the gland head . The force will bend the cylinder out of round slightly and you’ll never get the head unscrewed without damaging the treads . You’ll need an adj usta ble face spanner wrench to loosen the gland head.
http://www.rocklinhydraulics.com/adfaspwr1.html
It is very important that the pin diameter on the tool matches the hole diameter in the thread. You’ll slip a large cheater bar over the end of tool to loosen the head. We used a five foot long iron pipe at the shop for that job. It may or may not loosen. There is probably a 50% chance you’ll need to heat the cylinder wall with a torch to get it to break loose. Once the head unscrews , the whole rod and piston will come out.