 "StingrayJake" (stingrayjake)
09/11/2015 at 16:48 • Filed to: Photoshop
 5
5
 3
3|
"StingrayJake" (stingrayjake)
09/11/2015 at 16:48 • Filed to: Photoshop | 5
| 3 |
You’ll never believe how easy it is.

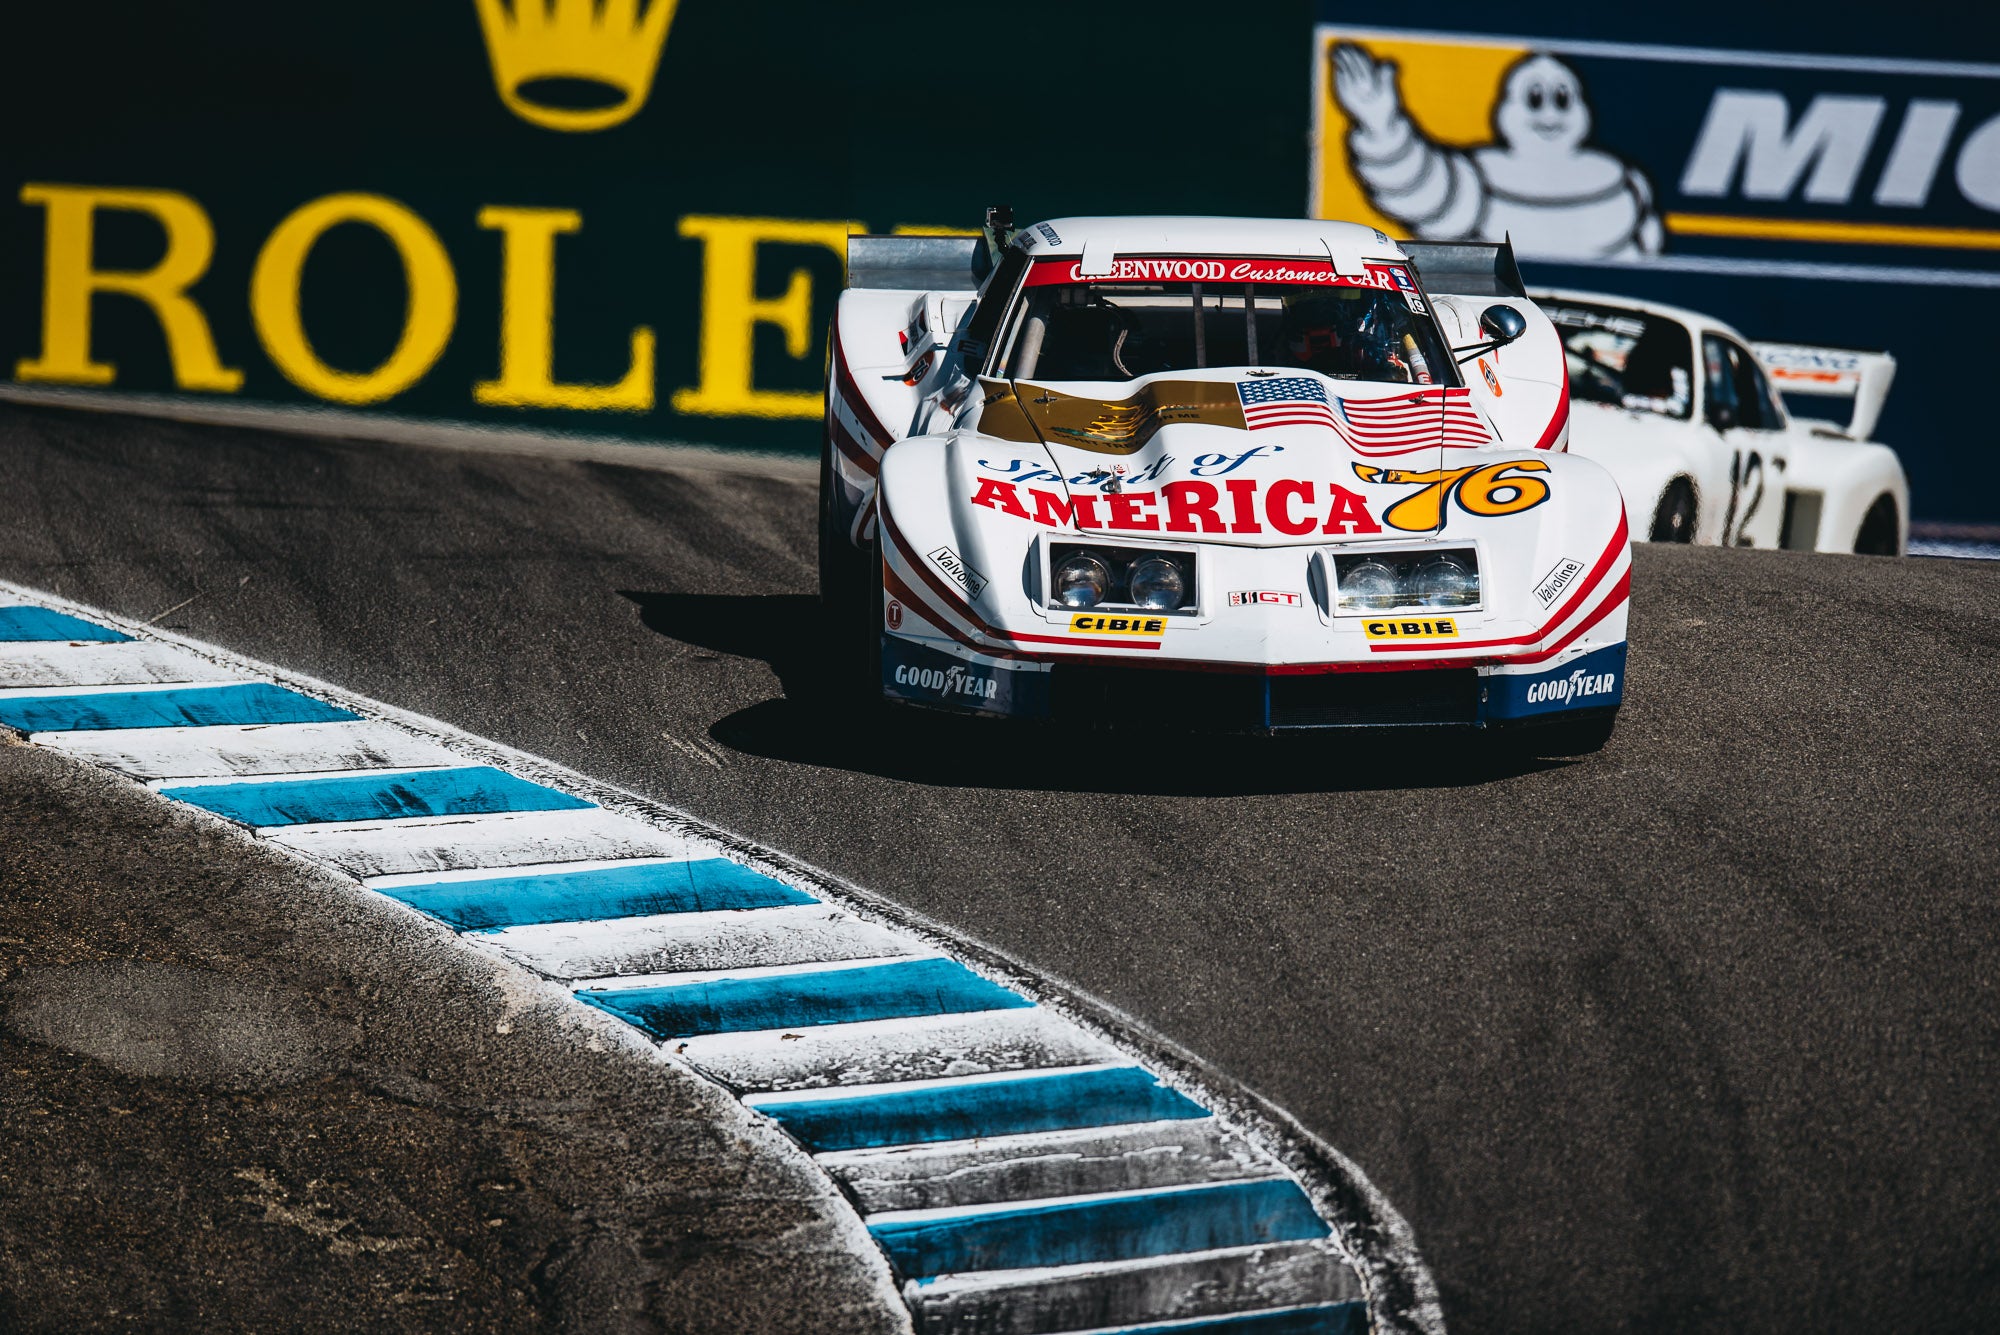
I tried this on several photos and it can be kind of hit or miss (the process hates empty space) but this is one of my favorite normal photos and the process worked out pretty well on this one.
Here’s the original photo, which is from the historic races at Laguna Seca during this year’s Monterey Car Week and was taken by the always excellent !!!error: Indecipherable SUB-paragraph formatting!!! (or Puppyknuckles for you Instagrammers).
If you’re interested in the photoshop sketching process that is easily Google-able, I’ll repeat it here.
1. Duplicate the background layer and call the new layer ‘Layer 2’
2. Desaturate ‘Layer 2’
3. Duplicate ‘Layer 2’ and call the new layer ‘Layer 3’
4. Invert the colors on ‘Layer 3’
5. With ‘Layer 3’ selected, select the drop down menu that says ‘Normal’ and change it to ‘Color Dodge’
6. Select ‘Filter,’ select ‘Other,’ and select ‘Minimum.’ The default setting should be 0 radius. Click ‘OK’ or ‘Accept’ or whatever it says.
7. You have a basic B&W “sketch” now. If you want to add color you’ll need to merge the visible layer into a new layer. Do this on Windows by selecting ‘Layer 3’ and using the shortcut CTRL+SHIFT+ALT+E and name the new layer ‘Layer 4’
8. With ‘Layer 4’ selected, go to the drop down menu from Step 5 and select ‘Multiply.’ This makes the sketch lines a bit more defined. Change the ‘Opacity’ to alter how dark the lines are.
9. Now go back to your original background layer, duplicate it into a ‘Layer 5,’ and drag it to the top of the layer list.
10. Change the ‘Normal’ drop down menu to ‘Color’ and tweak the ‘Opacity’ to your desire.
OK, so it was 10 steps. Sue me.
|
StingrayJake
> StingrayJake
09/11/2015 at 17:20 |
|
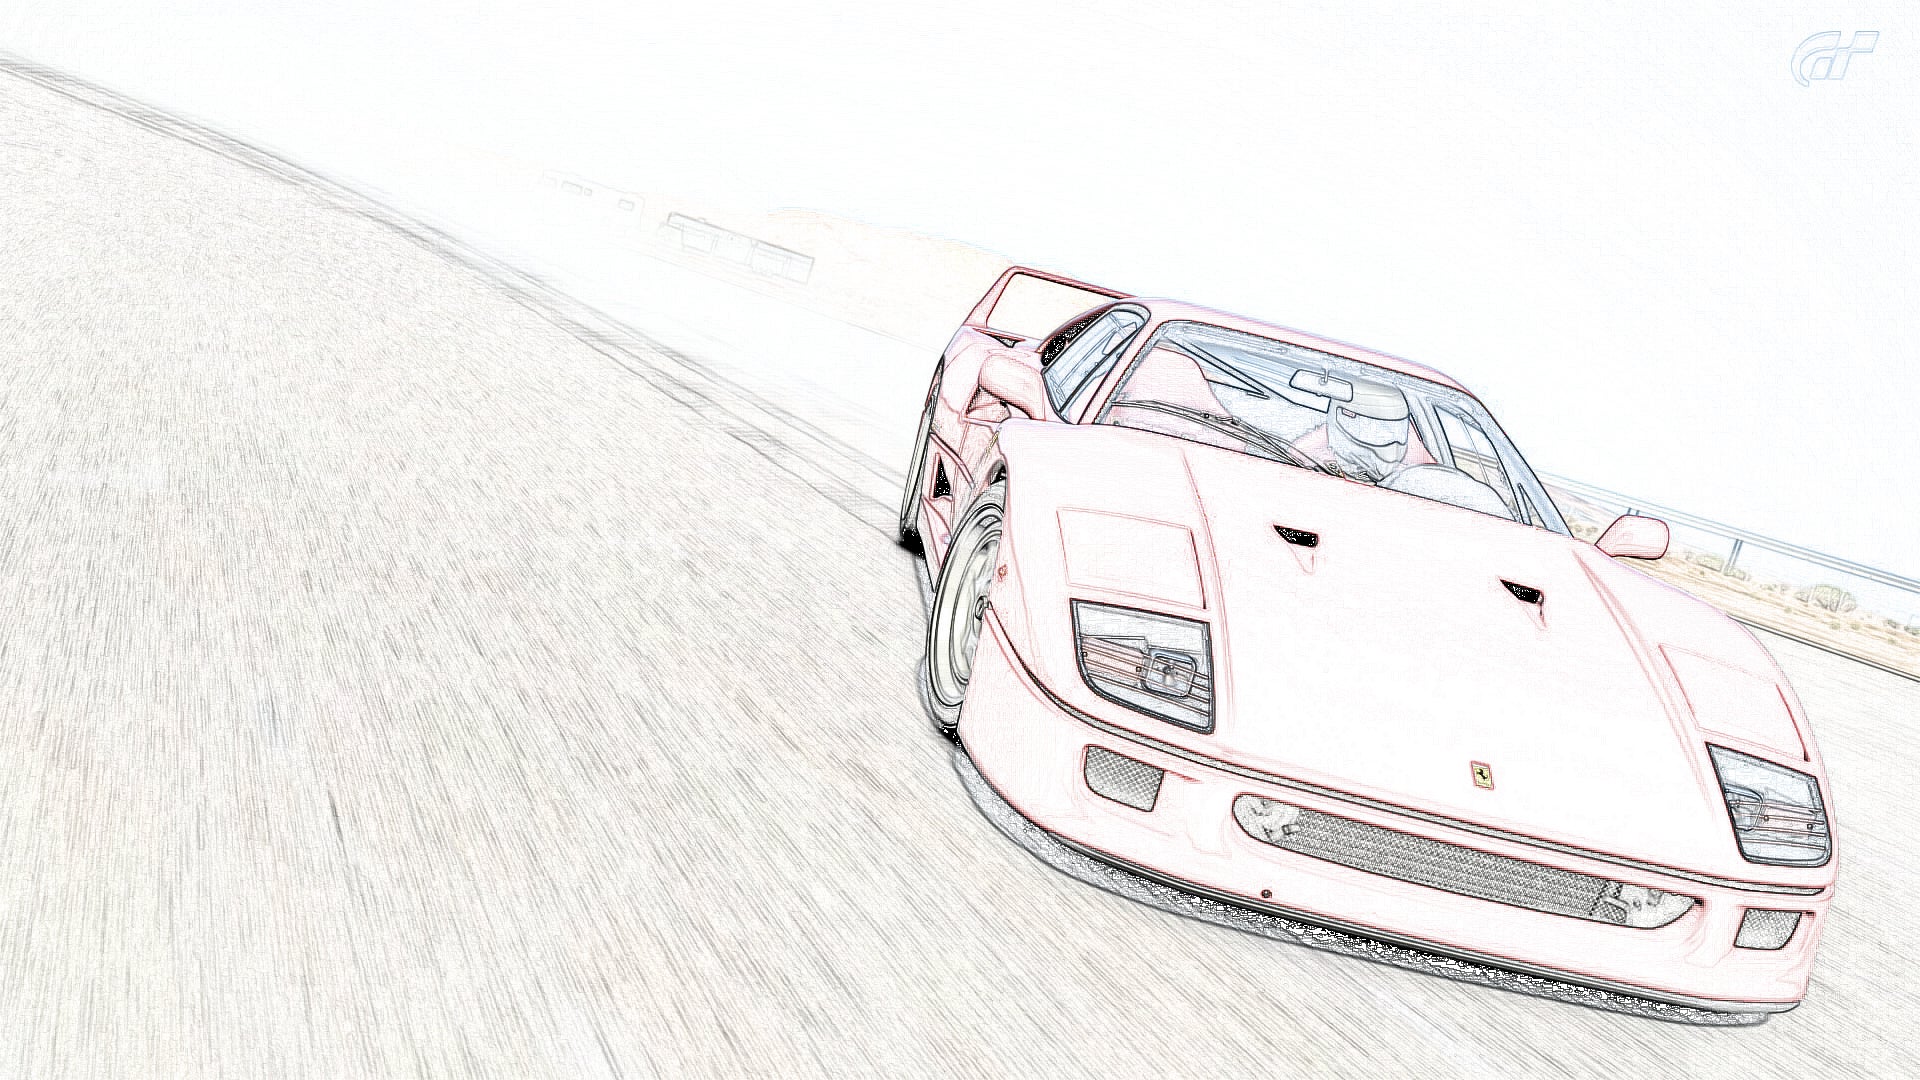
Here’s another one, shopped from a GT6 screenshot.
|
StingrayJake
> StingrayJake
09/11/2015 at 17:23 |
|
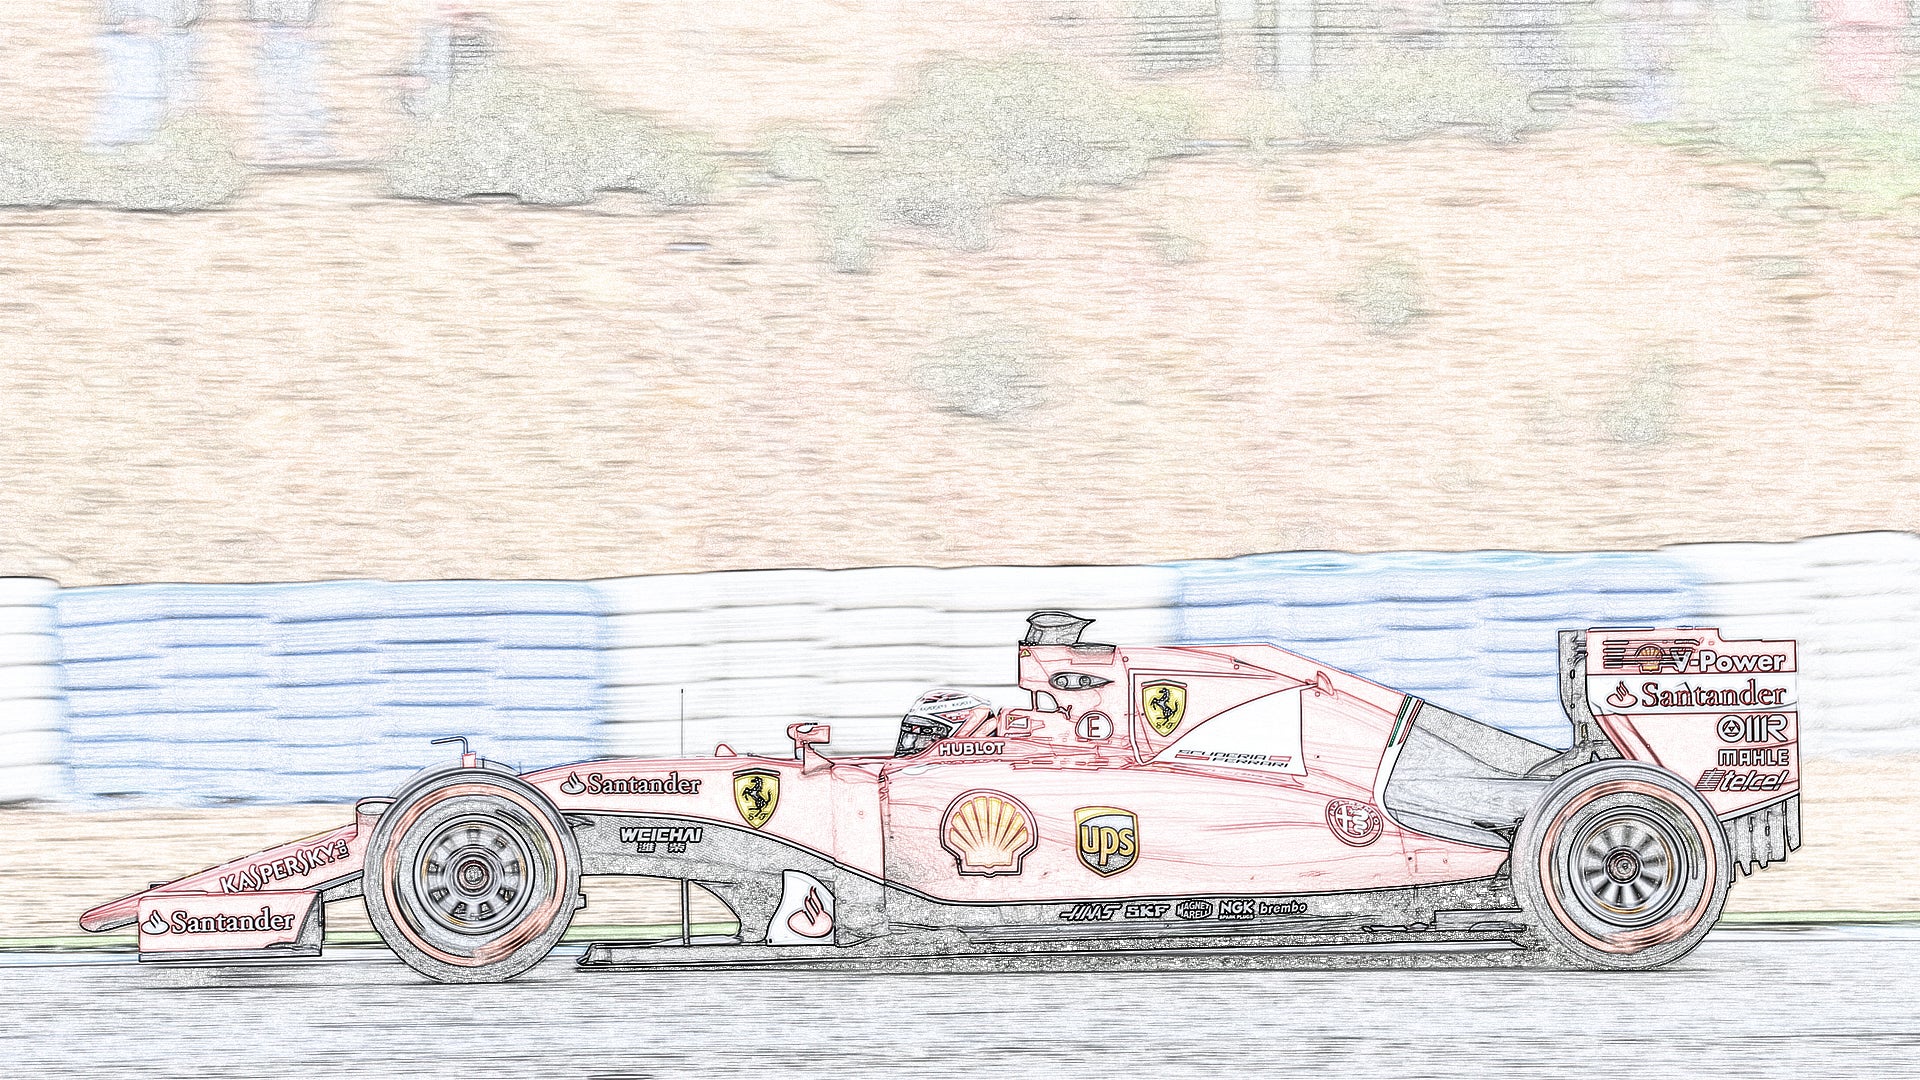
And another one, from an Associated Press photo.
 Hot Takes Salesman
> StingrayJake
Hot Takes Salesman
> StingrayJake
09/11/2015 at 19:37 |
|
Number 7 will shock you!