 "MM54" (mm54mk2)
05/22/2015 at 11:39 • Filed to: None
 3
3
 1
1|
"MM54" (mm54mk2)
05/22/2015 at 11:39 • Filed to: None | 3
| 1 |
In case you missed it, part 1 can be found
!!!error: Indecipherable SUB-paragraph formatting!!!
. This is part 2 of the series, where I finish the repair near the wheel opening.
!!! UNKNOWN CONTENT TYPE !!!
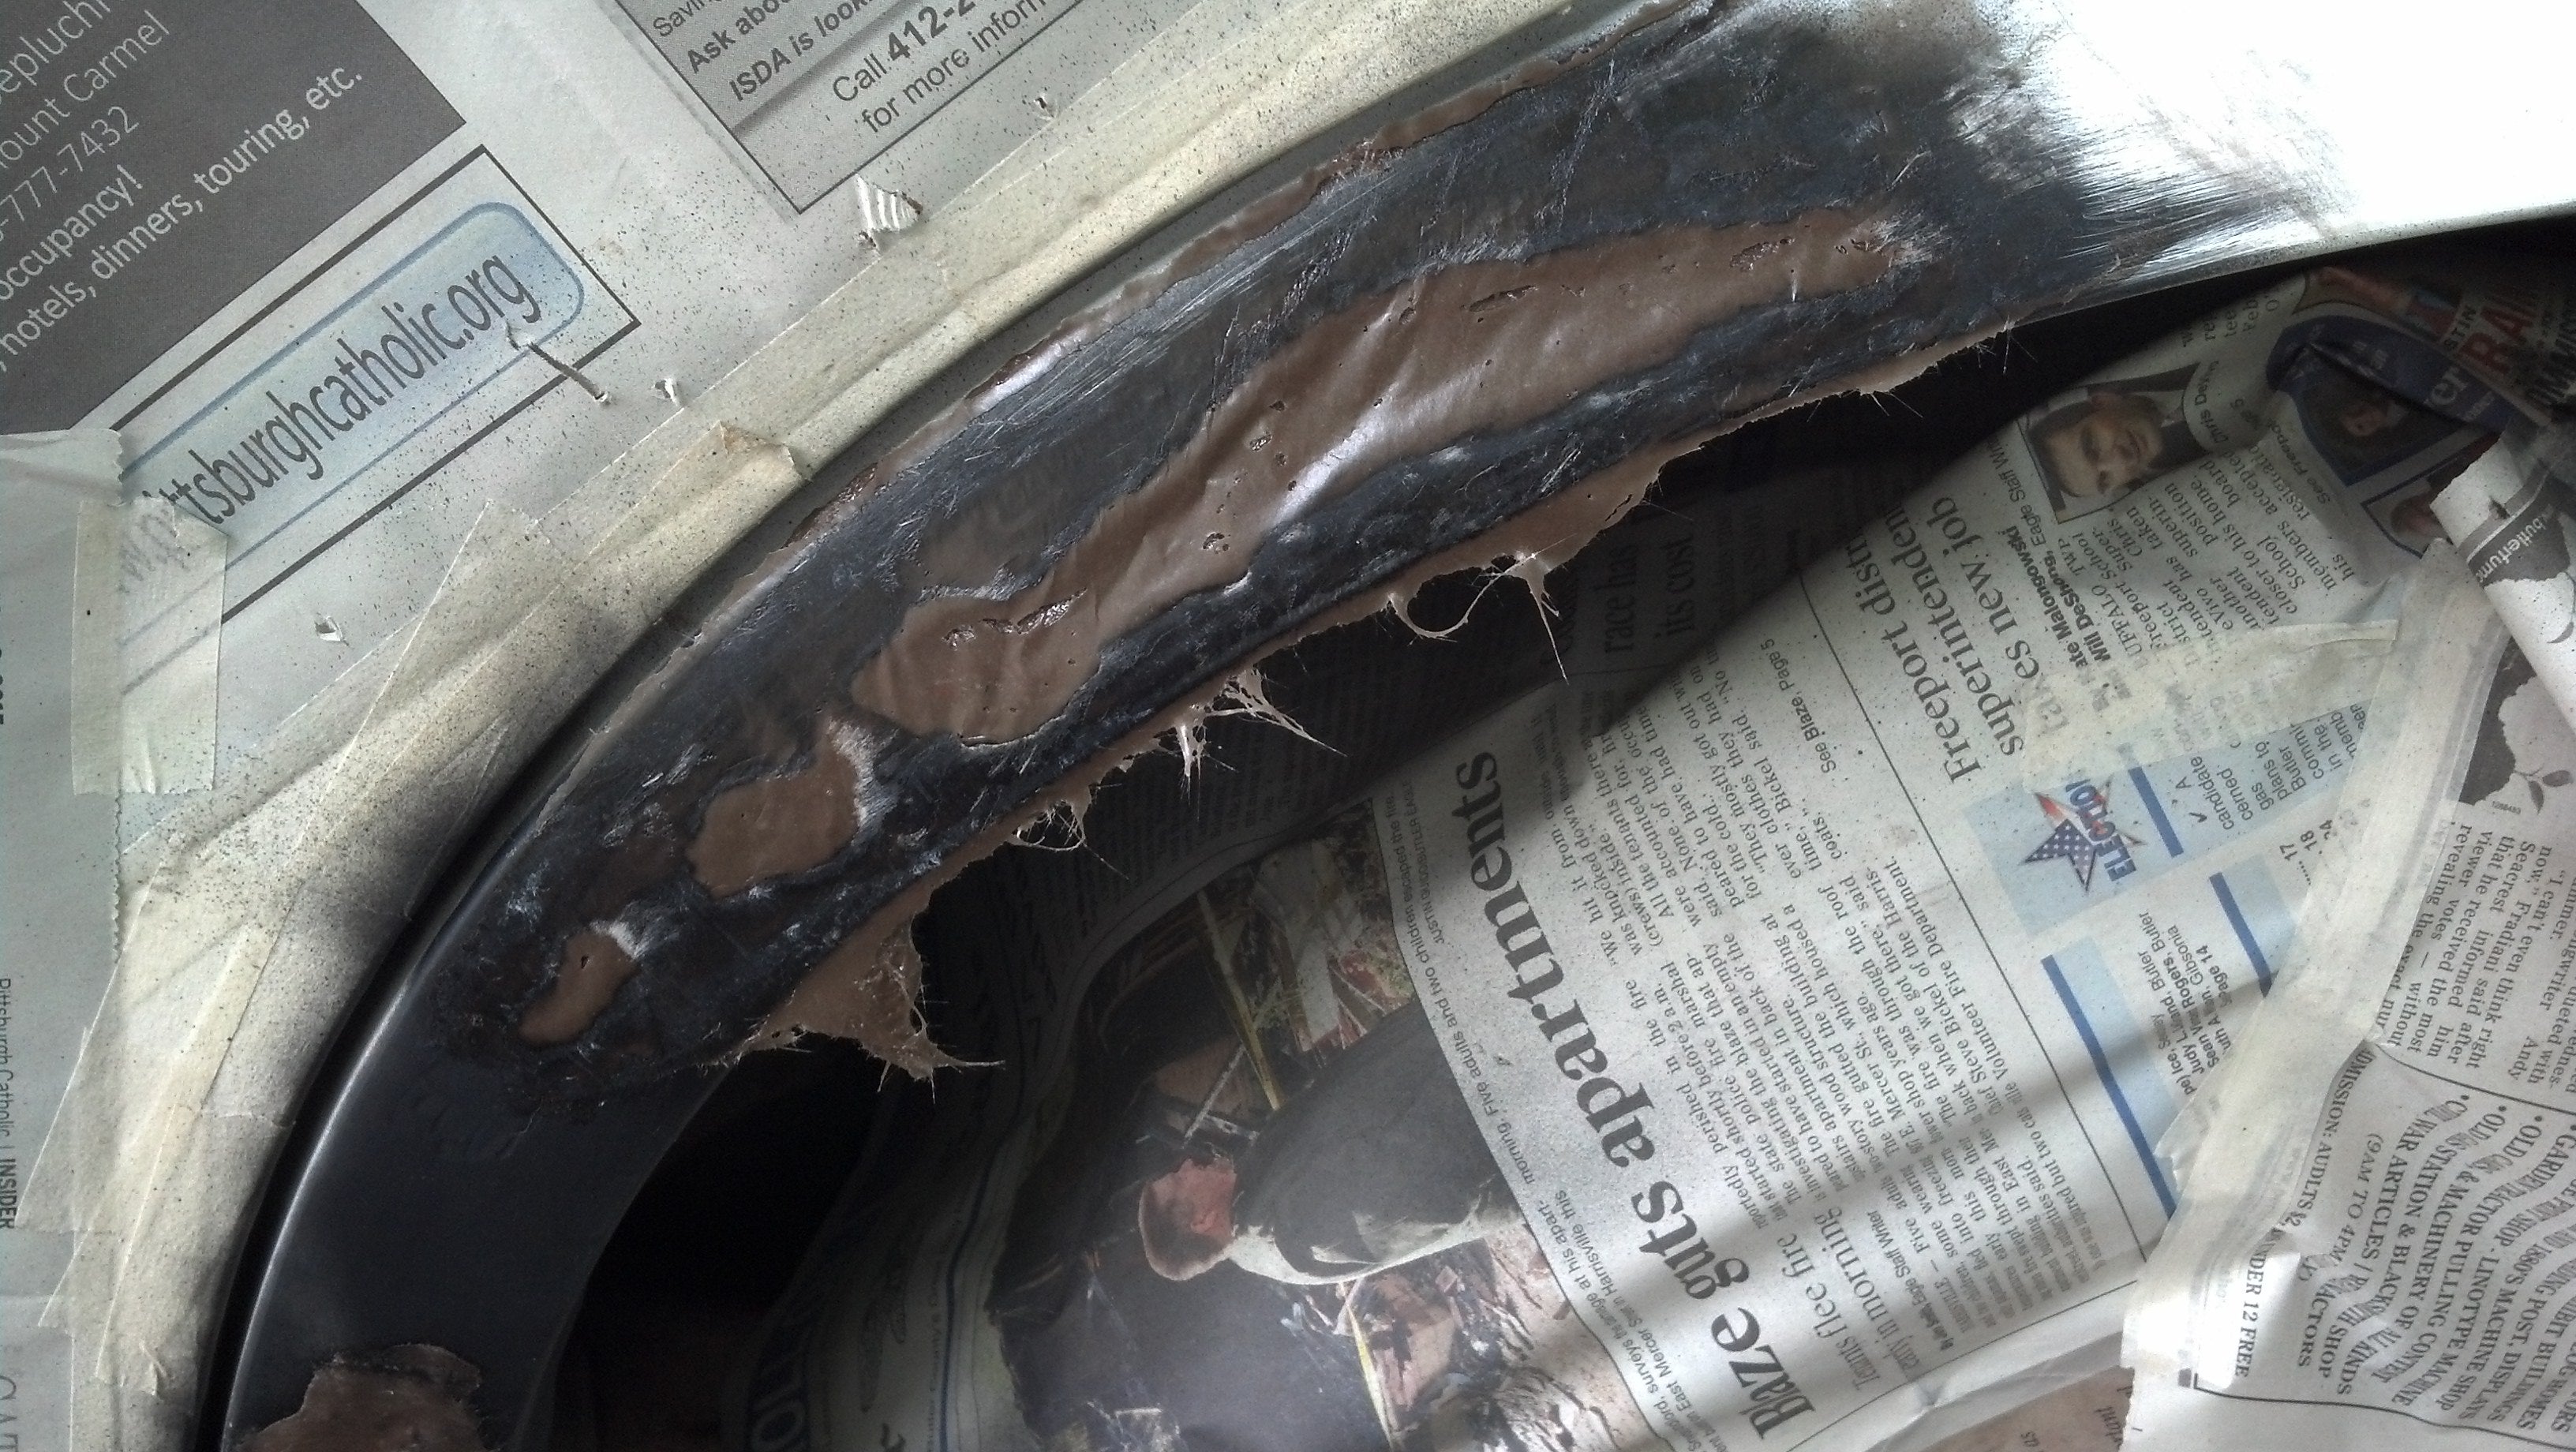
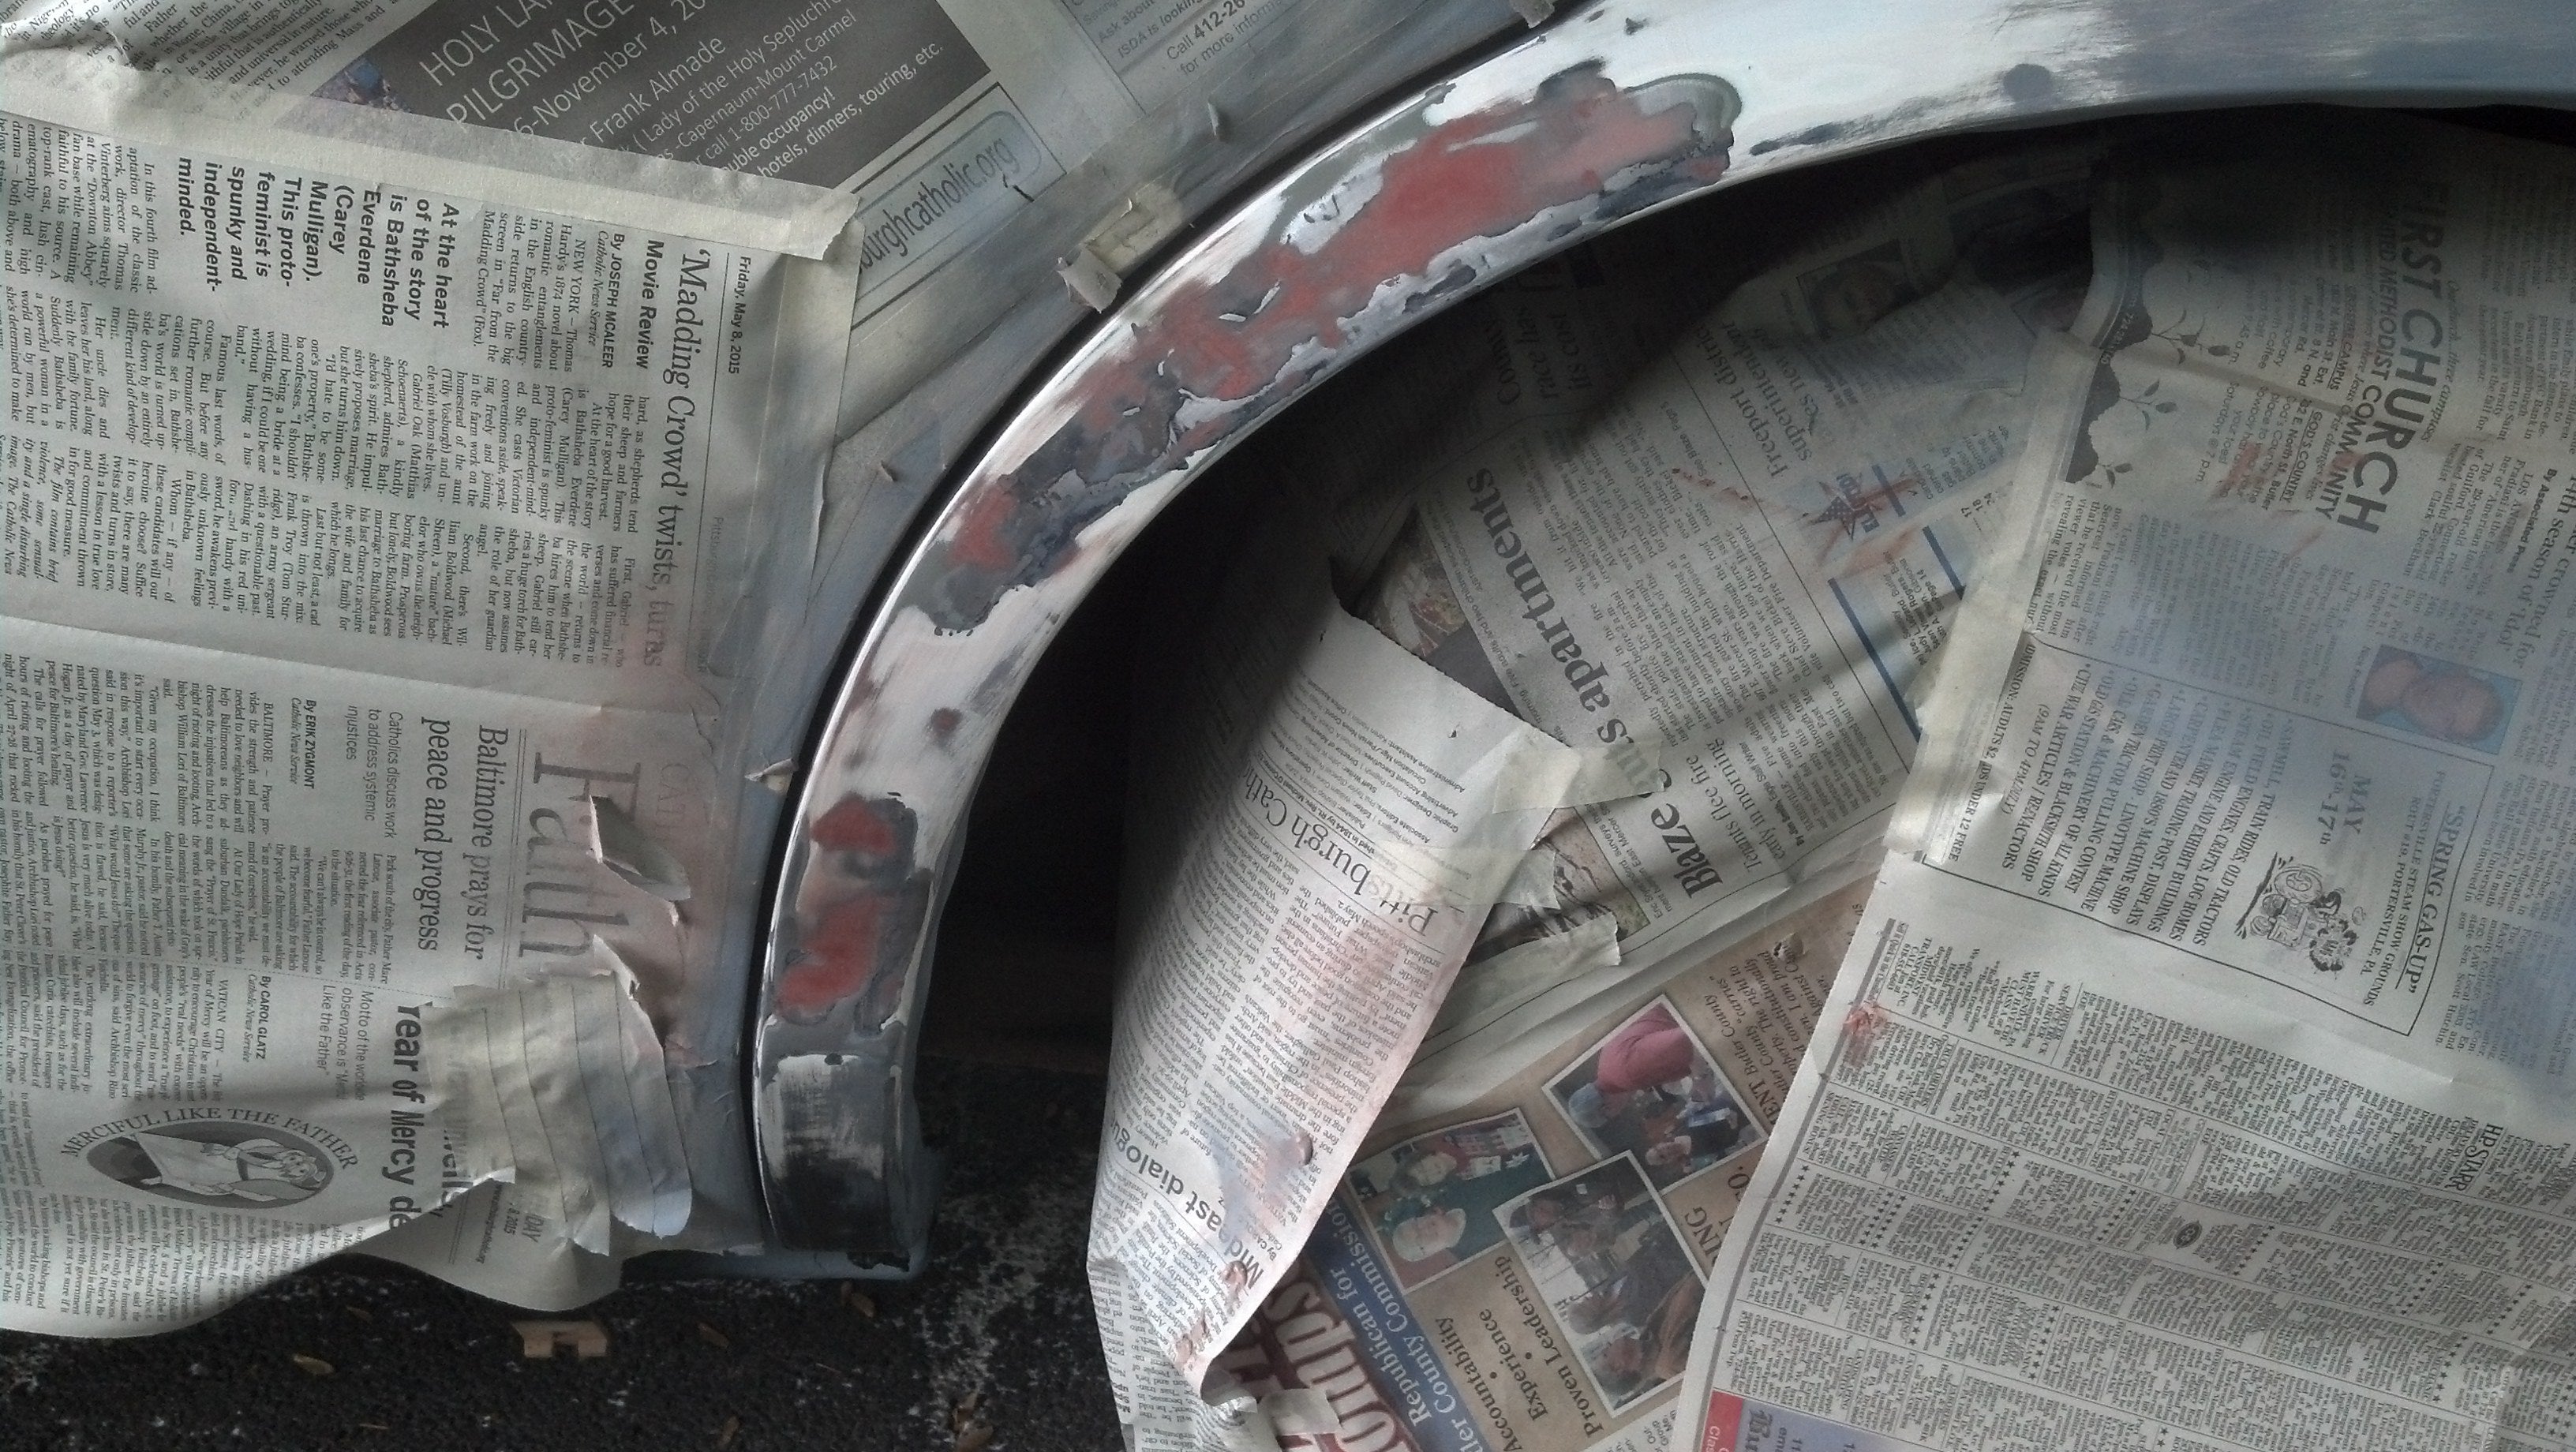
To pick up from where I left of before, the first order of business was to mix up some fiberglass patch to, well, patch the holes. The benefit of this is that it’s actually meant to patch holes, unlike Bondo, which a lot of people seem to think is meant for it. These also seem to be the people who think you can put it over rust and it actually fixes it.
Gross. Worse yet, when mixed with the second part (which I swear is the same red goo that hardens Bondo... what is that stuff?) it turns brown, and you end up with shredded fiberglass in epoxy which has the same color and texture as when you clean out the bathroom drain.
So with this goop mixed up (sorry, no picture here, I didn’t really want to get it on my phone/camera...), wearing gloves (unless you’re really into fiberglass curing on you), I found it the most efficient to just pick the patch up a pinch at a time, which is difficult since it all strings together, and manually stuff it into the holes, making sure to get plenty in there and to fill the available space. Then you run out, mix up more, do the same thing, and have a bunch left over.
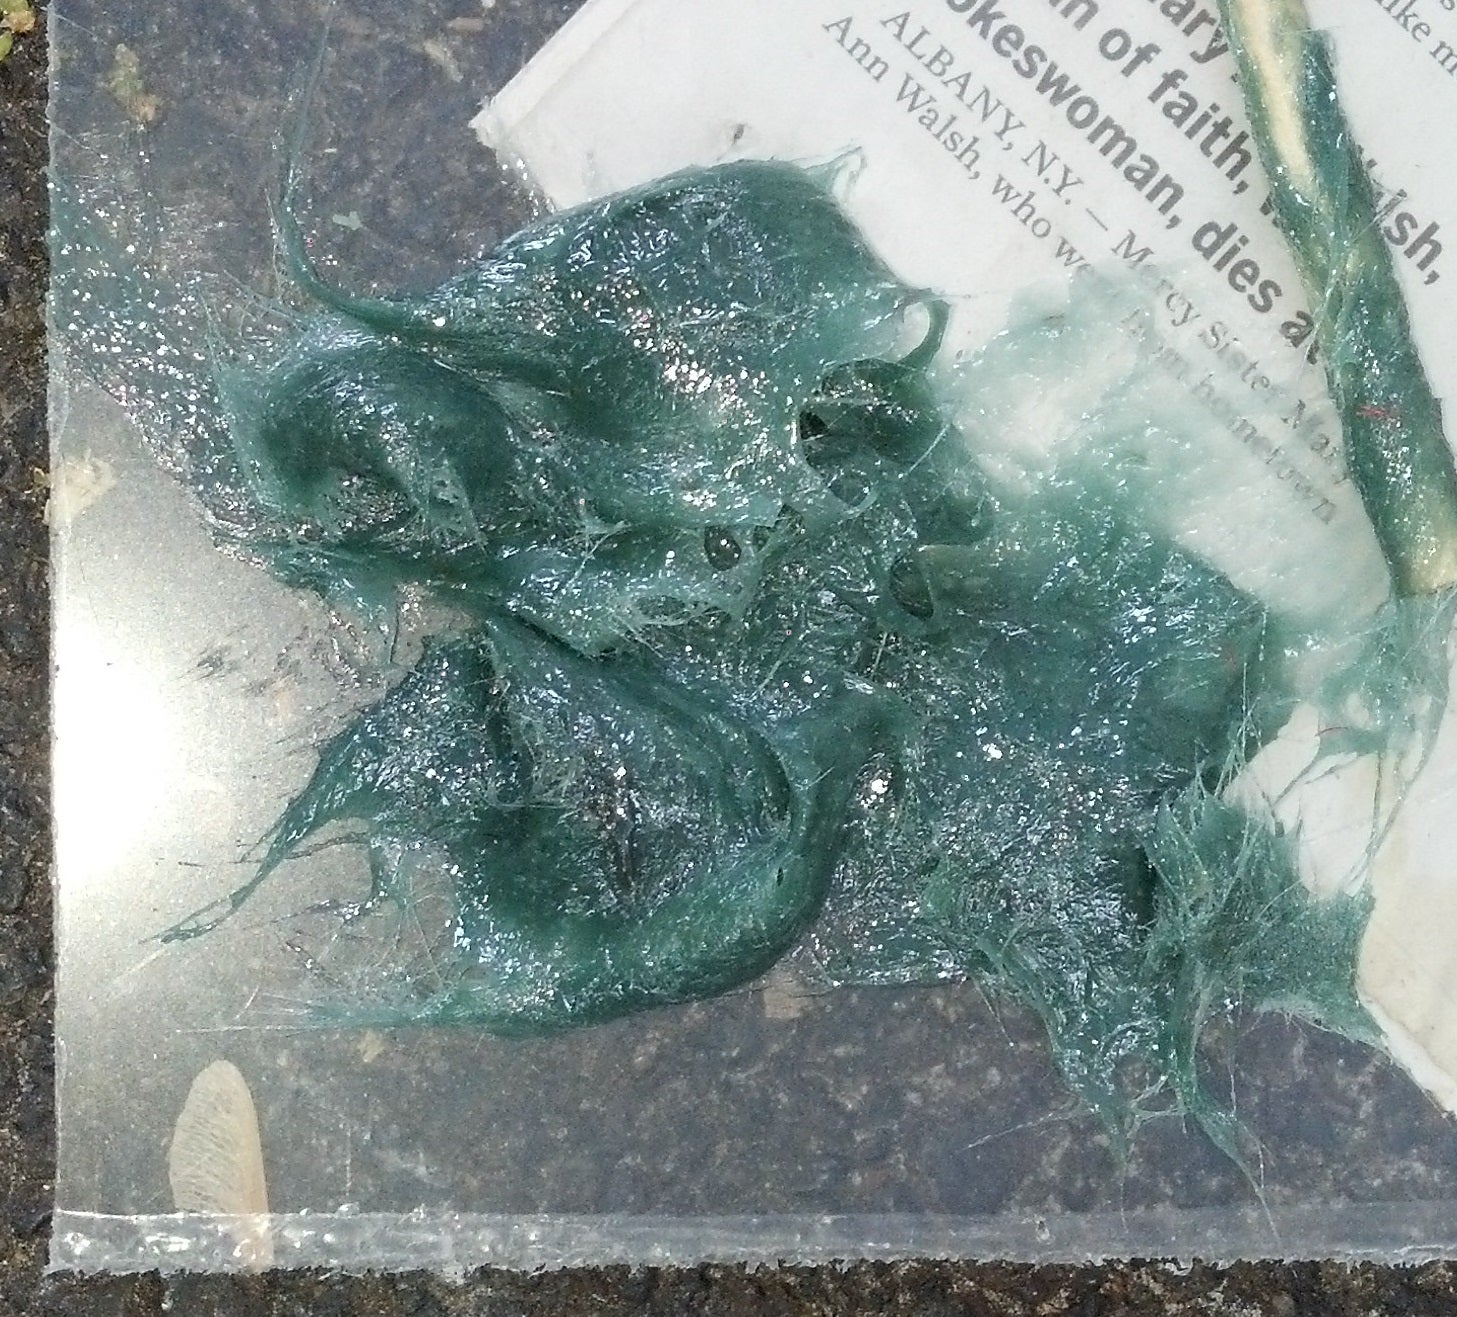
With the fiberglass stuffed in the holes, I took some wax paper (from the kitchen) cut into strips, and placed it over the surface. From there I used my plastic Bondo-spreader to apply pressure and squeeze the wax paper tight to the surface of the car.
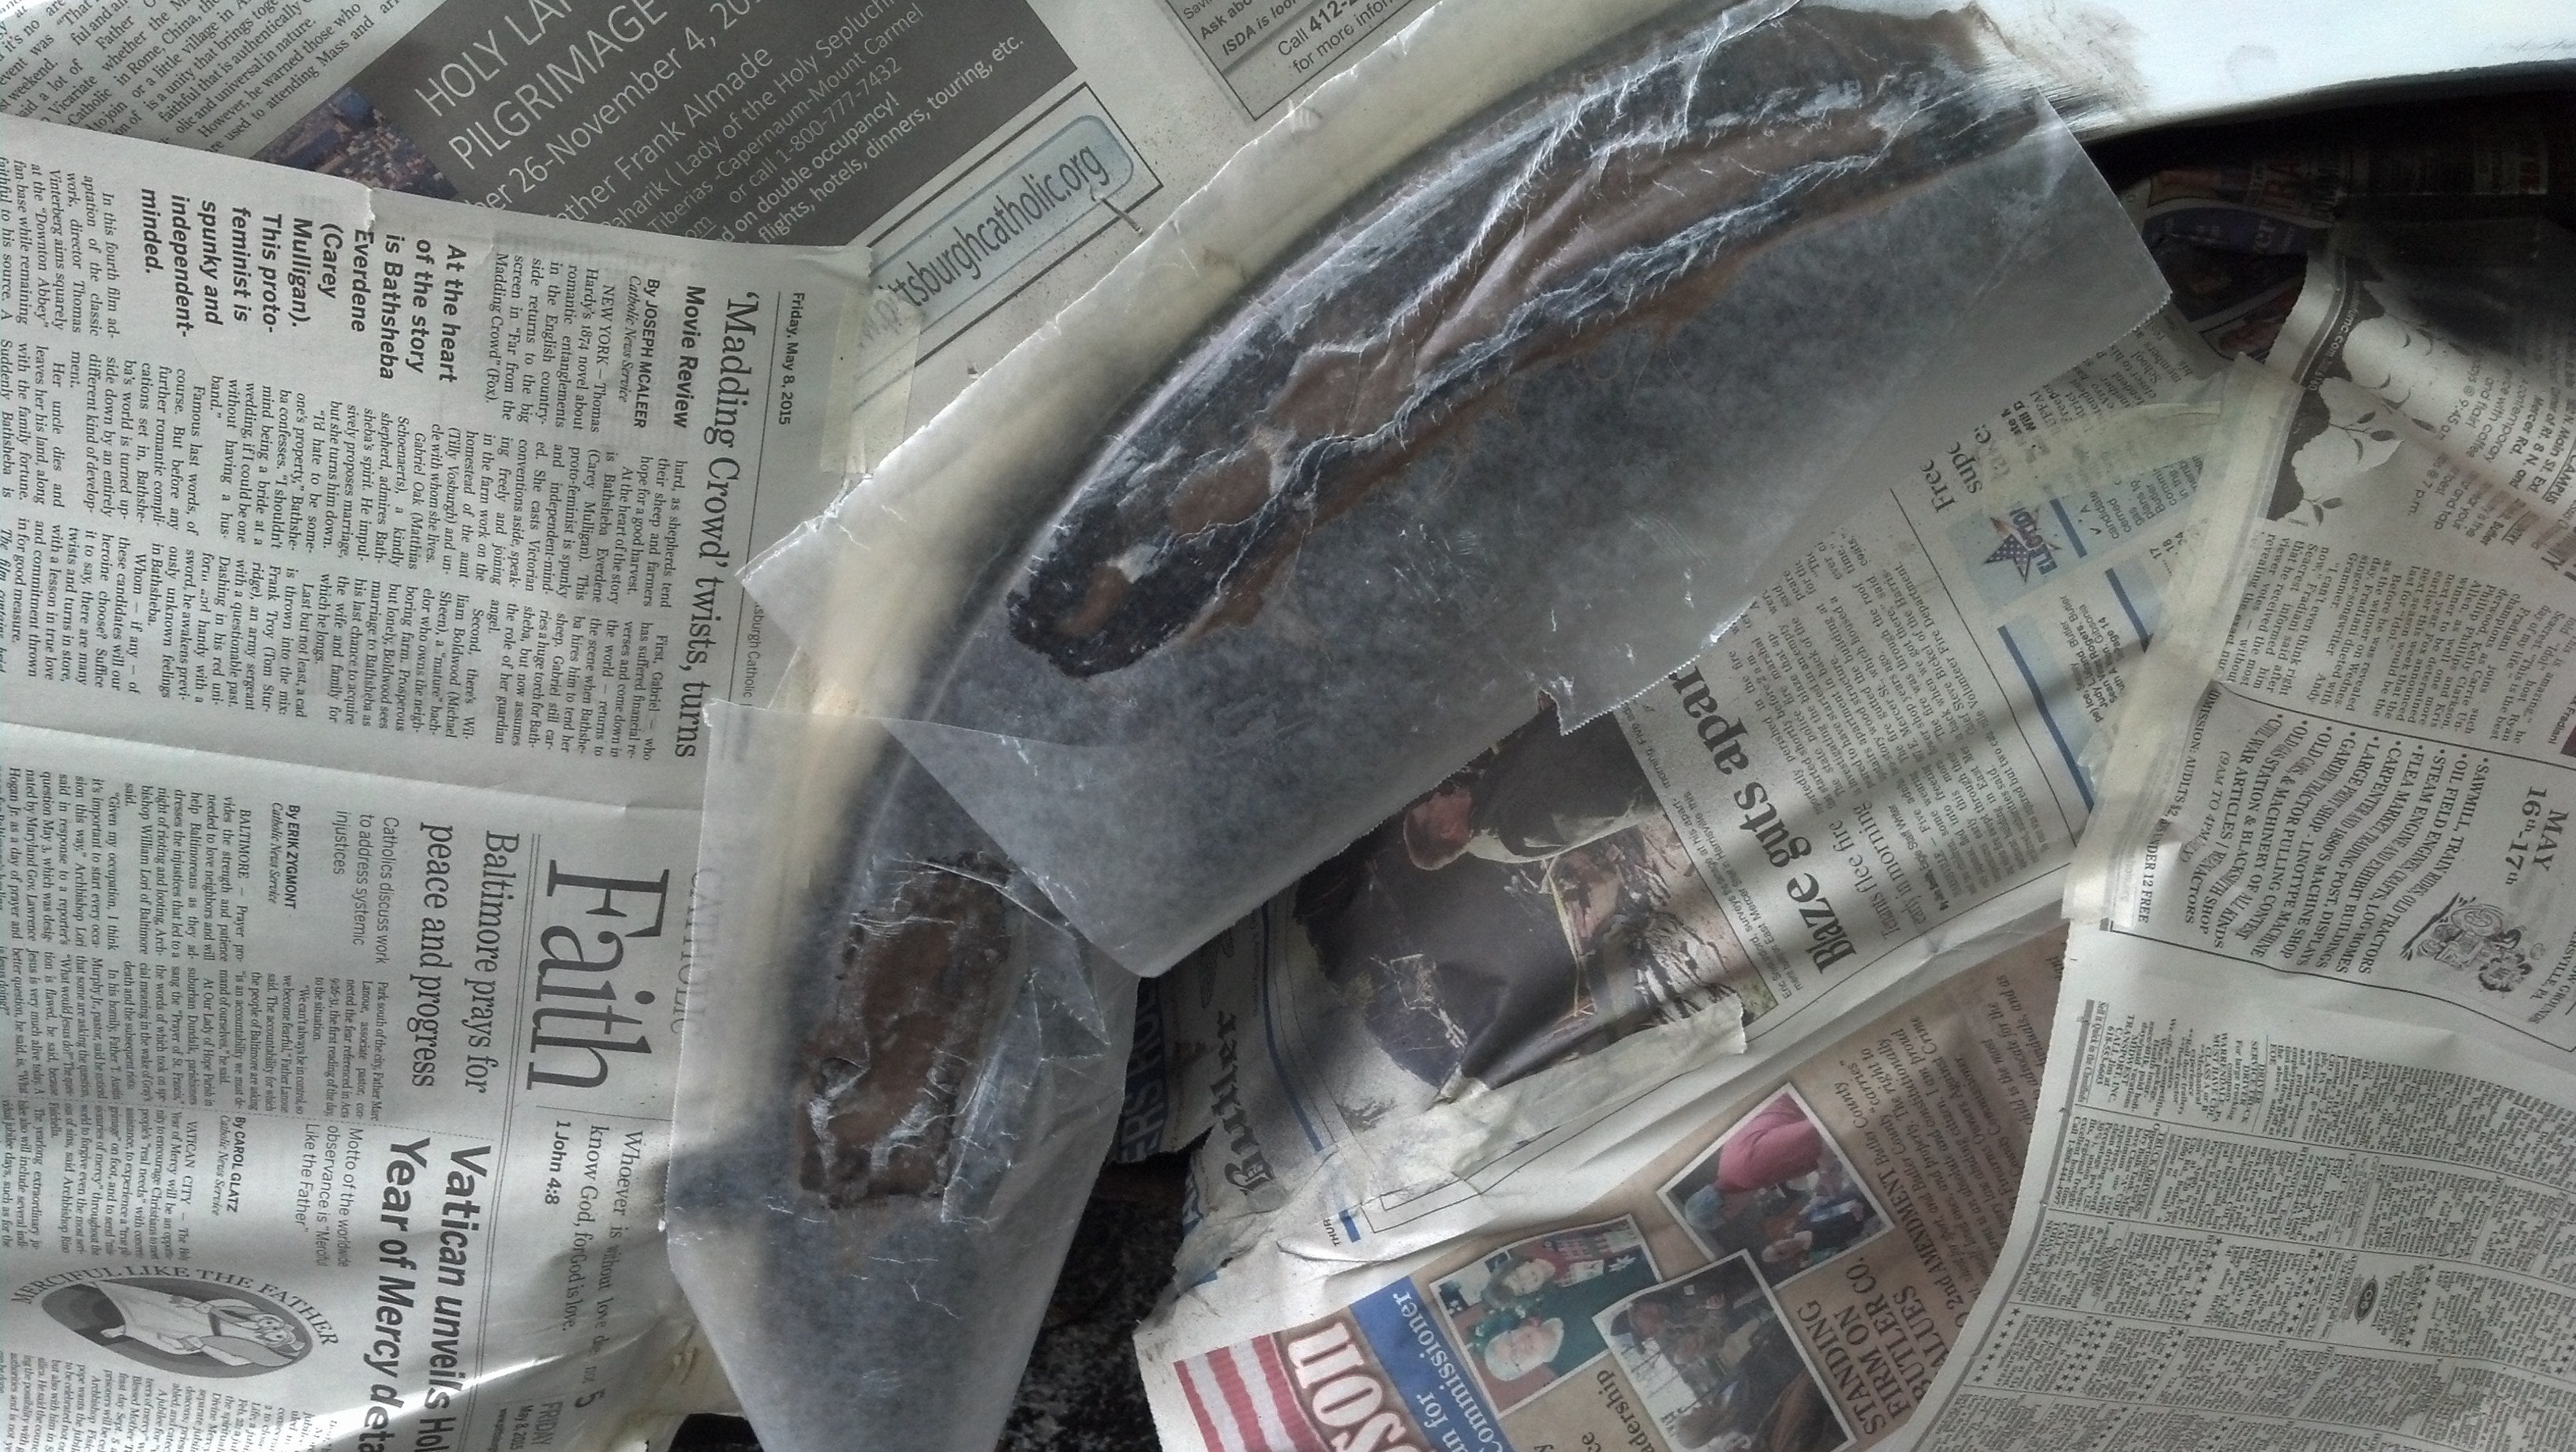
This serves two purposes. One, it keeps the fiberglass in the holes. Two, it keeps the surface somewhat in line with the metal, and gets the excess which is on the surface, off. This stuff is fairly hard to sand, so it makes the most sense to keep it as neat as possible.
Since the wax paper is wax paper, nothing sticks to it. After a few minutes, I peeled the paper off.
The material hanging from the edges is easily removed at this point - it’s still soft, so a razor blade is able to clean up a lot of the material. It’s much easier to do it at this point than when it’s hardened to be, well, very hard.
It’s at this point that the worst best part of bodywork begins - the iteration of block sanding, applying filler (regular Bondo at this point), block sanding, applying filler, etc. With enough time you can get it perfect, I chose to get it ‘close enough’ so that it would match the rest of the car better.
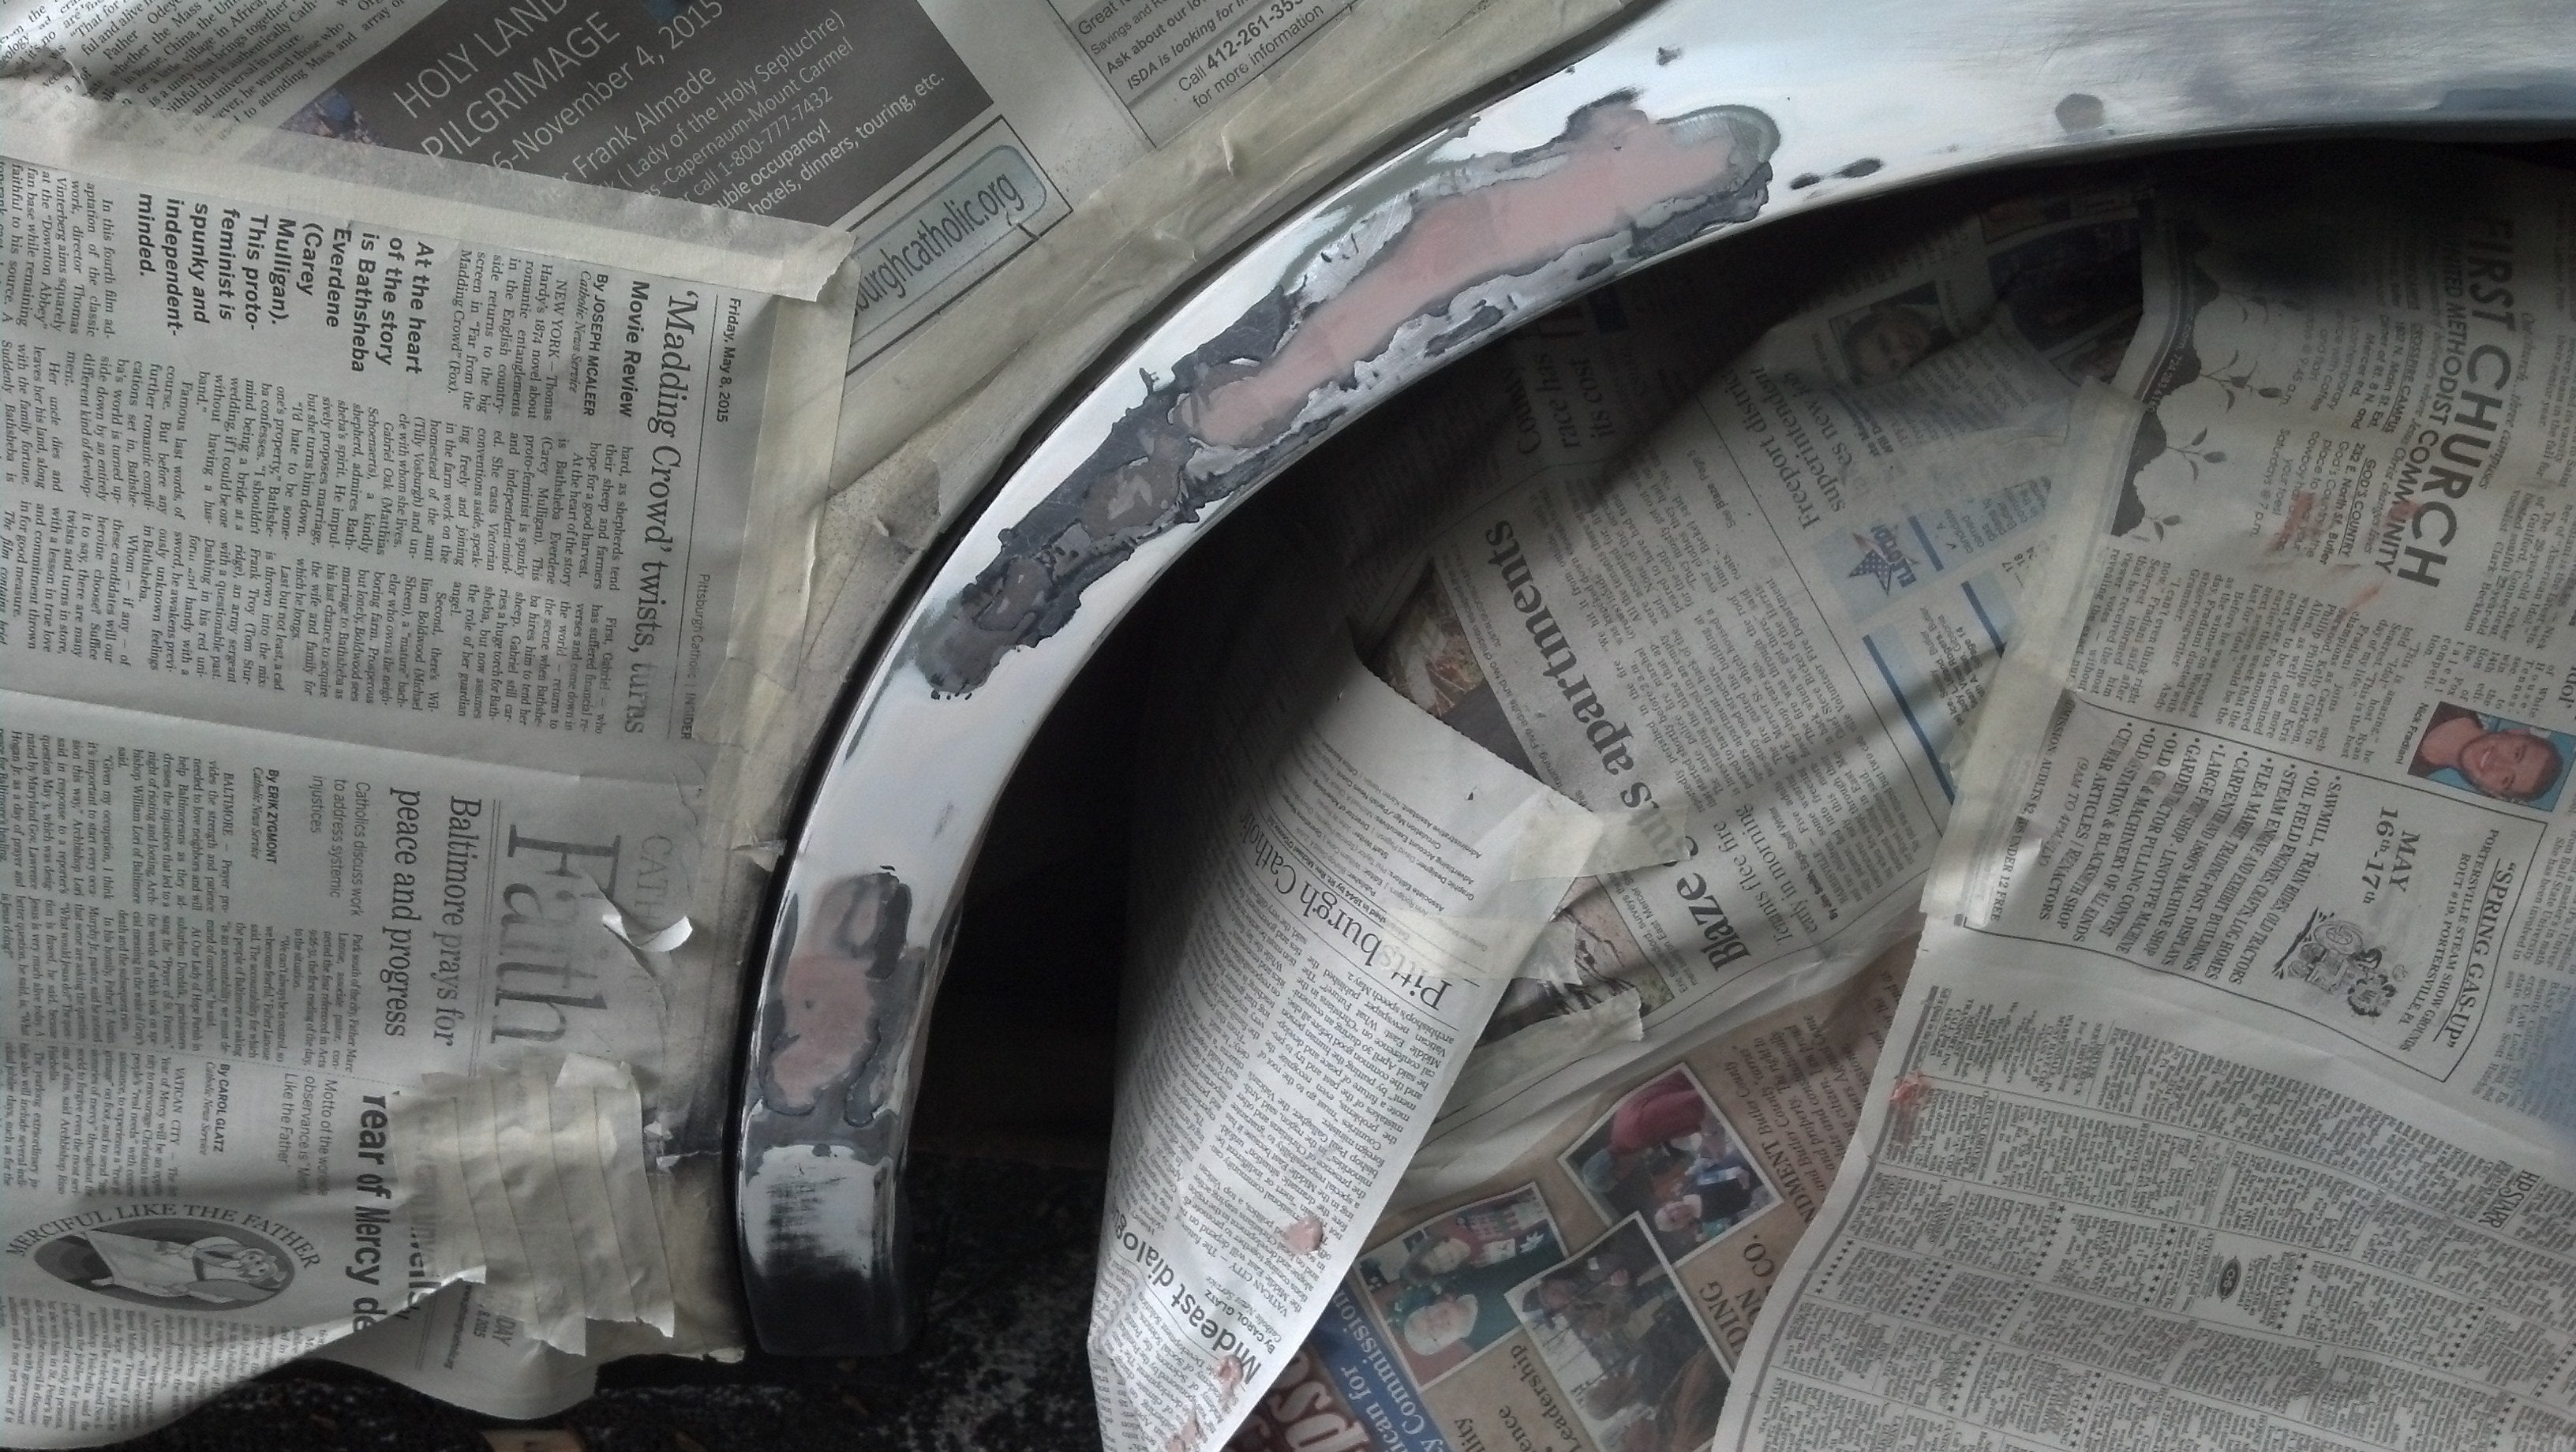
At this point it was time for a quick guide coat. This is when you spray a single layer of primer (or whatever you want, really) over the area, let it dry, and lightly block sand again . This allows you to very clearly see any low spots since they didn’t get sanded, as well as high spots because they will be sanded completely through. From there you apply more filler, sand, and repeat.
When you have it very close, you can use glaze filler, which goes on as a single-part goop which sands very, very smooth.
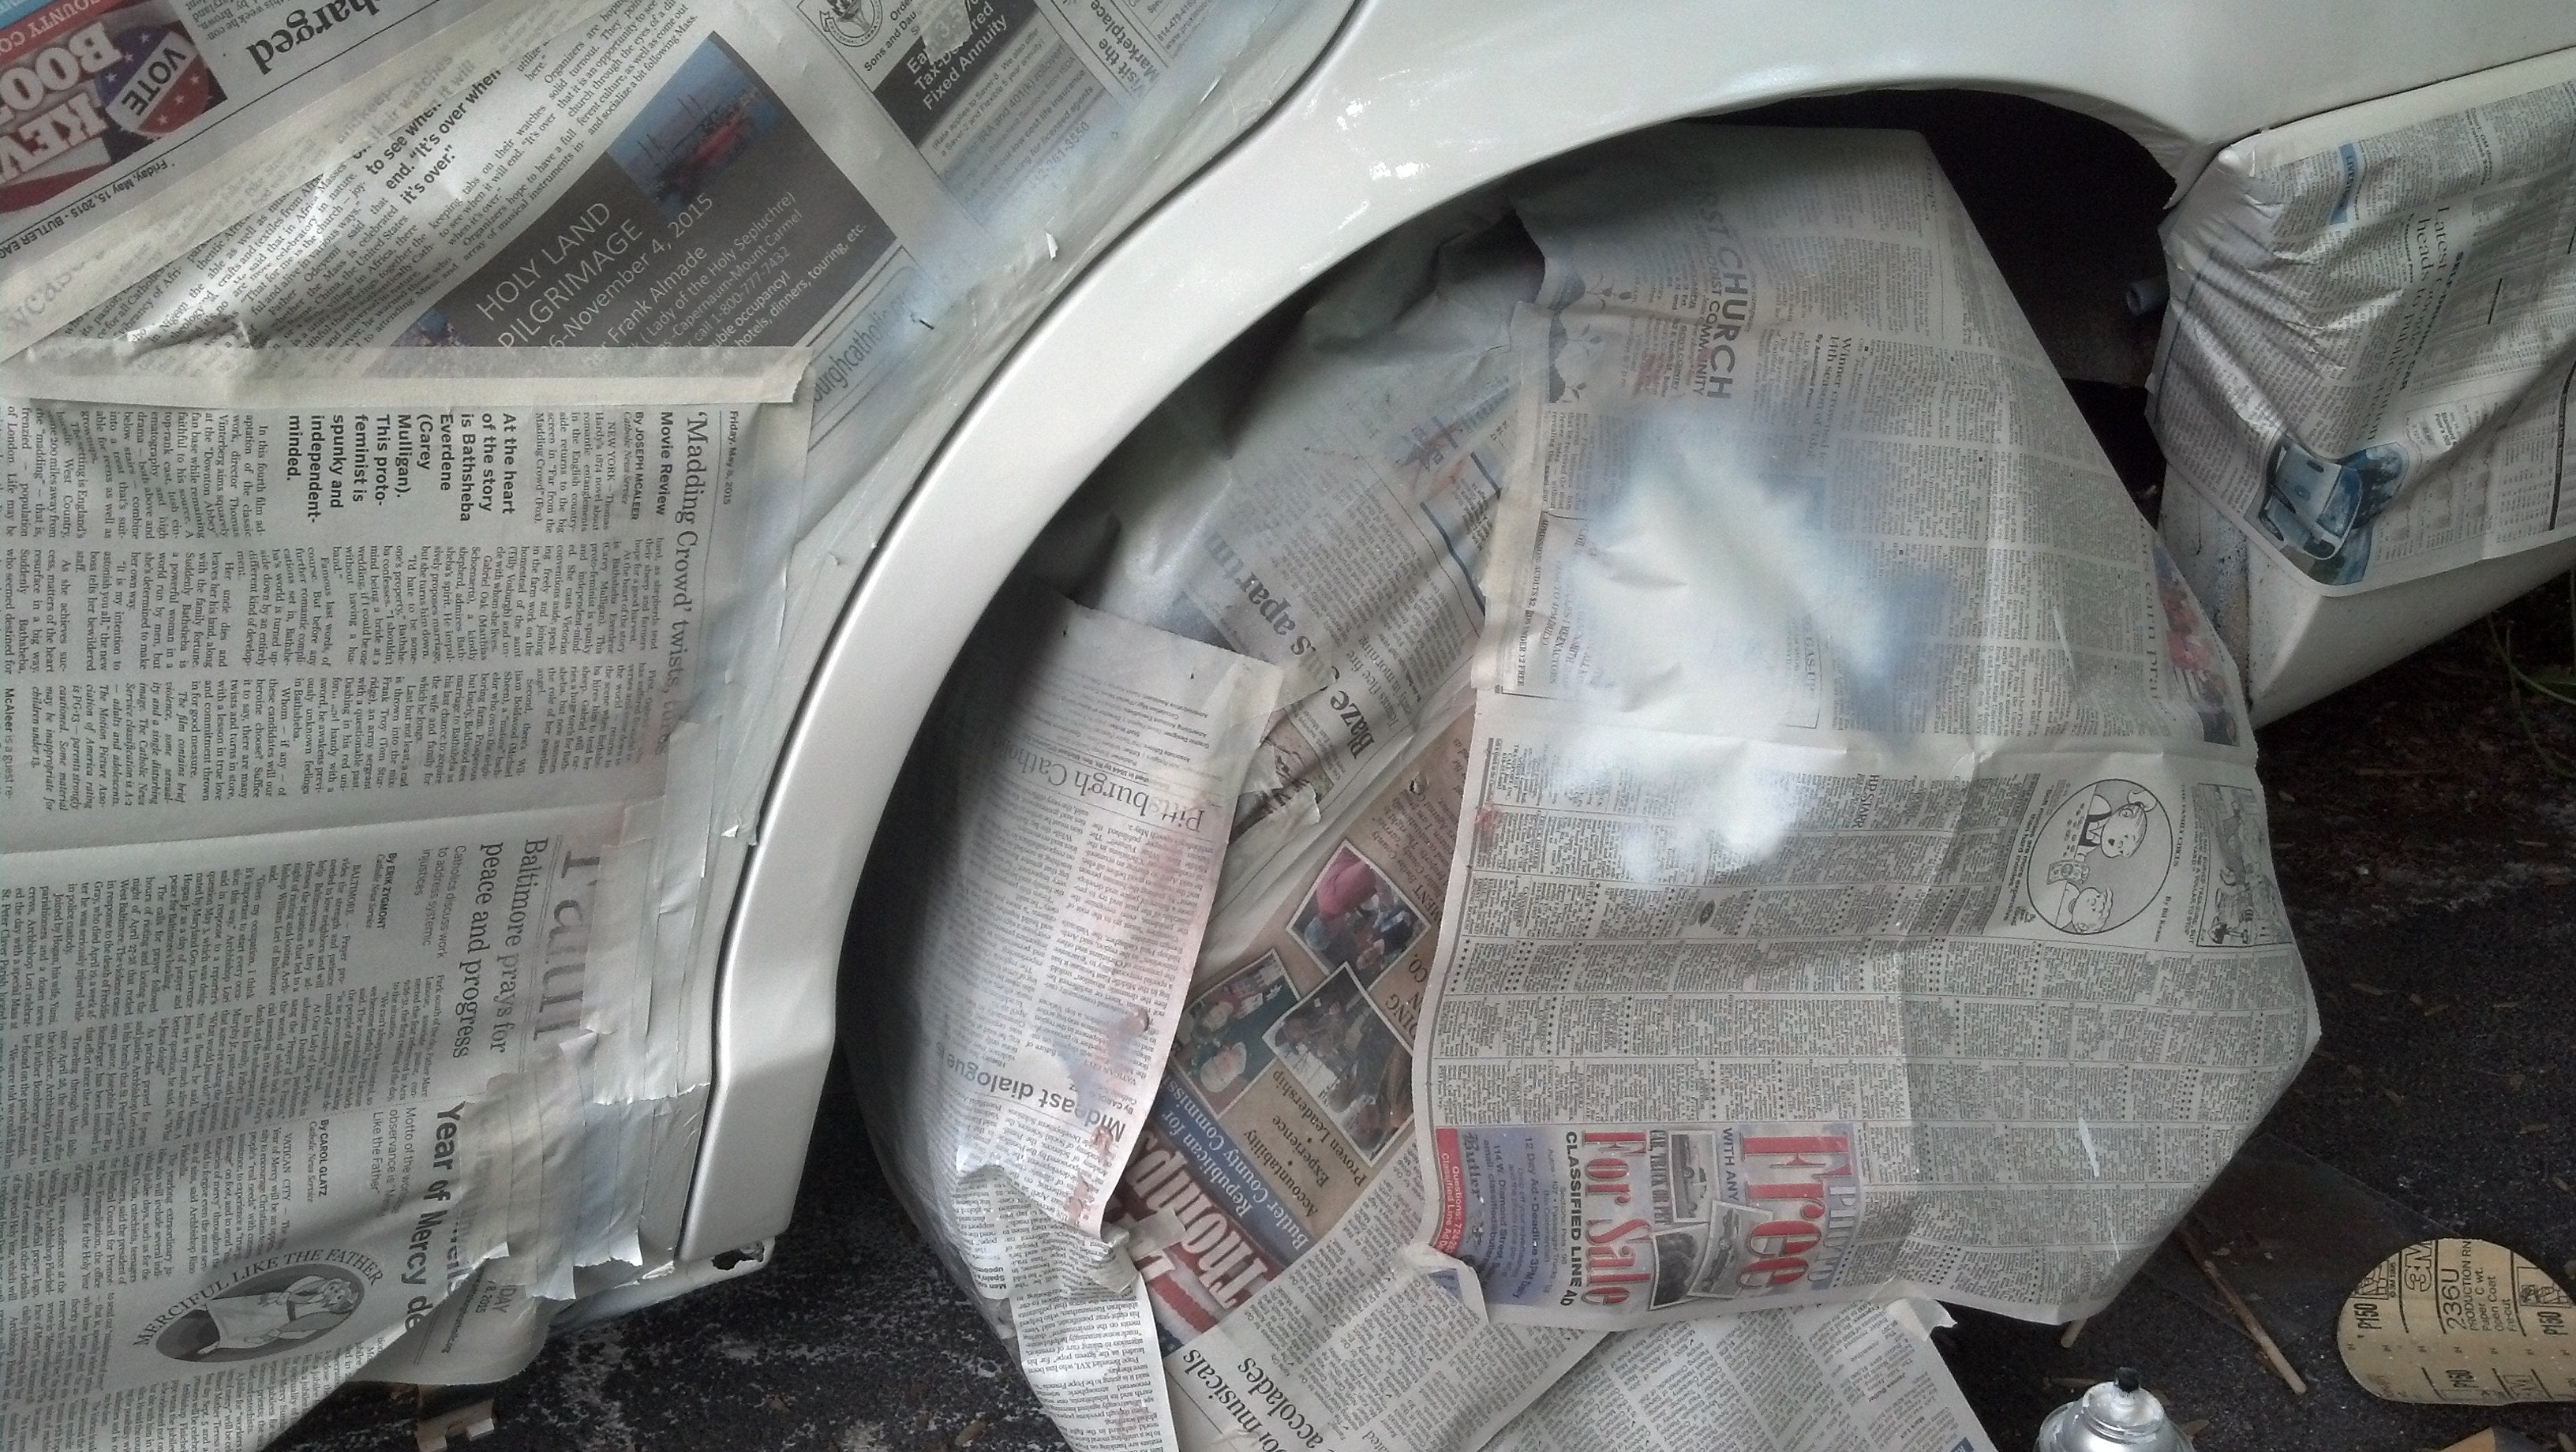
To prep for paint, I wiped it down with a rag, then with a paper towel with some PPG DX330 on it, which I only have because it was given to me. It’s basically Naptha, which is commonly known as lighter fluid. It takes off the dirt, dust, and grease and dries quickly. I also discovered that it took off the rest of my primer guide coat, so I used it to clean up overspray, etc from the rest of the unmasked area.
Finally, it’s time for paint! Like I mentioned in Part 1, Ford’s “Performance White” which should be named “Peels-off White” is almost perfectly matched by Rustoleum’s White Automotive paint. Properly feathered, you can’t tell what’s original and what isn’t, and panel-to-panel is the same deal.
I checked the next day, and it looks like there may be one spot near the lower repair which has some pinhole-rust pitting that wasn’t exposed until I was sanding later on. If so, these spots will show brown through within a couple days and necessitate a quick sanding, metal treatment, and re-paint of the area. I’m not too worried about it though.
Part 3, if I write it, will have to do with the rust on the bottom of the doors and maybe the wheel opening on the other side (which isn’t nearly as bad as this one).
|
MM54
> MM54
07/07/2015 at 21:38 |
|
(Secret post to prove to the IRC that I’m who I am)