 "BiTurbo228 - Dr Frankenstein of Spitfires" (biturbo228)
03/17/2014 at 17:36 • Filed to: Spit6
 13
13
 13
13|
"BiTurbo228 - Dr Frankenstein of Spitfires" (biturbo228)
03/17/2014 at 17:36 • Filed to: Spit6 | 13
| 13 |
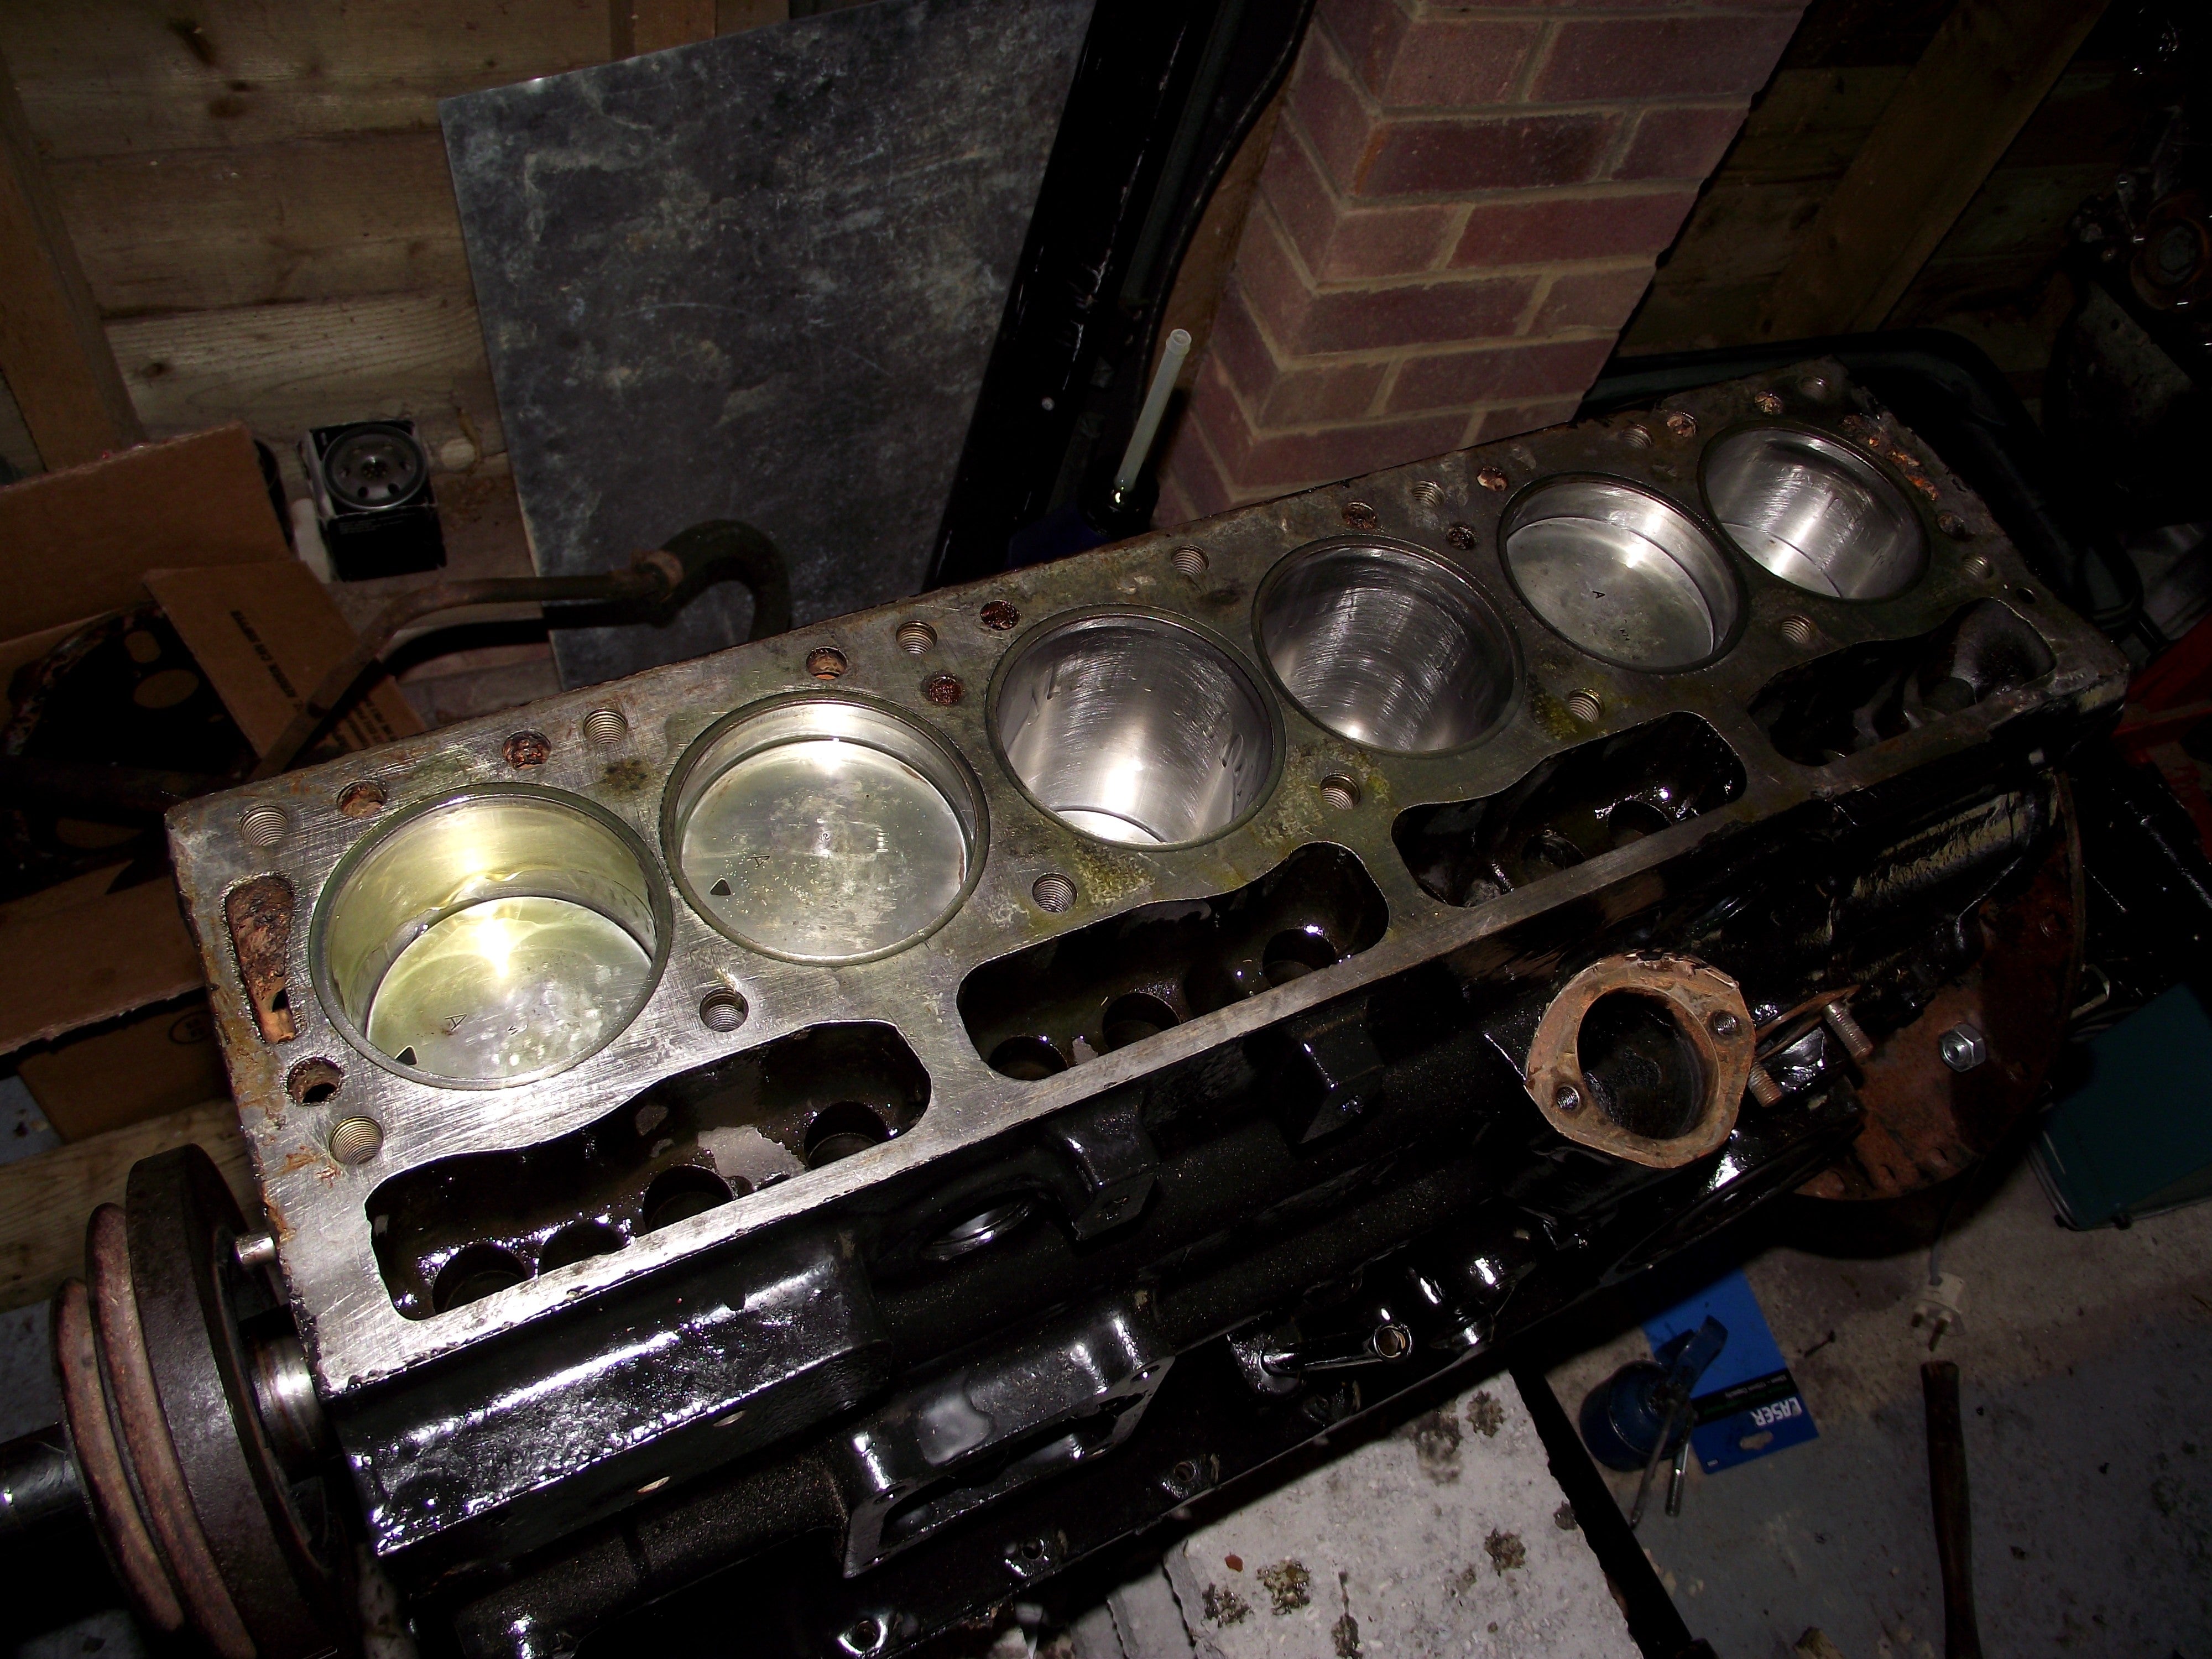
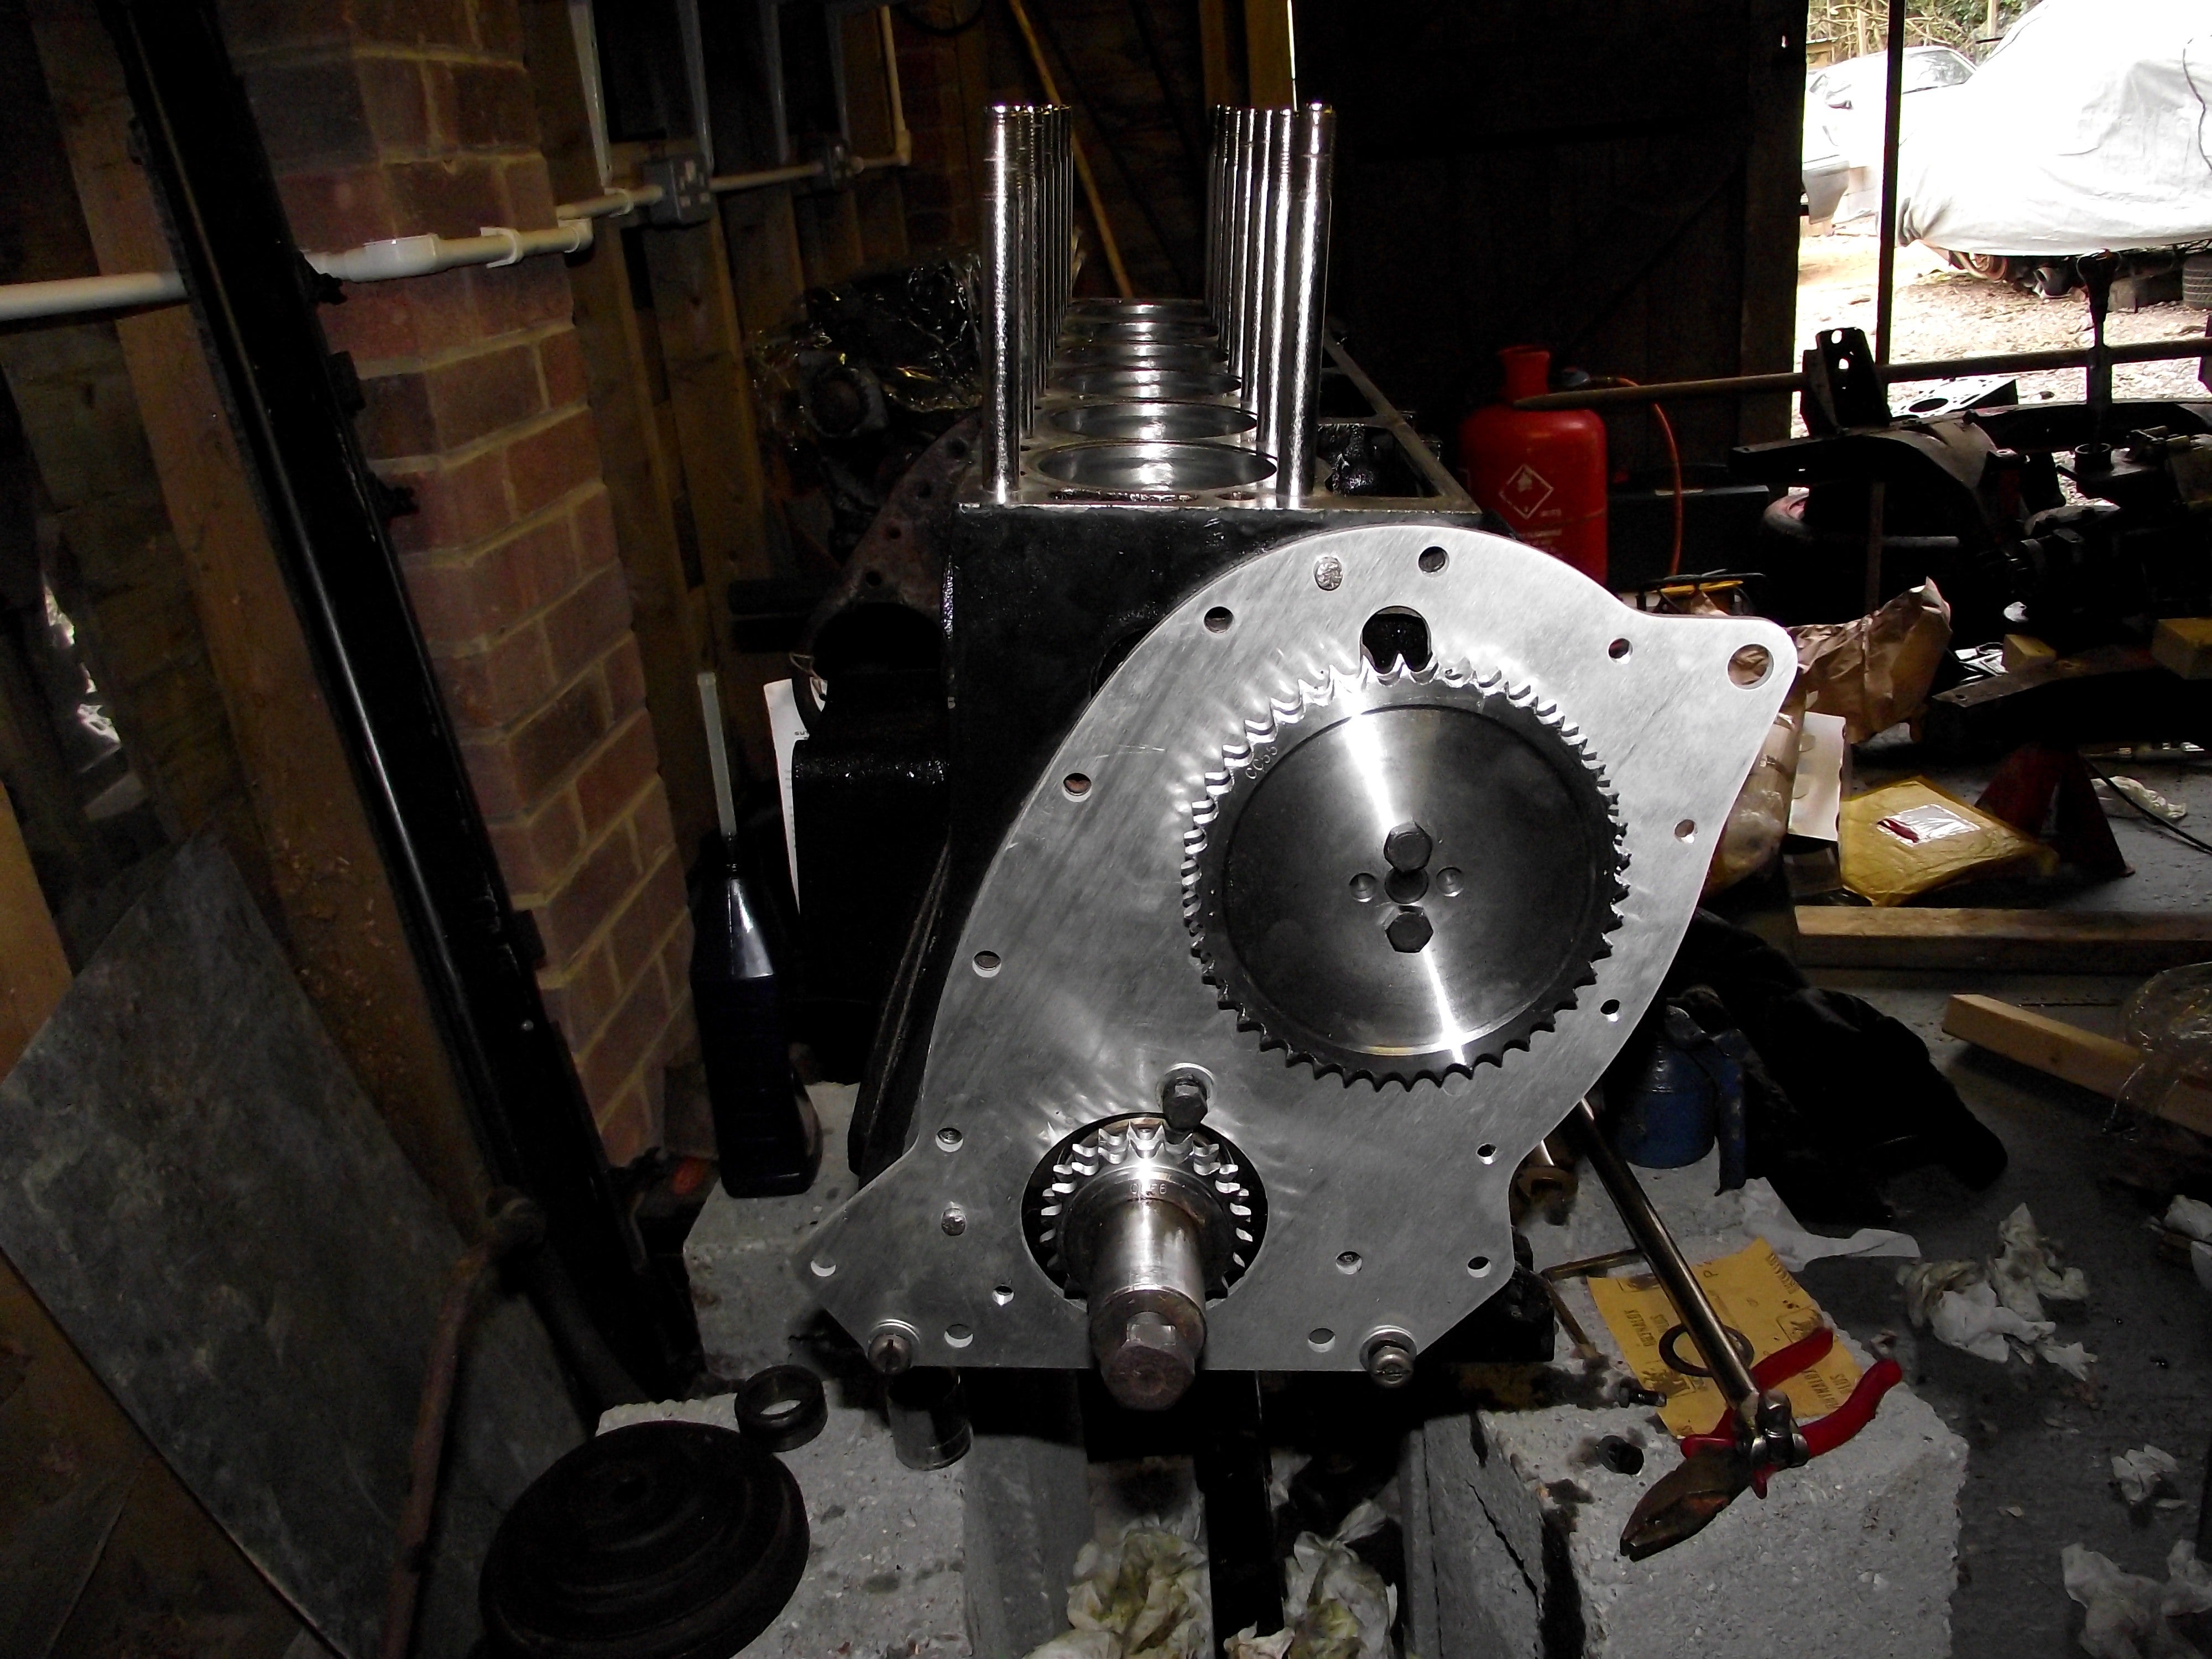
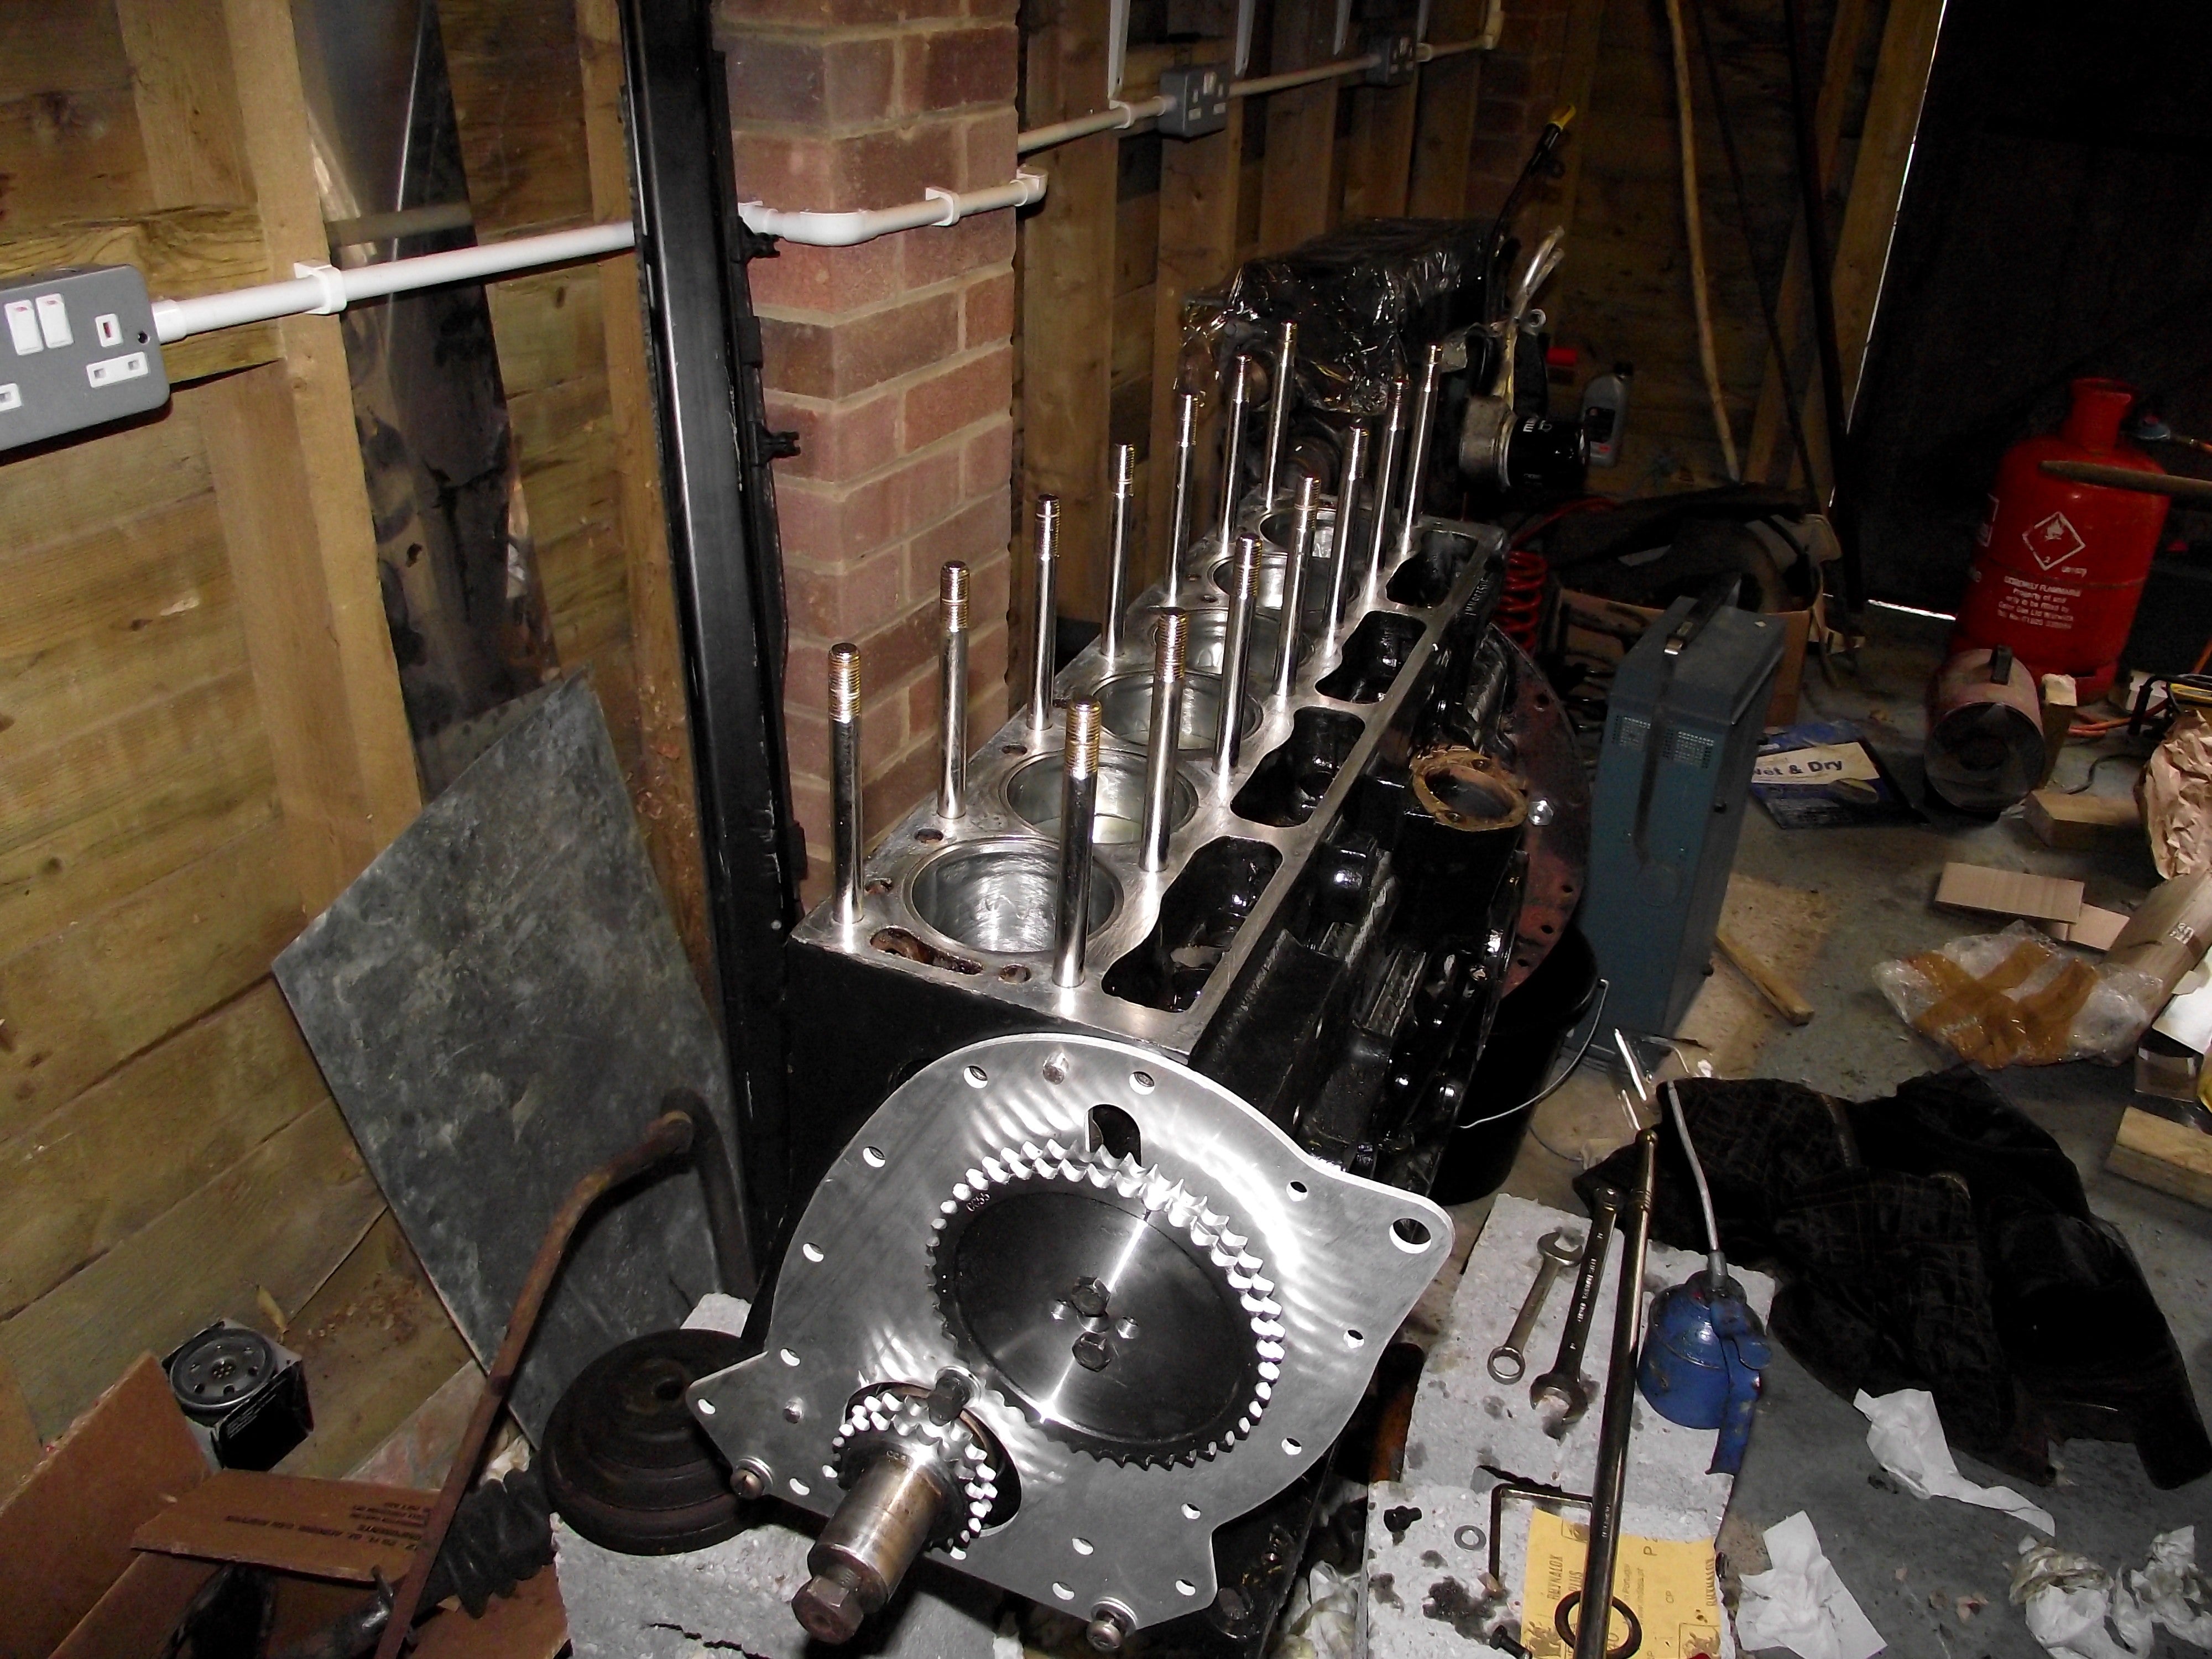
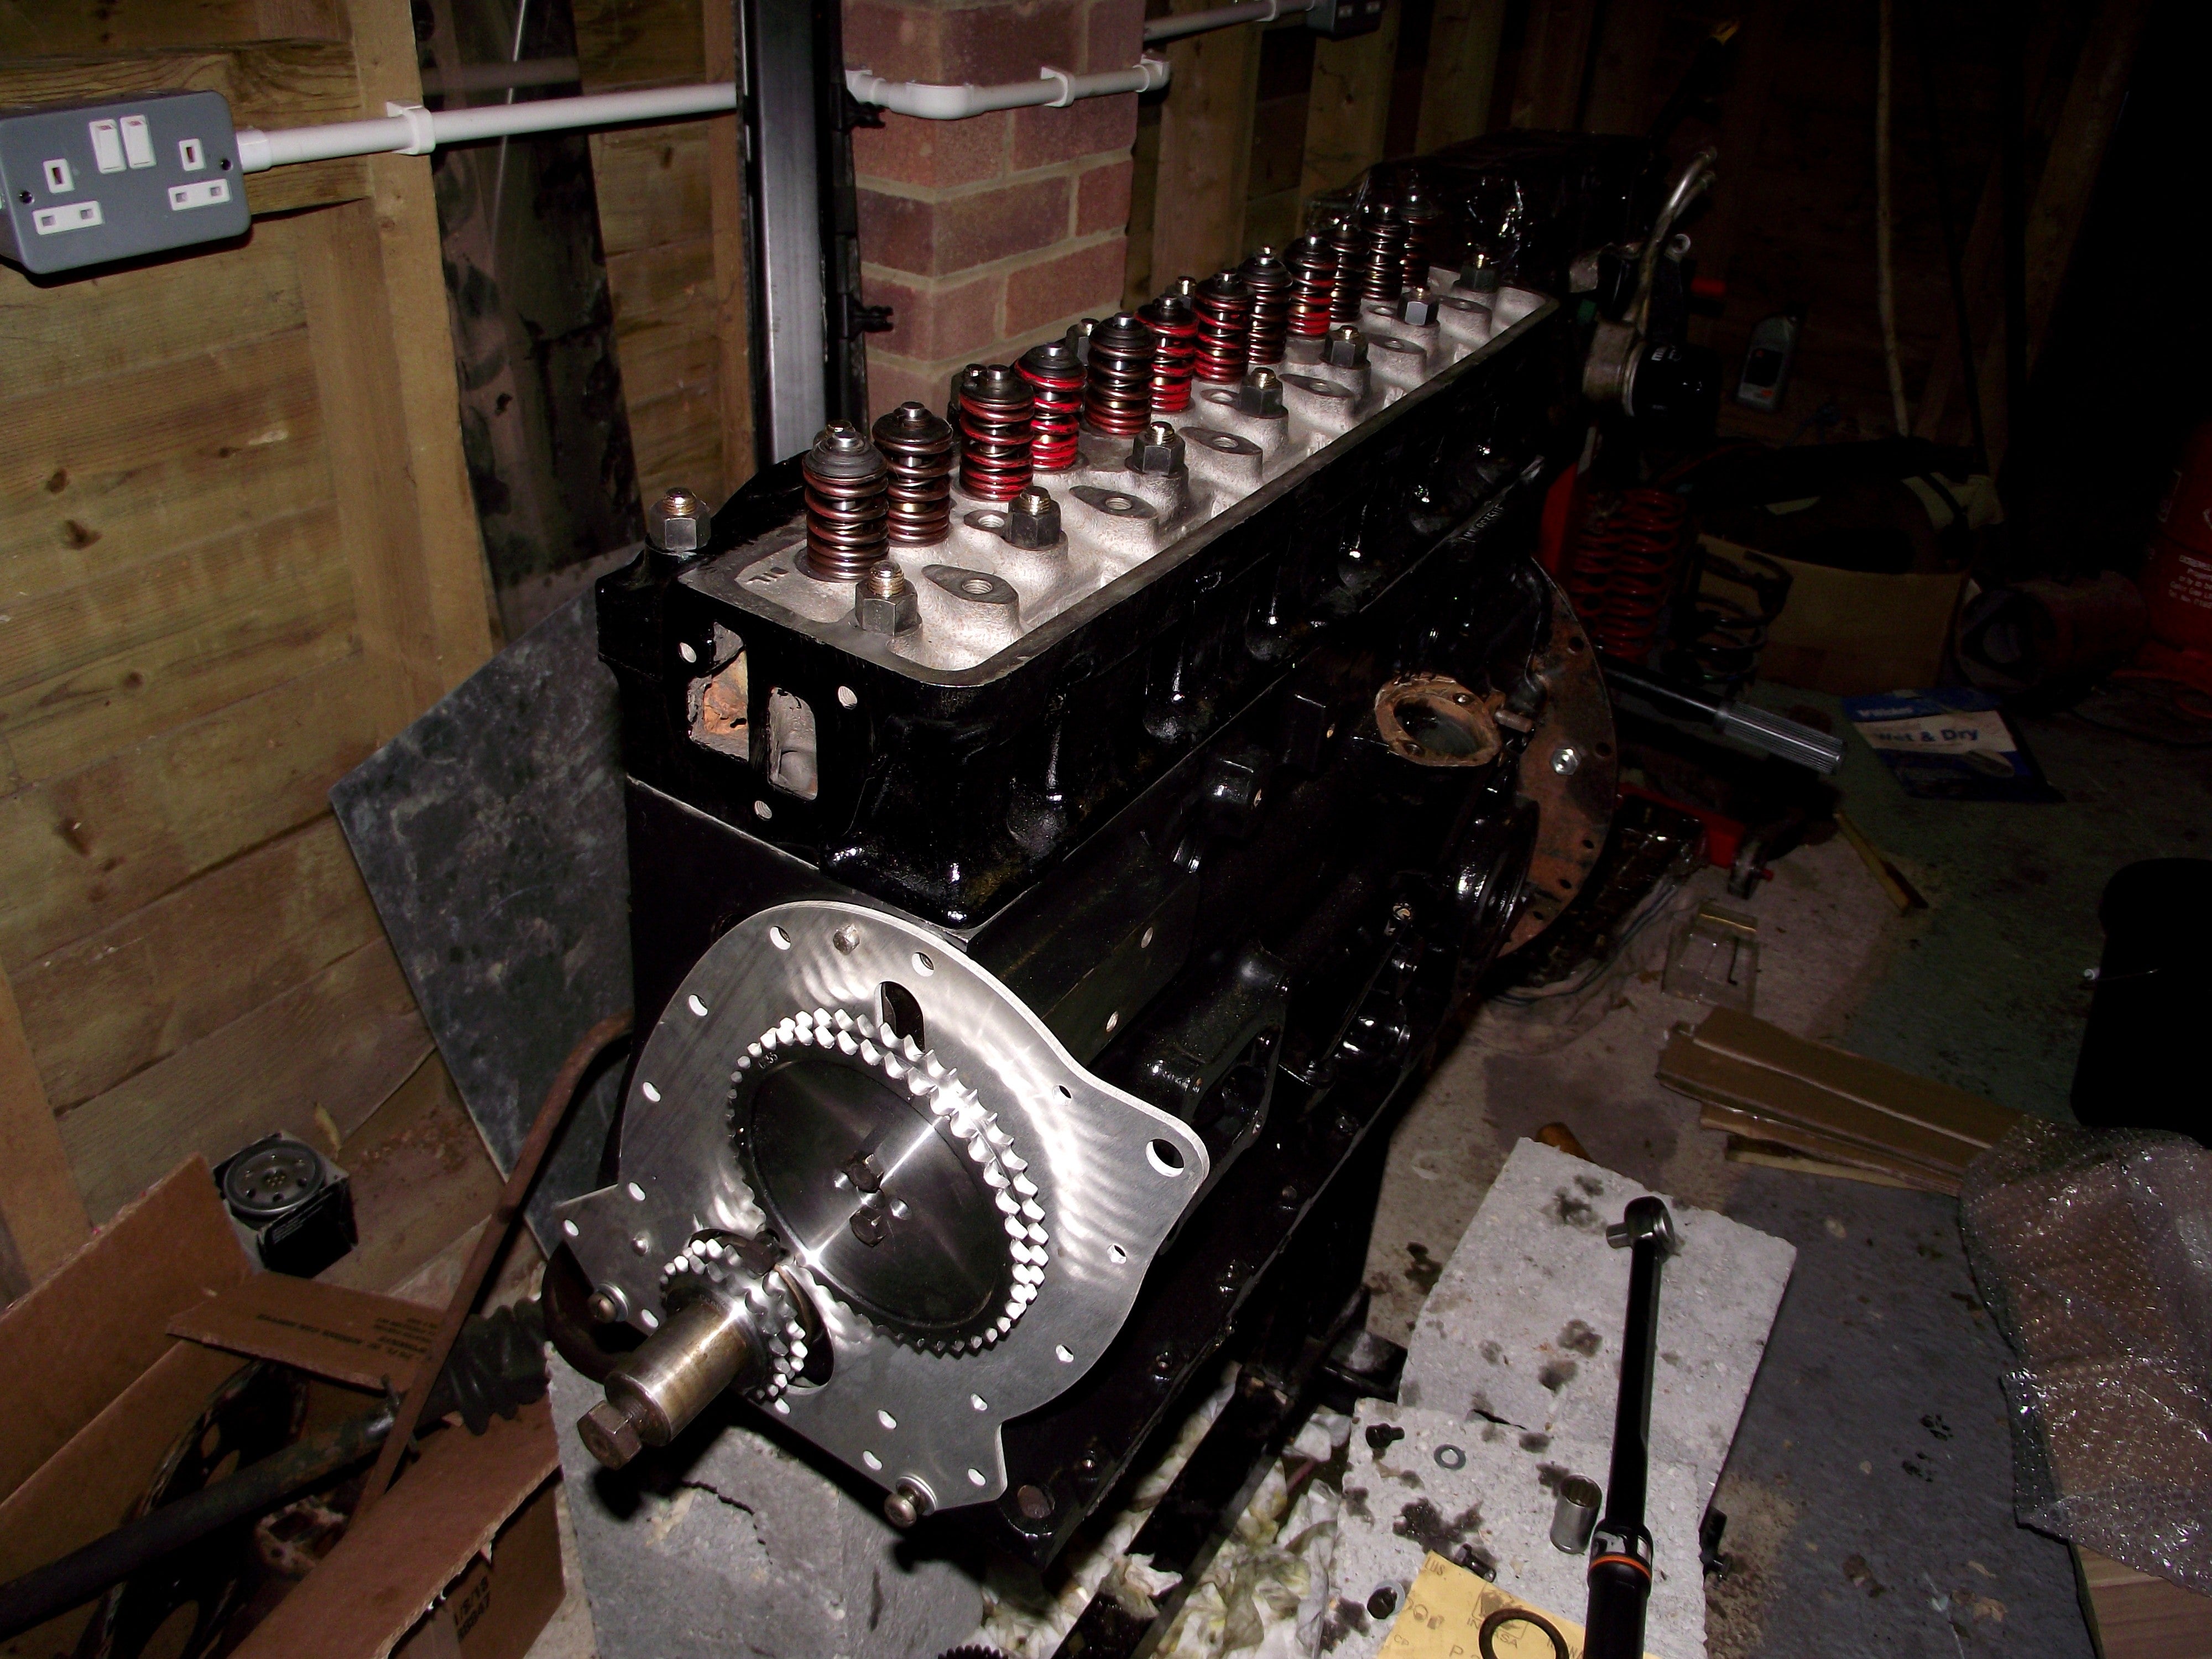
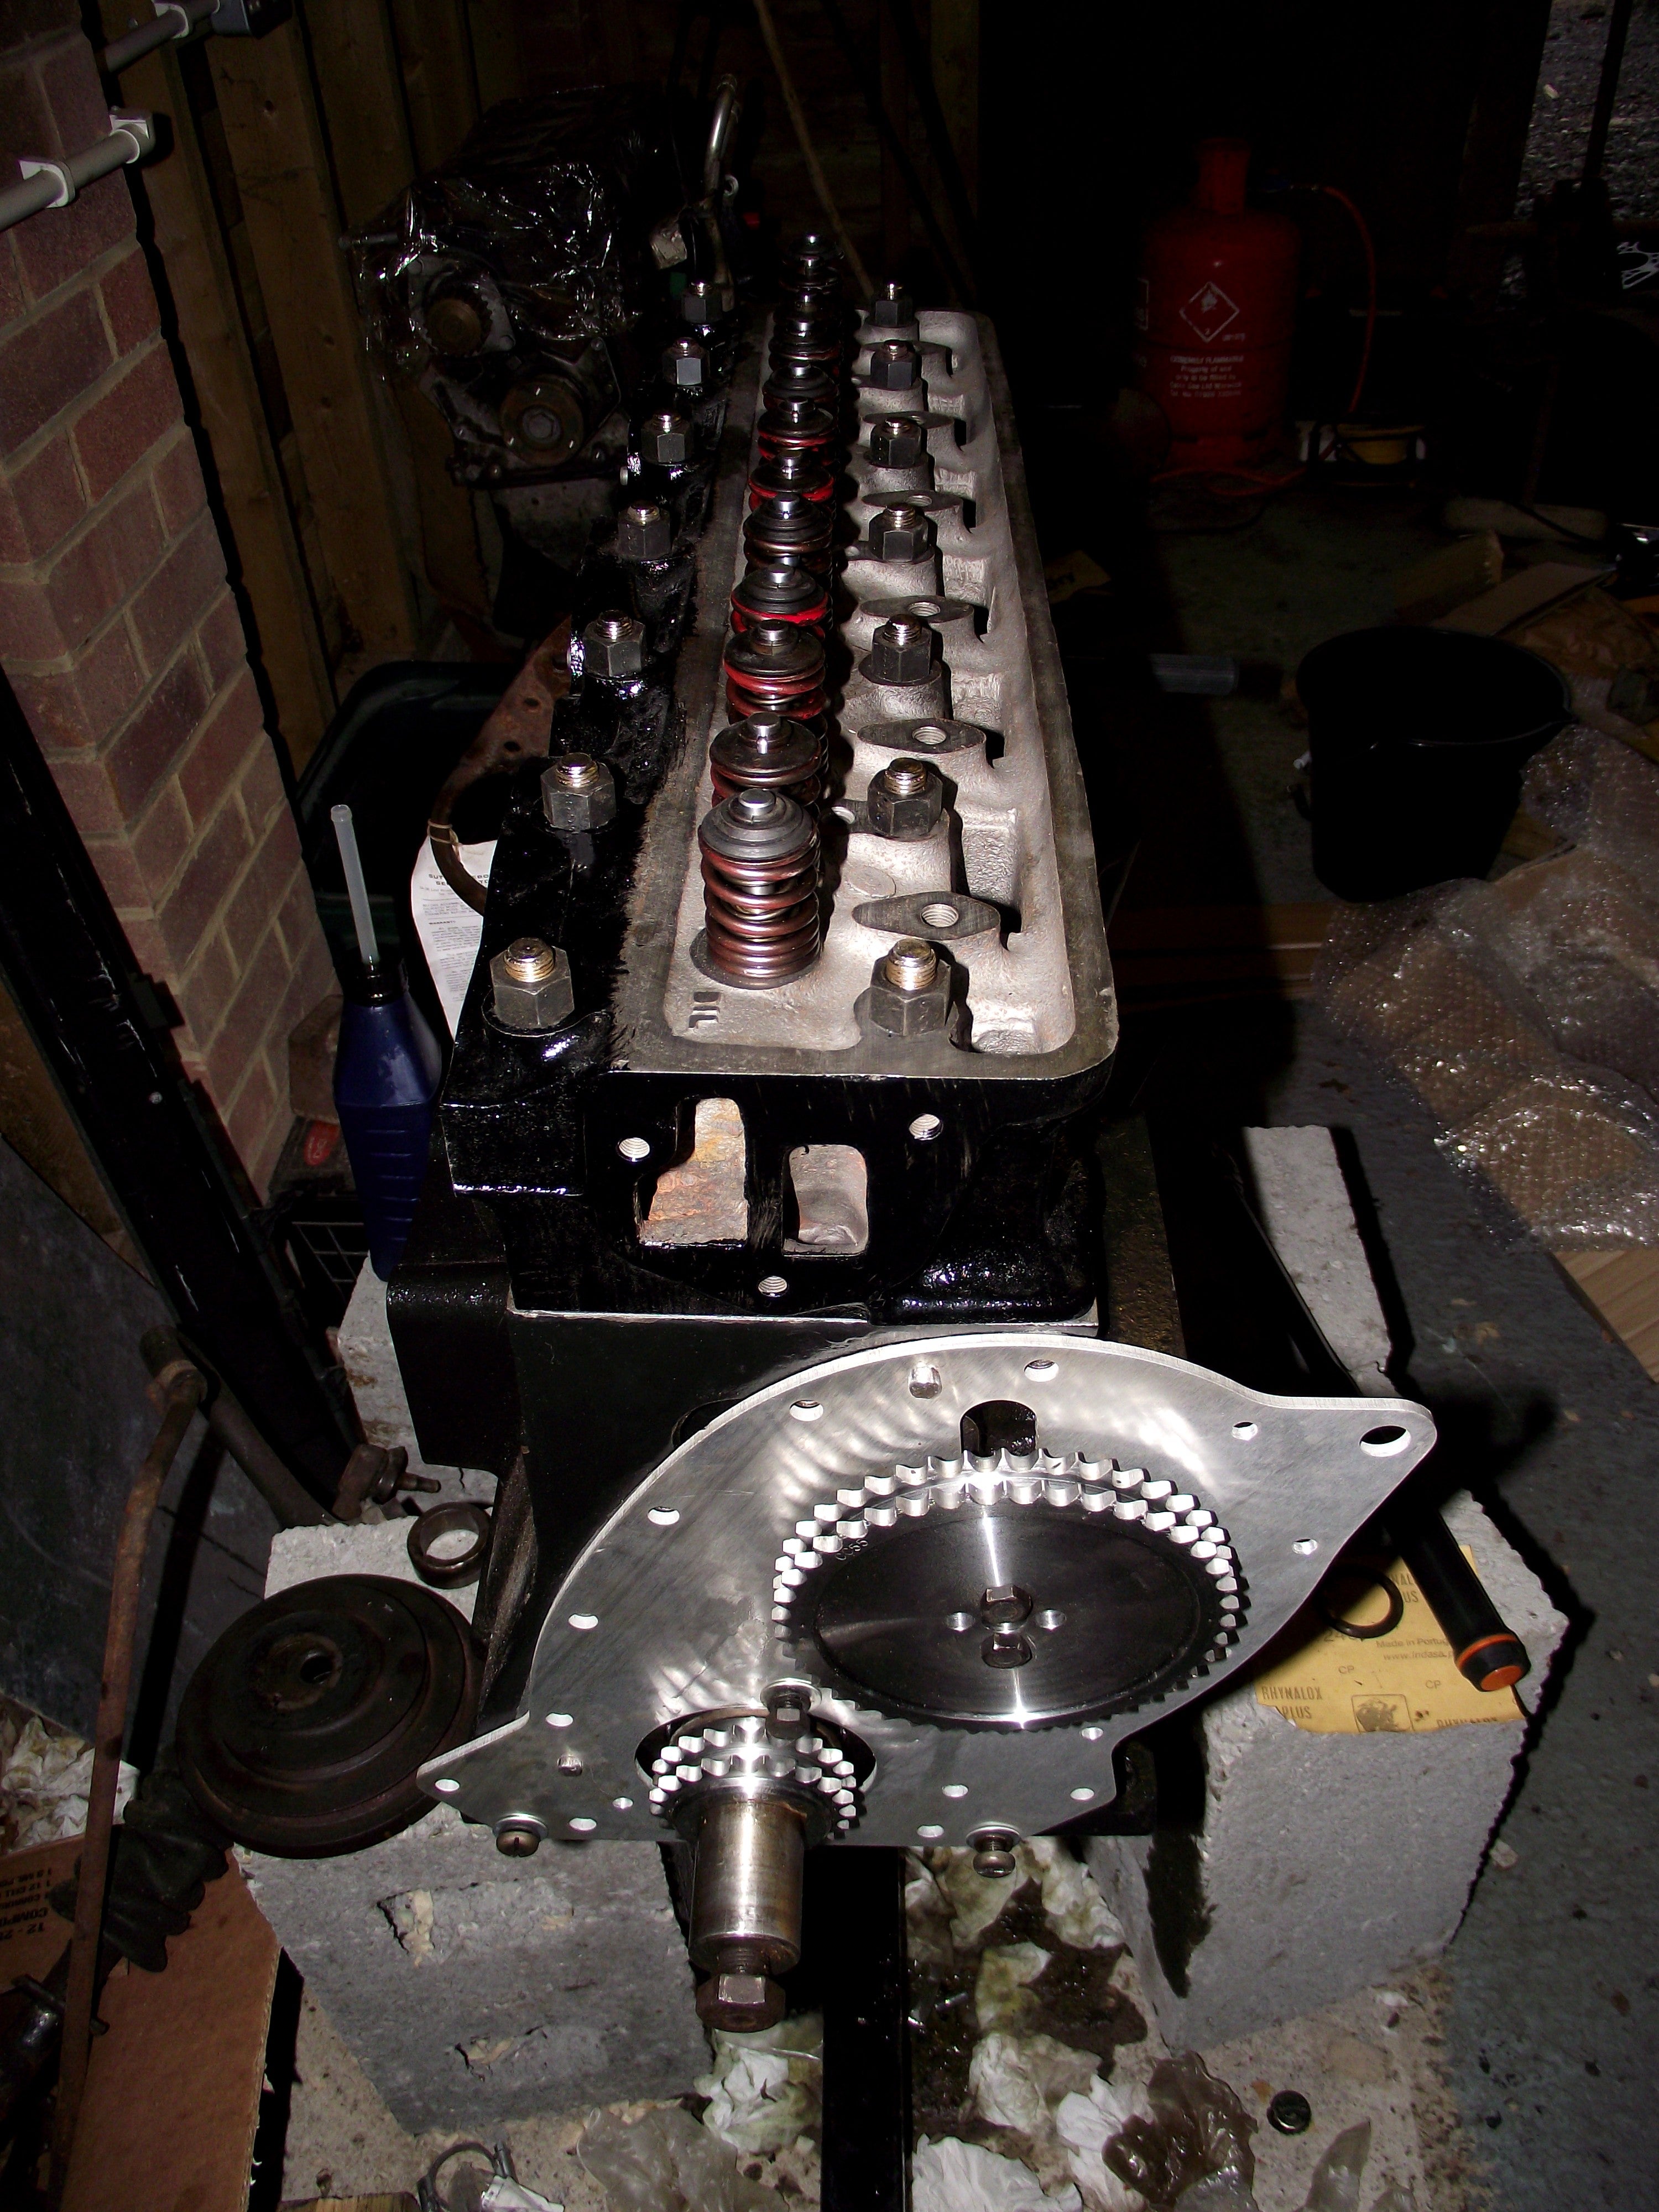
Pistons in, big ends tightened up. All running smoothly :) after that came the cam and timing gear, my spangly alloy frontplate and the head studs:
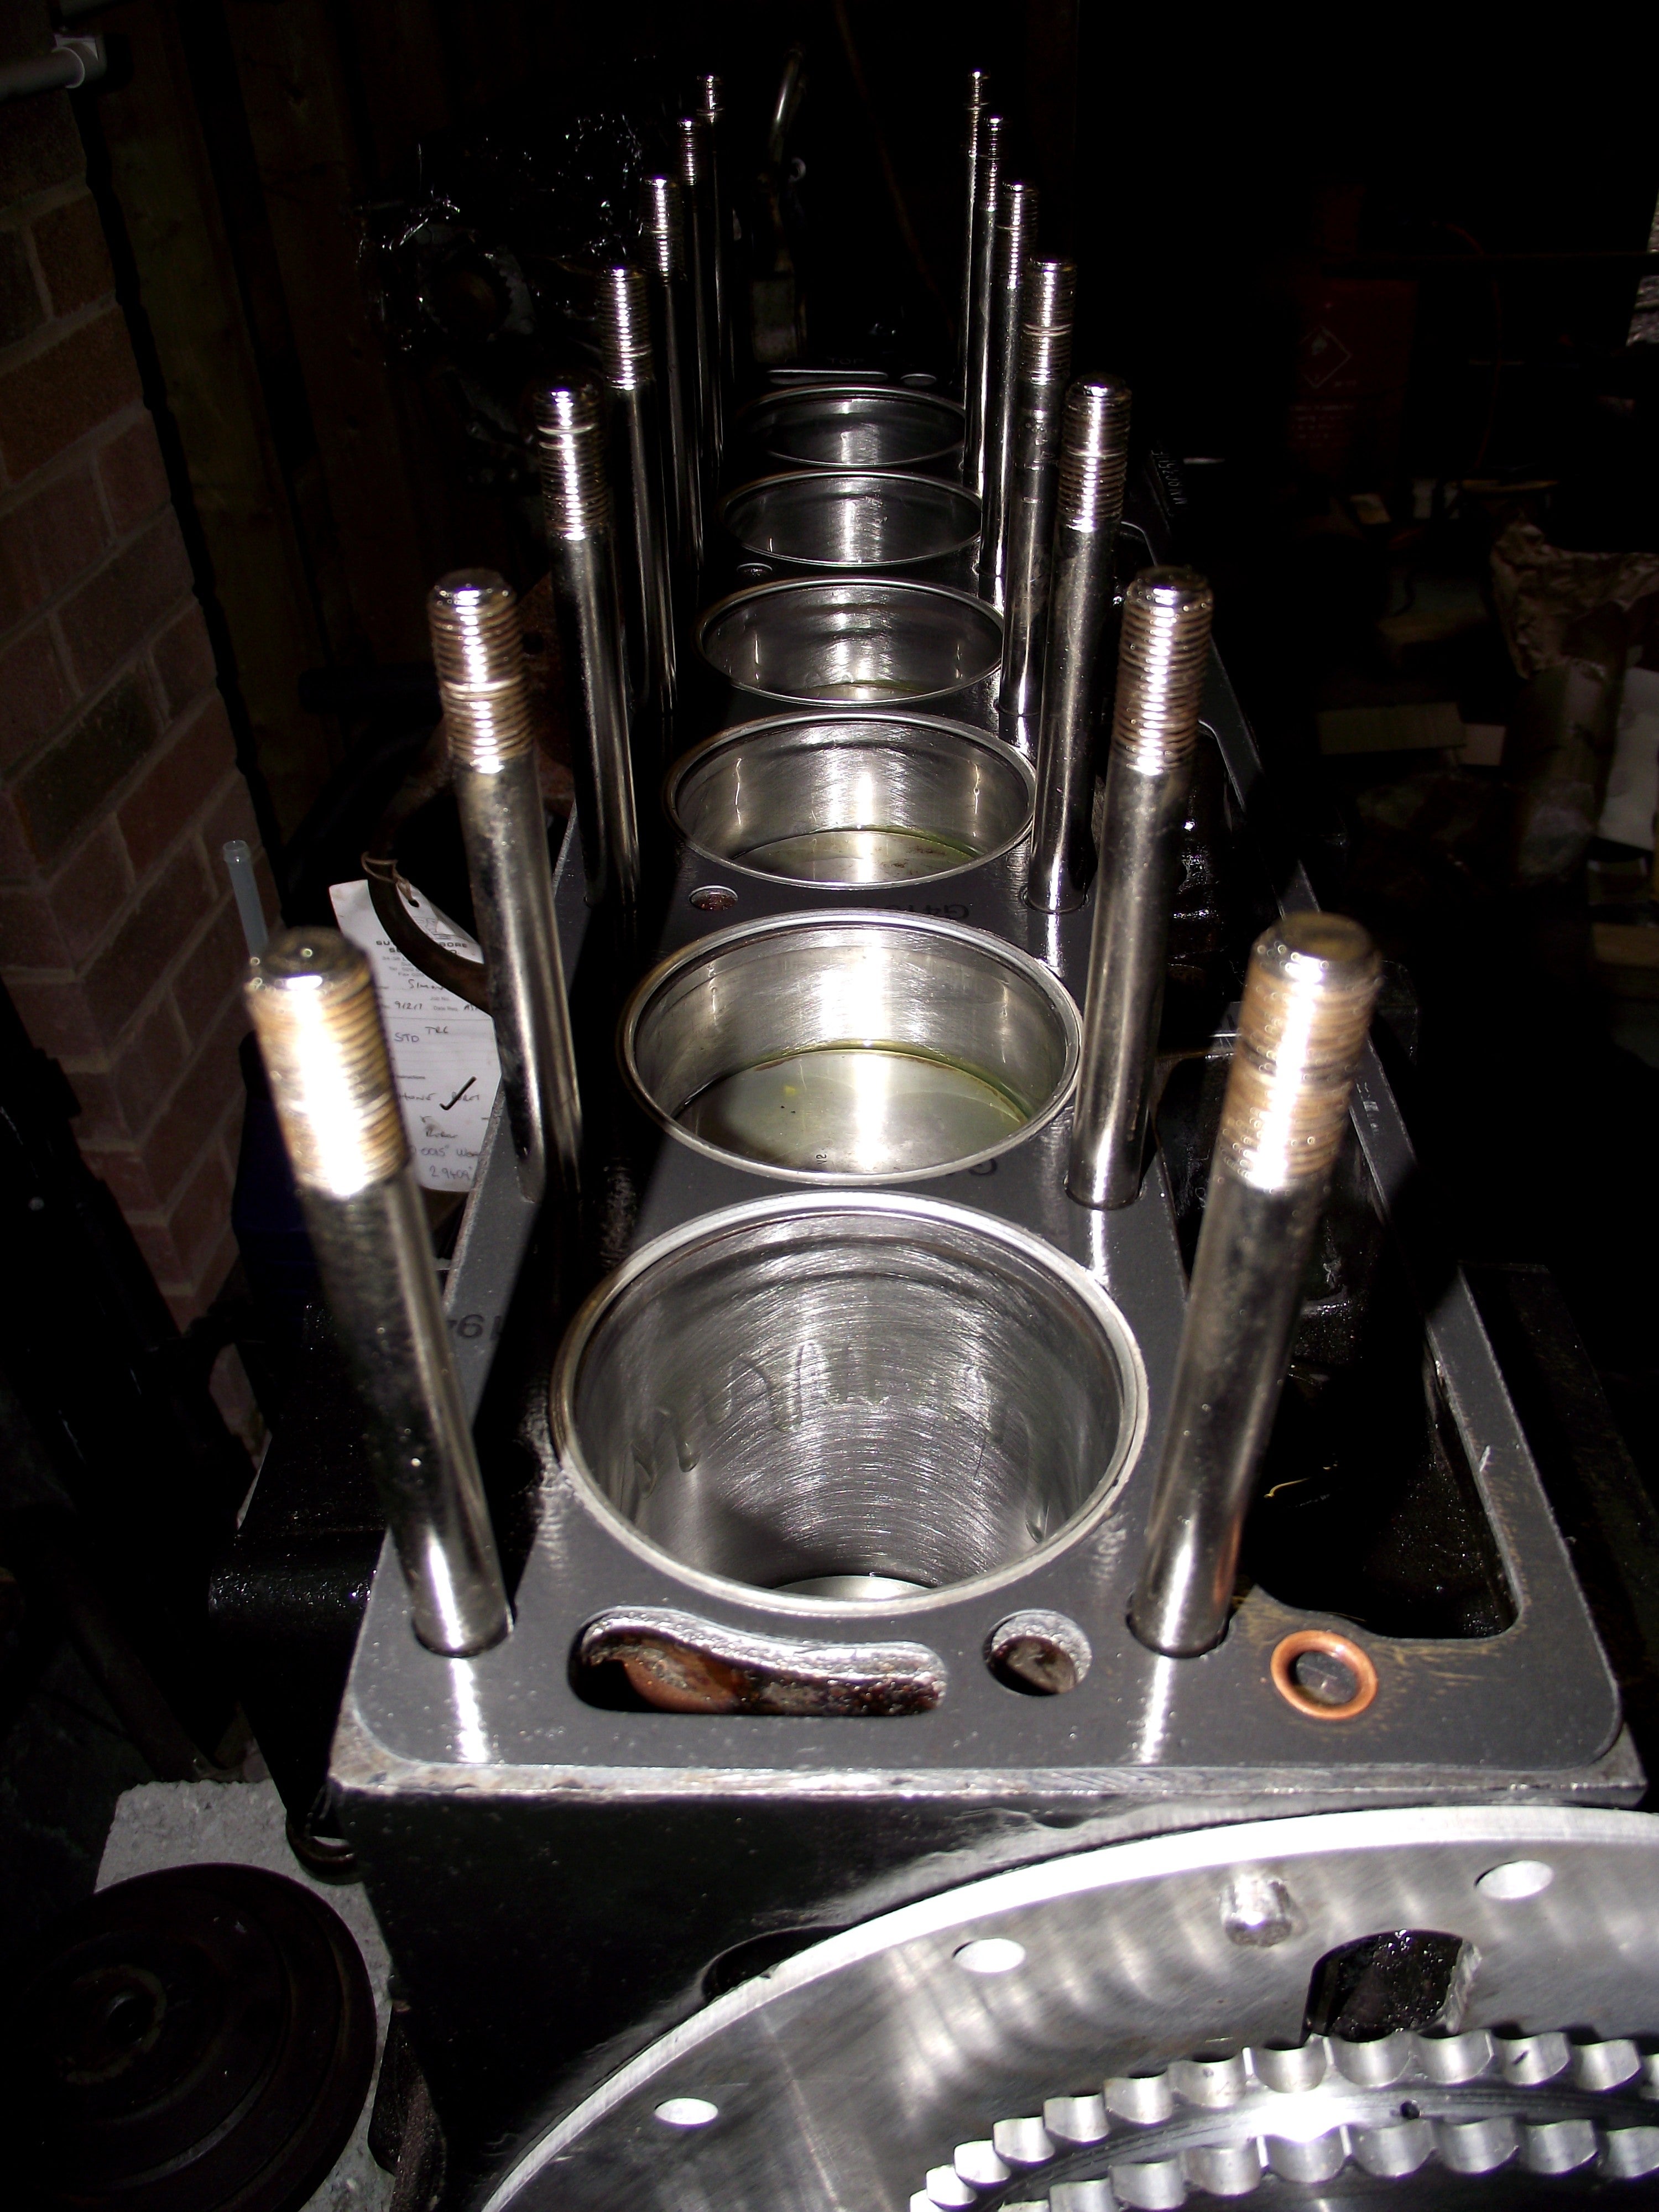
Torquing them up to 85lb-ft using double-nutting is a bit of a mission on the arms. Who says you need the gym to get beefy biceps?
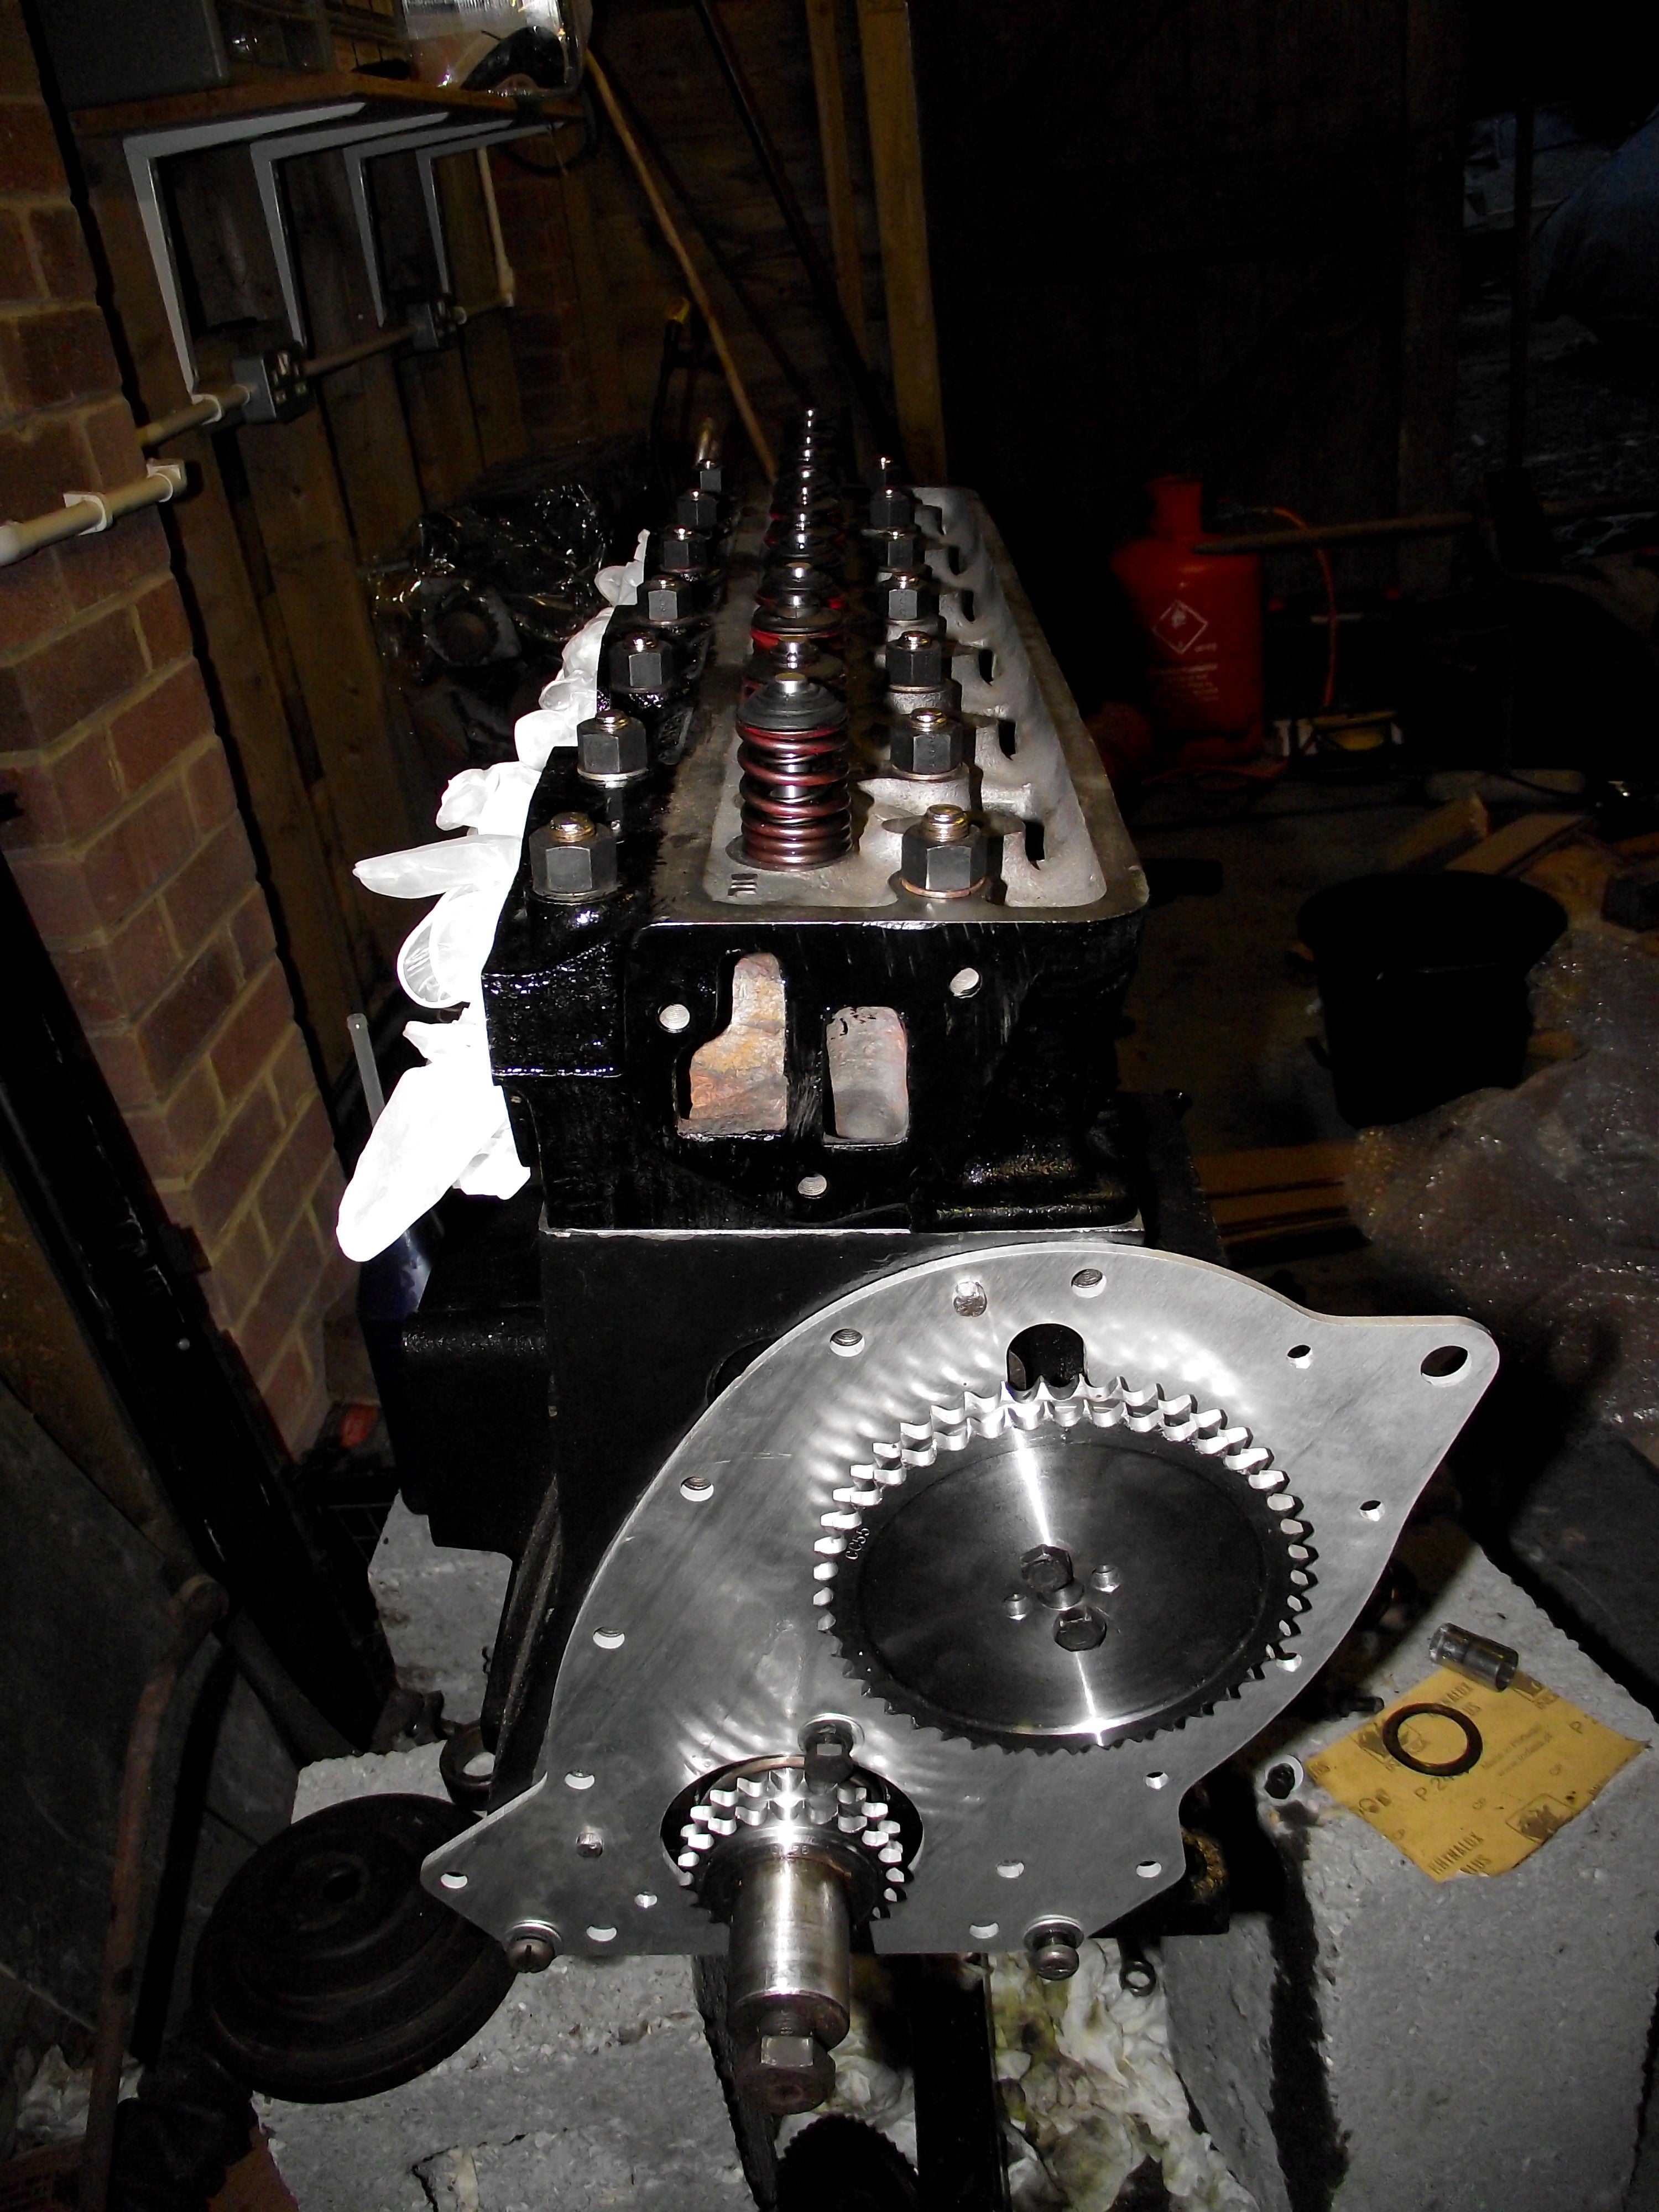
Head gasket on...
...and head torqued down.
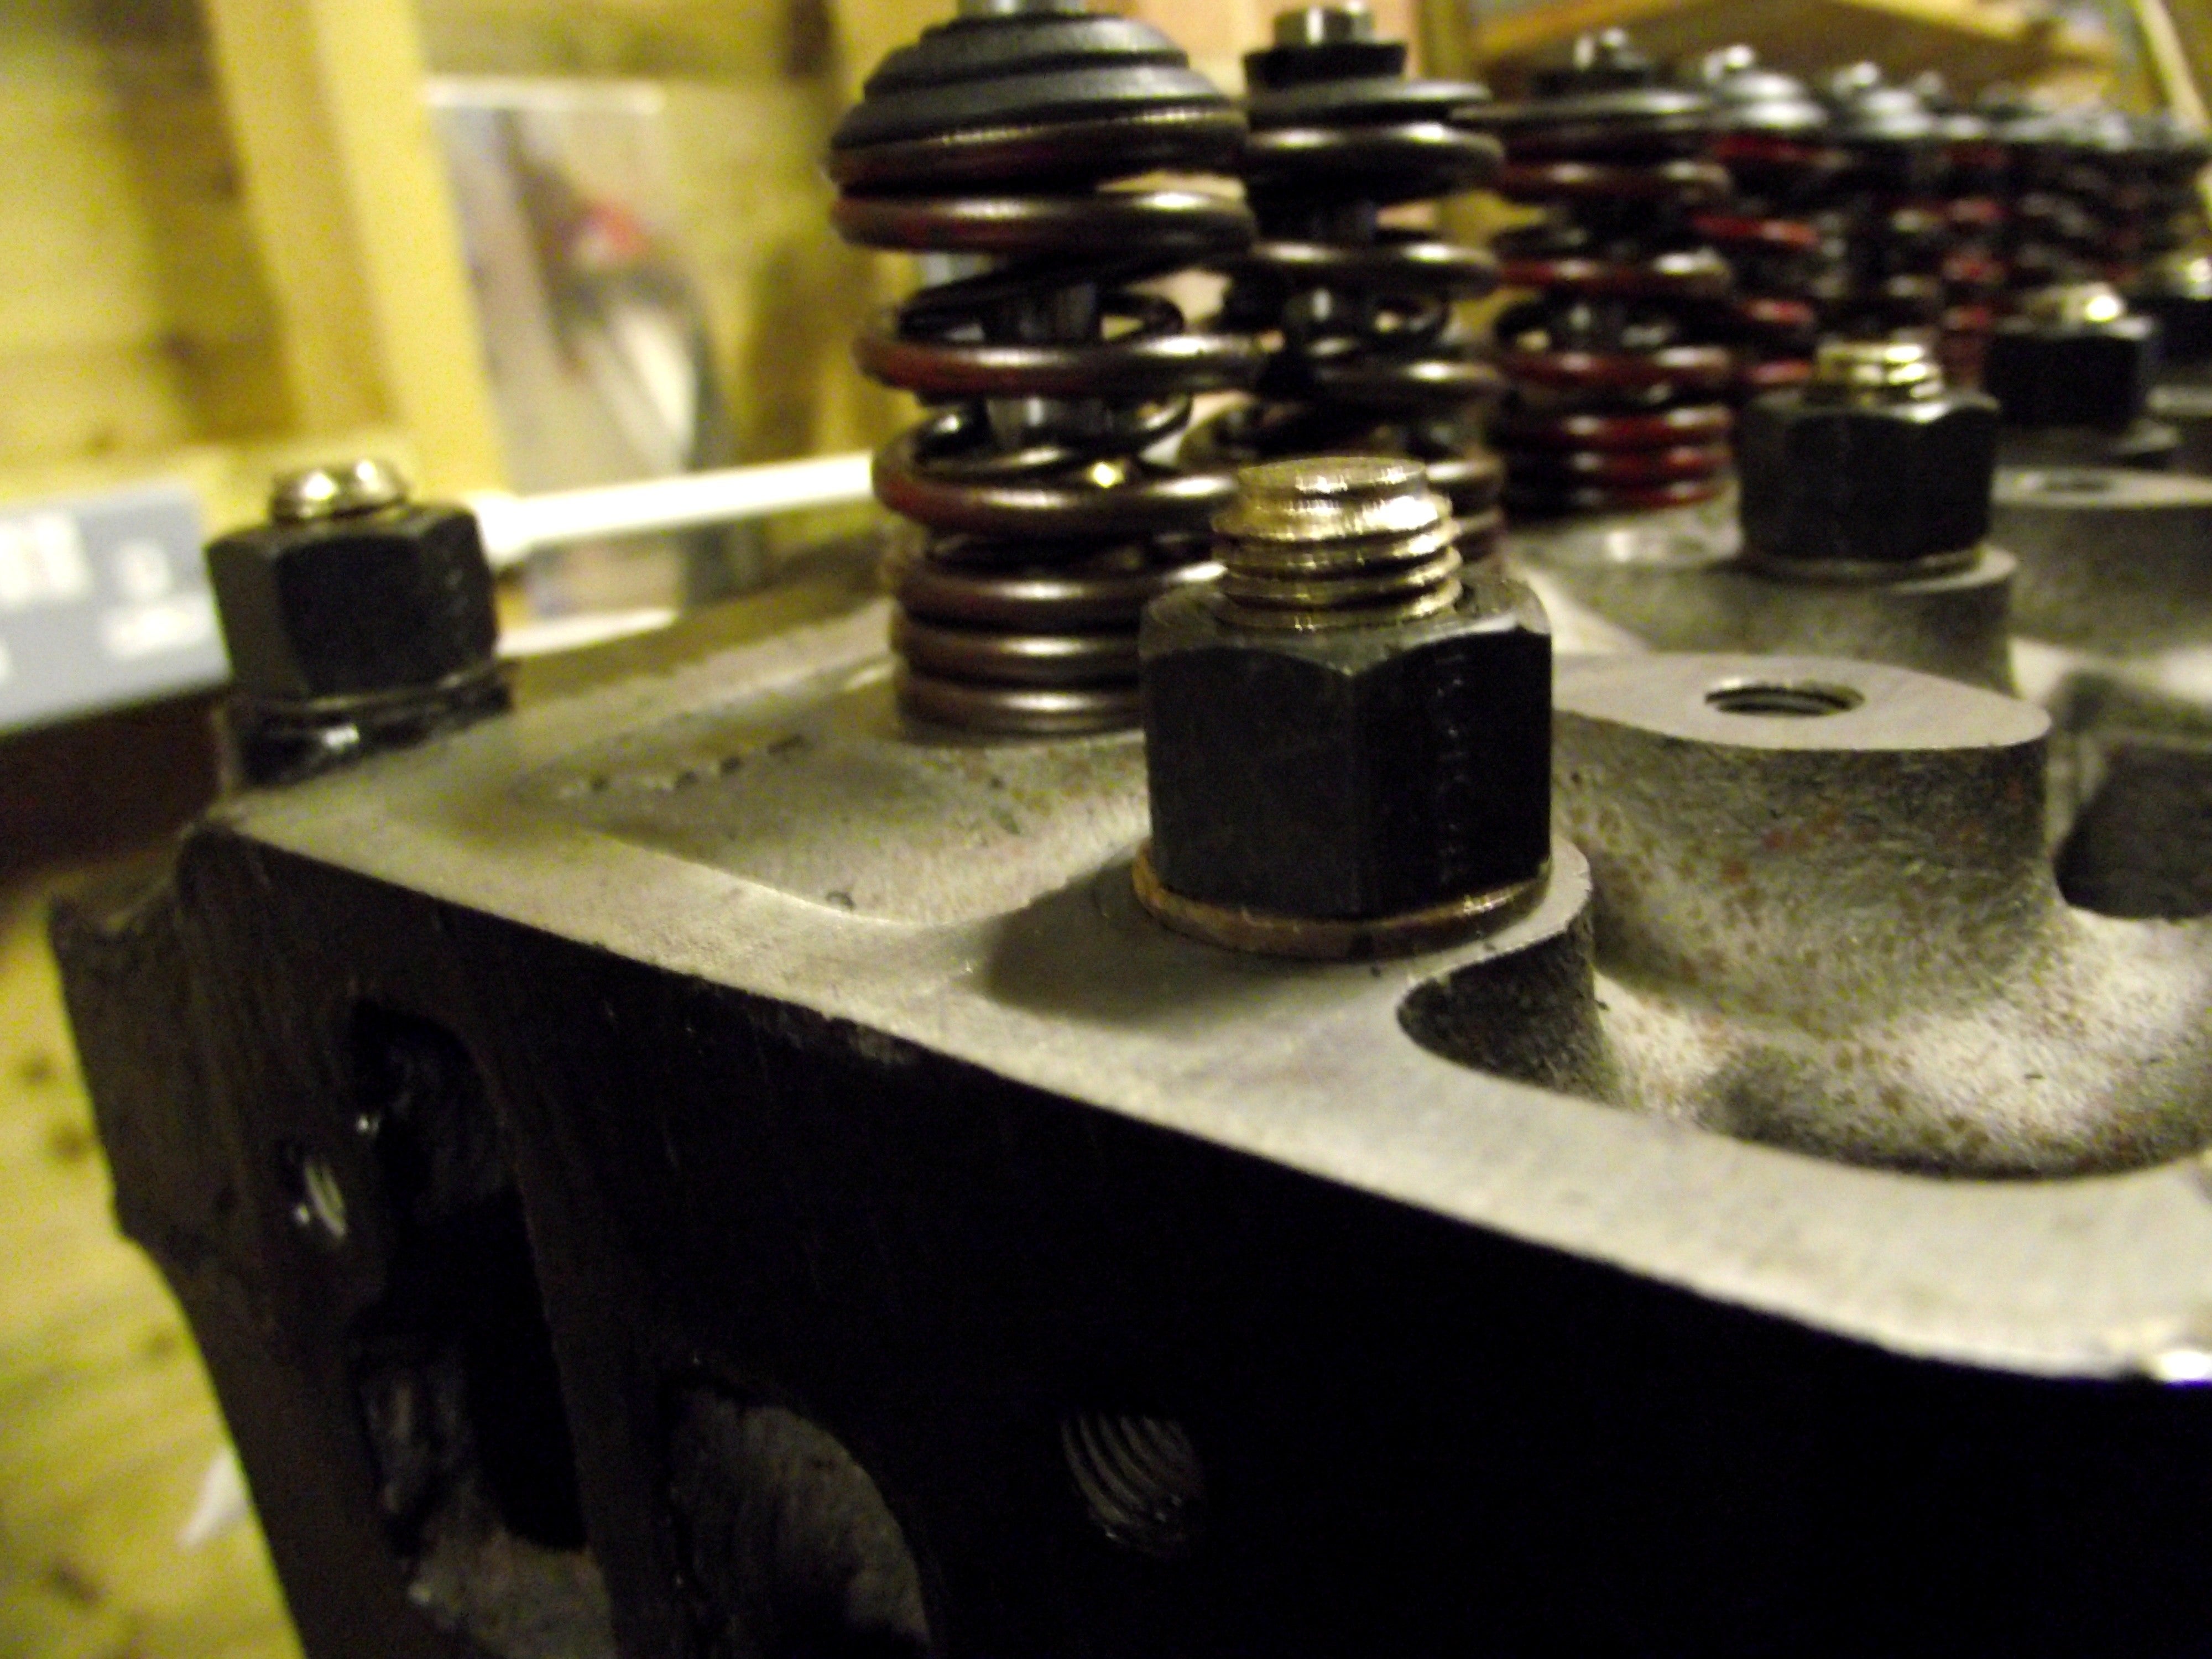
But hang on, can you spot the difference between these two pics? Hint: look at the studs.
Son of a bitch. I only realised that there were washers to go under the nuts after I'd tightened them up once. Bugger.
Ah well, just a little more work to do.
After that, I couldn't help but pop the rocker cover on for a look at what it'll be like as a finished engine.
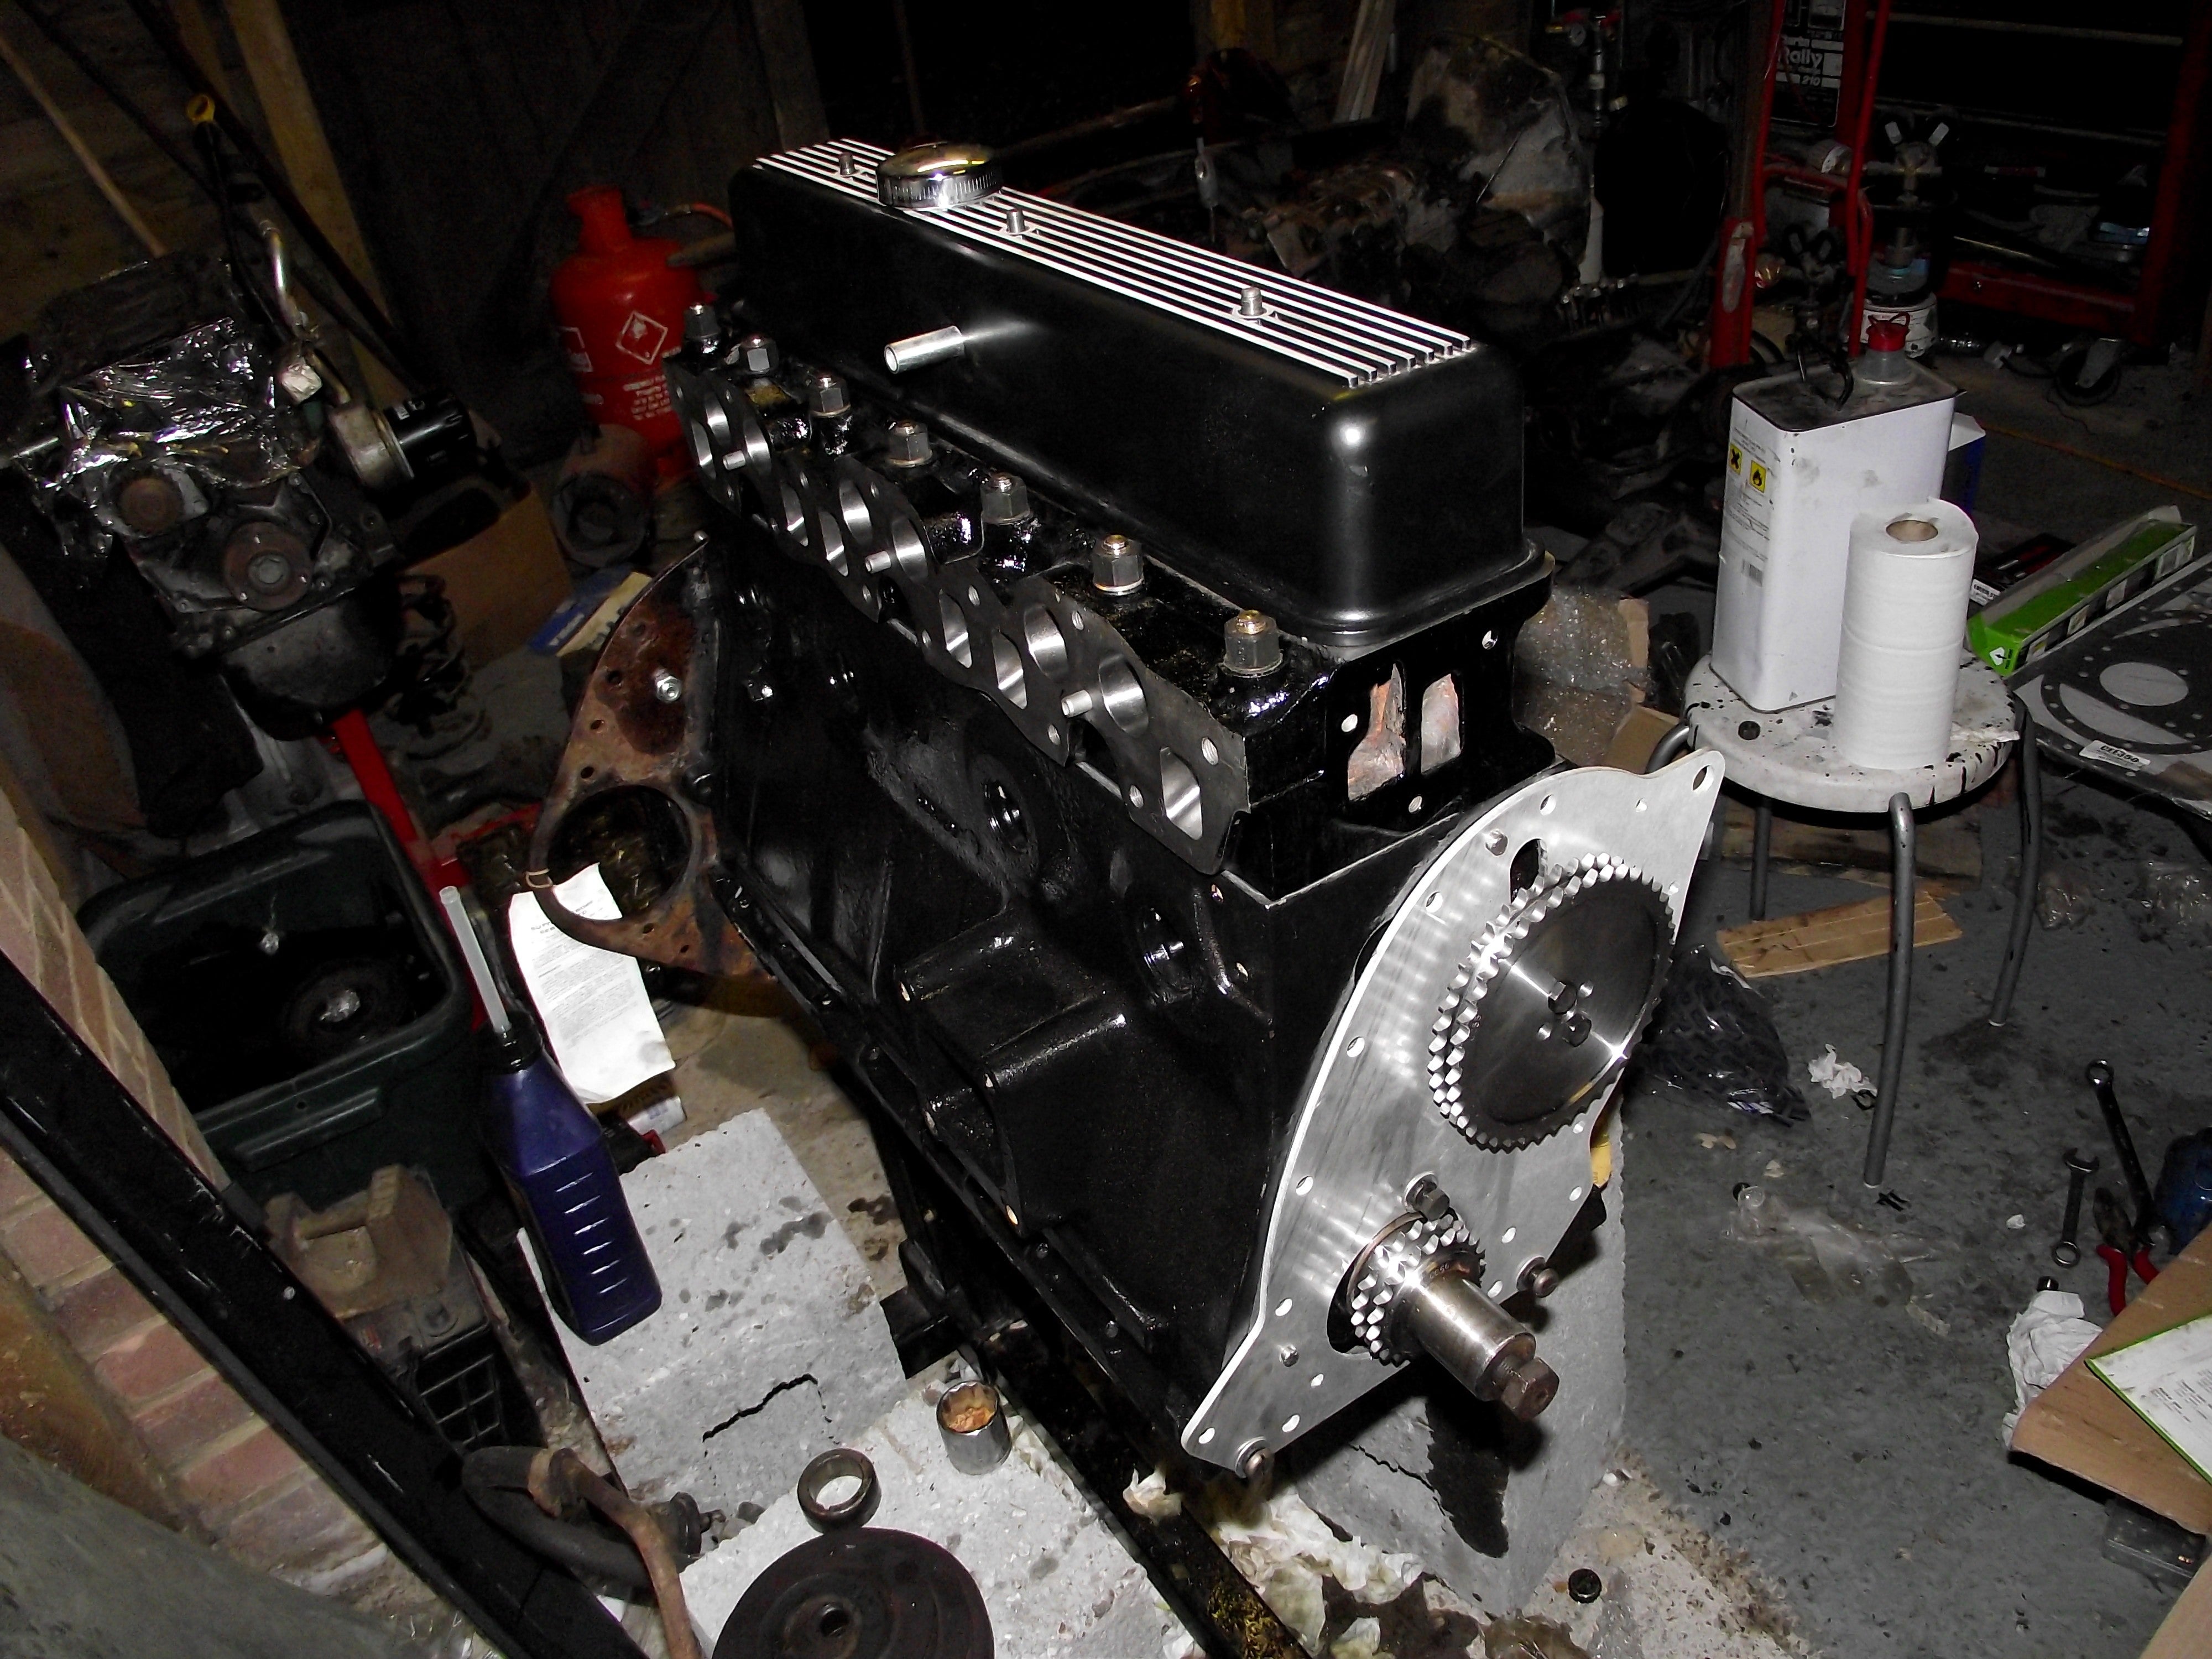
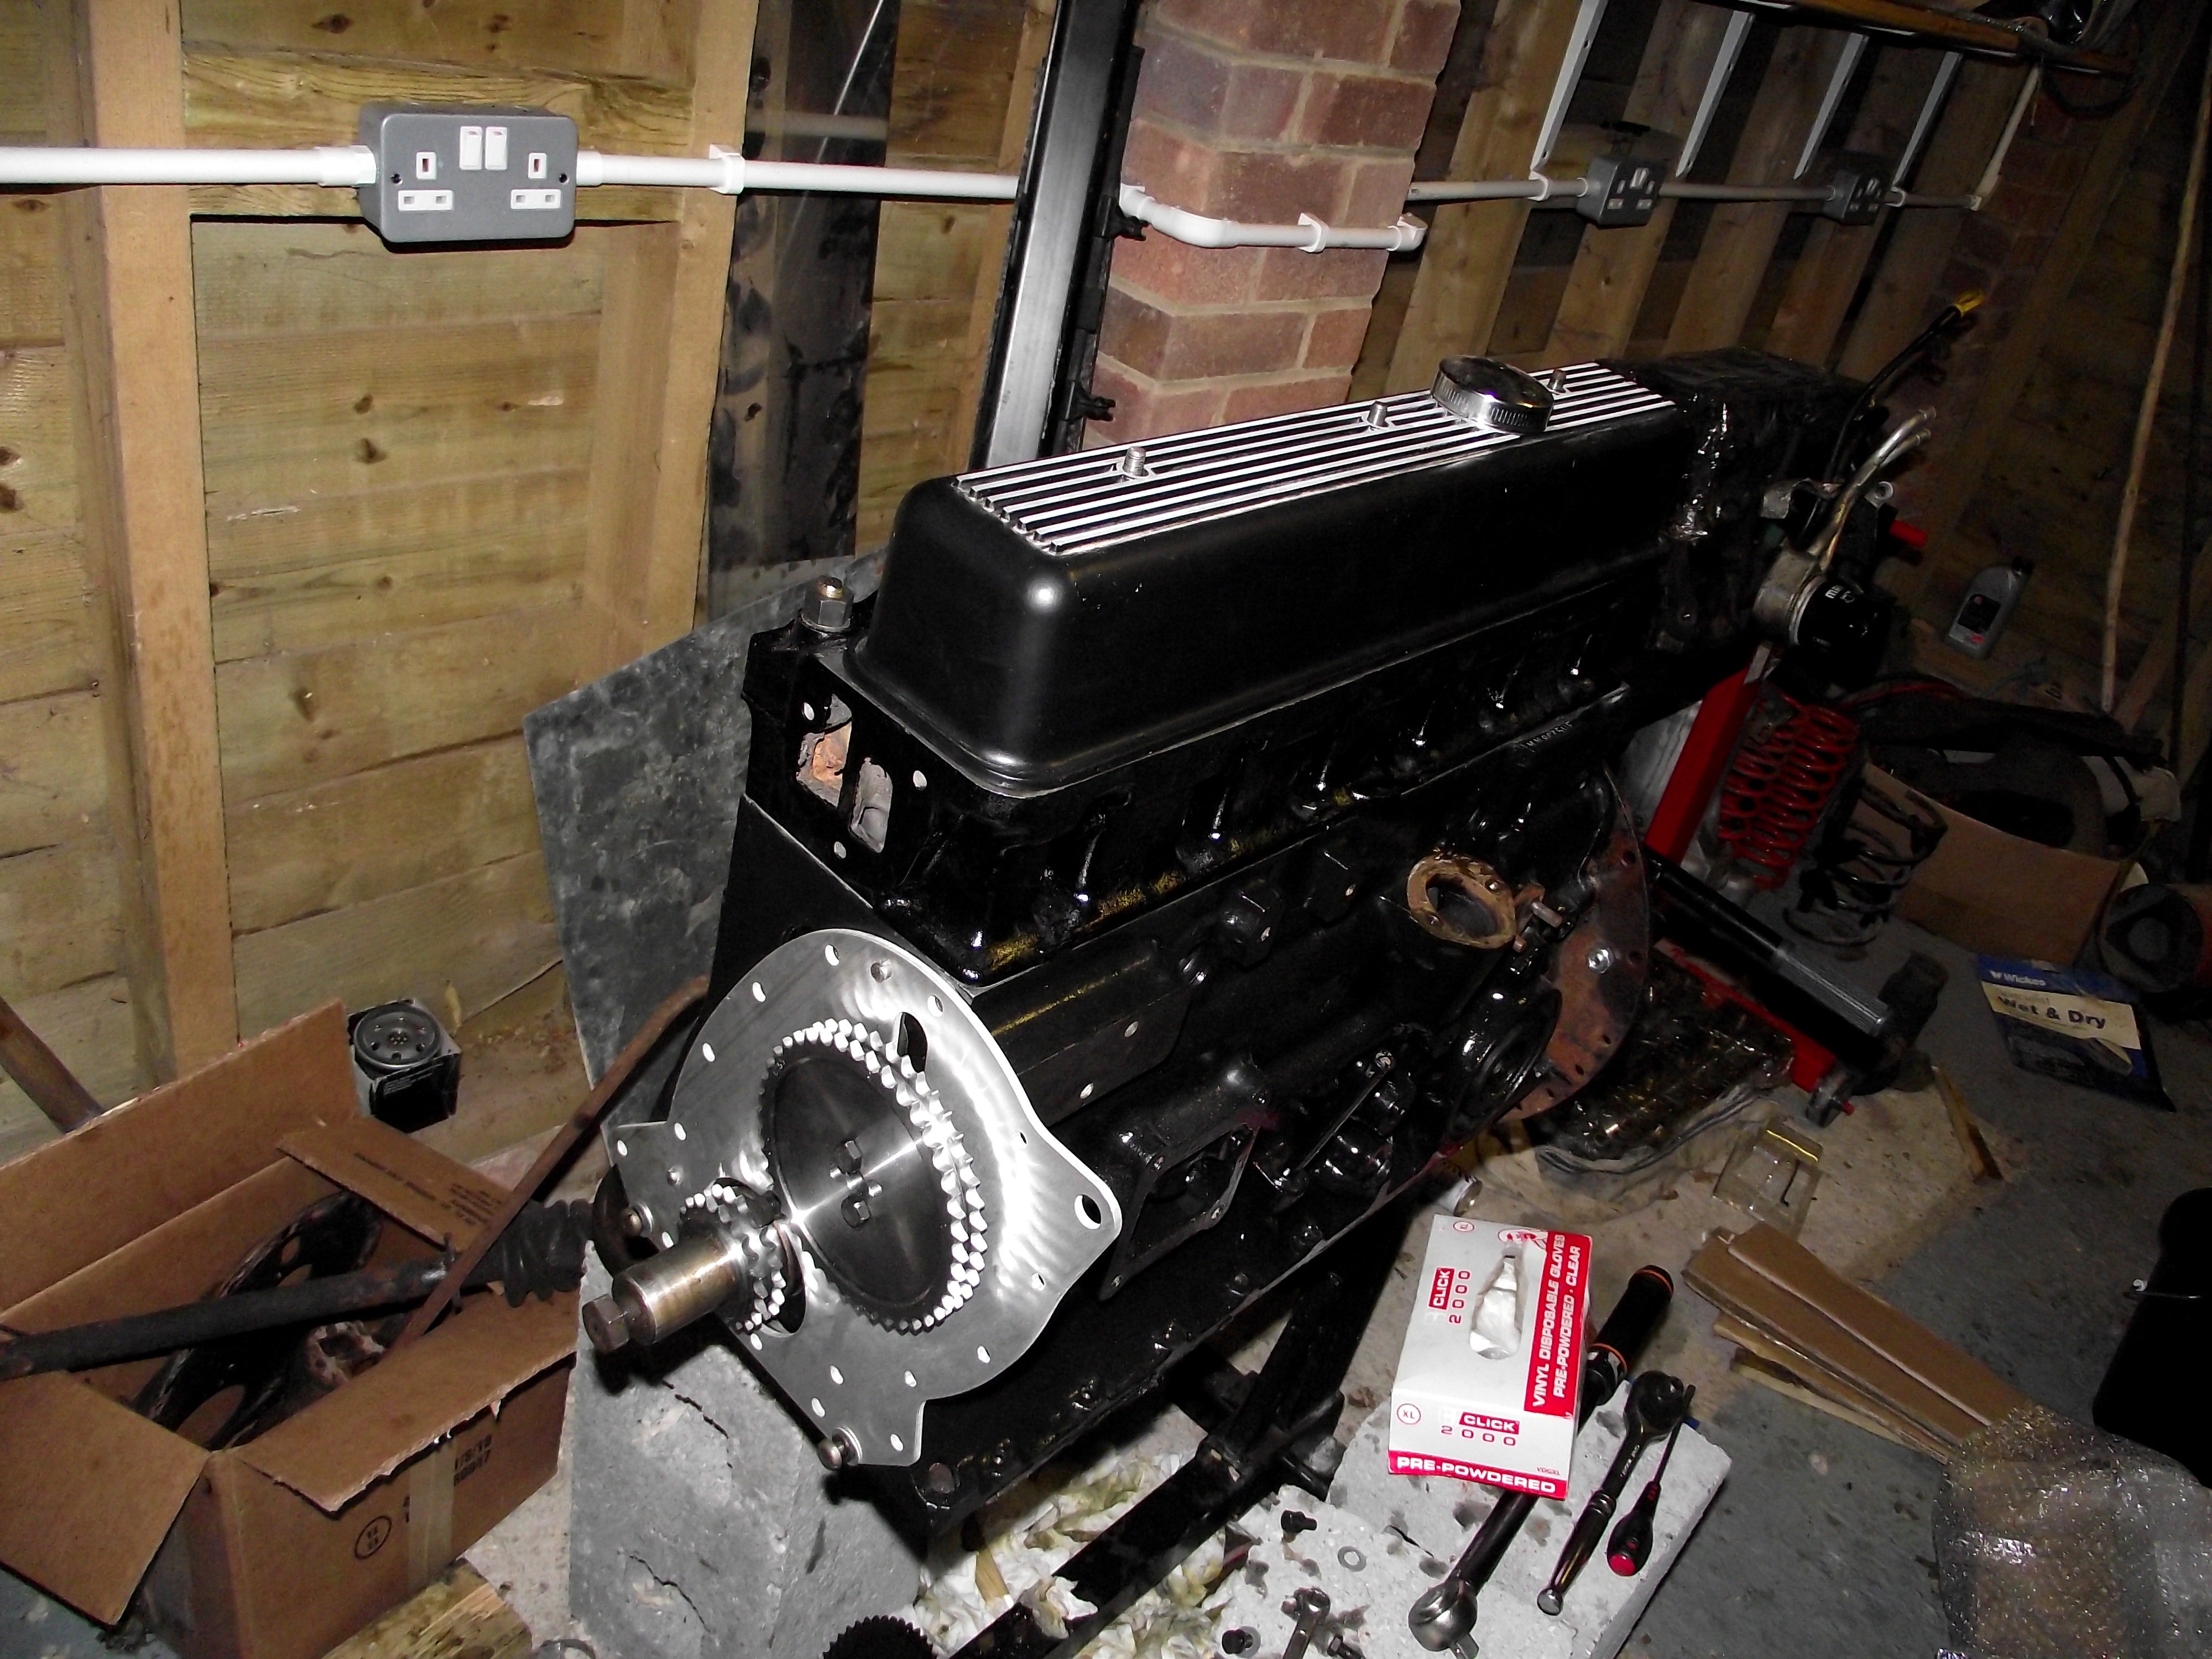
Good God it's pretty :)
 N/A POWAAAHH
> BiTurbo228 - Dr Frankenstein of Spitfires
N/A POWAAAHH
> BiTurbo228 - Dr Frankenstein of Spitfires
03/17/2014 at 17:37 |
|

OCTOPOST!
 Gamecat235
> BiTurbo228 - Dr Frankenstein of Spitfires
Gamecat235
> BiTurbo228 - Dr Frankenstein of Spitfires
03/17/2014 at 17:48 |
|
I deleted/drafted your other 7 posts. FYI.
 Zipppy, Mazdurp builder, Probeski owner and former ricerboy
> BiTurbo228 - Dr Frankenstein of Spitfires
Zipppy, Mazdurp builder, Probeski owner and former ricerboy
> BiTurbo228 - Dr Frankenstein of Spitfires
03/17/2014 at 18:01 |
|
What's the firing order on that? I see that the companions are on opposing sides of the block, which appear to be 1-6, 2-5, and 3-4.
 desertdog5051
> BiTurbo228 - Dr Frankenstein of Spitfires
desertdog5051
> BiTurbo228 - Dr Frankenstein of Spitfires
03/17/2014 at 18:26 |
|
Washer vs. no washers is what I see. Plateau hone? MLS head gasket? Nice.
|
BiTurbo228 - Dr Frankenstein of Spitfires
> Gamecat235
03/17/2014 at 18:48 |
|
Thanks :) I pressed it once and it didn't seem to do anything, so in my frustration I clicked it until something did happen.
I really should know that computers don't really work like that...
|
BiTurbo228 - Dr Frankenstein of Spitfires
> desertdog5051
03/17/2014 at 18:54 |
|
That's the one :) I managed to torque them all up once before realising that I needed washers.
Yep, it's been machined flat on both the head and block. Not sure what that'll do to compression, but it can't hurt:)
It's supposedly an uprated gasket, but I'm not sure what the brand is. Looks the business though :)
|
BiTurbo228 - Dr Frankenstein of Spitfires
> Zipppy, Mazdurp builder, Probeski owner and former ricerboy
03/17/2014 at 18:57 |
|
Sorry, you've lost me. What's a companion?
It's a standard I6 firing order as far as I can tell, 1-5-3-6-2-4.
|
Zipppy, Mazdurp builder, Probeski owner and former ricerboy
> BiTurbo228 - Dr Frankenstein of Spitfires
03/17/2014 at 18:59 |
|
I meant to say companion cylinders. It's when two cylinders are in the same position, while being on different strokes.
|
BiTurbo228 - Dr Frankenstein of Spitfires
> Zipppy, Mazdurp builder, Probeski owner and former ricerboy
03/17/2014 at 19:17 |
|
Ah gotcha. Just looked, definitely 1-5-3-6-2-4 :)
|
desertdog5051
> BiTurbo228 - Dr Frankenstein of Spitfires
03/17/2014 at 21:28 |
|
Wish I had a project like that. Me jealous. Have fun my friend.
|
BiTurbo228 - Dr Frankenstein of Spitfires
> desertdog5051
03/17/2014 at 21:38 |
|
Shall do :) it's surprisingly easy to get started on one.
Of course it'll bankrupt you. I scoffed at people who said 'set aside twice what you've budgeted for', but I budgeted Ł6k for this including the car and so far I've spent ~Ł7500 on it and I've got at least another Ł2000 left to spend. Pretty damn certain I'll find more though.
Fun though, and the costs aren't actually all that noticeable day-to-day :)
 Jobjoris
> BiTurbo228 - Dr Frankenstein of Spitfires
Jobjoris
> BiTurbo228 - Dr Frankenstein of Spitfires
03/18/2014 at 06:31 |
|
It sure looks pretty, even more so if you realize what the starting point was. Keep up the good work! What paint did you use? Going to work on my M10 valve cover soon (rest of the engine will stay bare metal as it's original) so good to know what you're experiences are.
|
BiTurbo228 - Dr Frankenstein of Spitfires
> Jobjoris
03/18/2014 at 06:47 |
|
Thanks man :) I used POR-15 engine enamel. I haven't used it before, but it comes highly recommended. They sell a phosphoric acid solution in a spray to prep the metal before you paint it. I'm very impressed with that. Paint went on over that with no problems at all.
Oh, I've got a few runs in places so I probably went on a little thick with one of the coats. It's thick paint anyway, but it's worth putting it on in thinner coats and doing one extra layer.