 "Akio Ohtori - RIP Oppo" (akioohtori)
07/10/2020 at 21:24 ē Filed to: bikelopnik, Hooptie Bikes
 3
3
 26
26
 "Akio Ohtori - RIP Oppo" (akioohtori)
07/10/2020 at 21:24 ē Filed to: bikelopnik, Hooptie Bikes |  3 3
|  26 26 |
I know... I know... I said no more posts about shitty old bicycles, but apparently I canít help myself, both in buying shitty bikes and posting on Oppo about them. On the buying front I kinda did the same thing with laptops last year. I bought a bunch of cheapish Thinkpads on eBay to see which ones I liked and which ones I didnít.
ANYWAY...
How it all went wrong
Almost a month ago I bought a 1960s Schwinn Varsity for $20 and spent about $175 to fix it up. I learned a lot and it was fun and rewarding exercise.
I also learned old Schwinnís in general and the Varsity in particular hold a special place in bike peopleís hearts as be the bike to hate. Think of them like the Aztek... but before we decided the Aztek was actually kind of cool. Ok think of them like the PT Cruiser! Sold in large volume when new, but quickly became a go-to joke.
Anyway! Unfortunately the $20 Varsity made it about 45 miles before things started to go wrong. Specifically, on my last ride the rear end started making a weird noise. Further investigation revealed it was probably loose spokes. Further further investigation showed the rear wheel was so far out of true I was unlikely to be able to fix it myself.
Donít worry though! I grabbed my trusty spoke wrench, gave it a go, and manged to make it so much worse. This was the expected outcome but you know...
Regardless if this was the source of the noise, at this point the rear was bad enough it was time to take it off the road until it could get repaired. This was on a Saturday, so my options for getting it fixed any time soon were slim. I would need to take it to Bike Shop B, the cool one who likes old bikes, and either theyíd do it while I waited or, more likely, it would be weeks to get it back. (All bike shops are swamped but that one is especially swamped... I think because theyíre very cheap and also very slow.)
The next three days spent not being able to ride were... surprisingly annoying. I donít have strong feelings either way about the actual riding itself, but I do enjoy the exercise, something I never though Iíd hear myself say, and having an excuse to get out of the house. It is tiring without being frustrating or particularly difficult and I enjoy that. Iíve been losing weight, unrelated, and the biking helped me break a plateau too.
Getting old is weird.
Additionally, my partner had been making grumblings about how he was thinking about a bike because he was needing to back off on his running schedule due to it ruining his body, so Iíd already been scoping out bikes on CL before all this.
So... I say all that to say the pump was primed to try and score another cheap bike to ride. Maybe this time Iíll get one that isnít universally hated! (Lol we know I wonít... it is right there in the title.)
Unfortunately the pickings were pretty slim locally. Most listings were $500+ bikes I had no interest in, 10 year old WalMart bikes listed for more than original selling price, old mountain bikes for too much money, childrenís bikes, and a shocking number of tandem bikes.
Of the interesting finds, there was a tasty Diamondback that was ready to go but with a shockingly huge 25" frame I didnít think there was much of a chance of my 6' 1" self fitting. There was also an late 80s Ironman, but at $200 and needing another $200 in work, I didnít see that as a wallet-friendly option.
There was also a rusty old Schwinn for $50.
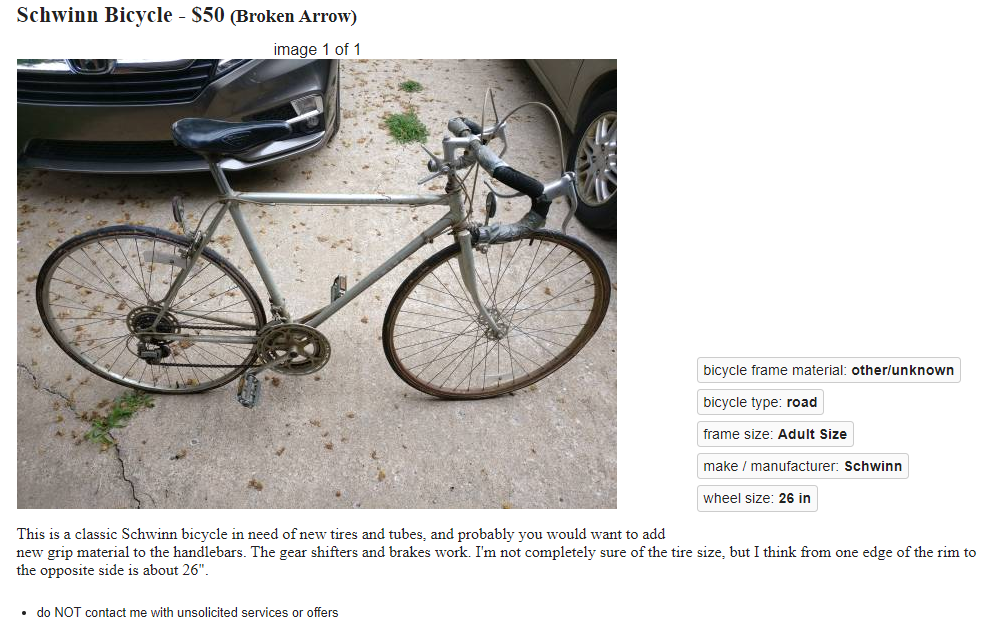
Oh boy here go again.
The ad was pretty content free, but I could tell it was a Schwinn of approximate shape and size as the Varsity. Also at $50 the price was right.
After some back and forth with the seller I determined that it was a Schwinn World Sport from the early 80's and had the same frame size as my current bike.
Ok lets take a look.
I arrived at the sellerís place at and took a look. This bike... made the Varsity look to be in good condition. When I bought it the tires on the Varsity were crusty but they still held air. The tires on the World were barely even tires. Just bits of rubber clinging to some mesh. Similarly while the bearings on the Varsity seemed serviceable at first, though ultimately got replaced, the bearings on the World were like that of any given Uber: completely ruined.
Apparently the seller had restored it about 20 years previous and then stuck it in the attic for reasons that are not immediately apparent. This took a major toll on literally everything.
Still... it was cheap and a bike. Learning from my mistakes with the Varsity, I checked the wheel trueness and found both to be fine. Also inspected the freewheel and crank and both seemed... fine.
So OK. Lets do it.
Well apparently the seller had been getting some interest since lowering the price to $30, something I wasnít aware heíd done, so he wasnít really wanting to move from that figure. I laughed a little because Iíd gone in willing to pay that, but ever the craigslister I offered $25 with the justification I was physically present at his house now.
After more deliberation than seemed strictly necessary, the deal was done and I loaded the bike up.
The build begins
As you might expect Iíd sort of anticipated this was going to happen, and I also felt that to justify the purchase I was going to need to get this heap back on the road FAST... also I thought a race to road-worthyness might make for good Oppo.
To that end, Iíd already made a shopping list of 1-day eligible items on amazon. I pulled the trigger on that and quickly had a new chain, brake pads, brake cables, grip tape, and a host of other crap en-route before I left the sellerís place.
Leaving his house, which was in the middle of nowhere, I drove straight to Bike Shop C, whom Iíd called earlier and theyíd confirmed they had tubes and tires for this bike. The somewhat modest sum of $70 set up with new tubes, tires, and tape... and then in a moment of weakness I paid them to go ahead and install them too. That cost an additional $24 which seemed like robbery but I also hate doing tires so... heh.
Unfortunately I didnít get any pictures of the bike before I started work on it. I wonít post the ones I have because I donít feel like dealing with the new attribution thing on bad pictures.
Once home, I quickly stripped down the front axle to reveal some mostly still round balls and some very dry grease. The bearings were the same size as on the Varsity, though weirdly there was one more per side which seemed... odd. Or even, as it were. Either way that means I had them in stock and quickly got everything cleaned, replaced, and repacked.
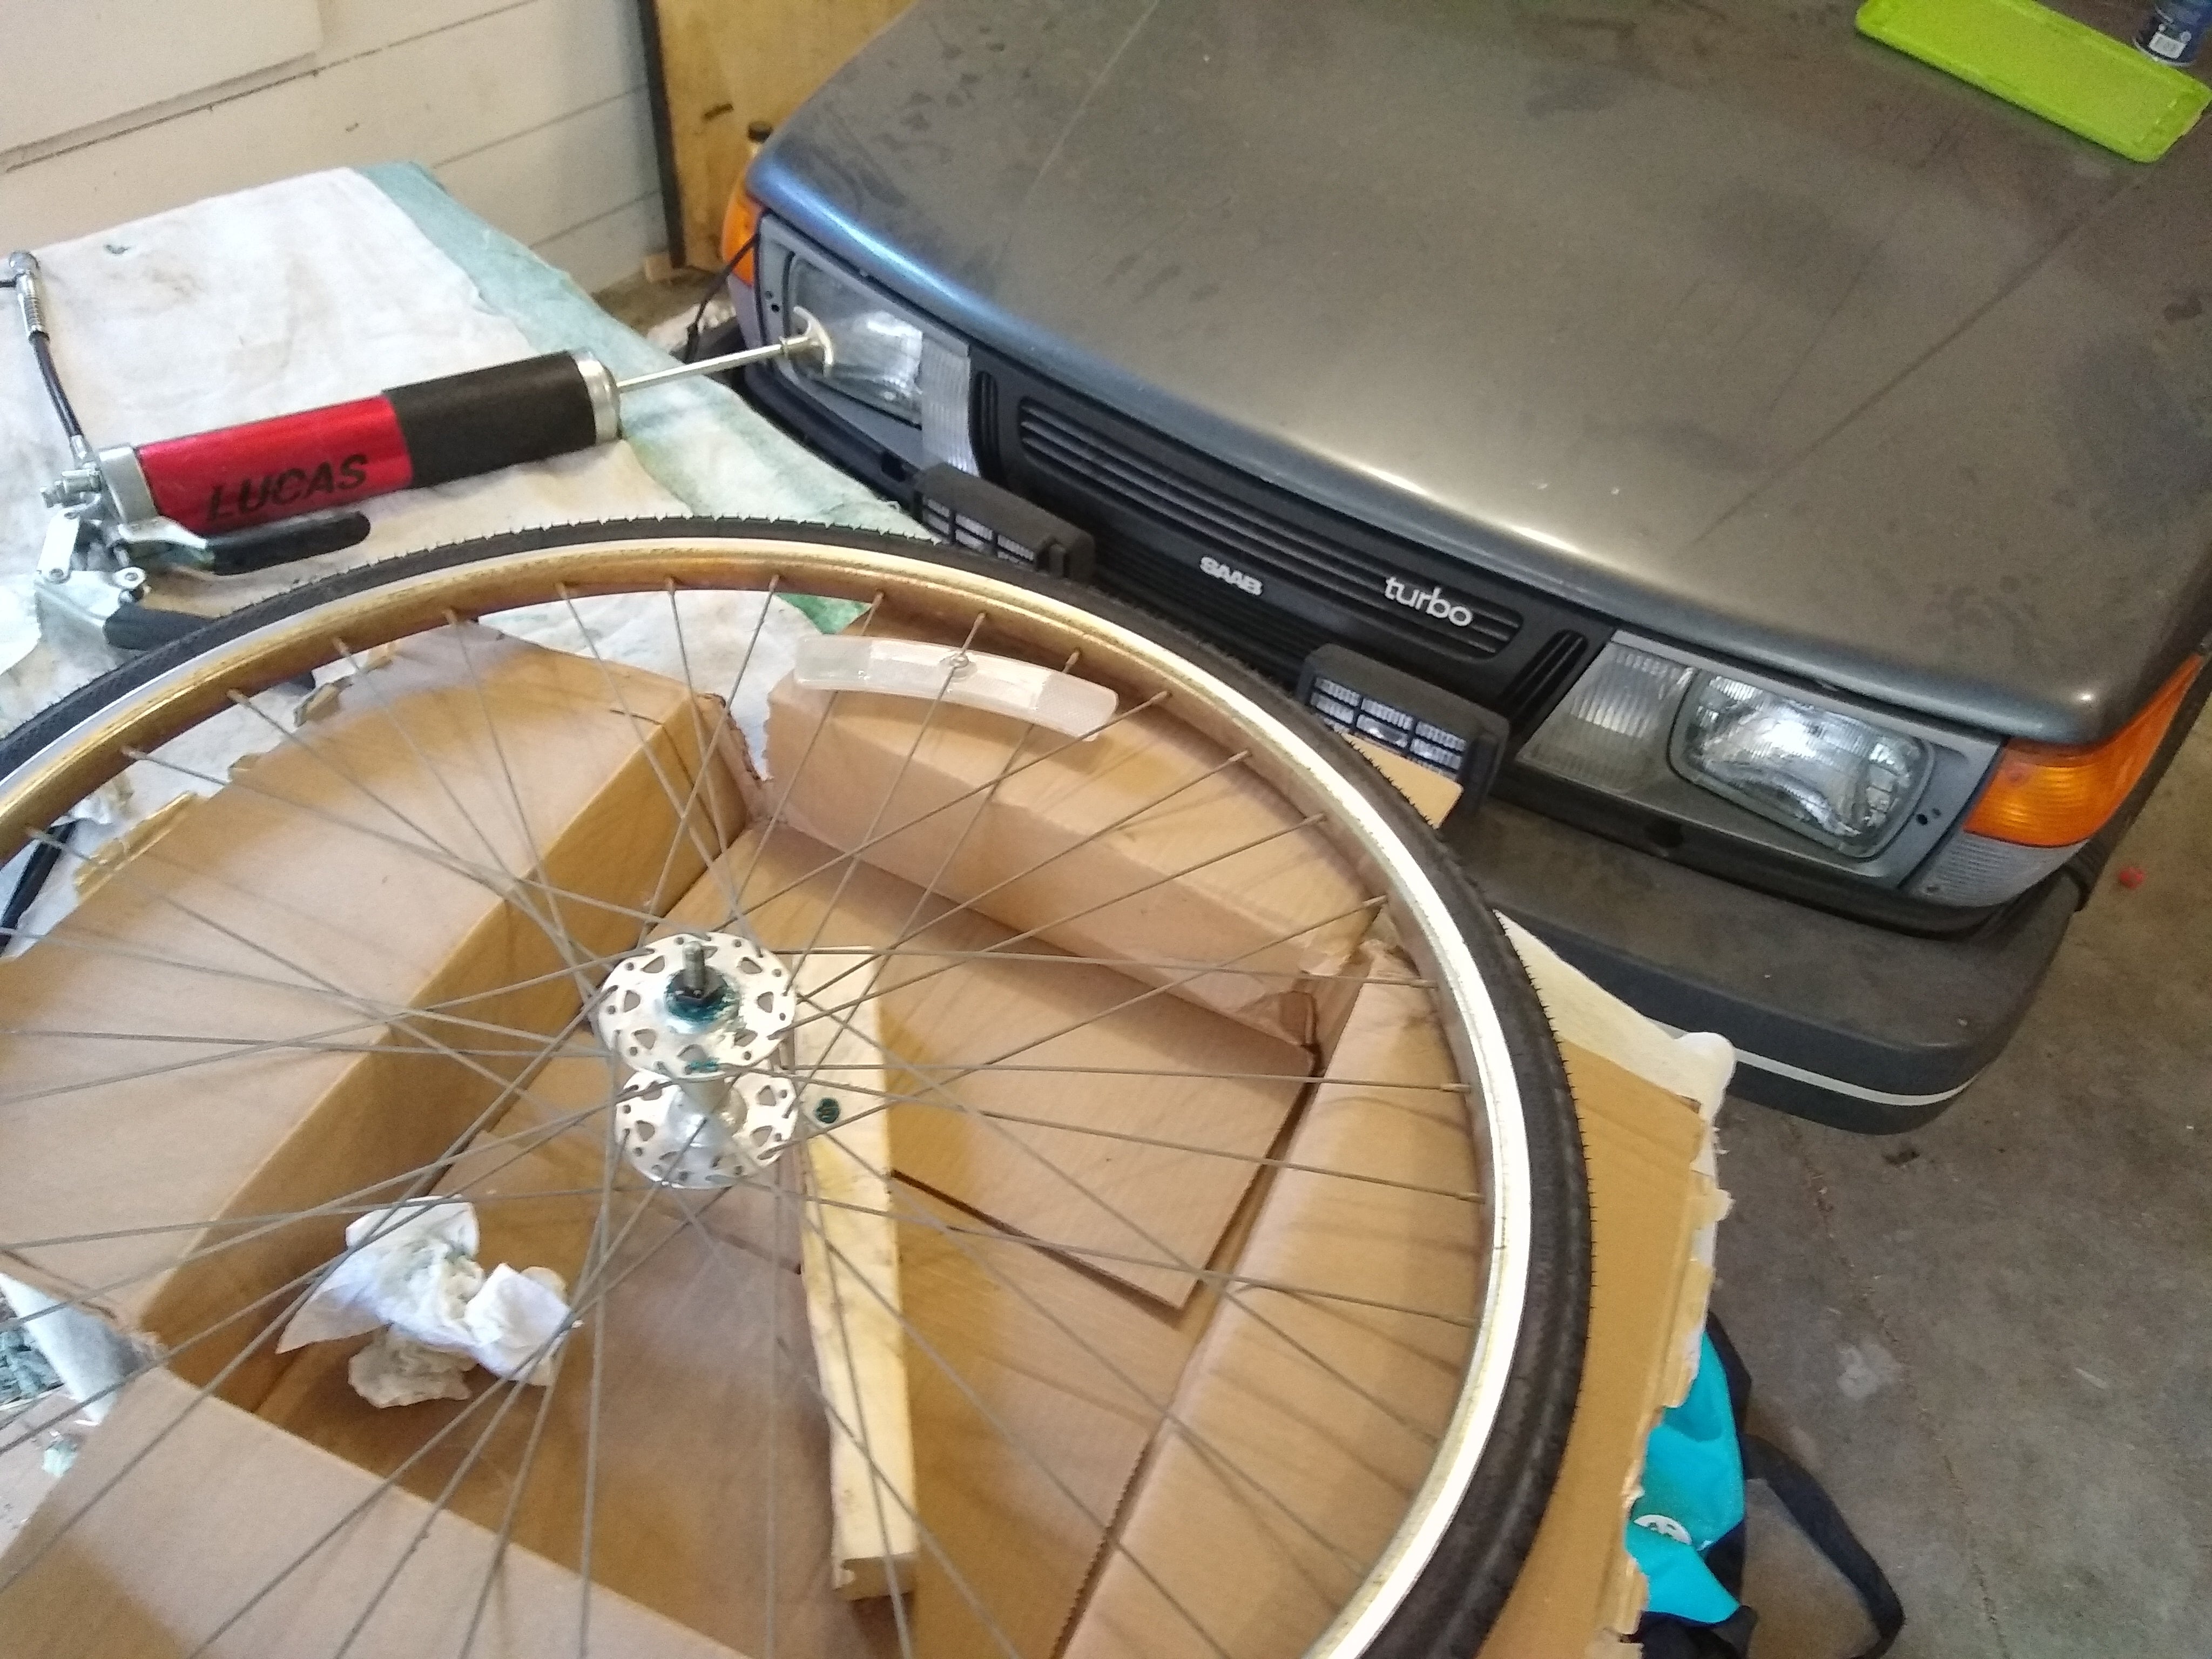
Iíll advised project meets ill advised project.
Front done I set about the rear and immediately ran into a problem. After not being able to remove the rear freewheel on the Varsity due to not having the tool, I ordered one. Stupidly I assumed the Worldís rear freewheel would be the same.
It was not.
Well crap.
After many failed attempts at removing it, I decided to bring it to the bike shop in the morning and let them deal with it.
Moving on to the crank....
Double crap. While the Varsity has a one-piece crank, the World has a more modern square crank (axle?) in which you can remove the crank arms from the rear axle.
Allegedly.
But those suckers were stuck on gooooooood. After much tapping, torching, pulling, and swearing I eventually used a pickle fork to get one side off.
But alas, the other side wasnít going to play. I finally resorted to YouTube and found a video going into great details all of the wrong ways to remove the crank arms, most of which Iíd already tried. He finally landed on ďbuy the toolĒ and showed one of said tools.
Wait a minute... I HAVE that tool!
You see when my partner bought his motorized bike, it came with a sack of bike tools. Just normal bike stuff like flat wrenches and chain breakers, but included in that was several freewheel removal tools (none of which work for me) and several crank removal tools.
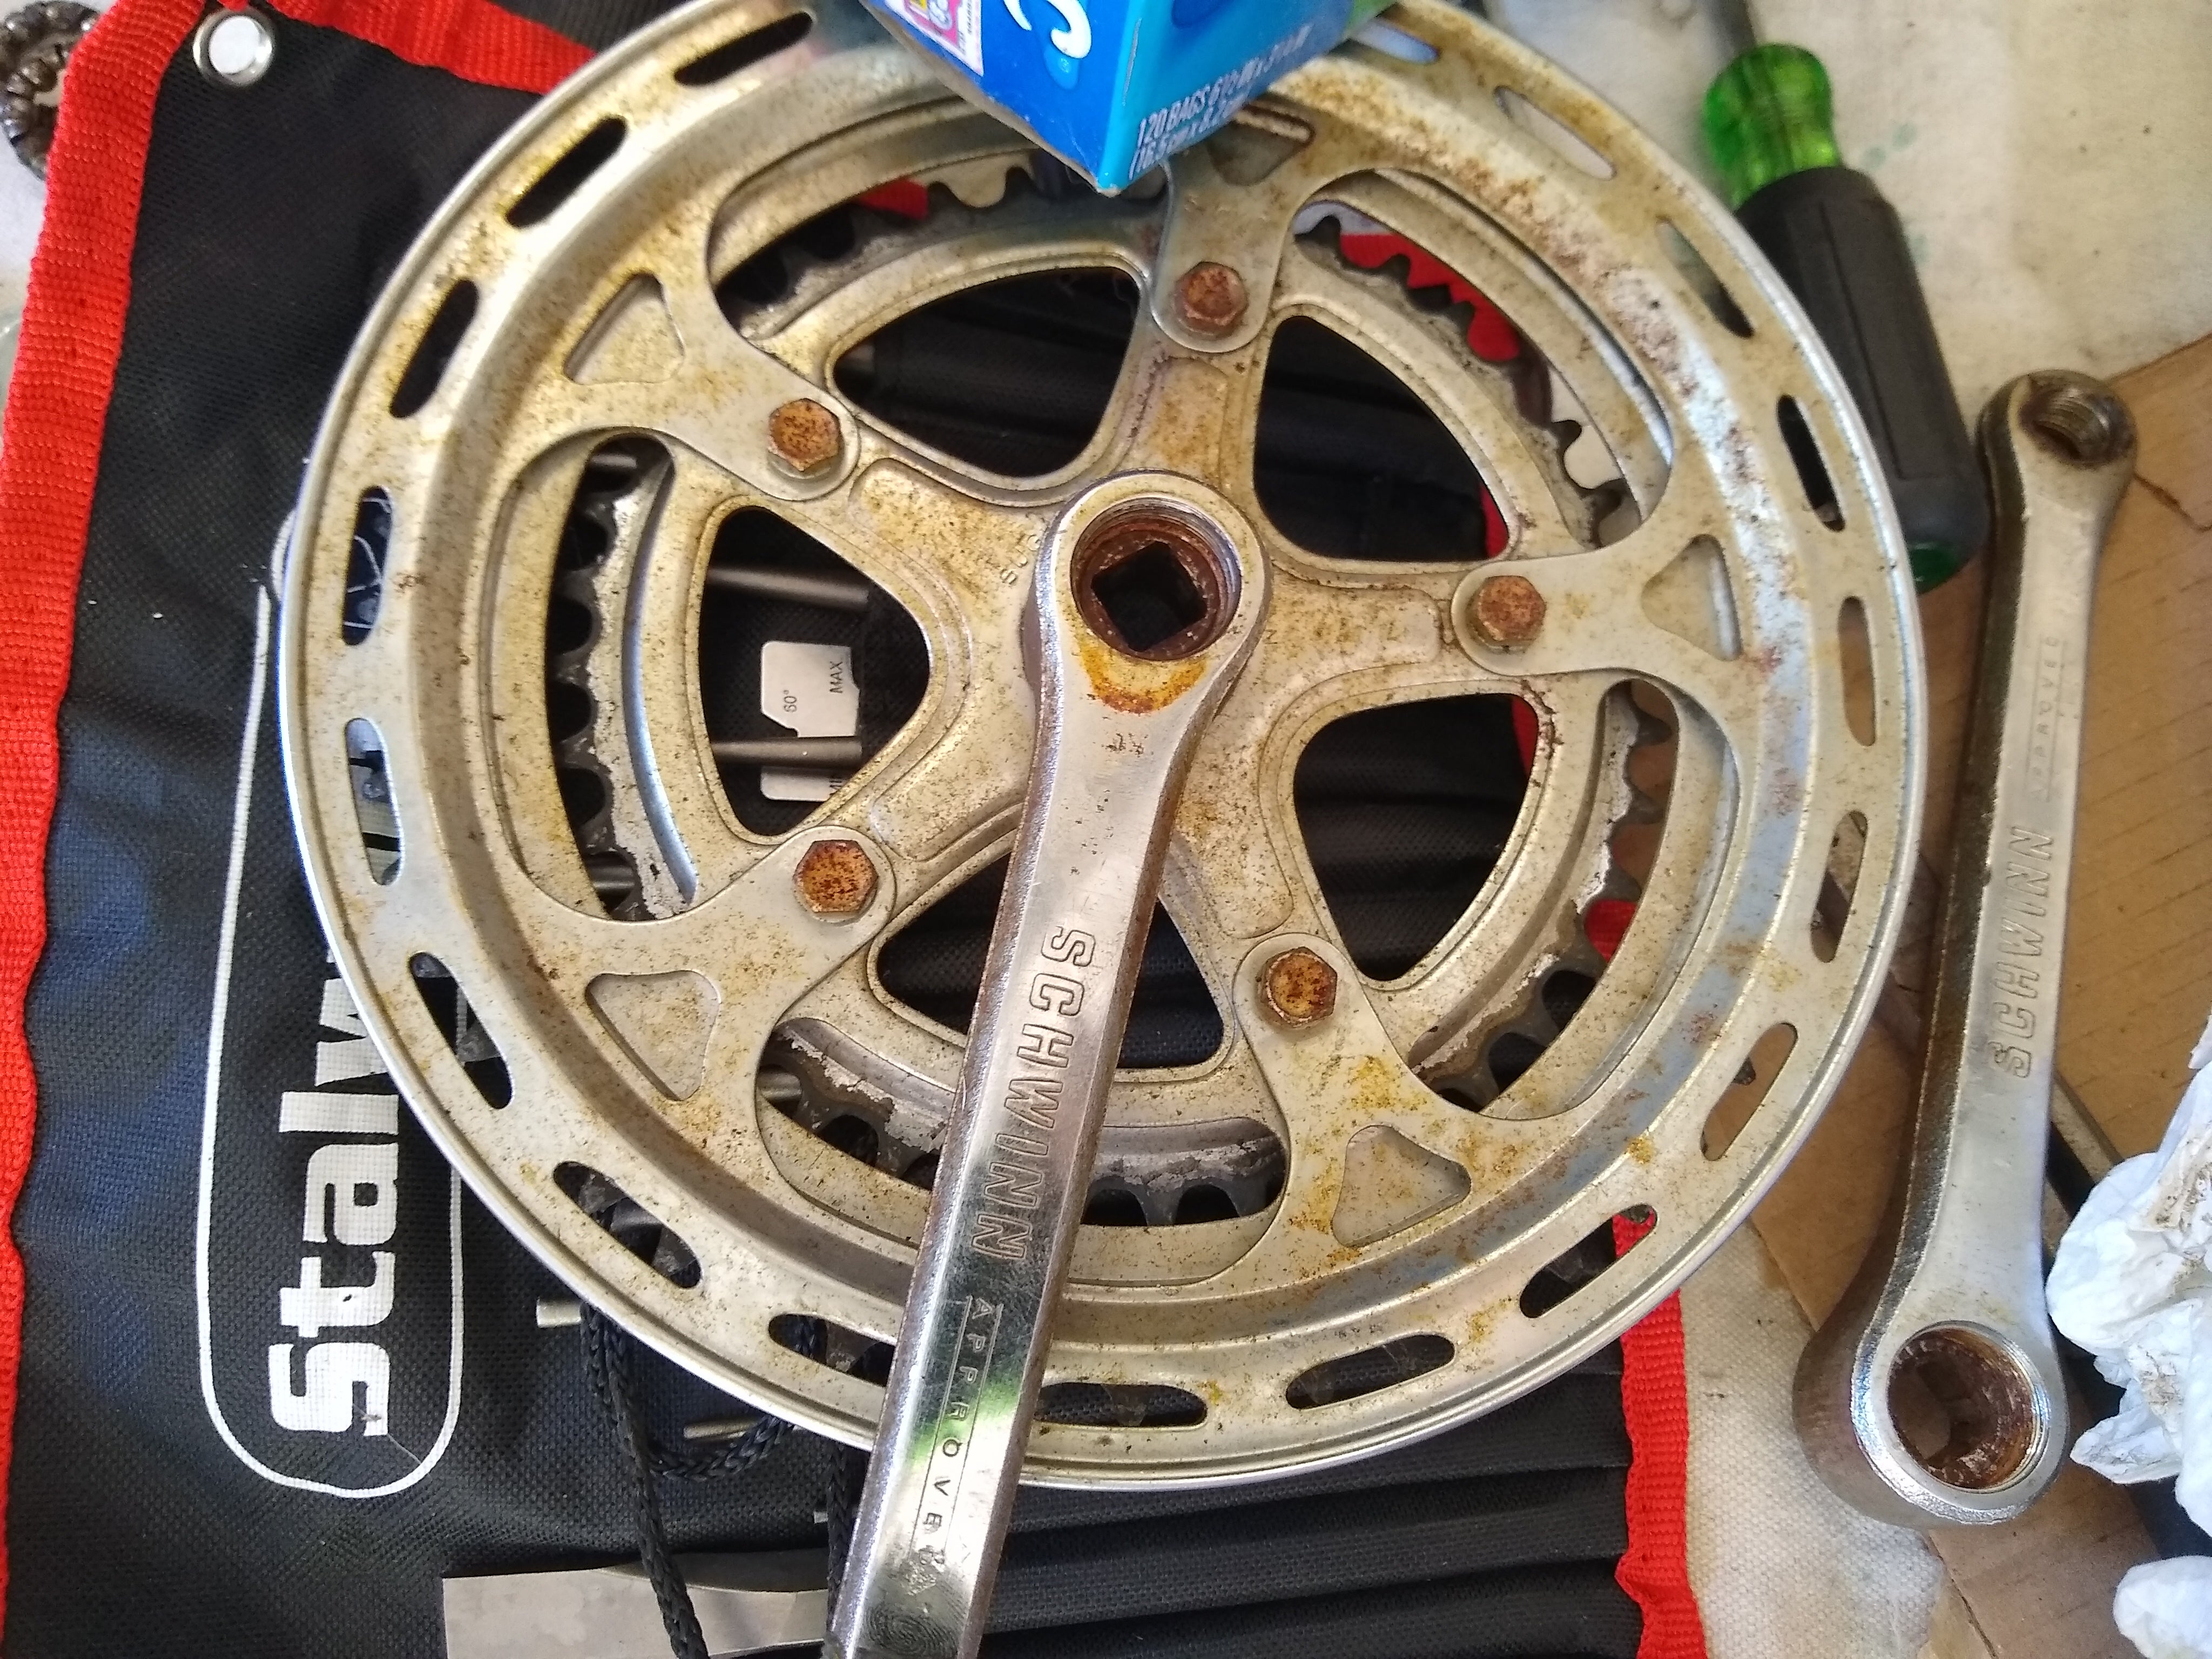
After wasting an embarrassing amount of time on that, I was rewarded with getting to access some truly crusty bearings and an only lightly bent gear set.
In another moment of serendipity, turns out I had replacement bearings from when I ordered a bunch of wrong-sized ones for my motorized bike!
Hooray.
At this point it was past my bedtime, but I couldnít resist taking a look at the pedals. Initially they also looked the same as the rebuildable ones on the Varsity, but on further inspection they appeared to actually be sealed.
Oh well. For now theyíll do, but I did manage to find some rebuildable ones for under $30, which will be here middle of next week. My first ďgood enoughĒ of many, Iím sure.
The Next Day
I took lunch early and drive the rear wheel over the Bike Shop B. He quickly pulls the rear off for me, I pet the Varsity on the way out, and that is that.
With the freewheel off, I pull the rear axle and get much the same result. Roundish bearings with some seriously crusty grease. Like the front, a quick clean, replace, and repack saw these sorted. Before reassembling, I went ahead and ground some of the rust patina off the... guard thingy while it was out.
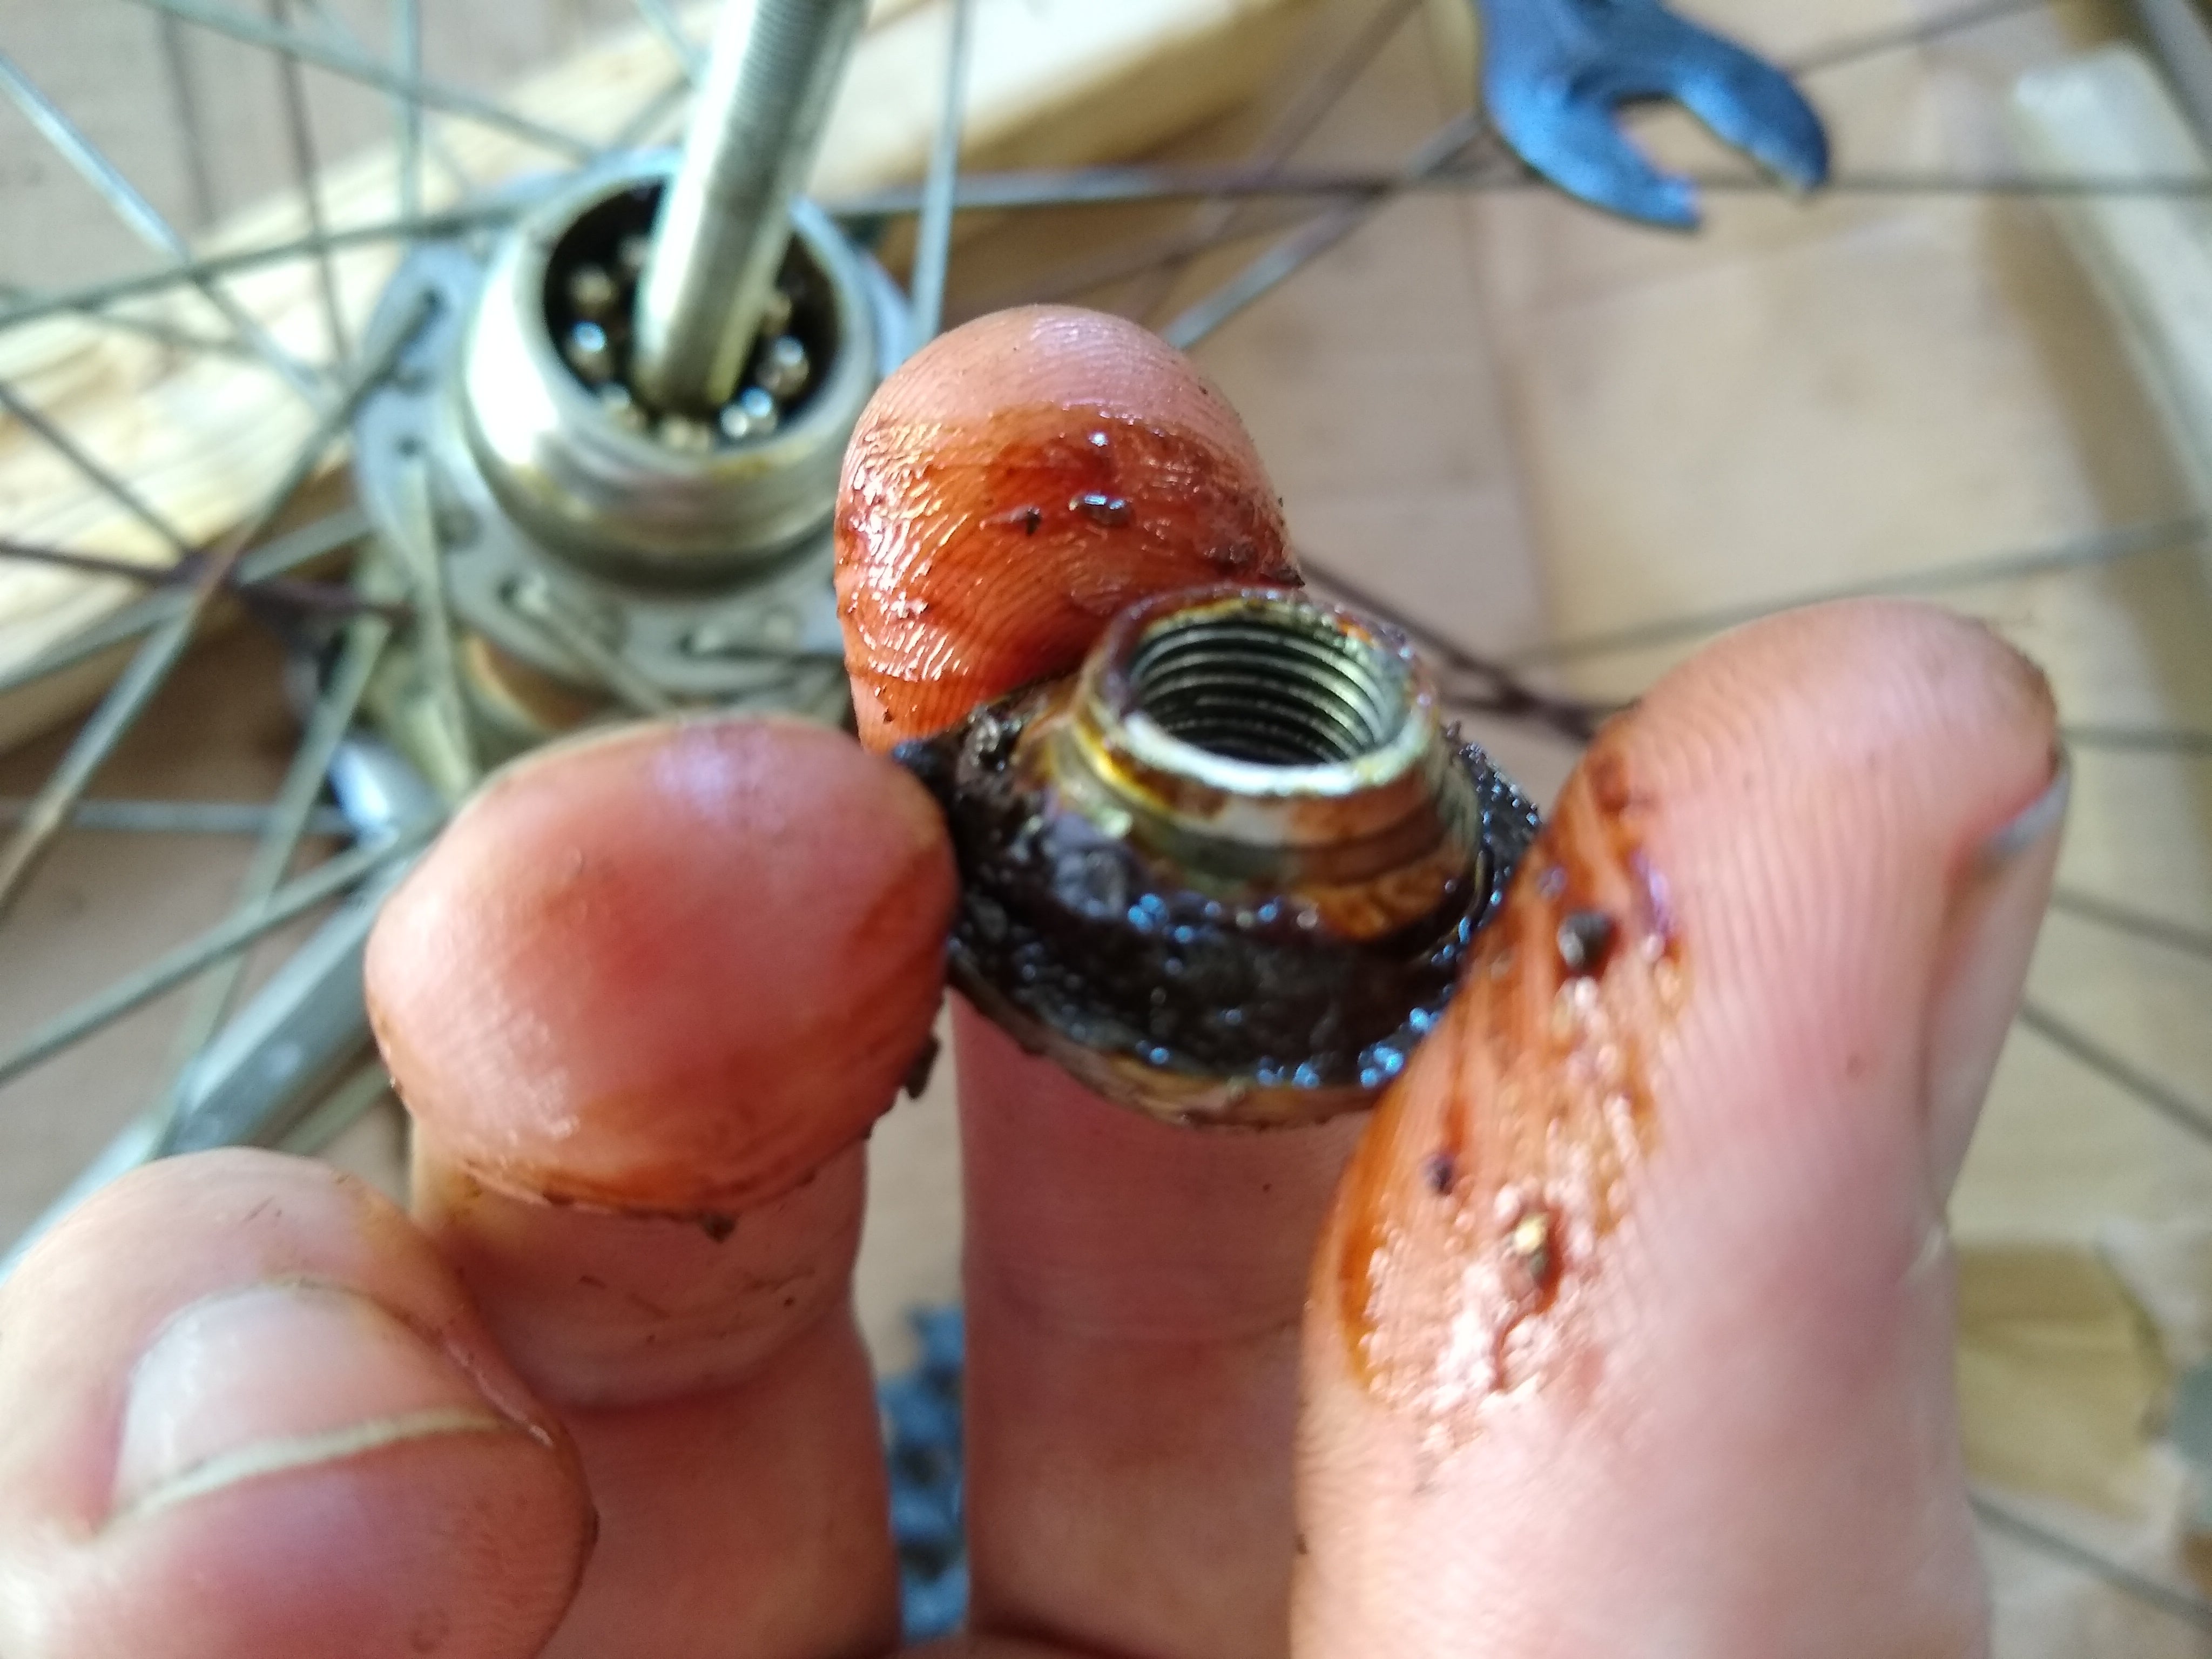
Now to turn my attention back to the crank. Long story short on that, everything got a good clean, new grease, and reassembled. I did run into two snags. The first was that the reverse threaded portion had no interest in threading on. I eventually got it, but it was very frustrating. The second is I noticed some deterioration on one of the cups. It was juuuuuuuuuust below the bearing line, but still something I might inquire about next time Iím at Bike Shop B.
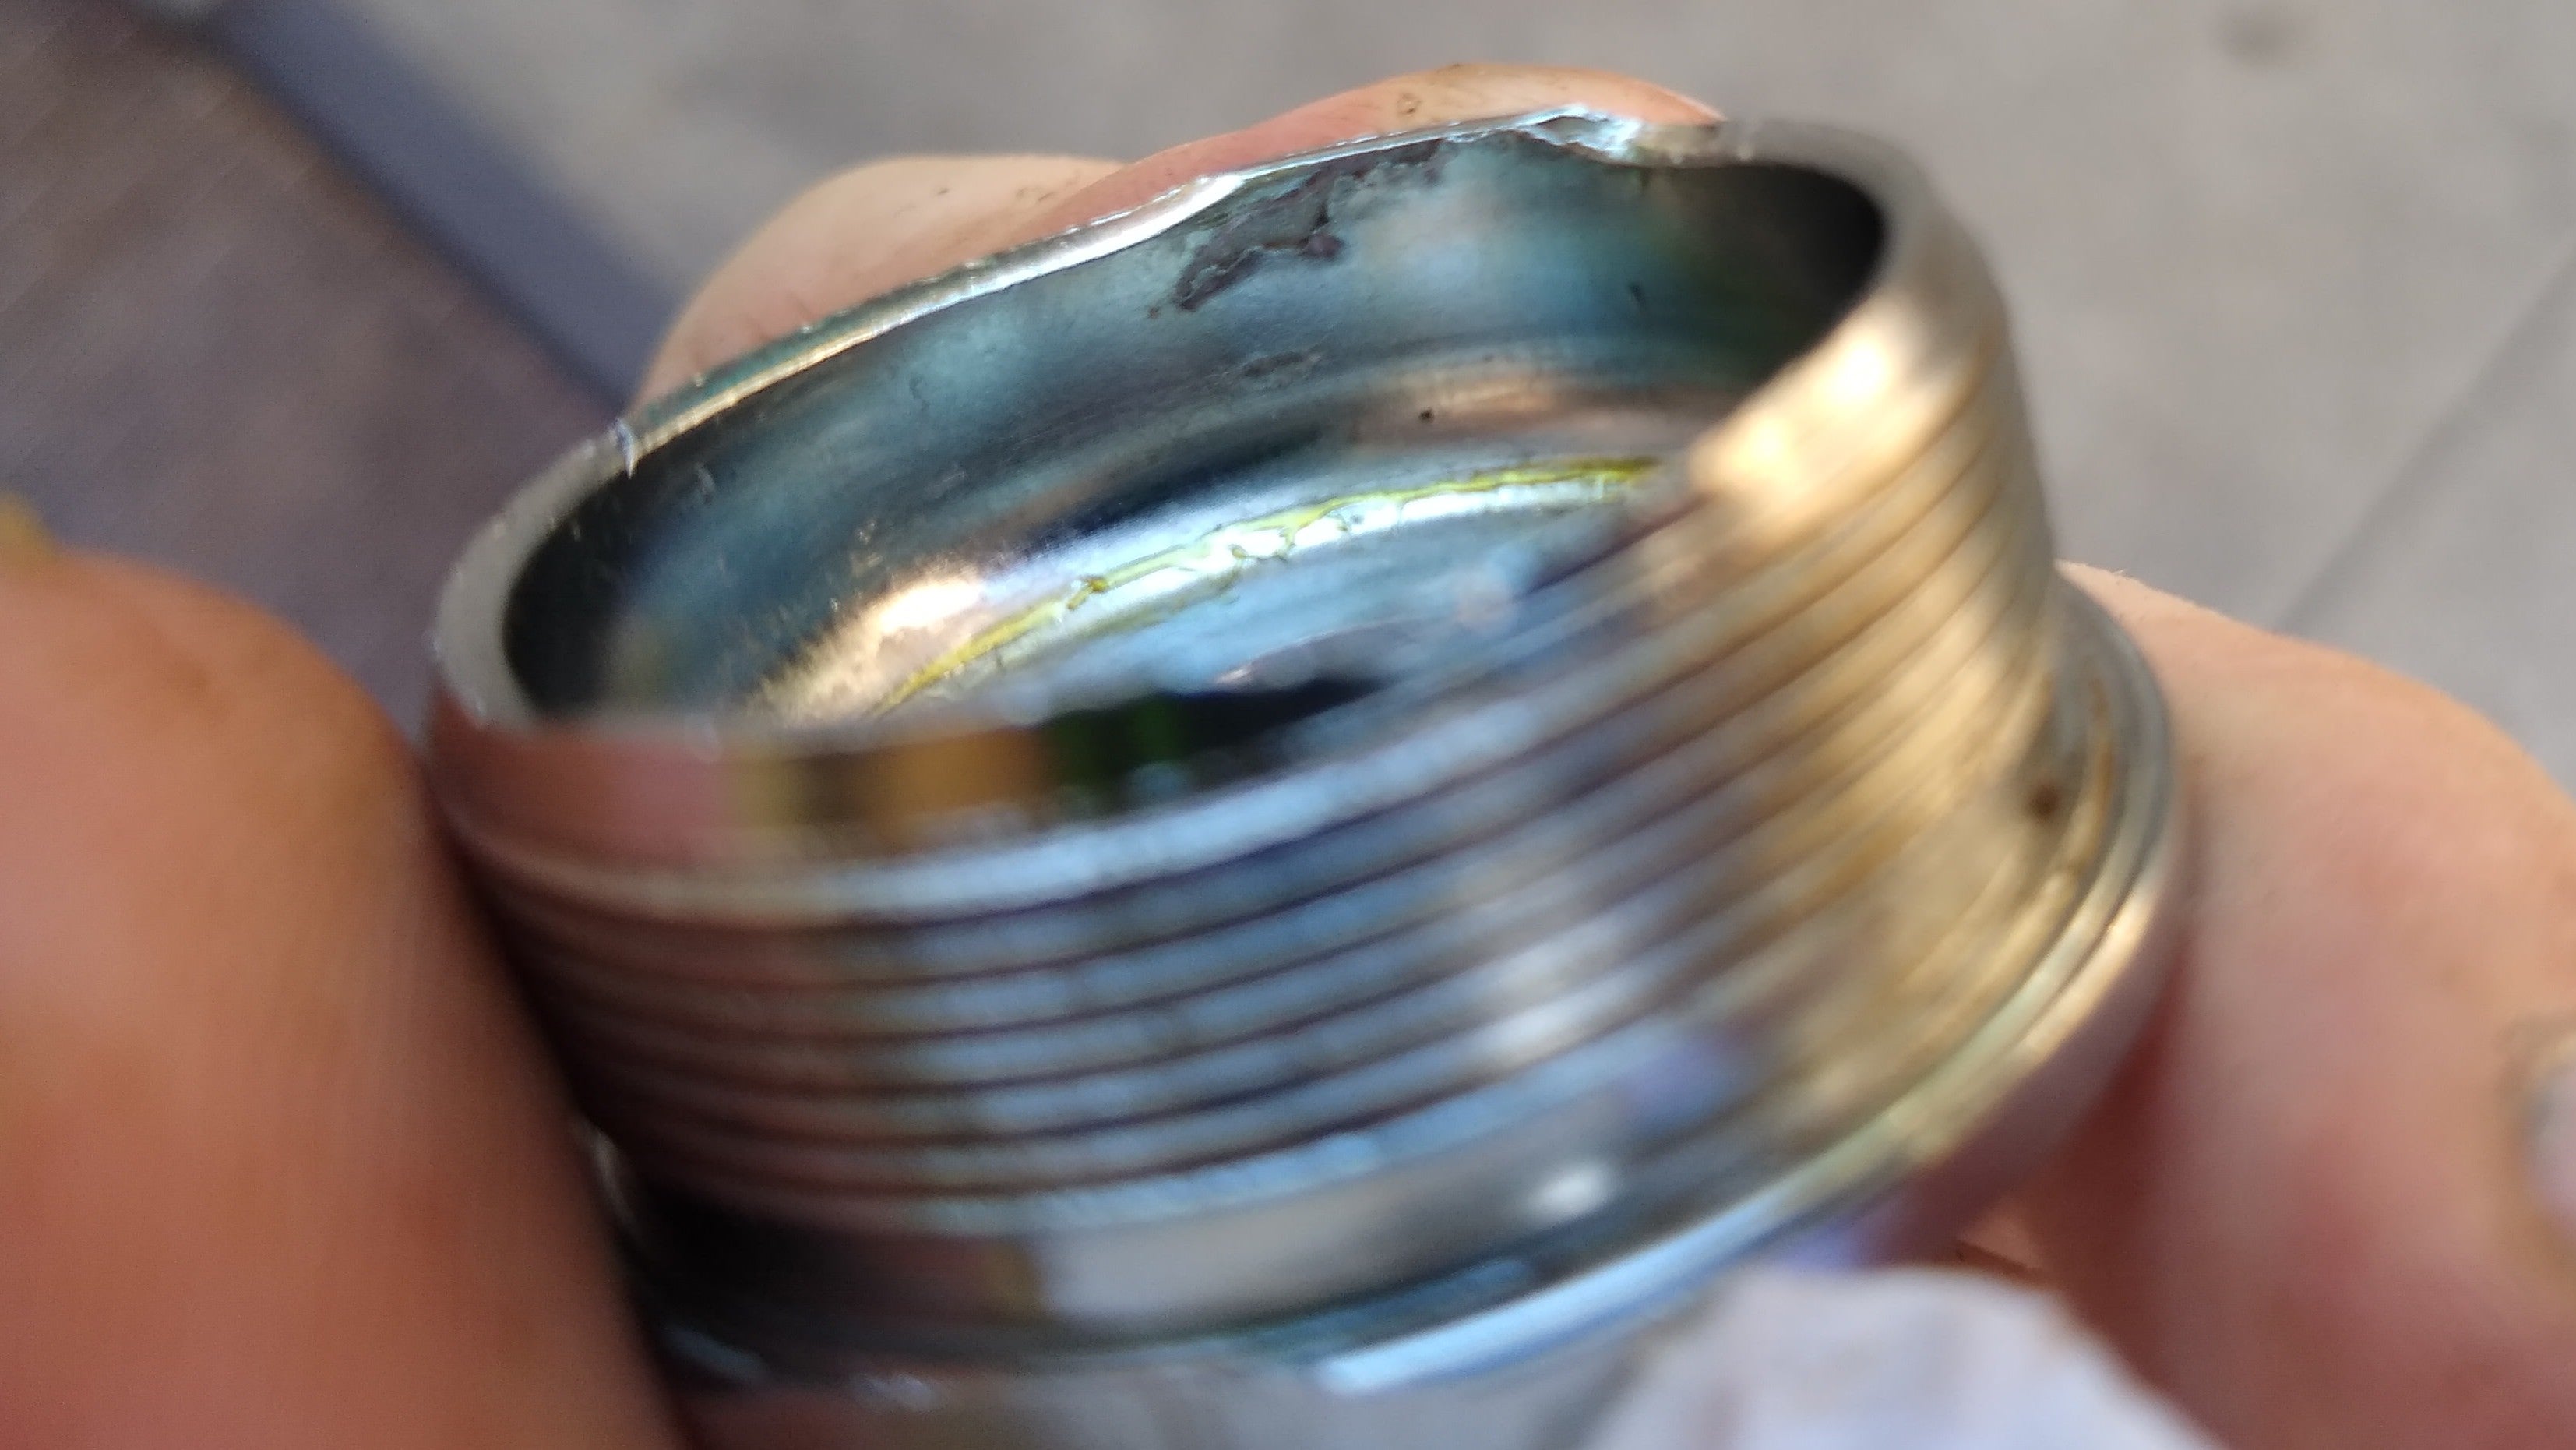
That back together, I stuck the crank arms and pedals back on and called that part good.
By this time my Amazon orders had arrived, so I set about replacing the brake cables, housings, and pads. Having done this on the Varsity, I made short work of it.
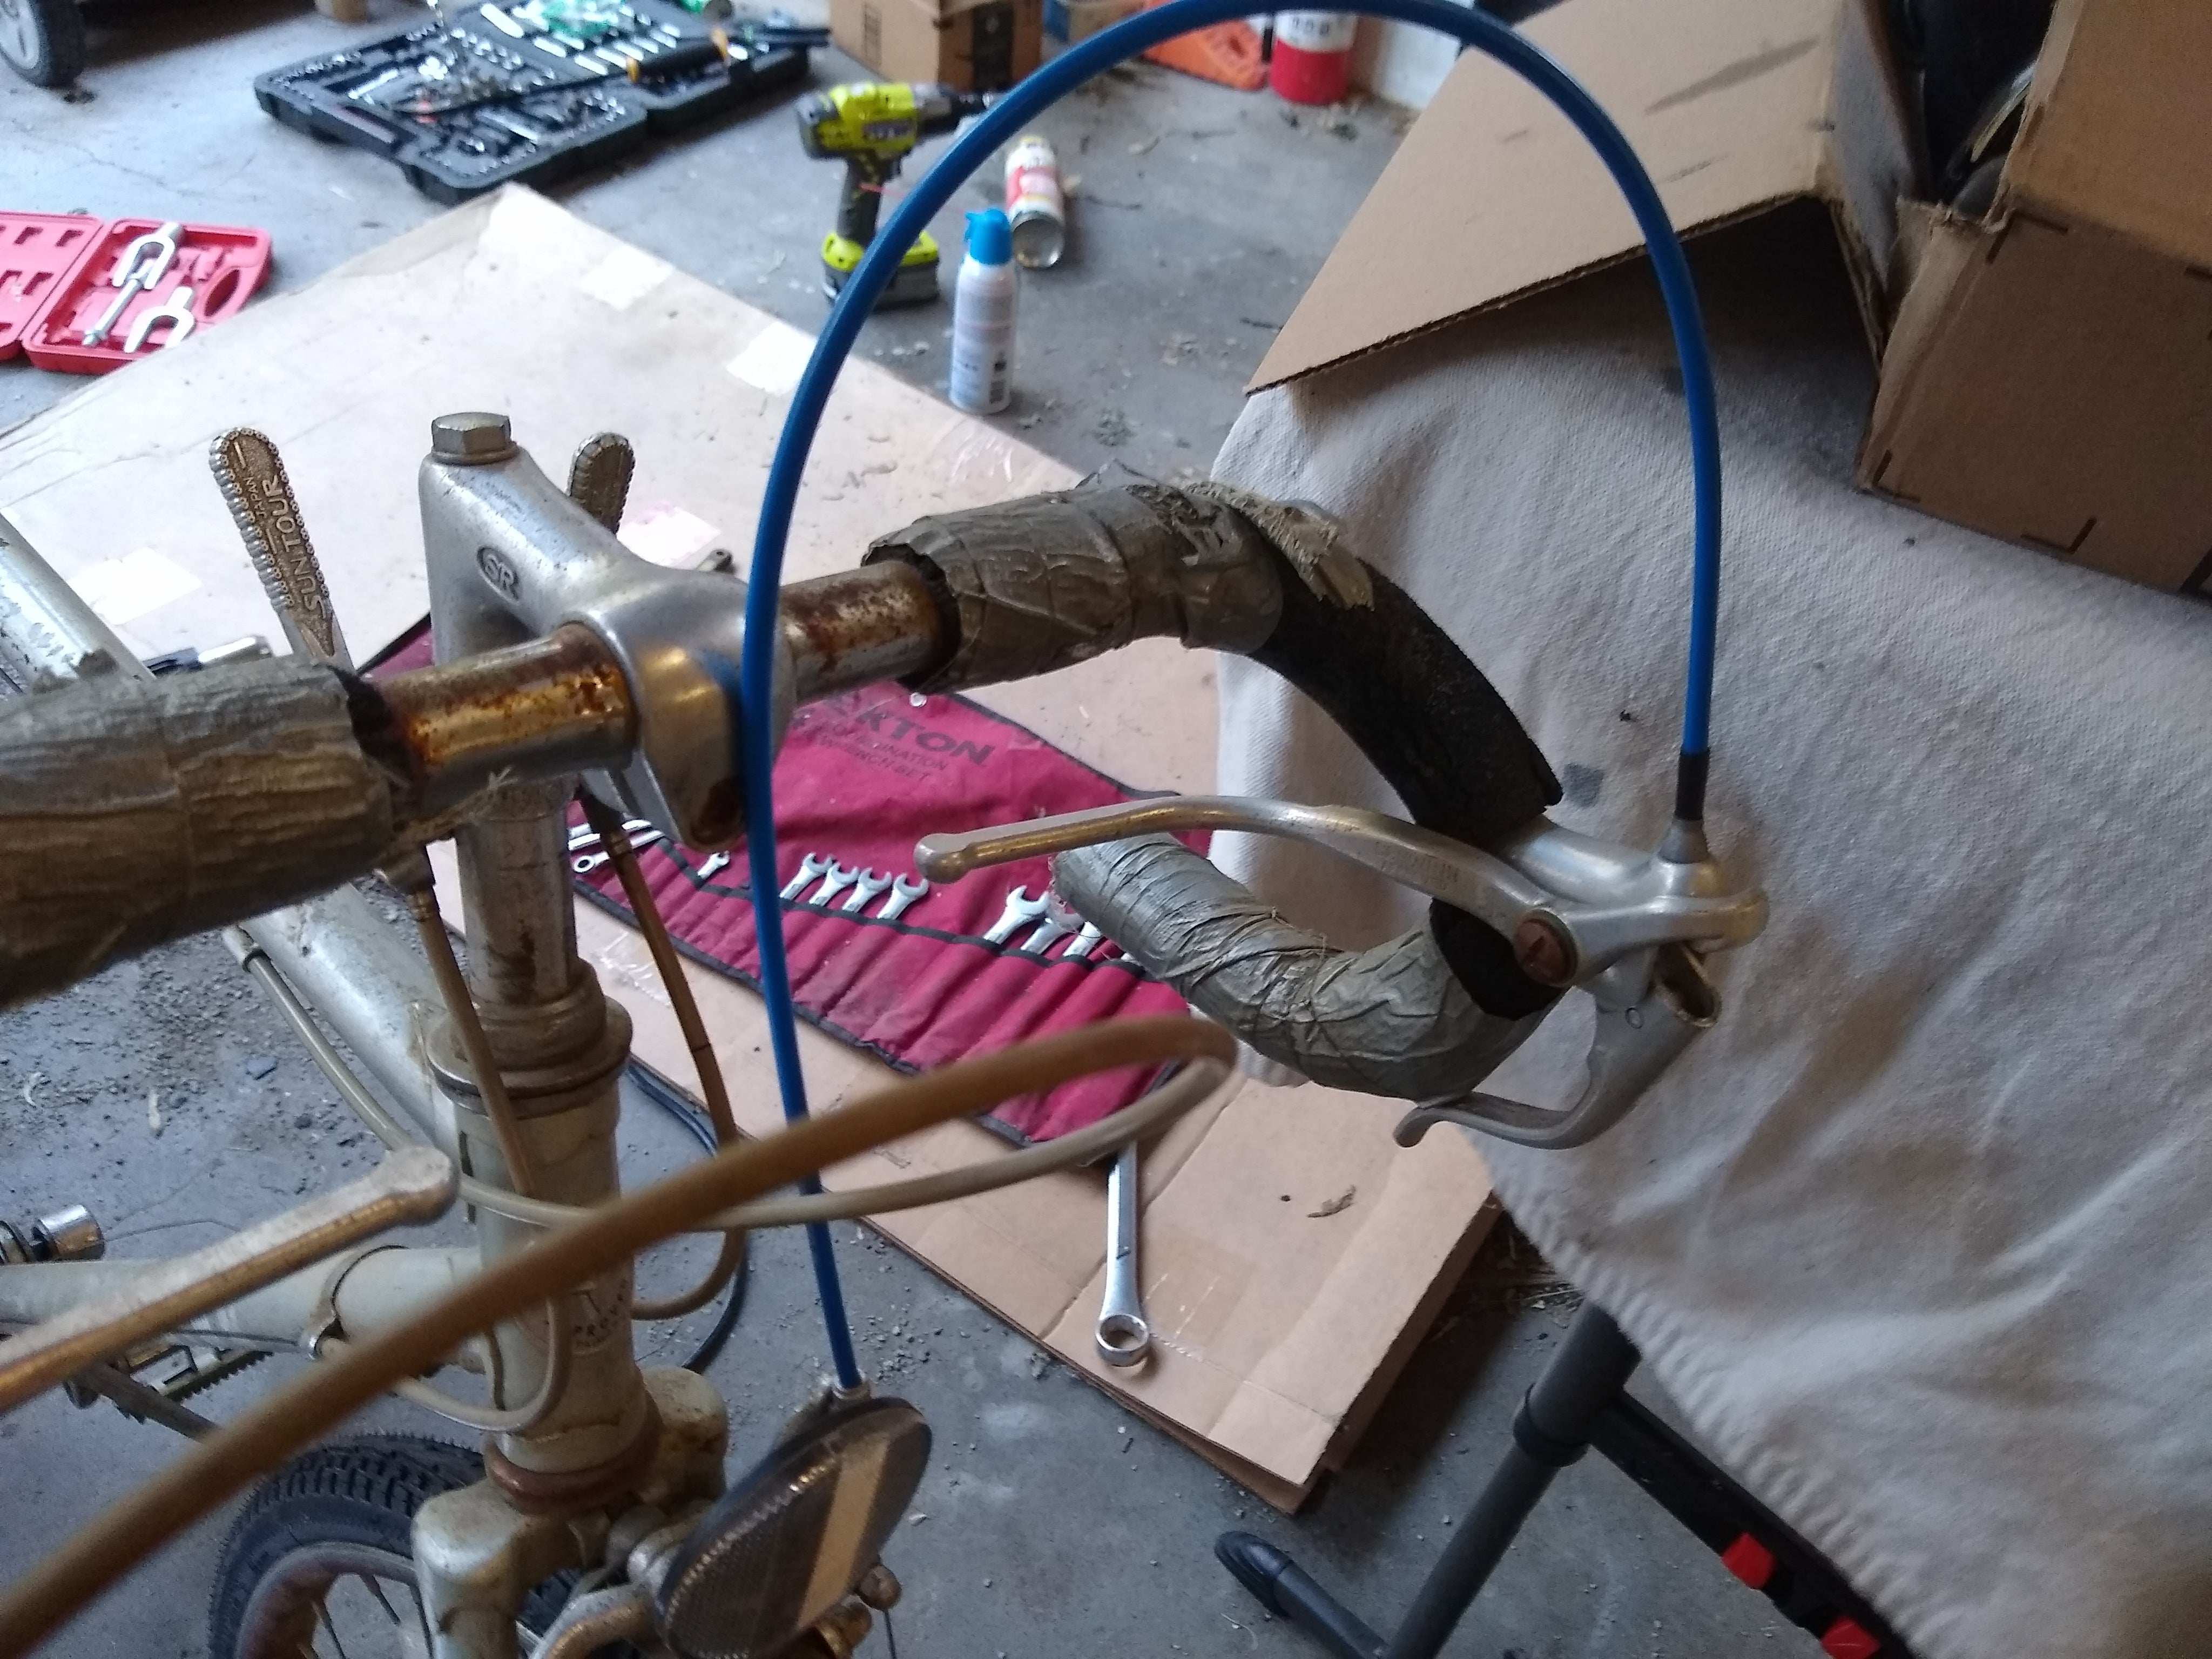
After that I cut the new chain to the correct length and proceeded to put it on.
But it wouldnít go on.
First problem was the rear derailleur was fully out, so the chain kept wanting to come off the tensioner. Annoying, but dealwithable.
The second problem was the new slip link (or whatever theyíre called) wouldnít go in, no matter how hard I tried.
Iím going to guess all the bike people know what I did wrong here.
Yeah... I cut the wrong part of the chain. This means the new chain is going to be 1 link shorter than the old one.
Does that matter?
Weíre going to find out!
Where we call it done
At this point I probably need new shift cables, but donít have them so Iím ignoring it. I also havenít wrapped the handlebars yet, though I have the tape, so weíre ignoring that.
Actually the bike is ready to try out? I guess?
So in the last gasp of sunlight I take it for a spin.
And I donít die.
First Ride Observations
The rear derailleur is completely non-functional. Odd, because it seemed to work when I bought it. That needs to be investigated. The front, however, works fine.
The brakes are OMG SO MUCH BETTER than the Varsity, likely due to the more mechanically advantageous brake levers. Or better pads. I didnít do good science there.
Iím still not totally sold on the drop bars. However, these are slightly wider than the ones I removed from the Varsity and with some adjustment I think I can live with them. The improved braking alone makes them worth keeping.
Also the bike feels more willing than the Varsity, likely due to being 10 pounds lighter and maybe because I used better grease on this build.
The Work Continues
Unfortunately while I can claim a moral victory, the bike wasnít exactly ready to go far just yet, so I soldiered on into the night.
First off I took a look at the derailleurs. In hindsight, I realize the rear was just super out of adjustment, but at the time it seemed as if it was binding in the crusty housing. Unfortunately the cable was so frayed, removing it meant replacing it, which would spell game over for rideability until a new one could be acquired. New cables from Amazon wouldnít make it until the day after next, but I was reasonably confidant I could pick up a new pair at Bike Shop B or C (never A) the next day anyway.
Moving on, I started to adjust the drop bars and hoods and quickly ran into problems. Research indicated the drops should be at about a 5 to 10 degree angle to the ground. Moving the bars such that this is the case puts the top of the drops and hoods in a really odd configuration that doesnít seem like it would be comfortable. However, adjusting the bars such that the top was reasonably flat and I could get fairly good fit on the hoods, meant the drops seemed like now theyíd be uncomfortable.
At this point what I need to do is ride around some and determine what works for me, but Iím doing the best I can with the information I have available because I really donít want to have to re-wrap the bars if I can help it.
I imagine it is actually unavoidable, but getting it close the first try is my goal.
Eventually I settled on a 12 degree on the drops and a fairly high set for the hoods, which seemed like it gave a comfortable position on both positions, plus good access to the secondary brake levers when riding on the tops. Iím going to attempt to fill in the gap between the hoods and the tops with a little extra tape.
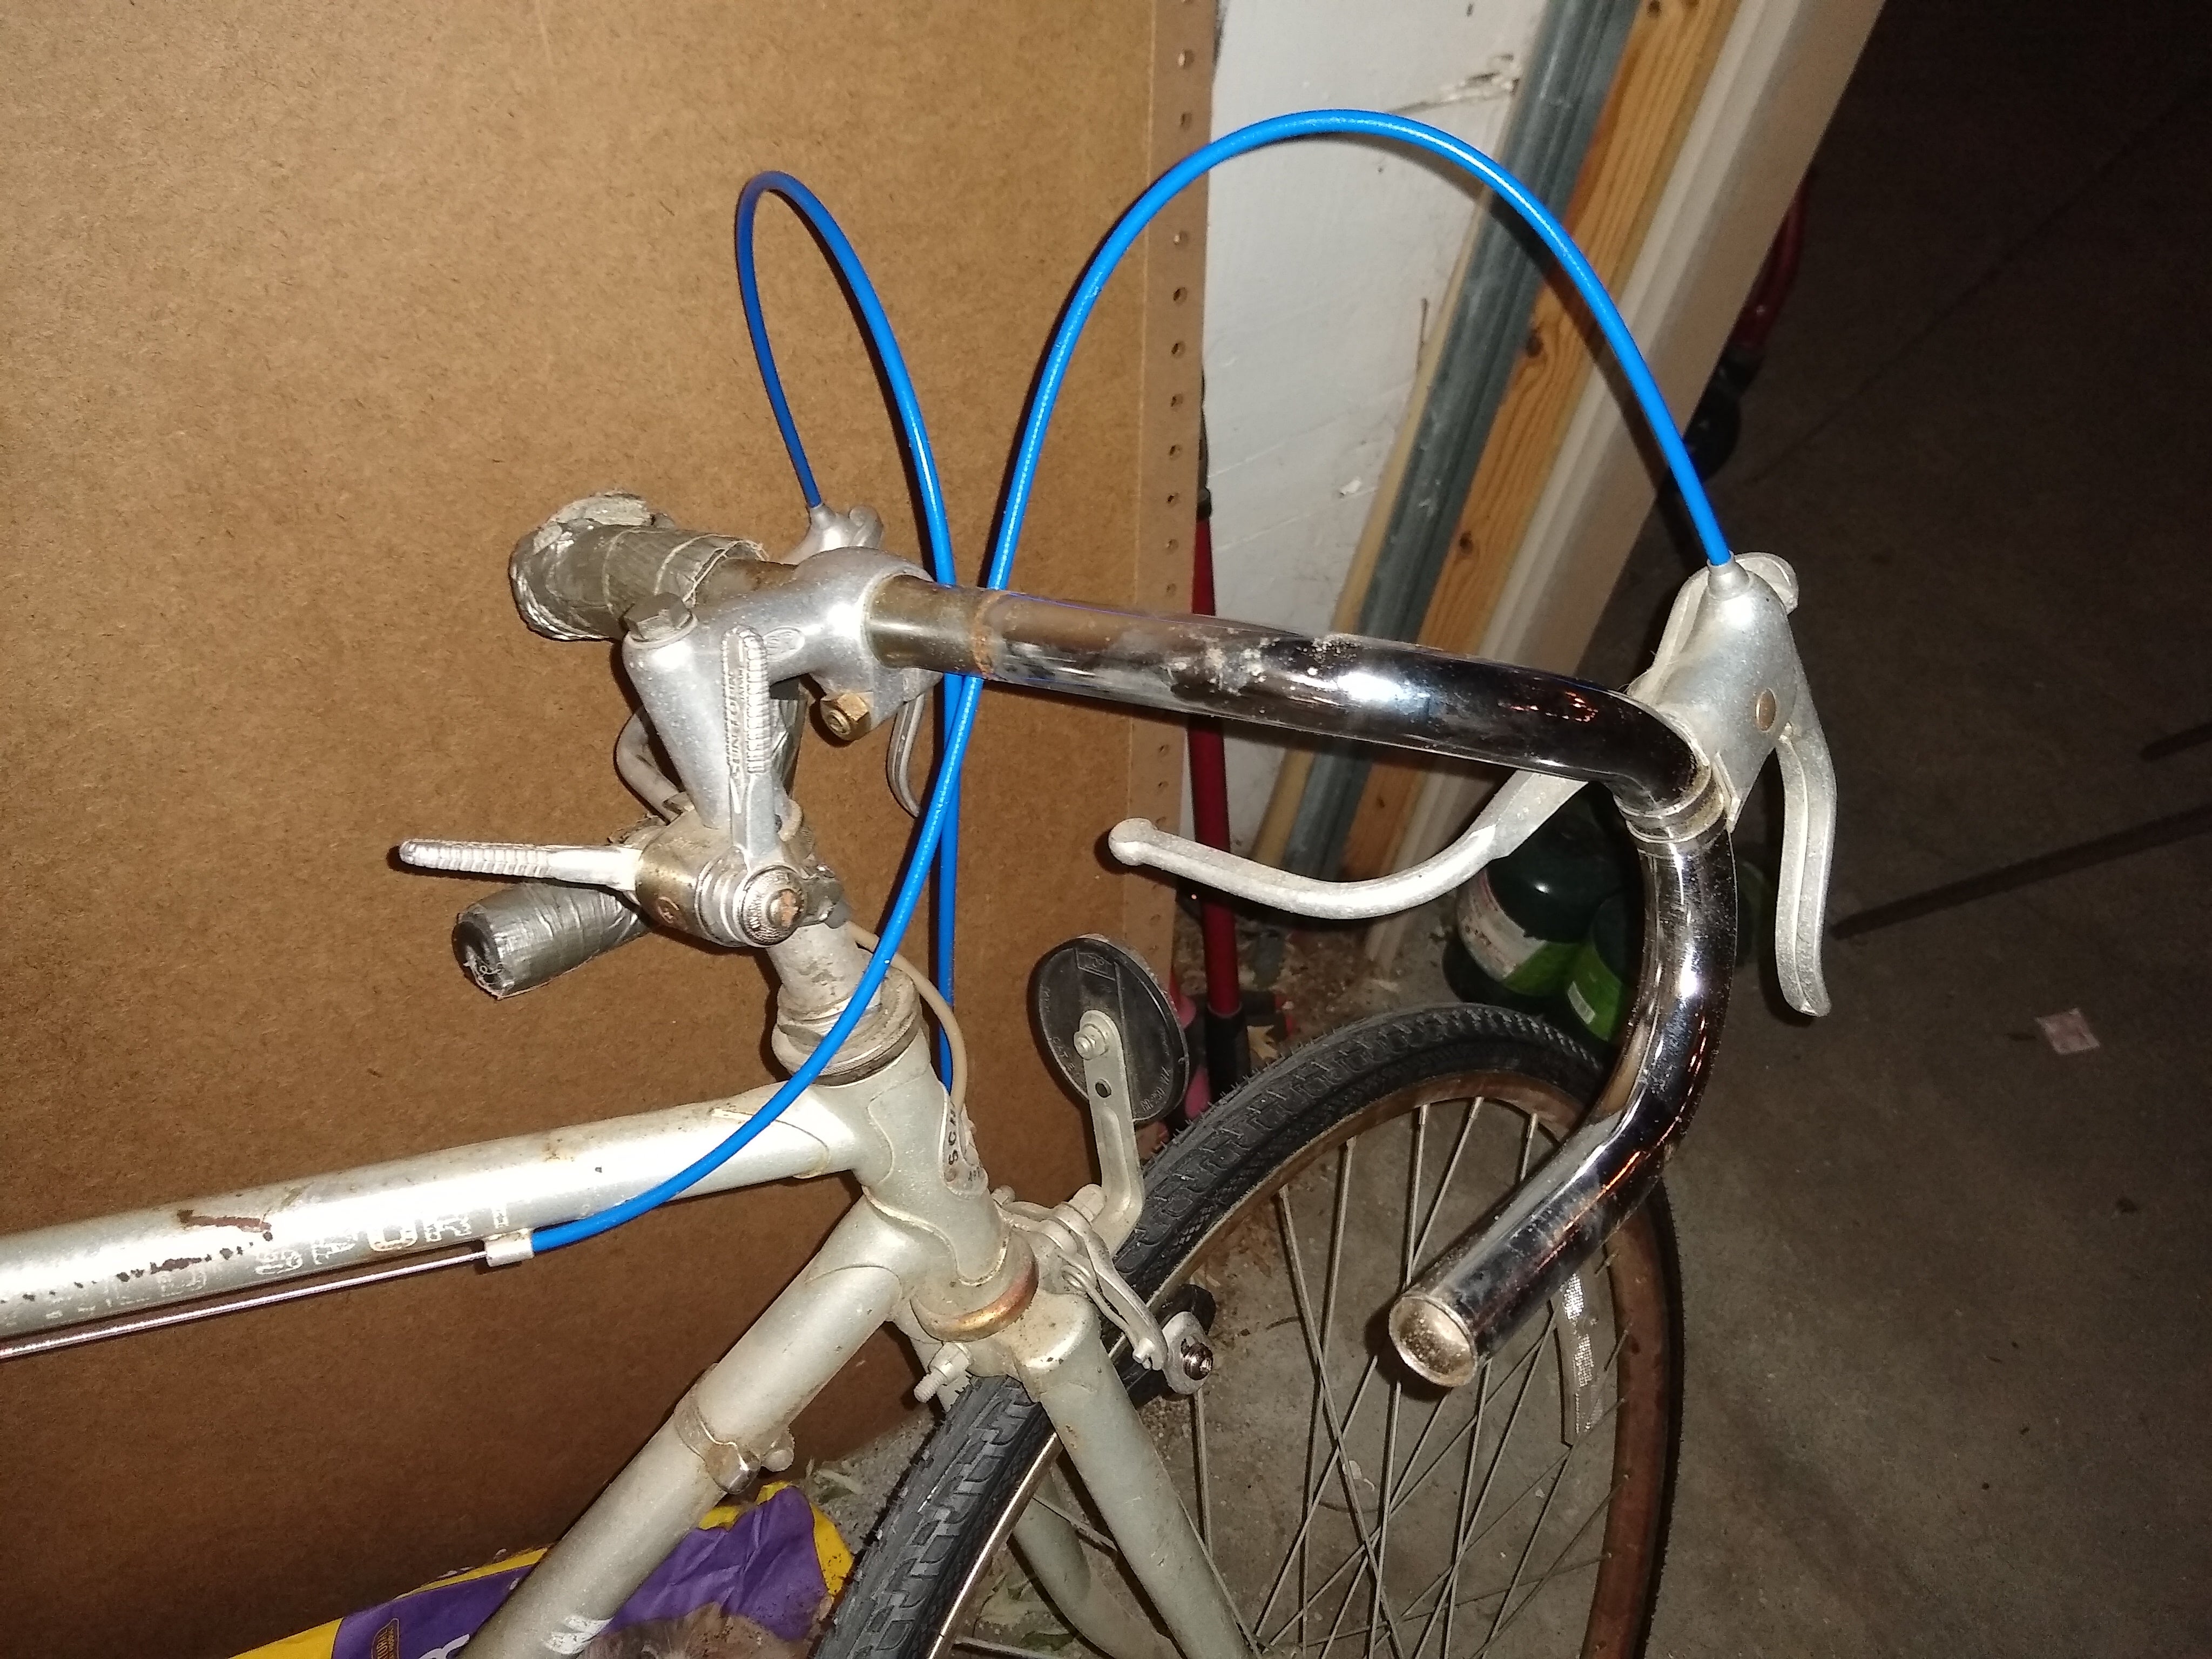
Speaking of, with that completed I could now go ahead and apply new grip tape to the bars...
Or could I?
See... this is where my inner manic came out to play.
Initially Iíd chosen blue for the new brake cable housings and grip tape. As this bike was silver I thought it would look nice and give a decent look, but I wasnít loving it. It just didnít POP or compliment the bike in any way. Honestly really any color would have done better. White... black... red...
What it really needed was orange.
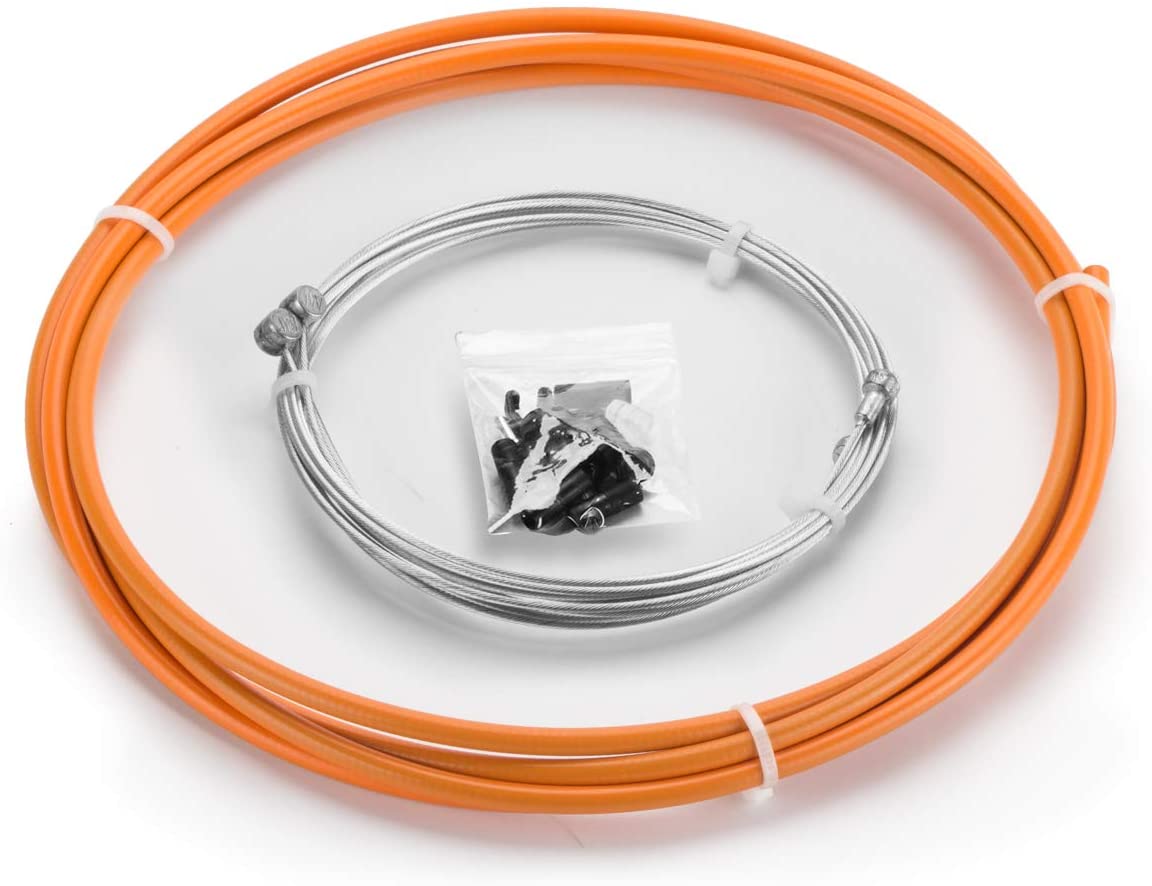
Ok fine.
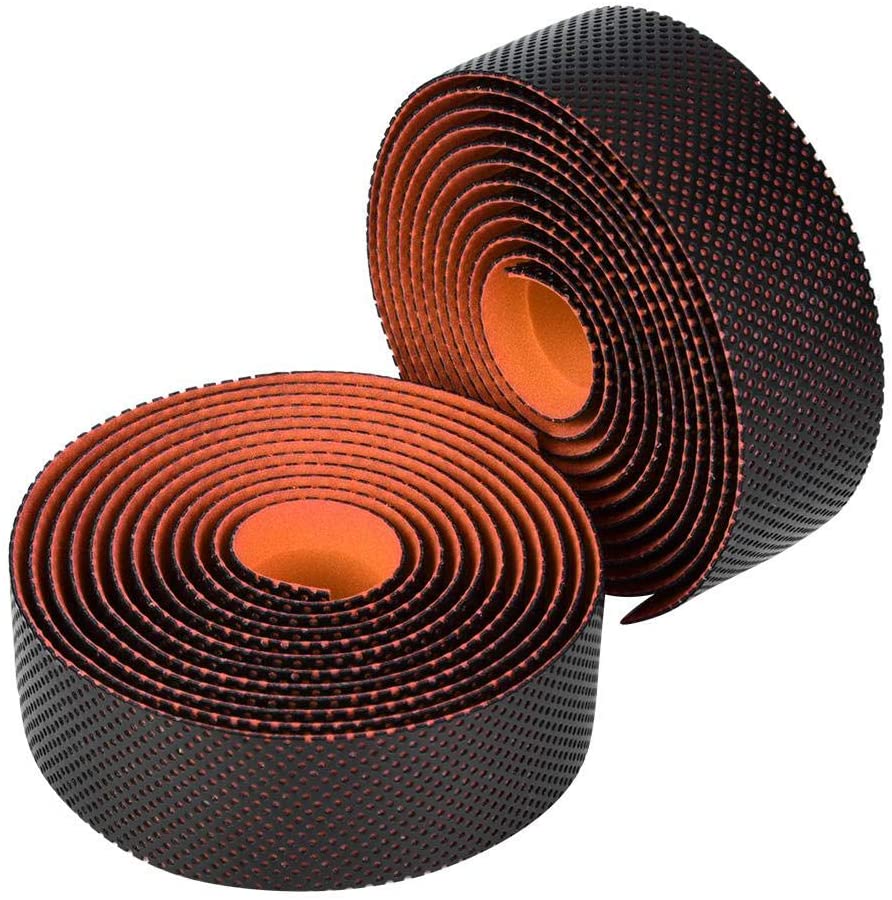
Then what color for the grip tape? Blue would look... interesting, but no. Orange would look fine but might be TOO MUCH orange all in one place. Black would be trivial, but maybe not the look I am going for. Red would look good in concept, but in practice likely look like Iíd just failed to match colors properly. White could look good, but I canít imagine that wouldnít IMMEDIATELY look gross... So... Orange?
Ok.... so am I really willing to delay getting this thing on the road by two days just so I can have a different color scheme?
Yes, yes I am.
Am I confidant Iíll like it?
Oh hell no.
Am I aware that worrying about aesthetics on a bike like this is a little silly?
I mean... yes... and no. I like the mix of genuine patina and ultra modern bits. Kinda a rat rod look... but on a bike.
Two Days Later
Alright so I blew the whole ď36 hourĒ thing waiting on a new color scheme.
Totally worth it though!
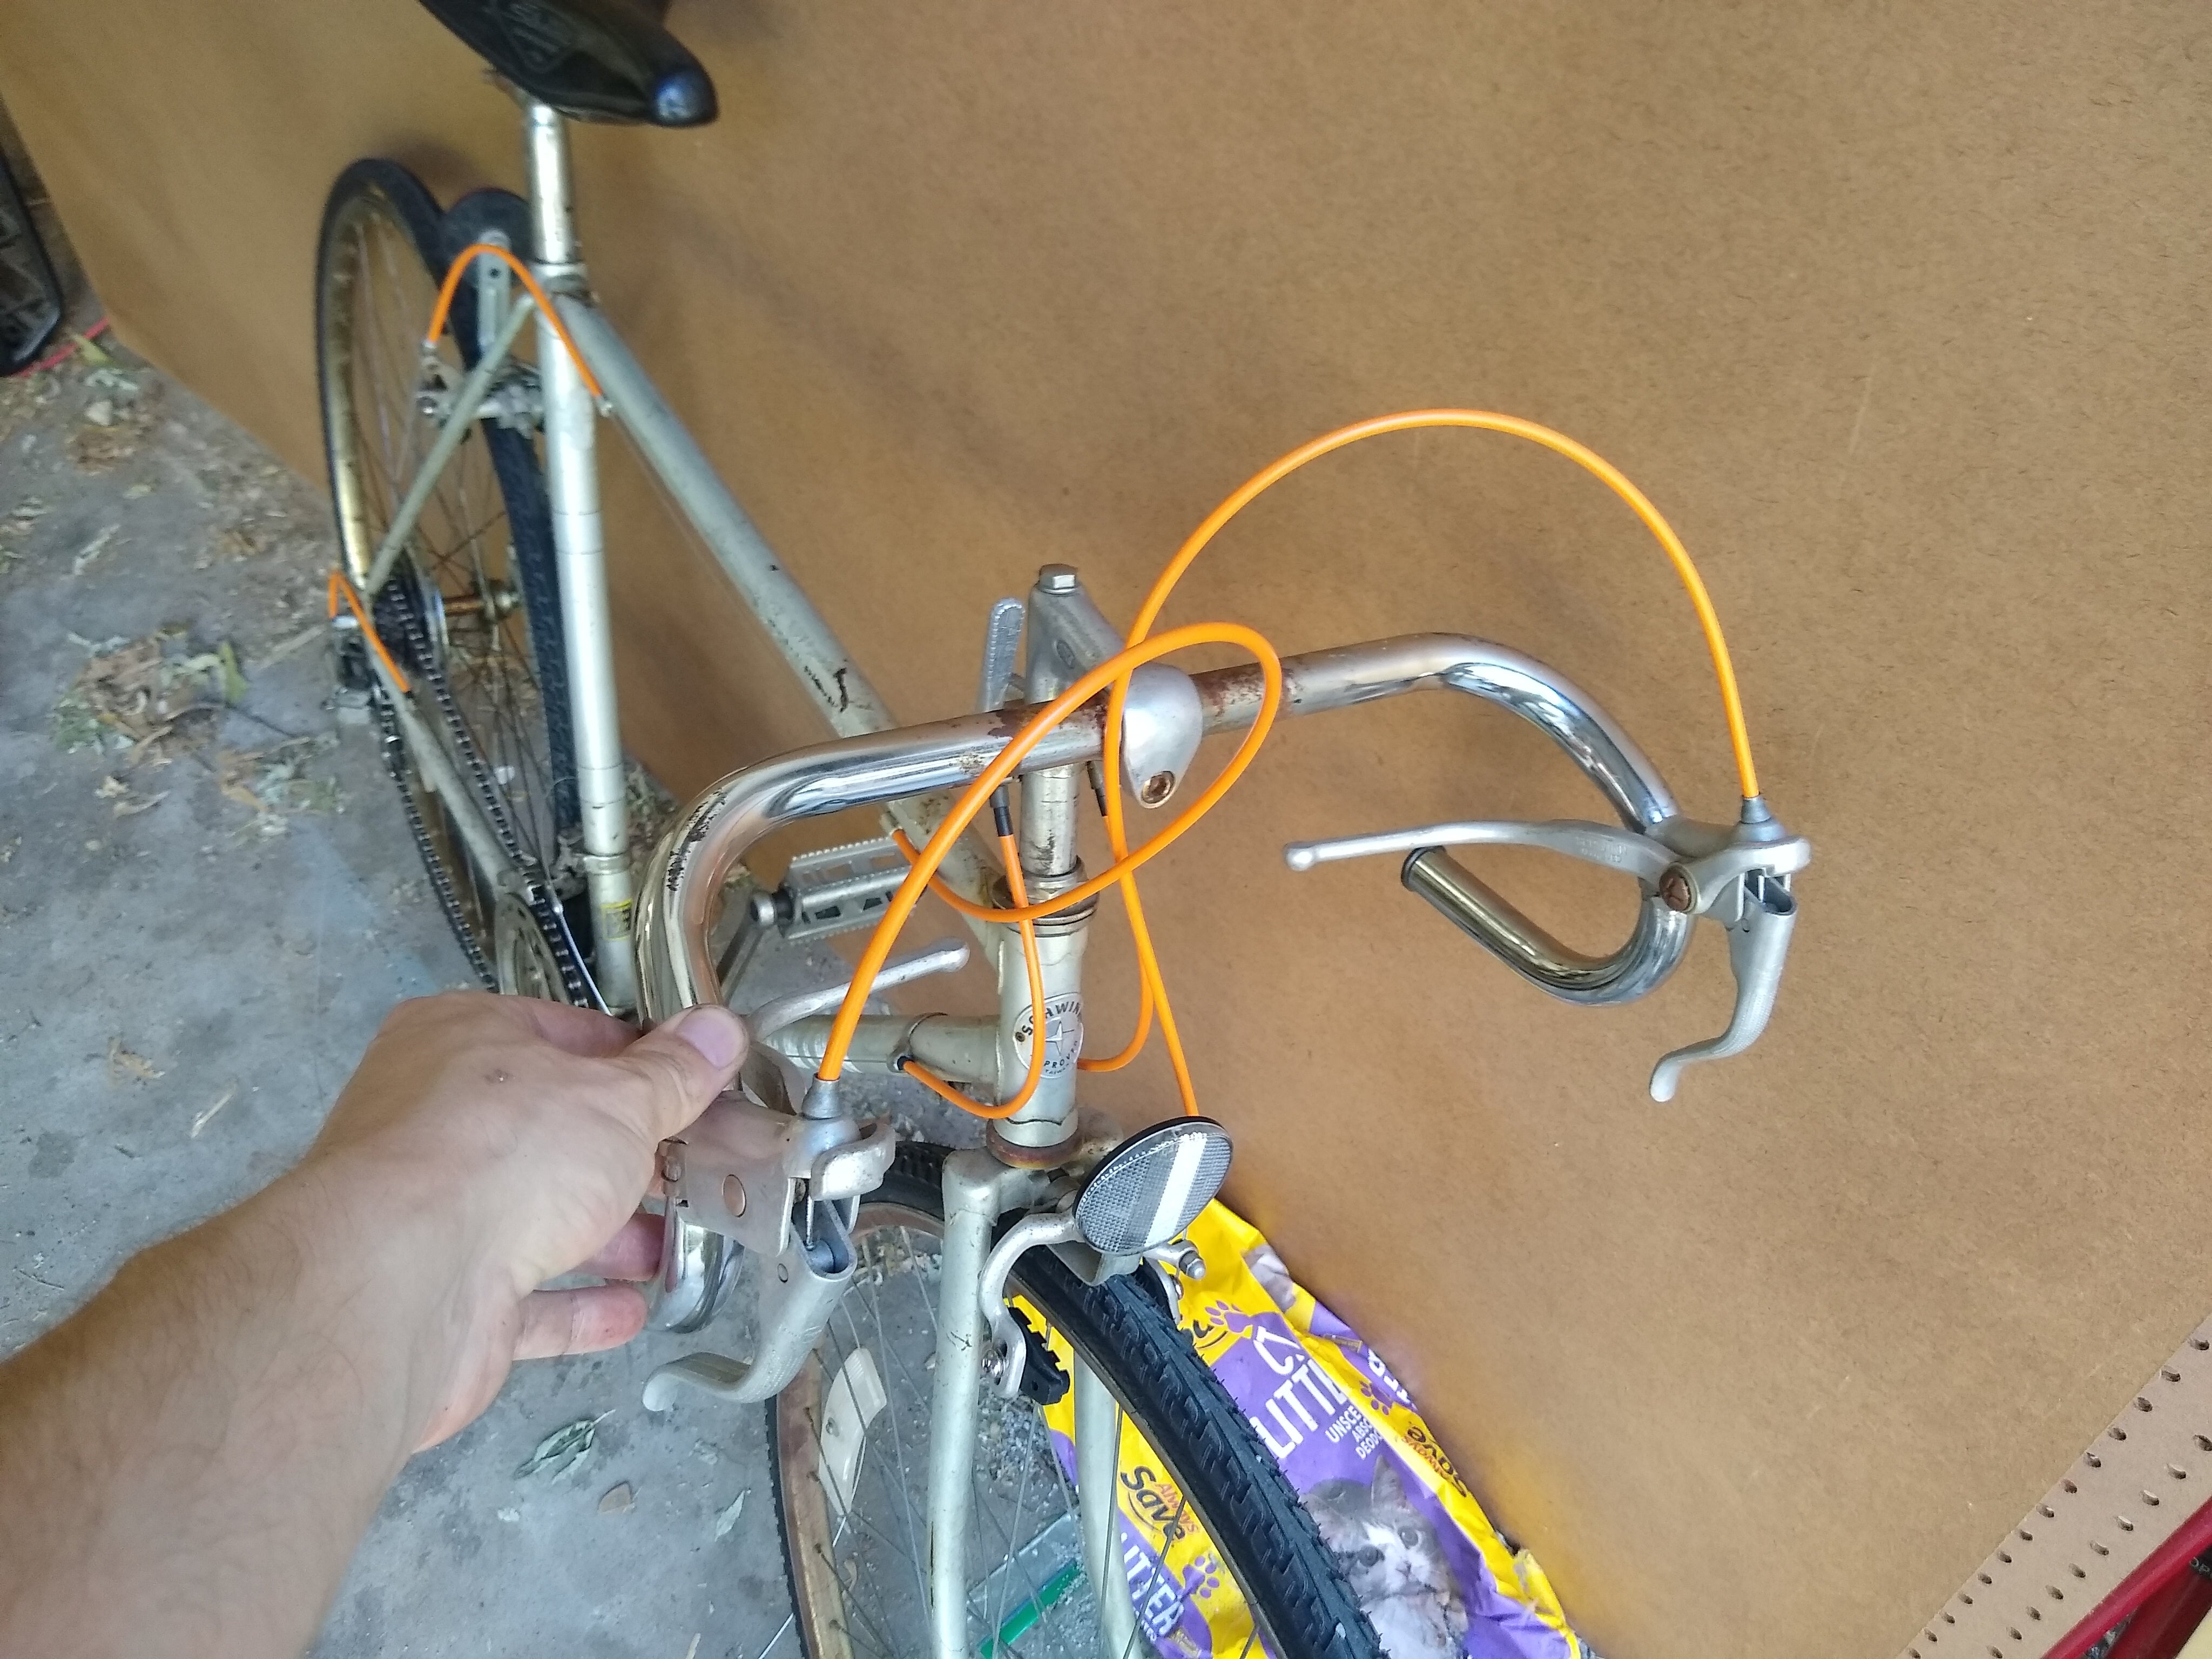
Friday afternoon I set to work replacing the cable guides for both the brakes and the derailleurs with the new orange stuff.
I will say I almost left some blue to give it the whole Gulf Racing colors vibe... and reserve the right to at a later date.... but for now Iím digging the orange.
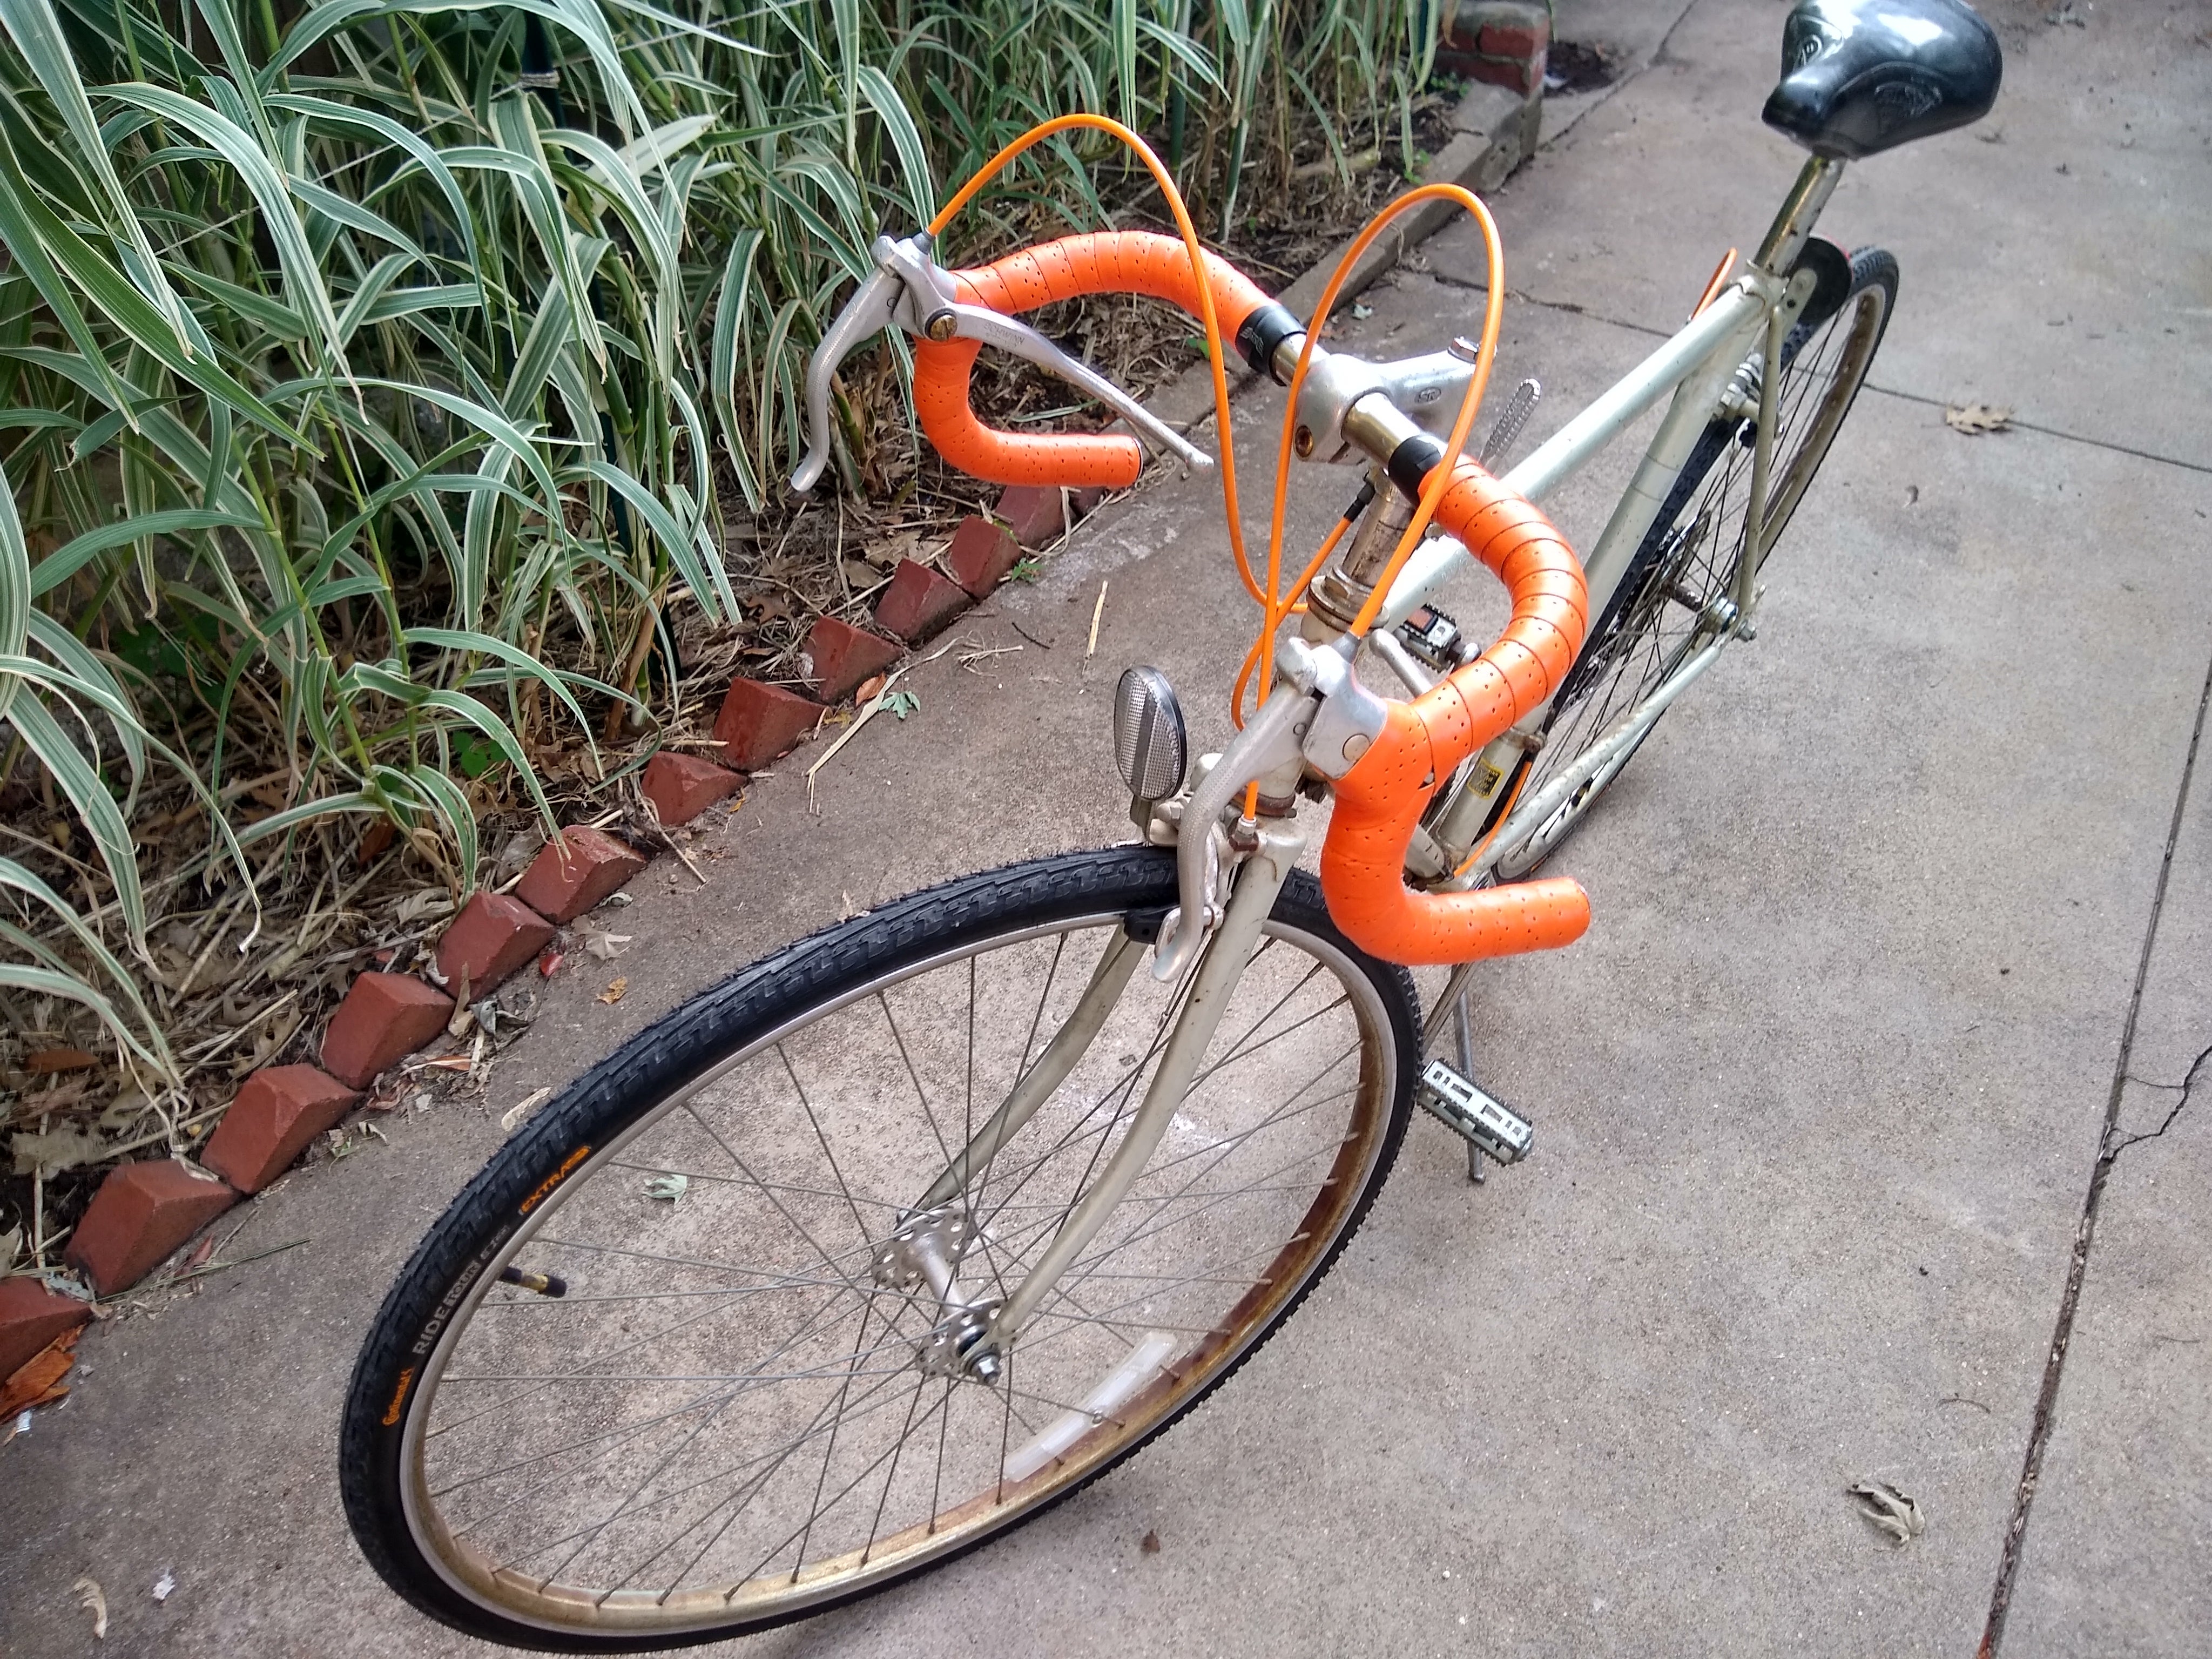
With that done, I set about wrapping a bar for the first time. The black and orange stuff doesnít come in for a couple days, but I got some straight orange stuff now that I figure is worth a shot.
The YouTubes informed me of the correct method, wrapping with the hand rotation and reversing when you get to the brake levers, and after a few tries I had something I was happy with.
And suddenly a bike appears!
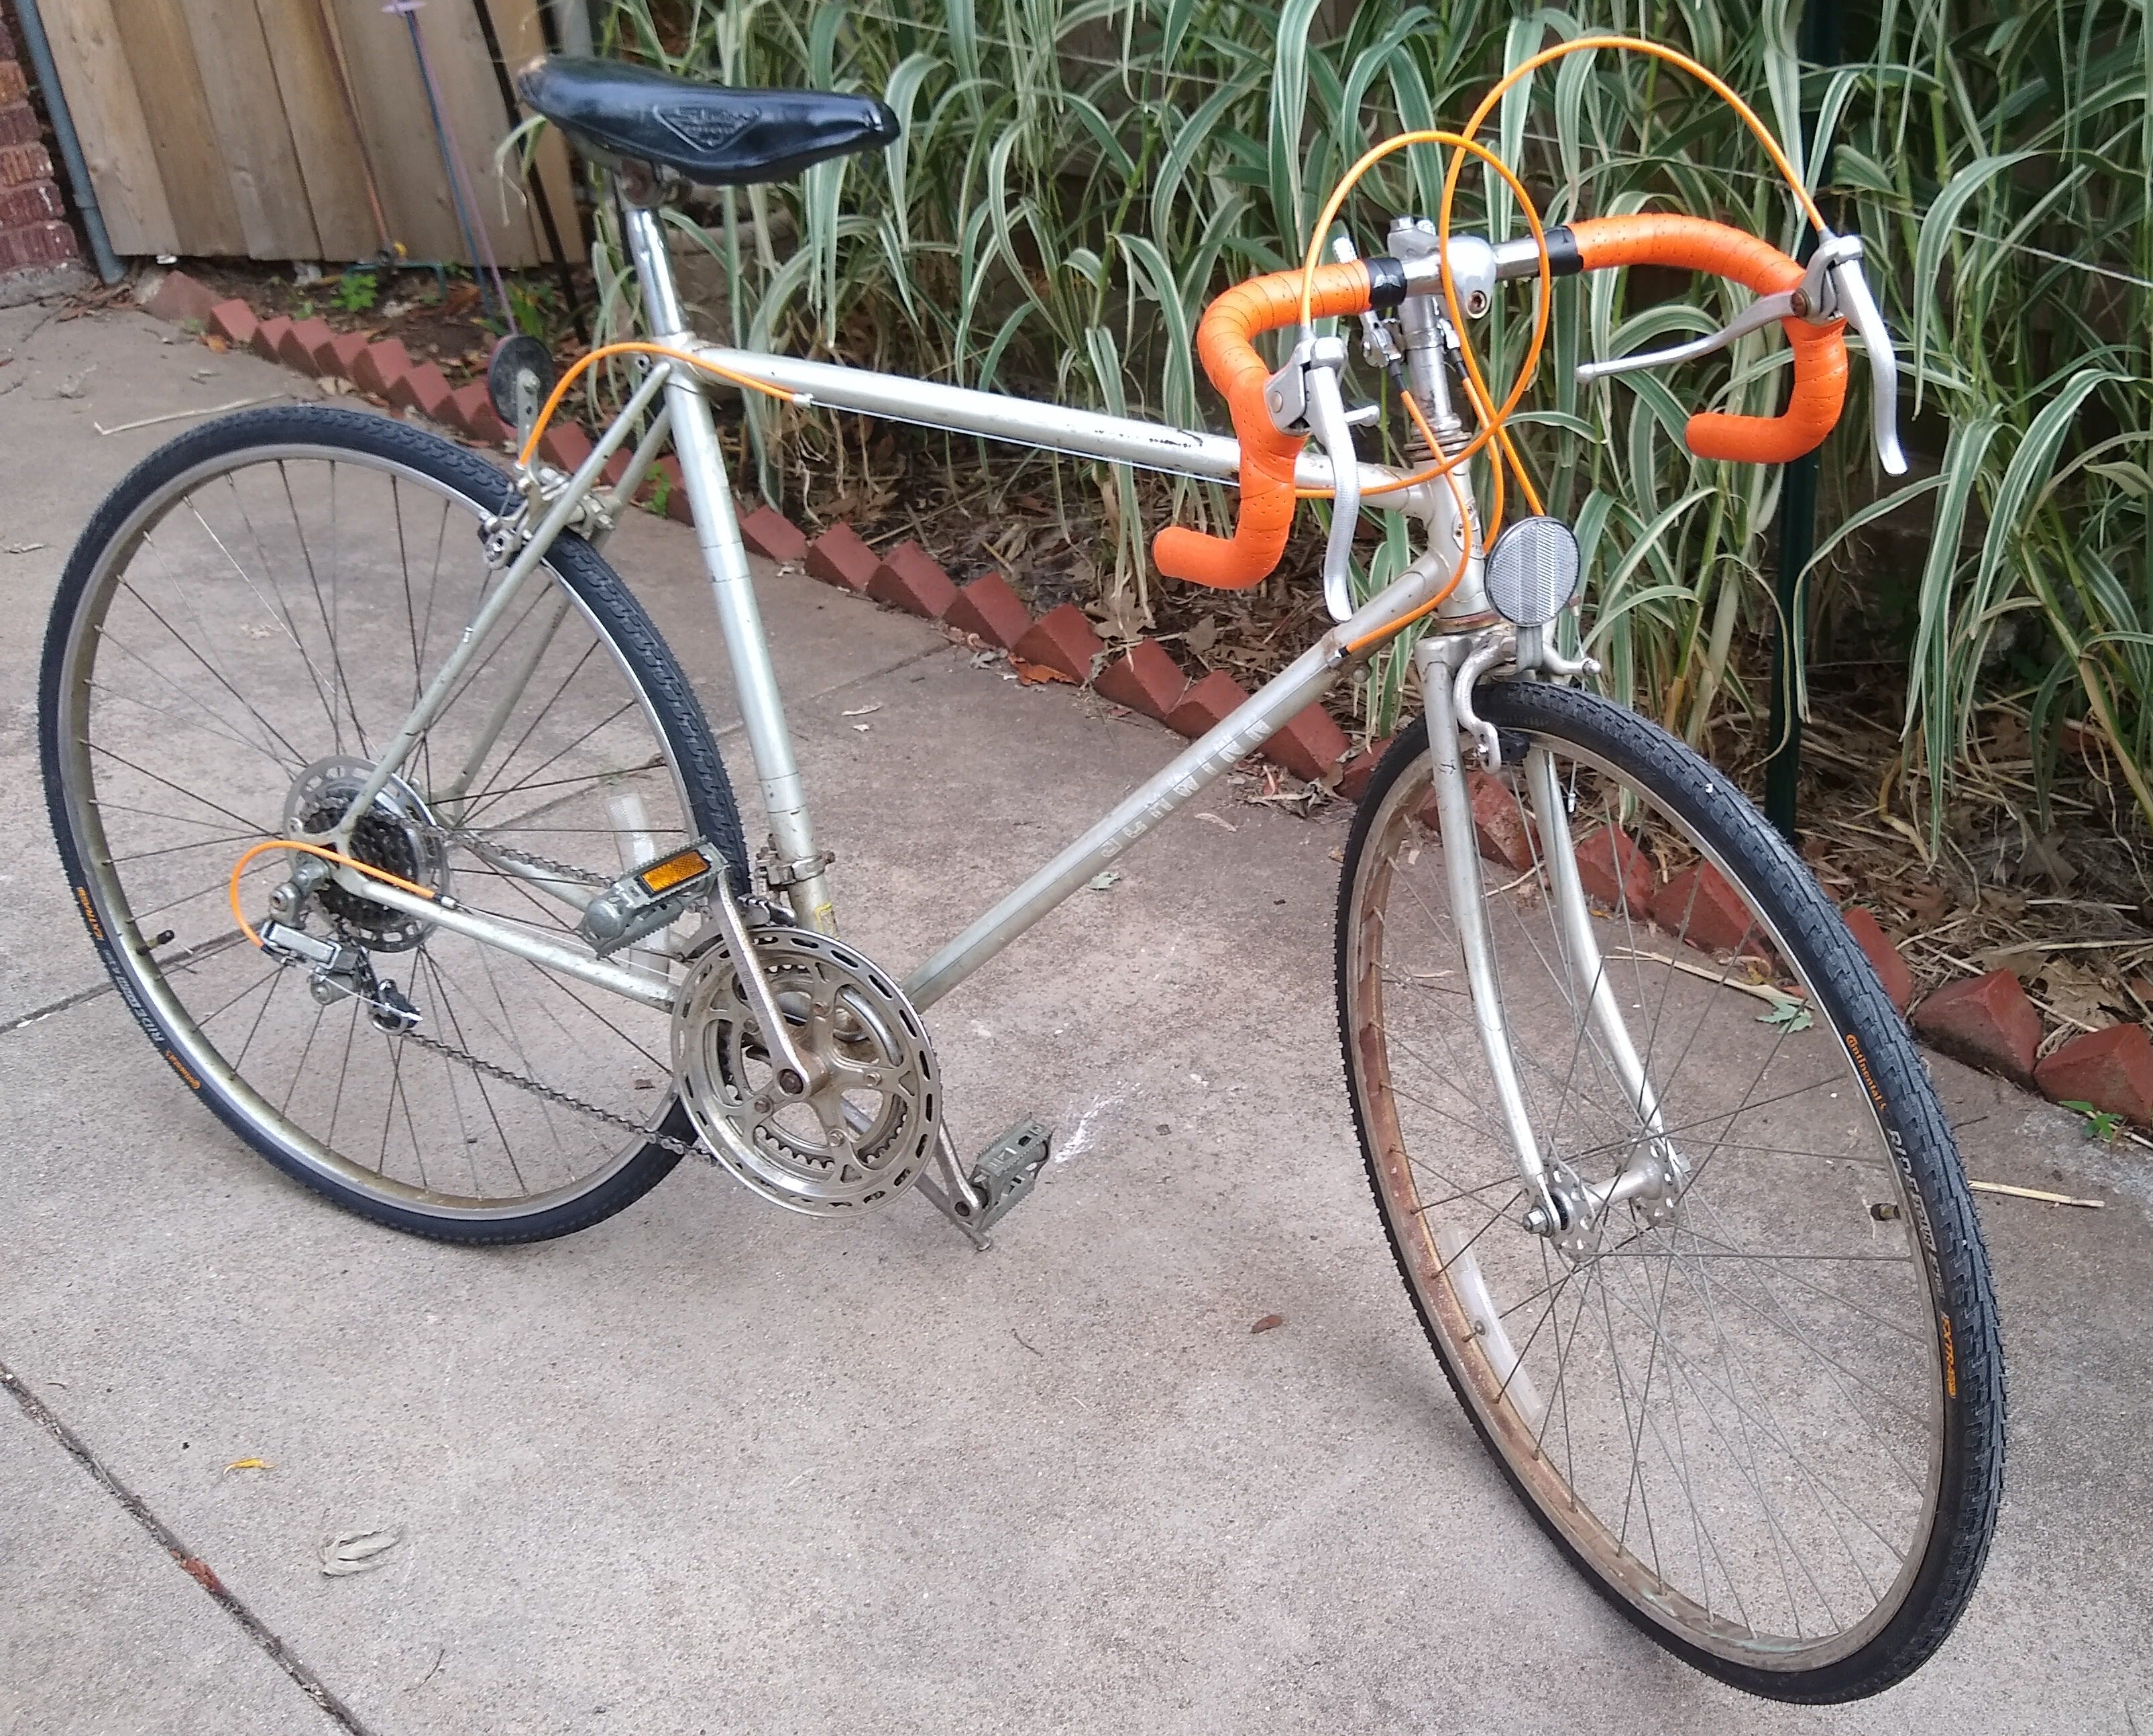
Cost Breakdown
Ugh... I guess I should break that down huh?
Bike - $25
Tubes, Tires, and Tape - 2x$8, x2$25, 2x$2 + tax = $76
Install (optional) - $24
Brake Cables - $10
Chain - $14
Pedals - $29
Grip tape - $20
Shift cables - $16 (+8 extra)
Brake Pads - $10
Bearings and grease - $0
Approximate Total: $222

Well Iíd budgeted $200 for this project, so Iím a little bummed I didnít hit that. If the pedals had been rebuildable (or Iíd opted for cheap $8 nylon ones) and if I hadnít sprung for the tire install, I would have hit it.
!!! UNKNOWN HEADER TYPE (MULTI-LINE BREAK?) !!!
Well... sort of. Yes. The Varsity didnít need new pedals, the tires were cheaper, and I didnít pay for install of said tires. With the install cost removed the World cost $198 all in and the Varsity cost $173 all in, a difference of $25.
!!! UNKNOWN HEADER TYPE (MULTI-LINE BREAK?) !!!
Yes well that is also true, but everything by degrees. First of all the gap between my investment so far and the investment needed to get to anything that would make hardcore bike people* happy is still about the price of three Gambler vehicles and a pack of cigarettes. Despite my spend so far, I do have two completely functional, if heavy and slow, bikes that should give me many miles of trouble free motoring pedaling.
*I know not all cyclists are... like that. There is a small, vocal minority that canít be content with people getting into the hobby/sport at any level other than what they see as optimal. You also see this with a lot of car groups, which is one of the many, many reasons I appreciate Oppoís general ďif you like it, it is a good carĒ philosophy.
So you own two shitheaps, what now?!
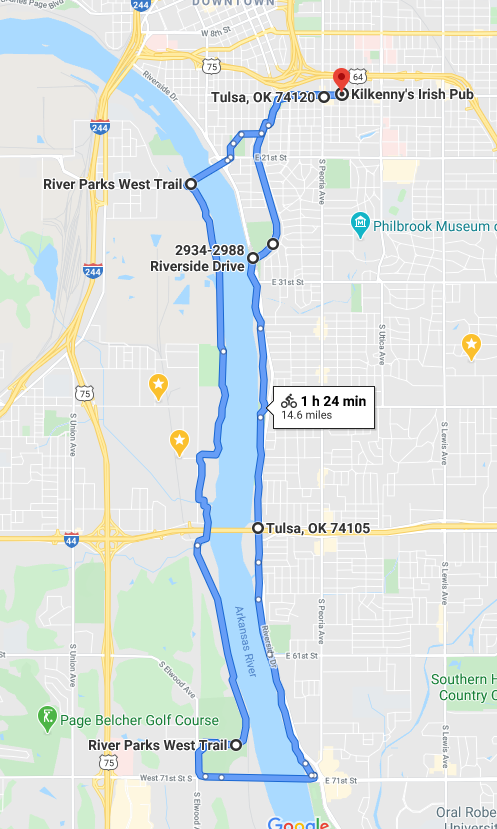
Long term I have no plans for both. I figure either both will end up in use by myself and my friends based on riding needs, etc, Iíll begin to use one over the other, or both will fall into disuse as the weather starts to crest 100F. If I do begin to favor one over the other, there is a mild possibility one could end up on the receiving end of a 2-stroke or 4-stroke engine kit... but that is pure speculation.
Or maybe Iíll just sell them. Iím reasonably sure I could ditch them for at or near what I have in them. Not a flip so much as a ďget out what you can while the market is hot.Ē
Either way, my hope is to increase my range and stamina over time to where I can start branching out into some of the more interesting trails around me. Right now Iím pretty ready to be done after about 10 miles (on the Varsity) and the next loop I want to do would put me at 15 miles. Doesnít sound like much, but that is 50% more distance and about double the elevation change. I could probably do it now, but I really donít want to overdo it.
I donít expect to do... cycling... if that makes sense. I donít own spandex, I have no padded underwear (or... at least not in the butt...), I havenít downloaded Strava, I donít have a commute, weíre not going out anywhere right now so riding to dinner/drinks is out... So Iím not sure.
Are... are you going to buy another one?
Not until next month!
Kidding... I think.
No if I buy another bike I donít expect it to be soon and it will certainly be a better bike. Not sure what that means other than I donít see it being a carbon steel bike with 10 gears and friction shifters. That said, the prices on road bikes of any vintage other than old AF is prohibitive, so, as stated, I donít expect to soon.
Closing Remarks
This was a fun, rewarding project and doubly so to do on a compressed timeline.
Once again planning on this being my last bike post for a while, if for no other reason than I donít think there is much left to say. Also the fleet needs work. The Saabís gas tank needs to go back in, I plan on tearing into the EGR system on the Jag this weekend, and at some point sooner rather than later the Disco is going to need some love.
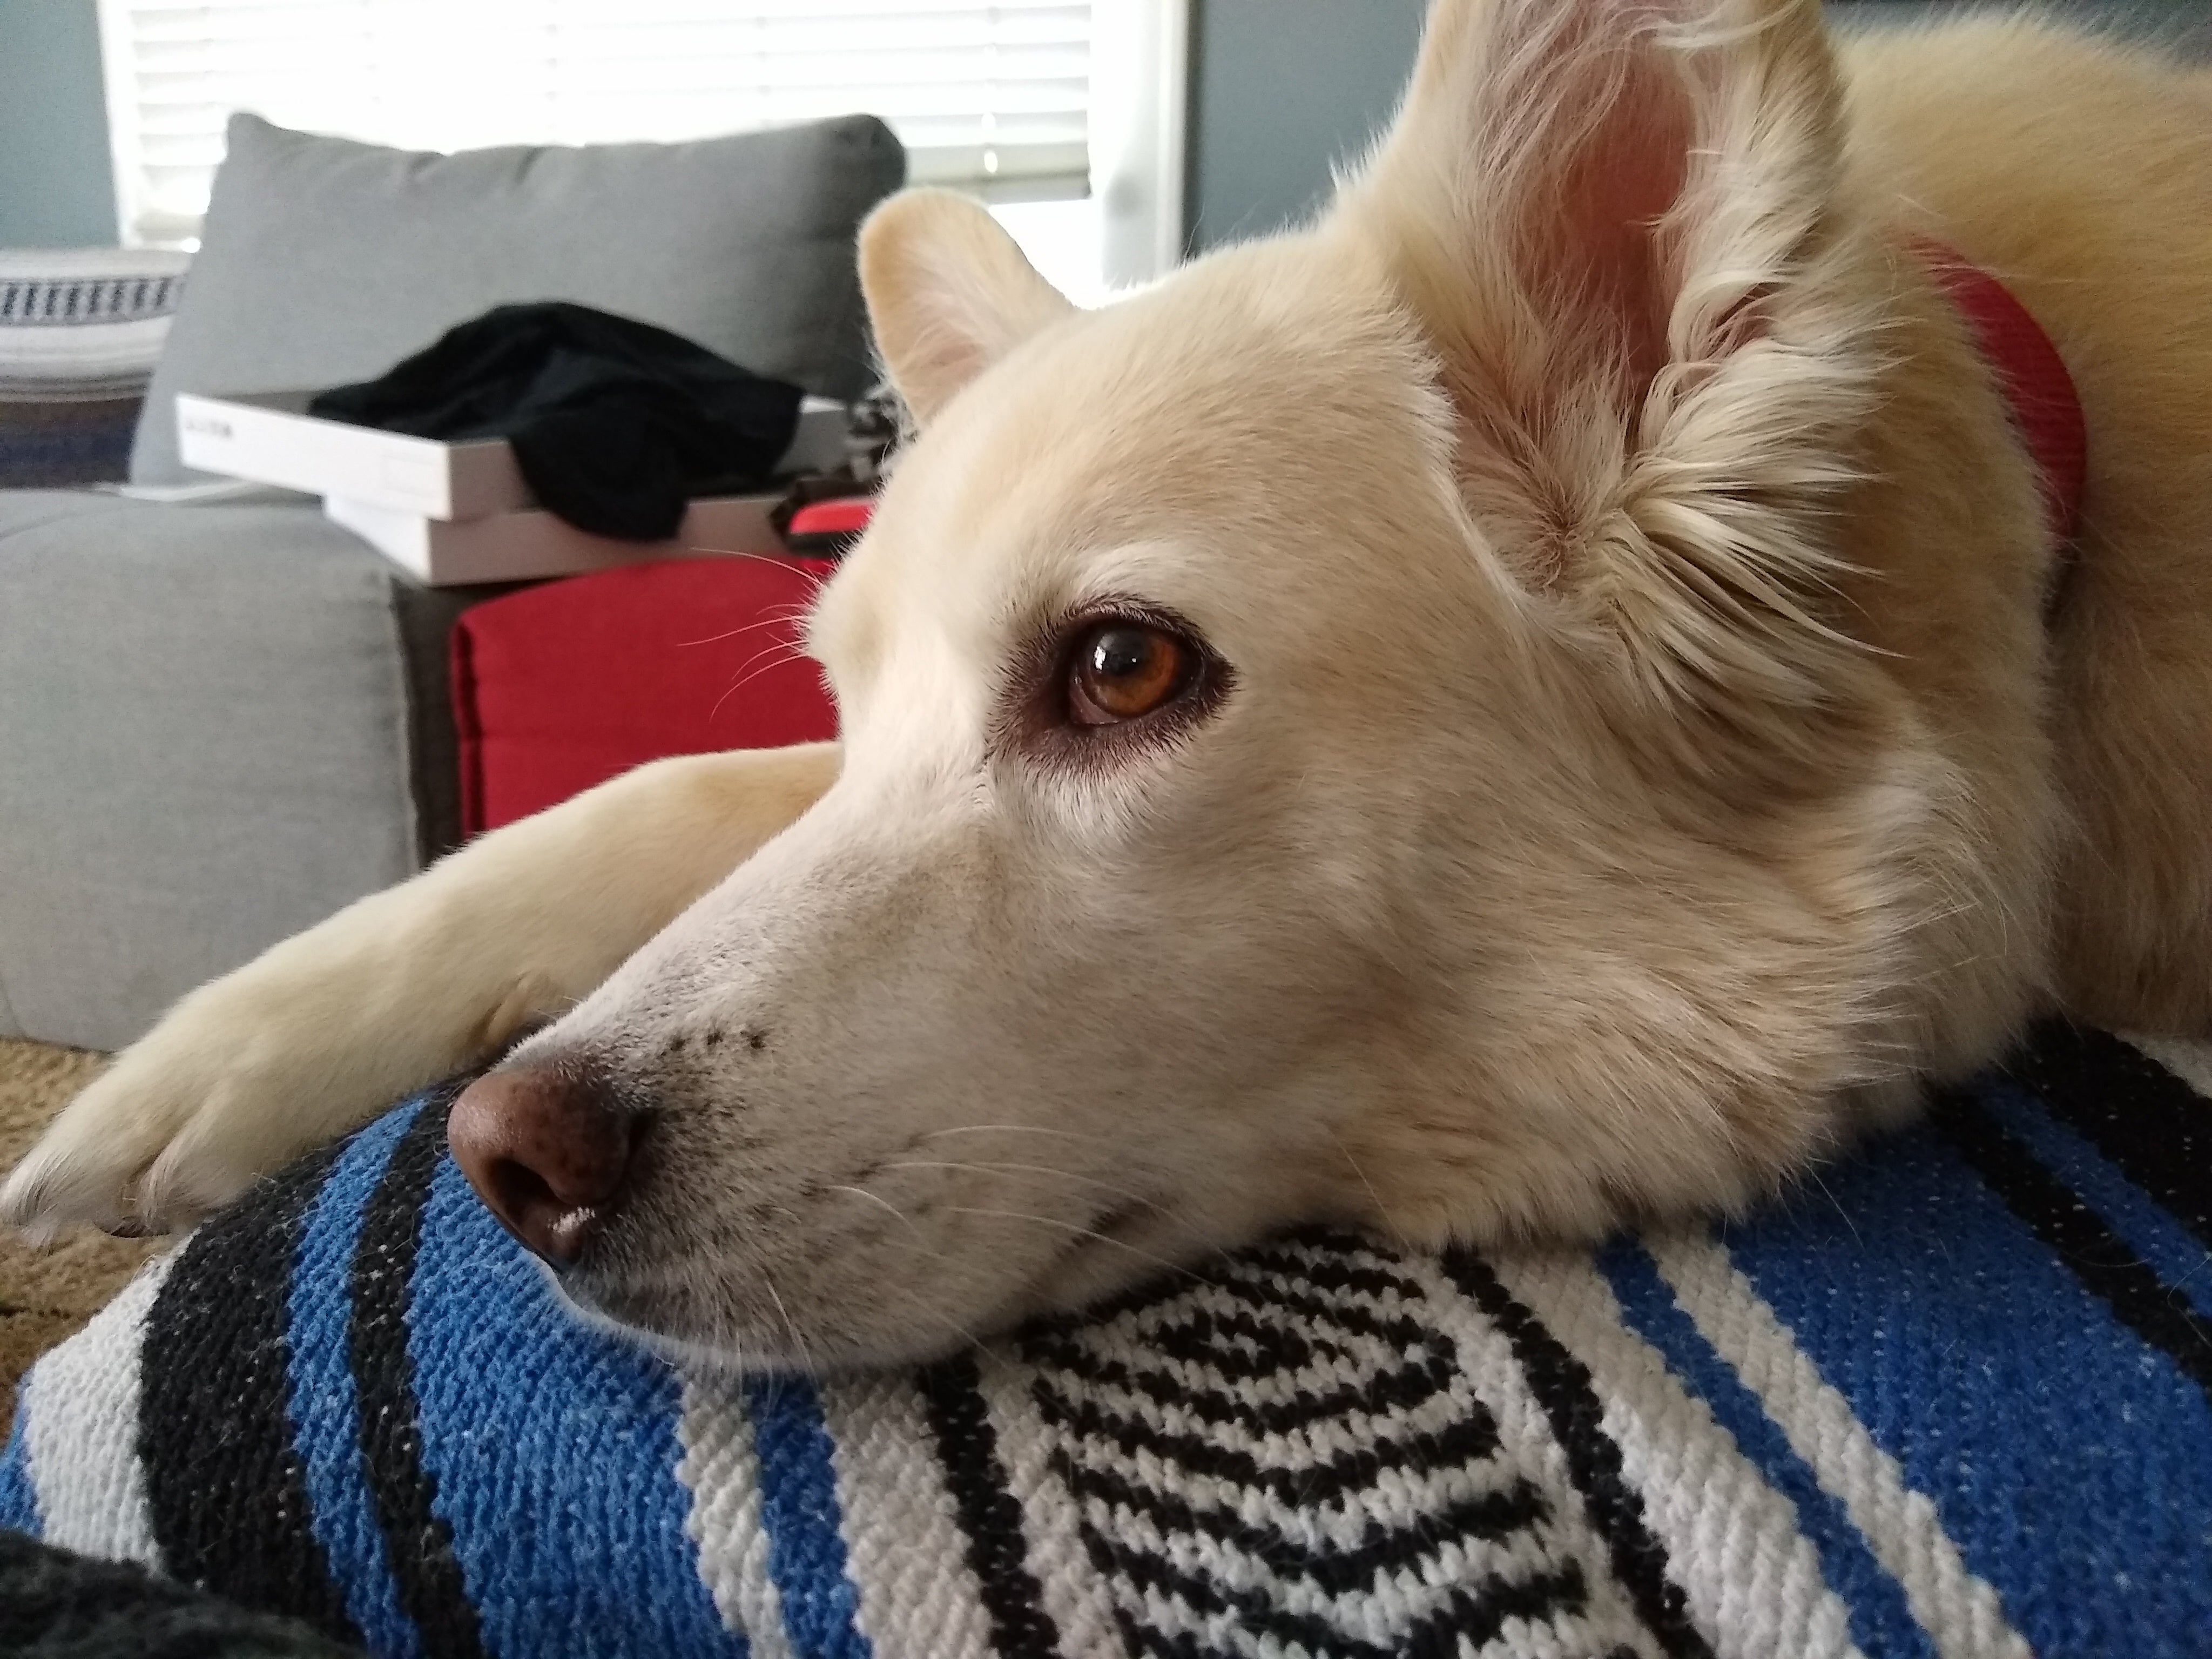
Thanks for reading, here is Dog A being cute.
 VincentMalamute-Kim
> Akio Ohtori - RIP Oppo
07/10/2020 at 21:41 |
|
Not sure why youíre spending so much money on these bikes
.
ď
This was a fun, r
ewarding projectĒ - thatís
good answer. And learning a lot on valueless bikes. Although much of that knowledge
wonít cross over if you buy a modern
bike. Although you shouldnít need much repair knowledge
if buy a new reasonable quality
bike.
If you ride these more, you should get rid of those ďsecondary
brake leversĒ - if you ever have to make an emergency stop, those will fail you. Getting rubber hoods
for the real brake levers will make them comfortable to keep your hands there.
 Highlander-Datsuns are Forever
> Akio Ohtori - RIP Oppo
07/10/2020 at 21:53 |
|
ďWAIT!! AKIO! You realize that combined you spent over $400 on these bikes and for that you could be almost a 4th of the way to a decent (entry level) road bike?!Ē You may also ask.
!!!error: Indecipherable SUB-paragraph formatting!!!
Yes.†
 Chariotoflove
> VincentMalamute-Kim
07/10/2020 at 21:56 |
|
Seconded on those brake levers.
 JMKarstetter
> Akio Ohtori - RIP Oppo
07/10/2020 at 22:11 |
|
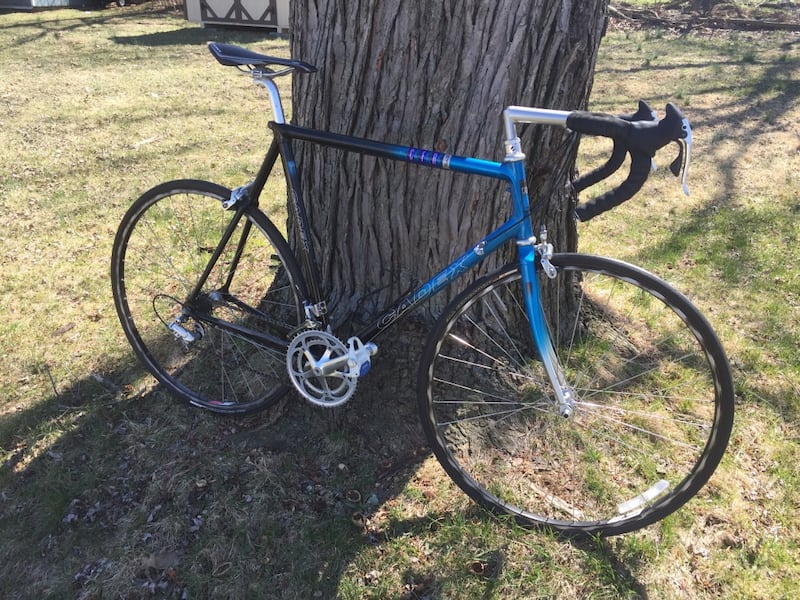
How tall are you? I have a bike you might like for not a lot of money, and Iím only a couple hours away from you down here in Norman. Looks just like this one. Carbon Fiber frame and quality components, had someone go through it about a year ago, needs new tires is all I know of.
 Akio Ohtori - RIP Oppo
> JMKarstetter
07/10/2020 at 22:15 |
|
Iím 6'1".† Dunno though, ďcarbon fiberĒ sounds Ďspensive.
 JMKarstetter
> Akio Ohtori - RIP Oppo
07/10/2020 at 22:23 |
|
What size frame do you ride? Iíll measure it when I can remember to. Iím 6'2" but built weird, so it doesnít work too well for me. Iíd make you a decent deal on it, if you are interested my email is my username @gmail.com, you can also find my facebook using that email as well.
 TheRealBicycleBuck
> Akio Ohtori - RIP Oppo
07/10/2020 at 22:29 |
|
You know that this is just click-bait for me, donít you? First, WELCOME TO THE FOLD. What fold? I donít know. Iím just happy to finally find someone else who owns a Schwinn World Sport!
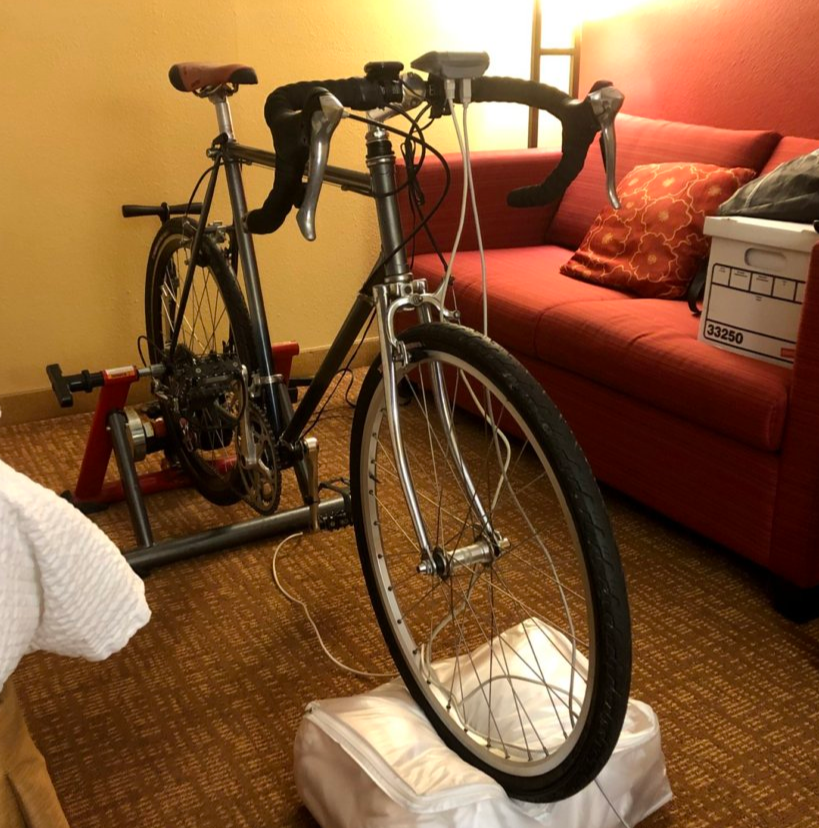
Yes, this beauty started life as a Ď79-í81 Schwinn World Sport. It was originally painted red, but I repainted it in my garage back when I still lived in Houston.
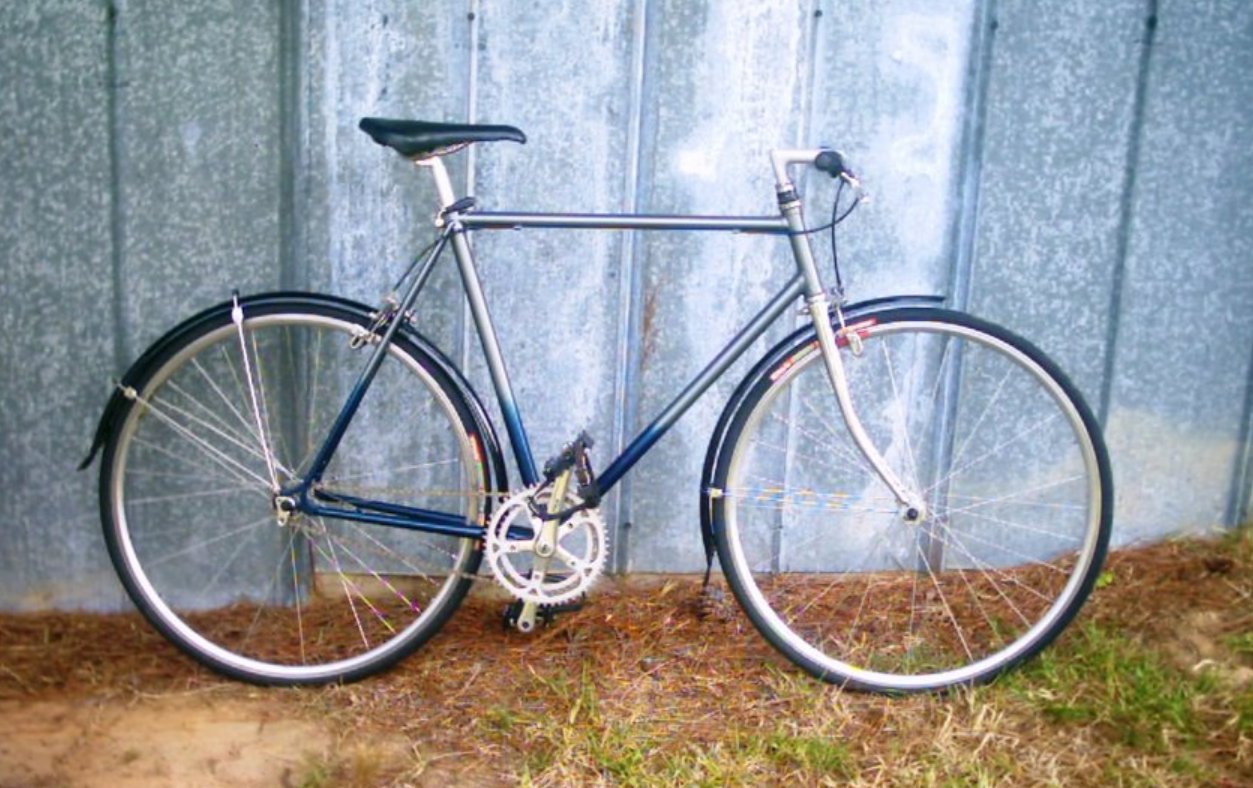
I converted it to a single-speed for a time back when my knees werenít so fragile. I learned that one gear wasnít good enough when you live in the hills. You might notice that the wheels are different between the two pictures. I bought a cyclocross frame and used the 700c wheels seen in the bottom picture for it. The World Sport hung on the wall as a bare frame until a few years ago when I resurrected it with a spare set of 26" wheels from a mountain bike. That required the addition of long-reach brakes and drop bolts. Itís still a great bike, even if itís a bit porky.
So, several things to help you along. First, the cranks mount onto a square-taper bottom bracket. If you decide to upgrade the bottom bracket, you should be able to get a somewhat modern sealed bottom bracket. That replaces the funky cone and cup and lock-nut system on these old bikes. The modern bottom brackets have cartridge bearings and are sealed against the elements. Being square-tapered means you have a lot of choices if you decide to upgrade the cranks.
The pedals are probably serviceable. Look closely at the dome on the outside of the pedal. It should be a press-fit cap. It may be really hard to see the line between the cap and the pedal body. Once removed, thereís a nut on the end of the spindle which will come off and give you access to the bearings.
Those secondary levers on your brakes are called suicide levers. They have a lot of flex and donít generate enough braking force to adequately stop the bike. A set of new levers is cheap and will come with rubber brake hoods which will make a huge difference in comfort. Tektro levers are less than $30, but if you wanted to go real cheap, you can get Top Cabin (?) levers for $16. The other big advantage to new levers is aero cable routing. It really wonít make much difference in your aerodynamics, but it will get the orange cables out of your face. At the very least, get rid of the suicide levers and order a set of vintage brake hoods so you can ride ďon the hoods.Ē Itís a helluva lot more comfortable than being on the tops or drops.
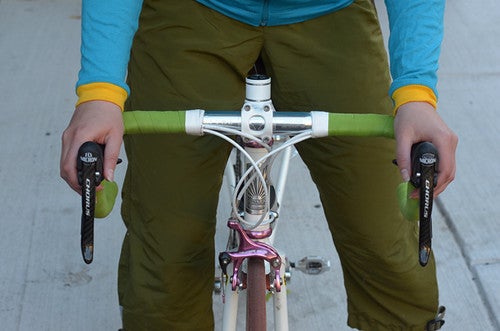
Now, that seat looks like itís waaaay too far forward. A good starting point for most riders is the KOPS (Knee Over Pedal Spindle) method. When youíre on the seat and the cranks are parallel to the ground, the knee roughly aligns with the spindle on the pedal if the spindle is under the ball of your foot. I say that this is a good starting point, but a lot depends on your knees, your leg lengths, and what position youíre usually in when riding the bike. Unless that frame is huge (it doesnít look like it) and your legs are short, your saddle is positioned too far forward. Iím only a couple of inches shorter than you and as you can see in the pictures of my bike, my saddle is a lot farther back.
What are the consequences of having the saddle too far forward? Itís hard on your knees and causes you to work a lot harder than you should. Do your thighs burn while riding? They shouldnít. Thatís an indication of an incorrect riding position.
Now that you have a road bike, Iíll make the pitch for a set of moustache bars once again. Although they look weird, they offer many more hand positions while youíre riding. They also make it much easier to engage the brakes.
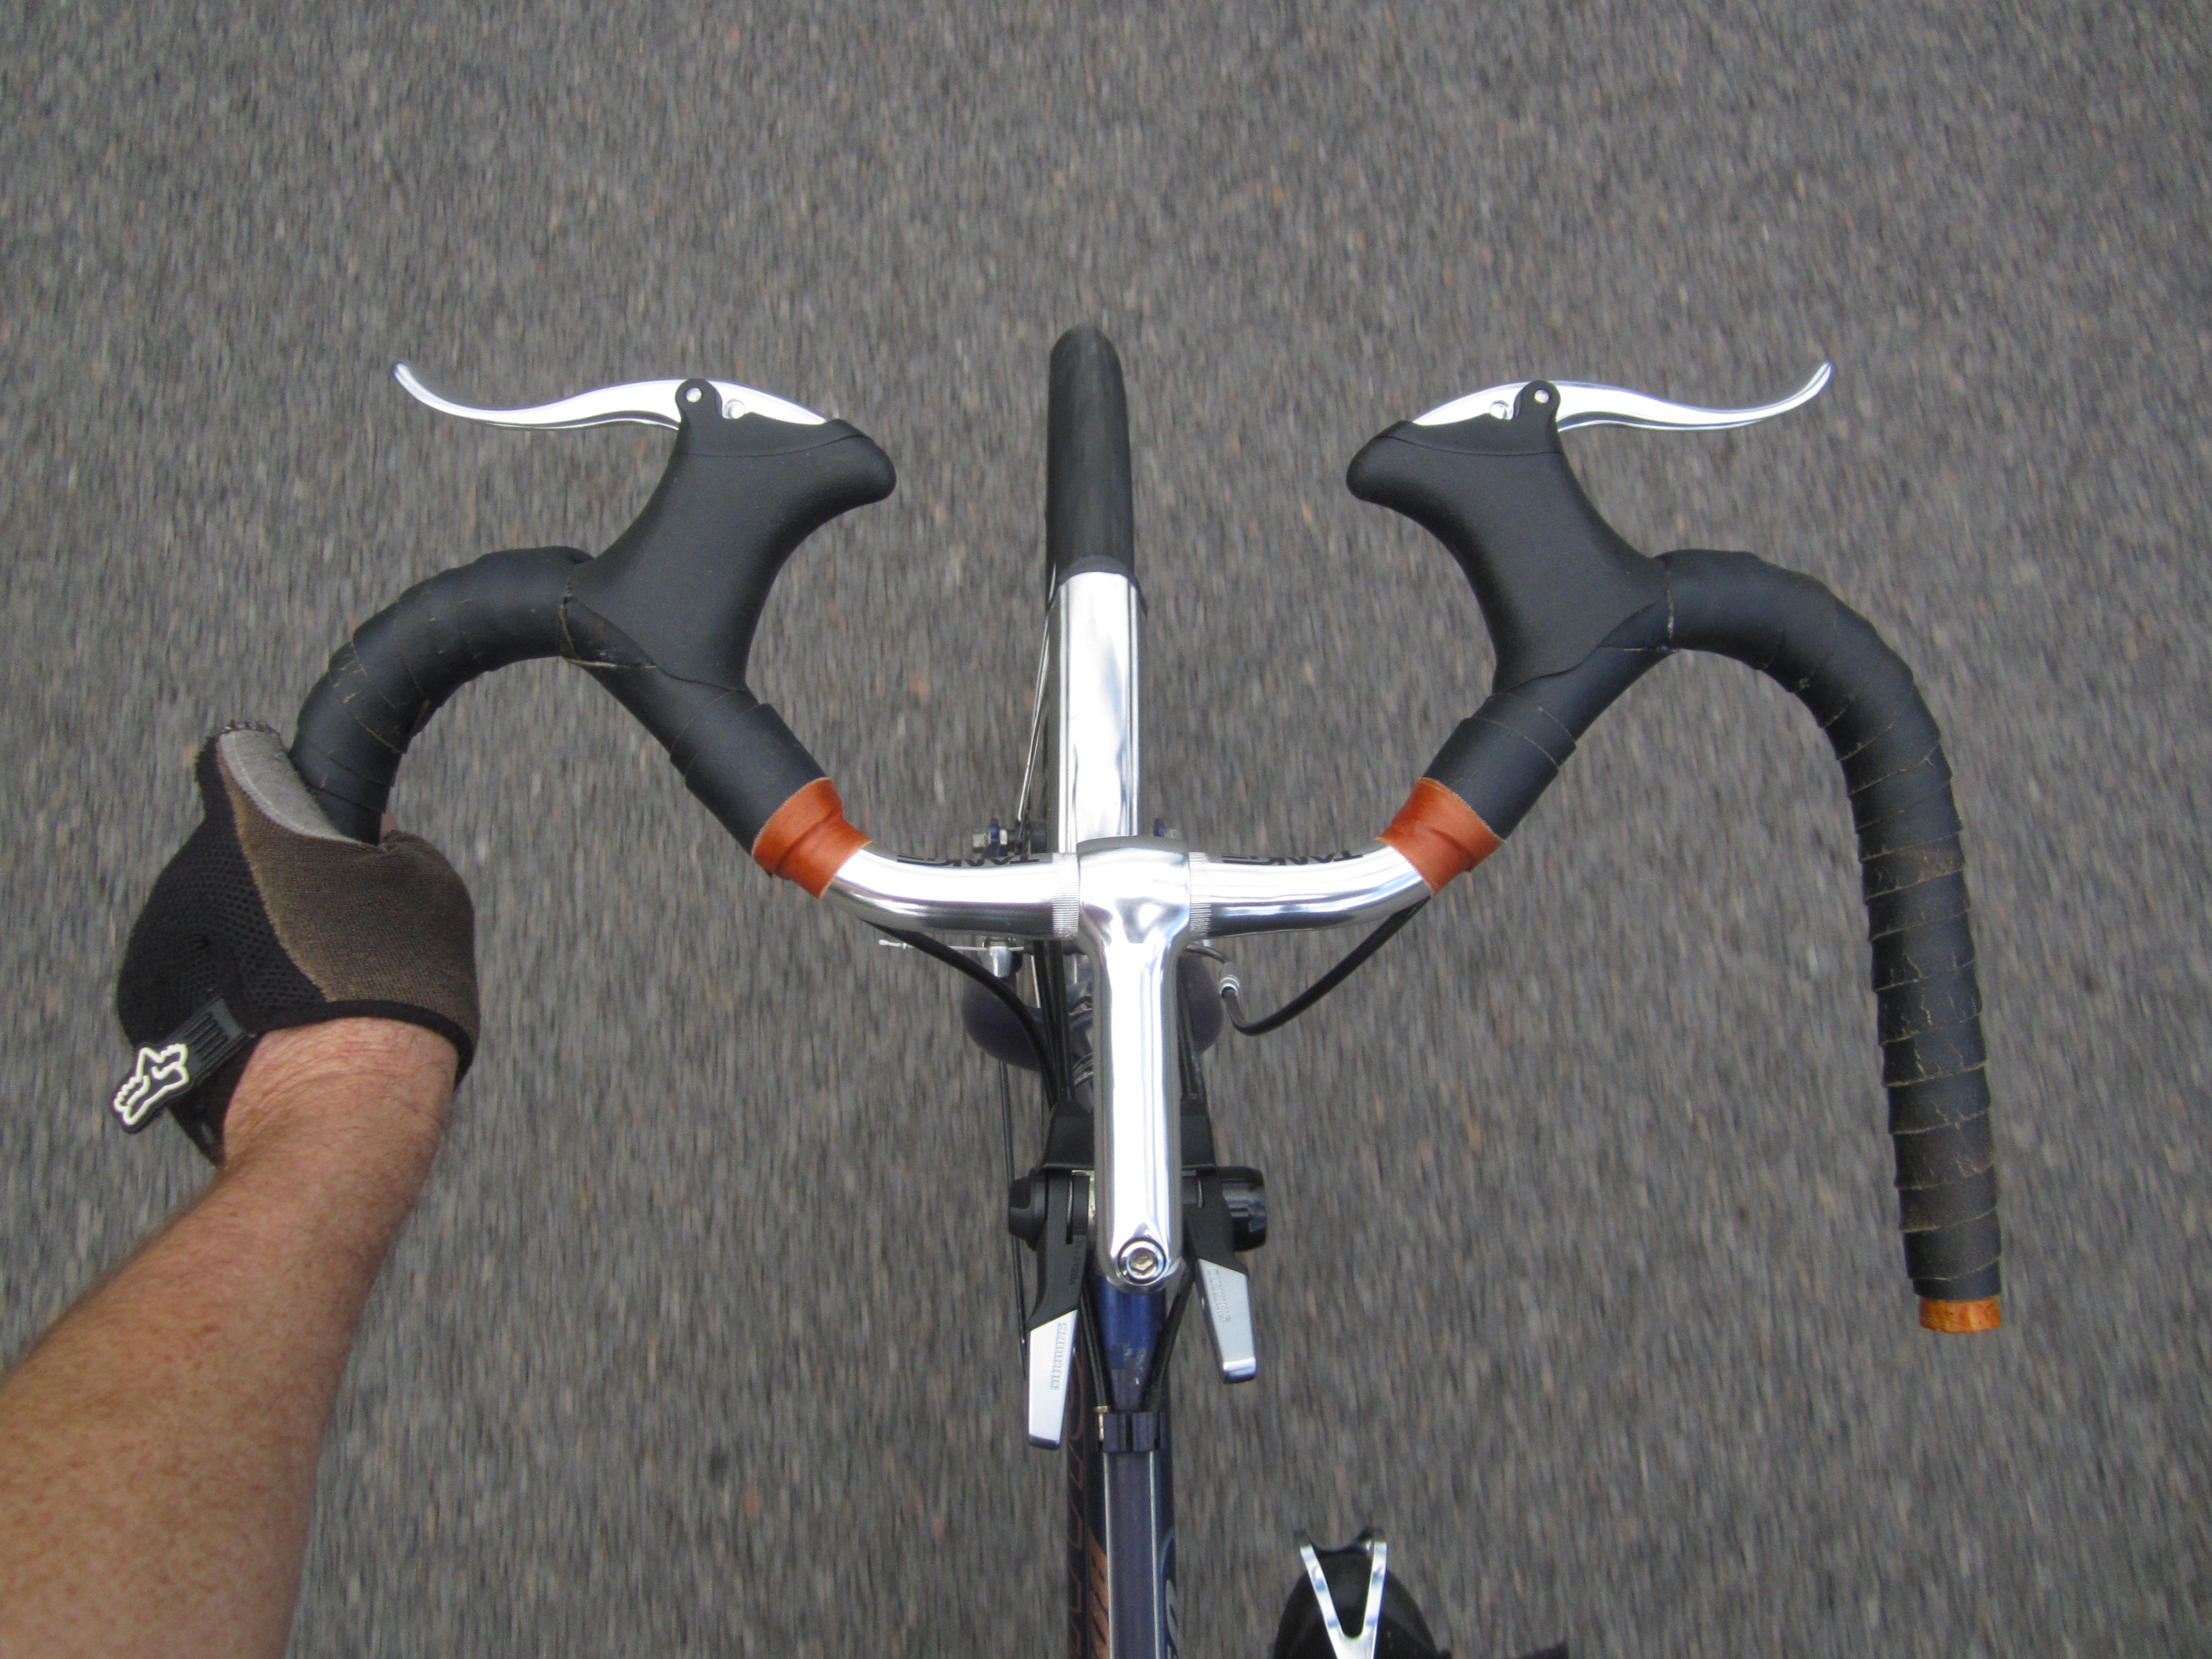
If you lose the suicide levers, you can still use the same brake levers and the cables will be routed more sensibly. Nittos are the best, but a set of Tiki moustache bars is less than $20.
Iím glad you found something that will work better for you. As always, you can reach out for any advice. I apologize for missing your last e-mail. Iím responding to it with a different e-mail address that I check more regularly.
 Highlander-Datsuns are Forever
> JMKarstetter
07/11/2020 at 00:23 |
|
That is a cool old bike. It needs to be ridden.
 JMKarstetter
> Highlander-Datsuns are Forever
07/11/2020 at 00:59 |
|
Agreed, it just
doesnít fit me with my oddly long arms, which makes me want to get rid of it, but not to just anyone.
 SilentButNotReallyDeadly...killed by G/O Media
> JMKarstetter
07/11/2020 at 03:26 |
|
Ooooh...I'd like that. But I am way too far away...
 SilentButNotReallyDeadly...killed by G/O Media
> Akio Ohtori - RIP Oppo
07/11/2020 at 03:28 |
|
Damn it...this is MY fetish!
 JMKarstetter
> SilentButNotReallyDeadly...killed by G/O Media
07/11/2020 at 04:41 |
|
A little?
 facw
> Akio Ohtori - RIP Oppo
07/11/2020 at 08:00 |
|
I like this!
 for Michigan
> Akio Ohtori - RIP Oppo
07/11/2020 at 08:01 |
|
Awesome work! I have some questions for you.
I got a 74 Schwinn Continental (appears to be the same frame youíre working with ) from my † brother recently and I just stripped it down to address some rust problems.
All of the bearings are completely dry, and the bearing in the front fork is missing a ball. How did you identify the bearings you needed and where did you purchase them? What grease did you use?
And my pedals are functional, but they look nasty. Would you mind sharing a link to the pedals you bought?
 Akio Ohtori - RIP Oppo
> for Michigan
07/11/2020 at 12:02 |
|
Thanks! Yeah I never really figured out the Schwinn lineup and where the Varsity, Continental, and World all fit in , but I donít think it matters at this point haha.
For the loose bearings I just measured the OD with calipers and bought the same. I think the correct way would be to use a bearing gauge (ruler with holes in it) but meh.
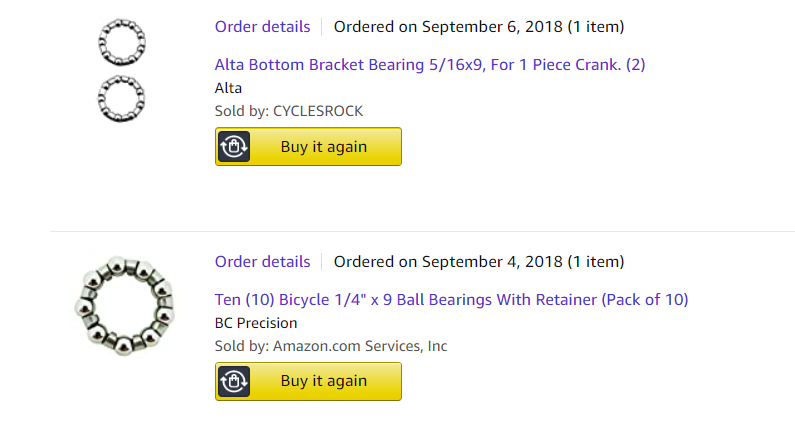
For the caged bearings I got lucky and had them from when I tried and failed to buy the correct ones for a different bike. Needless to say I wasnít successful initially haha. Looks like you should be able to measure the ball OD and number of balls and that should work? Or any local bike shop should have them on the cheap if you just bring in the old one.† †The above one worked for the World, the lower worked for the Varsity.† Definitely suggest local bike shop for caged ones.
For the Varsity I used automotive brake and bearing grease. It was... fine. For this one I used marine grease, which is apparently what bike people suggest, I guess? The marine grease seemed to coat better than the automotive initially , but the Varsity performs fine so Iím not worried.
Pedals I went with these . Theyíve gone up in price since, which is... odd. Hopefully theyíll help you find something that works for you.
 Akio Ohtori - RIP Oppo
> TheRealBicycleBuck
07/11/2020 at 12:21 |
|
Thanks for the advice! Didnít know you had a World haha. Iíll look into... all of that. No worries about the email, the crazy train was already on its way out of the station by the time I sent that.
 for Michigan
> Akio Ohtori - RIP Oppo
07/11/2020 at 12:24 |
|
Thank you for the help!
Did you also get your cables and housings from Amazon? Or were those from your local bike shop?
There used to be a bike shop where I live, but they closed a couple years ago, so I think Iím stuck with ordering parts online.
 ITA97, now with more Jag @ opposite-lock.com
> Akio Ohtori - RIP Oppo
07/11/2020 at 12:26 |
|
This is good Oppo. I suggest you consider picking up some padded bike shorts to try. . I wasnít a cyclist either until recently, but if you start doing any distance on a regular basis your ass will thank you. It really is a game changer, even if it feels like wearing a diaper. I went all in on spandex ones because loose fitting fabric started to feel like nothing more than an unnecessary ode to vanity, but mountain bike style shorts have the padding while not being form fitting and looking more or less like regular clothes.
Any yes, Strava sucks unless youíre doing the paid version. I recently deleted it and realized I donít care as much as I thought I did about tracking distance. Drawing penises on the map can be fun , though.
 Akio Ohtori - RIP Oppo
> for Michigan
07/11/2020 at 12:50 |
|
Cables and housings were all amazon. Not sure if there are a bunch of different types, but I got them right on the first try. I just used the brake cable housing for the shift cables too as they come with a ton extra. Shift cables were these . Brake cables were these .
 for Michigan
> Akio Ohtori - RIP Oppo
07/11/2020 at 16:14 |
|
Thanks! That's very helpful.
 Akio Ohtori - RIP Oppo
> TheRealBicycleBuck
07/11/2020 at 22:49 |
|
Alright so I did a big boy ride with the World. It was a misery, but that is because it was 113F out. Also yeah seat was way too far back. I adjusted it but it was still way too far forward. I donít think my taint will ever be the same. Good thing I donít want kids.
So... yeah... handlebars. I didnít have much luck finding mustache bars in 25.4 (the ones you linked were 26mm but the internet tells me that 0.6mm is a massive, insurmountable difference and I will be killed and kill everyone around me if I attempt it... though I could change stems.)† Anyway, what are your thoughts on butterfly bars?
 TheRealBicycleBuck
> Akio Ohtori - RIP Oppo
07/11/2020 at 23:39 |
|
Too far back or forward? You said both. Iím going to go with too far forward. One of the things I noticed but forgot to mention is that it looks like your seatpost clamp is on backward. The tightening nut should be behind the seatpost, not in front. Getting that turned around should help.
I took a look myself for bars and youíre right, thereís not a lot to be found without spending extra. I did find these, but they are a bit more: http://www.thebikebiz.com/3-speed-moustache-bar.html
Butterfly bars? If Iím going to be weird on my road bike, I might as well be weird on my mountain bike too. This is a fun shot with both a butterfly bar and part of a moustache bar.
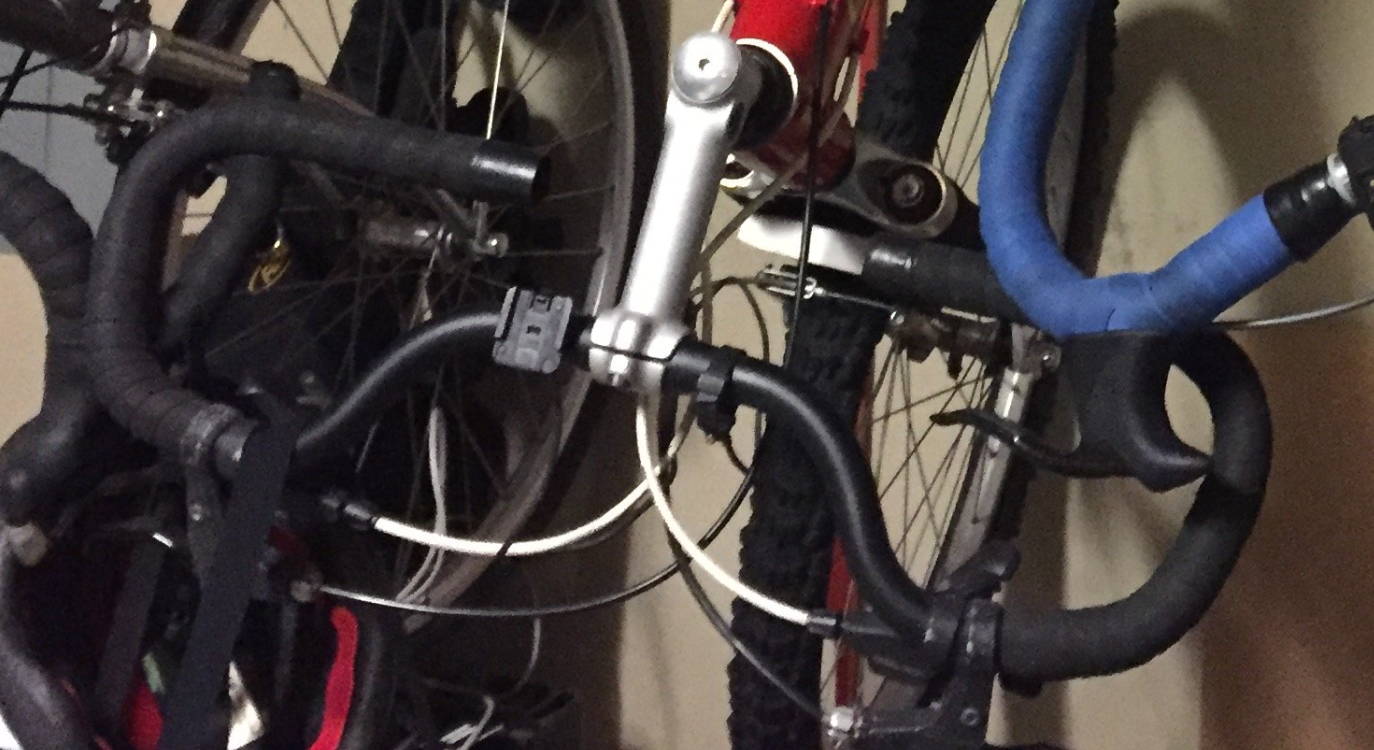
The bend on butterfly bars wonít work well with road levers. There are two options for mounting levers, either on the long straight section at the ďendsĒ of the bar or on the short straight section in the middle of the bars. I chose the latter.
The thing I donít like about the butterfly bars is that thereís only one section that I find really comfortable. Thatís the outer section which is parallel to the front wheel. The forward flat is a bit too far forward. The back flat section is just too close. The position of the controls is also important. Iím not a fan of being too far away from a brake. When Iím on the sides, itís an easy slide around to the brake. When Iím on the close section of the bars, I have to let go of the bar to reach forward to the brakes. My hand canít just slide around. I really donít like that.
If I moved the controls to the close section like most people do, then I still have to let go of the bars to grab the brakes if Iím on the forward section or sides. This is how I set them up at first. Again, I really donít like that.
They might work for you, but you would have to change your levers to make them work.
 Akio Ohtori - RIP Oppo
> TheRealBicycleBuck
07/14/2020 at 16:01 |
|
Sorry I was a little out of it when I posted that. The seat was still too far back.
I was going to ask you what you thought about changing the saddle out, but that became moot once I got it apart....
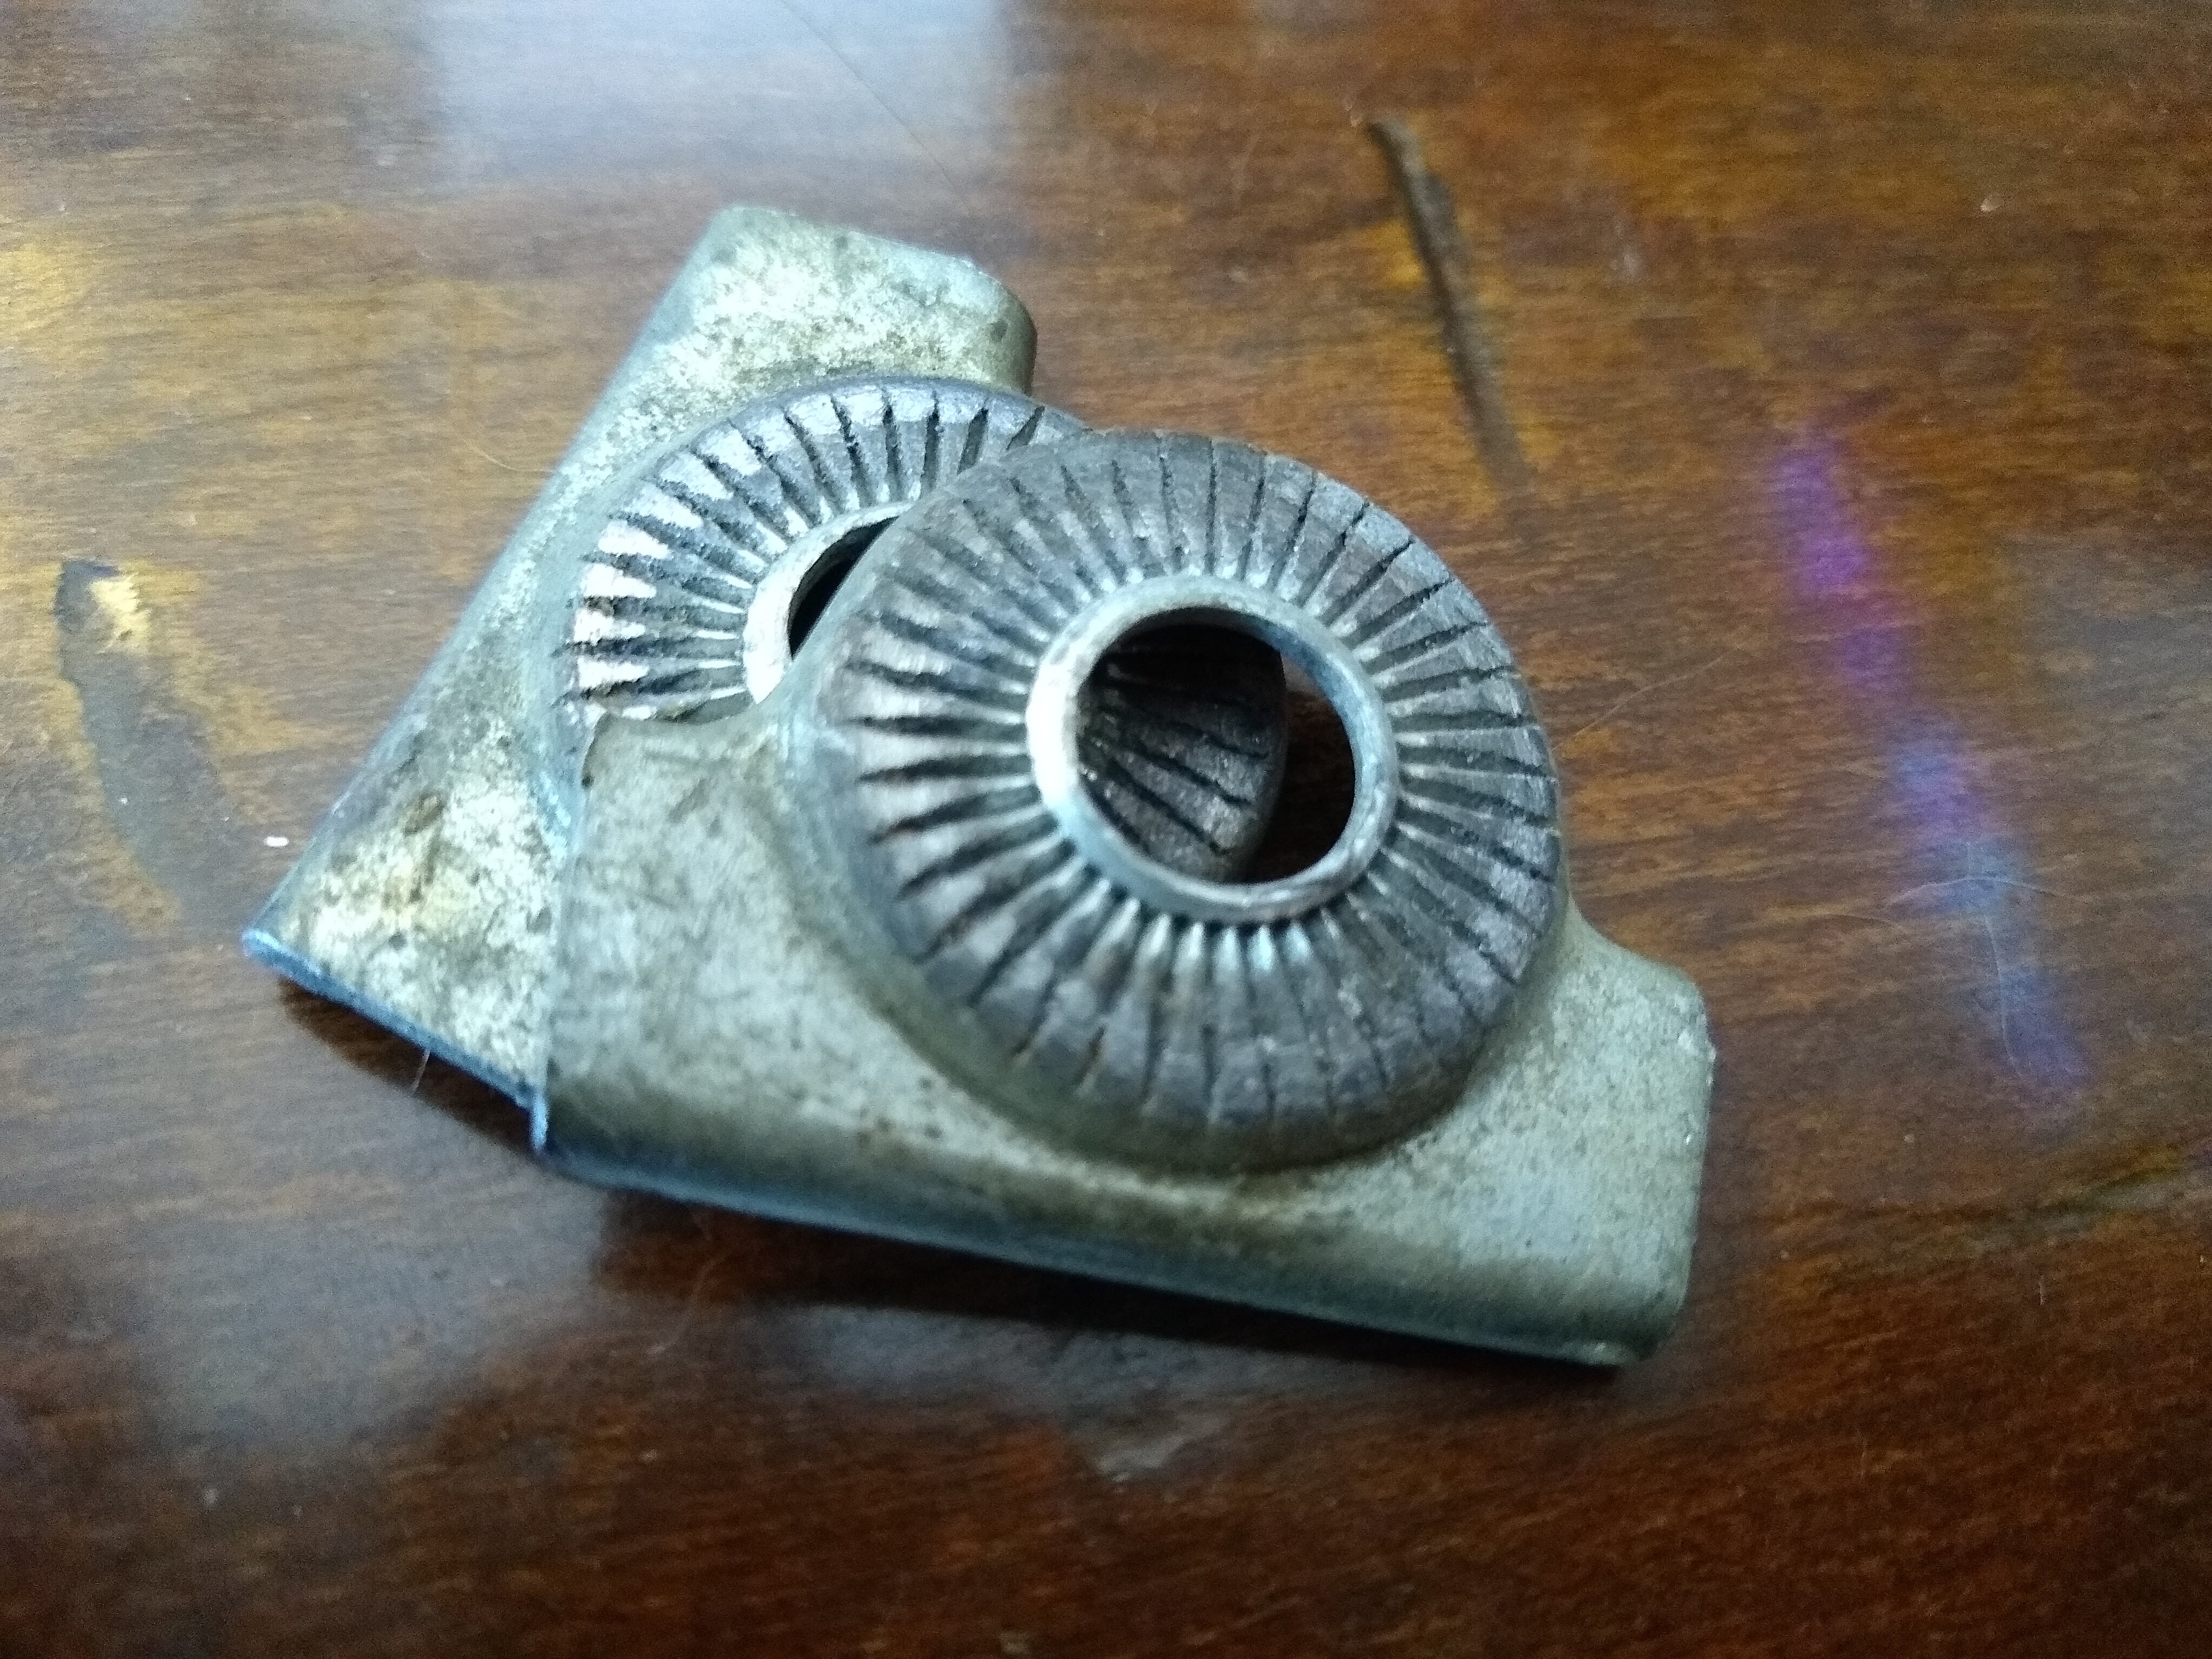
Yeah those were all buggered and the square bolt thing in the middle was the wrong size for the bracket. Whole thing self destructed when I tried to put it back together. I had replacement parts, but nothing that fits flat bars like that one had so... n
ew saddle came in today and is... fine.
†Iím going to roll with it for the time being.
Yeah I dunno on the handlebars. I donít hate the drop bars, but they are much more uncomfortable than the flat bars on the Varsity. Also I donít understand the obsession with drop bars. Like... if theyíre inherently uncomfortable and everyone rides on the hoods, which have inferior access to the brakes.... why do people use them at all? Appearance? Stubbornness?† I like having three hand positions but all three are mildly uncomfortable.† Also looks like the ones Iím using are too narrow for me... but only by about 2 inches.† Not sure it is worth $20 to get another 2 inches of width....
So yeah... exploring options but as a way to stop spending money on this project Iím going to keep it AS-IS for a while. A lot of options there and Iím not sure I have the strength of wallet to give them a go. Bike Shop B could hook me up with a stem on the cheap, or at least offered to when I mentioned changing out the drops, which would open up some options. I also have that other flat bar that I bought for the Varsity, though Iím not 100% on that. The butterfly could be had on the cheap ($20+accessories) , but I think it looks really goofy and I agree with you that I donít like to be far from my brakes. (Hence why I like the suicide bars though freely acknowledge that yeah... theyíre crap.)
So yeah... either way it is working as intended and Iím getting some rides in while I wait on the Varsity to be done.
 TheRealBicycleBuck
> Akio Ohtori - RIP Oppo
07/14/2020 at 18:10 |
|
If the seat position in that picture is still too far back, then the frame is probably too big for you. On those old frames with horizontal top tubes, the first size test is to stand flat-footed over the frame. The top tube should be an inch or two below your boys. The second test is to turn the cranks so they are horizontal or parallel to the ground, then sit on the seat and look at where your knee is in relation to the pedal spindle. This is the KOPS method I referred to previously. If your knee is far ahead of the pedal, your seat is too far forward. If you canít reach the bars when the seat is moved to the right position, then the frame is too long for you.
All of this is really strange because the length of the head tube in the pictures suggests that your frame is smaller than mine, yet you are taller than I am and you have the seat waaaay far forward. You also have most of the stem pulled out of the steerer tube, another indication that the frame is too small for your height. Get the seat/pedal relationship set correctly before you make any adjustments to the bars. Get this wrong and youíll have knee, thigh, and butt pain. If you canít get the seat height and fore/back position set reasonably, you may need to swap for a bigger frame.
I am of the opinion that d rop bars are for Serious Cyclists and racer wannabes. The only reason to use the drop is for aerodynamics and that † only comes into play when your speed causes aerodynamic drag to exceed drag due to rolling resistance. That happens around 15-16 mph. If youíre not going that fast, then thereís no reason to tuck in. Most riders I see ride on the hoods, so their bikes are set up with that position in mind. If you take a look at the picture of my bike in the hotel room, youíll notice that the bar tops are at about the same height as my seat. Iíve been riding for a long time, so thatís pretty comfortable for me. As Iíve gained weight over the years, my bar height has gone up to make room for my belly. I donít know how that might affect you, but as a new cyclist, I would expect your bars to be set somewhat higher than that.
Switching to flat bars like a mountain bike is going to shorten the distance between the bars and the seat. If you look at the picture of my bike by the metal barn, youíll notice that itís sporting mtb bars. Those made the cockpit way too short for me to be comfortable. You can mitigate that with a longer stem, but if you go too long it affects handling.
As Iíve been thinking about your setup, Iím coming to some conclusions. I really think that frame is too small for you. I also think that the saddle is wrong for you and youíre moving it forward to get the widest part under your sit-bones to make it more comfortable. It also looks like it may be tilted nose-down. This can cause you to slide forward and makes everything more uncomfortable because youíre constantly fighting to stay in the right place on the saddle. The correct solution is two-fold: buy yourself either a pair of cycling shorts or cycling underwear with a chamois, and if that doesnít help, see about swapping the saddle. That looks like the original saddle which probably has a vinyl cover and rock-hard foam underneath. That canít be comfortable.
Get everything adjusted so you can ride on the hoods. Buy a set of replacement hoods to make that position more comfortable for your hands. It doesnít look like you can pull the stem out any farther, so go ahead and swap for a riser stem. Get those bars up above your saddle height and youíll be a lot more comfortable. Thereís no need to go all racer-boy when what you really want is to get some exercise.
I donít think itís working as intended. You sound uncomfortable and unhappy. If you canít find comfort and happiness while riding, you wonít do it for long.
 Akio Ohtori - RIP Oppo
> TheRealBicycleBuck
07/14/2020 at 19:31 |
|
Thanks for the response!
To back up slightly, Iím not not enjoying the ride (ok that first one was pretty hellish on account of the wobbly seat and 113F heat) just donít feel like the fit is optimal just yet.
I havenít adjusted the handle bar height yet, that is how it came to me , but I see what you mean. I have the seat height set based on making sure my leg is at full extension and yeah, that does put it pretty high. Actually above the ďminimum insertionĒ point, but only just so... meh. Something to add to the list haha.
Unfortunately I think you might have hit the nail on the head on fit. The top tube and down(?) tube measurements are both about 22" which is the same as the Varsity, which I feel like fits fine. Doing the standover test I have a good 2 or 3 inches (hard to measure) between the top tube and my boy parts.... which seems like too much.
Yeah my rage about drop bars is mostly because I donít understand why theyíre so prevalent if most riders donít use them as designed haha. More of an ďold man shouts at clouds Ē than anything else.
For now it is rideable as-is and not problematic or miserable. Just slightly uncomfortable and Iím working on that haha .† Actually on this latest ride the only problem I had was as my hands have to support quite a bit of weight they just get sore after a while.† I should probably just buy some padded gloves (or not haha) and re-assess once I get the Varsity back. Still, Iíll do some more research.
Thank again for the help!
 TheRealBicycleBuck
> Akio Ohtori - RIP Oppo
07/15/2020 at 00:54 |
|
Iím always glad to help.
When I got my first mountain bike, the guys I was riding with convinced me to buy my first helmet and gloves. A week later we were riding around town and decided to do some jumping at a loading dock. On one of my landings the front tire washed out and I was heading face-first for the pavement. The new gloves saved my hands from a serious skinning. Now I always wear them, especially when riding on the road.
Good luck.