 "ClassicDatsunDebate" (gmagnusson)
03/22/2020 at 13:30 ē Filed to: modelopnik
 2
2
 17
17
 "ClassicDatsunDebate" (gmagnusson)
03/22/2020 at 13:30 ē Filed to: modelopnik |  2 2
|  17 17 |
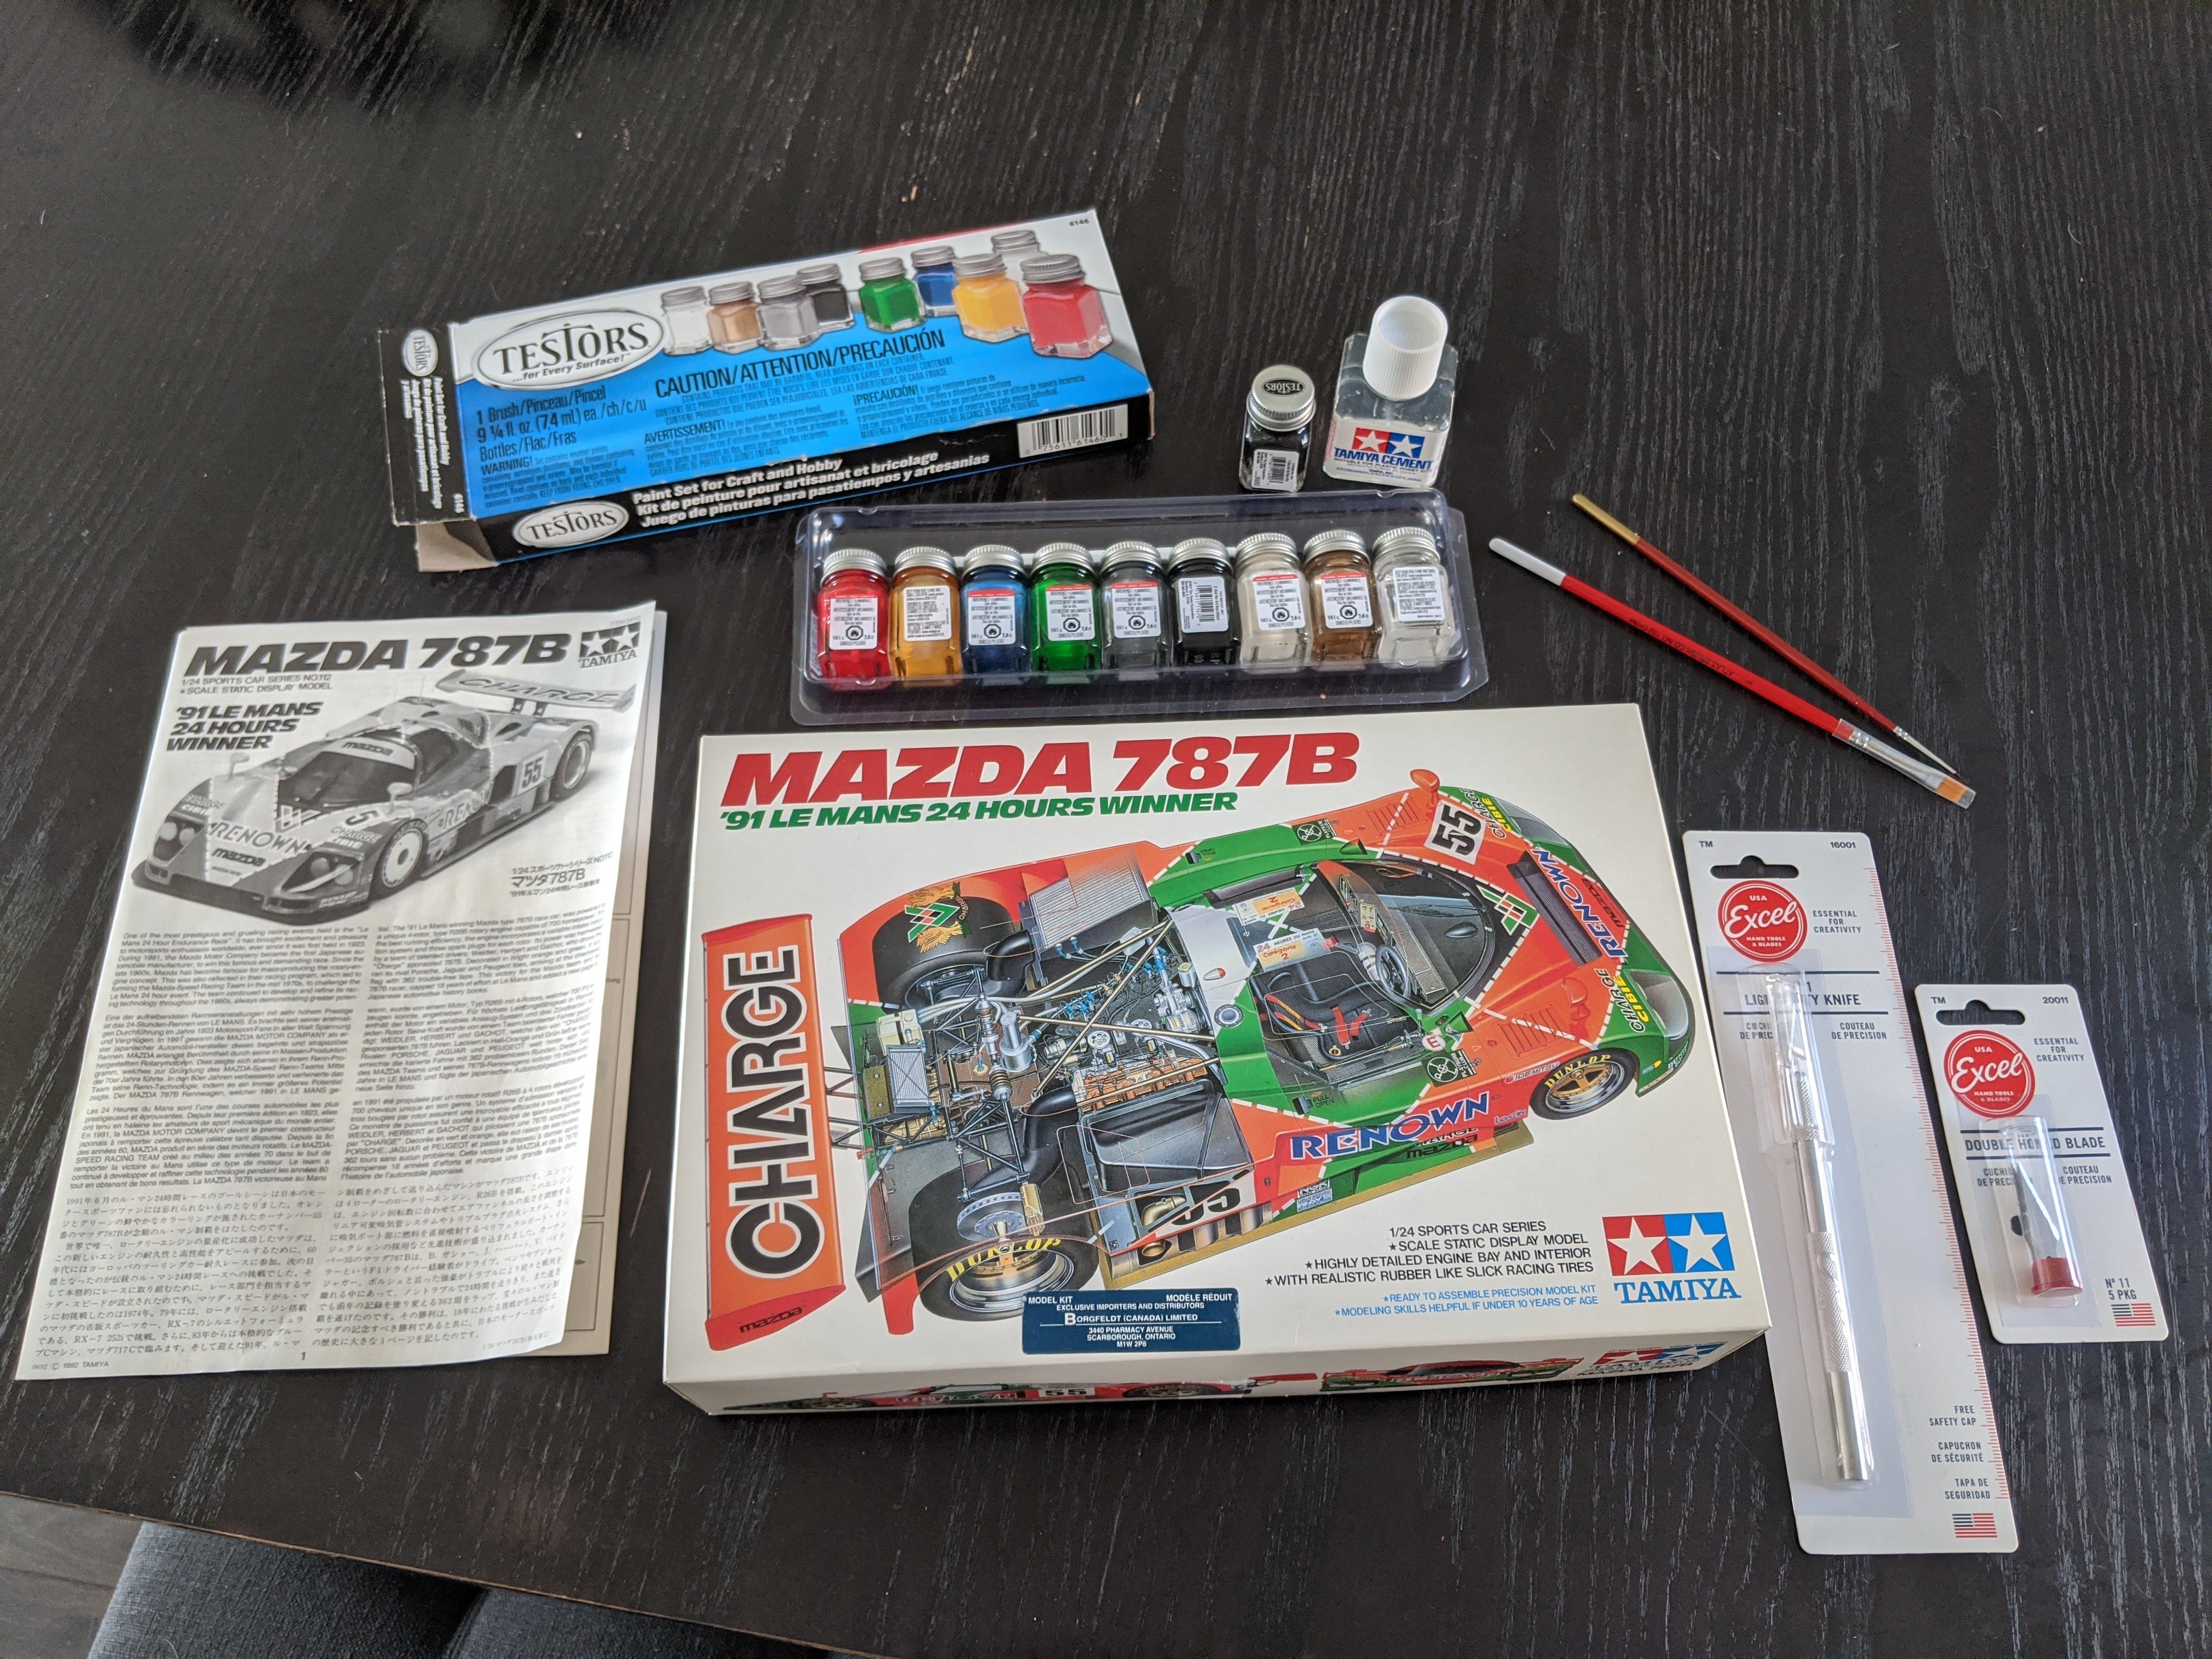
Maybe I shoulda picked a different kit to start.
I decided to pickup some modelling supplies and a kit to combat cabin fever and then I realized I havenít built a model since, oh, circa 1982-ish. Iíve checked out some videos and it all pretty common sense + tools but I had a couple of questions for the hobbyists out there.
First off, I saw a person recommend to start by separating all the parts by colour and paint all the individual parts and sub assemblies first. I was more inclined to take each assembly step and do the required paint/ assy then move on to the next step. Whatís your thoughts?
Also, do you really have to prime or is a good degrease good enough?
Any other advice for a newb?
 Noodles
> ClassicDatsunDebate
03/22/2020 at 14:04 |
|
I would bet if you took all the little pieces off and painted them first, you'd have a hard time finding the right one when you need it.†
 ClassicDatsunDebate
> Noodles
03/22/2020 at 14:34 |
|
I was thinking the same.
 jimz
> ClassicDatsunDebate
03/22/2020 at 14:35 |
|
- I tend to separate everything and put together subassemblies (e.g. axles, engine blocks, transmissions) first before painting. Why? It gives you a chance to clean up mold parting lines and little nubs of sprue on the parts.
- a thin coat of primer is usually warranted, especially if itís white plastic. if you donít, the painted body tends to lack a bit of ďopaquenessĒ and looks like painted toy plastic. primer helps it look more like painted metal.
also important if the parts are molded in a plastic color like red, orange, or yellow is to spray them with a sealer before priming.† otherwise the solvent in the paint/primer can cause the pigment in the plastic to bleed into the finish.† Nothing like trying to paint a red plastic body white and having it still be pink after the 12th coat.†
 bmil128
> ClassicDatsunDebate
03/22/2020 at 14:39 |
|
Depending how maniacal you are about the finish of sub assemblies/engine components, you may want to assemble like-colored pieces first, fi ll and sand seams/gaps if you desire then paint them. I only worry about priming the bodywork, otherwise you may want to use a fine grit sandpaper to help the paint adhere to it.
Iíve come around to using Micro Set decal solution to help the decals fit on curved surfaces and help dissolve the extra film.
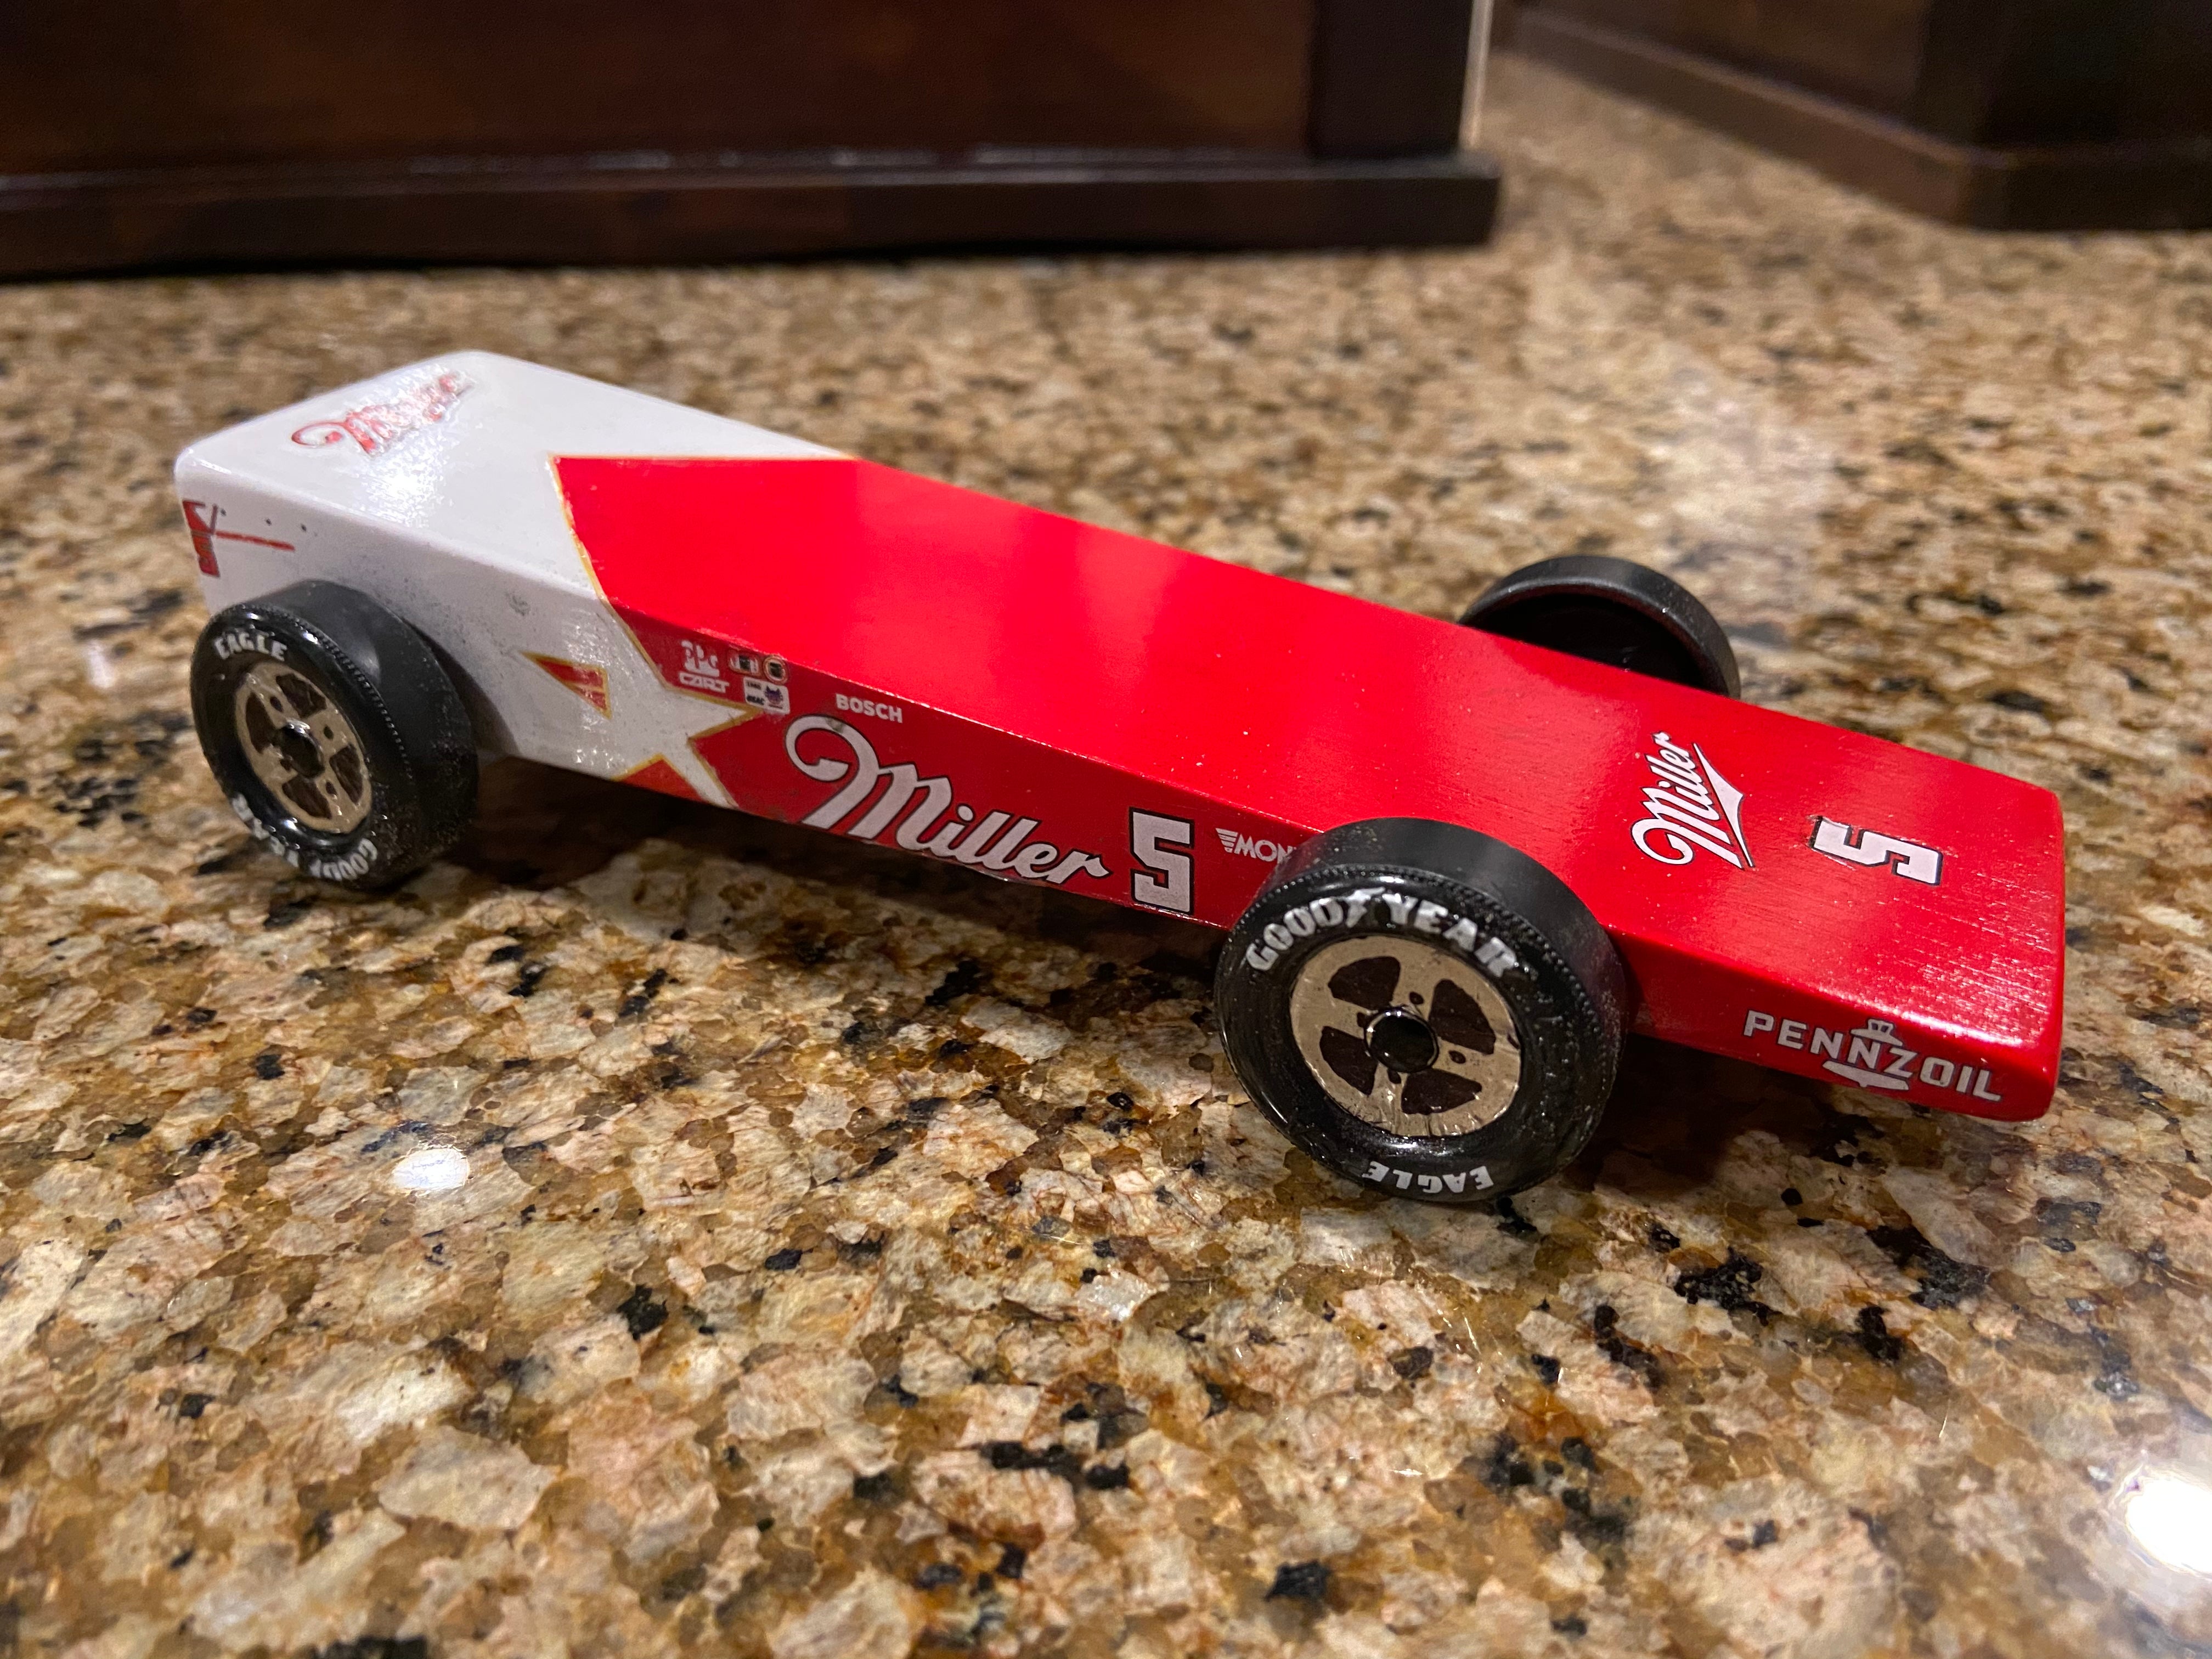
Final tip I picked up is using Pledge Floor Gloss either with an airbrush or brush on by hand for top coat and to protect the decals. I used this to good effect on the Danny Sullivan inspired pinewood derby car I built this year. (I didnít spend a lot of time sanding the wood down before priming/painting hence the grain)
 ClassicDatsunDebate
> bmil128
03/22/2020 at 15:02 |
|
Great Dvice thanks! †I was going to grab a bottle of Tamiya decal set, once I figured out what that was and whether I need it but Iím sure we have some pledge kicking around.
 ClassicDatsunDebate
> jimz
03/22/2020 at 15:04 |
|
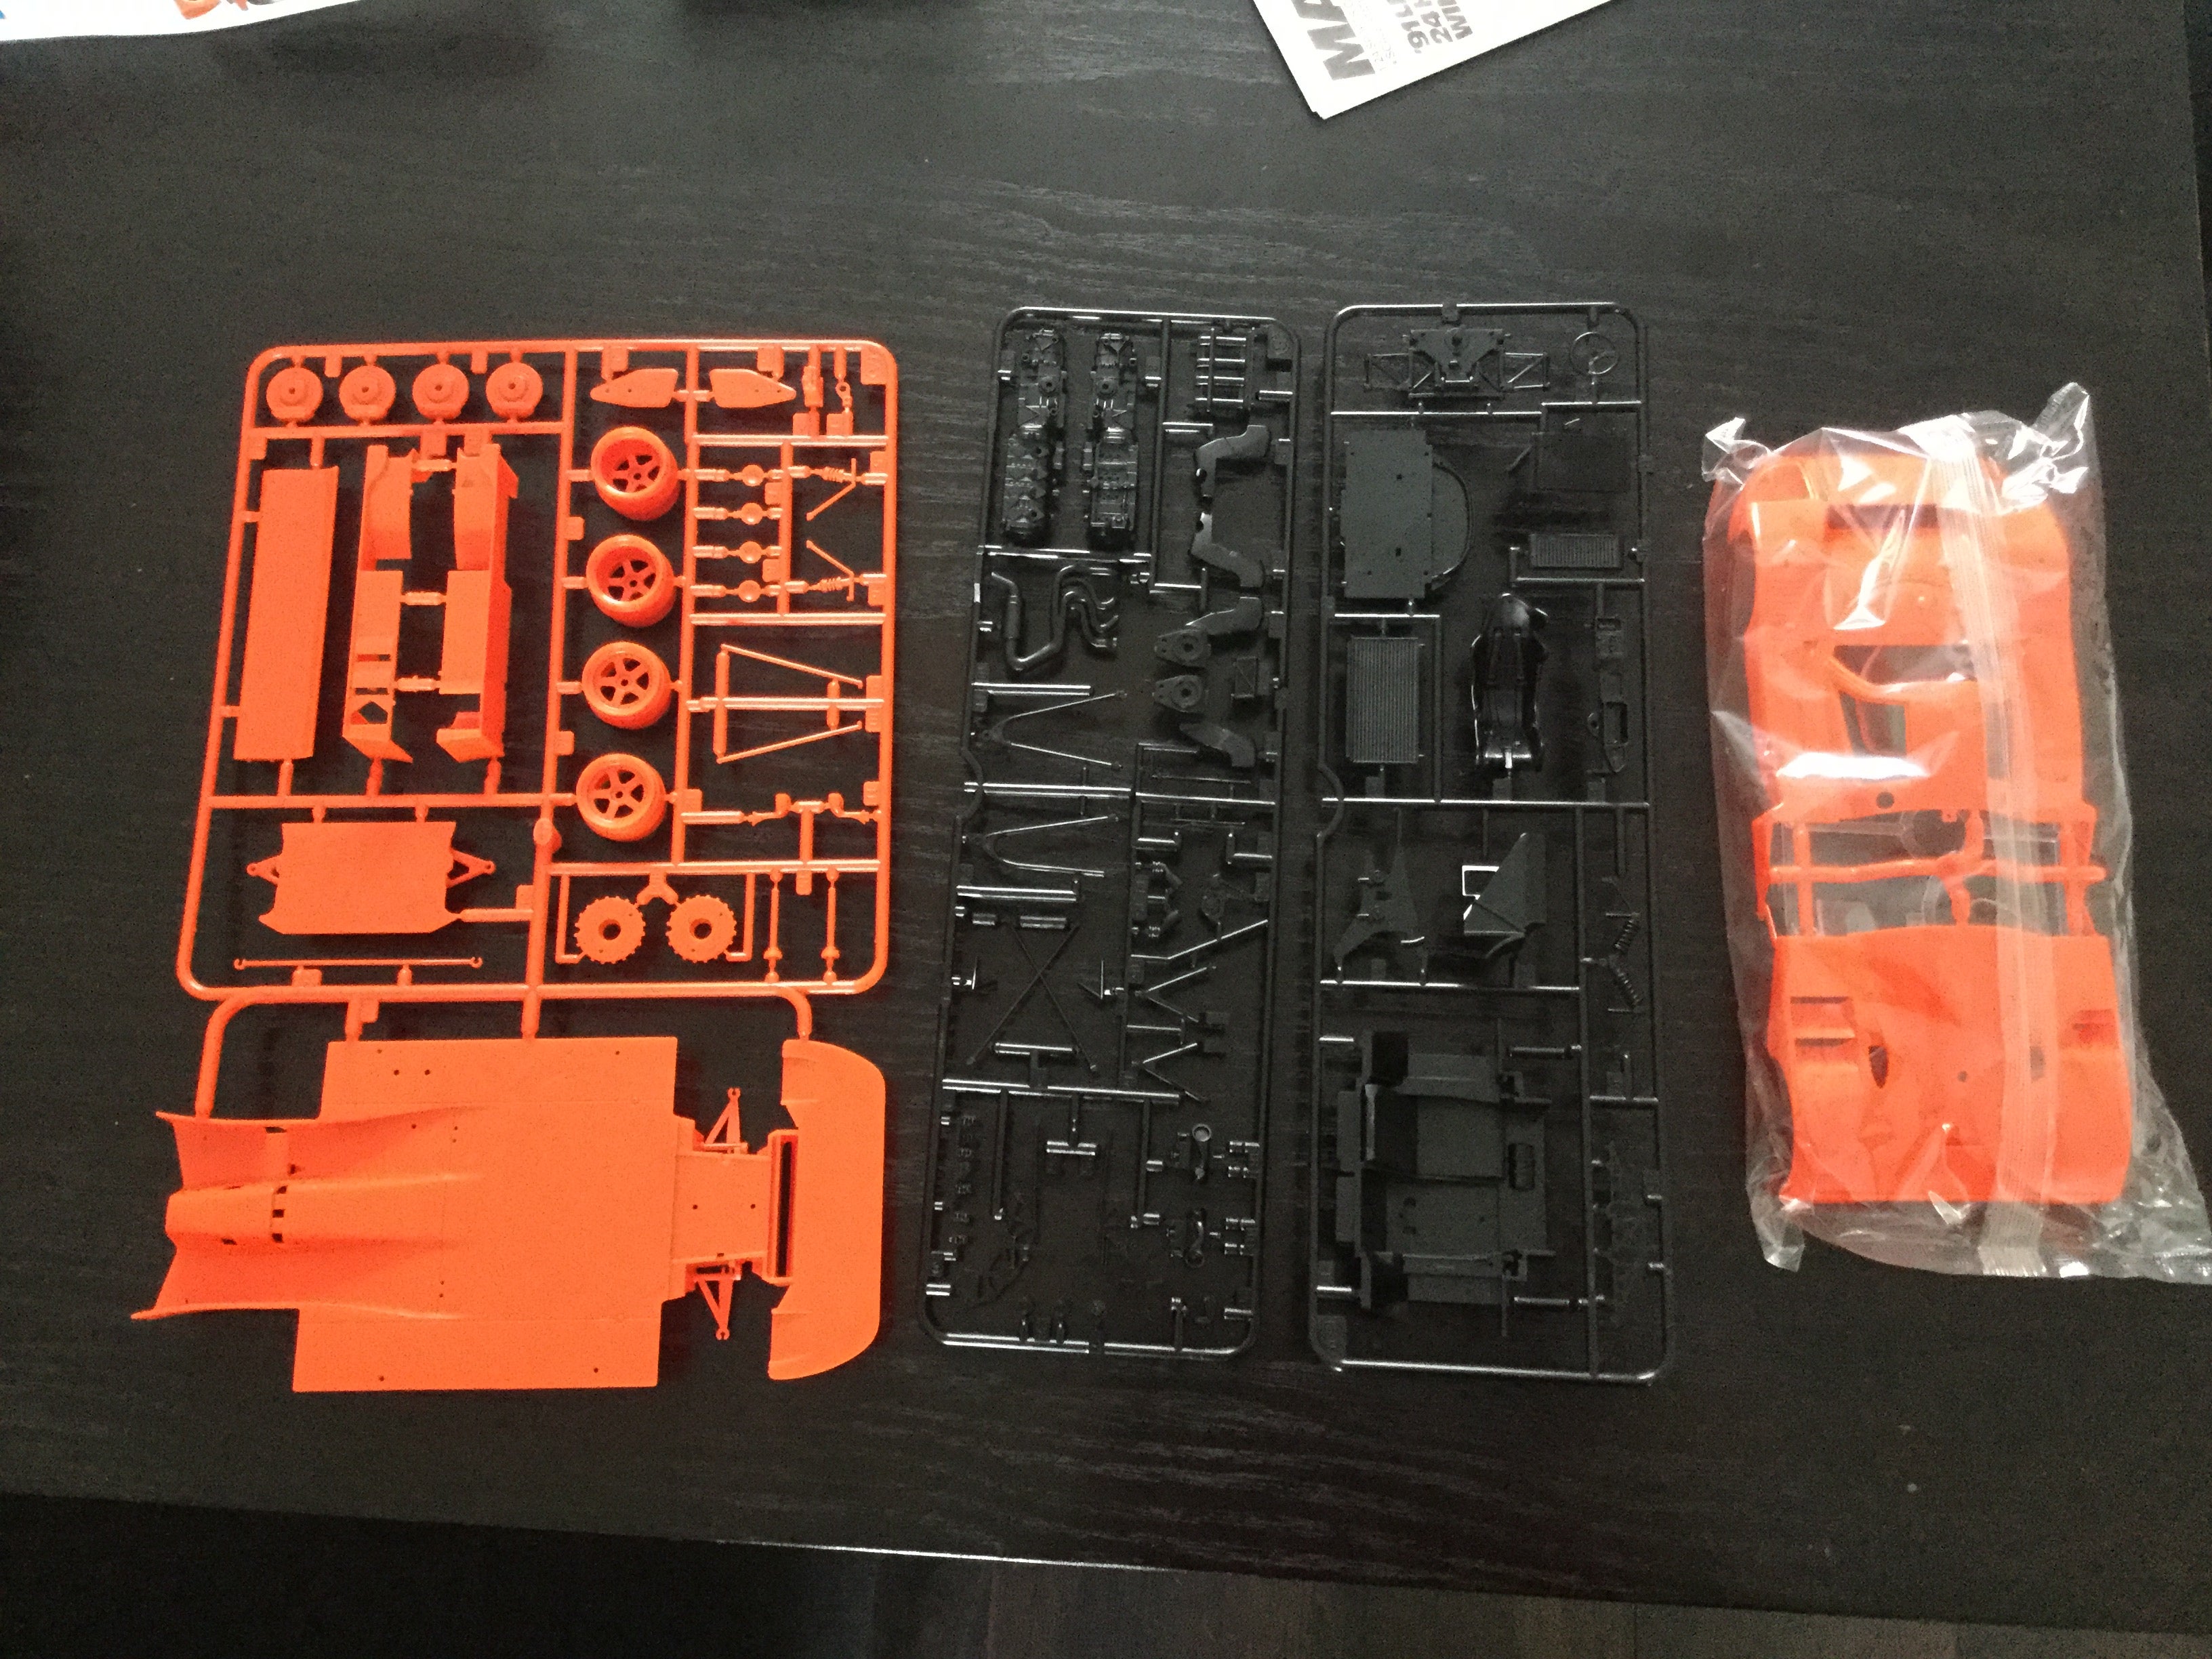
Ok great thanks. †The body is orange but so is a ton of stuff that shouldnít be. †Maybe I should grab a can of sandable primer for those.
 jimz
> ClassicDatsunDebate
03/22/2020 at 15:21 |
|
yeah, looking at the real car, thereís hardly any white on the body. you probably can skip the sealer. Iíd still give it a thin coat of primer just so the orange areas donít look like plastic.
stuff thatís black or other dark colors probably donít really need a primer or sealer either.† not sure about silver.†
 ClassicDatsunDebate
> jimz
03/22/2020 at 15:44 |
|
Iím thinking a light primer on the floor pan, wheels, brakes...basically anything that wonít be orange. Would you agree?
 John Norris (AngryDrifter)
> ClassicDatsunDebate
03/22/2020 at 15:44 |
|
I used to rattle can spray most of my models. I left the parts on the sprue trees,(yes, thatís what they ar e called) but surgically cut up the trees so the silver parts wou ld be together, th e flat black parts would be together, the gloss black parts would be together, the interior colored parts wou ld be together, and the body colored parts would be together. So if I started with 3 or 4 sprue trees Iíd end up with a dozen or so. That way you can hold the trees with an old needle nose pliers or hang them from something while you paint and while they dry. Itís easier to identify the parts after the fact as well. You can still see the numbers on the trees.
Now I didnít make the most perfect detailed models, but I did mak e a lot of them. You can work a bit of an assembly line. After painting one set of model parts you need to let them dry. Meanwhile you can be separating trees for the next one. Yo u can work on three models at a time and keep full busy. My son and I did a lot of models and then some of my n ephews wou ld come visit over the holidays. I kept a good inventory of model kit s and we usually sent the nephews home with 3 or 4 models each after a week visit.
With all the inven tory we did a lot of engine swaps and body mods. This was late 90's and early 2000's. My son and his nephews are now mi d 20's to early 30's . They all still play with cars, just full scale now.
The plastic typically has some residue left from the casting process. Soap and water wash with a really good rinse will make your paint jobs 100% better. Just donít lose any loose parts down the sink drain.
 ClassicDatsunDebate
> John Norris (AngryDrifter)
03/22/2020 at 15:48 |
|
Thank you very much. †That really helps.
 bmil128
> ClassicDatsunDebate
03/22/2020 at 15:53 |
|
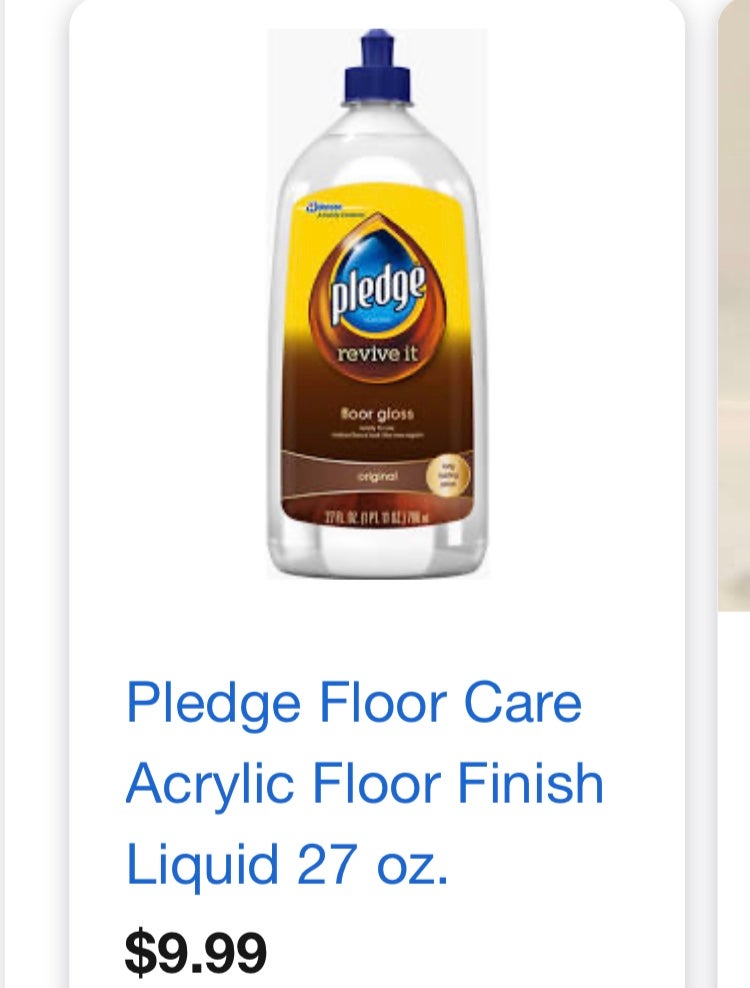
FYI i tís not Pledge in the can, itís this acrylic floor polish/finish. It used to be called Future
 jimz
> ClassicDatsunDebate
03/22/2020 at 16:49 |
|
Couldnít hurt.
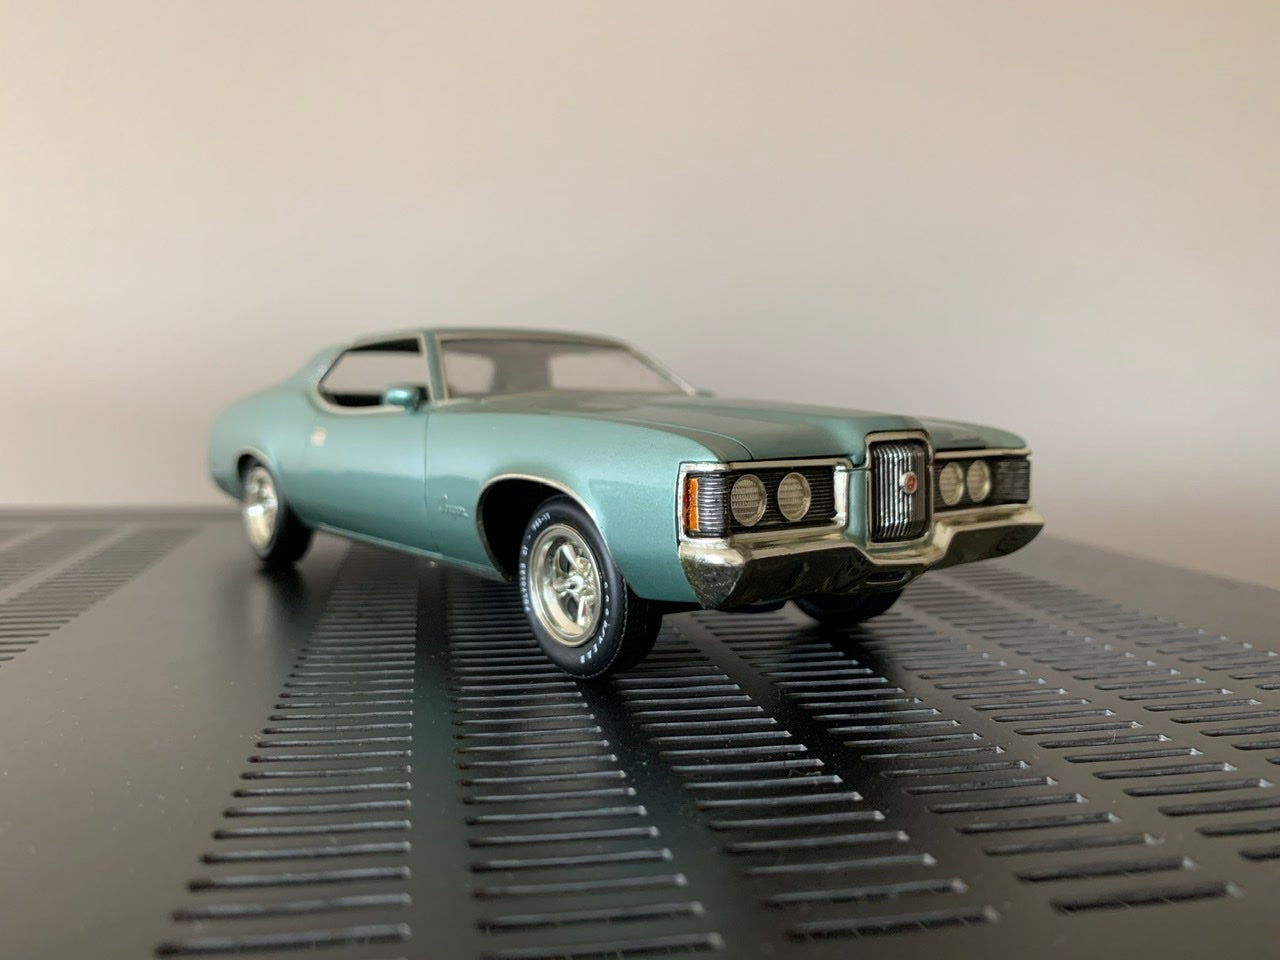
Iíve got a whole stack of kits in the closet Iím hoping to get around to. As it is, the only built model I have right now (other than that visible 289 V8 I posted about) is this Cougar I built a number of years ago.
 ClassicDatsunDebate
> bmil128
03/22/2020 at 18:08 |
|
Ah yeas that makes more sense. †That acrylic stuff
 jimz
> ClassicDatsunDebate
03/22/2020 at 20:03 |
|
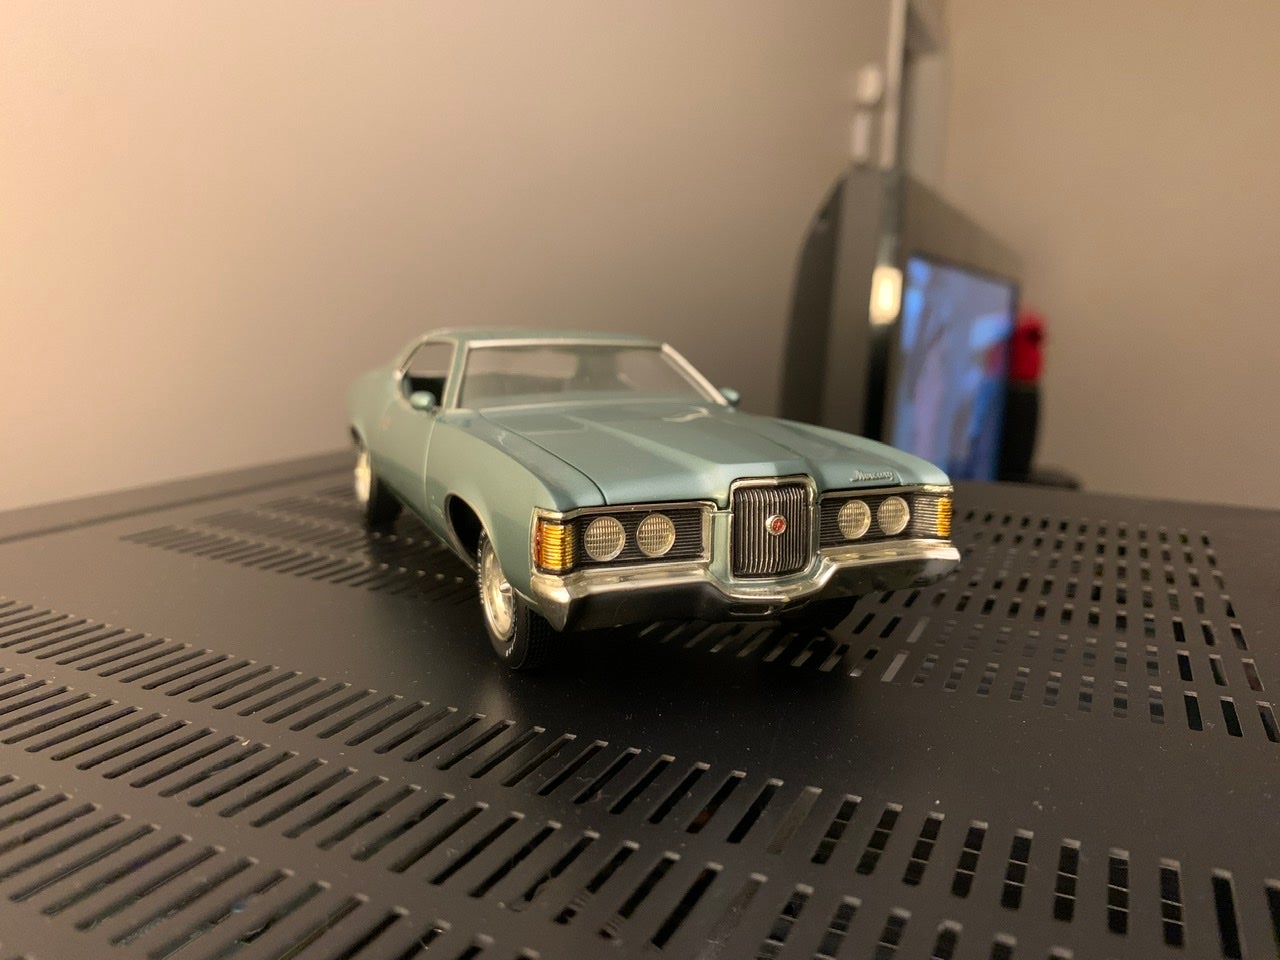
And this discussion inspired me to finally bust out the Bare Metal foil and finish properly detailing the grille/turn signals.
 ClassicDatsunDebate
> jimz
03/22/2020 at 20:11 |
|
Looks great!
 jimz
> ClassicDatsunDebate
03/22/2020 at 20:20 |
|
the molding quality is old-school, though, thatís an actual kit from 1972.† When I opened it up to build it, I felt a great disturbance- as if hundreds of collectors cried out in terror, and were suddenly silenced.†
 ClassicDatsunDebate
> jimz
03/22/2020 at 20:45 |
|
Lol, yup it was† the same with thi s 787 kit. Spurls say 1992. Oh well, theyíre made to be built.