 "dtg11 - is probably on an adventure with Clifford" (dtg11)
02/04/2020 at 17:50 ē Filed to: Project Ricer
 6
6
 7
7
 "dtg11 - is probably on an adventure with Clifford" (dtg11)
02/04/2020 at 17:50 ē Filed to: Project Ricer |  6 6
|  7 7 |
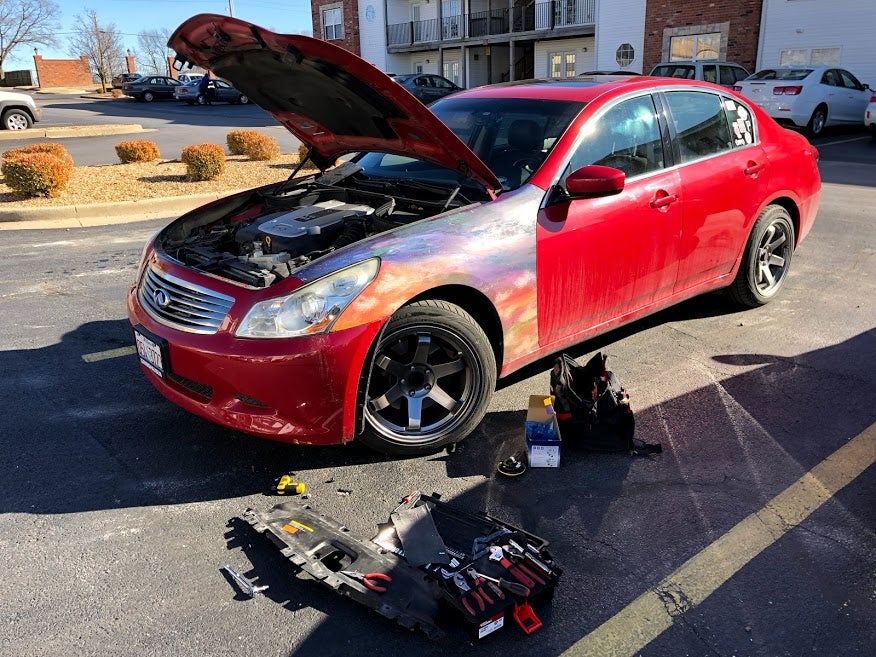
Horns are a super easy way to upgrade your car by replacing the generally weak sound from the OEM horns. Overall cost for this upgrade was less than $25 and took about 1.5 hours on a fairly difficult install (relative to other horn replacements). I highly recommend this for anyone and itís easy for anyone to do.
Items you will need:
10 mm and 12 mm socket
Ratcheting socket wrench
Flat-head screwdriver
Pliers
Very small screwdriver
Step 0: Disconnect the battery. Anytime you work with electronics, always disconnect the battery or risk injury or damaging your car.
Step 1: Locate the horns. On the G37, they are located under the radiator cover on the driverís side, right behind the grille. The other is more hidden, as it is behind the driverís side wheel liner.
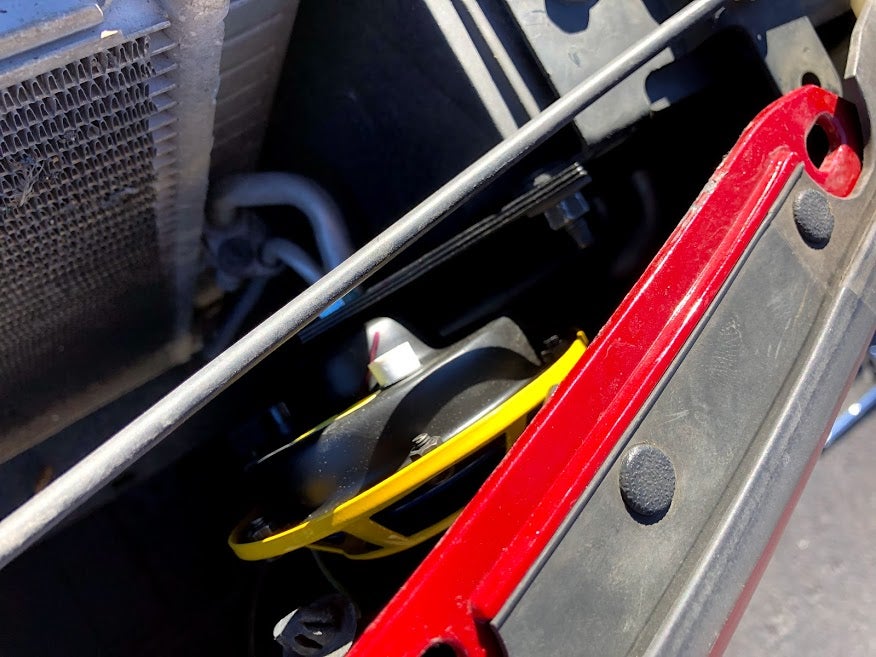
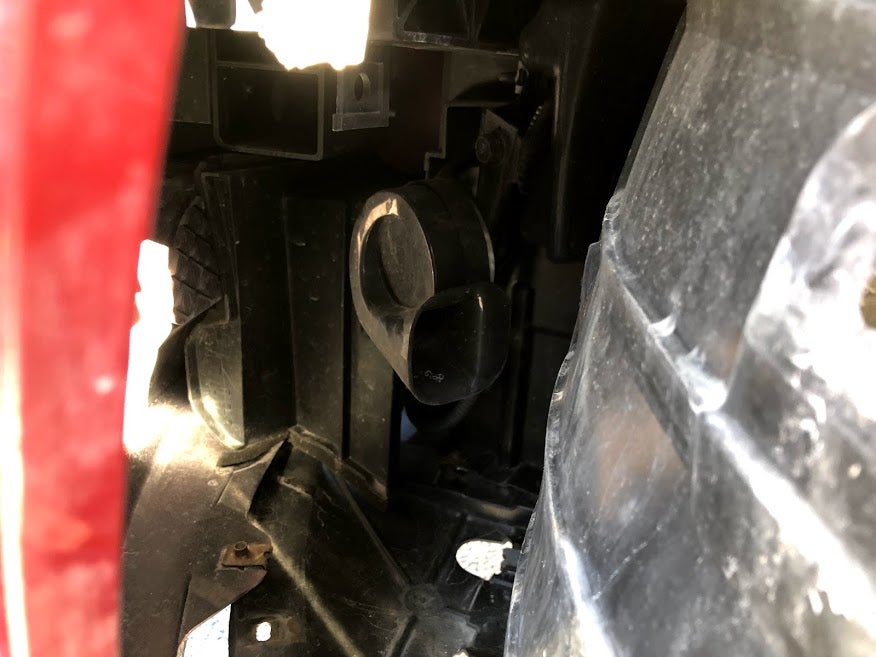
Step 2: Get to the horns. In the G37, this is more of a process than actually replacing the horns. For the upper horn, the radiator cover needs to come off. Itís held on by plastic clips that you can use a flat head screwdriver to pop off, 10 mm bolts, and sheer will.
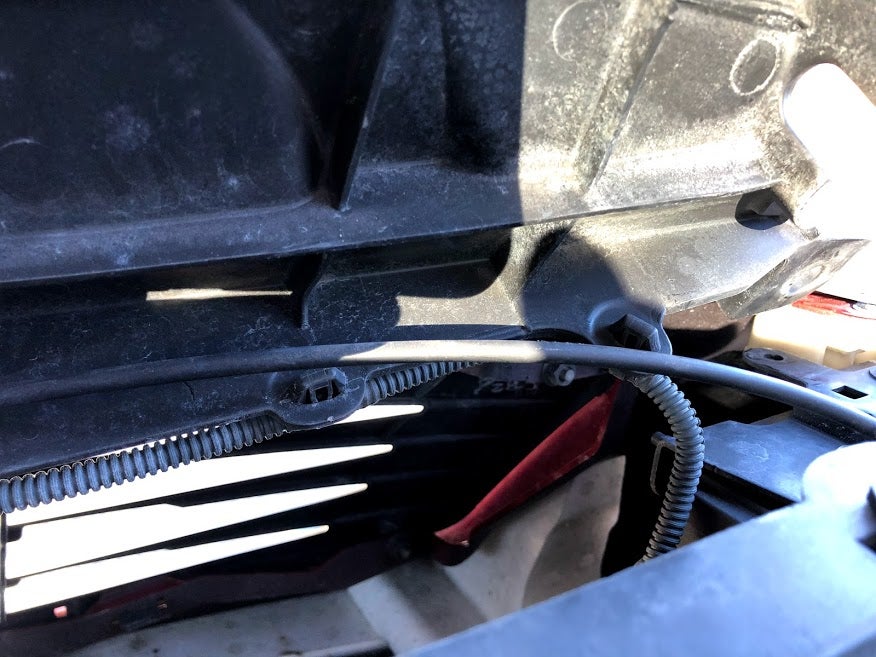
Additionally, there are a few cables held in by clips that you will need pliers to get off. Once you get it off, the horn is clearly visible.
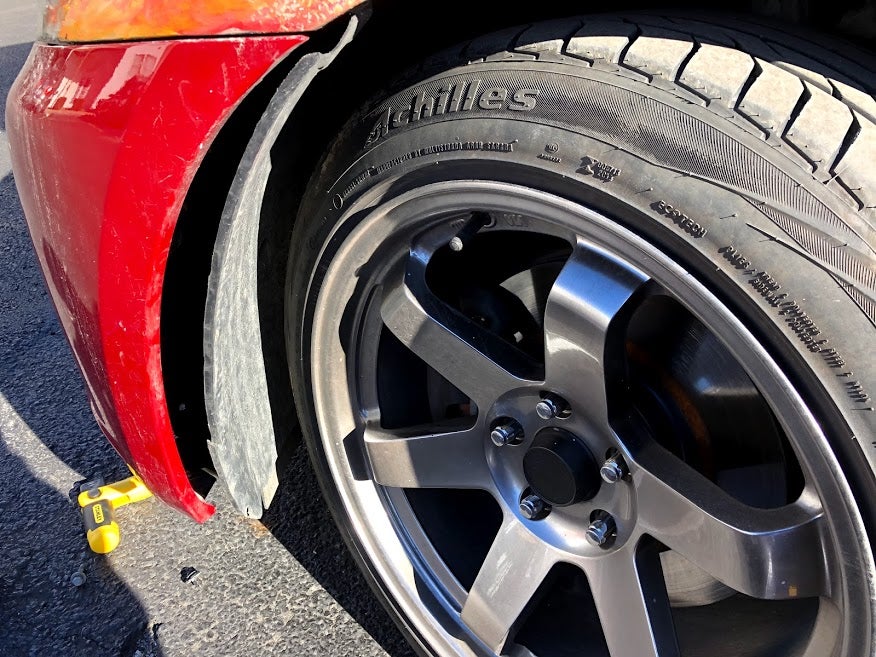
For the lower horn, you will have to remove the wheel liner/ part of the under tray . It would be much easier with the wheel removed, but itís still doable.
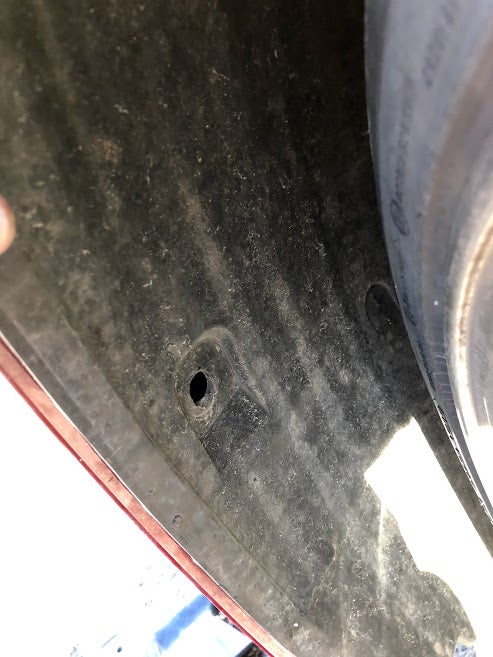
A plastic clip holds the liner in. I believe a bolt might also hold it on, but my liner is damaged in that corner.
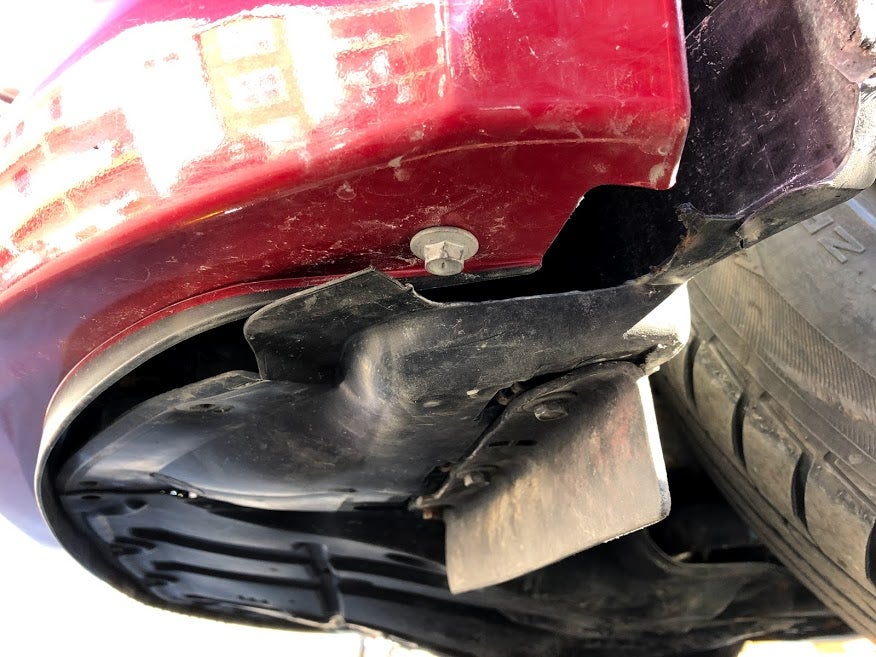
The under tray is held on by 1 clip and 2 or 3 10 mm bolts. Itís a pain. And of course, the under tray is part of the wheel liner.
Step 3: Swapping the horns. This is the easy part. The upper horn is held on by a 10 mm bolt and the power cables. The clips snap on, so you will need a very small screwdriver to get them off. Simply swap the cables and youíre set.
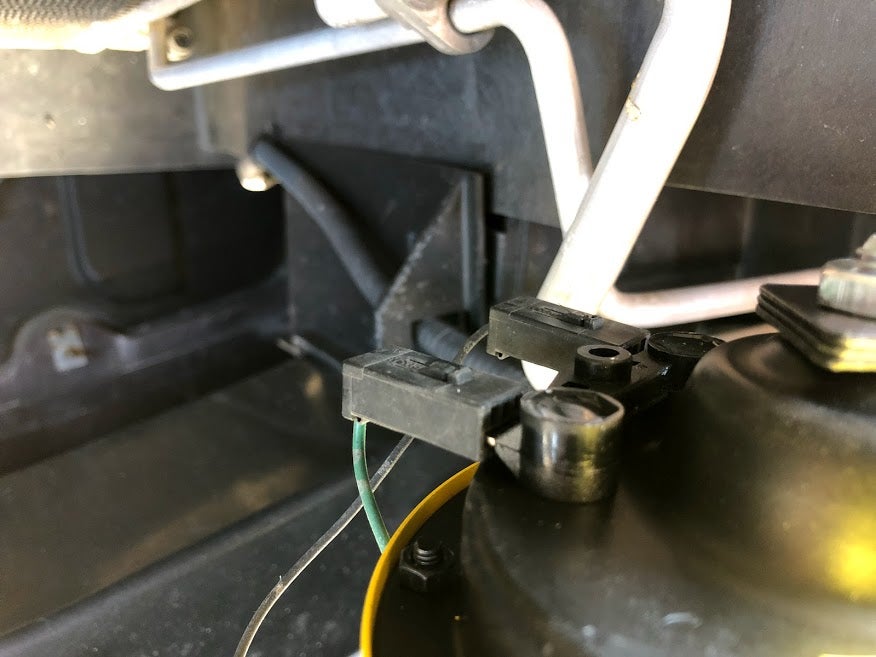
The lower horn is held on by the same cables, but much dirtier. Also the bolt is a 12 mm, not a 10 mm. No clue why they changed it, but be aware of that.
Step 4: Reconnect the battery and test the horns. If they work, disconnect the battery. If they donít work, make sure the cables are snapped into place.
Step 5: Now you can put everything back together. Just make sure not to drop your 10 mm into the engine bay like I did.
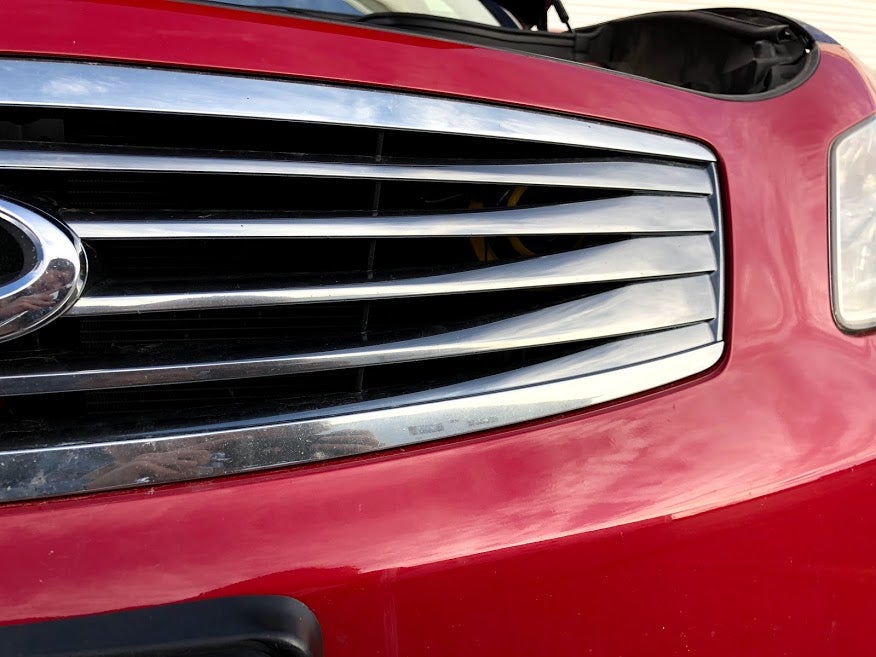
Hiding horn is hiding
Thank you for reading and I hope it helped!
As a note: this is a simple plug and play. There is also a way to properly wire the horns, so they work in conjunction with oem, or replace but with more power. This was something I did not want to dive into, but also keeps the horns from their full capabilities . I might do this at some point, but I have no experience wiring and did not have time or resources available.
HELLA Sharptones available here for $23
 sony1492
> dtg11 - is probably on an adventure with Clifford
02/04/2020 at 18:21 |
|
You have done great work keeping the horns hidden, seeing those things front and center on Subaruís i s a Pet peeve
 Who is the Leader - 404 / Blog No Longer Available
> dtg11 - is probably on an adventure with Clifford
02/04/2020 at 20:33 |
|
I thought about replacing mine and then I realized the bumper has to come off. I actually donít have a wheel w ell liner on the driverís side, even though I donít believe it has ever been in an accident, but there is no horn hidden there.
 dtg11 - is probably on an adventure with Clifford
> Who is the Leader - 404 / Blog No Longer Available
02/04/2020 at 21:20 |
|
Sometimes they can just fall out or get eaten by a tire. Either way, unless thereís computers and such nearby, they usually arenít super useful. If I had to take the bumper off, I wouldíve replaced all my headlight bulbs as a preventative thing, because itís a bear to do†
 Who is the Leader - 404 / Blog No Longer Available
> dtg11 - is probably on an adventure with Clifford
02/04/2020 at 21:41 |
|
Fortunate ly, my headlights are much more accessible. And the wheel well is really only protecting the washer fluid bottle and a tiny portion of the transmission.†
 GoodIdeaAtTheTime
> dtg11 - is probably on an adventure with Clifford
02/05/2020 at 08:41 |
|
A 10mm socket also works on those harness Jesus clips... and honestly it probably would have been easier to remove the front bumper. Takes like 8 minutes.†
 i86hotdogs
> dtg11 - is probably on an adventure with Clifford
02/05/2020 at 12:41 |
|
I replaced mine a few months ago as well. The dual note horn is one assembly sitting behind the passenger side fog lamp (or where it would be if I had those). One 10mm bolt holds it all together. The connector is make specific, so I had to cut the connector to wire in my own aftermarket horn. Itís a relatively cheap air horn set-up that set me back $40. Itís loud, and high pitched. Almost sounds like a Ferrari tone.
 dtg11 - is probably on an adventure with Clifford
> i86hotdogs
02/05/2020 at 13:00 |
|
Mine are pretty high pitch too, reminds me of an older 70/80/ 90s Italian car