 "MM54" (mm54mk2)
05/27/2019 at 21:30 ē Filed to: '71Chevelle
 6
6
 11
11
 "MM54" (mm54mk2)
05/27/2019 at 21:30 ē Filed to: '71Chevelle |  6 6
|  11 11 |
I made more progress on repairing the rust on the Chevelle today. When we left off, the fender had been trimmed and a patch panel cut to ďtoo big.Ē
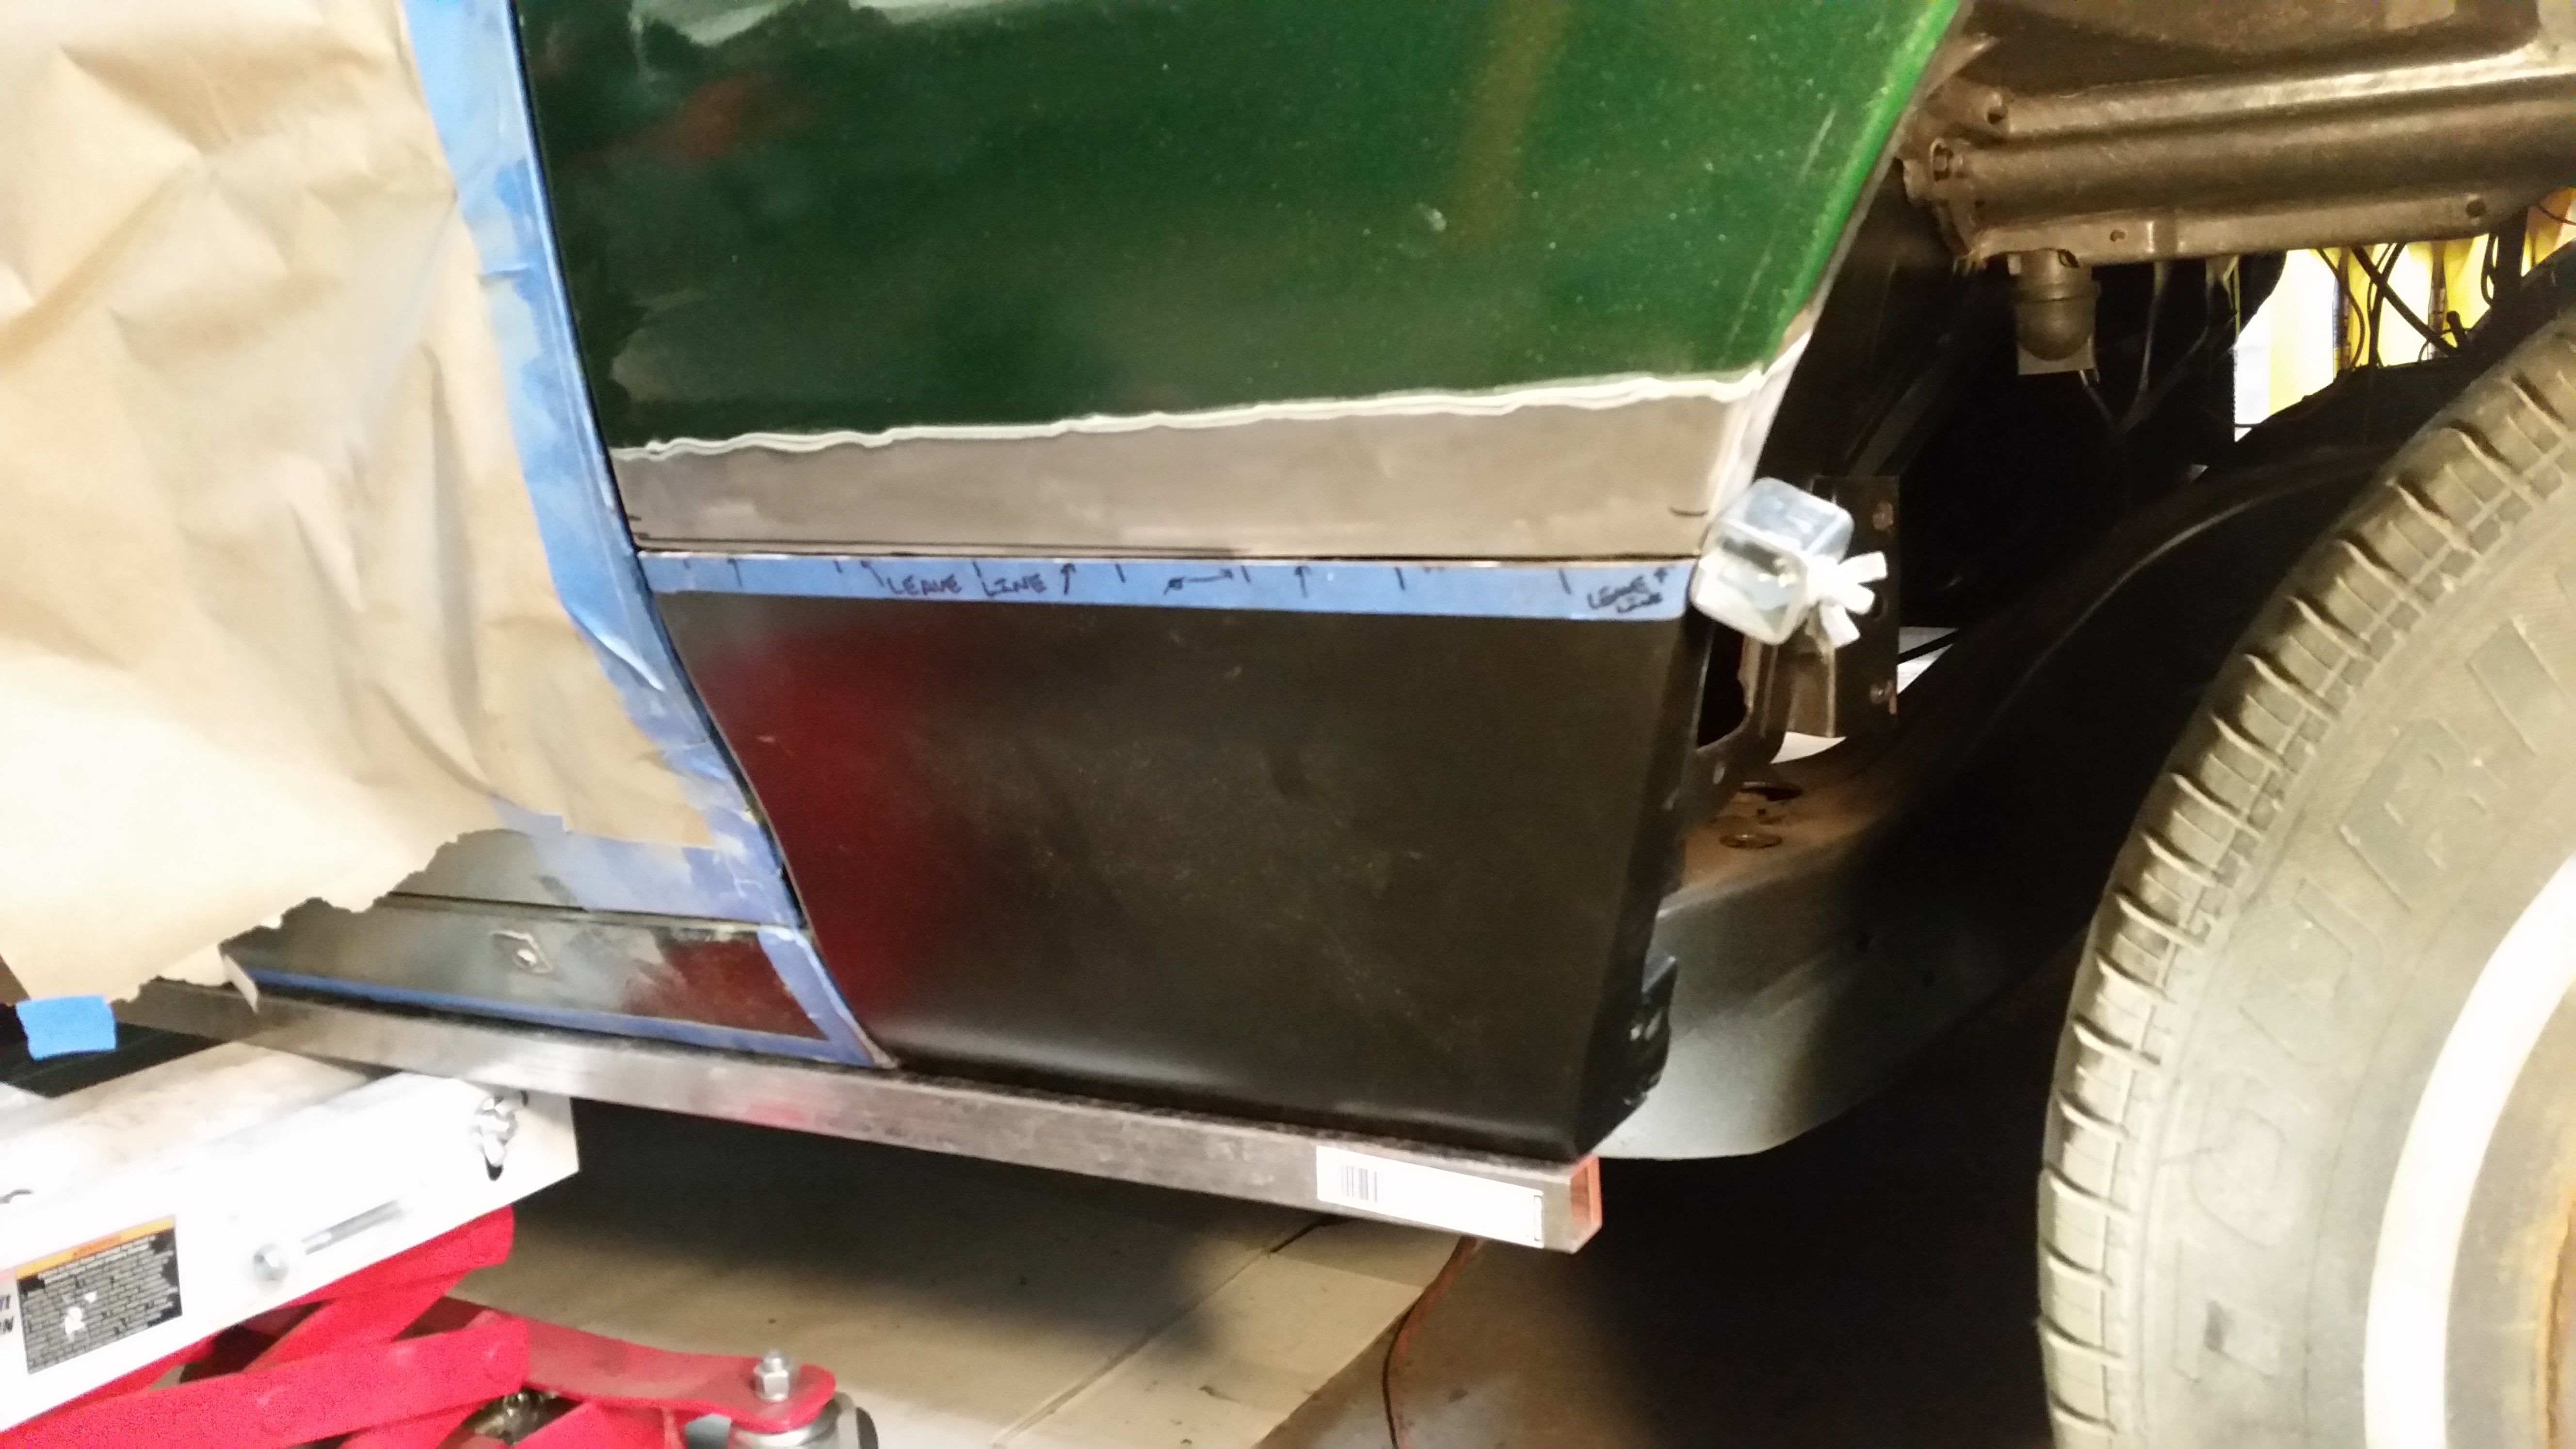
First approximate fit
After some more cutting and a whole bunch of trimming, the patch fit! And after even more trimming and generally-messing-with, it fit properly - or so it seems at a glance:
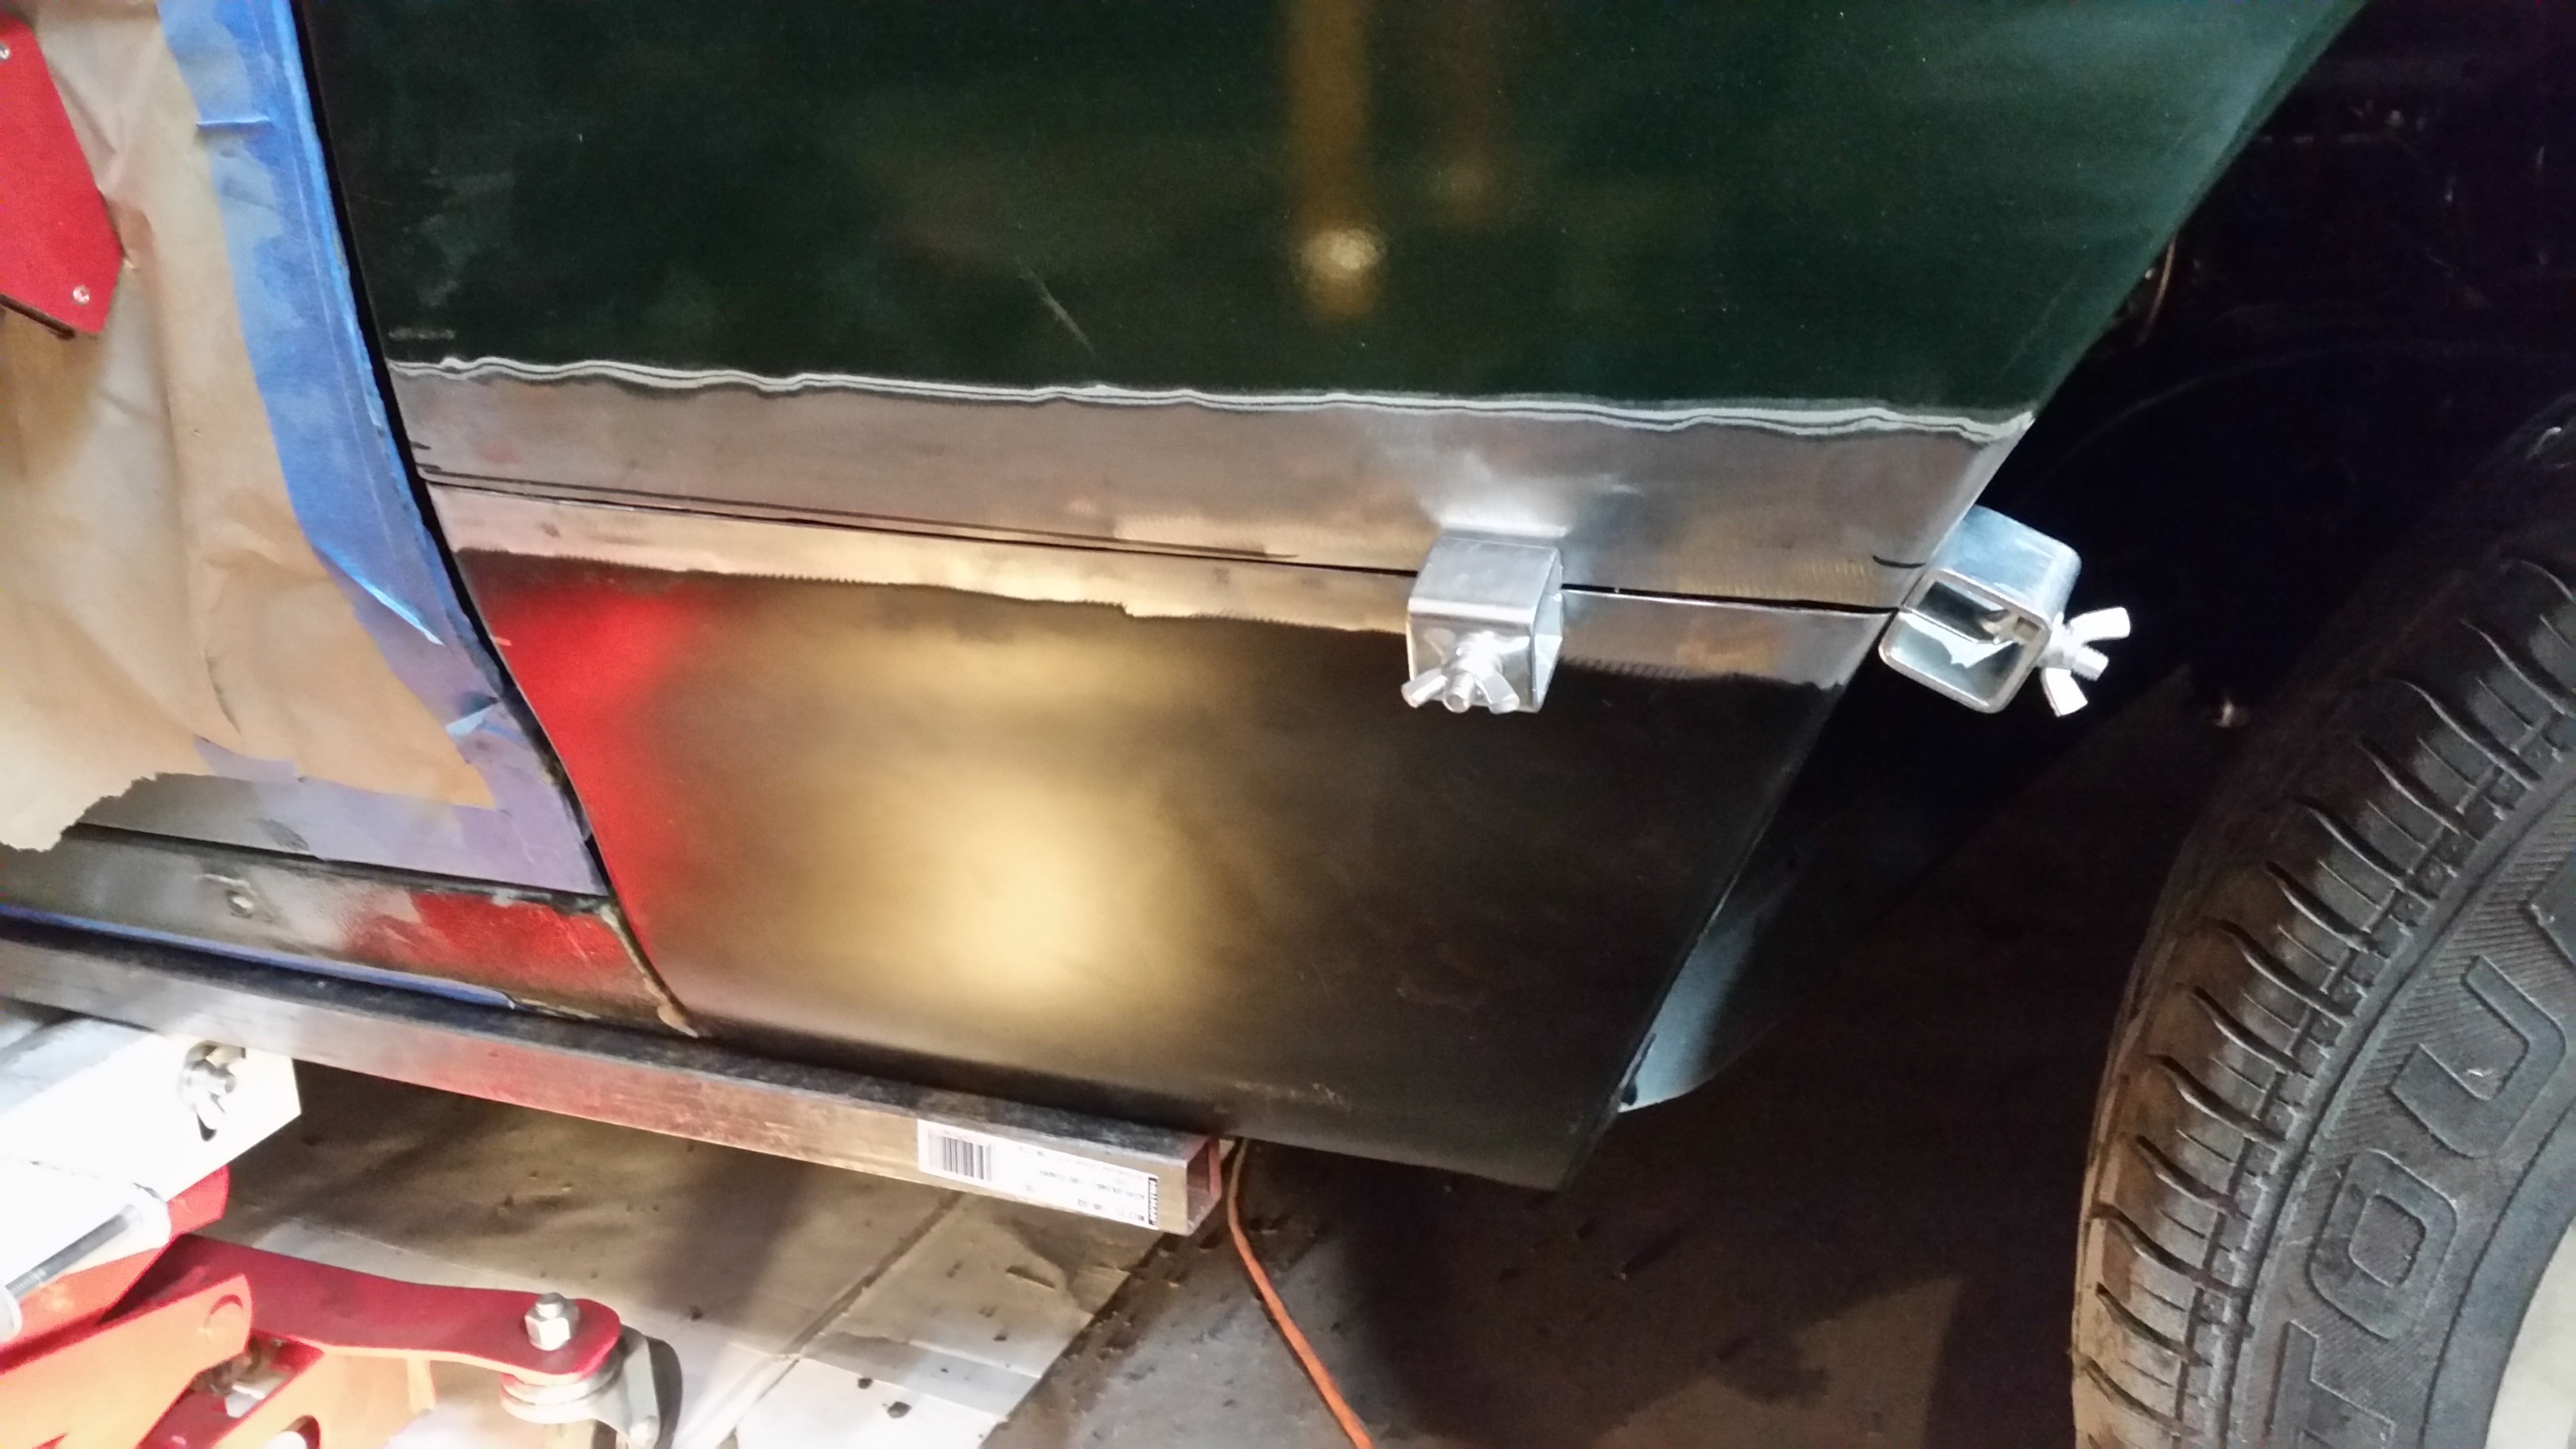
It may look the same as the last picture, but itís a solid hour of fine-tuning the fit later.
Upon closer inspection however, there is an issue. The patch panel, being a patch panel and not, say, a cutoff from an original fender, isnít quite right.
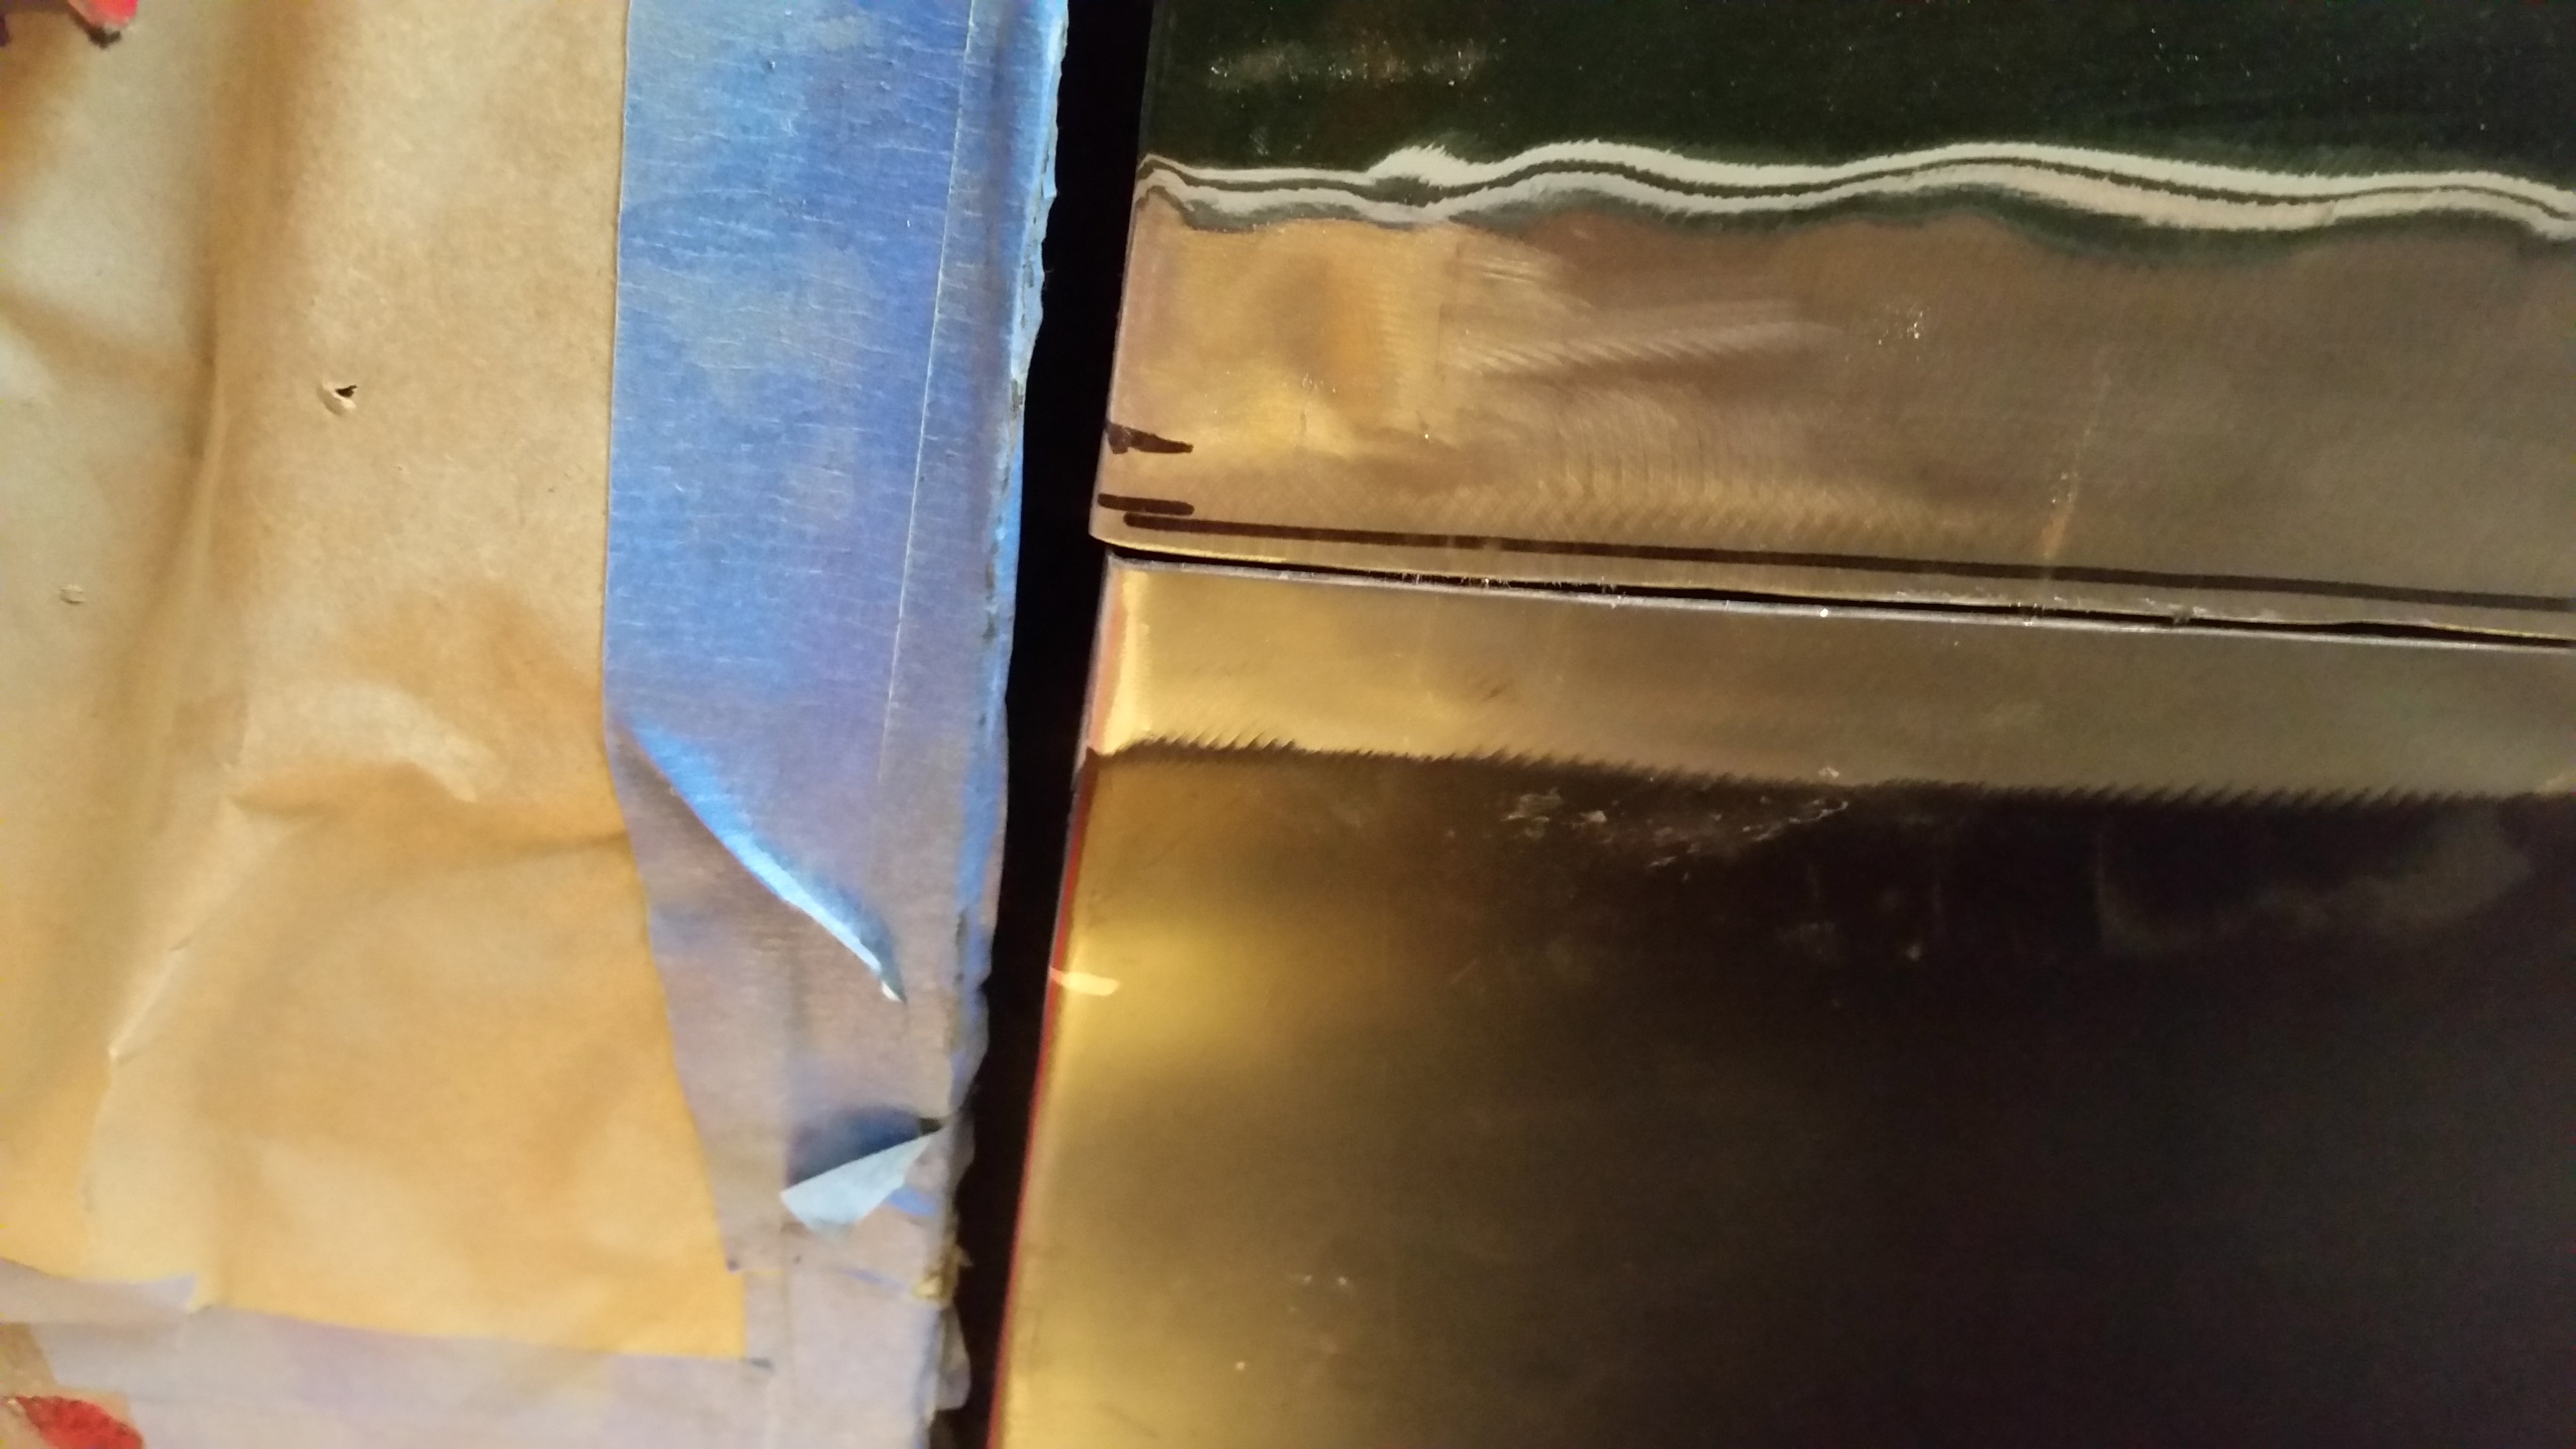
Sharpie marks unrelated, left over from initial ďhow much more do I have to take off to make this fitĒ
With the wheel opening edge aligned properly, the door gap edge came up short; likewise moving it to align this left the wheel opening wonky. This wasnít entirely a surprise; I noticed this being an issue while still making the panel fit in the first place and had time to contemplate how it fix it before it needed done.
The correct solution, of course, is a hacksaw.
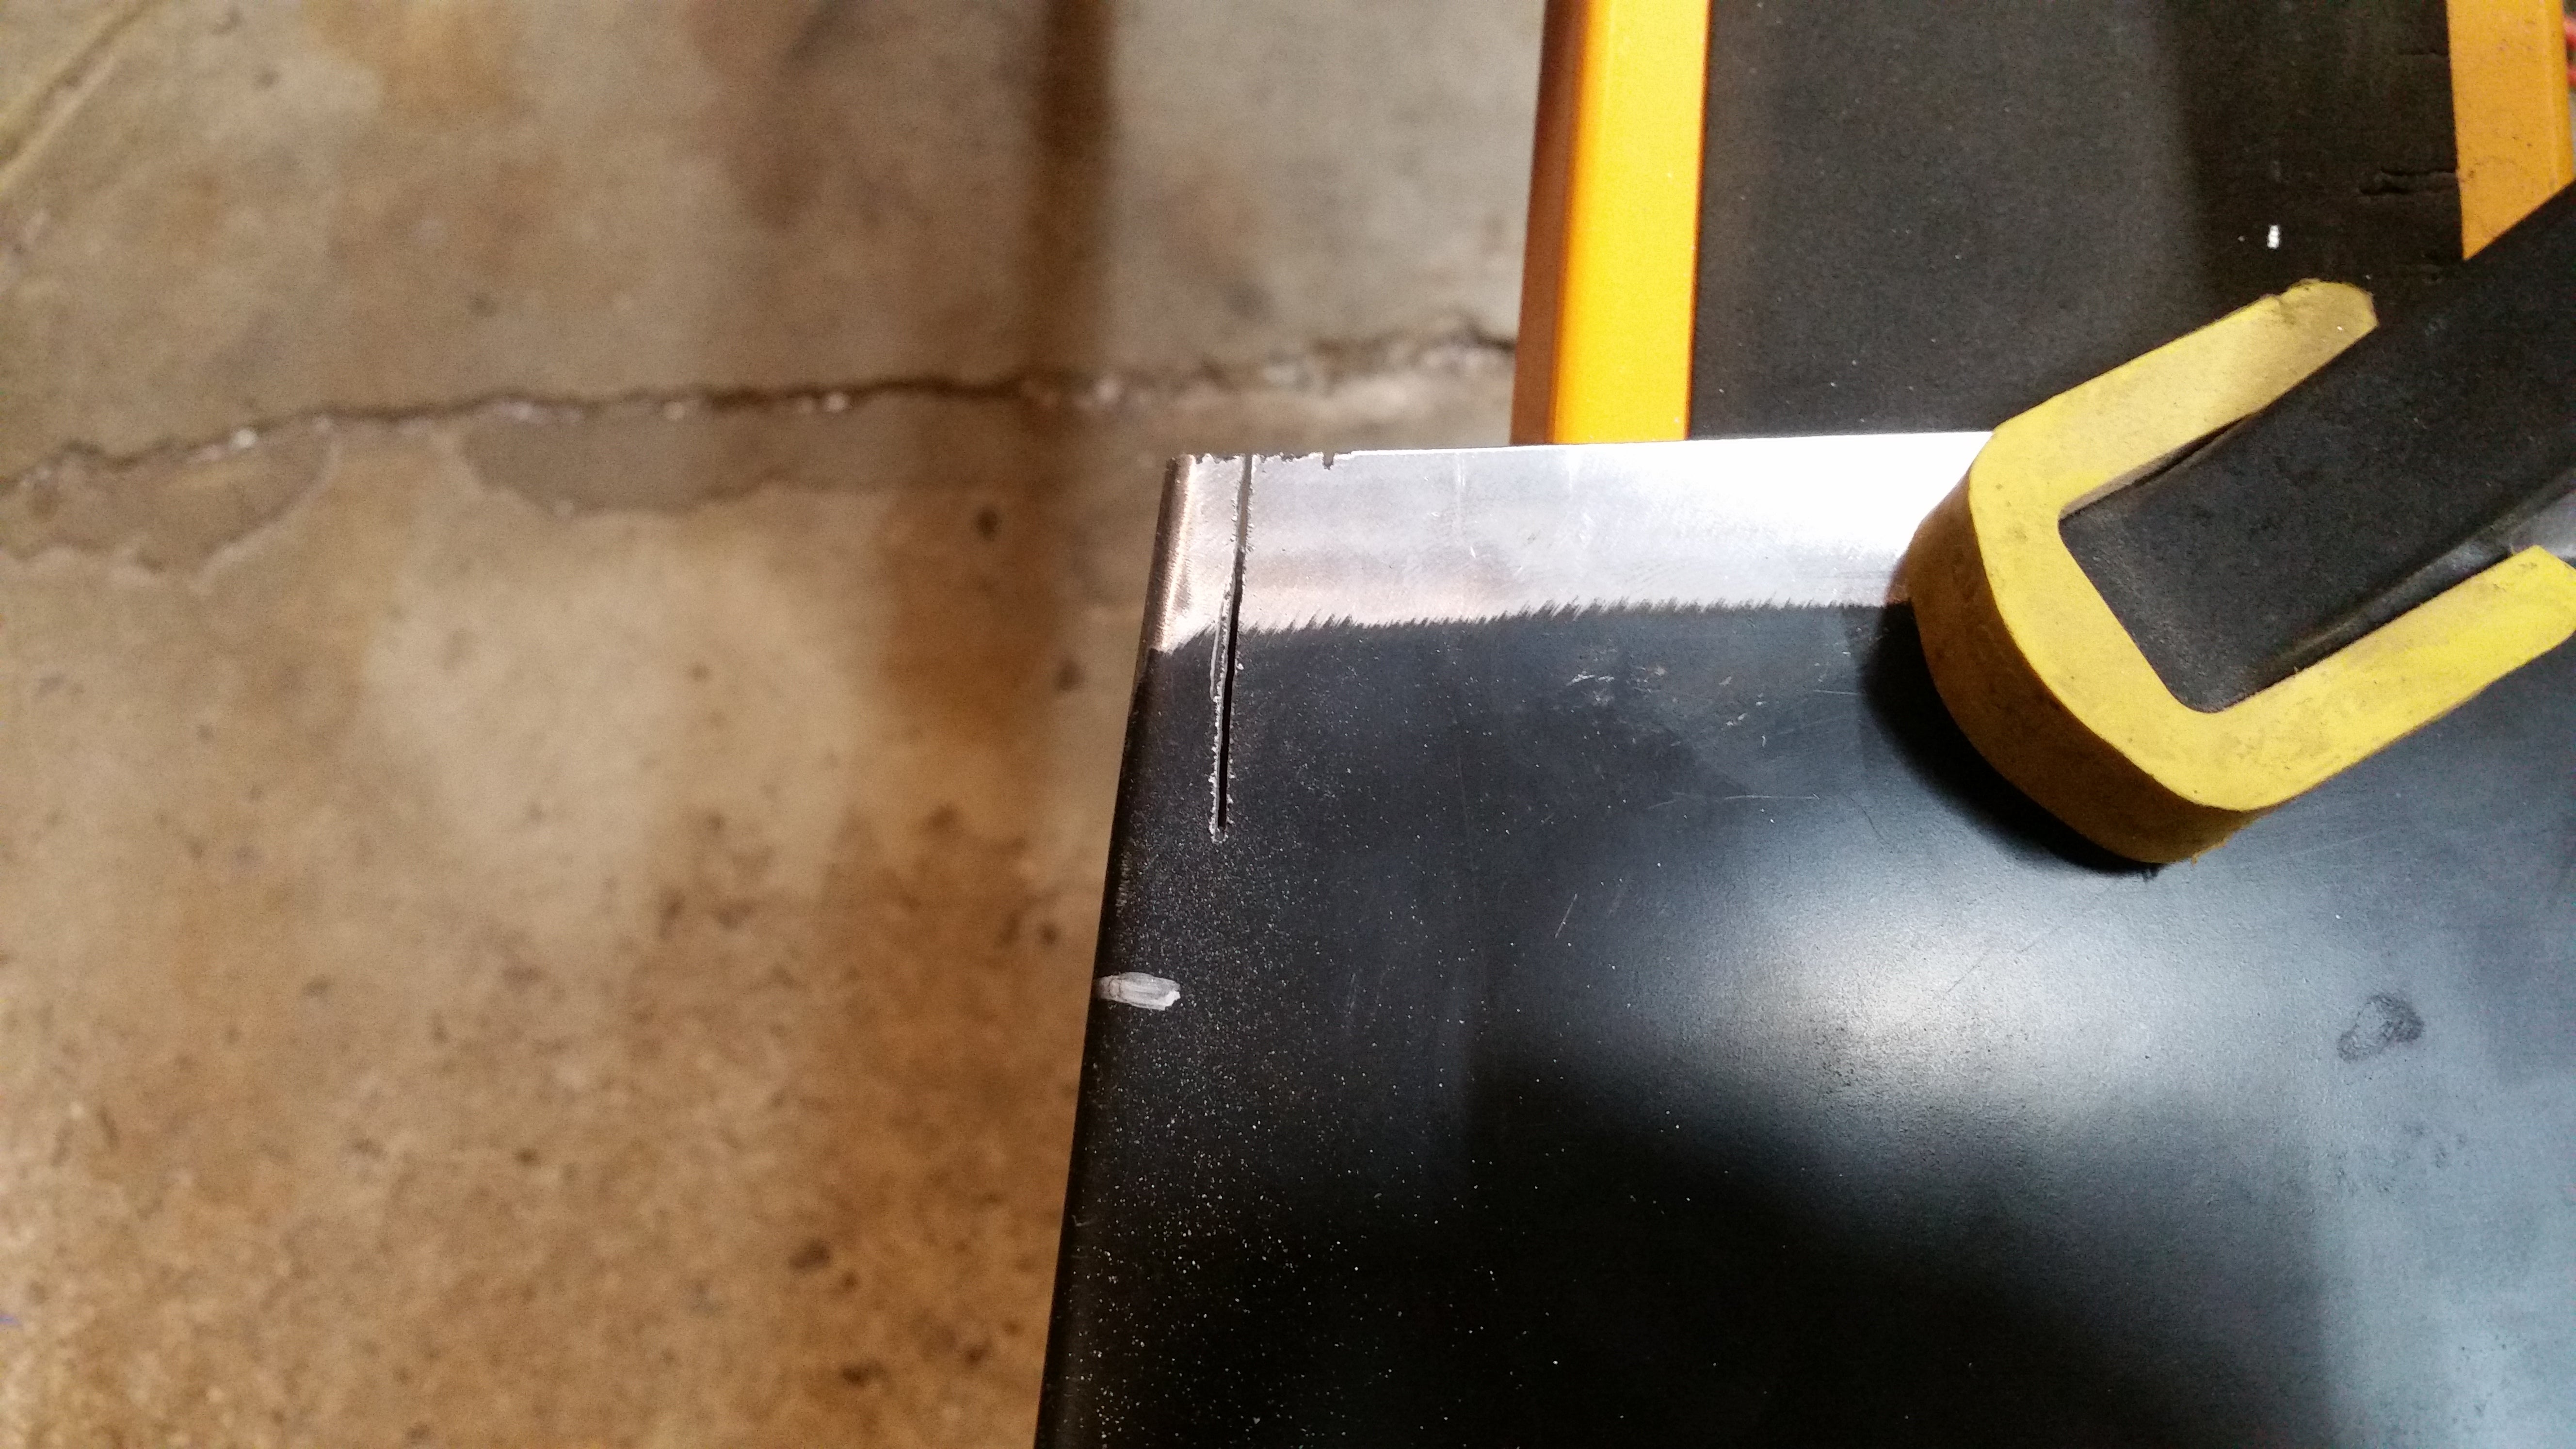 !!!CAPTION ERROR: MAY BE MULTI-LINE OR CONTAIN LINK!!!
I was originally going to go the whole way to that silver mark, but decided at this point that it was adequate. After some careful application of force...
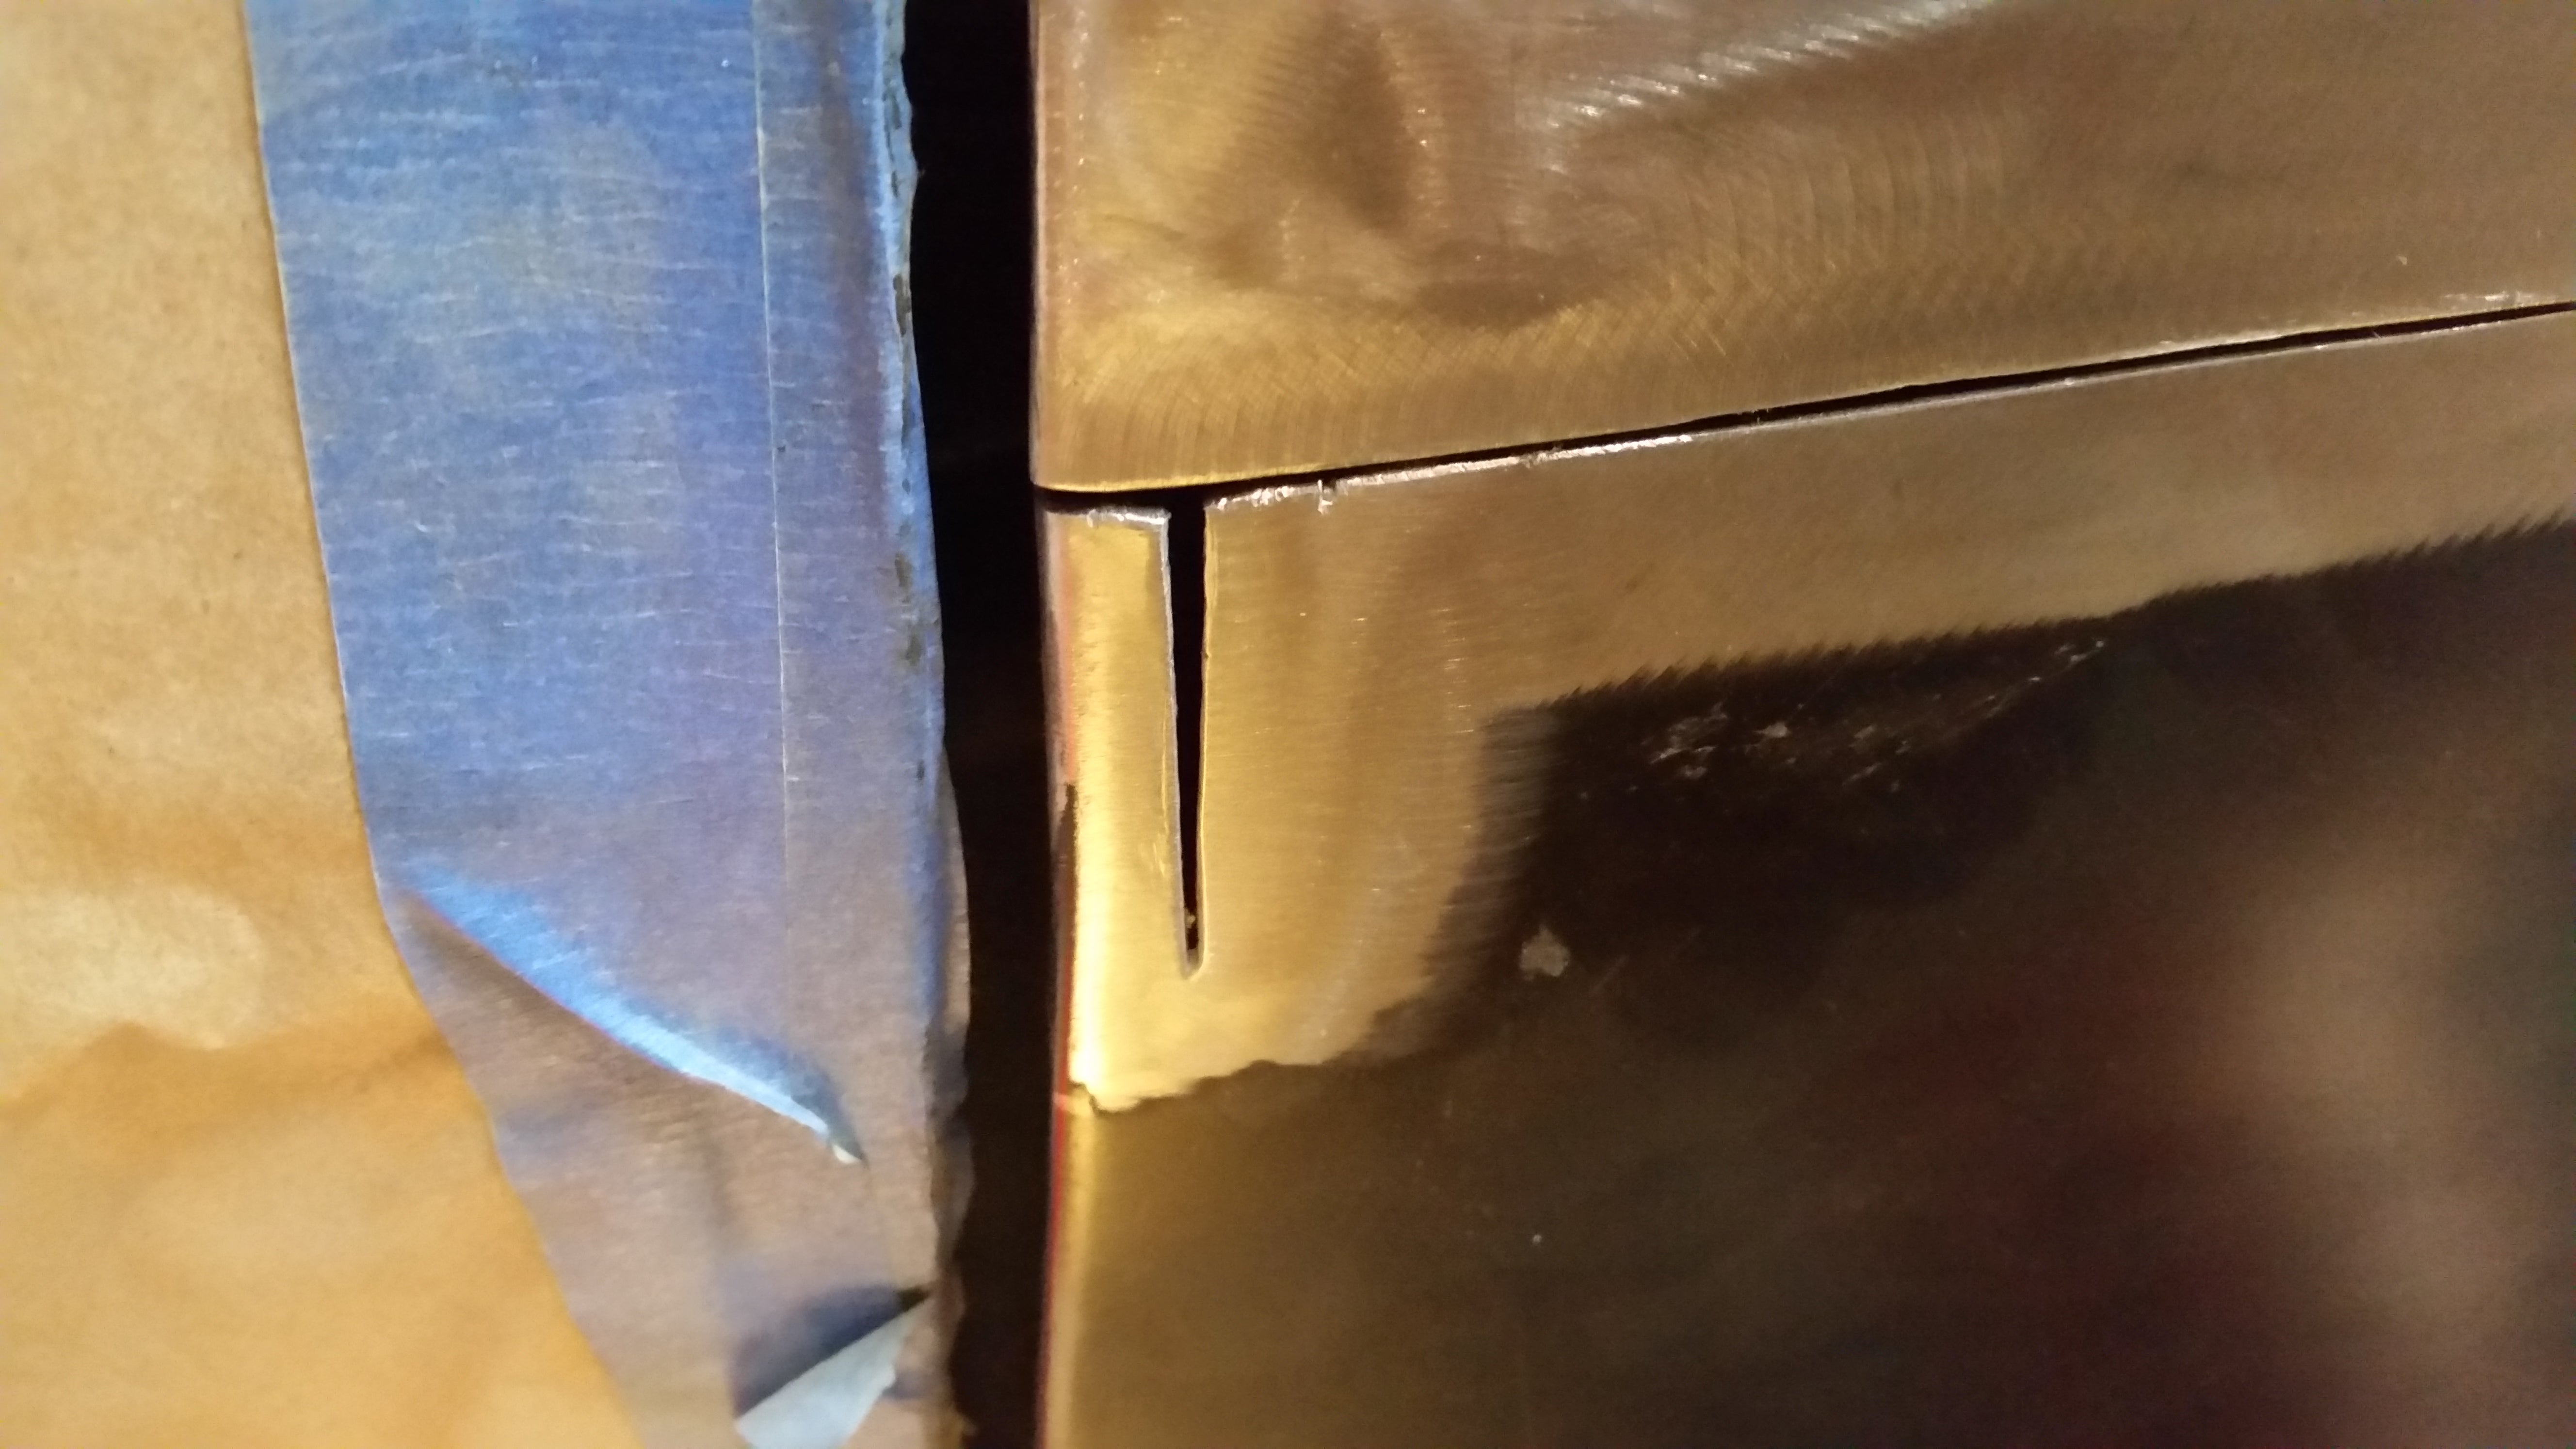
Imagine like 5 iterations of ďbend a little, test fitĒ before this point.
Any remaining unevenness there is well within the thickness of the steel to be able to smooth out post-weld. The lighting (and tape-edge) of the above picture makes it look like it has a serious ď<Ē but itís not bad.
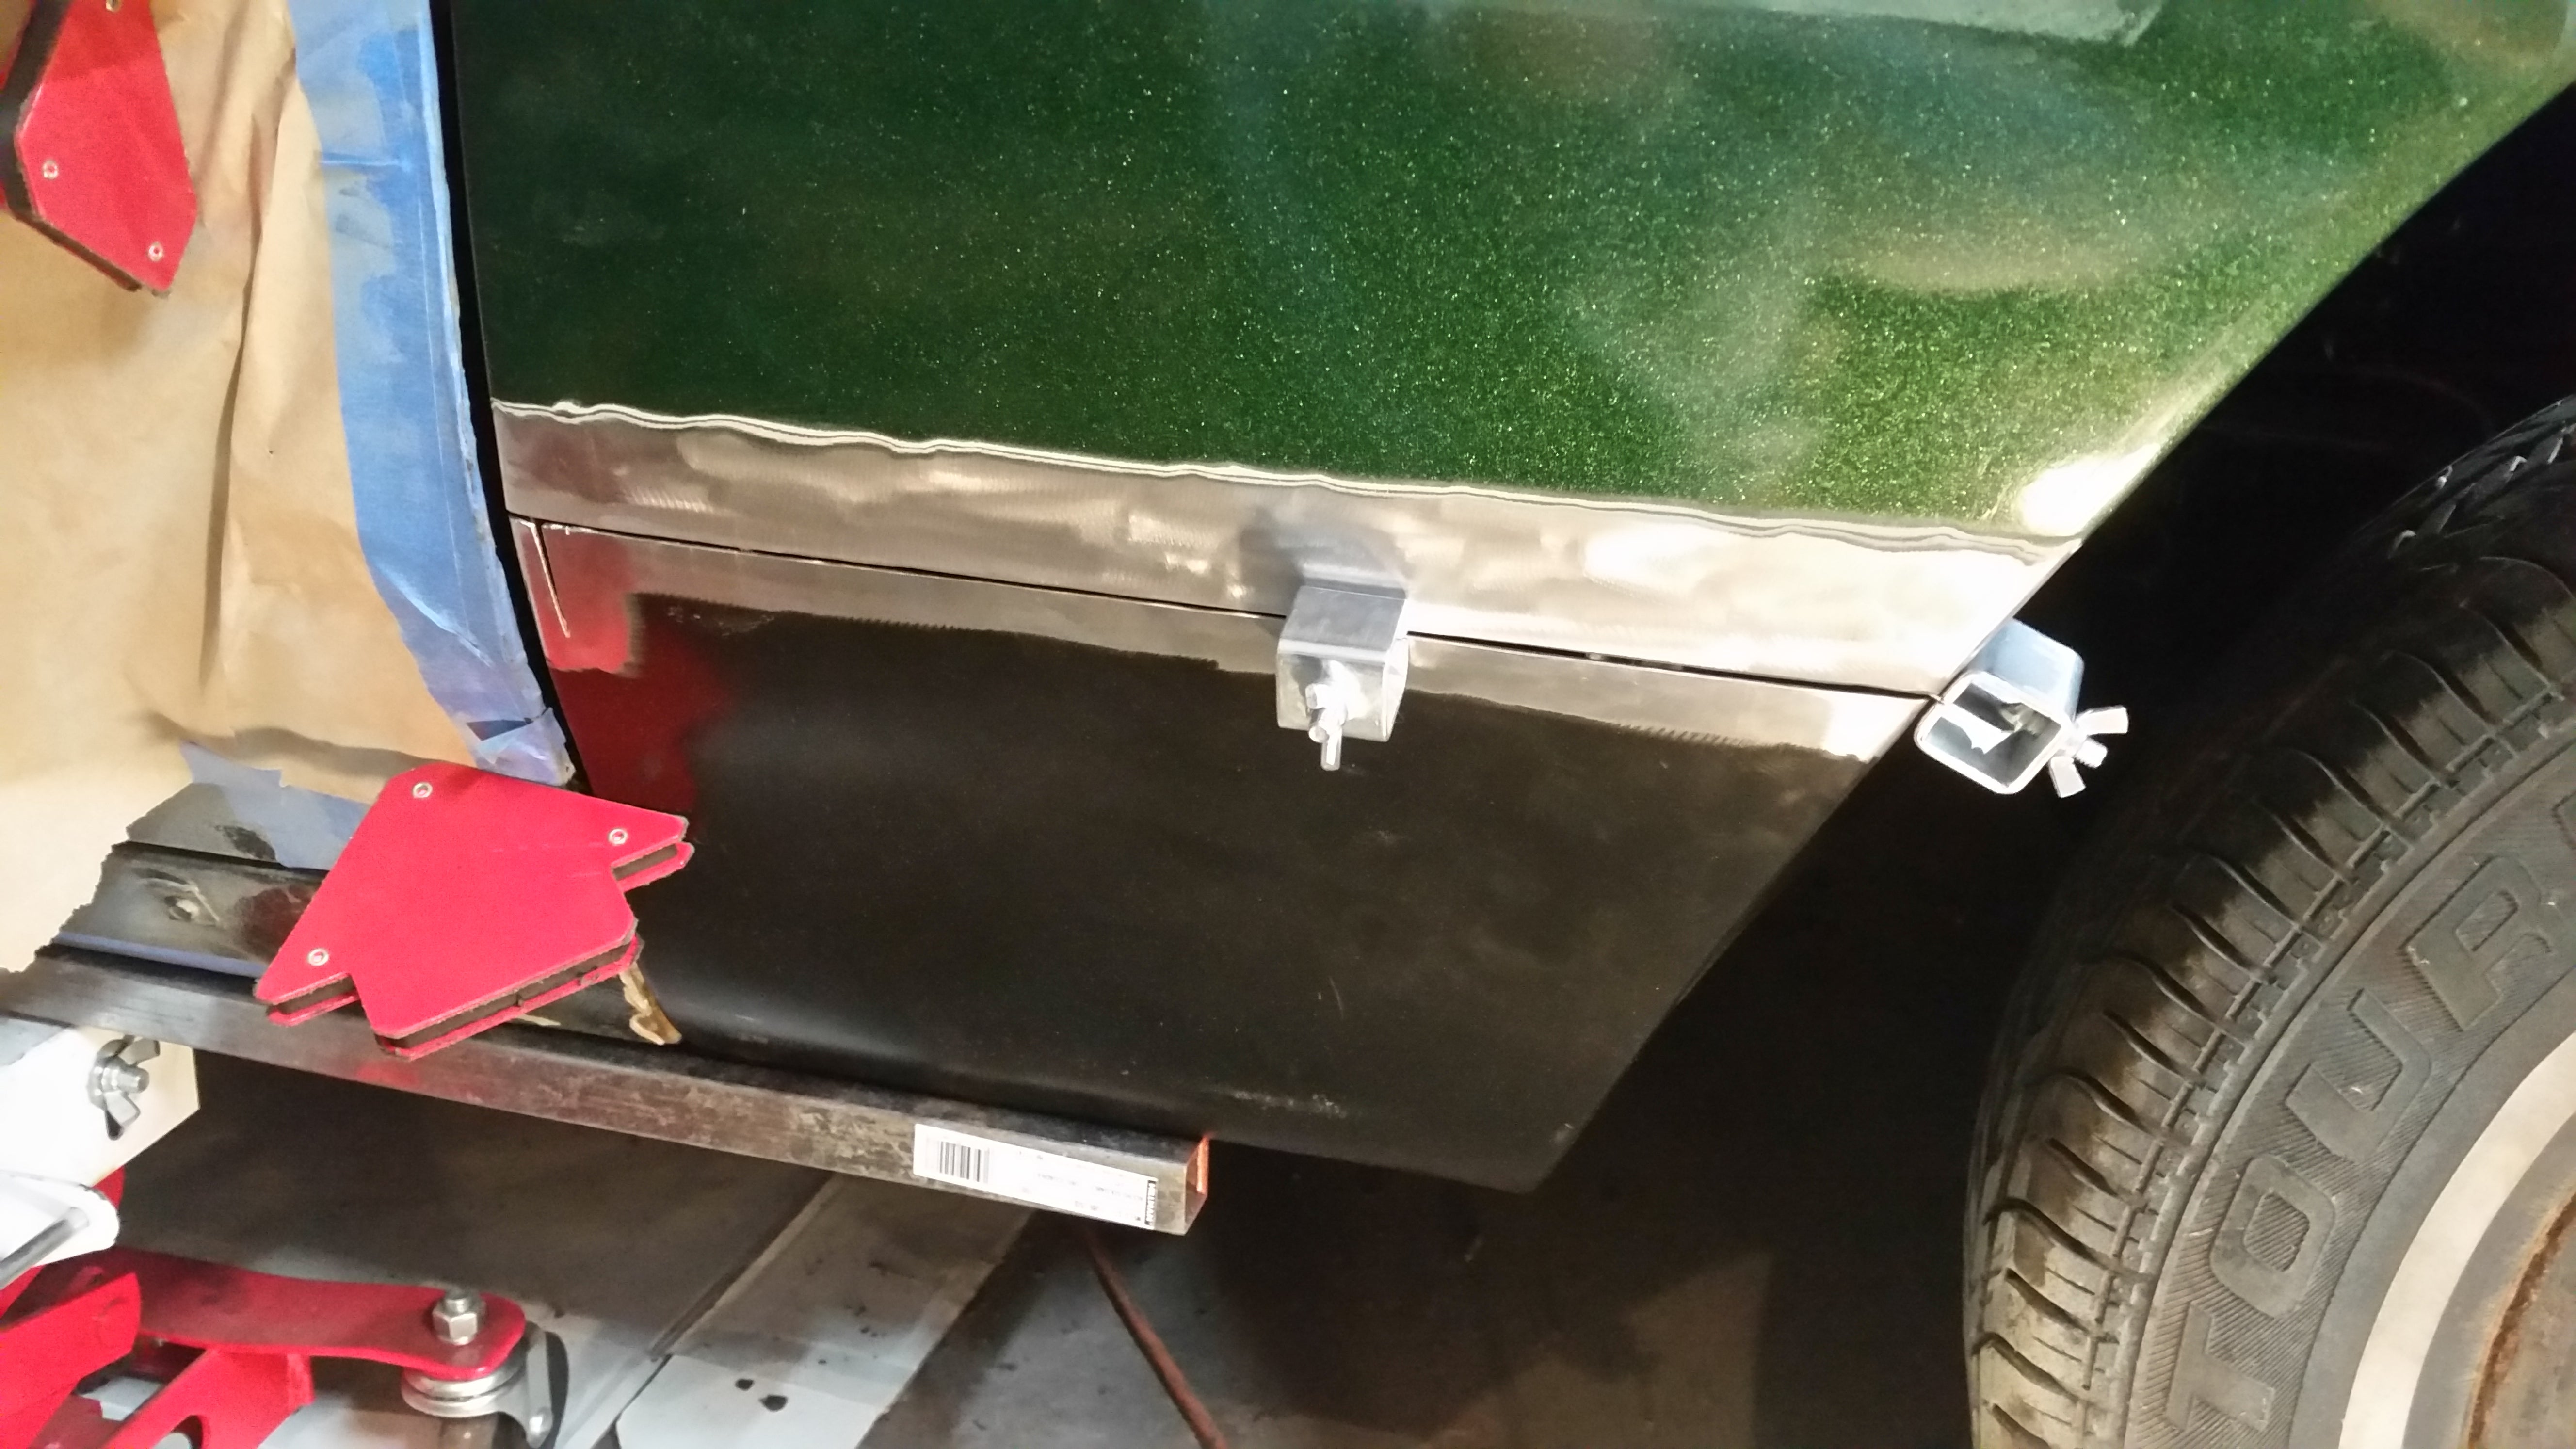
This leaves us where I left off for today, ready for a final cleaning, clamping in place with the gaps just right, and the first handful of welds to hold it in place. With any luck, that will happen tomorrow evening.
 gmporschenut also a fan of hondas
> MM54
05/27/2019 at 22:00 |
|
ďGrinder and paint, make the welder I ainítĒ
This is better then my attempts
 shop-teacher
> MM54
05/27/2019 at 22:02 |
|
Not too shabby!
 MM54
> shop-teacher
05/27/2019 at 22:05 |
|
Thanks! Itís coming along. Once I get a bit further, I get to do it all again on the other side, woohoo!
 MM54
> gmporschenut also a fan of hondas
05/27/2019 at 22:06 |
|
Trust me, ďthe welder I ainítĒ will be showing soon! As long as I donít warp the crap out of the panels, I will consider it a success (even if I have to grind and add more
weld a dozen times to get a good seam).
 shop-teacher
> MM54
05/27/2019 at 22:17 |
|
Par-tay!
 Urambo Tauro
> MM54
05/27/2019 at 22:59 |
|
Iím still a bit of a noob when it comes to bodywork, and I gotta †admit that trick just blew my mind.
 MM54
> shop-teacher
05/27/2019 at 23:02 |
|
The real party is when I get to doing the rear wheel wells, for which there is very limited sections of patch panels in existe
nce (because sedan). I can get them for above and behind, but not in front of and all of those sections need help - making my own patches will be an interesting additional step.
 MM54
> Urambo Tauro
05/27/2019 at 23:04 |
|
Thanks, Iím pleased with how it went. As long as Iím careful, it should disappear once welded up.
 ApolloX75
> MM54
05/27/2019 at 23:45 |
|
Iím in much the same boat with my Apollo, I feel your pain.
 Old-Busted-Hotness
> MM54
05/28/2019 at 07:10 |
|
Been there, done that, so learn from my mistakes:
Once you get it tacked in place, let the welds cool naturally. Donít get in a hurry and keep blasting metal in there. Thatís how you warp panels.
If you have one of those copper backing plates, use it. Theyíre great for preventing blowouts.
An d when youíre done, take the fender off and clean up the backside and paint it with a good 2K primer. Donít give rust a chance to start up again. Rust wonít give YOU a break...
 MM54
> Old-Busted-Hotness
05/28/2019 at 17:31 |
|
All good tips! I fully expect for it to take a couple days of working-after-work to get it stitched in, since everything needs to cool down. Warping stuff is a serious paranoia, only have to do it once to develop a phobia of too-much-heat.
As for the back, I intend to seam-seal the back of the weld where I can access it
, and prime the rest / all of it, as well as a
top coat. After final paint
Iíll get fluid film into all the weird cavities and such as well.
I donít intend to do this again!