 "Svend" (svend)
06/29/2018 at 21:05 ē Filed to: detailing
 26
26
 10
10
 "Svend" (svend)
06/29/2018 at 21:05 ē Filed to: detailing |  26 26
|  10 10 |
First off, let me apologise. I didnít know exactly how or where this was going. trying to put something I enjoy doing into words moved a lot harder than I thought.†
Okay. Lets get this going.
So you want to look after your car.
The first thing is, there is no right or wrong way, itís your car, your paying for it and itís entirely up to you how and in what way you look after it, if you want to look after it at all.
But as your reading this, Iím assuming youíve got some questions and want to know more on how to take care of your vehicle more than you presently do.
The basics are a good wash media be it a shampoo or wash and wax, two buckets (at least one with a grit guard, this reduces if not stops, re-introducing dirt taken from the car, back to the car), wash tool (be it a wash mitt, pad or sponge*) and a towel.
*bare in mind, sponges come in two forms, open-cell and closed-cell, open-cell are the type you see in car shops, these are cut from a large piece of foam and as the name suggests, the cells are open as hey are cut through the bubbles and create crevices for fine particles to get stuck it. Closed-cell sponges similar to those for grouting tiles are each poured into a form and have no cut open cells in which particles can lunk. If you go the sponge route, go for a closed-cell sponge to minimise the lottery of that unexpected deep scratch rainbow on the bonnet or car door.
Wheels.
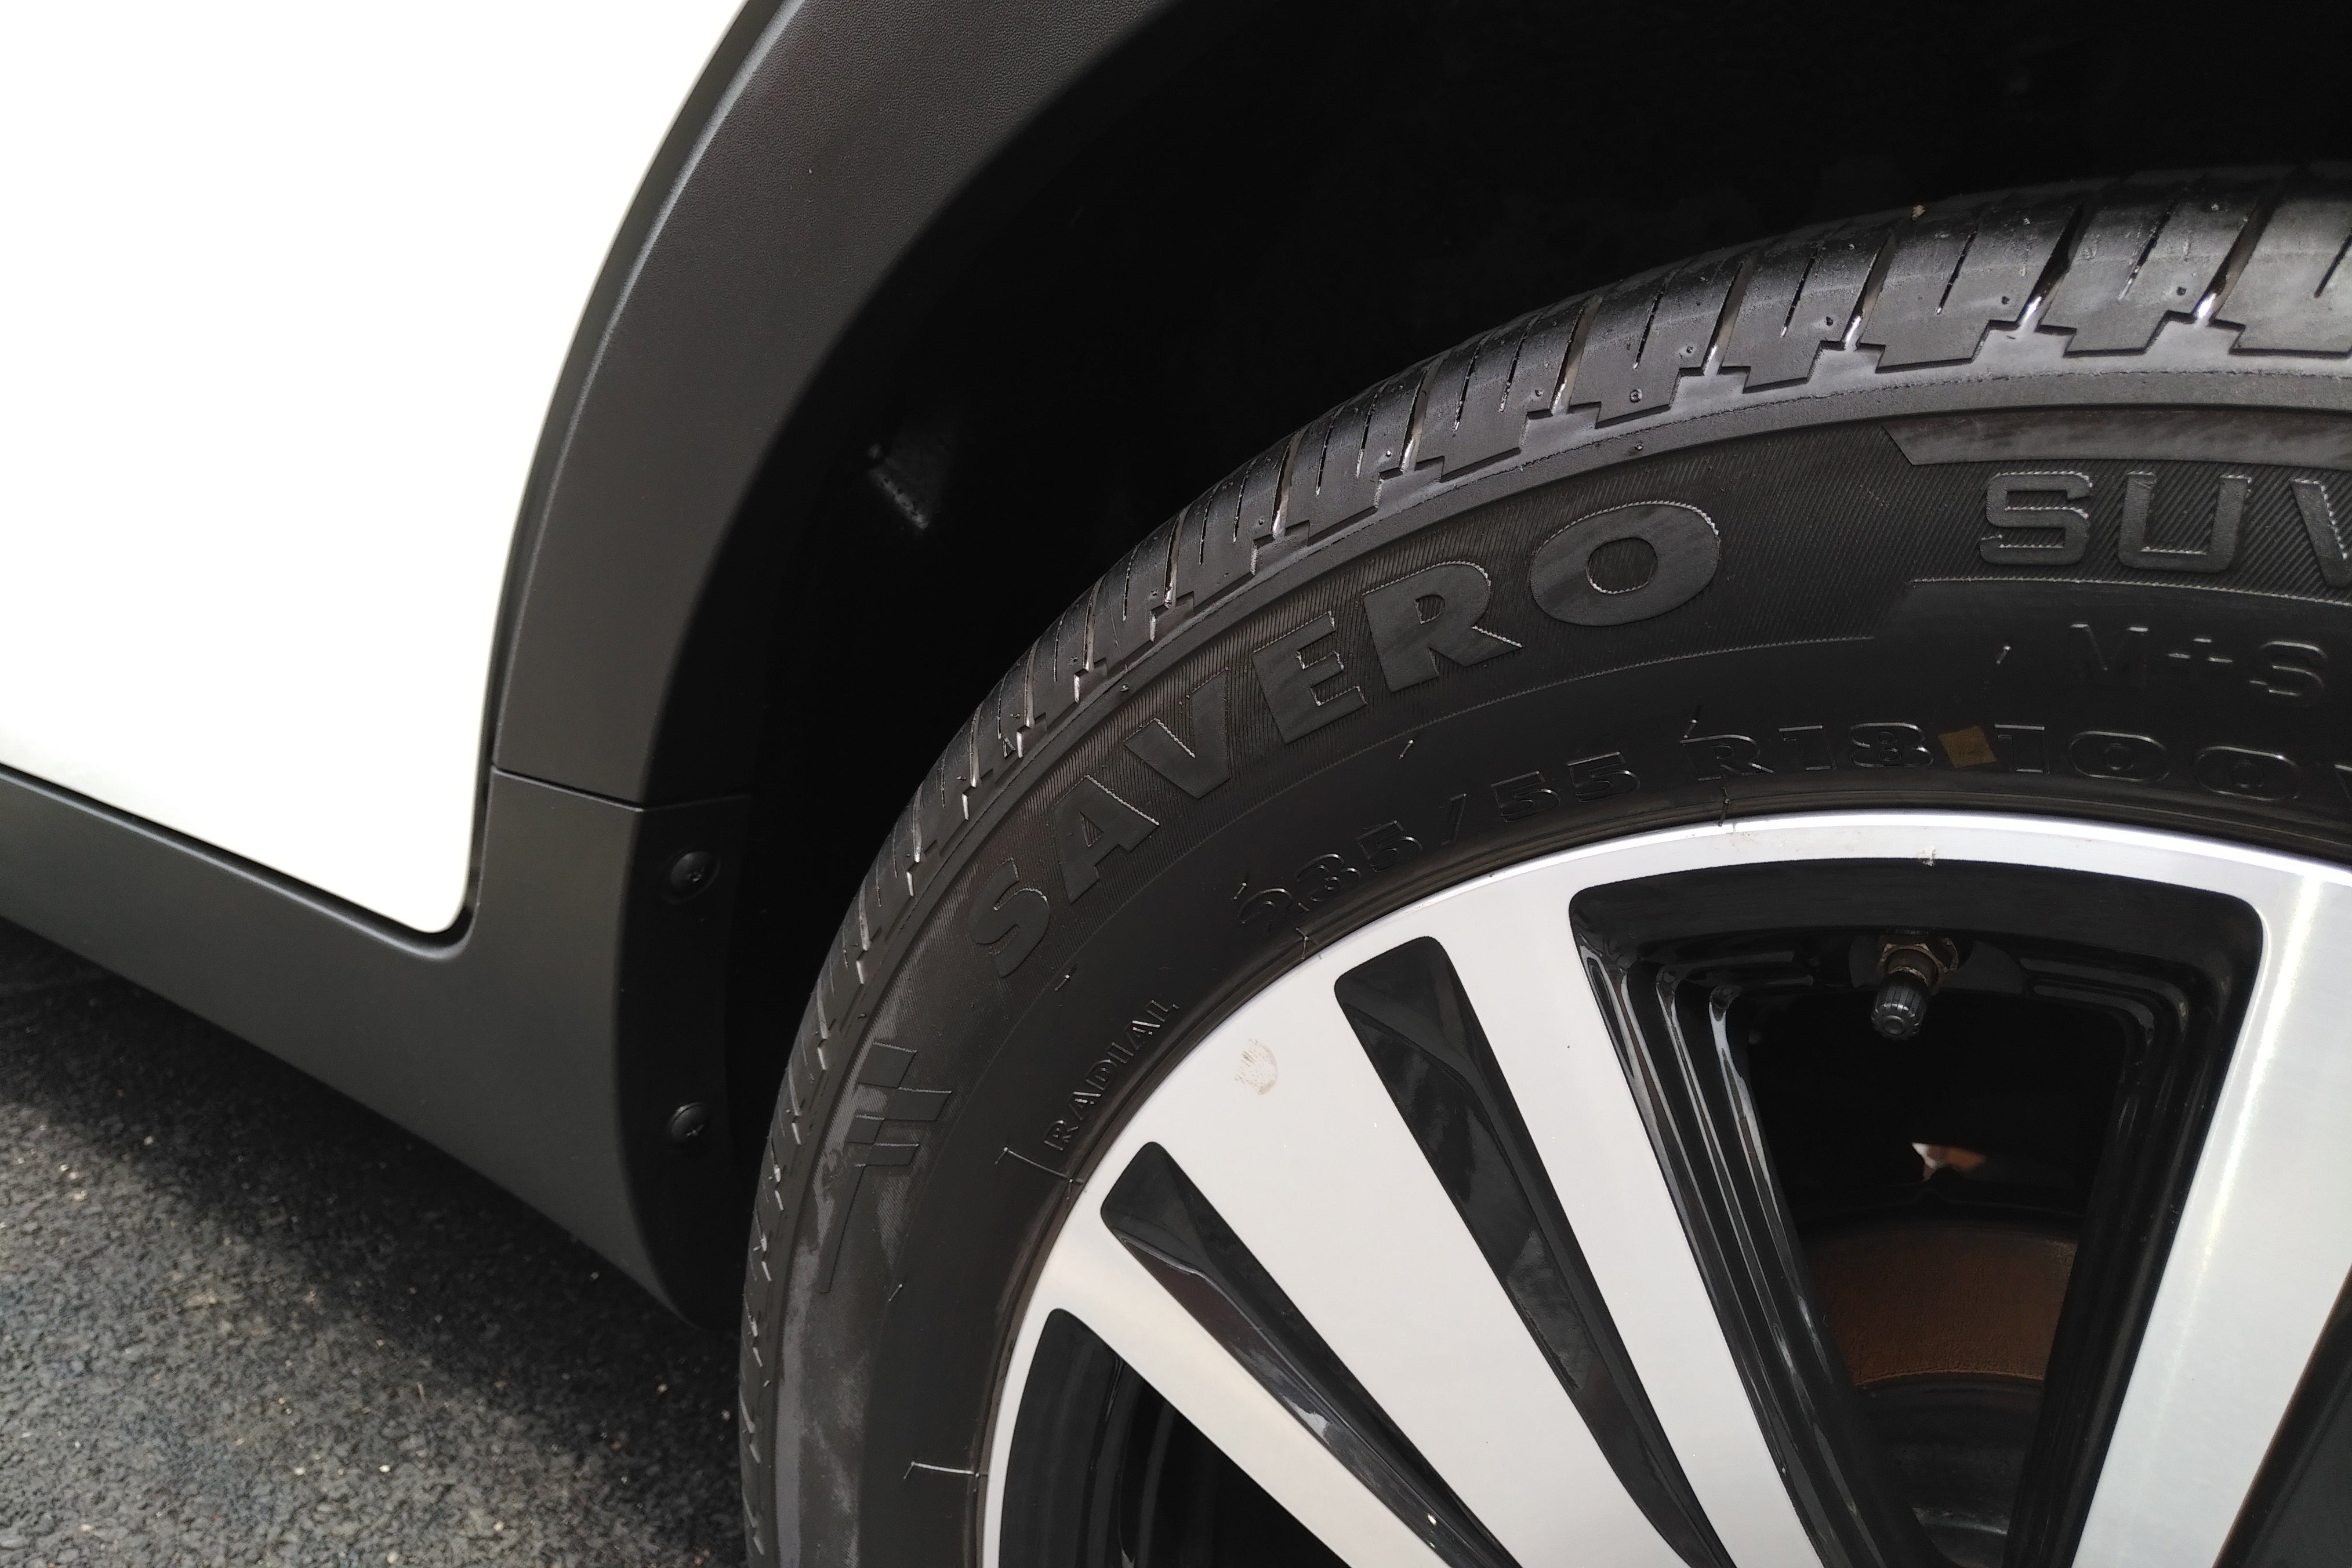
Wheels should be done first, these have the most abrasive elements in that they are covered in burnt brake disk particles aka brake dust, this is burnt off over time as the brakes are used. You wouldnít want to spend all that time cleaning the car to have brake dust and other debris splash back onto the vehicle.
The wheels should only be washed when the wheels are cool, if they are still warm from a recent drive, allow time for them to cool before attempting to wash them.
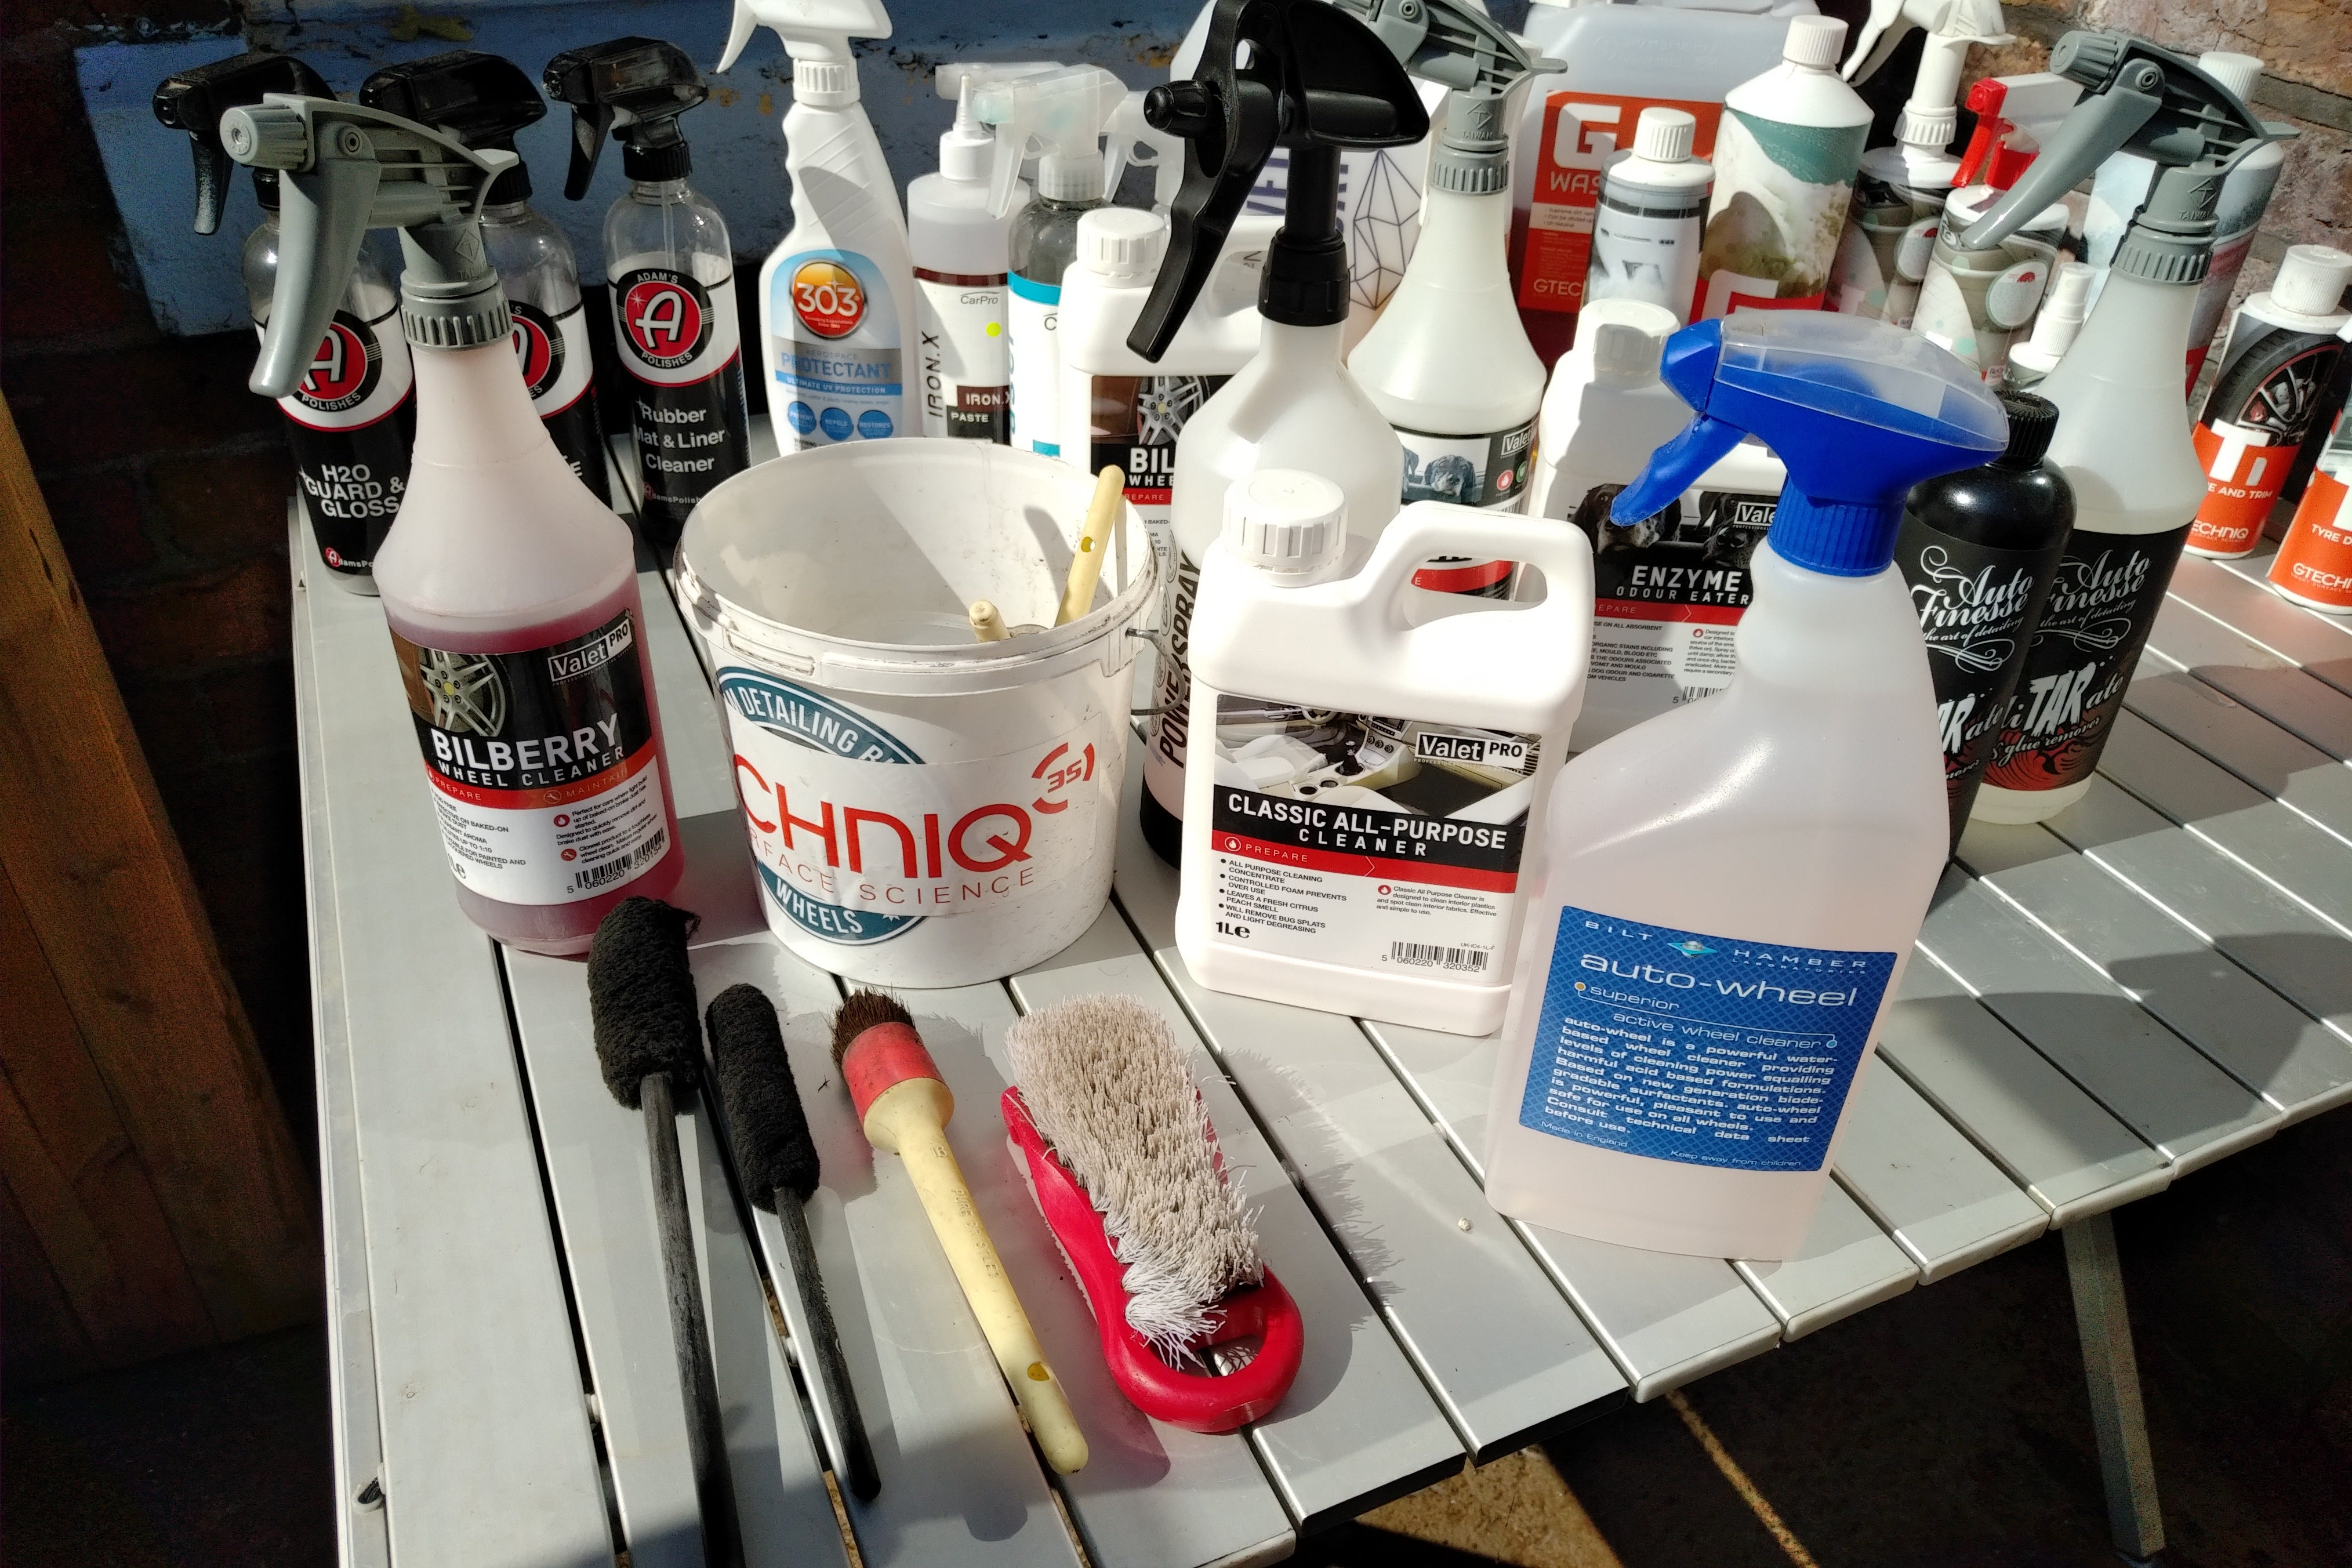
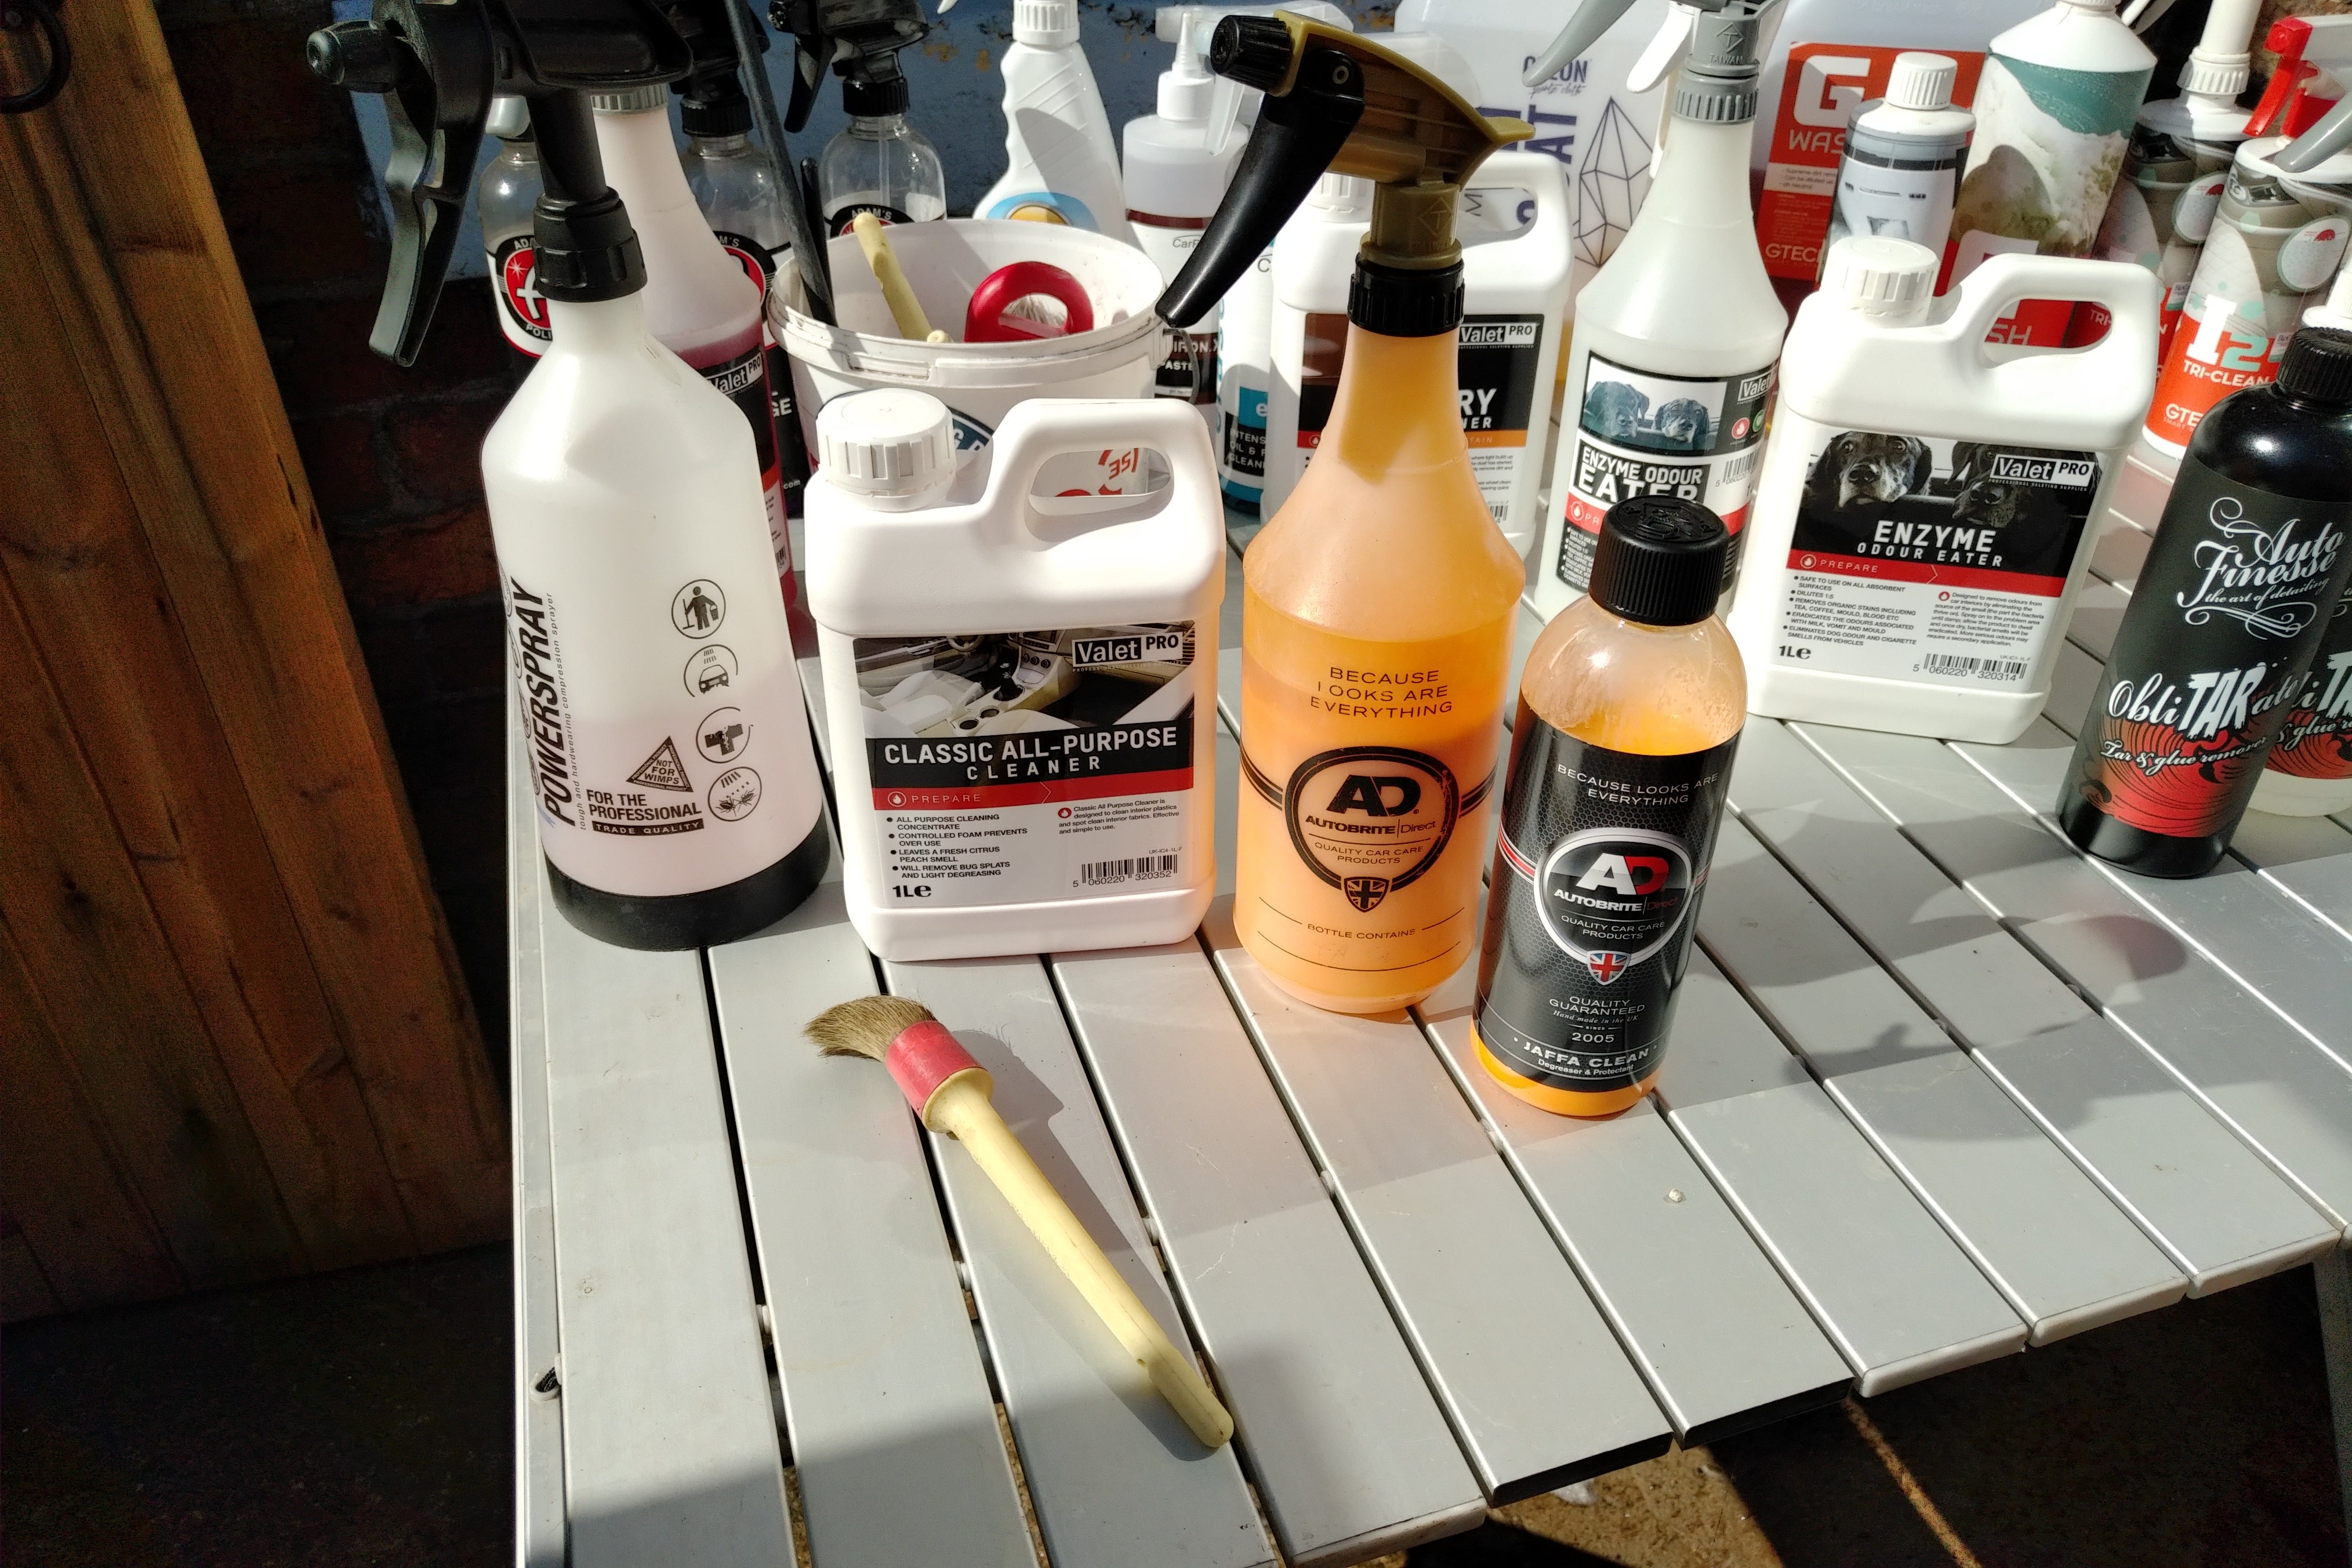
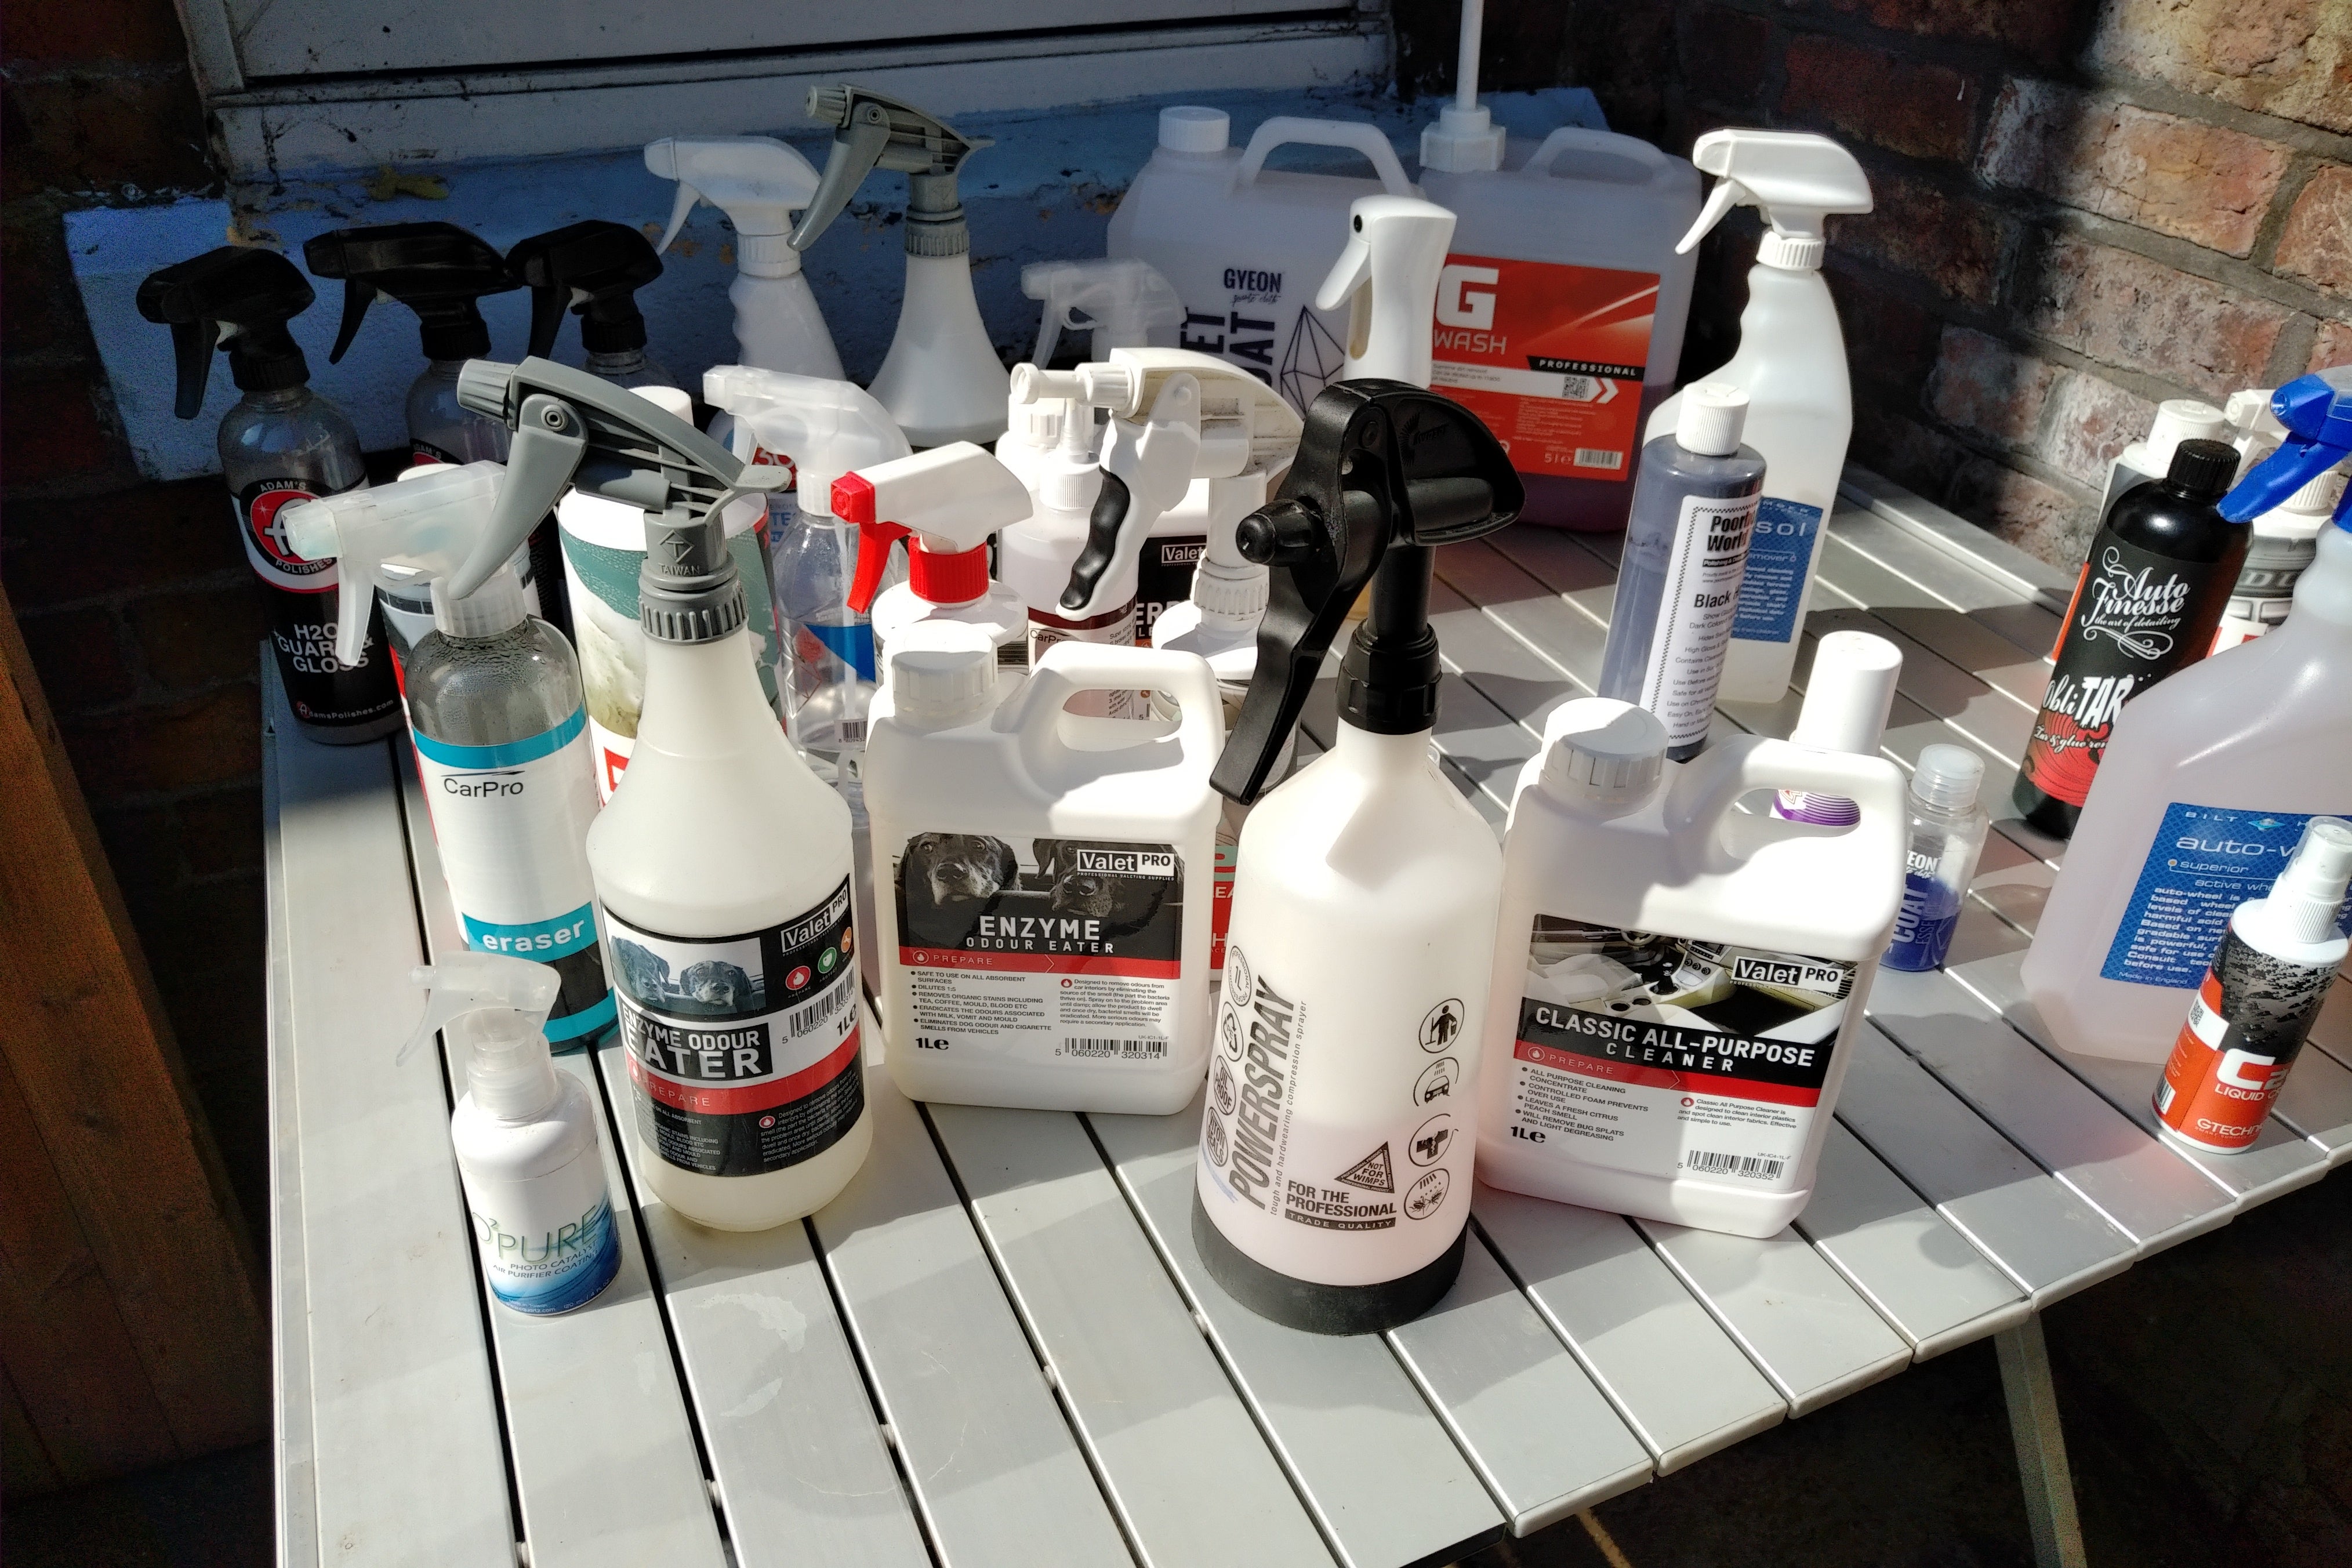
From left to right at the back we have Valet Pro Bilberry Wheel Cleaner, a separate wash bucket from the ones you use for washing the car, Valet Pro Classic All Purpose Cleaner, Bilt Hamber Autowheels. Then the front row we have two Wheel Woolies (these are made from a chemical resistant fibre) for getting in between spokes and getting in behind them for the wheel drum, a detailing brush for the wheel face nuts and front crevices and finally a stiff nylon brush for scrubbing the tyre wall surface.
Start with a wheel cleaner on the wheel surface, allow to dwell while you spray an all surface cleaner onto the tyre surface and inside the wheel arches, using the nylon brush scrub the tyre wall (you should see the foam turn brown, this is the UV protectant with in the tyre used to reduce tyre degradation caused by UV light which is why after a while the tyre wall looks more brown than black during normal life), use a larger brush to scrub the inside of the wheel arches, now using the Wheel Woolies and plenty of water from the wheel bucket wash in between the spokes, then the wheel drums then using the small brush go over the wheel surface and down into where the wheel nuts are and any gaps, rinse thoroughly and then repeat with a fallout remover if necessary.
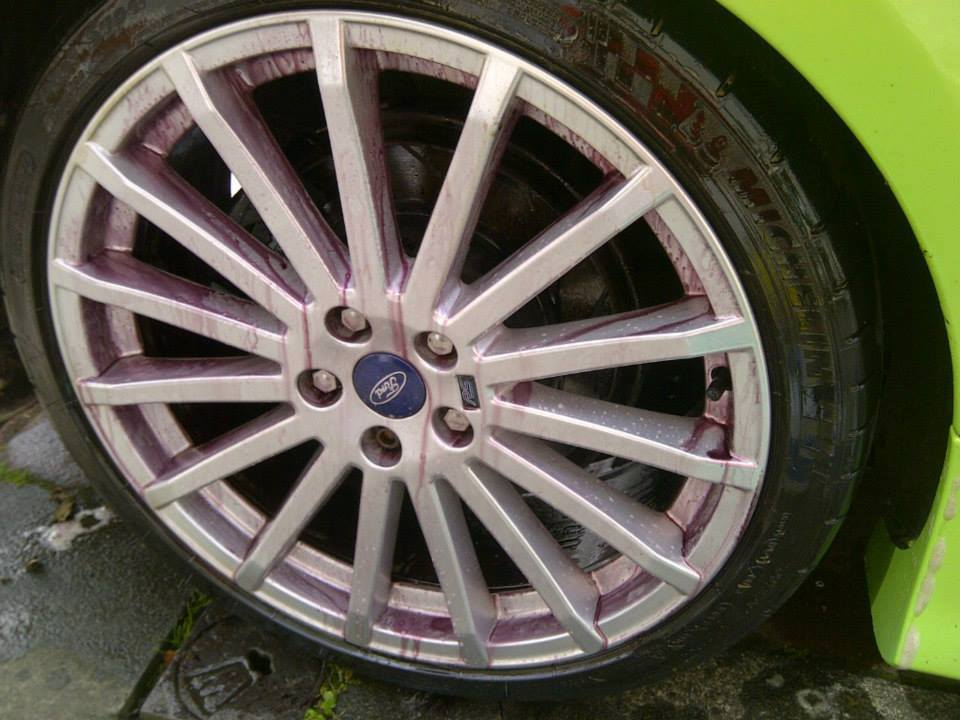
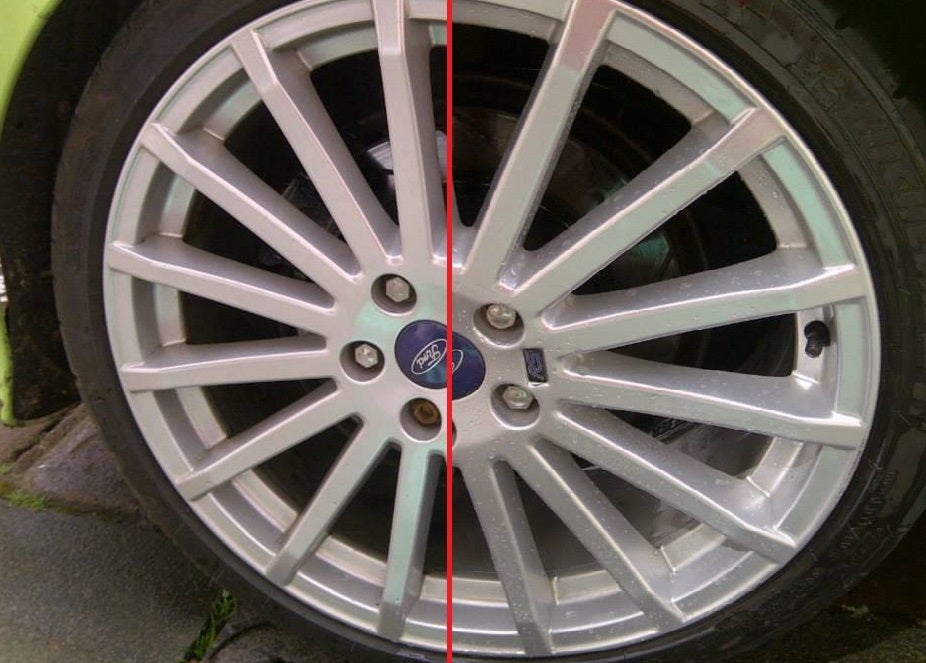
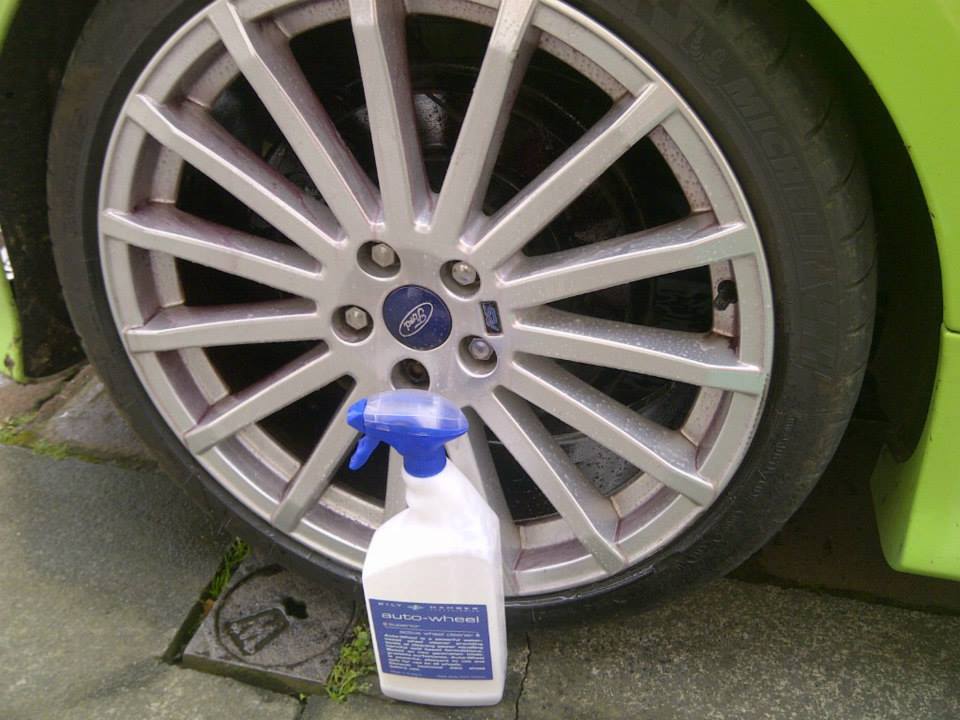
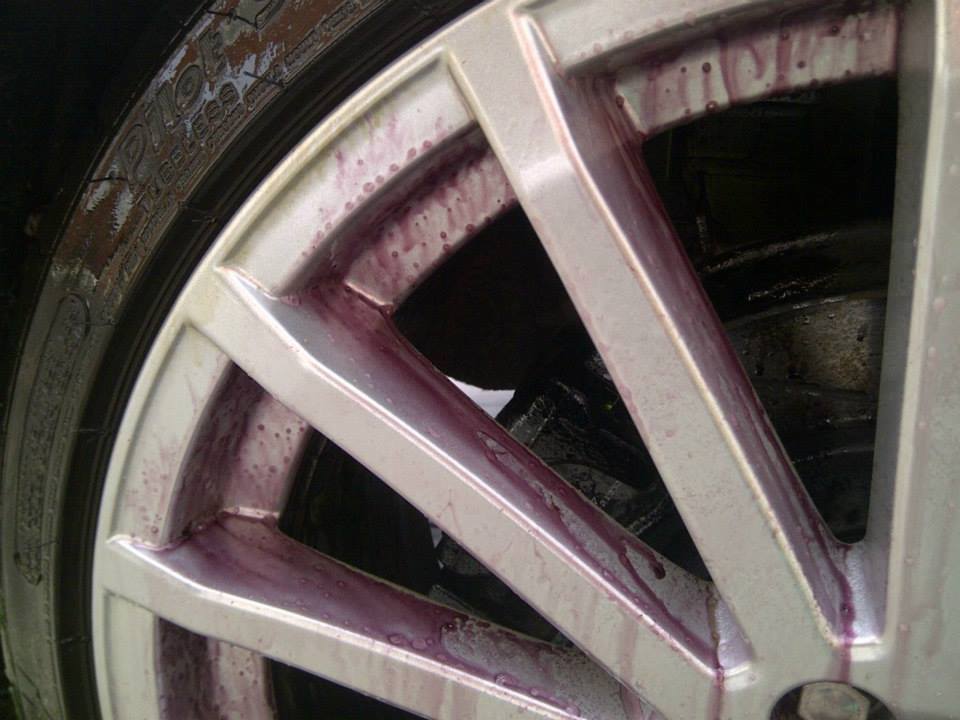
Again, thoroughly rinse.
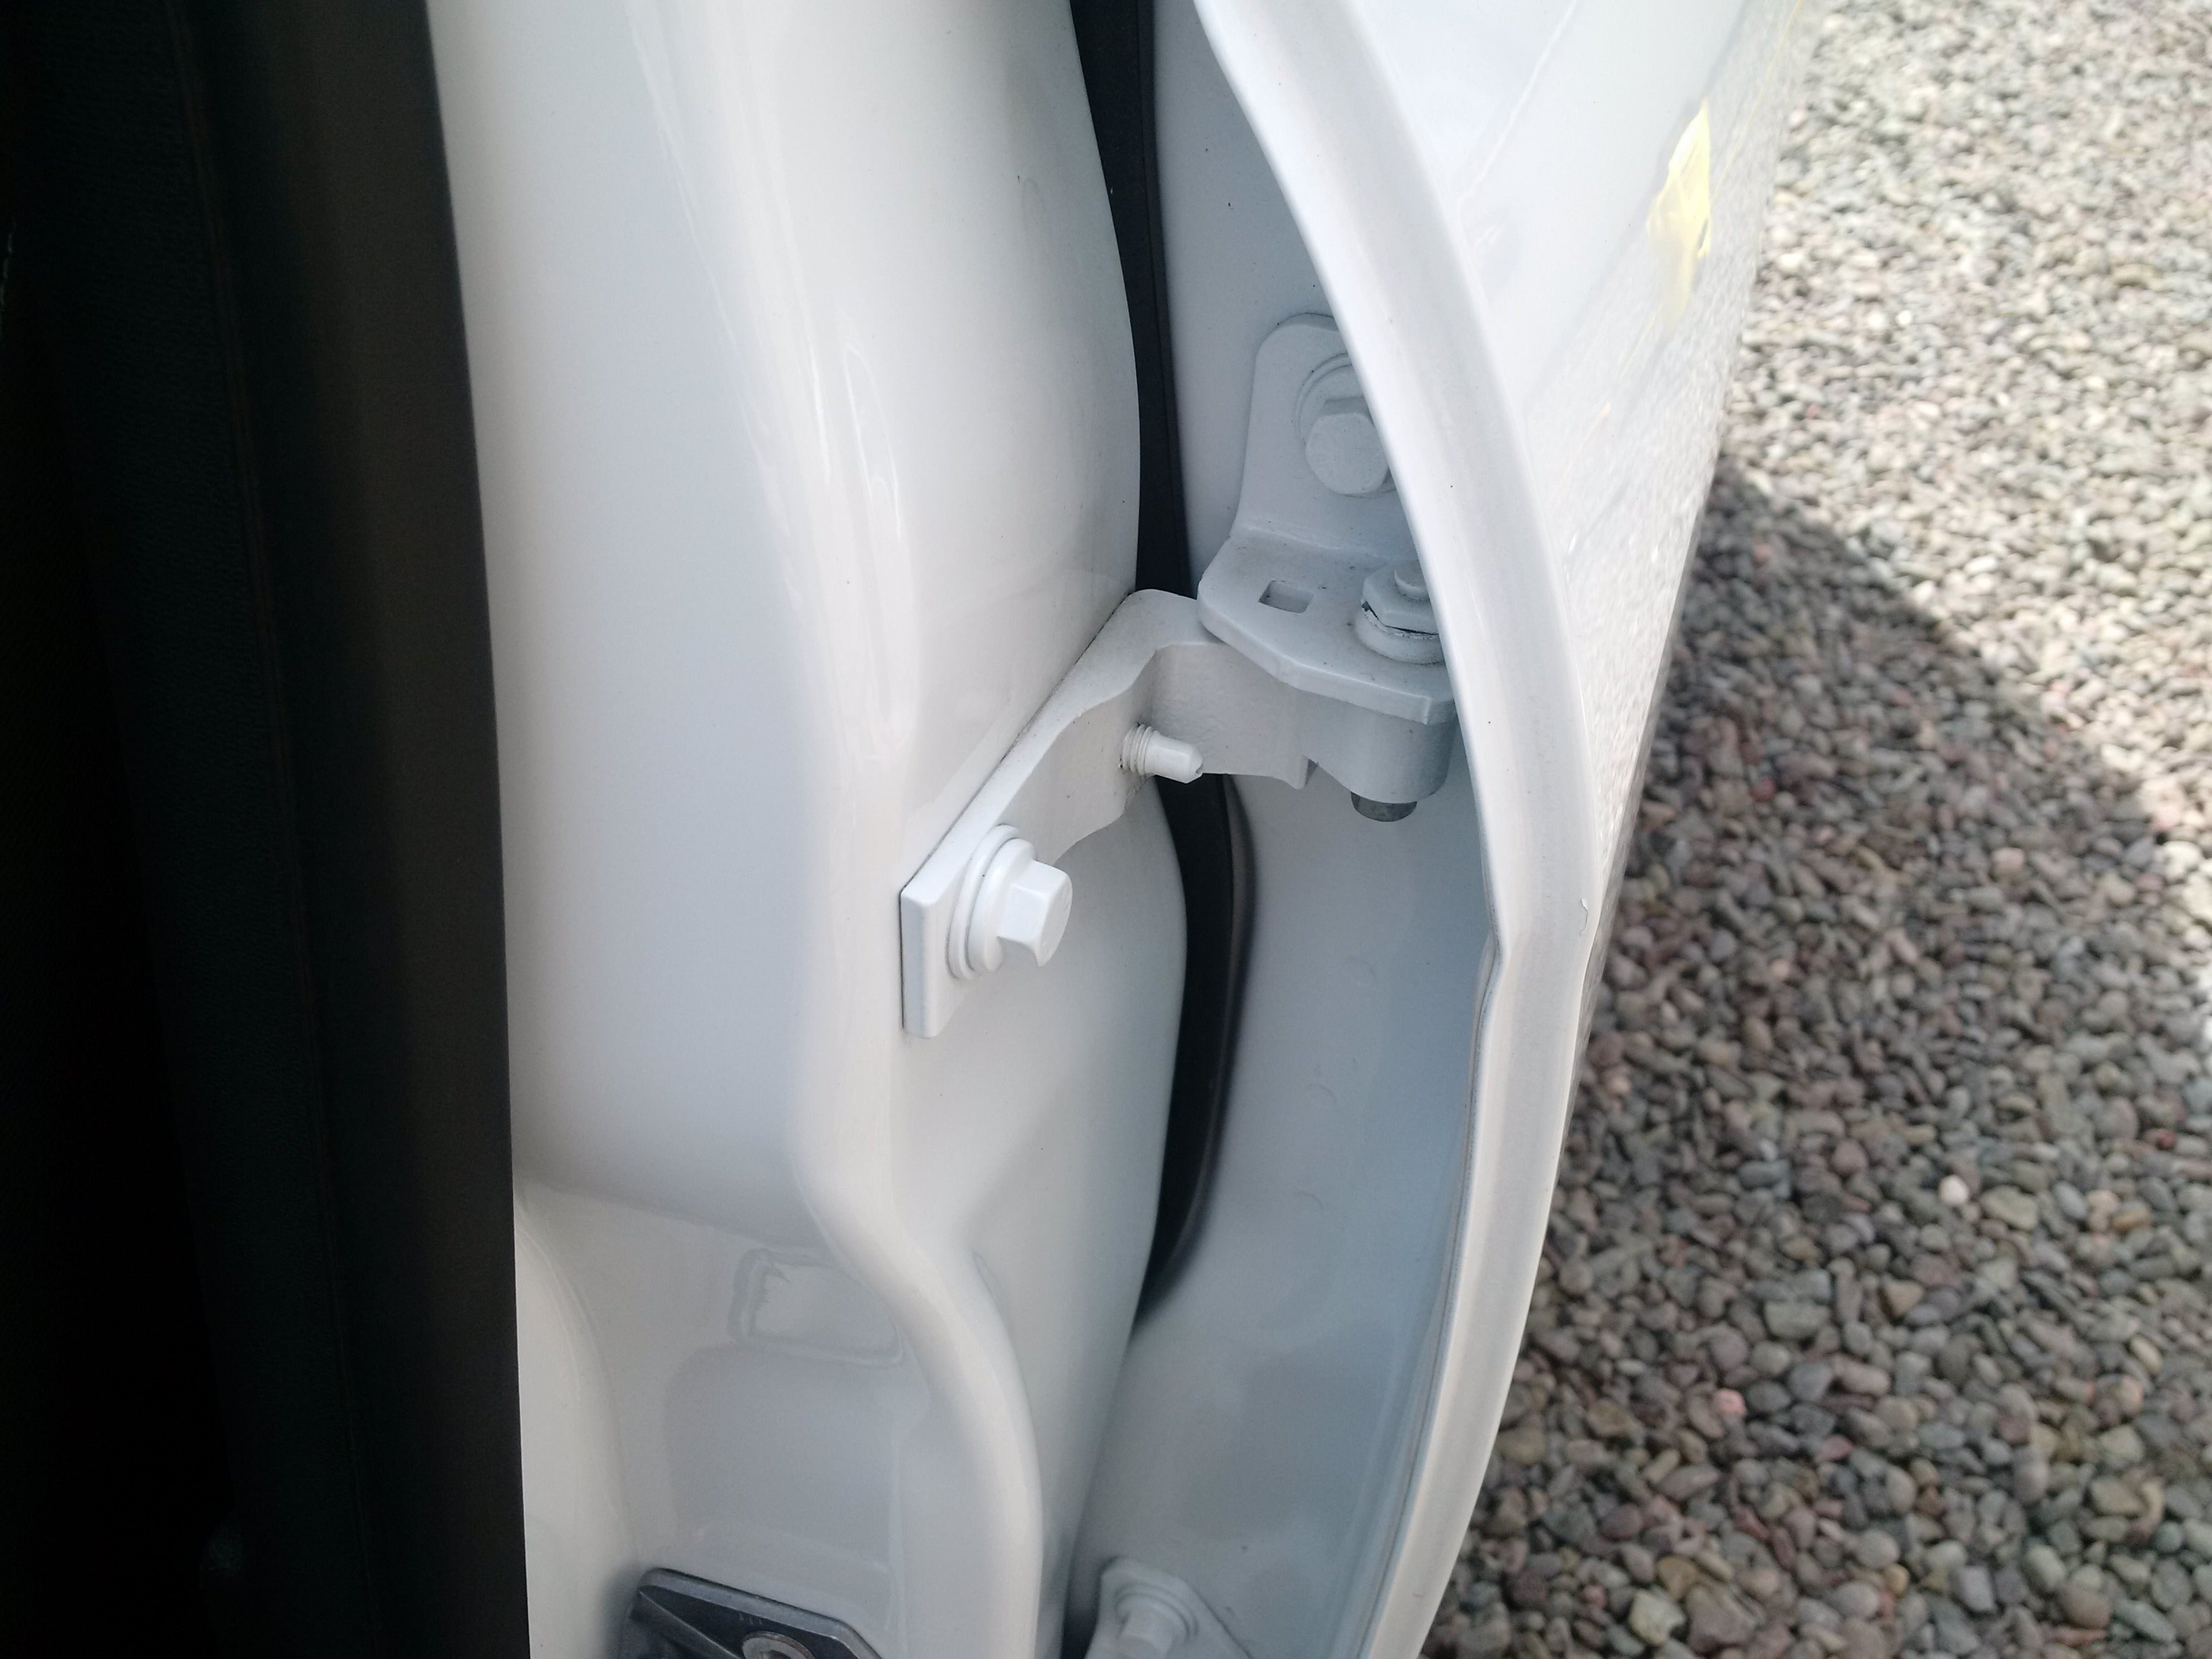
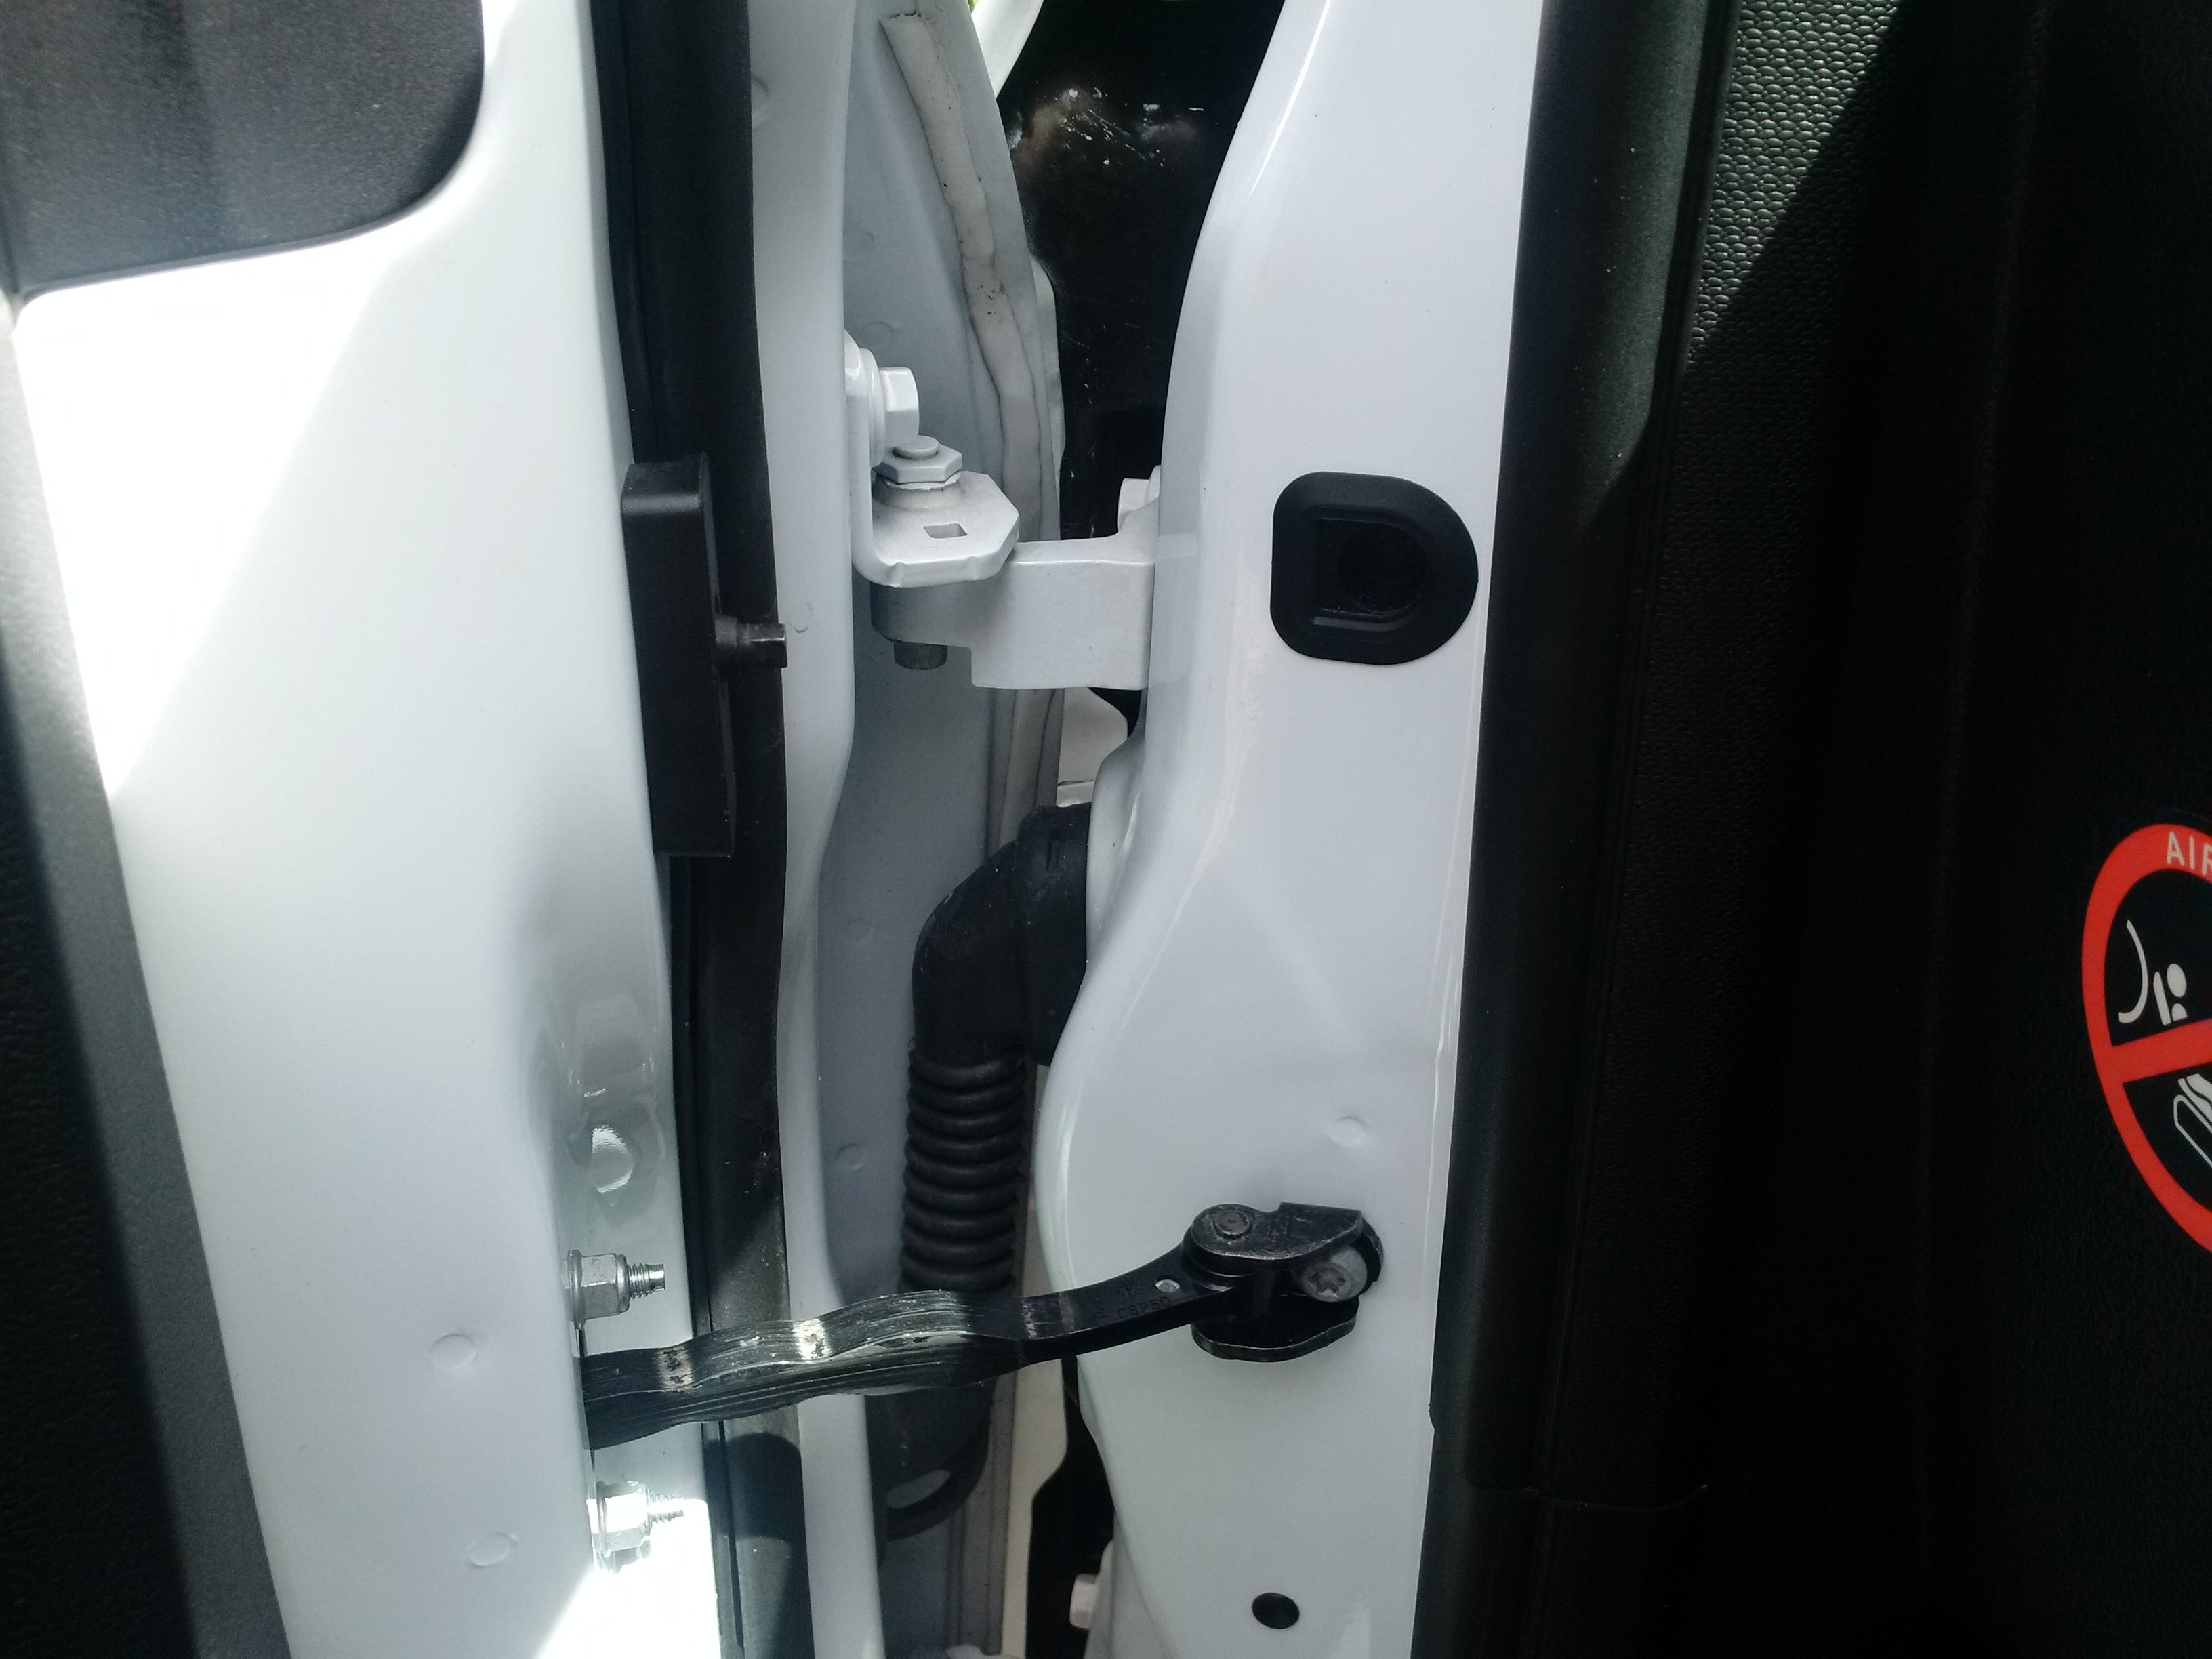
Door shuts and engine bay,
Using a degreaser or all purpose cleaner, spray area and agitate into gaps and remove by pressure washer or cloths. I use the pressure washer for door shuts and just cloths for the engine bay (I donít like putting water in engine bays as there is too much electronics these days).
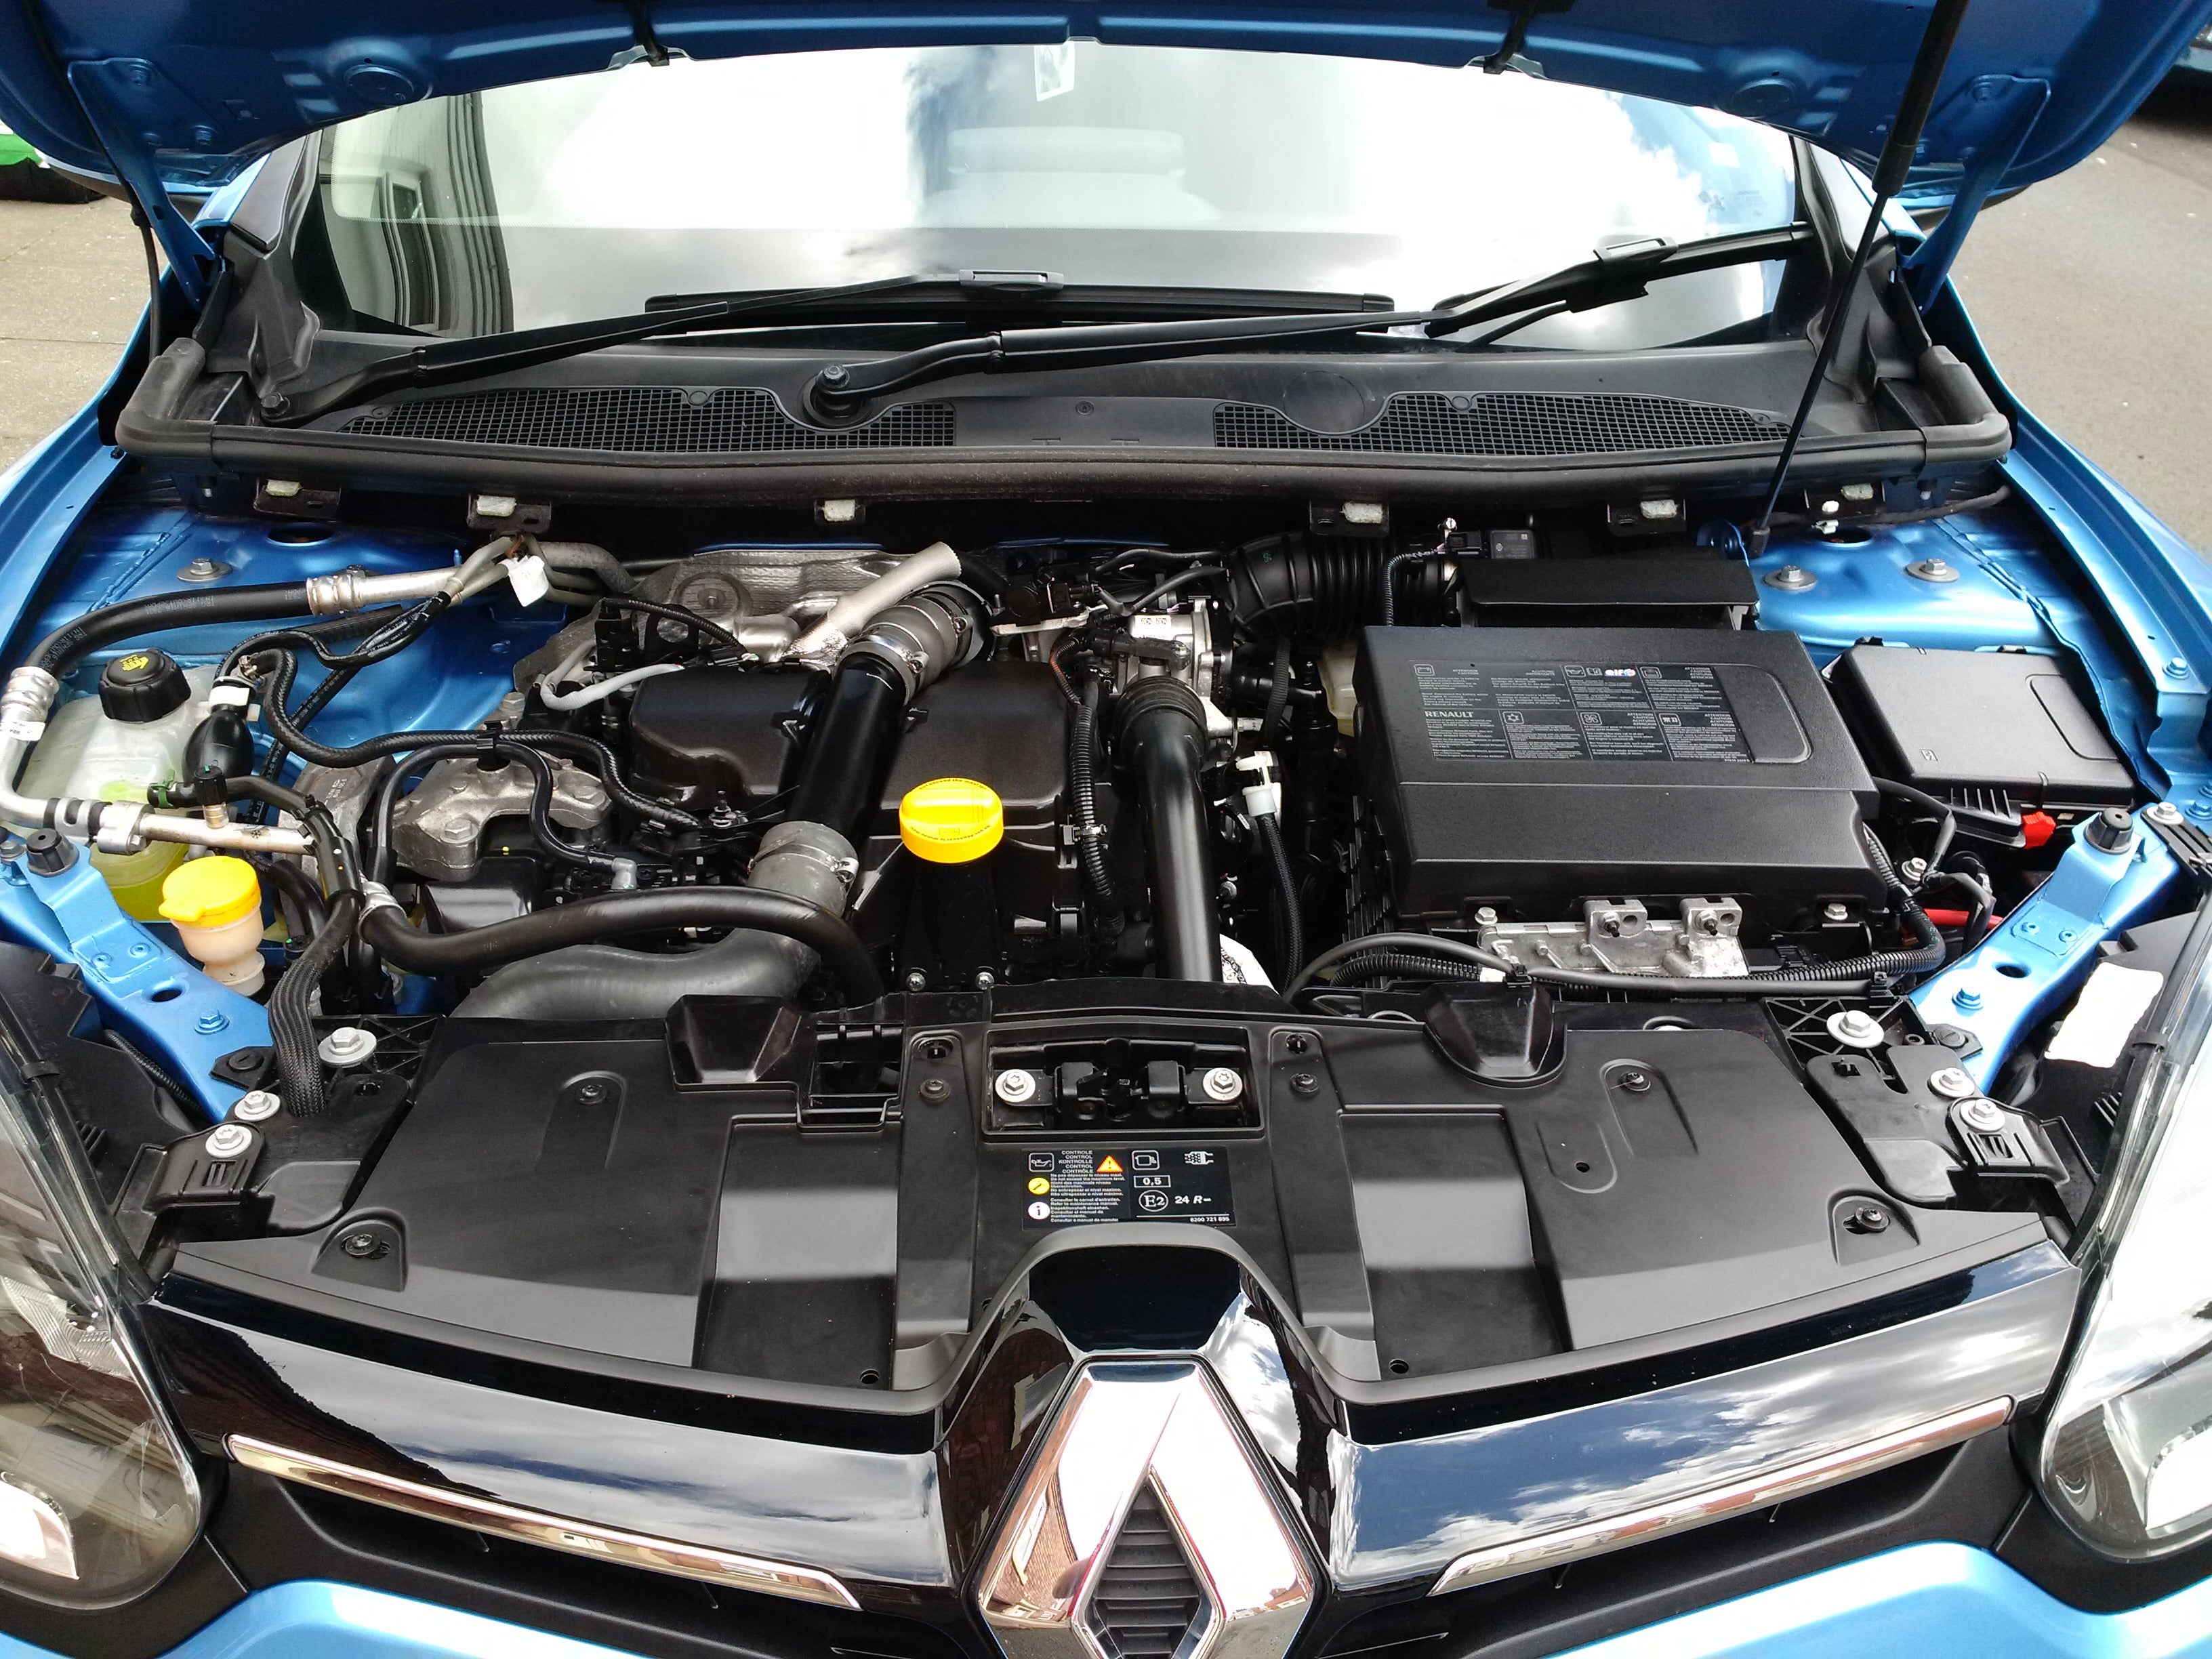
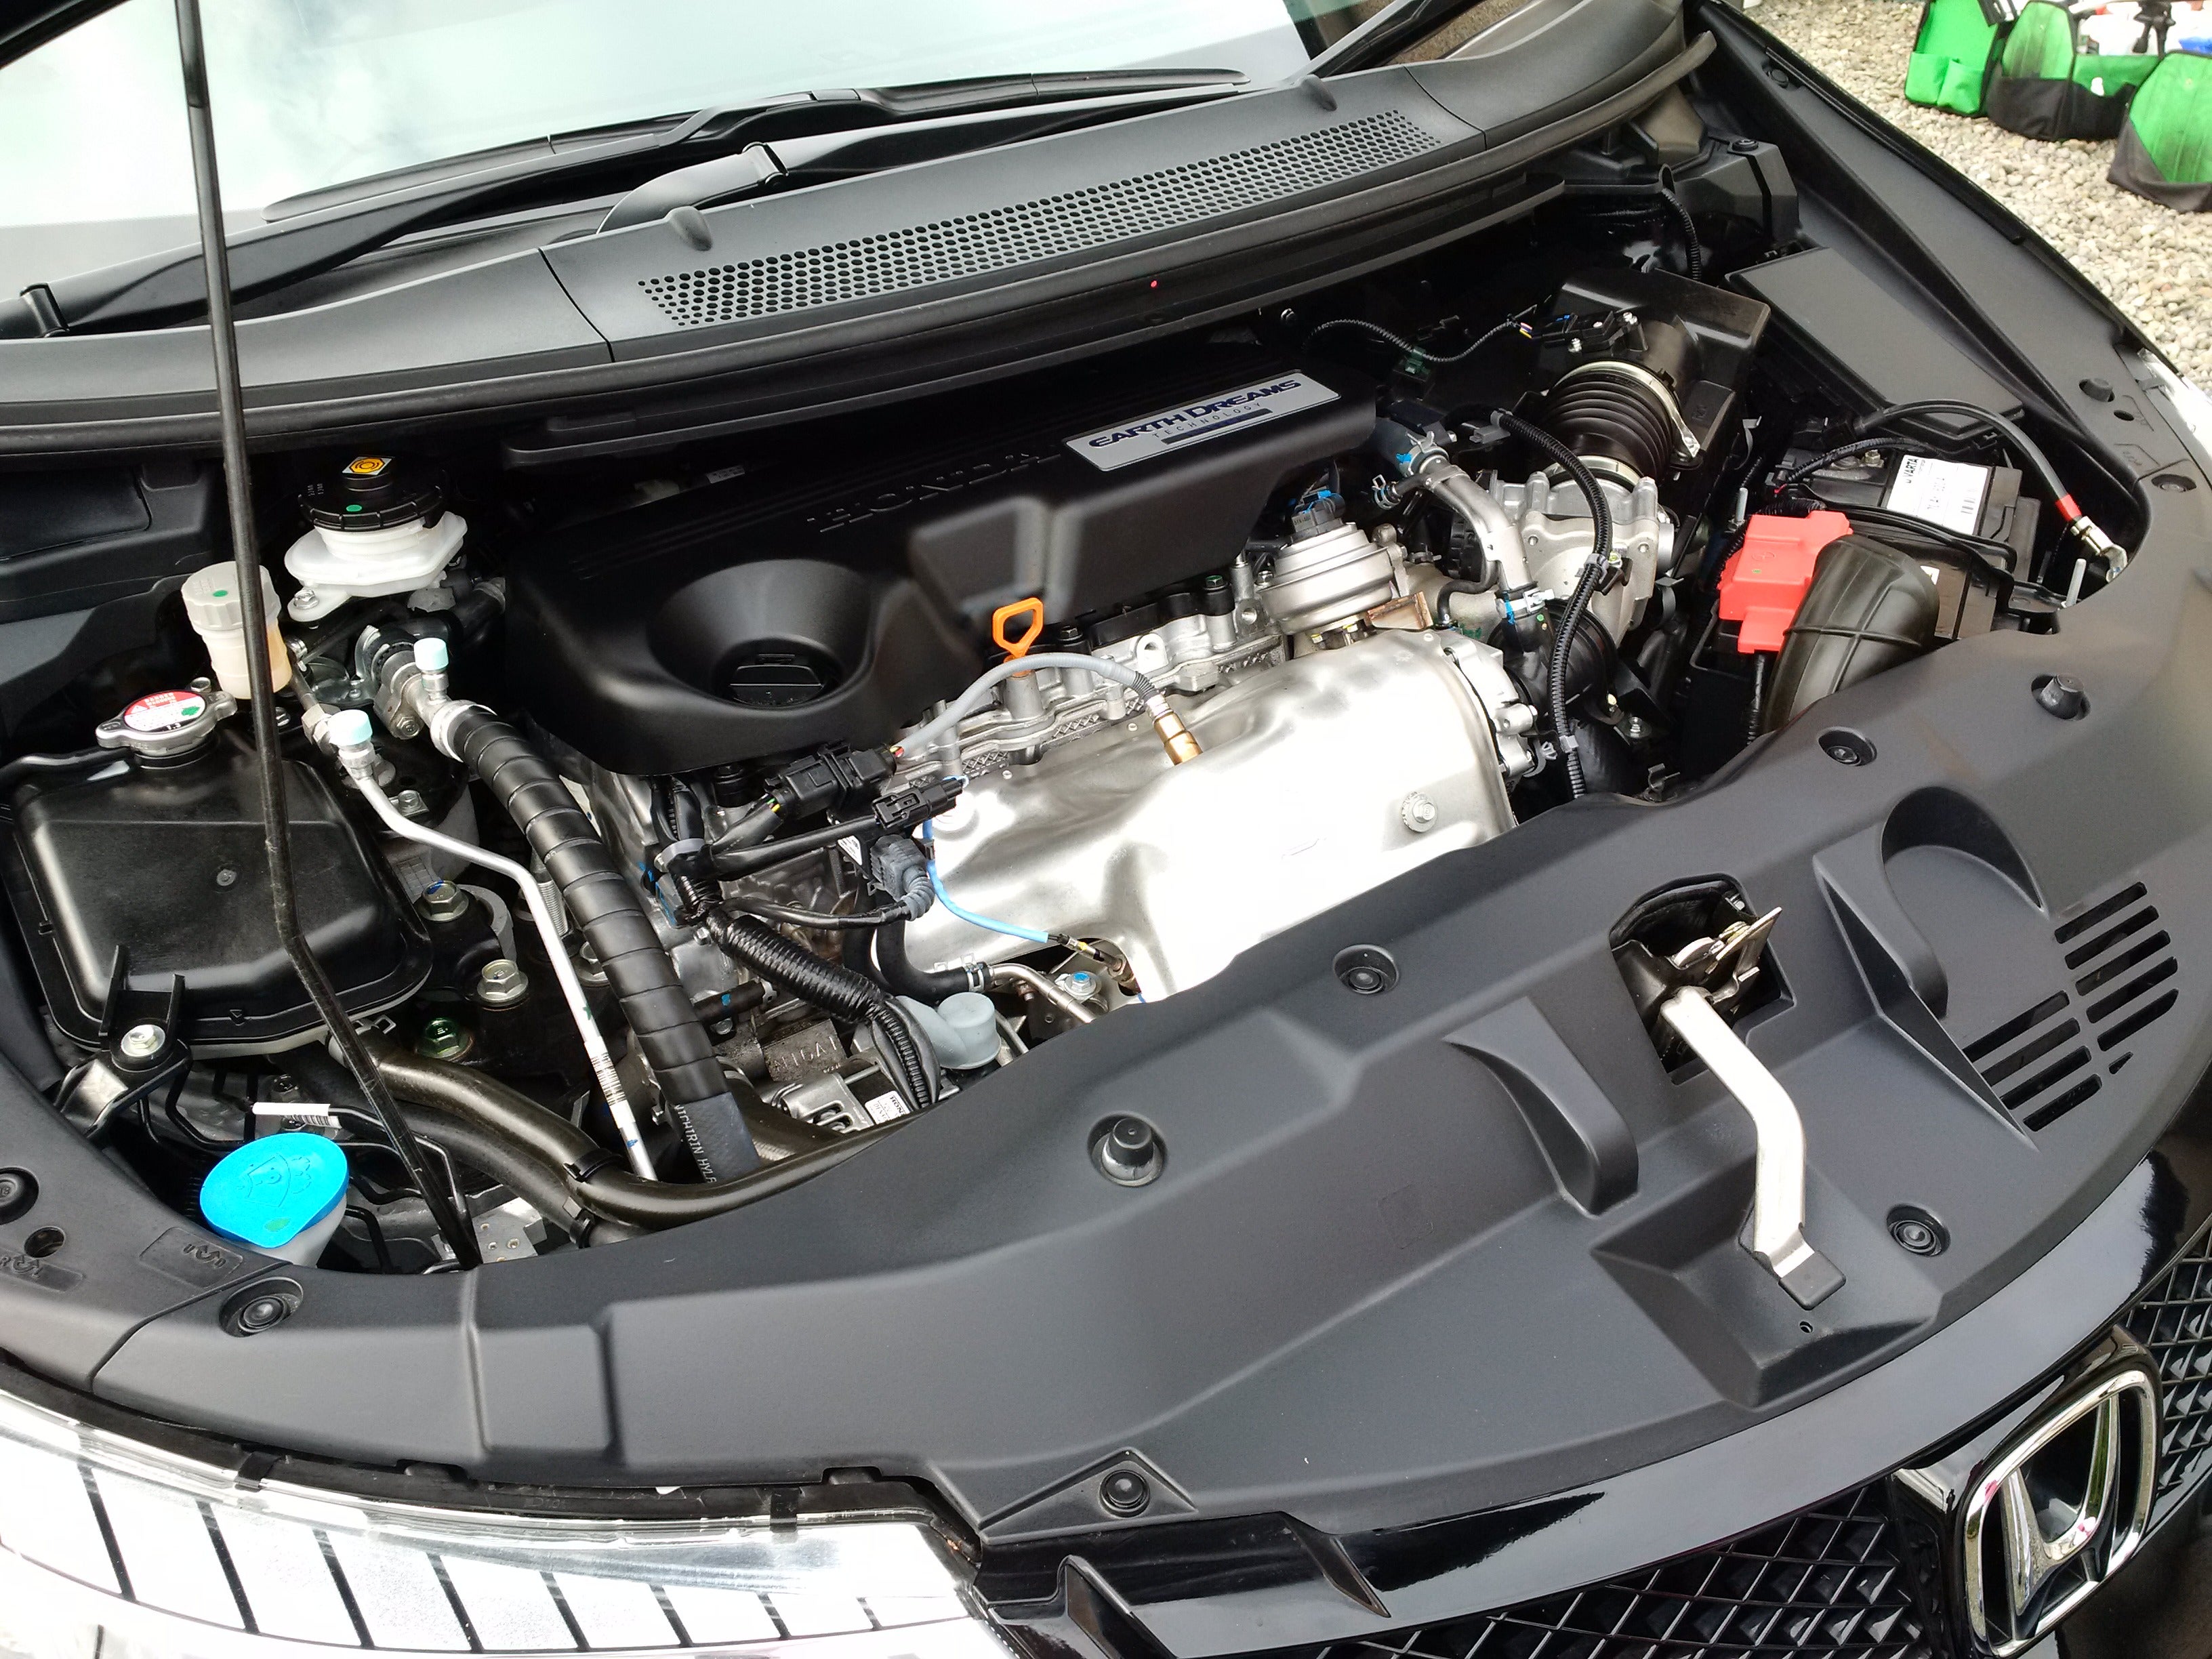
Washing.
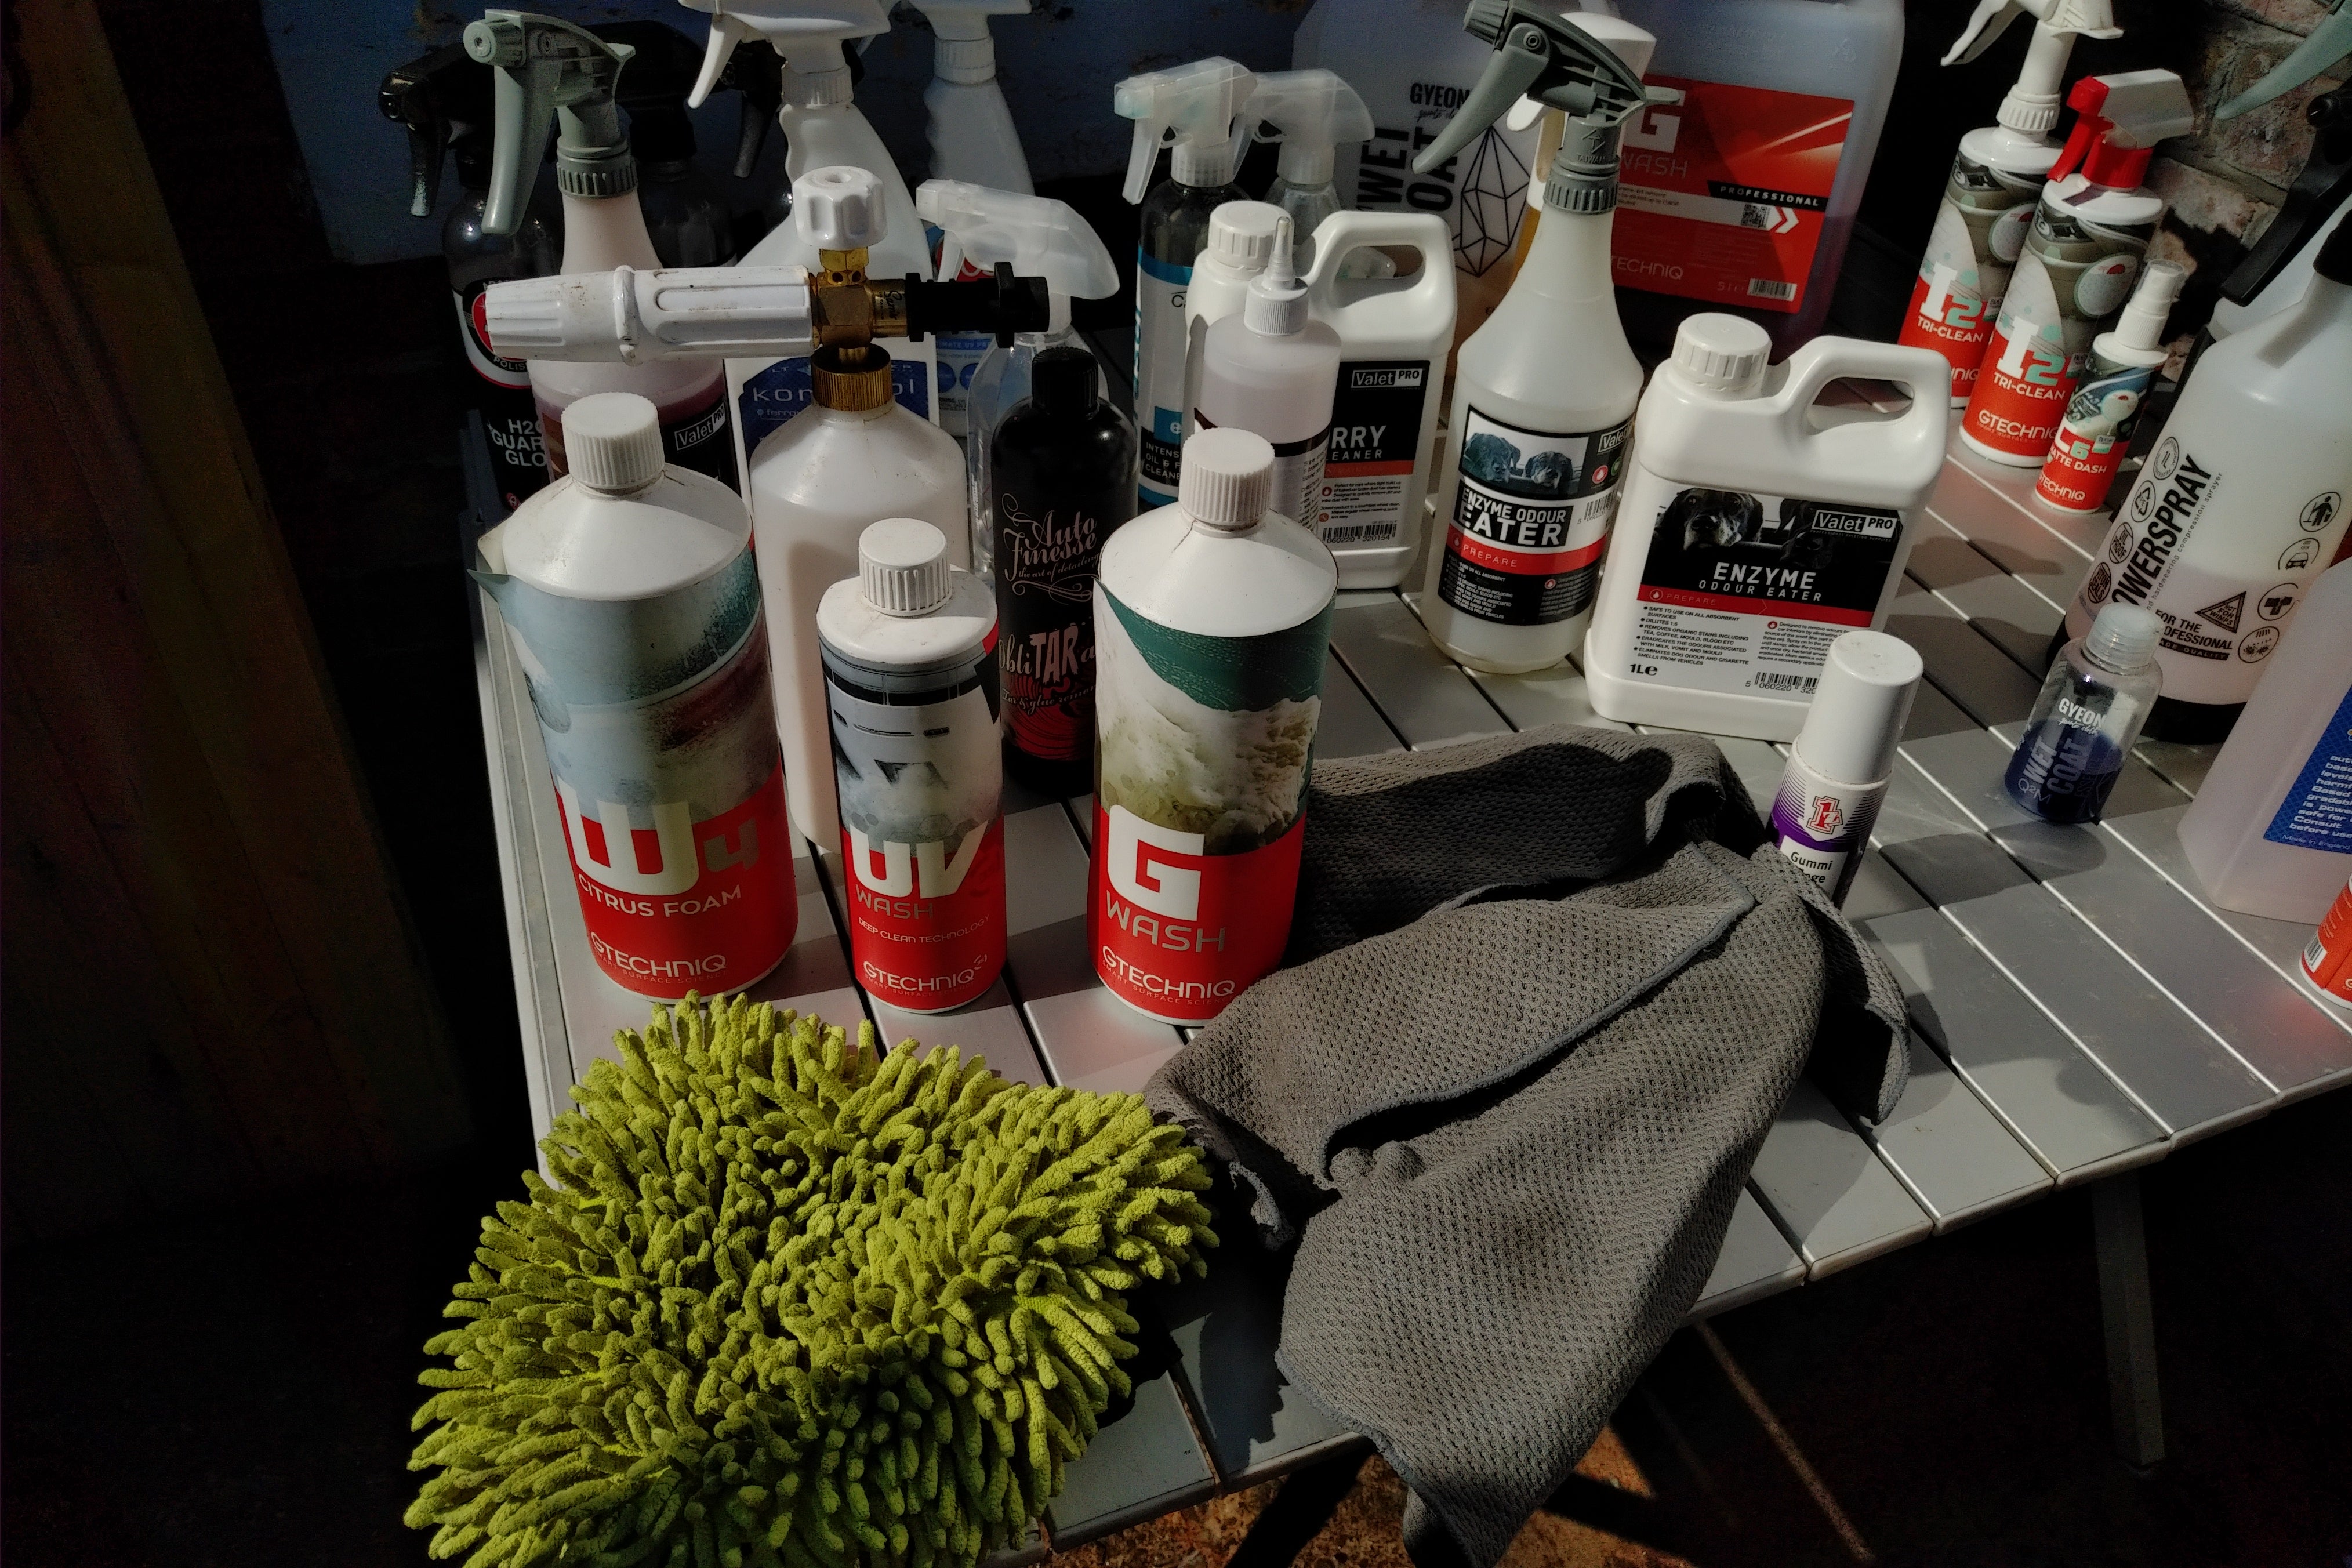
Sorry about this one, the sun came out and the phone changed the light setting.
First we have the Gtechniq W4 Citrus Foam, this is a snow foam with a degreasing and lifting action is that it clings to the surface of the vehicle, allowing the dirt to emulsify into the foam making it easy to pressure wash off leaving any remaining dirt easier to shift in the two bucket method wash. Most swirls and micromarring are actually caused in the wash process, the sheer act of washing a vehicle can harm the clearcote which is why a citrus prewash or snow foam are advantageous in that the amount of time of physical interaction of you and the car is greatly reduced.
Next we have Gtechniq UV wash, this a shampoo made more for yachts in that it offers UV protection and is safe for the environment, the shampoo offers a by product or reducing static build up and reduces the amount of dust build up on non horizontal surfaces and Iíve found also reduces the number of birds wishing to bomb your newly cleaned vehicle.
Last we have Gtechniq Gwash, this is a super slick highly concentrated car shampoo that leaves no gloss enhancers behind which is great if you have a coated of sealed vehicle in that it wonít impede the abilities of the existing protection, also nor will it leave behind anything that would impede any sealant wax or sealant you wish to add after the wash.
For the wash accessory I use a general microfibre noodle wash mitt, itís not fancy but used correctly can be just as safe as Arizona or Australian wool wash mitts.
Finally a highly absorbent towel.
*1 Remember car towels are like any other towel and absorb quicker and more if they are slightly damp so wet the towel and thoroughly wring it out. Now there are two ways of using a towel, one is the wave over the towel onto the surface and then taking two corners gently drag the towel over the surface, if you have soft or medium soft paint, you may want to go for option two, lay the towel over an area and then pat down, lift to another are and pat down, repeat as you go around the vehicle.
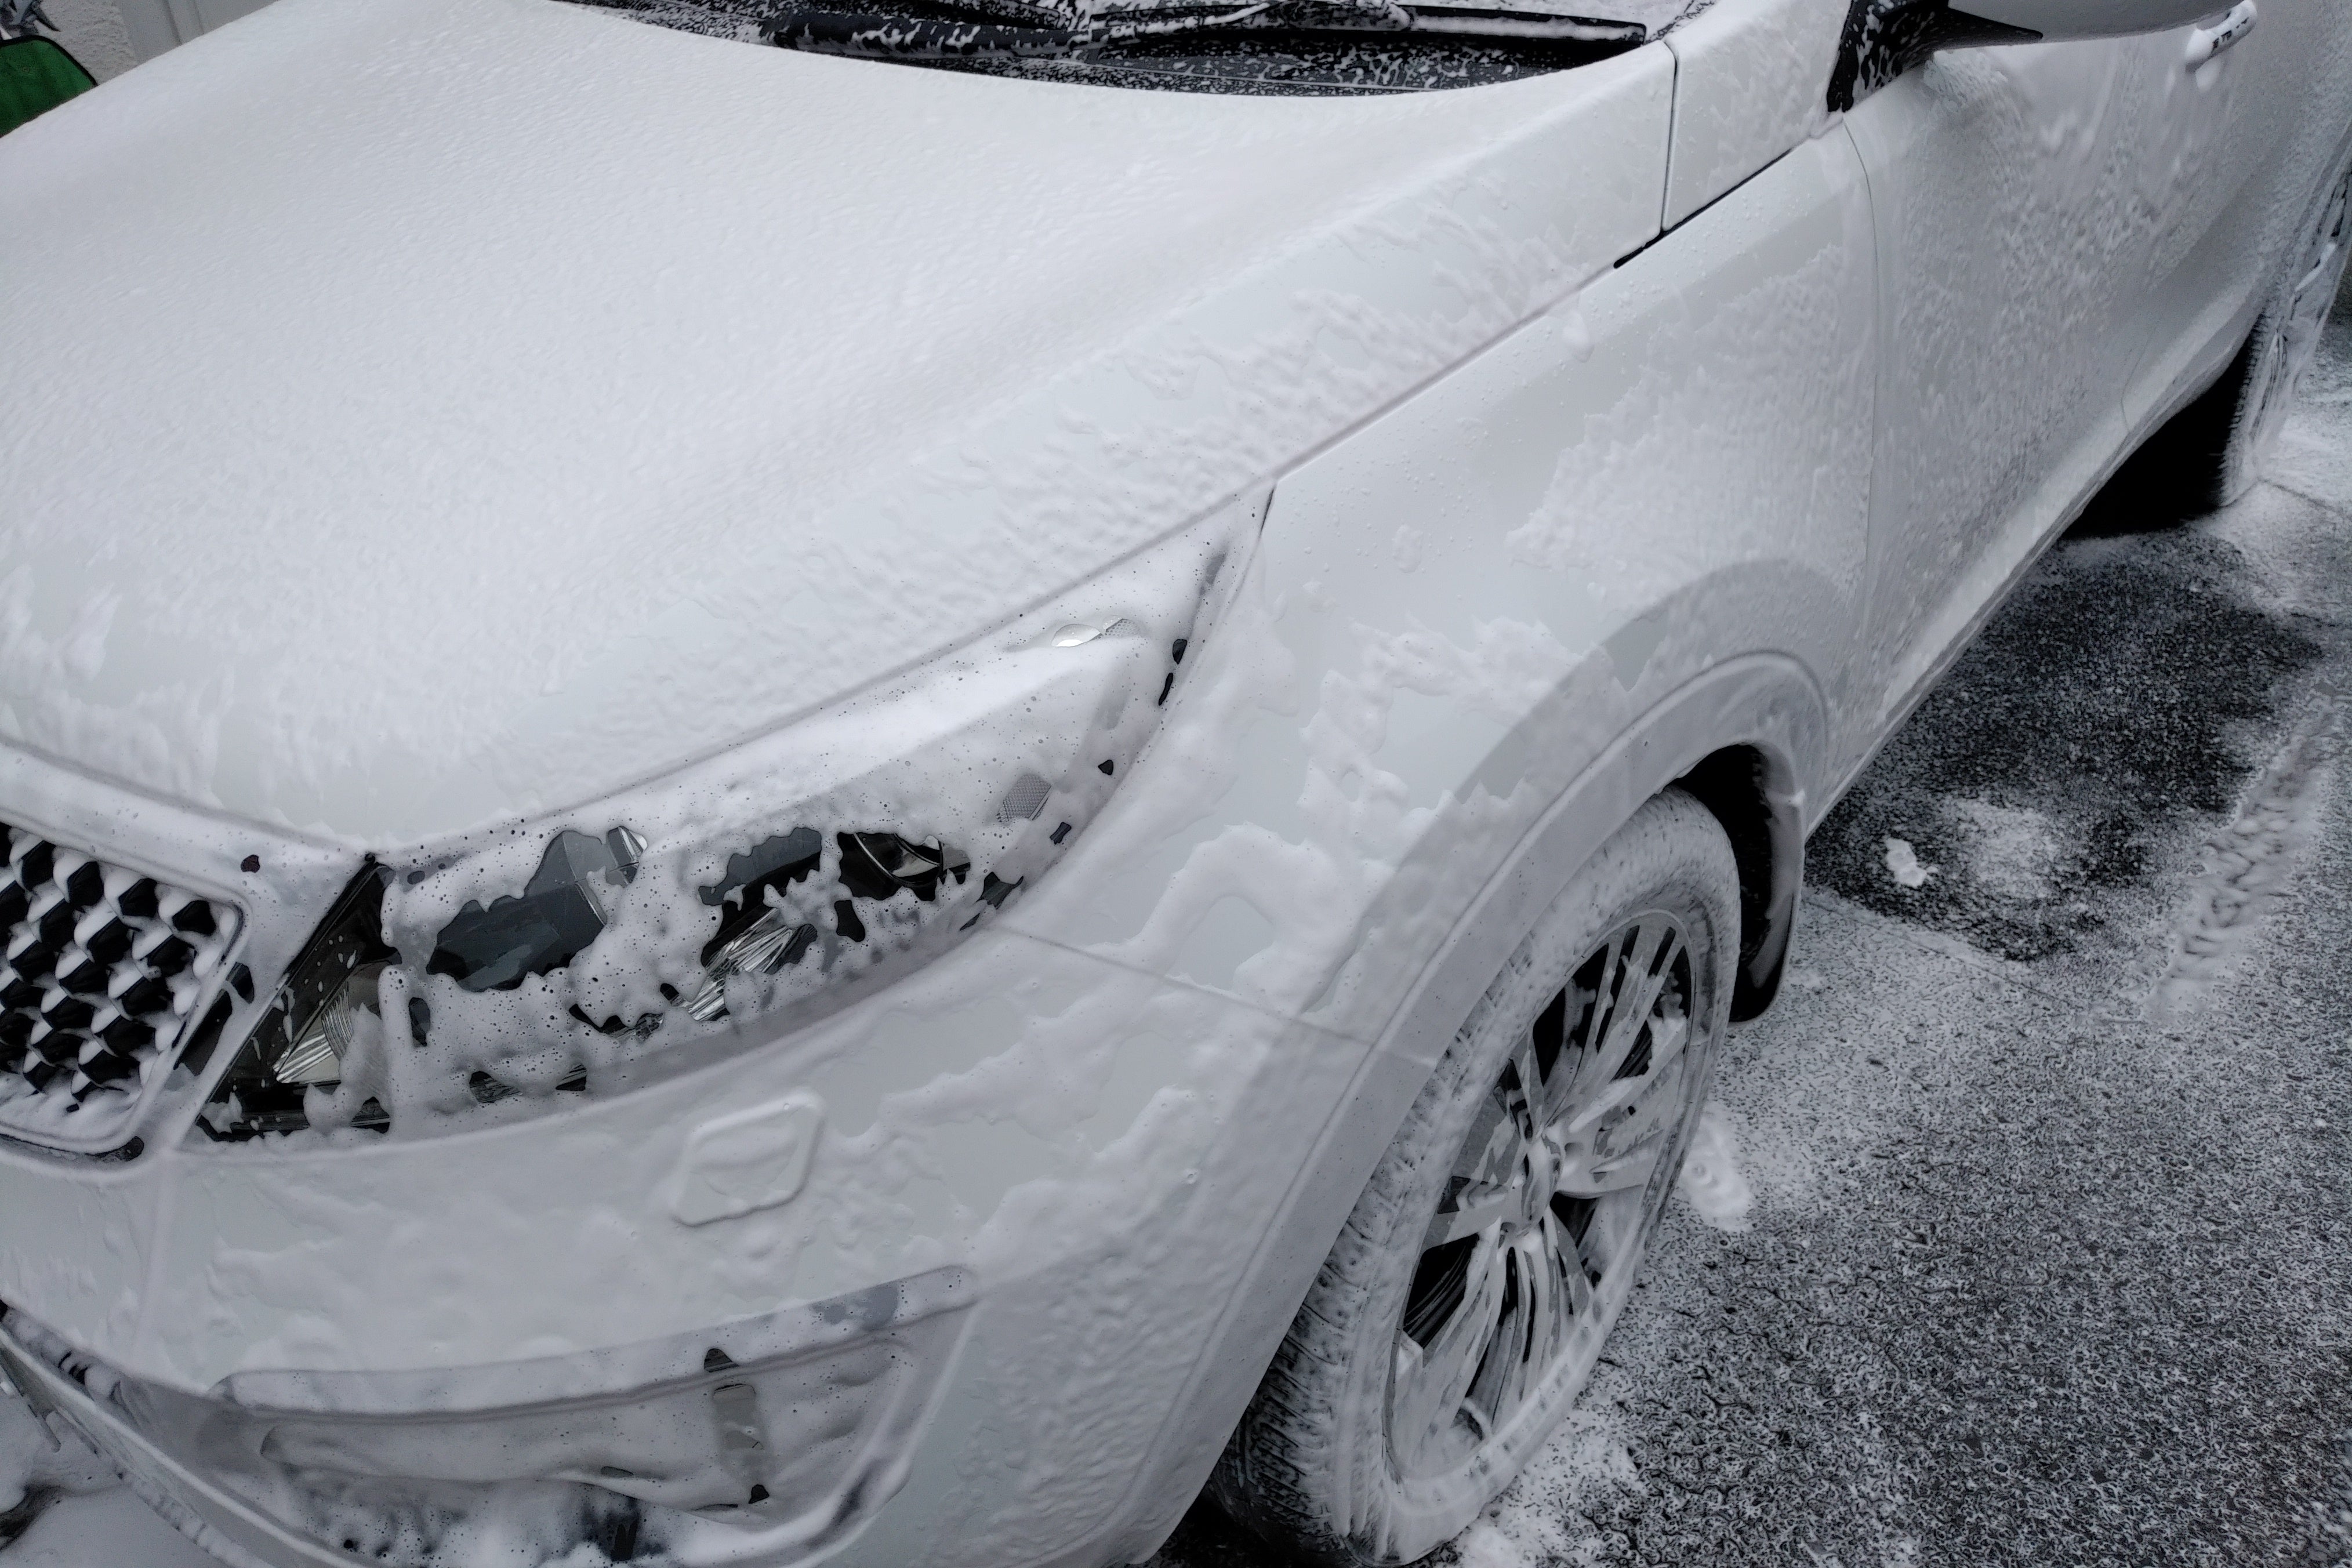
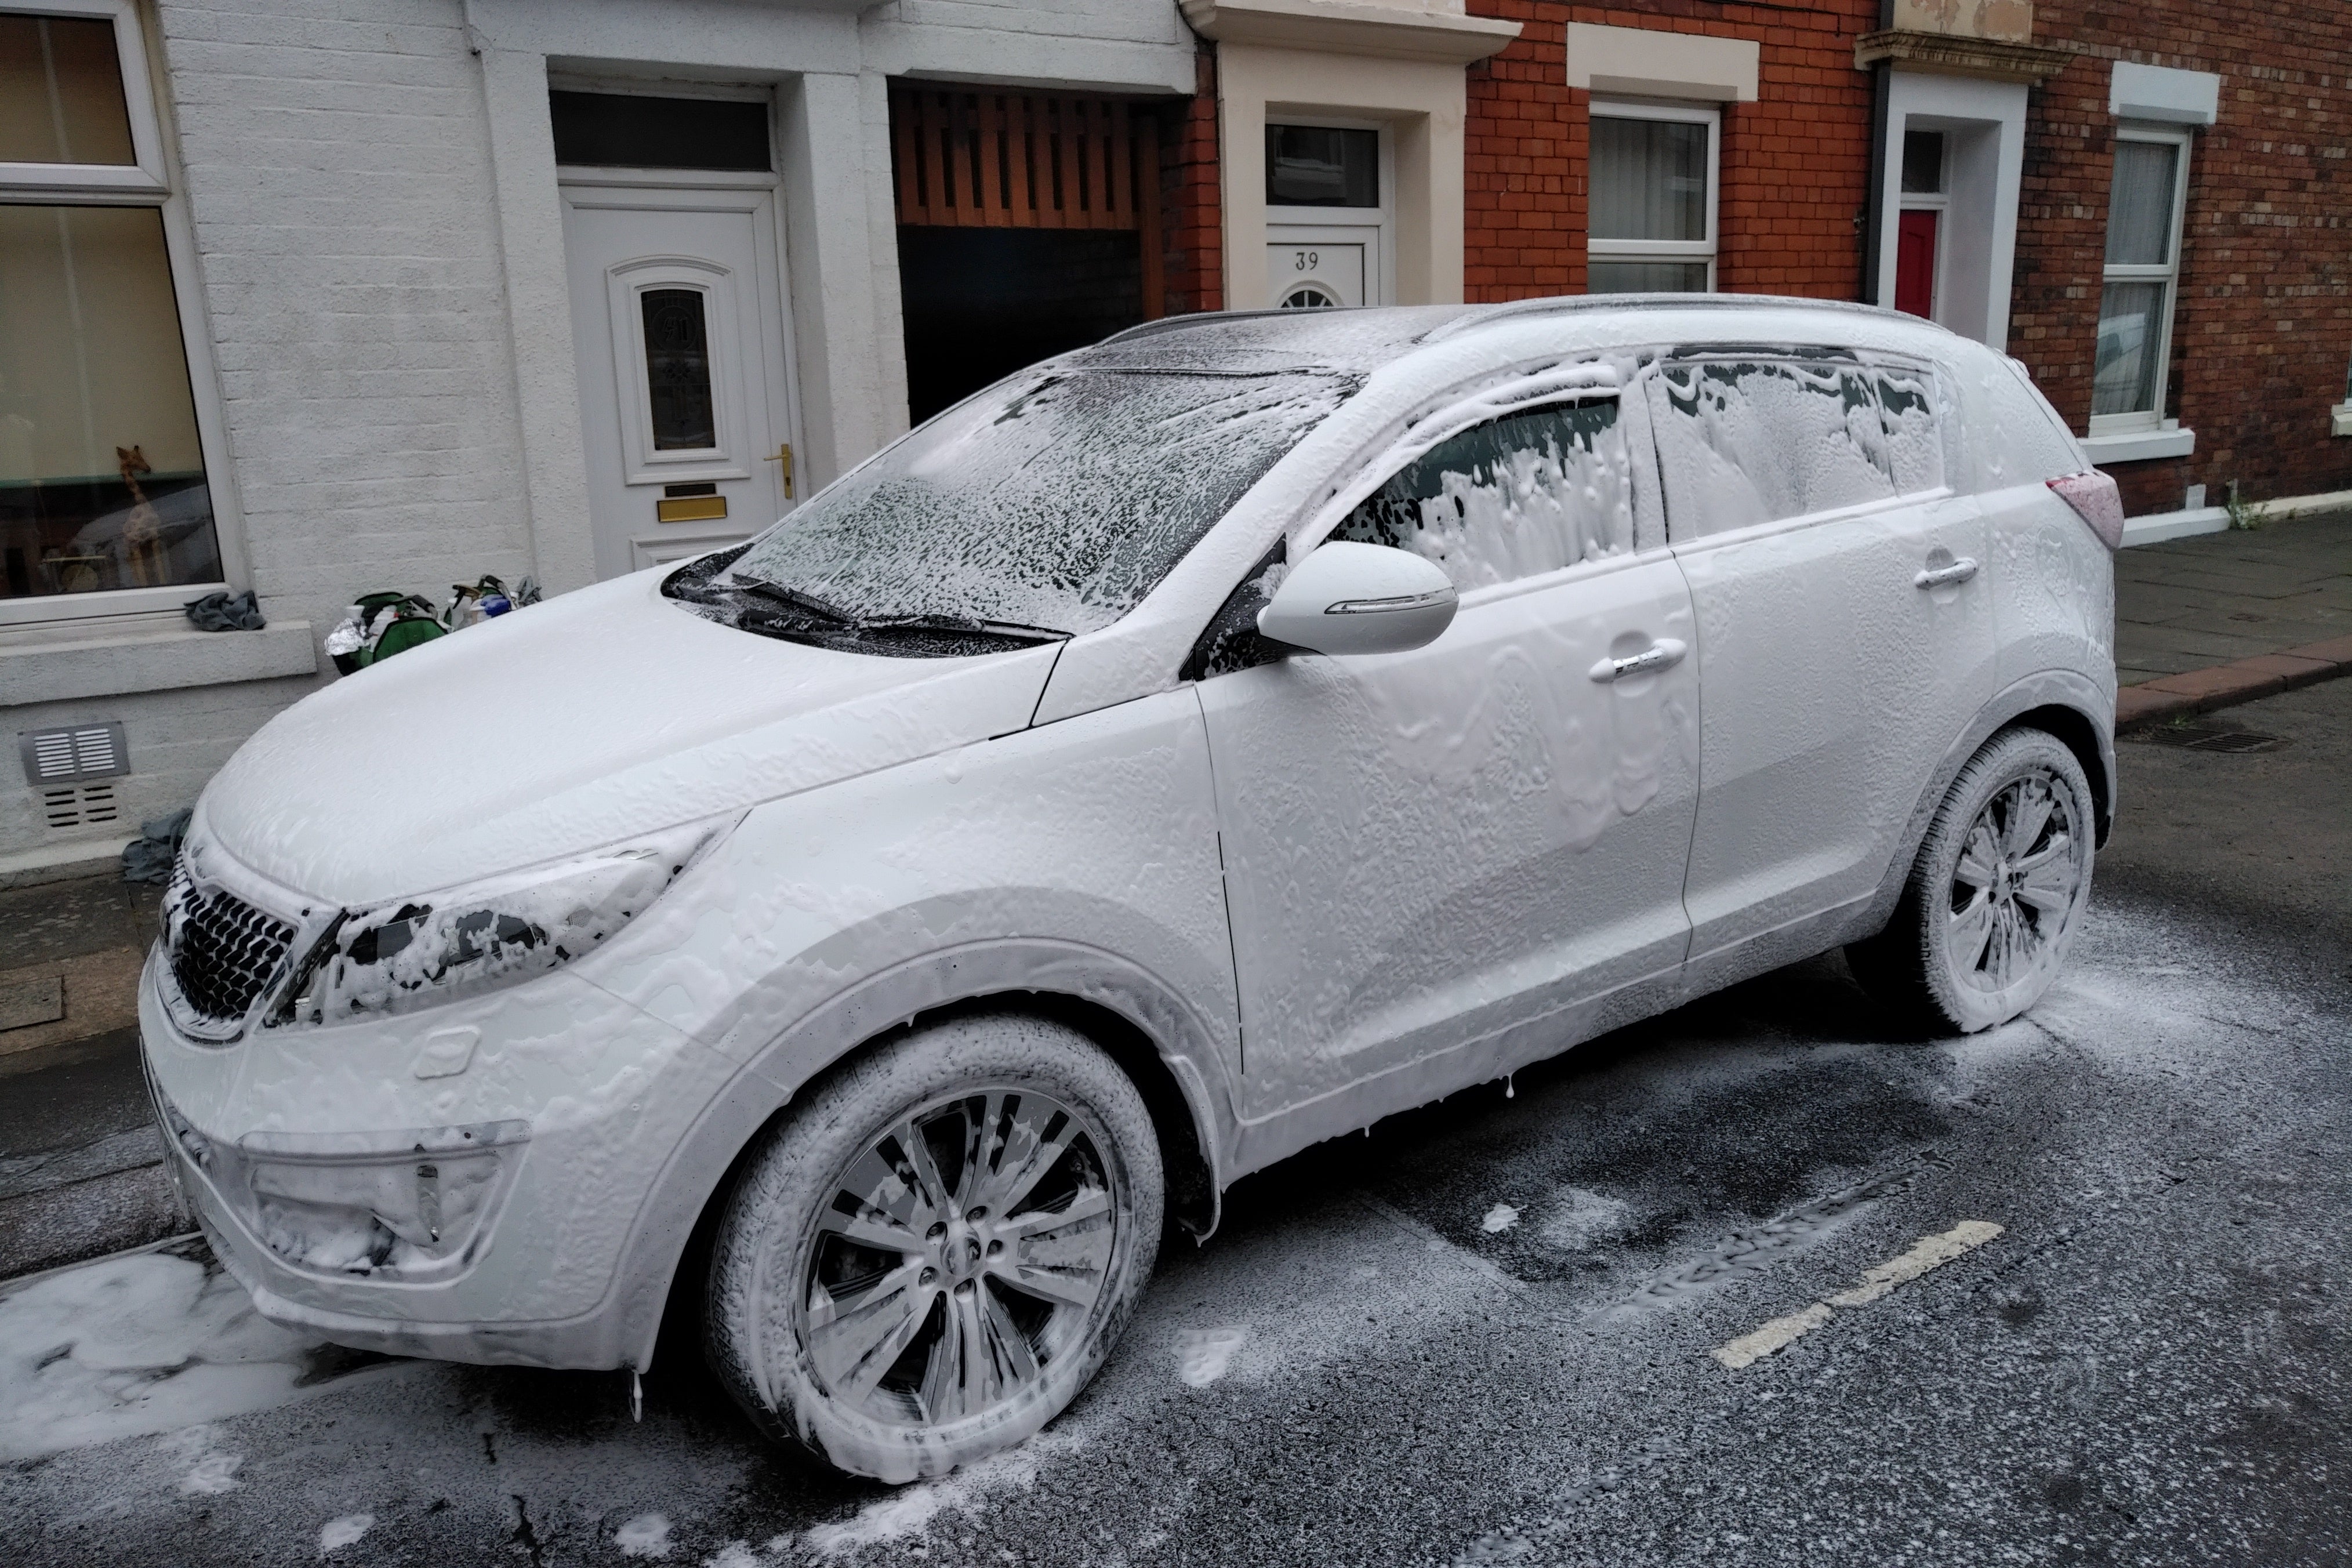
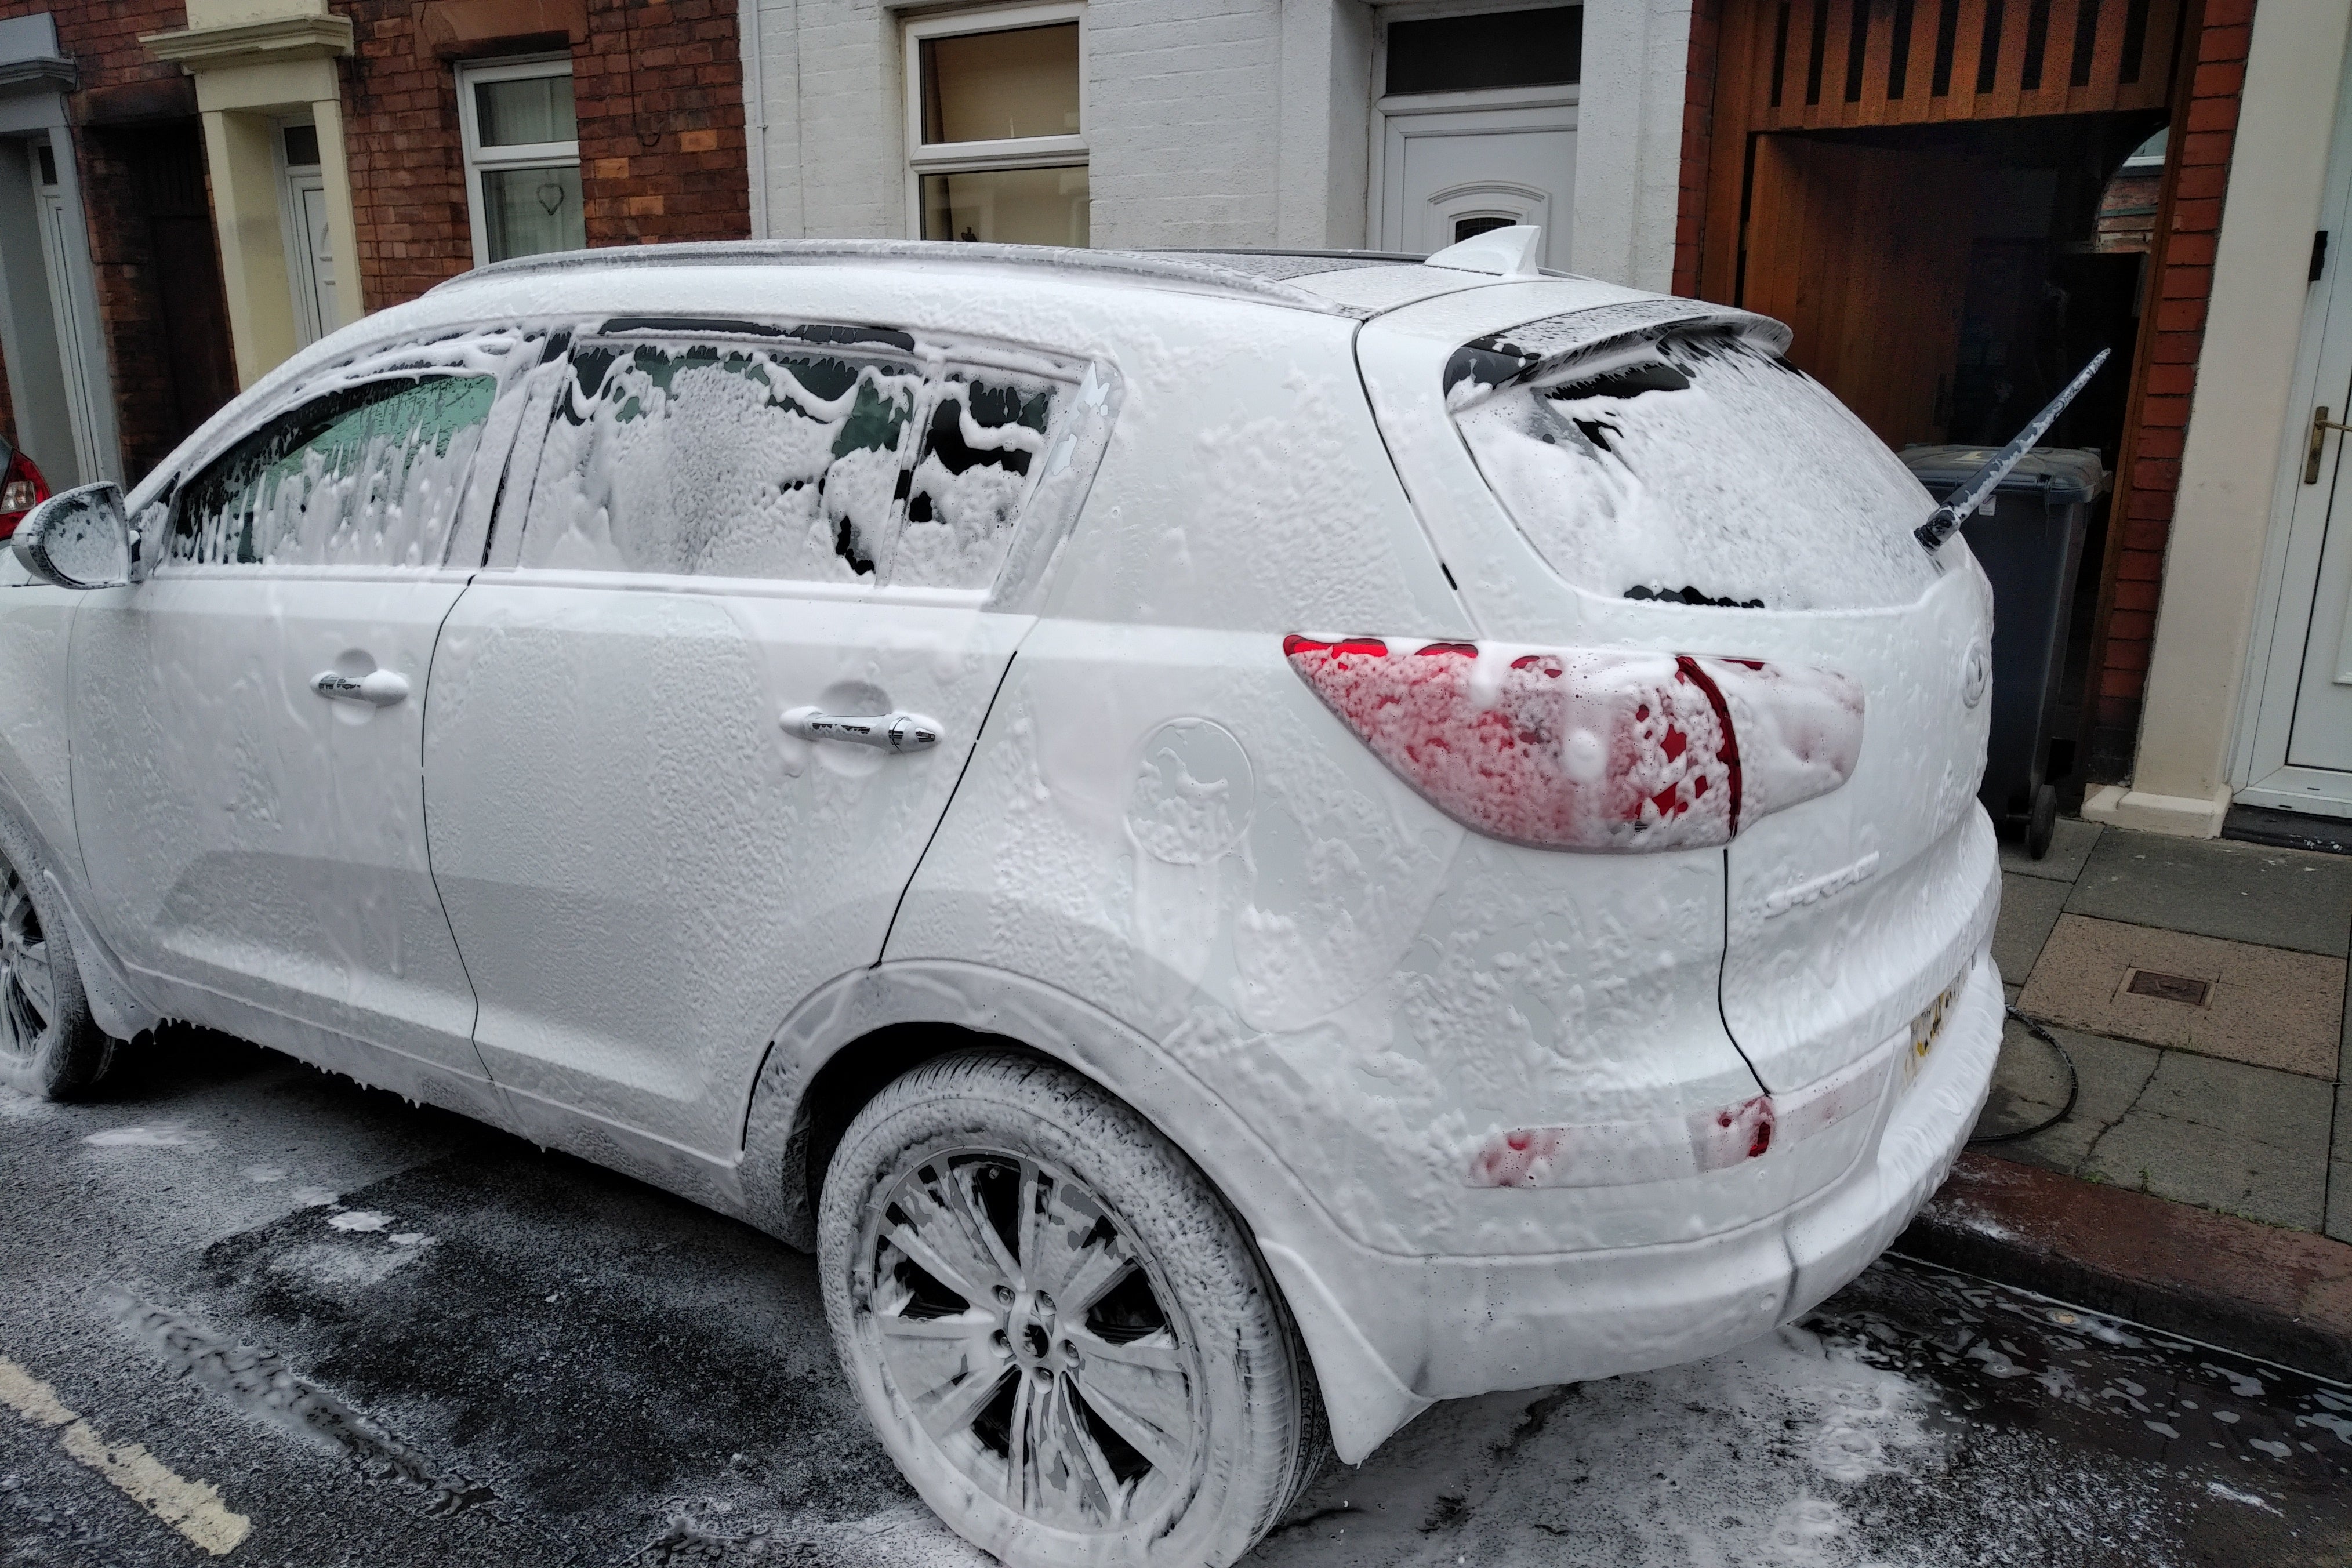
So we are going to pressure rinse the heavy dirt from the vehicle, snow foam and allow to dwell, then using the all purpose cleaner, spray some onto a detailing brush and work round any panel gaps, door and window rubbers, etc... then pressure rinse the vehicle. 95 % of the dirt should be gone by now. the remaining dirt has been softened making it easier to lift away with a swipe of the wash mitt.
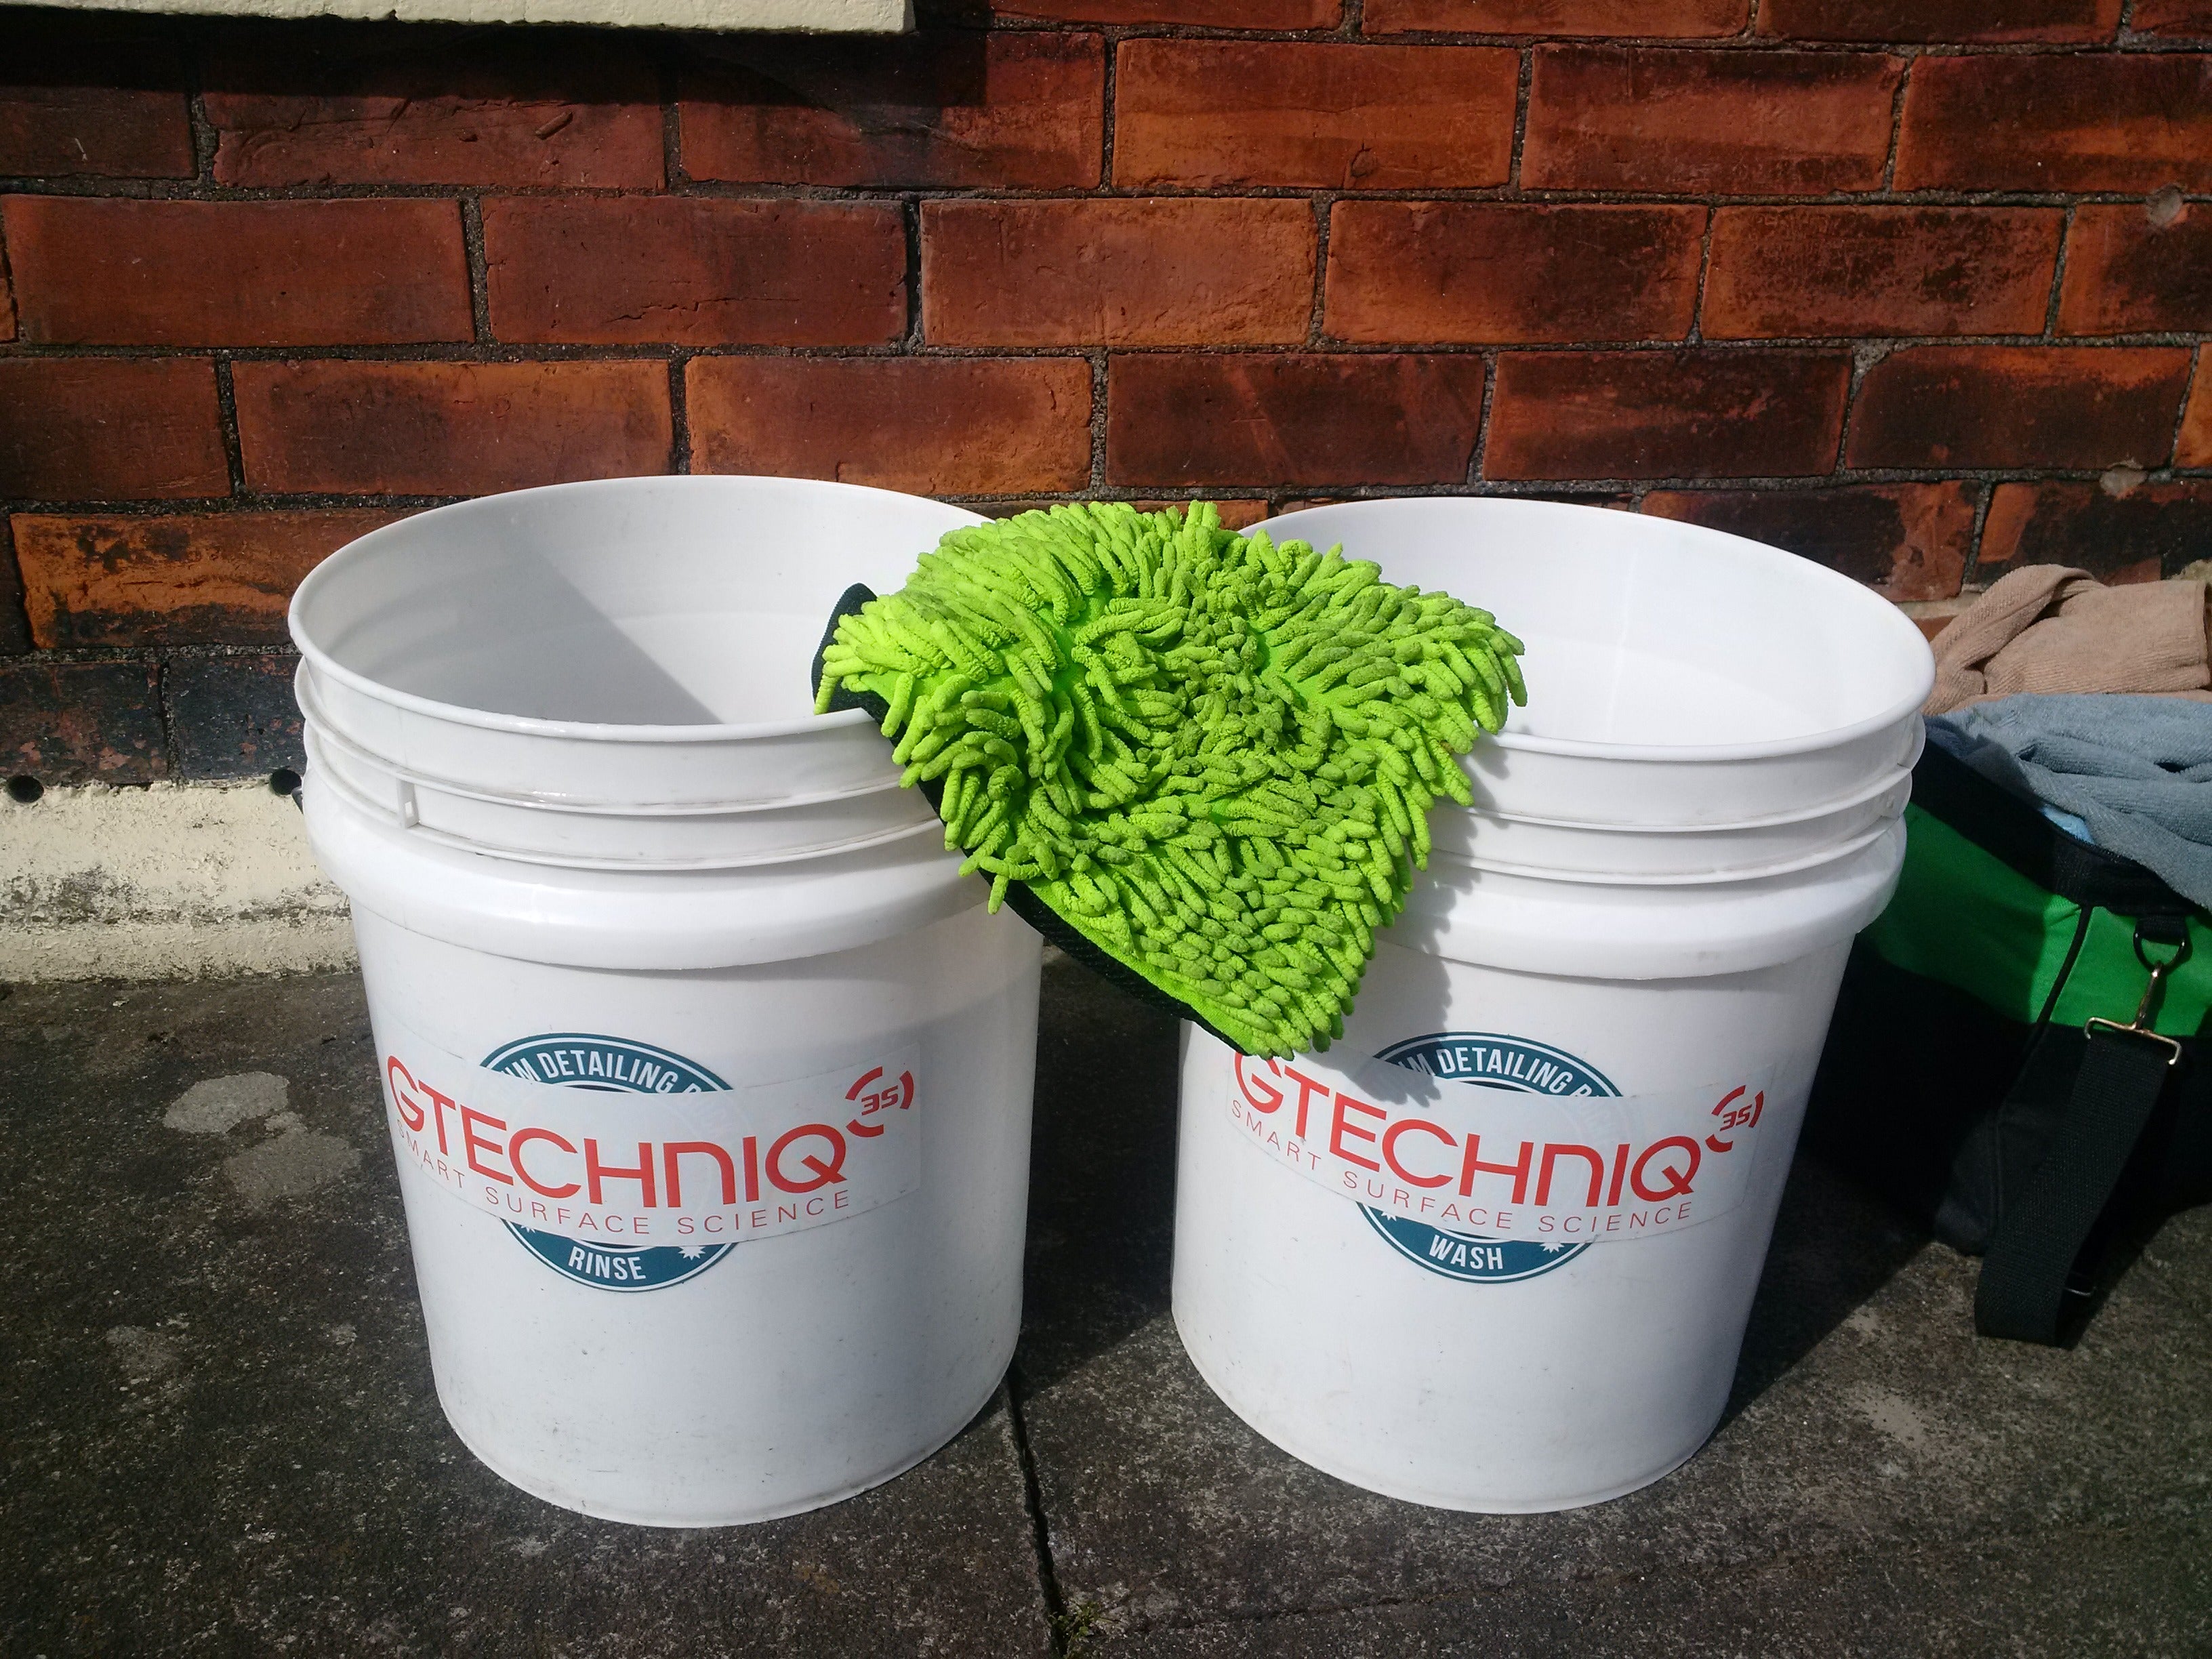
Using the two bucket method with car shampoo and water in one bucket (wash bucket) and plain water in the second (rinse bucket). Thoroughly wet the wash mitt in the wash bucket and starting at the top, wipe over an area (gently, literally just using the weight of the mitt and your hand), now remove the mitt from the car and rinse the mitt in the rinse bucket (this will dislodge any dirt debris that has been removed from the car into the water, lightly wring it out and return the mitt to the wash bucket and repeat going round and down the car rinsing and recharging the mitt with shampoo after each panel (or half panel if itís a large surface such as a bonnet, roof, etc...). Keep repeating until all the car is one and thoroughly rinse.
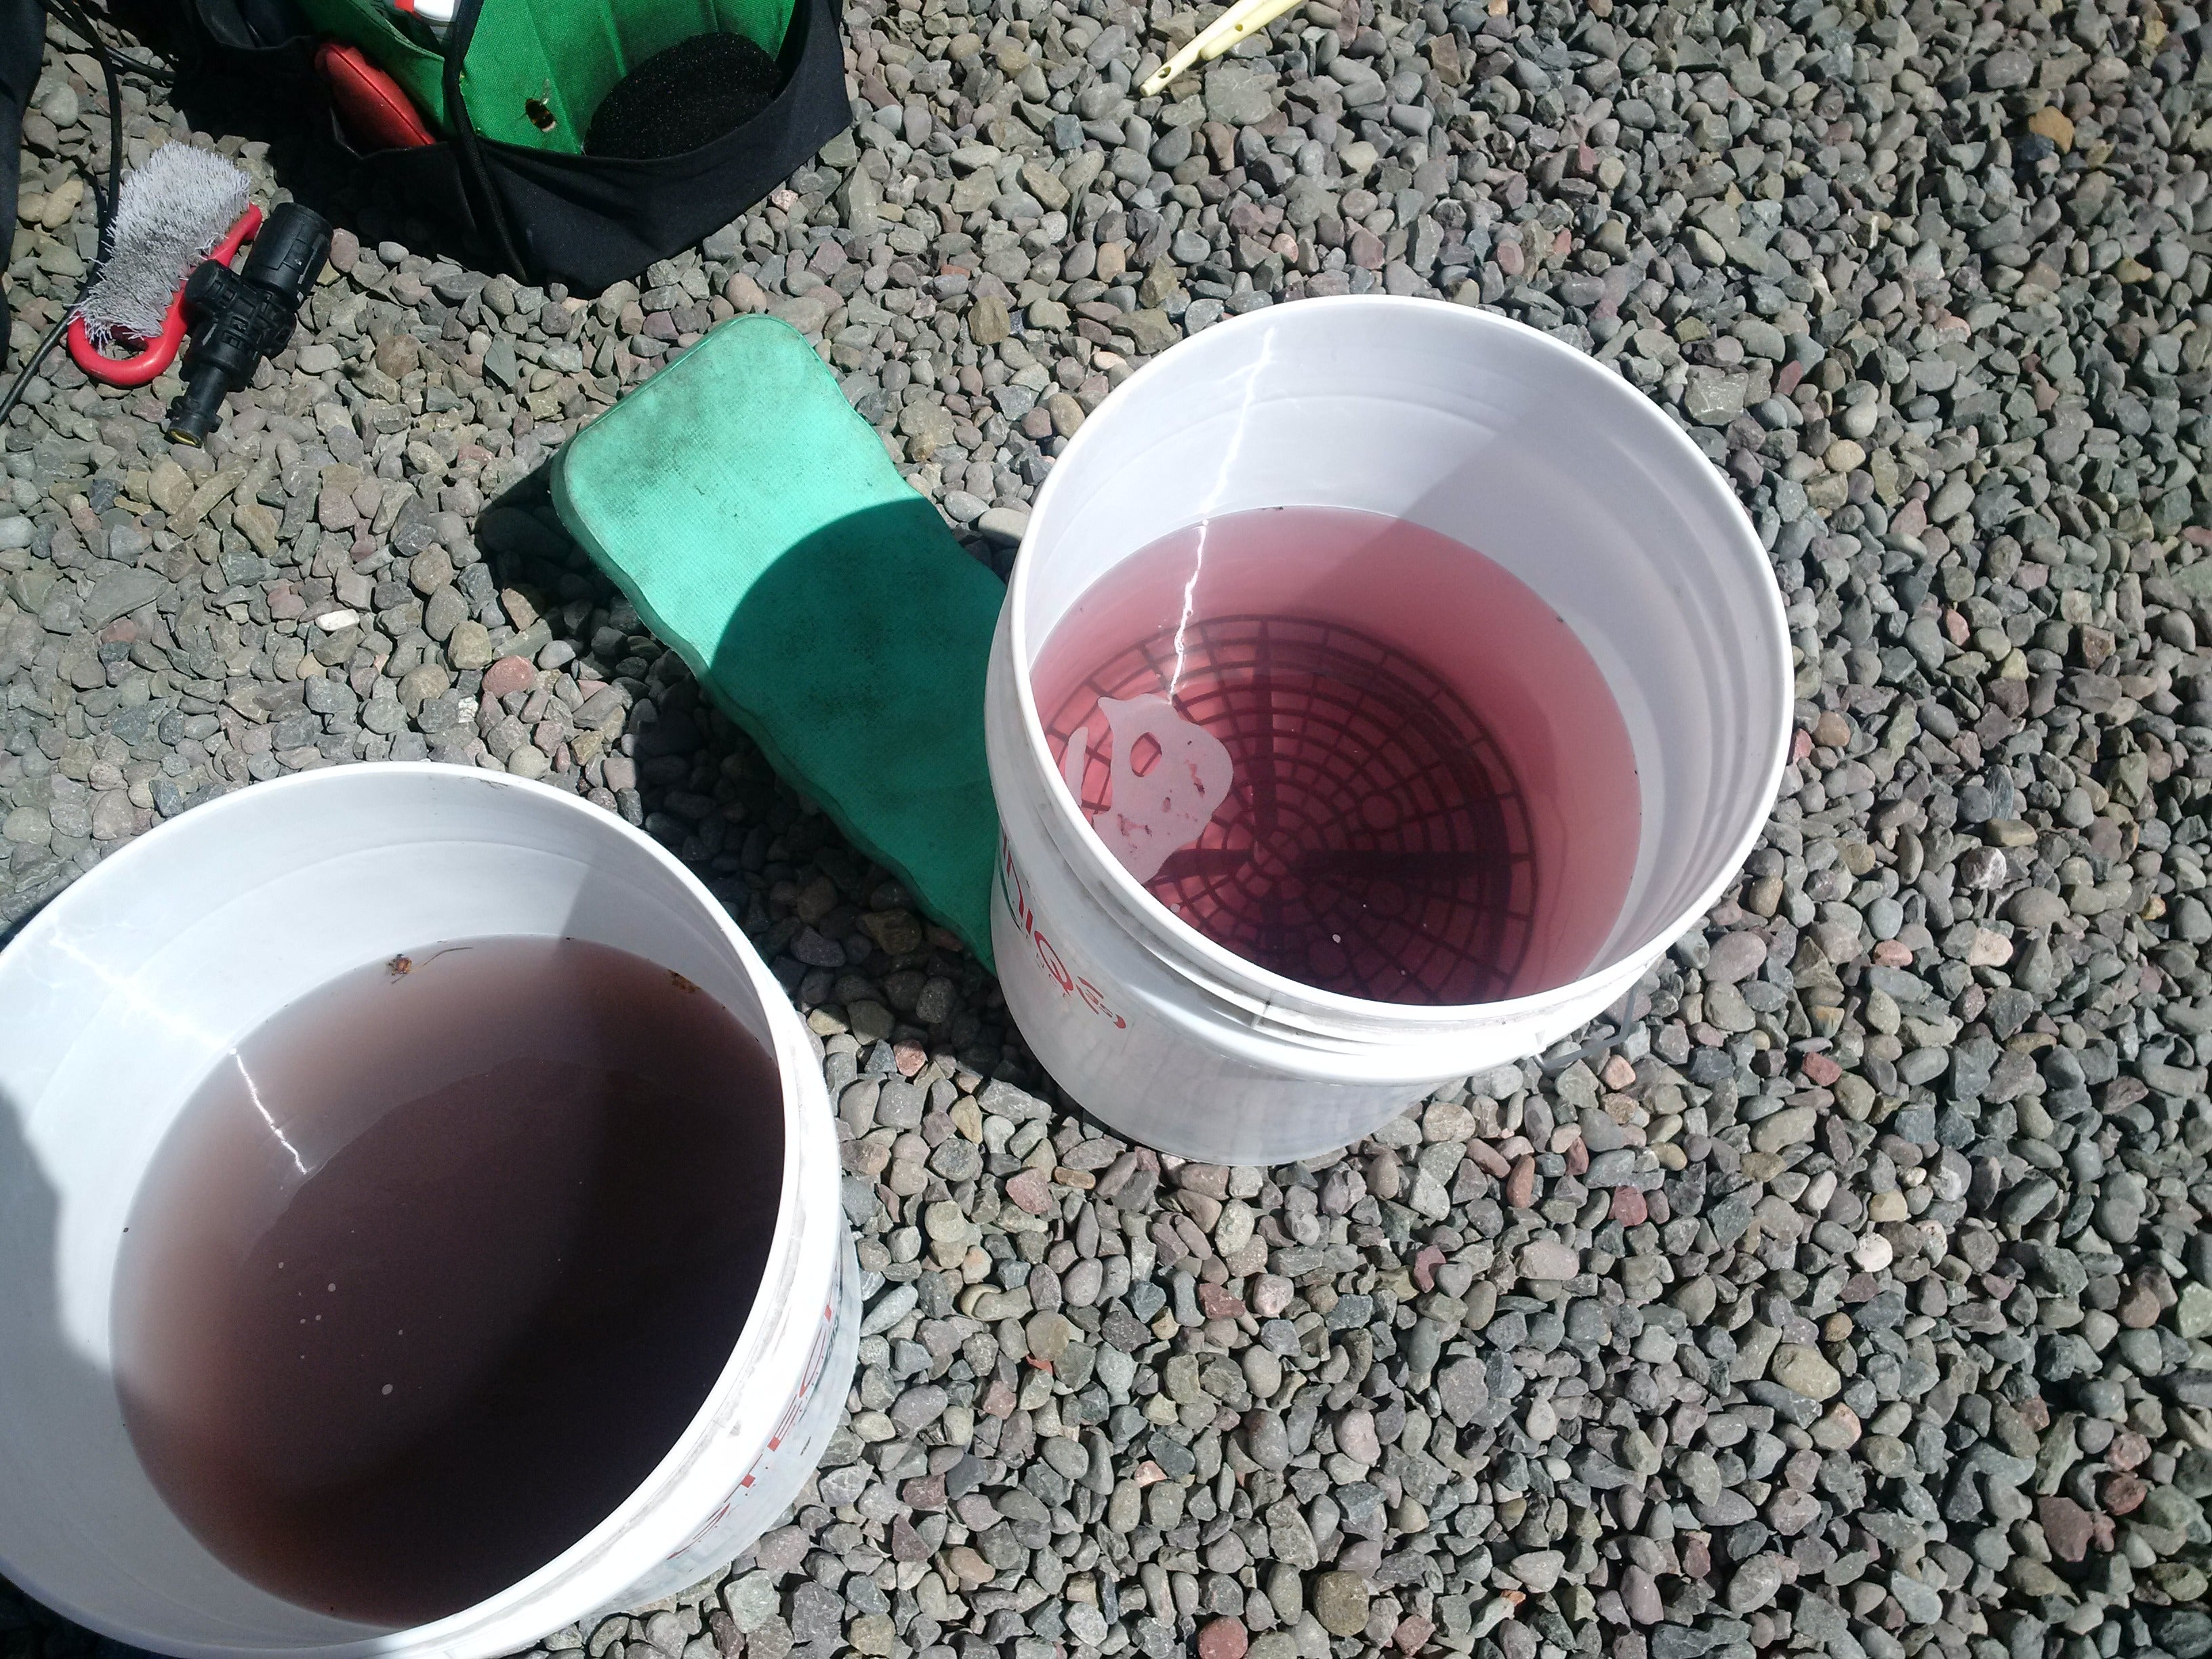
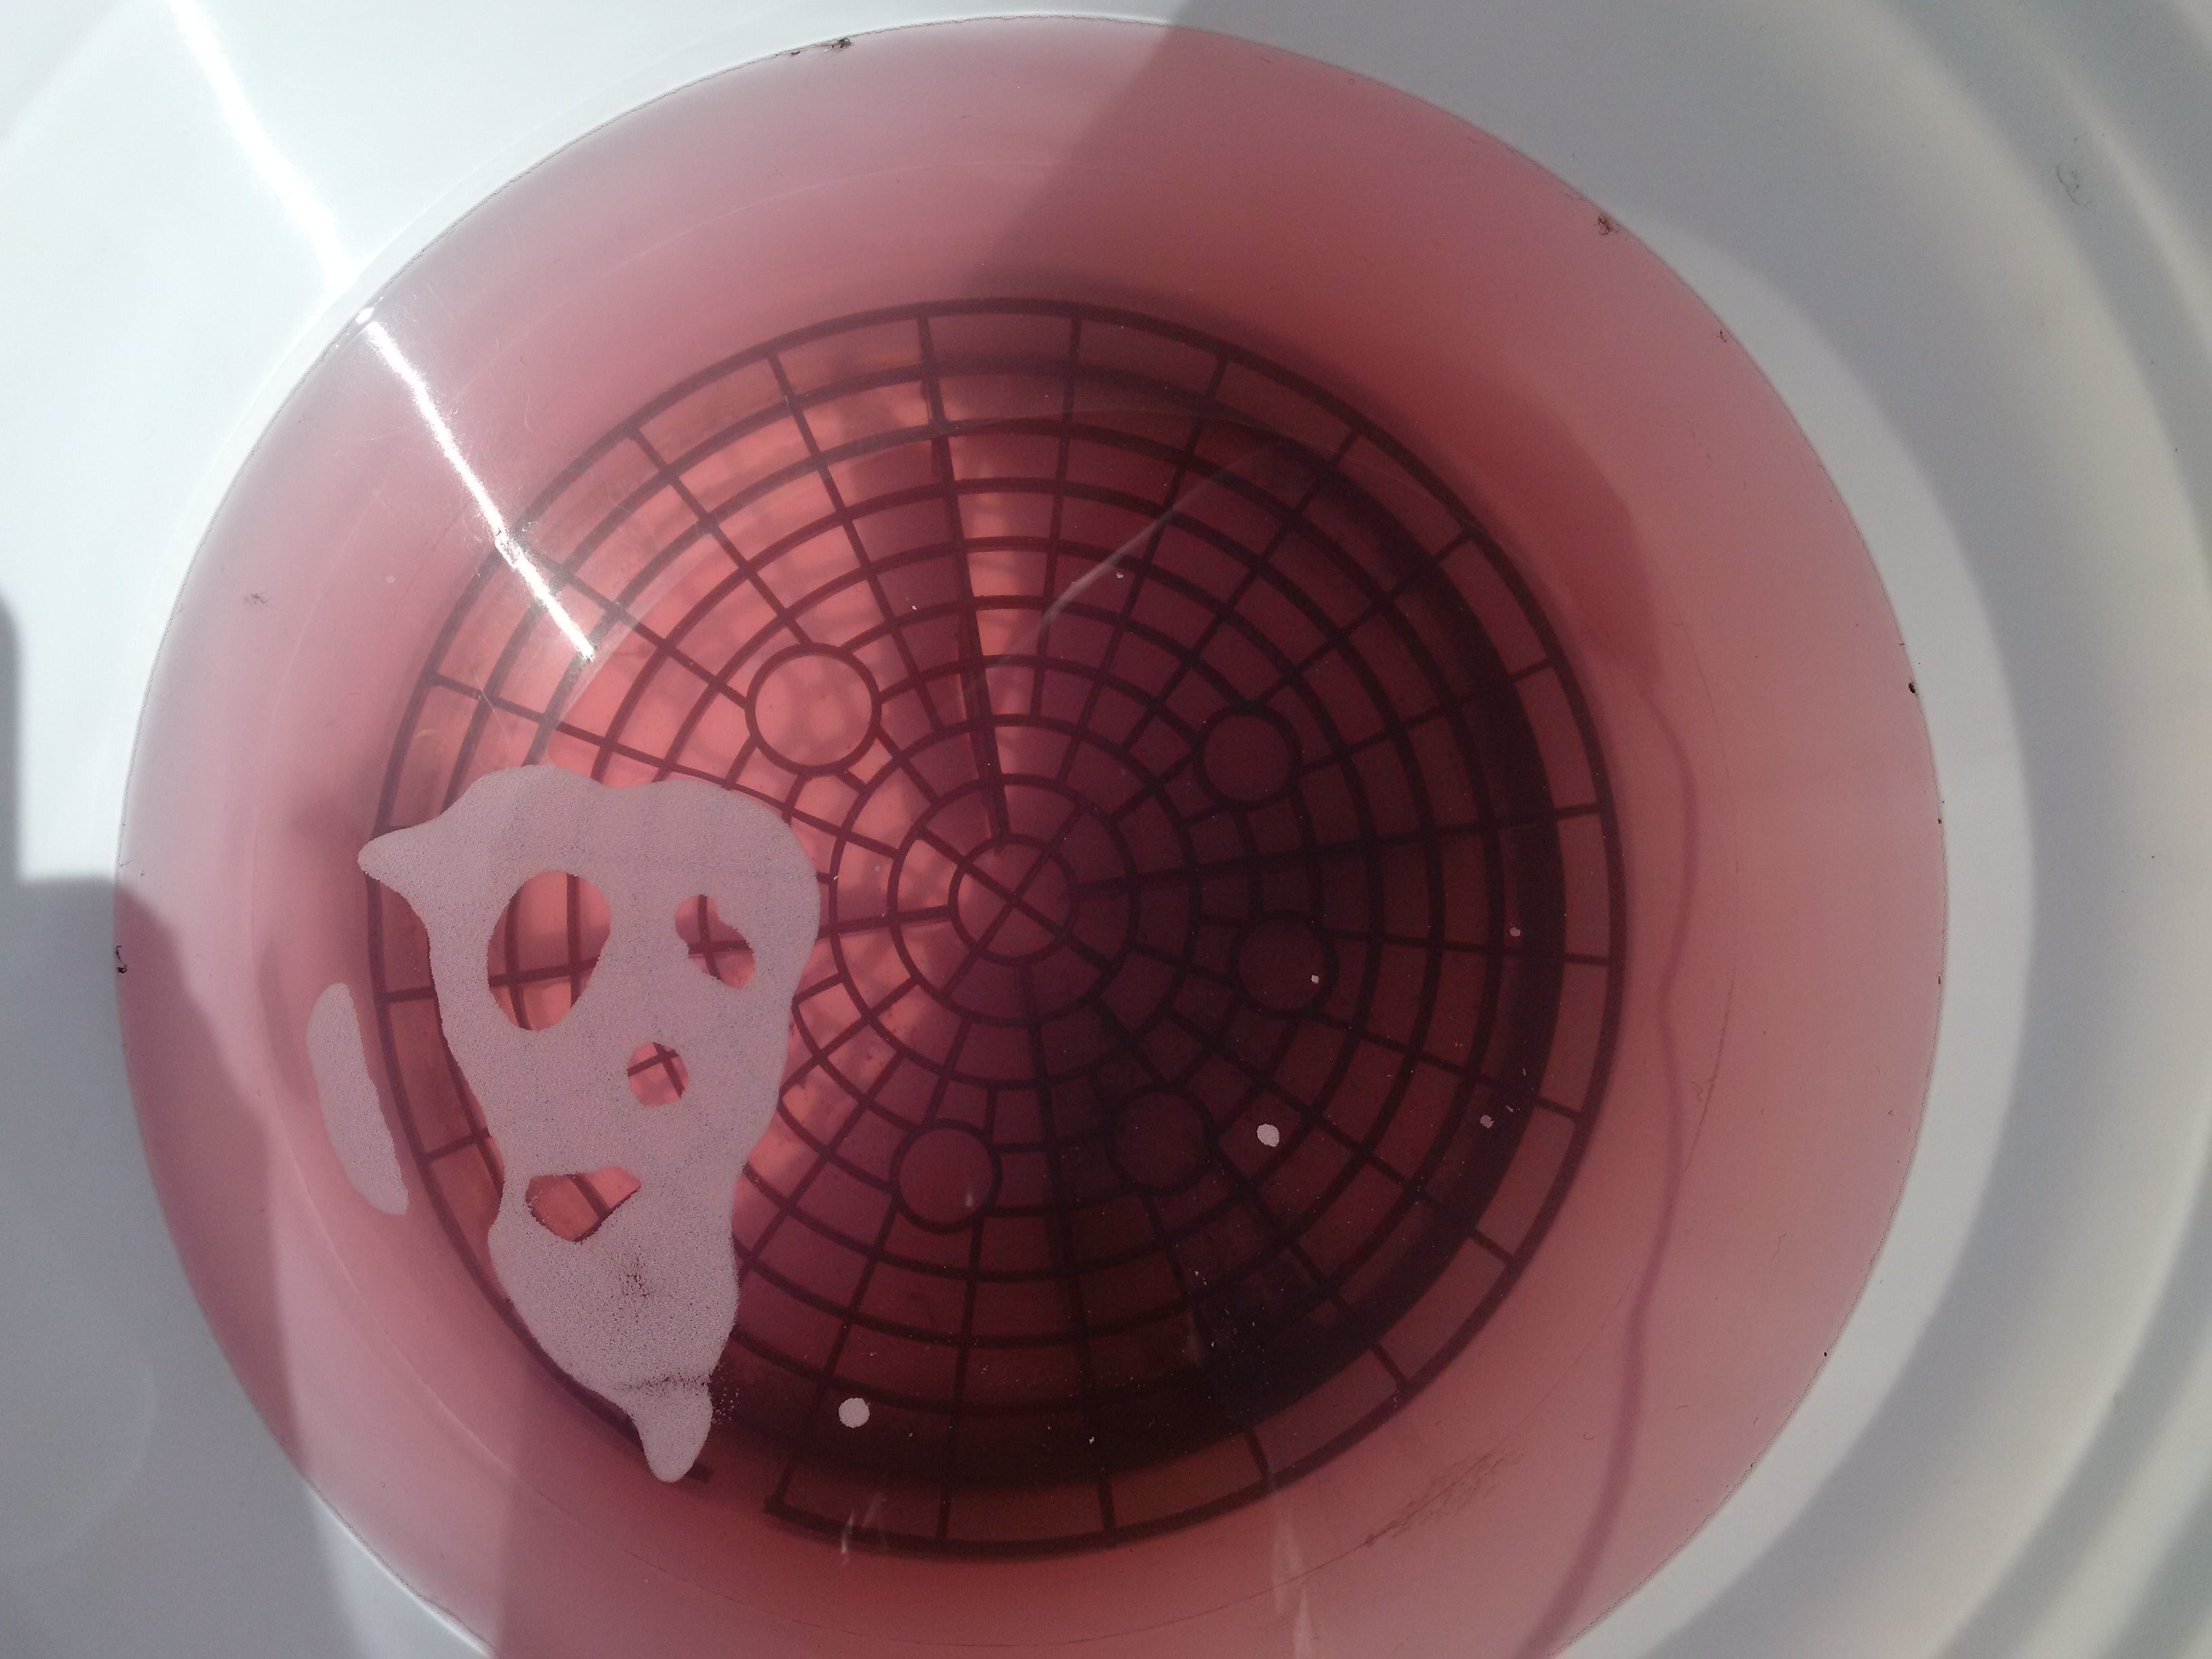
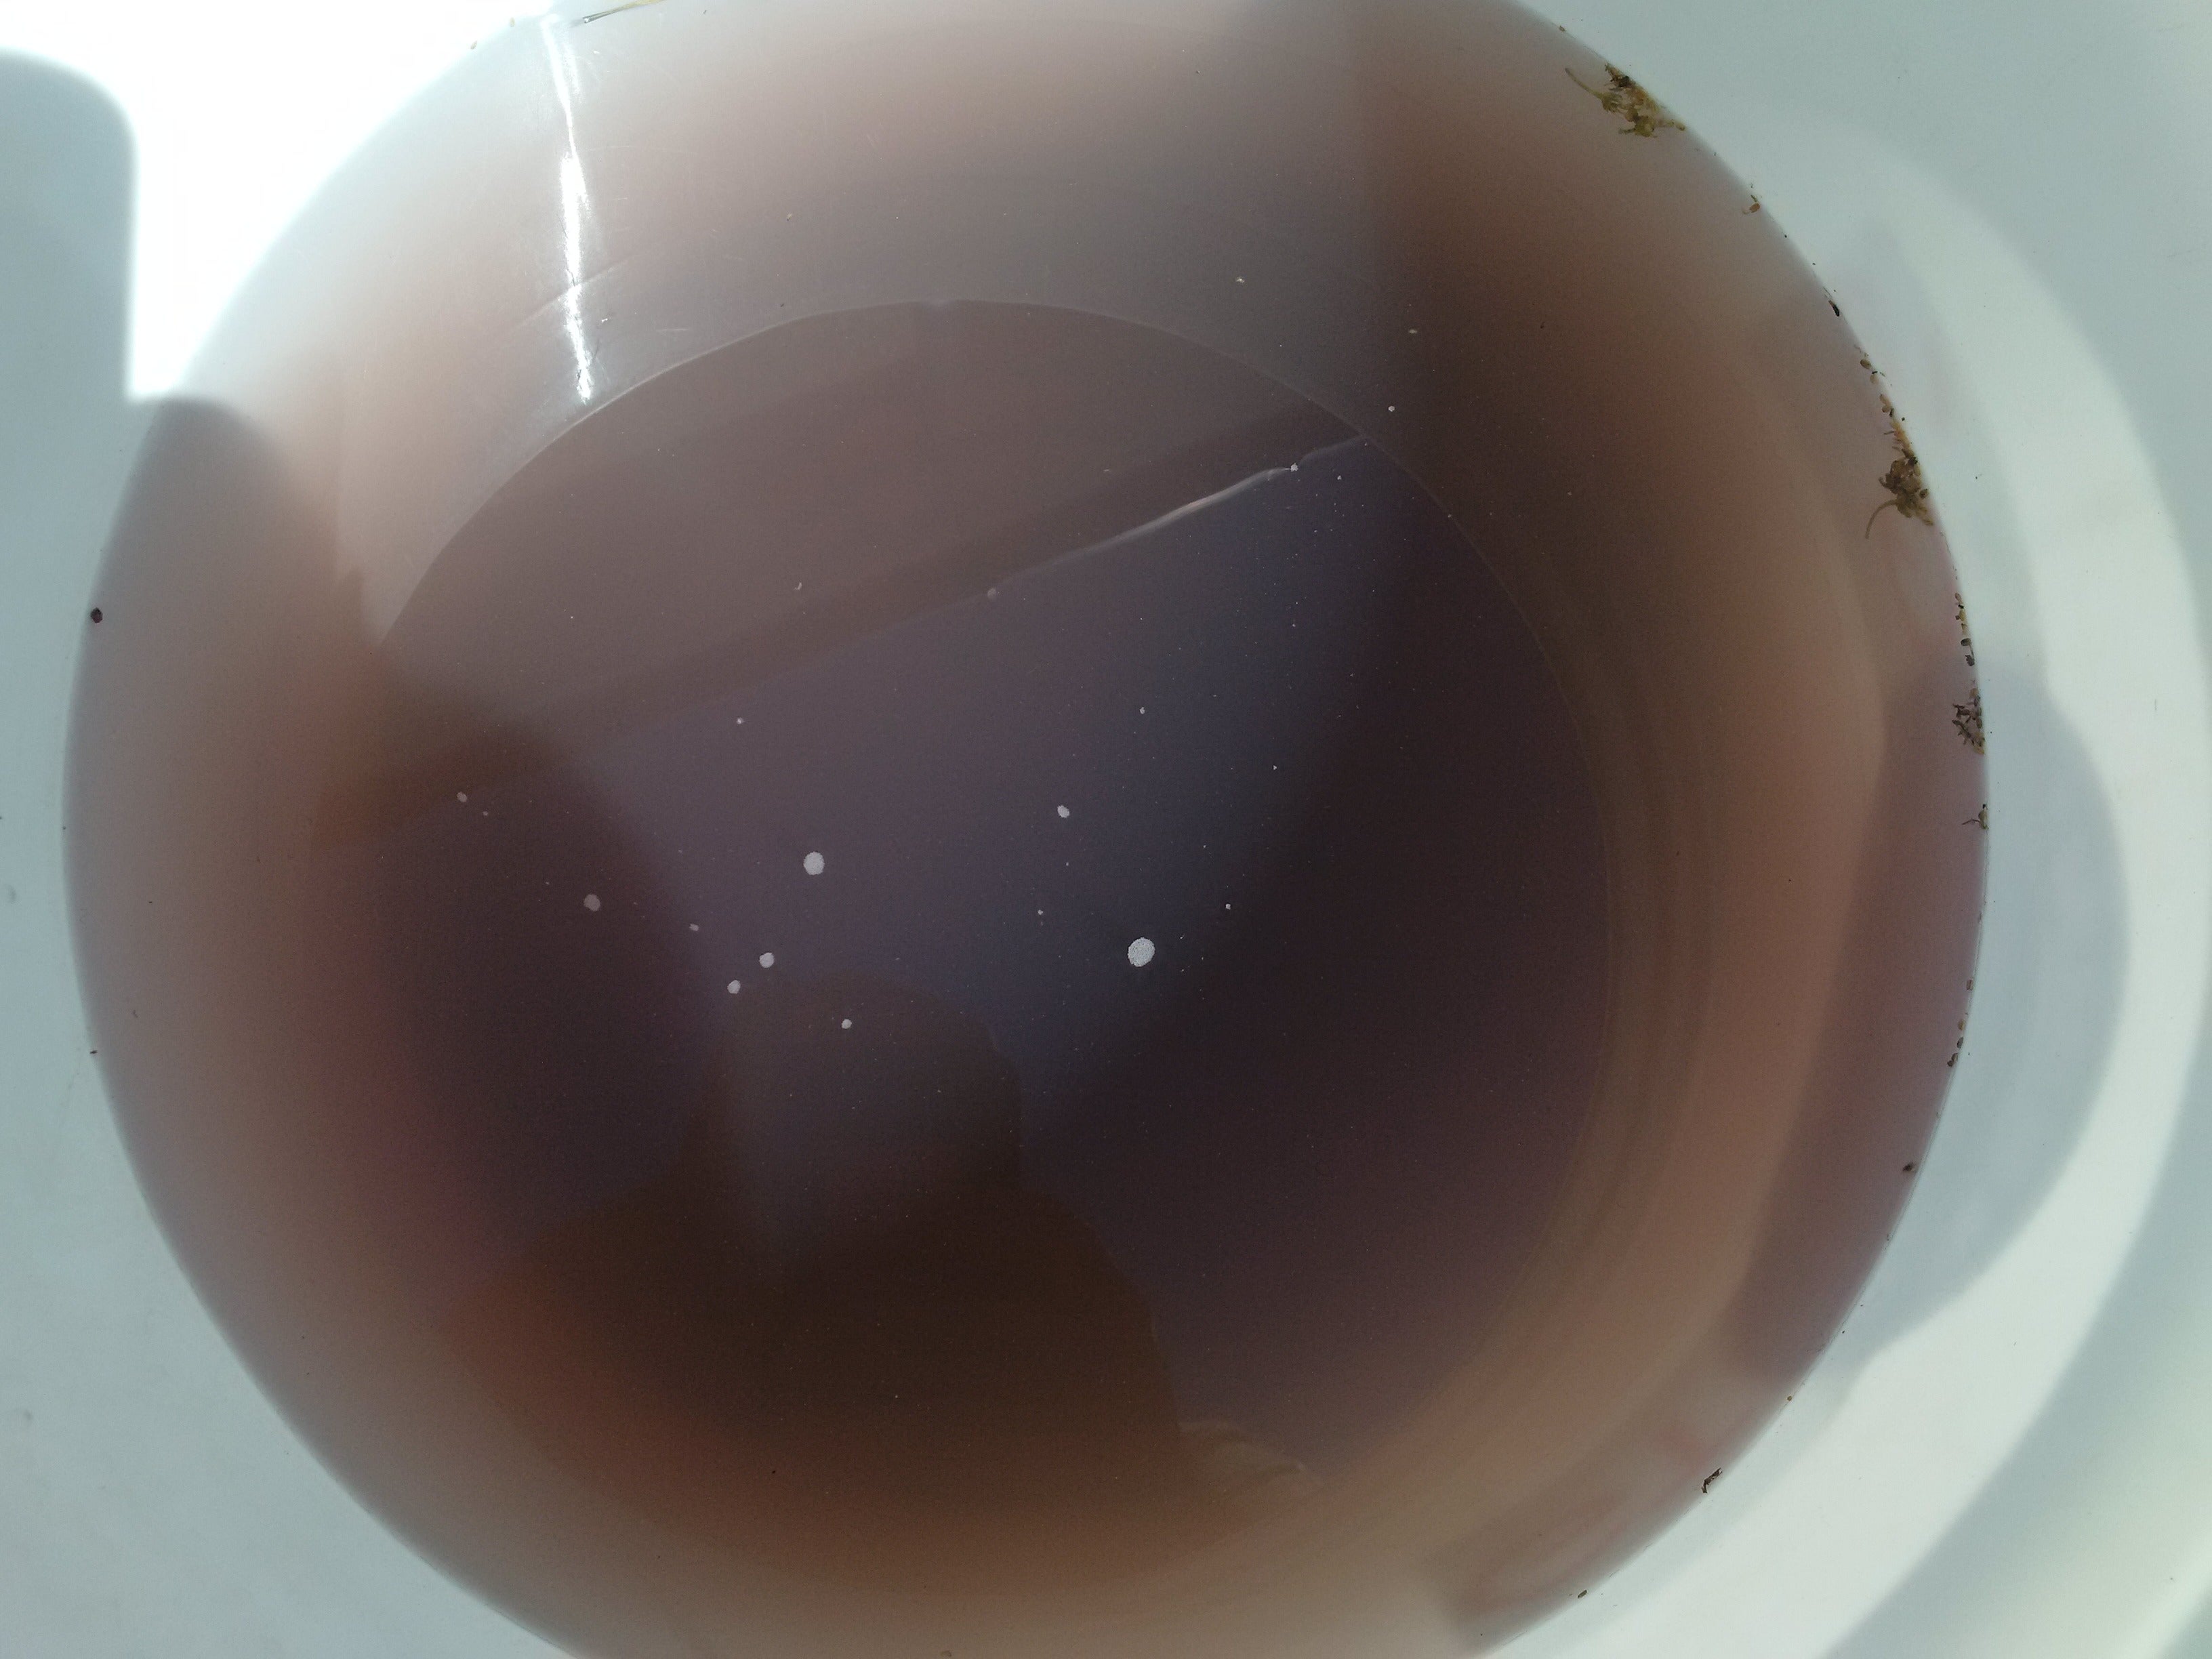
Your buckets should look like this, the rinse bucket is filthy with dirt, while the wash bucket is still clear.
Decontamination. This isnít always necessary, use judgement, look and listen (by running you fingers over the car, are you hearing any scuffing or feeling any raised spots) to what the car is telling you.
Decon, fallout removal (caramel coloured spots on the vehicle, not always noticeable), tar removal (brown coloured spots, more noticeable than fallout aka brake dust, but on some colours of cars harder to see, so using the pads on your finger ends, gently run your hand over and area for any roughness or raised surfaces, this is more than likely your tar spots), etc...
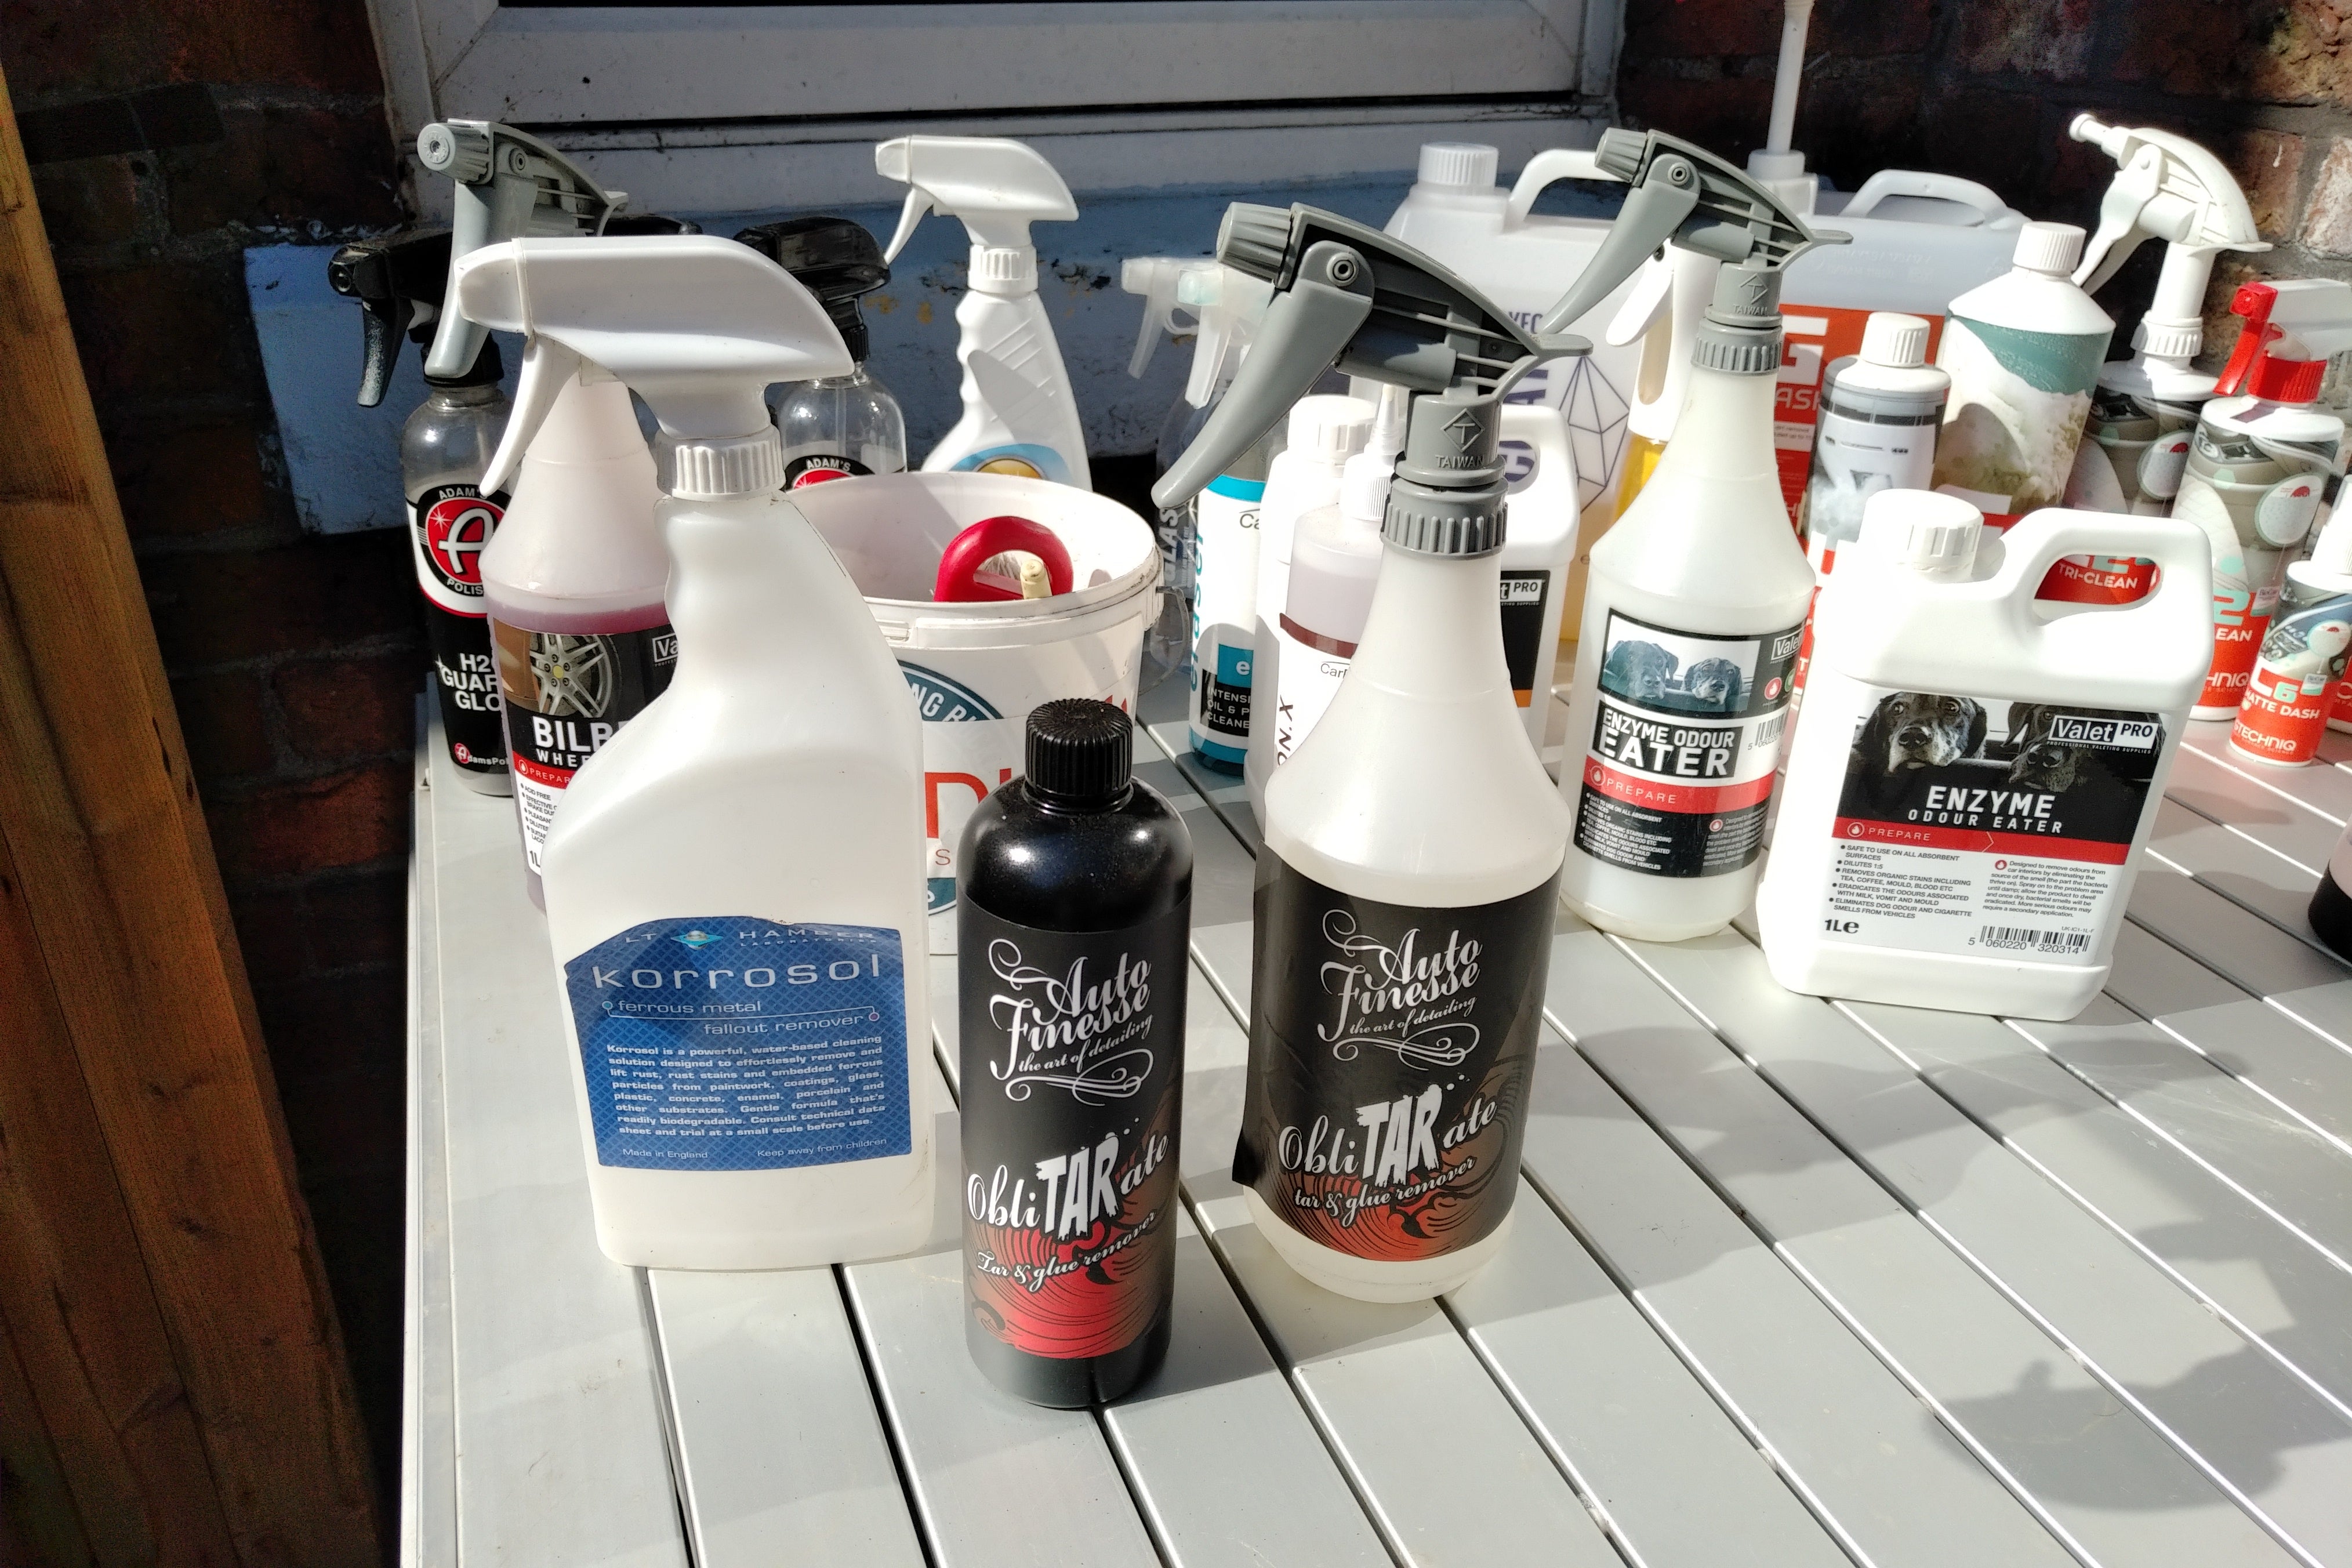
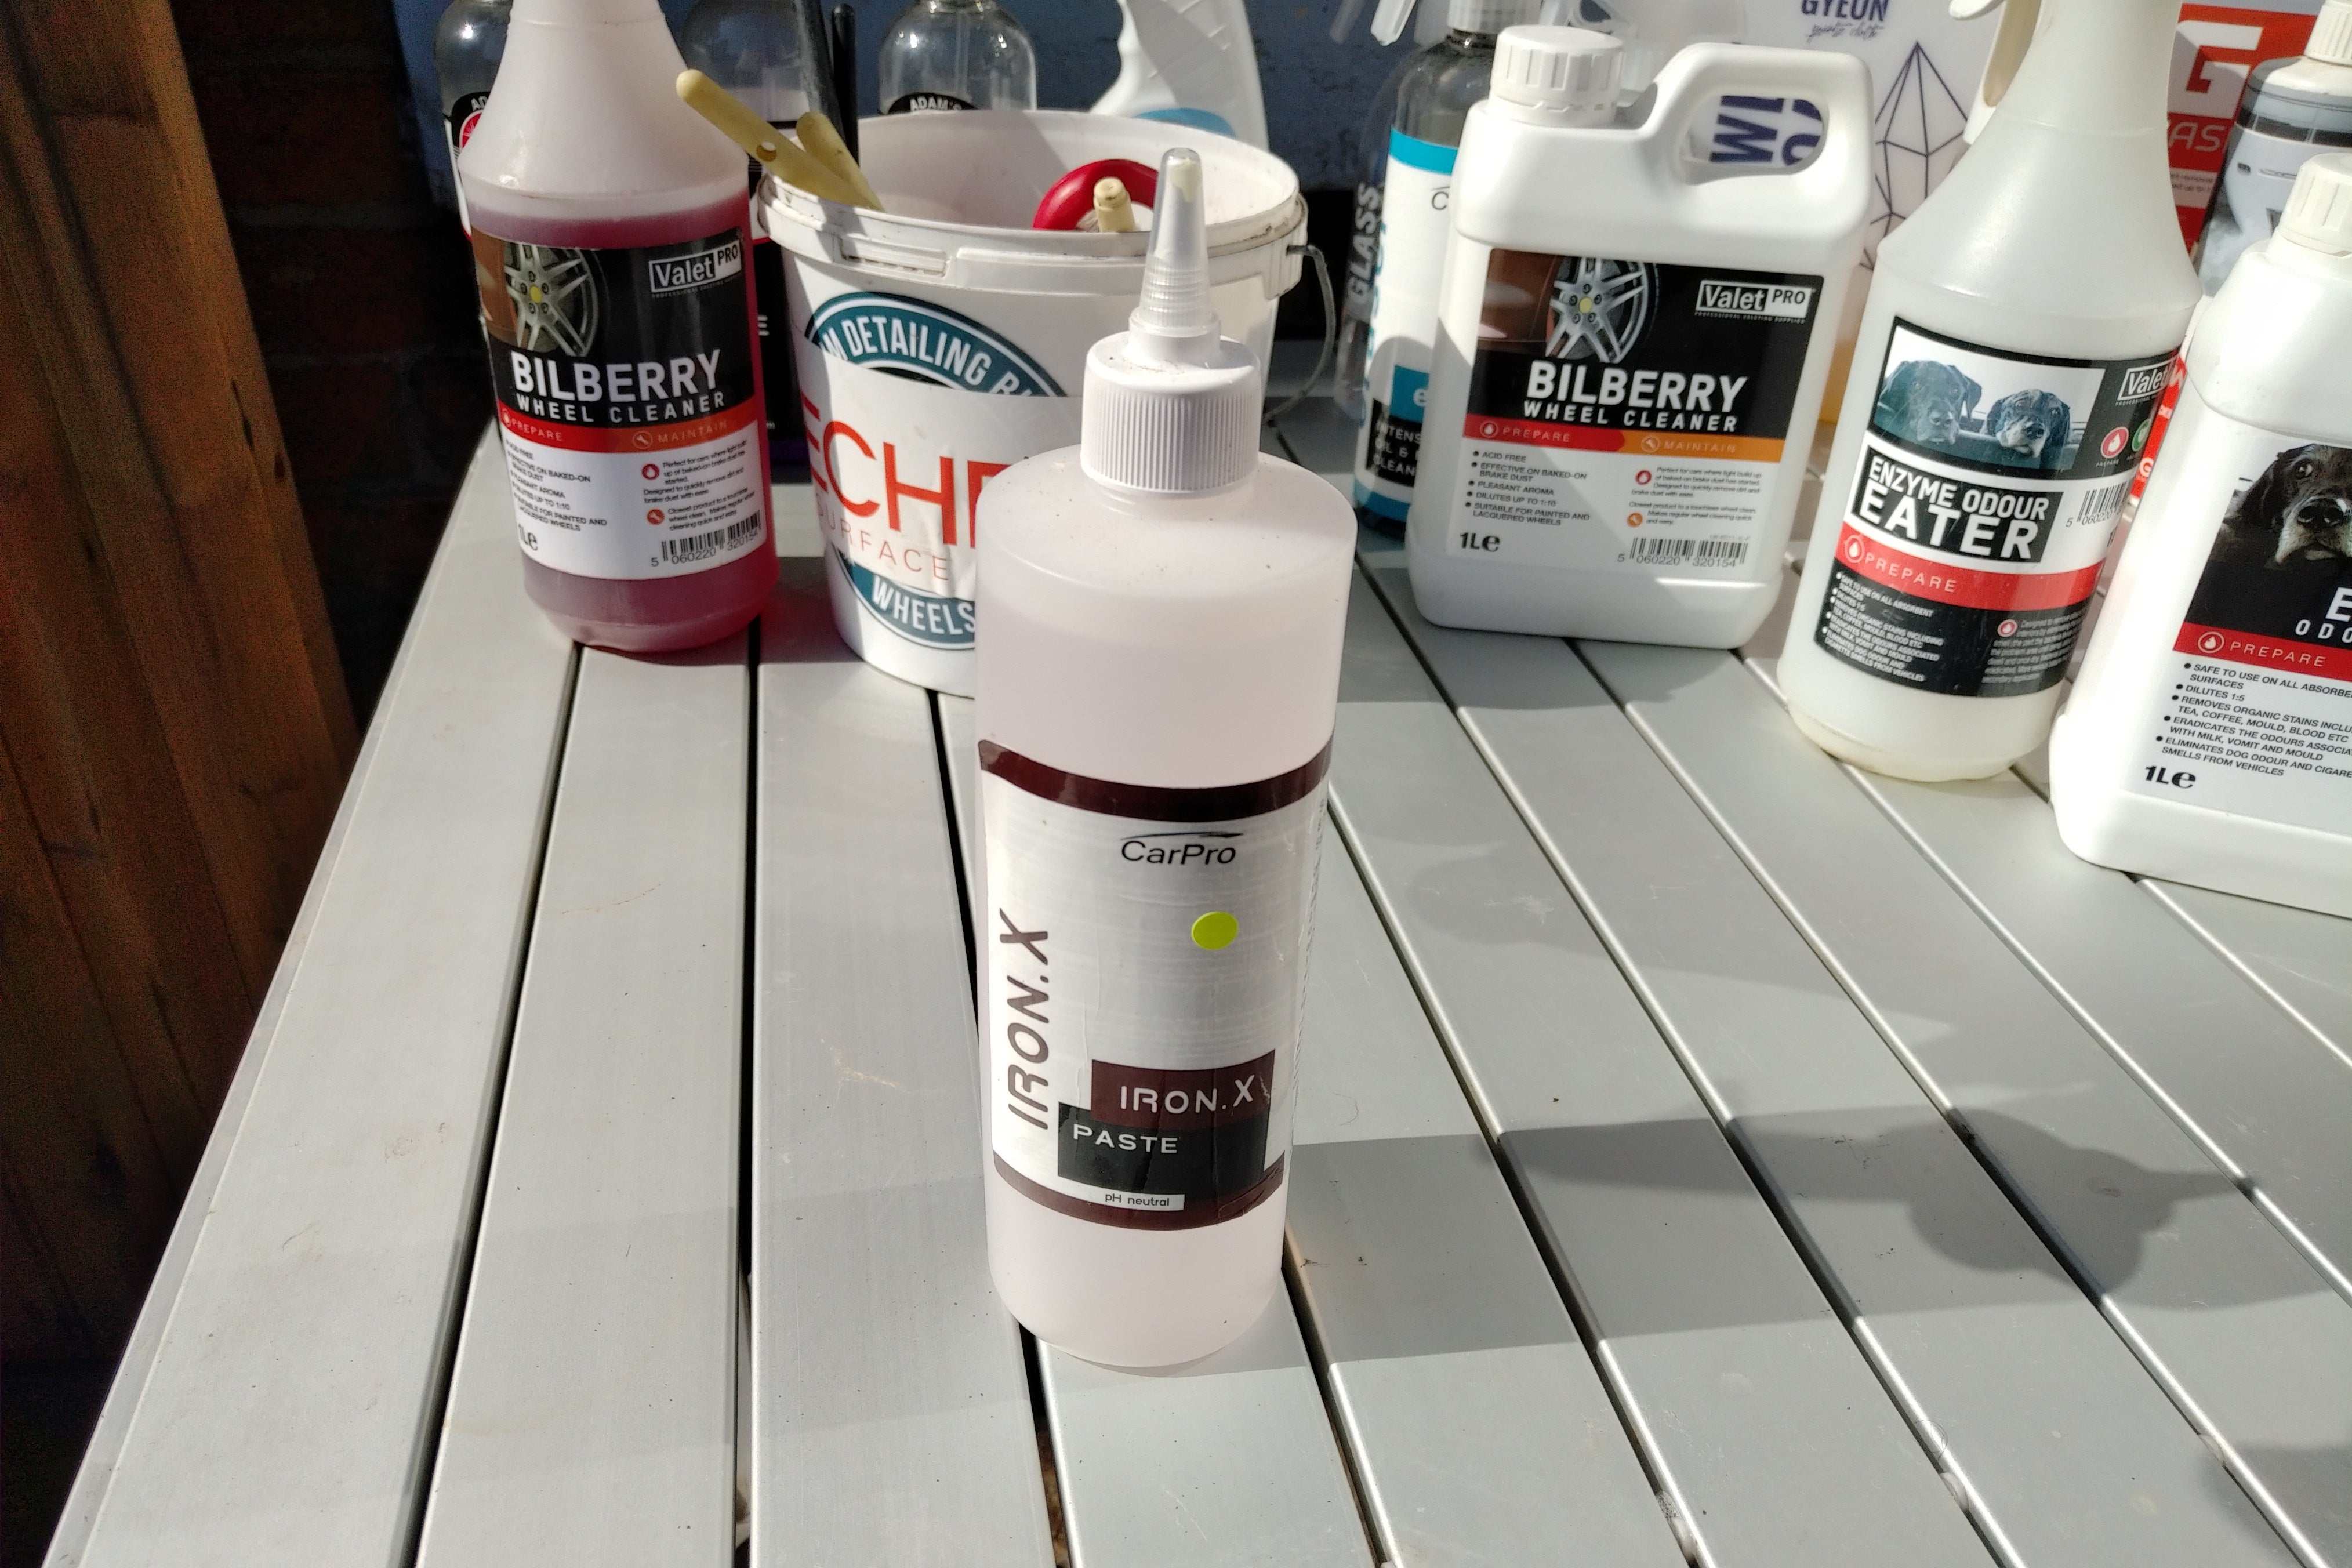
Start with a good tar remover such as AutoFinesse ObliTARate, spray onto the surface, one area at a time and allow to dwell (but not to dry, if it looks like itís drying, either remove existing sprayed area with a microfibre or spray a little more onto the surface, allow two minutes and wipe. repeat if necessary and continue to next area.
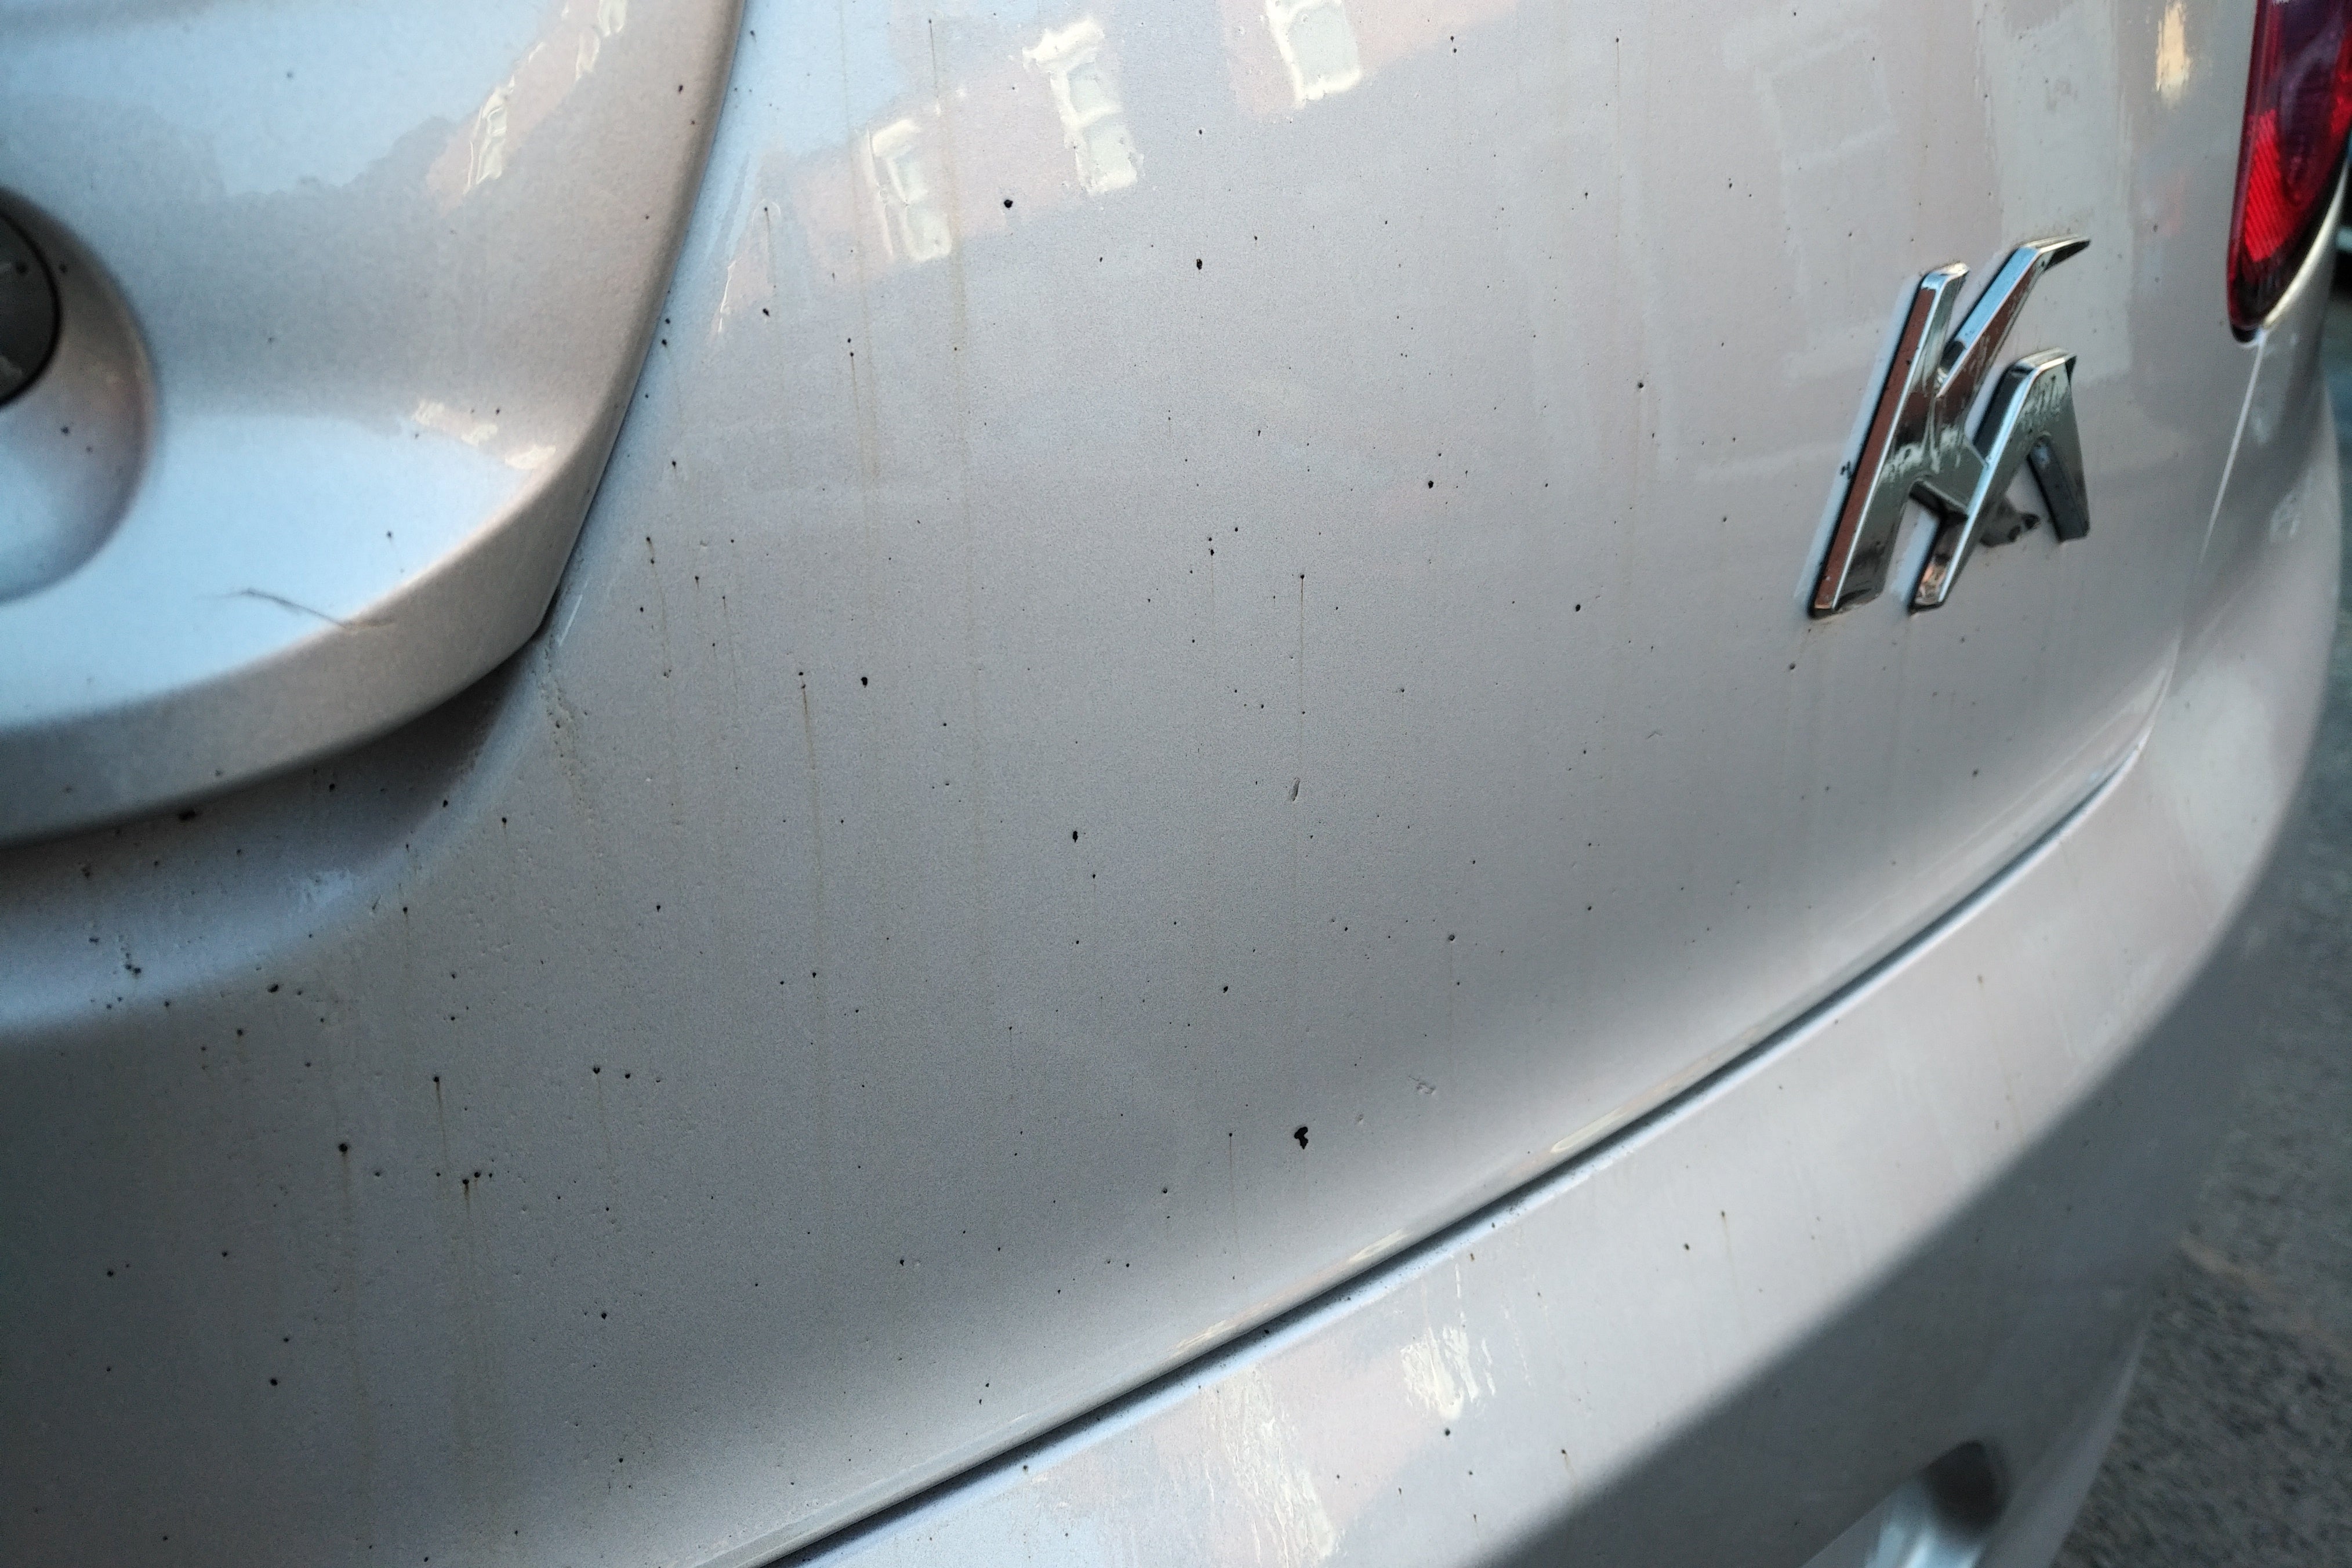
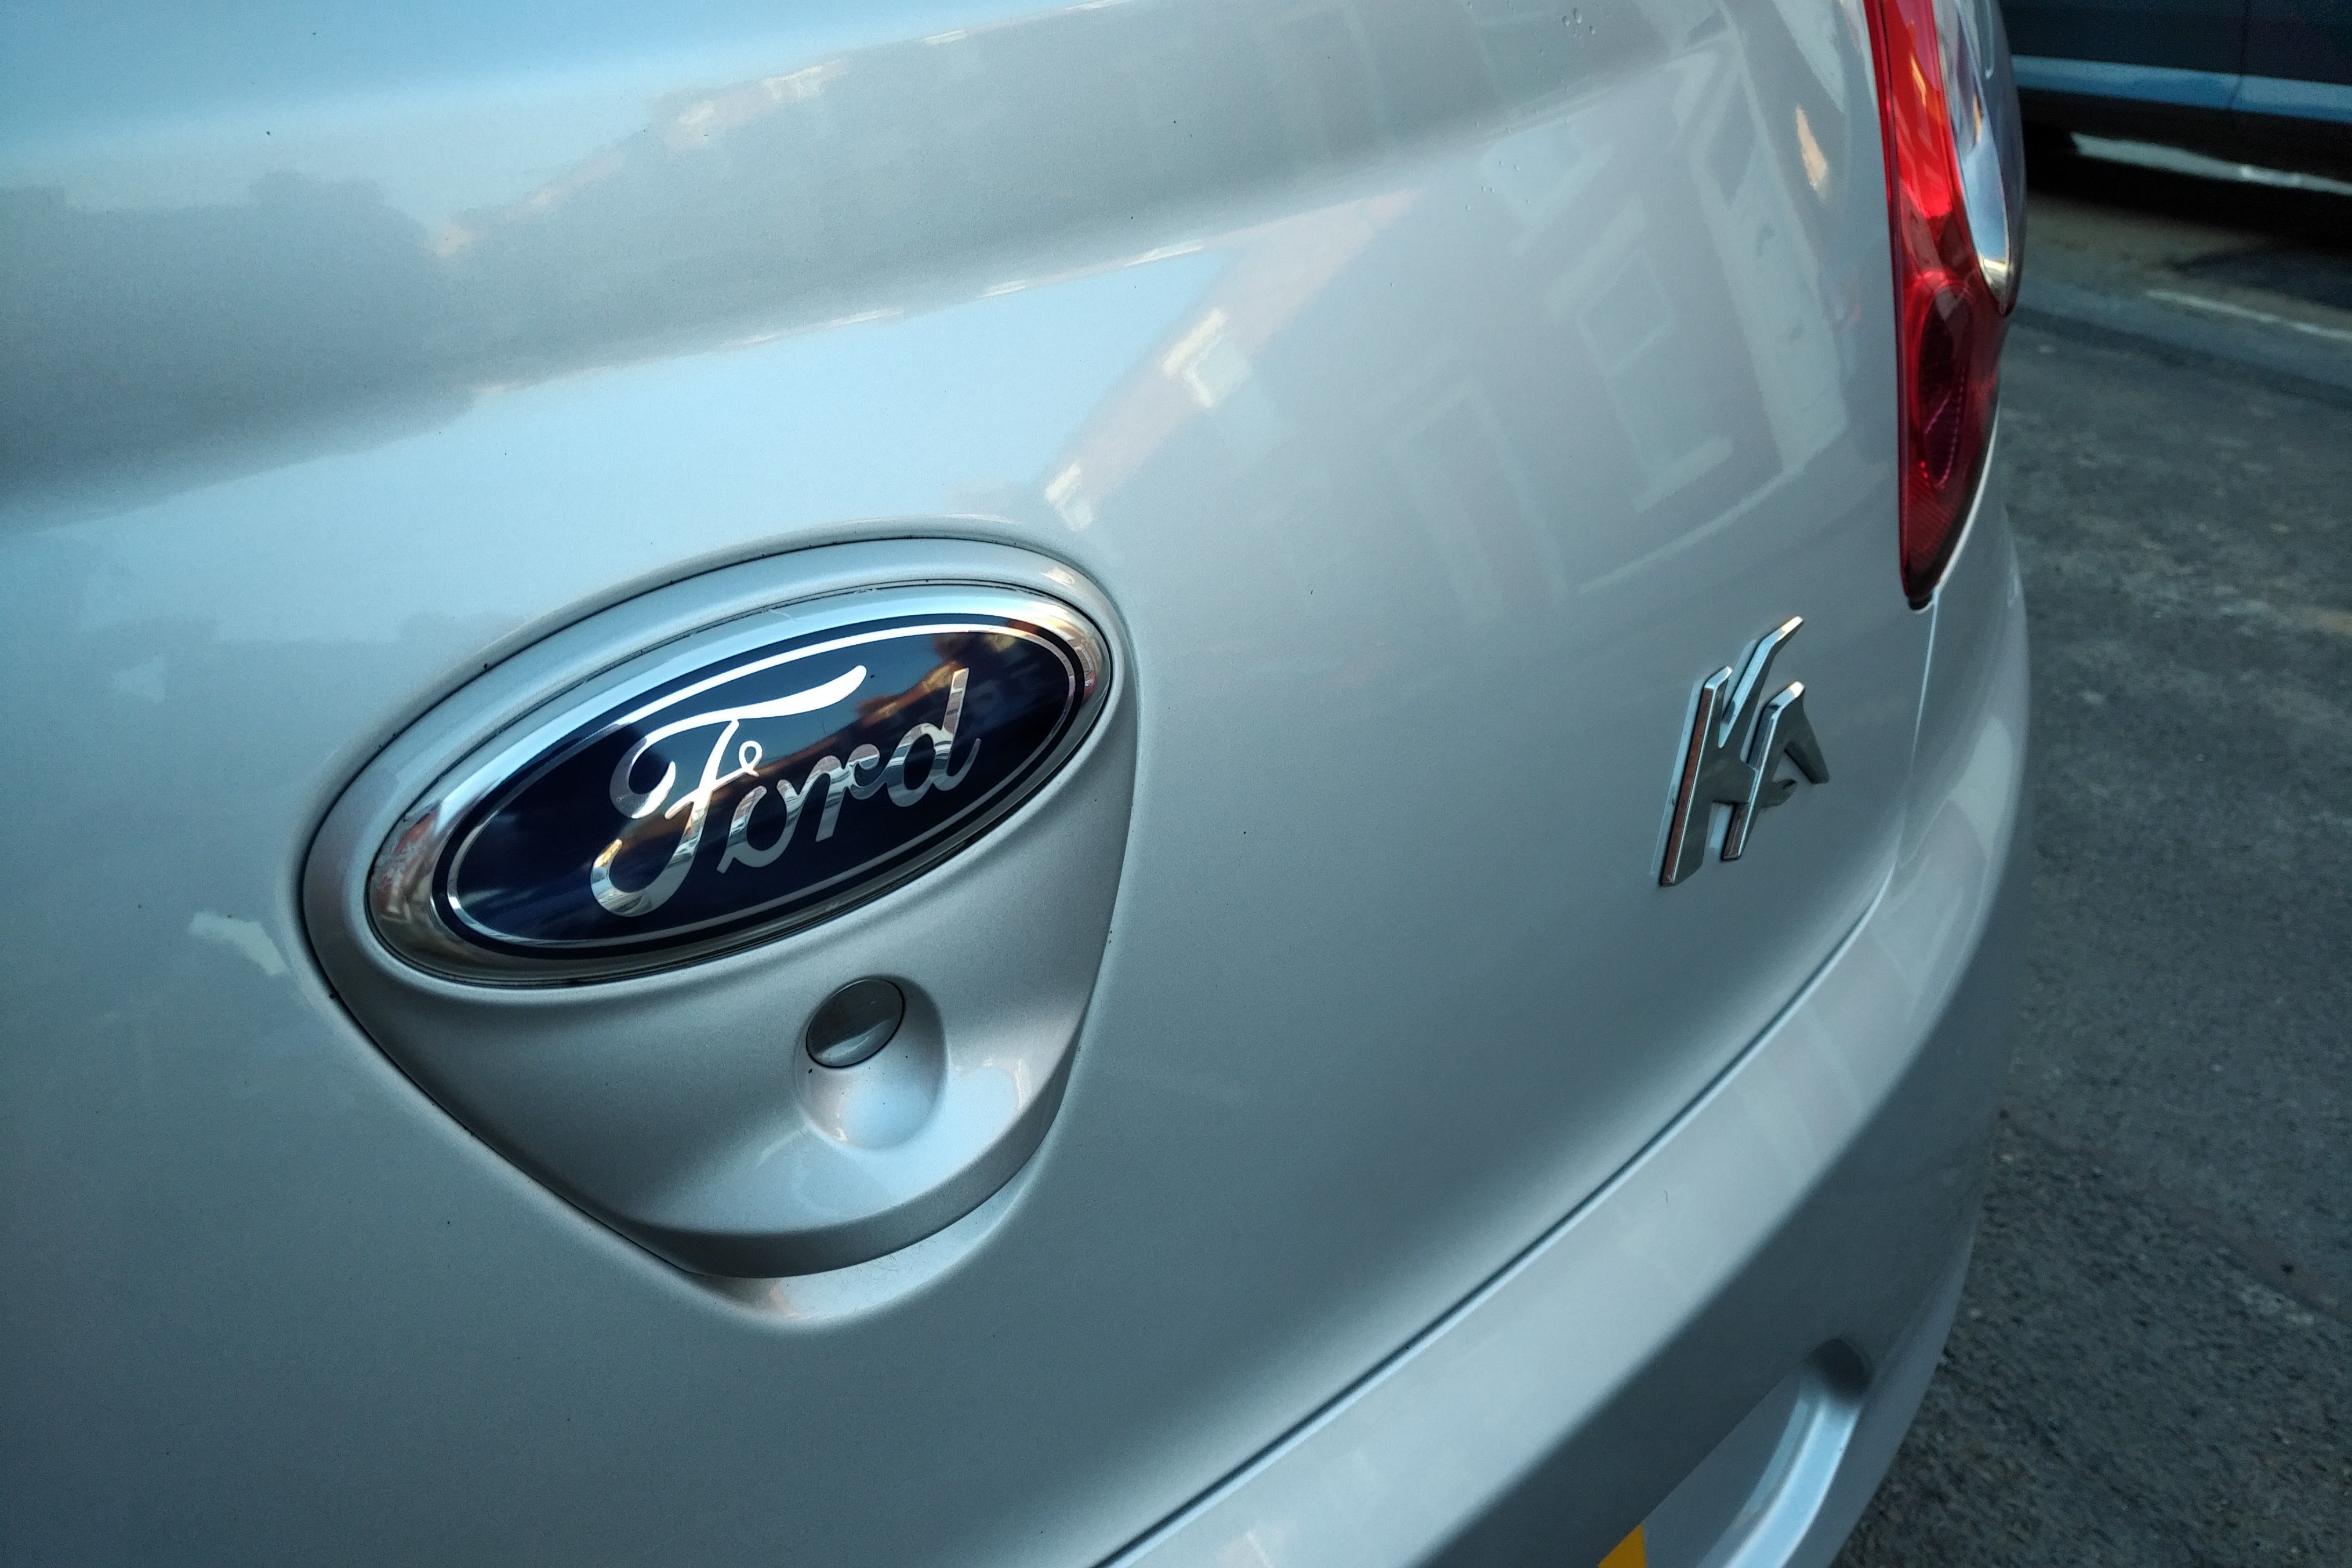
Once whole vehicle has been done. Do the same with your chosen fallout remover such as Bilt Hamber Korrosol or CarPro Iron-X.
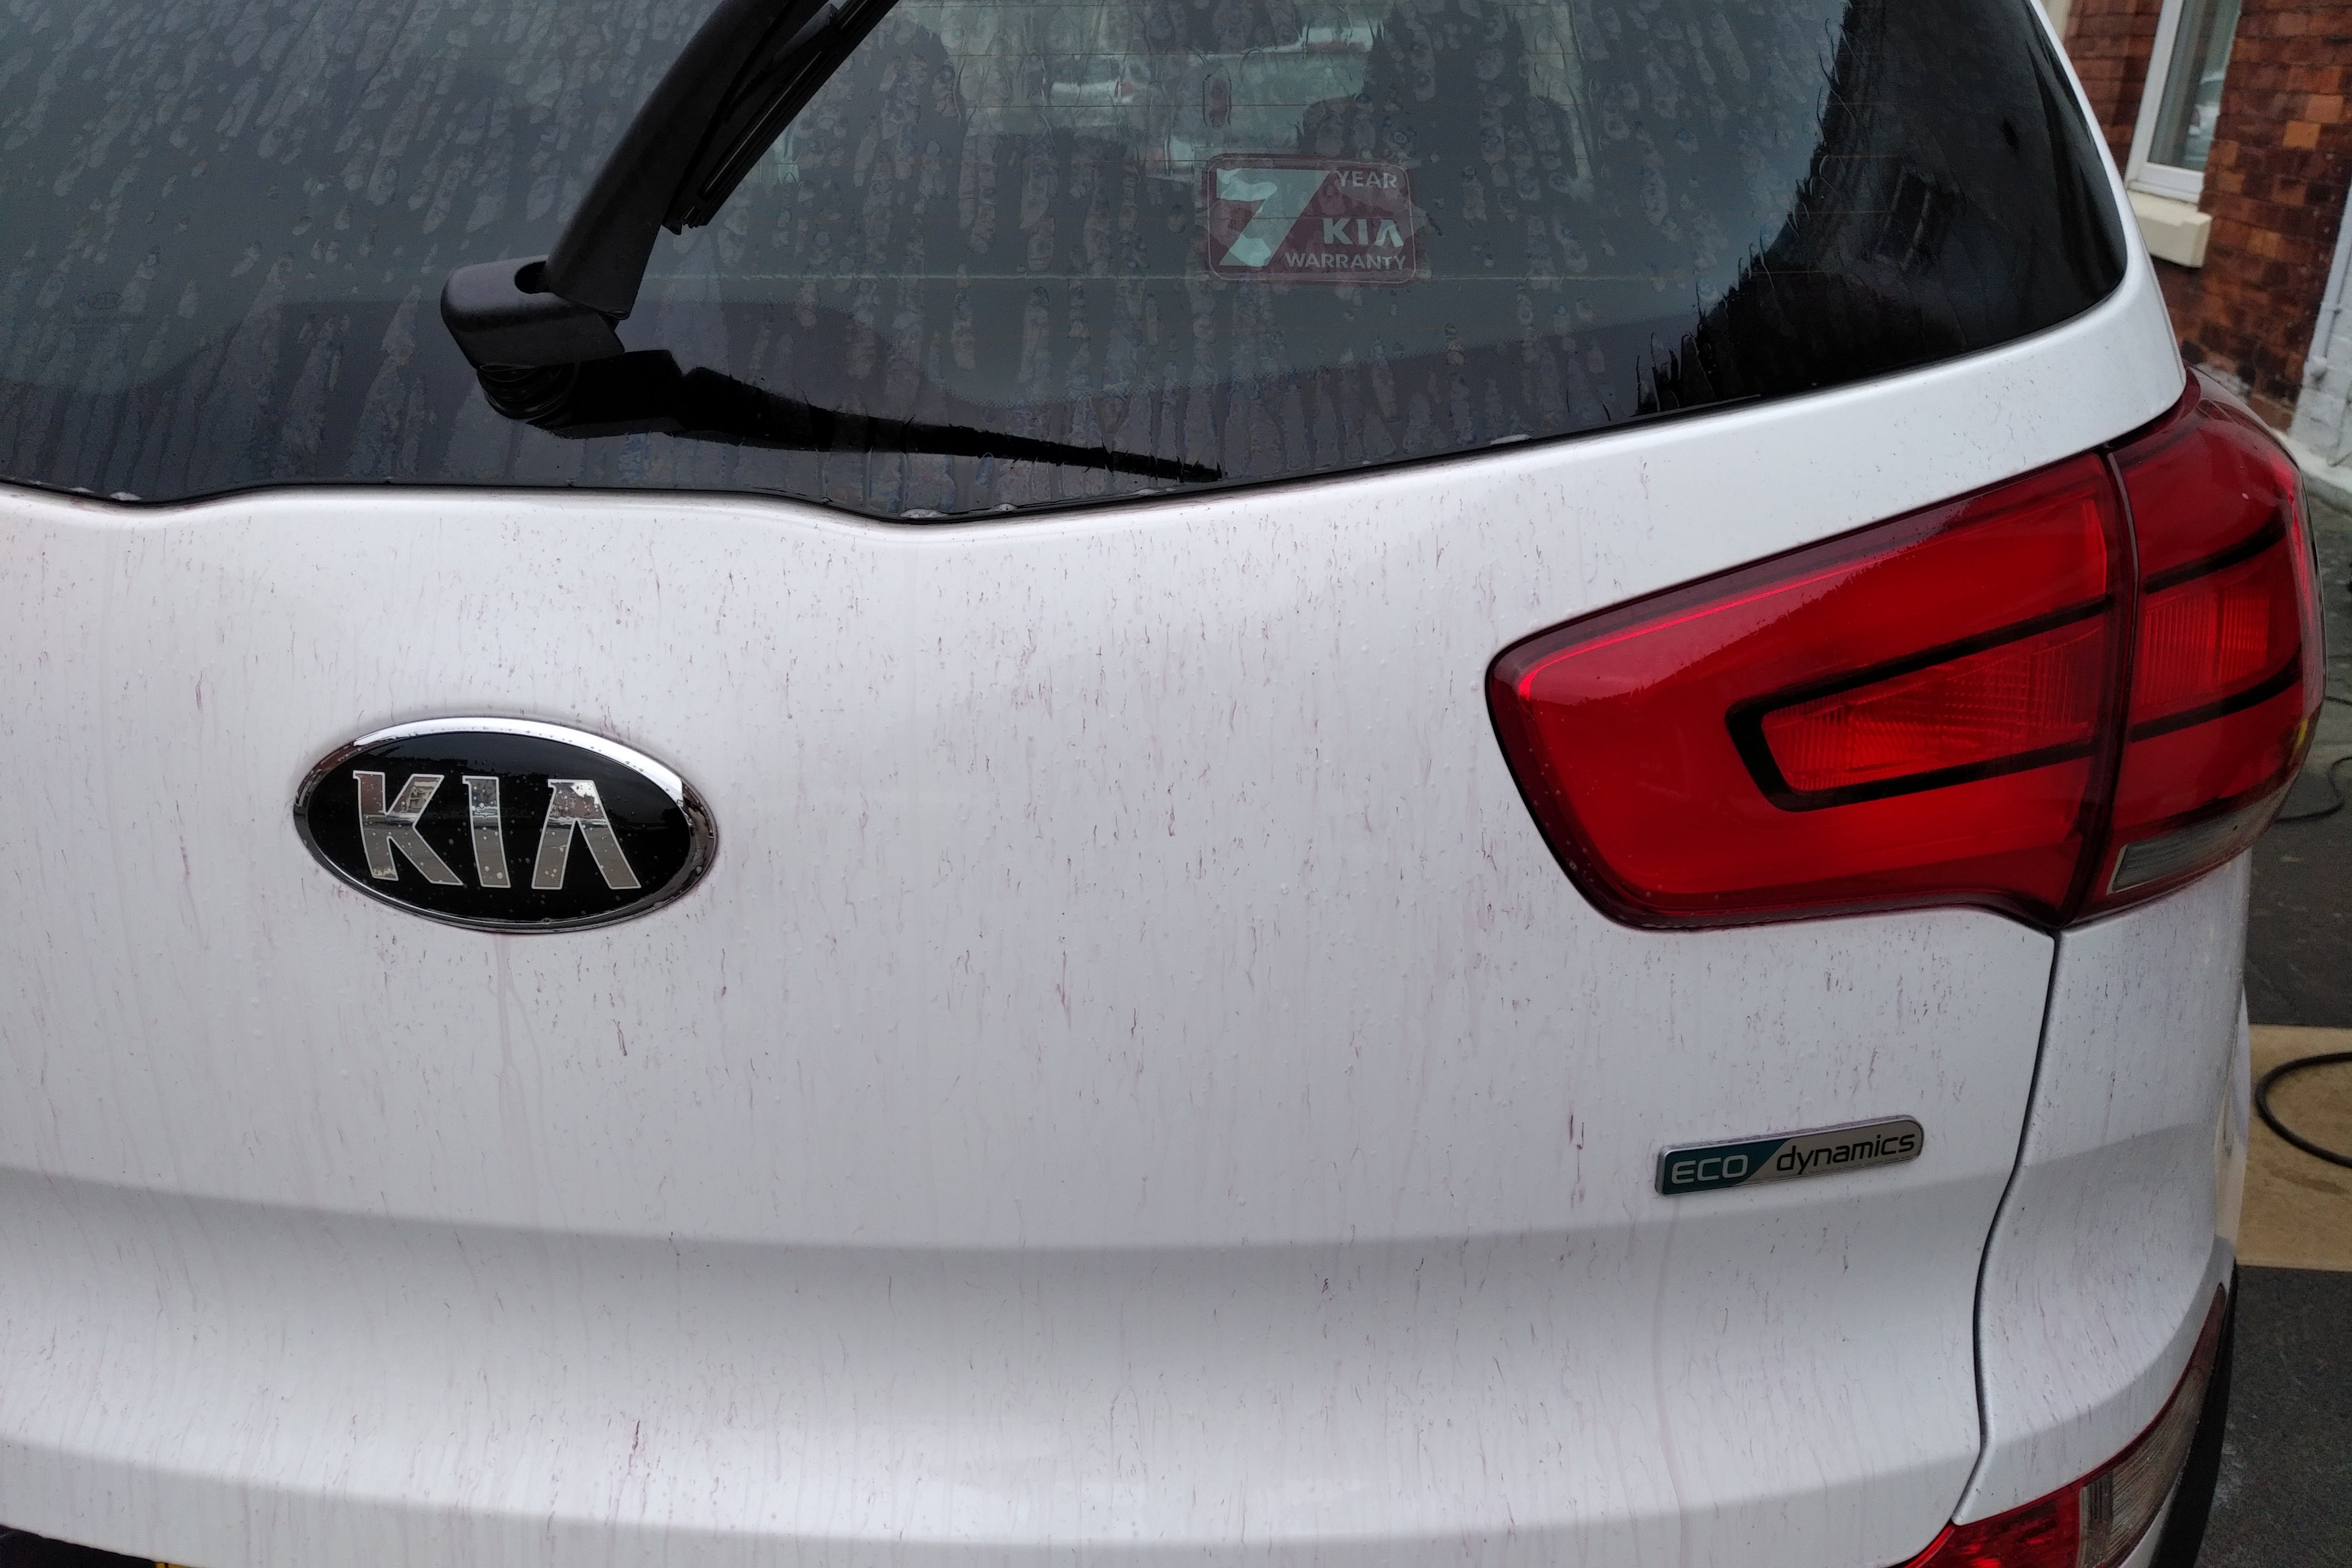
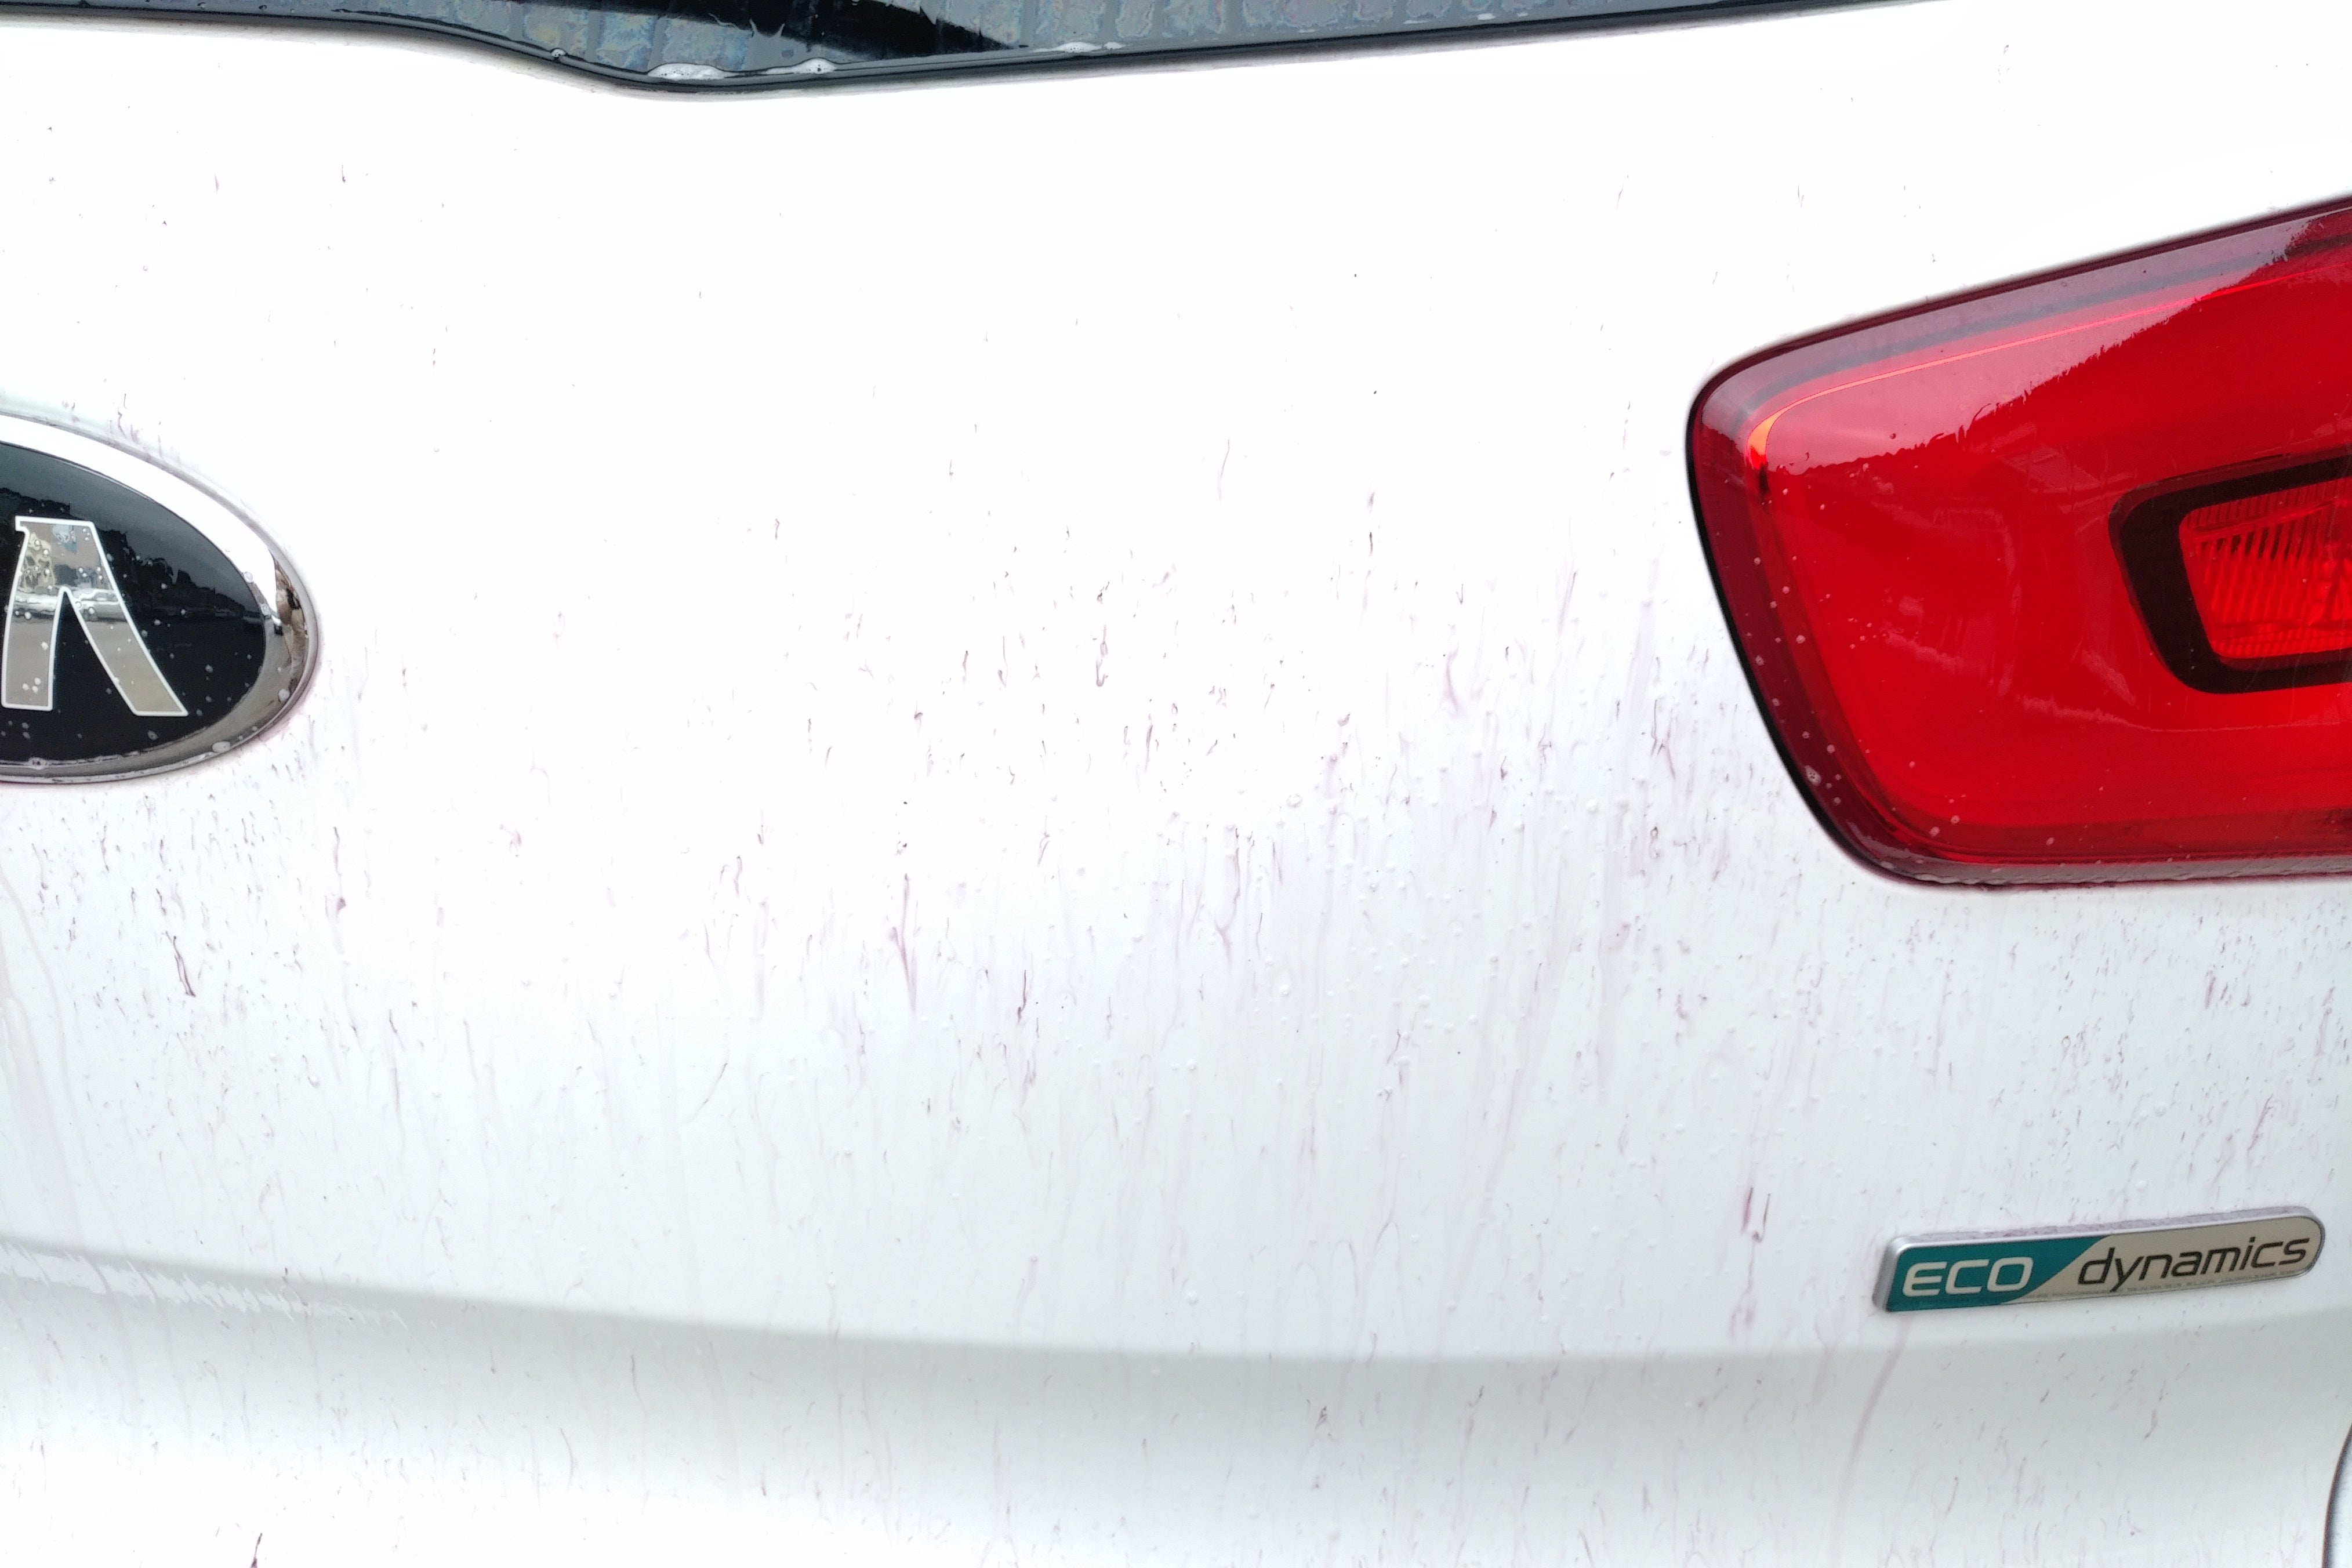
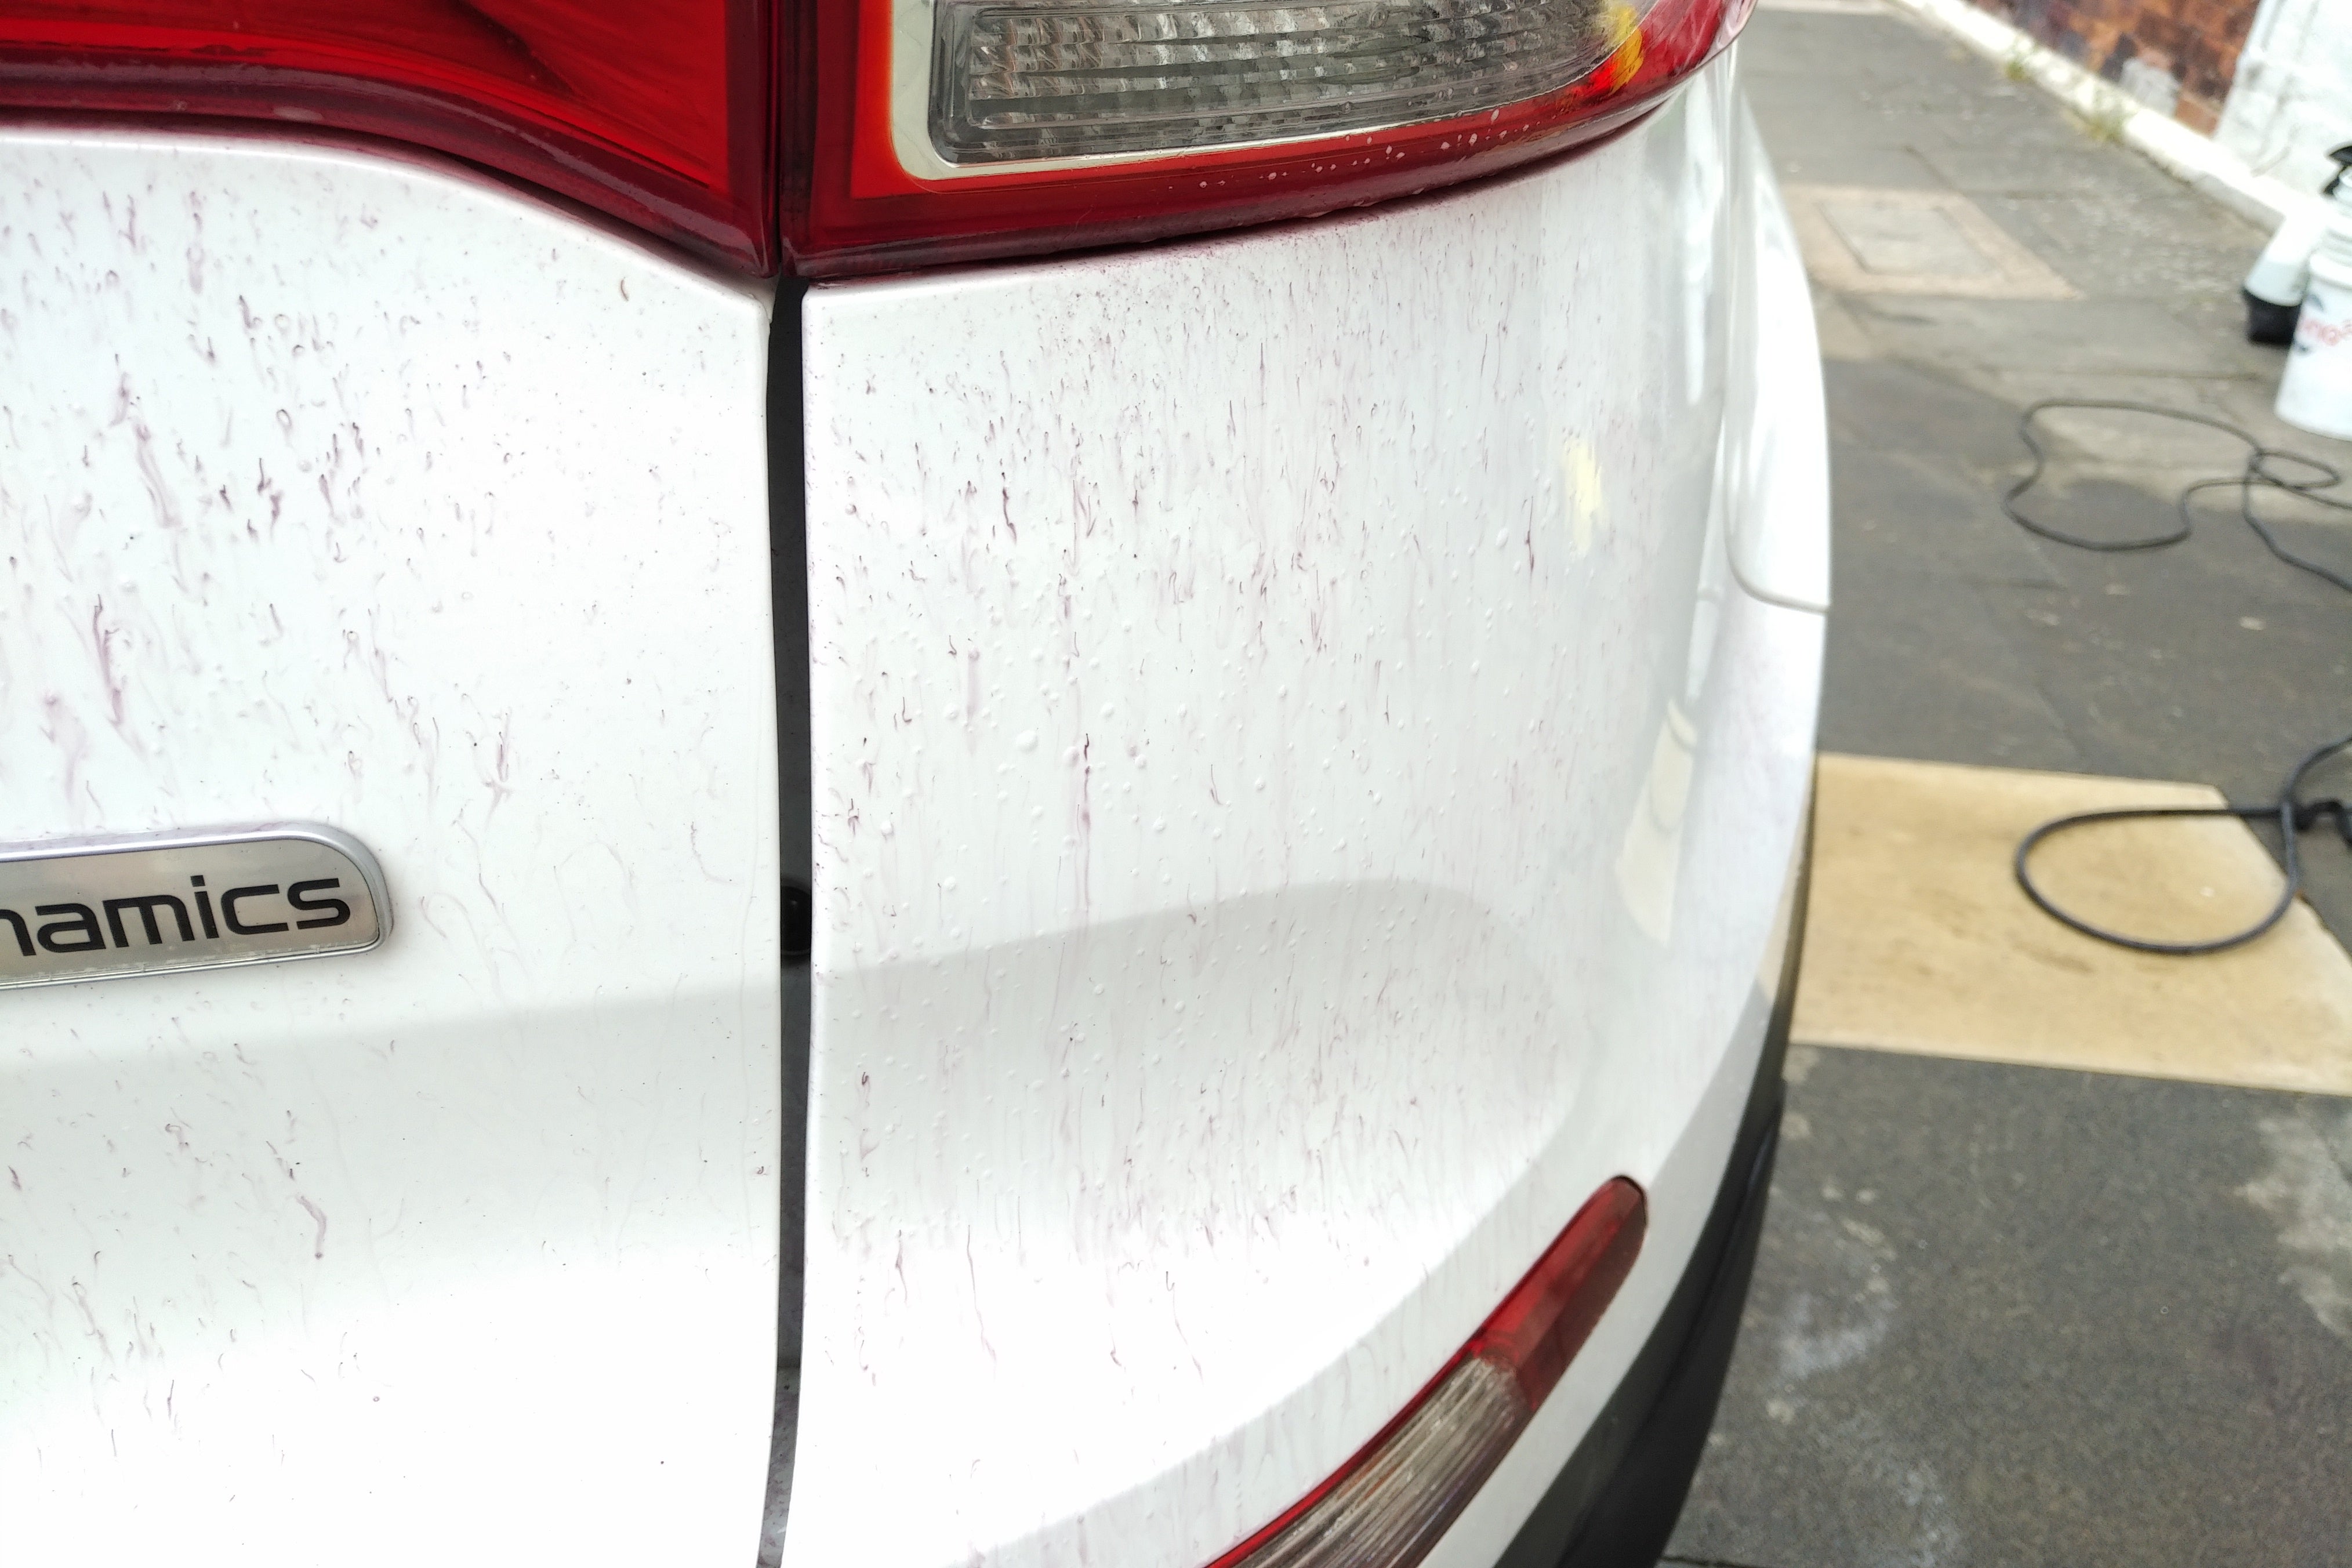
Once any and all cleaners have been removed (you can clay if you wish, I know a lot of Americans use clay often), rewash the vehicle and rinse off.
Hereís where things can differ depending on your requirements.
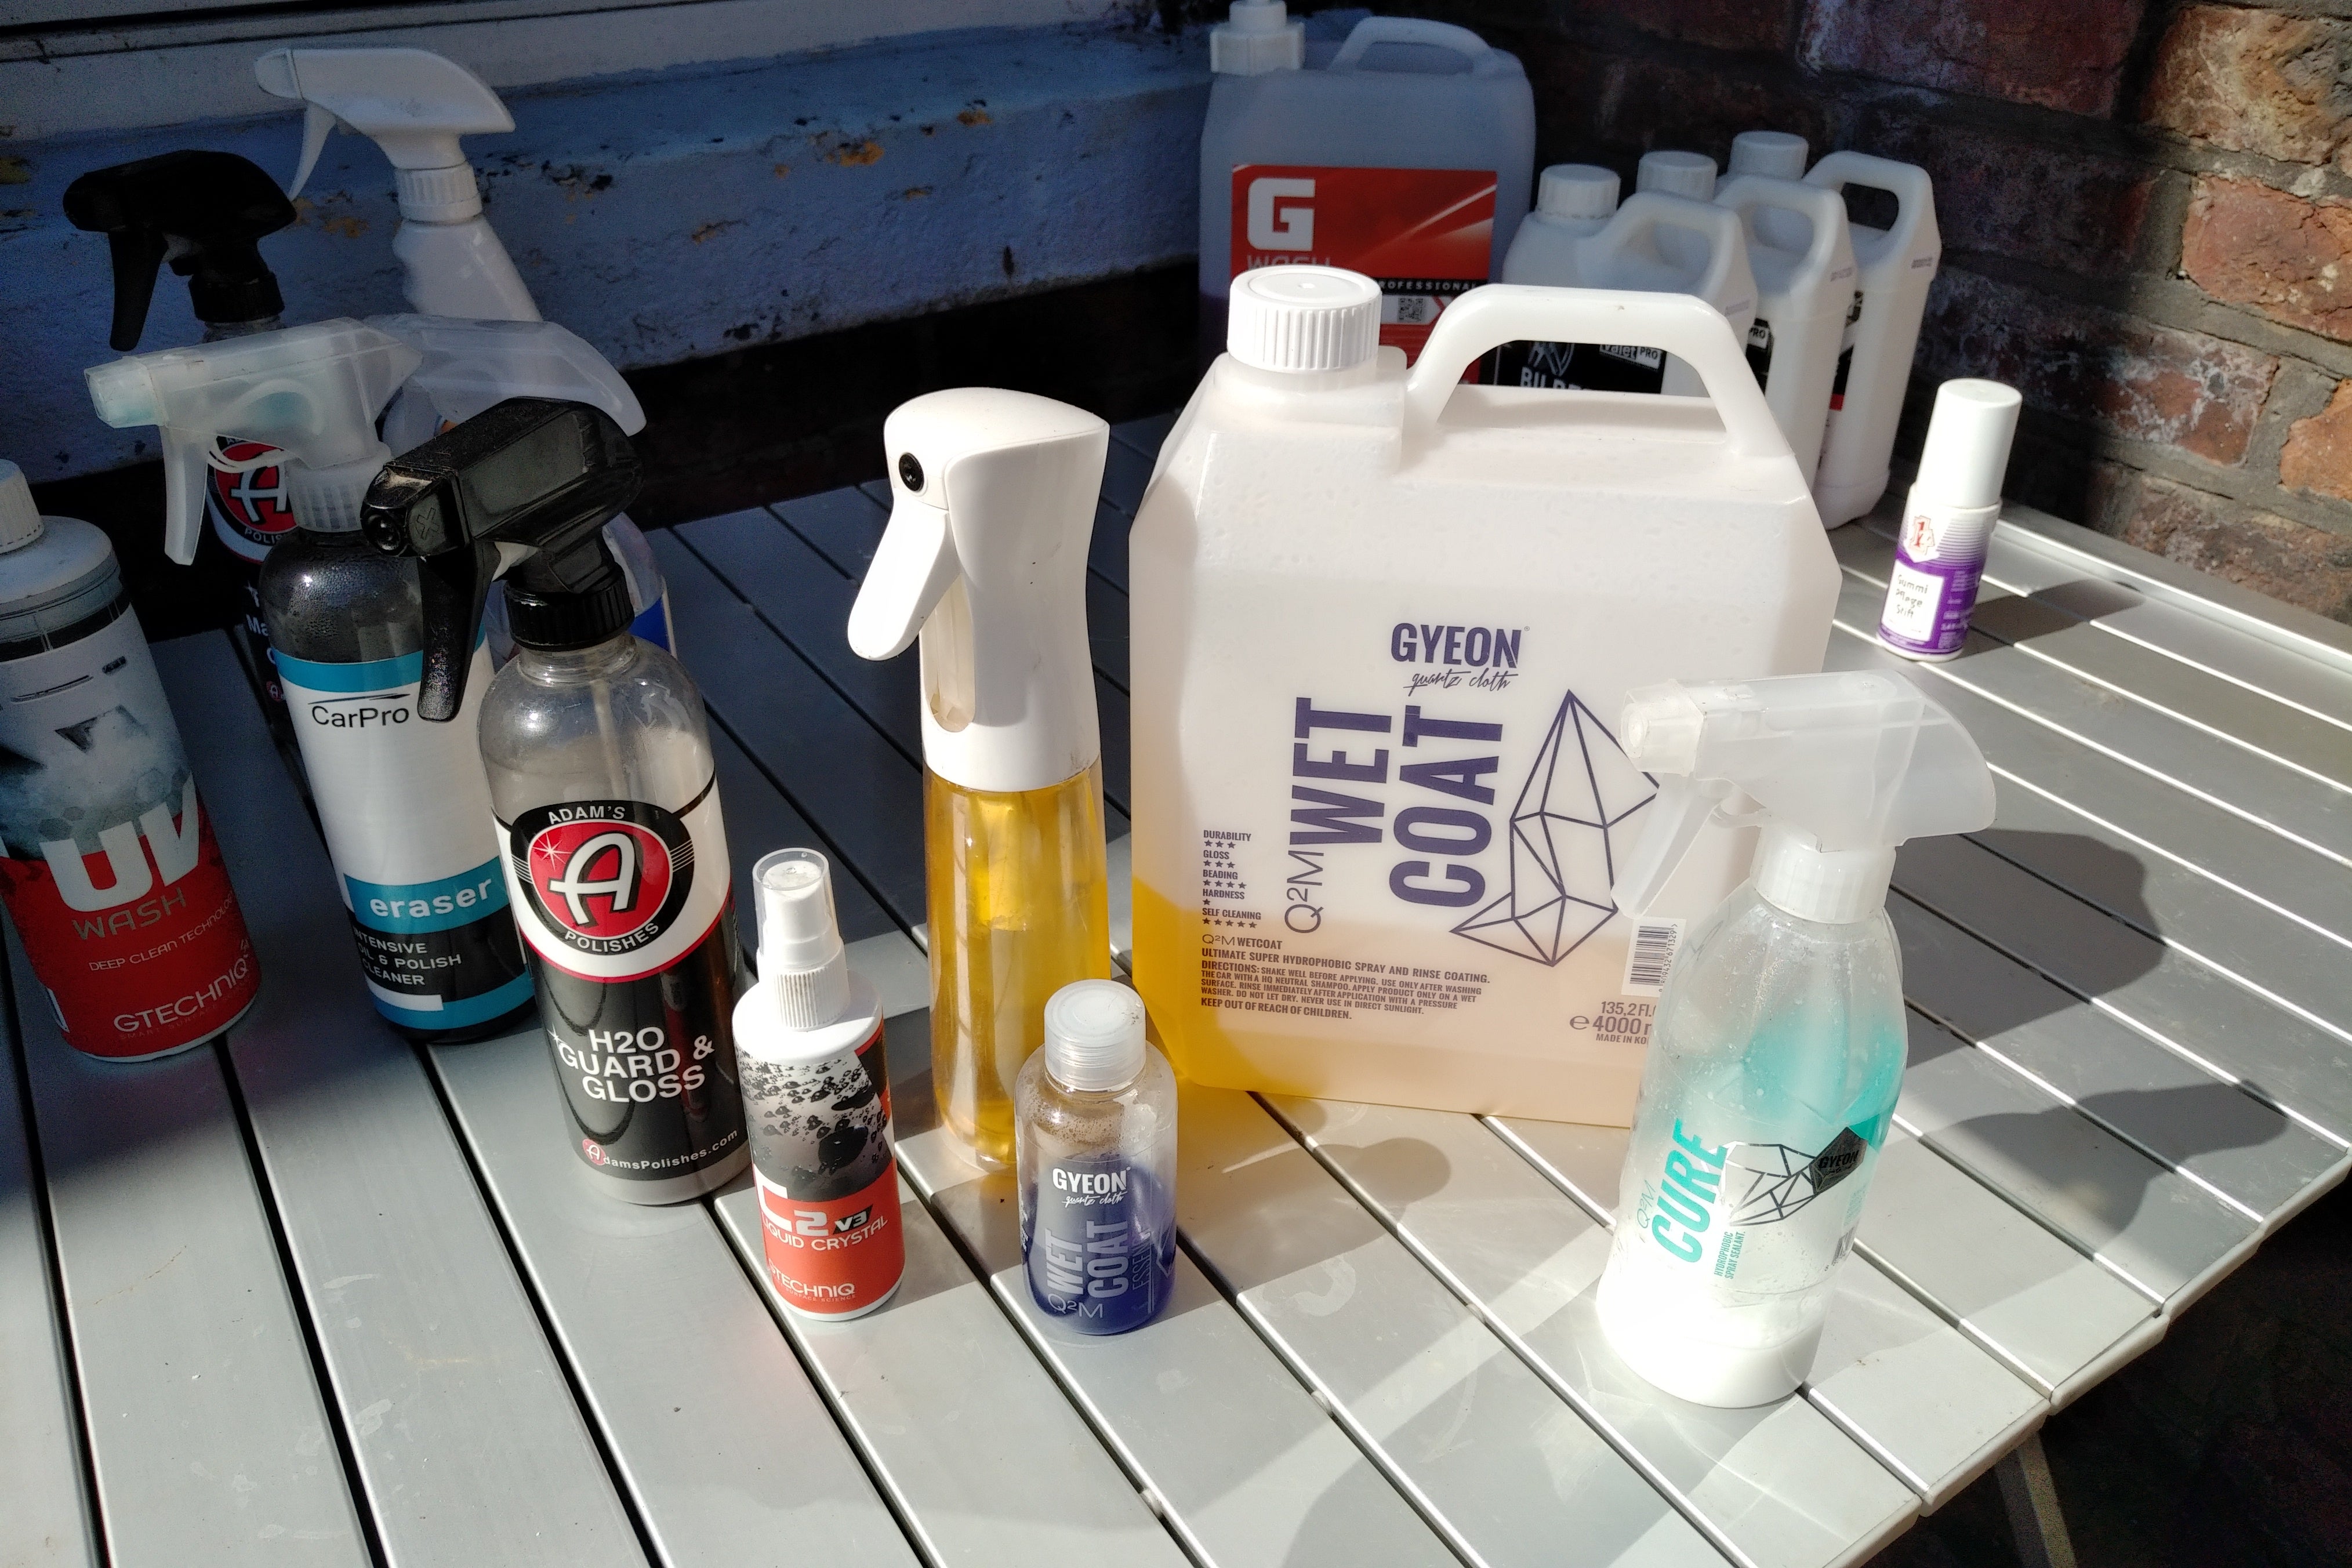
From left to right Adamís H2O Gloss & Guard, Gtechniq C2v3, Gyeon Wetcoat, Gyeon Wetcoat concentrate and Gyeon Cure.
You can dry using the towel, you can dry using a drying aid, you can apply a wet application sealant and then dry.
For drying using a towel see, Ď*1', for-
Adamís H2O Gloss & Guard. this is a wet or dry car applied product and using a damp cloth and buffing with a dry cloth.
Gtechniq C2v3 again can be applied to a wet or dry car, applied to a wet car is merely a drying aid and a top up to existing protection.
Gyeon Wetcoat. Is a wet applied sealant. It using the pressurised water from the pressure washer to activate the sealant.
Gyeon Cure, like Gtechniq C2v3 can be applied to a wet car as a drying aid or a dry car and a standalone sealant.
Polishing is a vast and broad subject. Except for me. Lol.
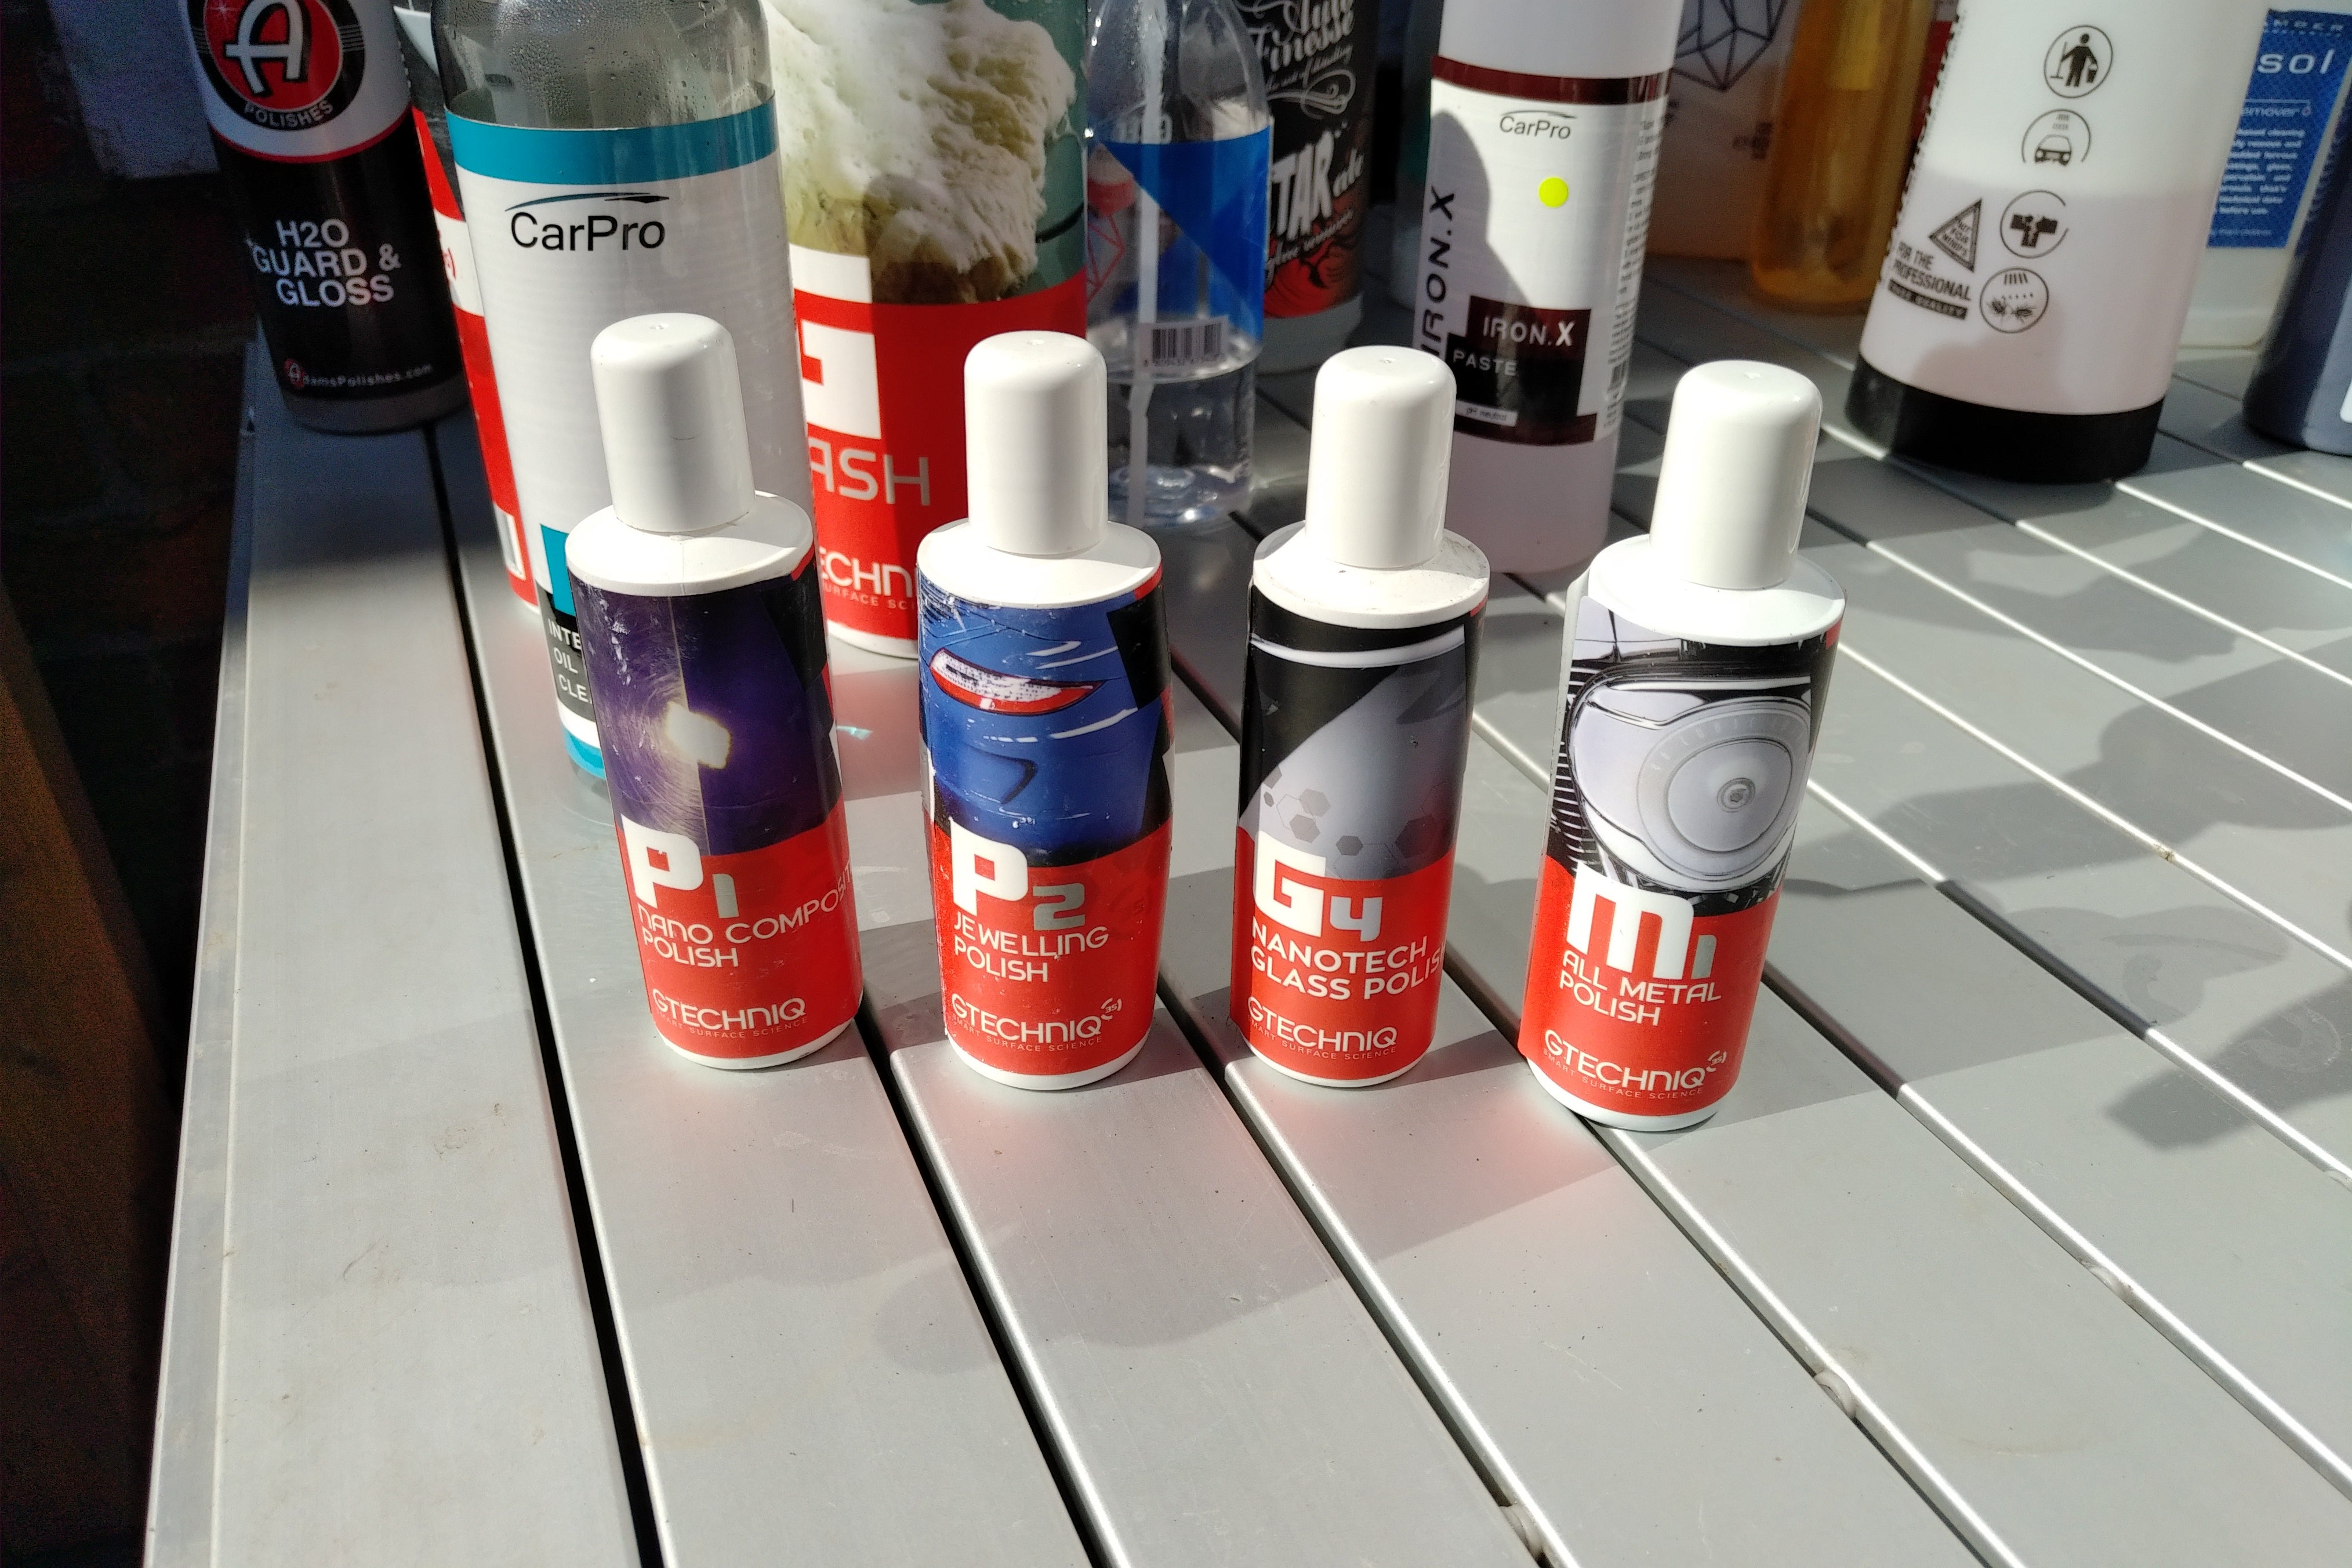
I use Gtechniq P1, which is a water based pad dependant non diminished polish.
Use a soft foam pad for light polishing,
use a firm foam pad for a heavier cut polishing,
use a wool pad for compound cutting.
P2 isnít necessary really as itís such a mild polish.
G4 is a glass polish for use in deep cleaning glass and preparing the glass surface for coating.
M1 is a metal polish that cuts well but the abrasives are so fine they donít leave any scratches that would require refining.
Interior cleaning.
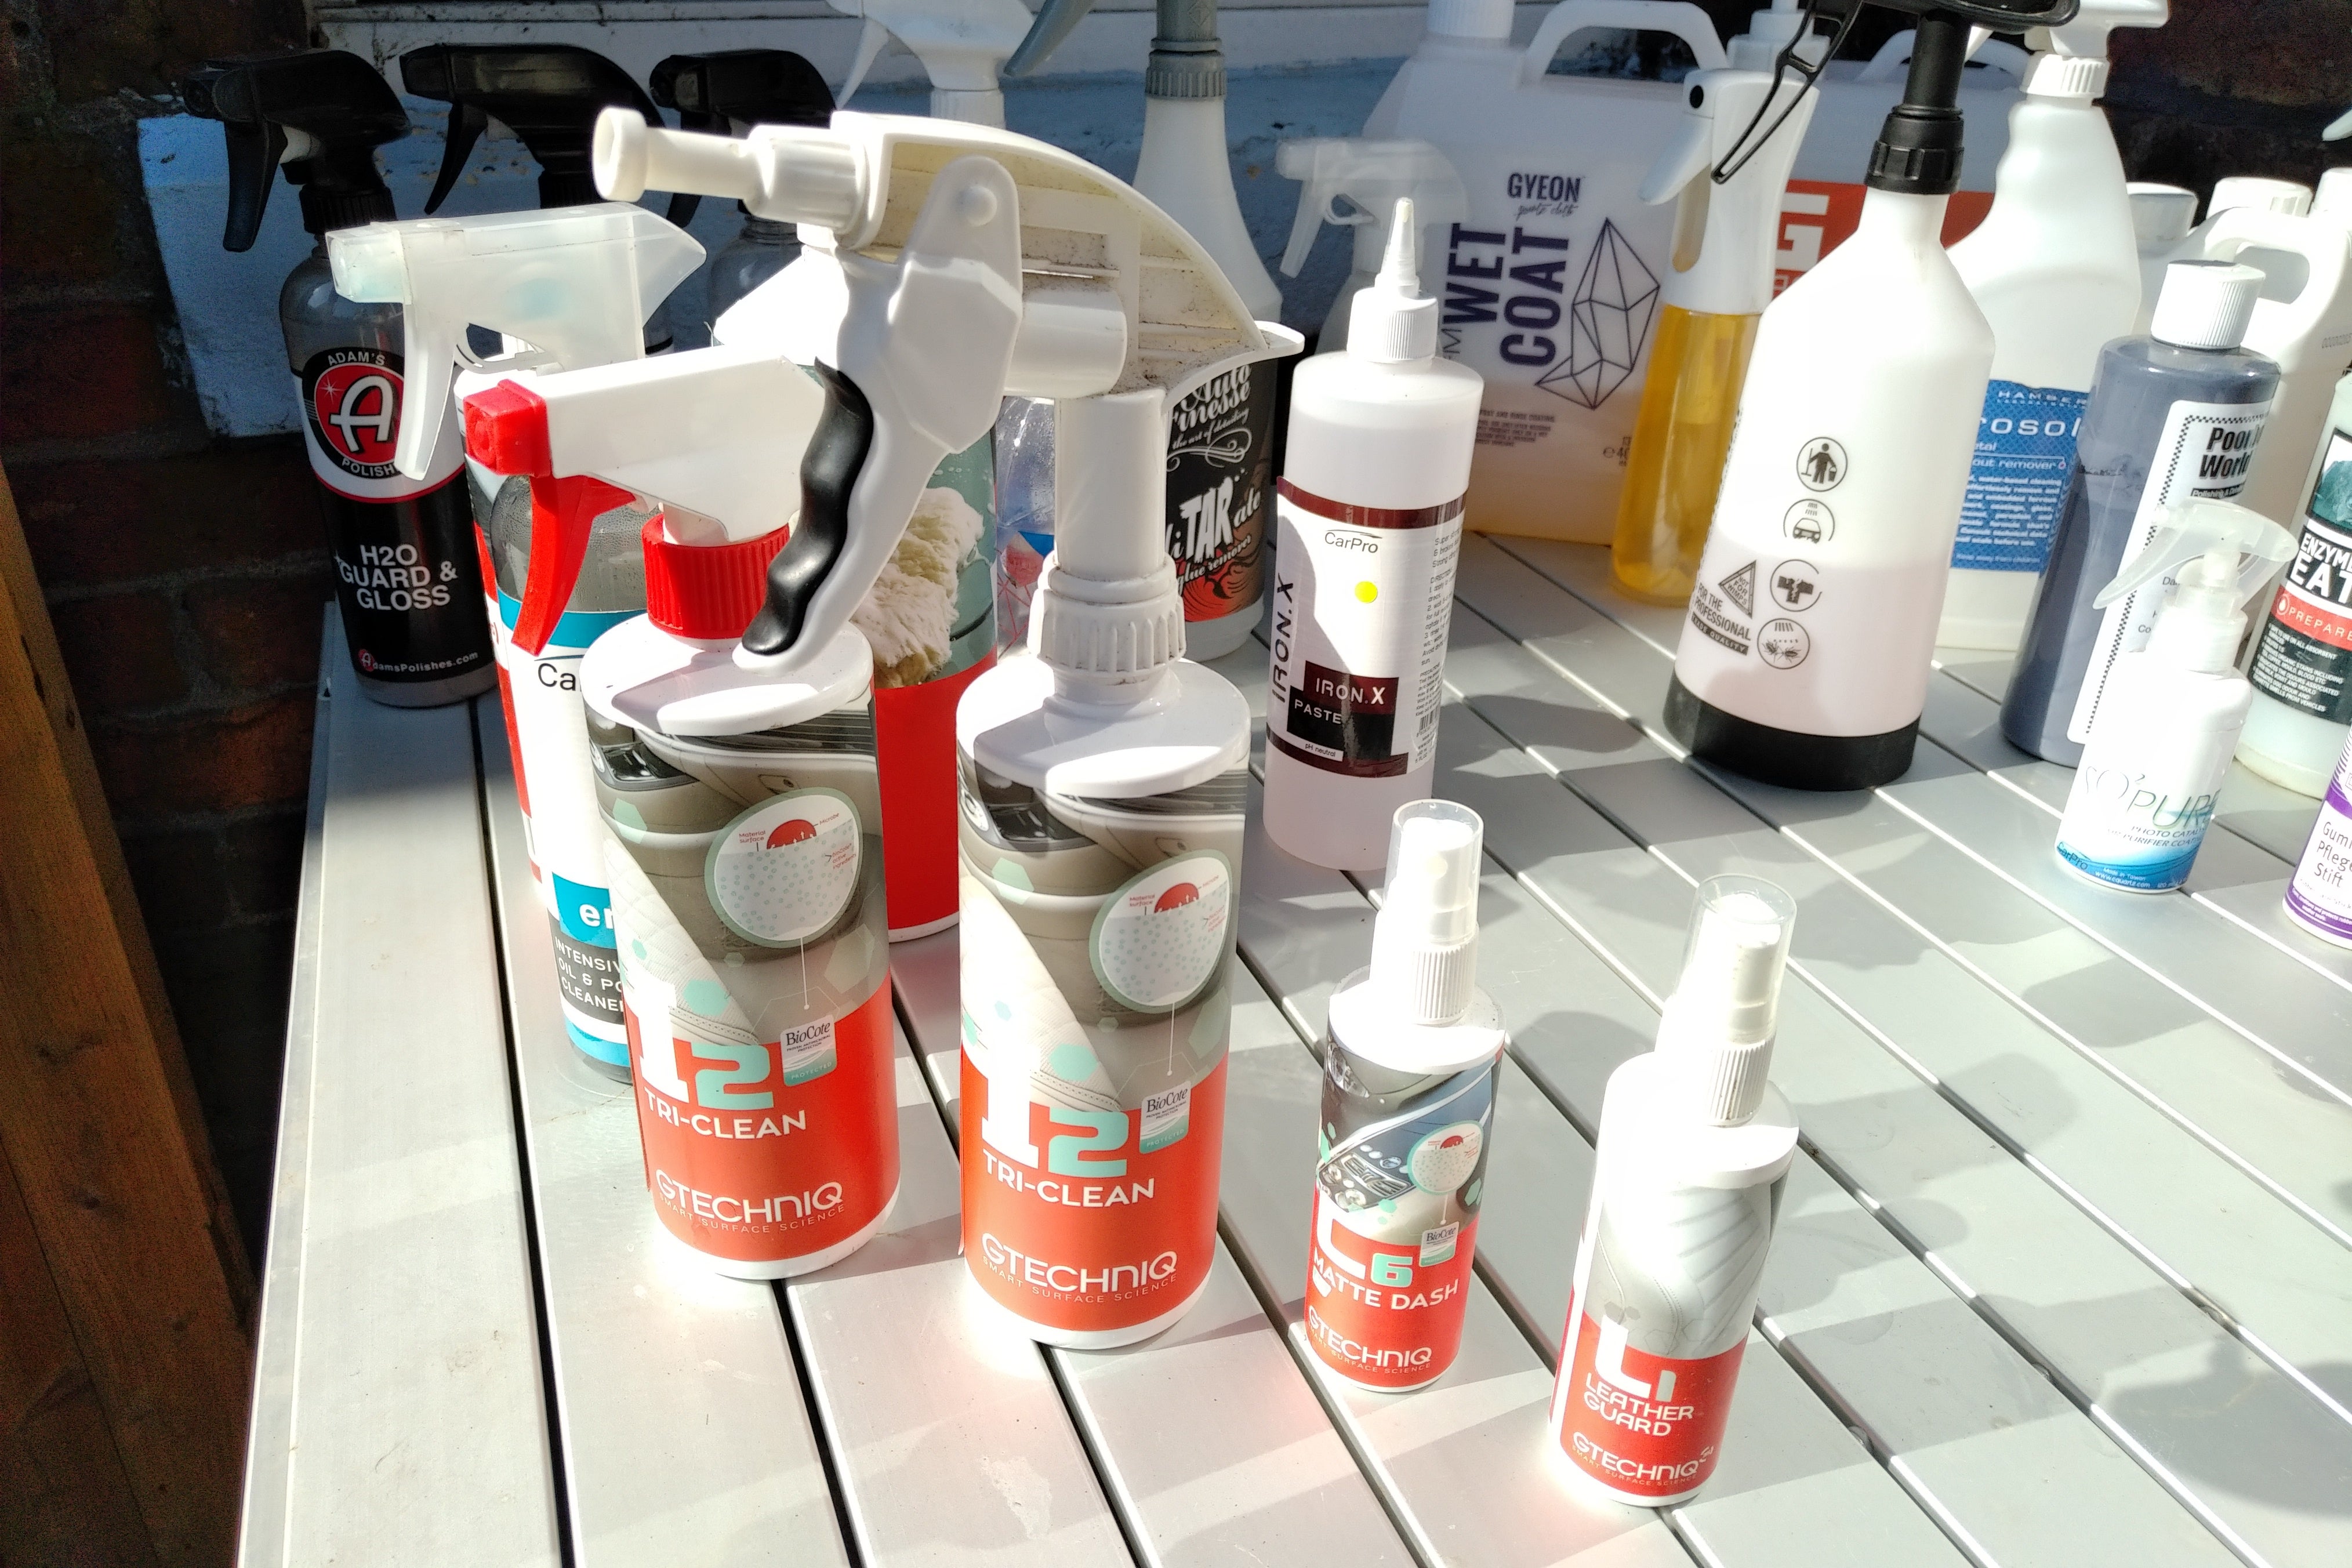
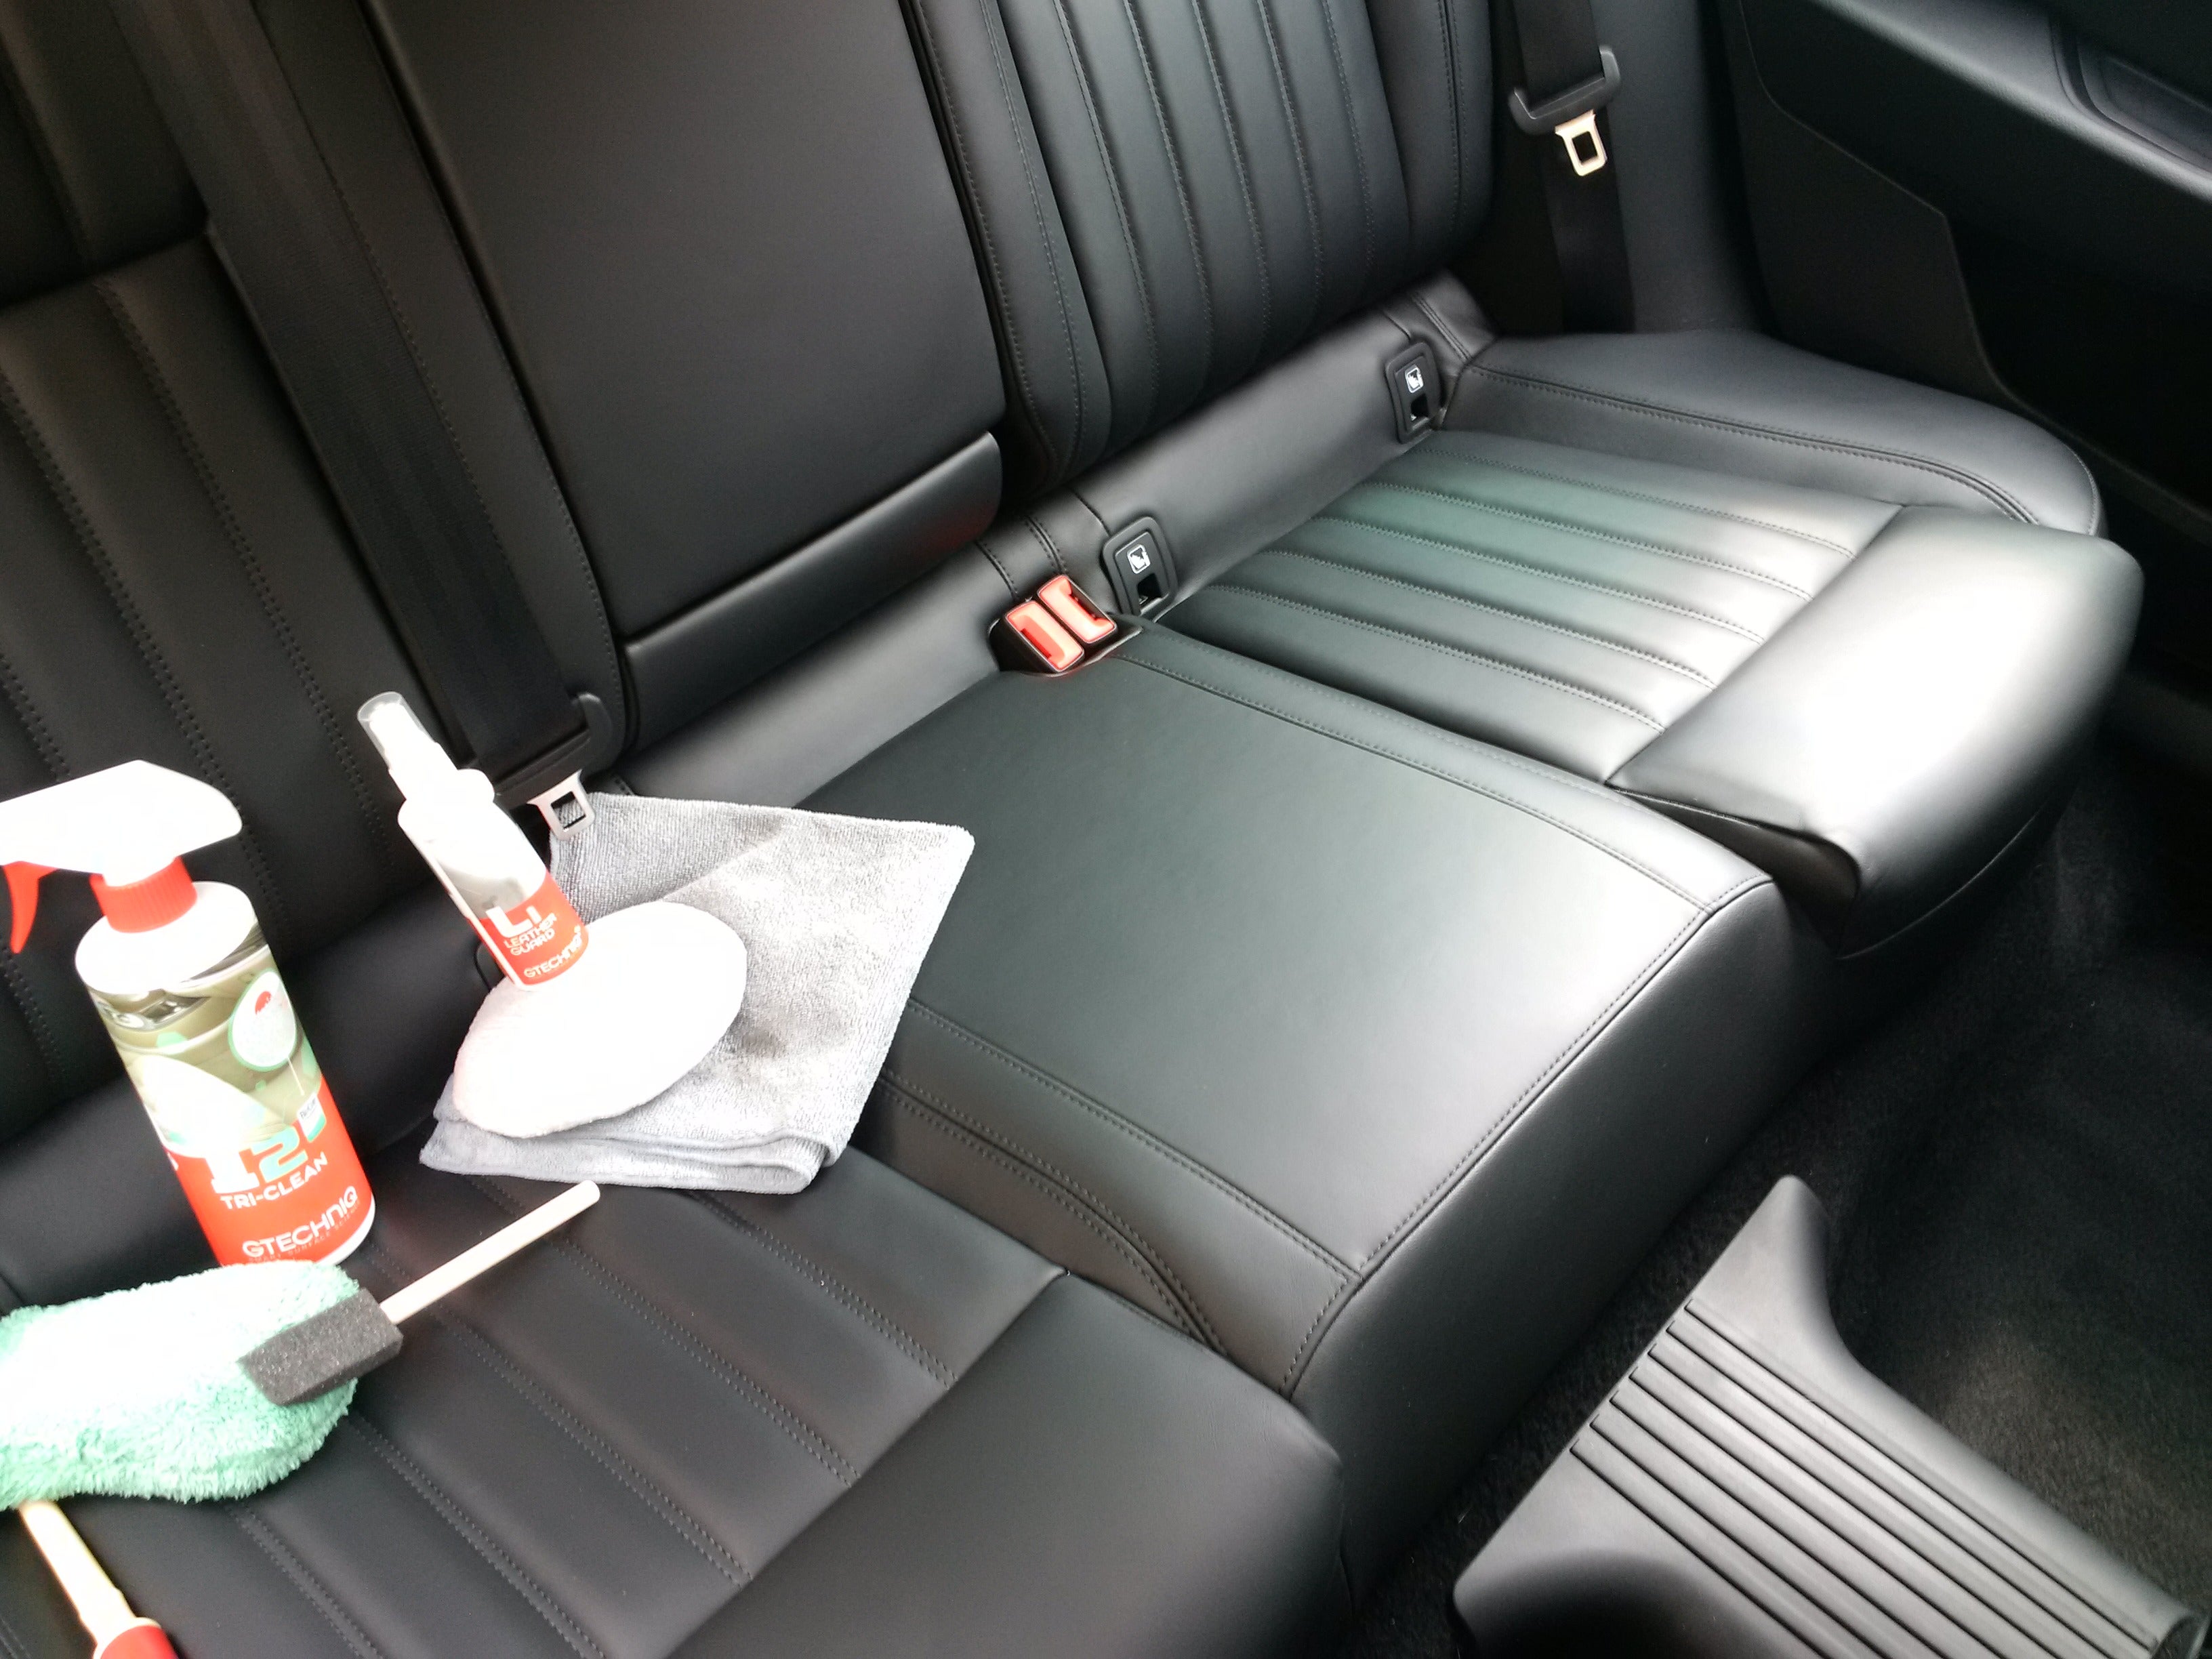
After a thorough vacuuming.
For leather use an assortment of cloths, brushes and pads to work the cleaner into all the crevices, itís important you vacuum out all the crevices before sealing or conditioning as any debris can bite into the stitching over time and cause rips and tears. Once the area is properly dry work in the sealant or conditioner following the instructions. In the case of Gtechniq L1 itís a case of simply wiping over to remove any residue. Gtechniq L1 is a conditioner, protectant and sealant that stops or at least reduces dye transfer from jeans, etc...
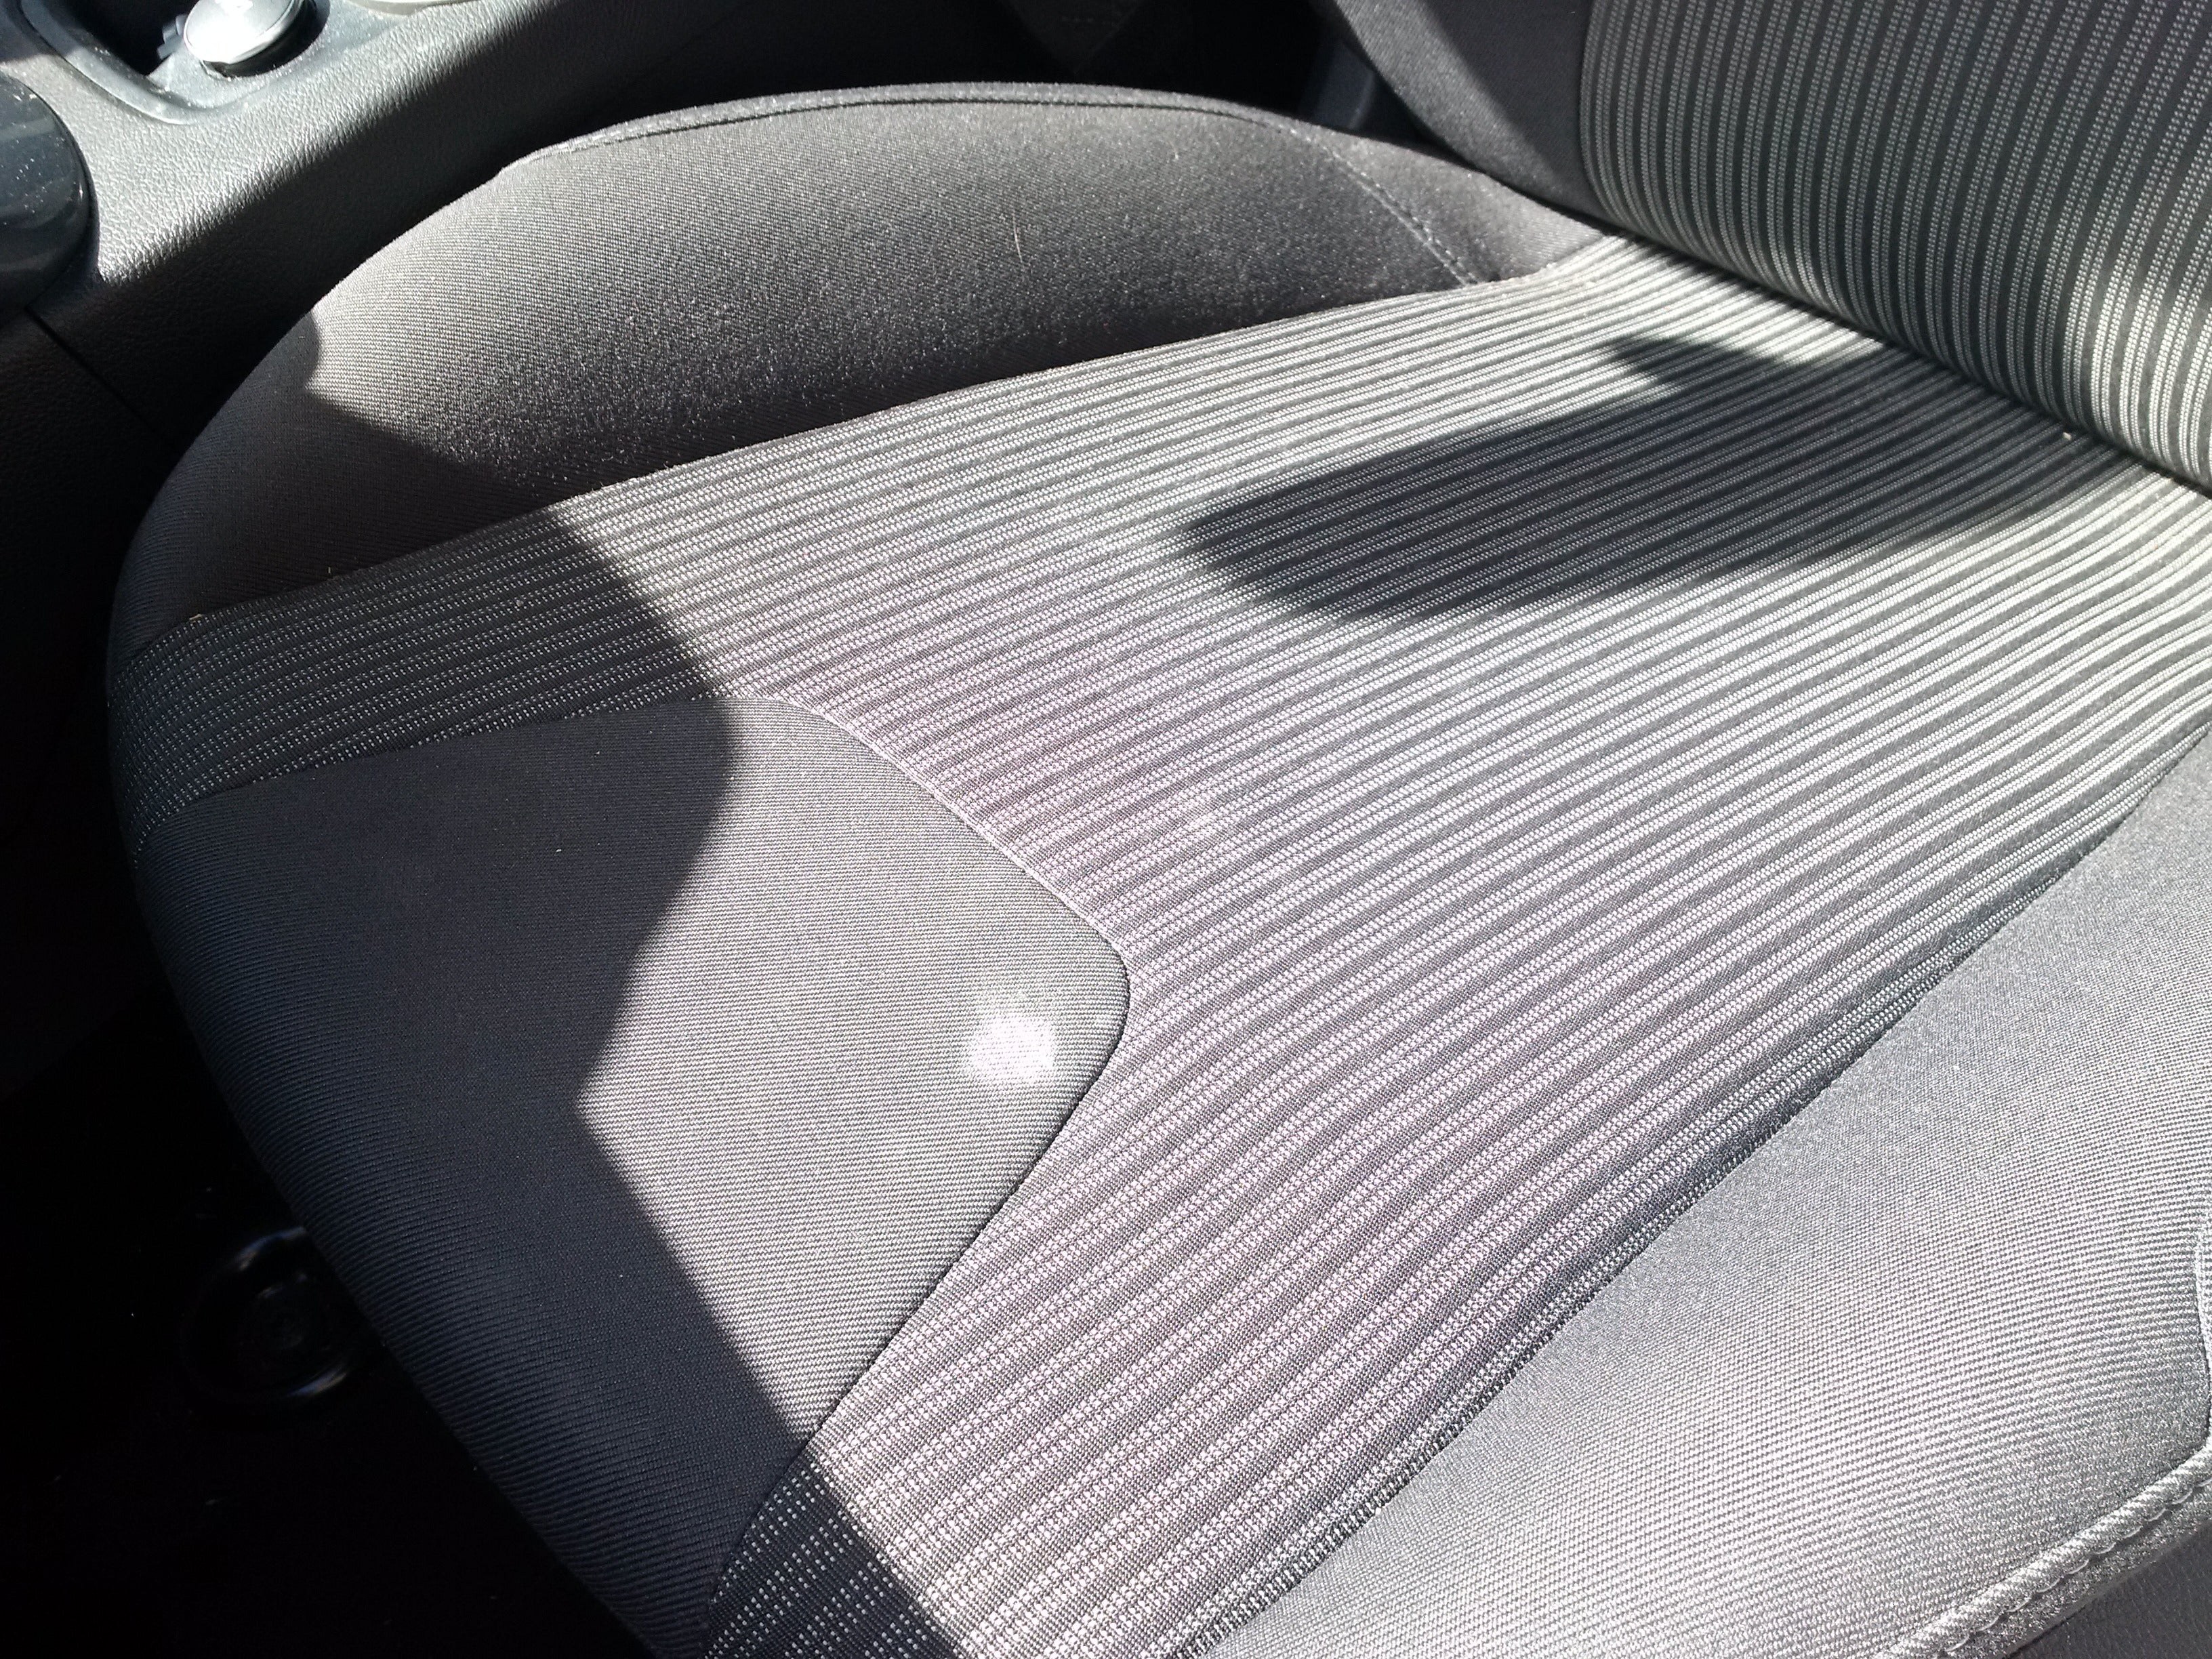
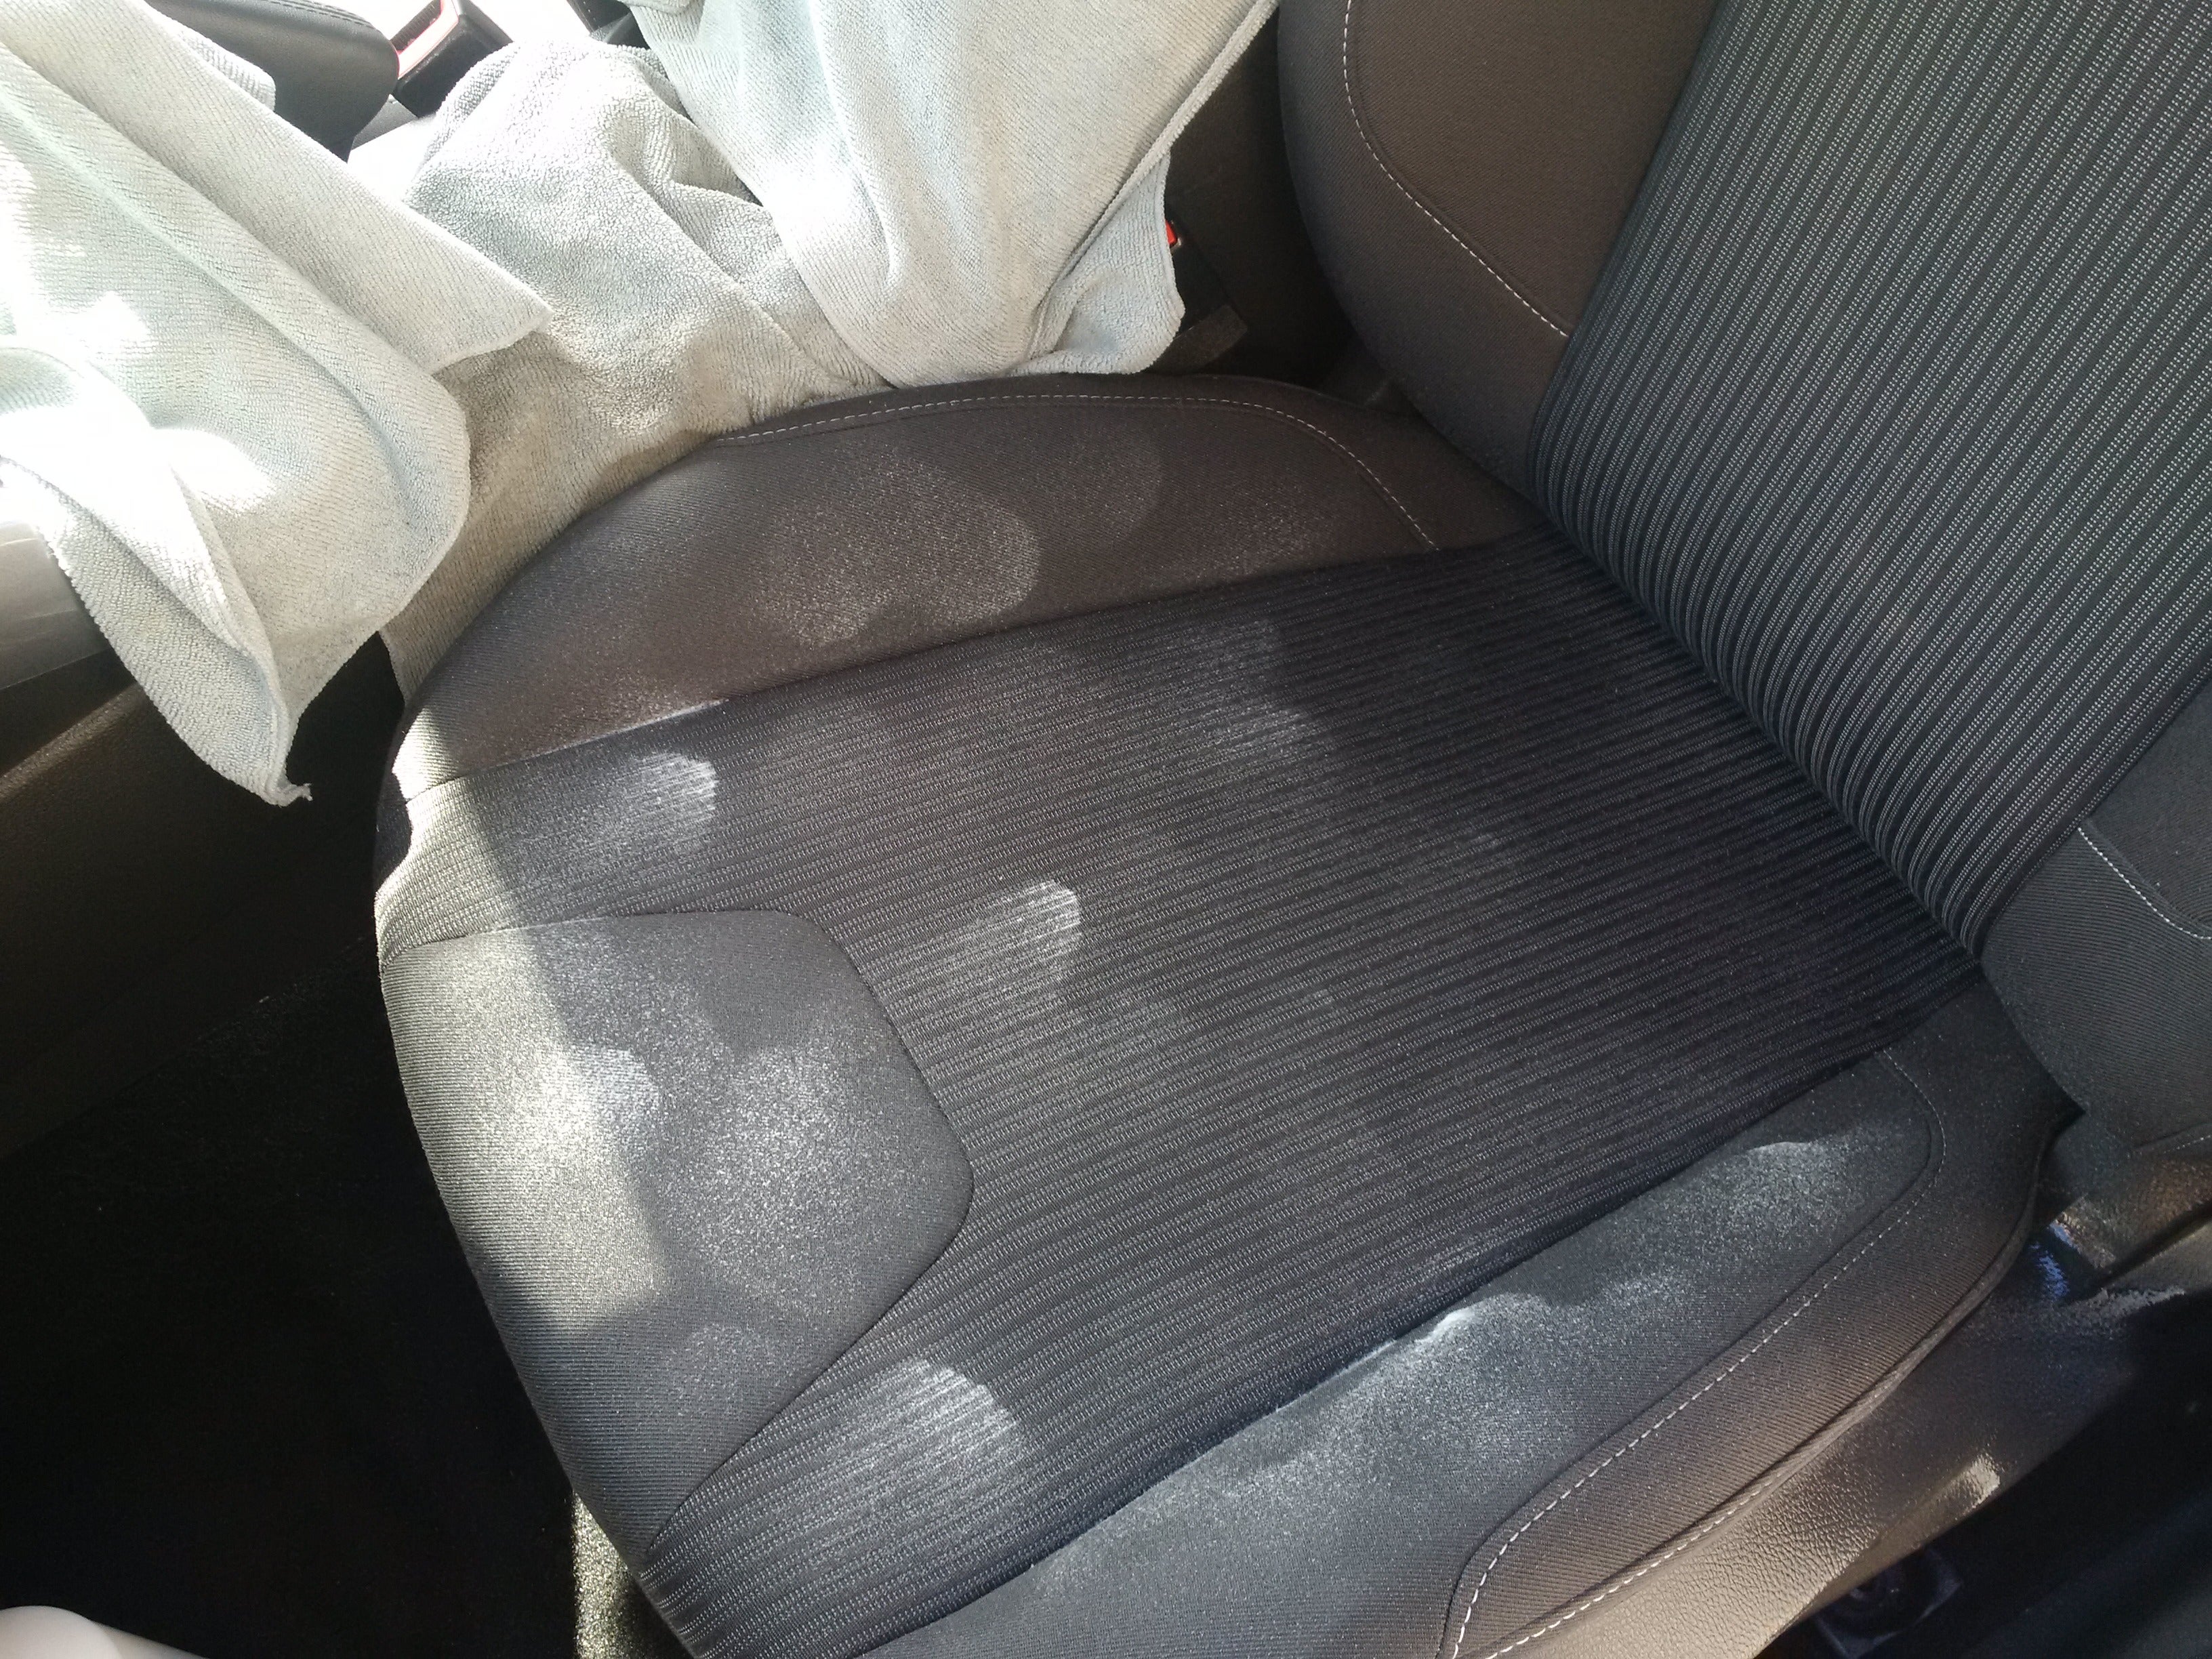
For fabric you can do like with the leather but using a fabric shampoo or all purpose cleaner with a cloth.
For stains you may need to be a little more aggressive, often simply a light brushing with a stiff nylon brush can break up the stain and then vacuum any debris away.
Using several clothes to cover the centre console and other areas your not wishing to clean in this procedure, then liberally spray the area (the whole panel, so it dries evenly) and using a stiff nylon brush agitate the shampoo into the seat, then using an extractor nozzle vacuum the area as much as possible and allow to dry.
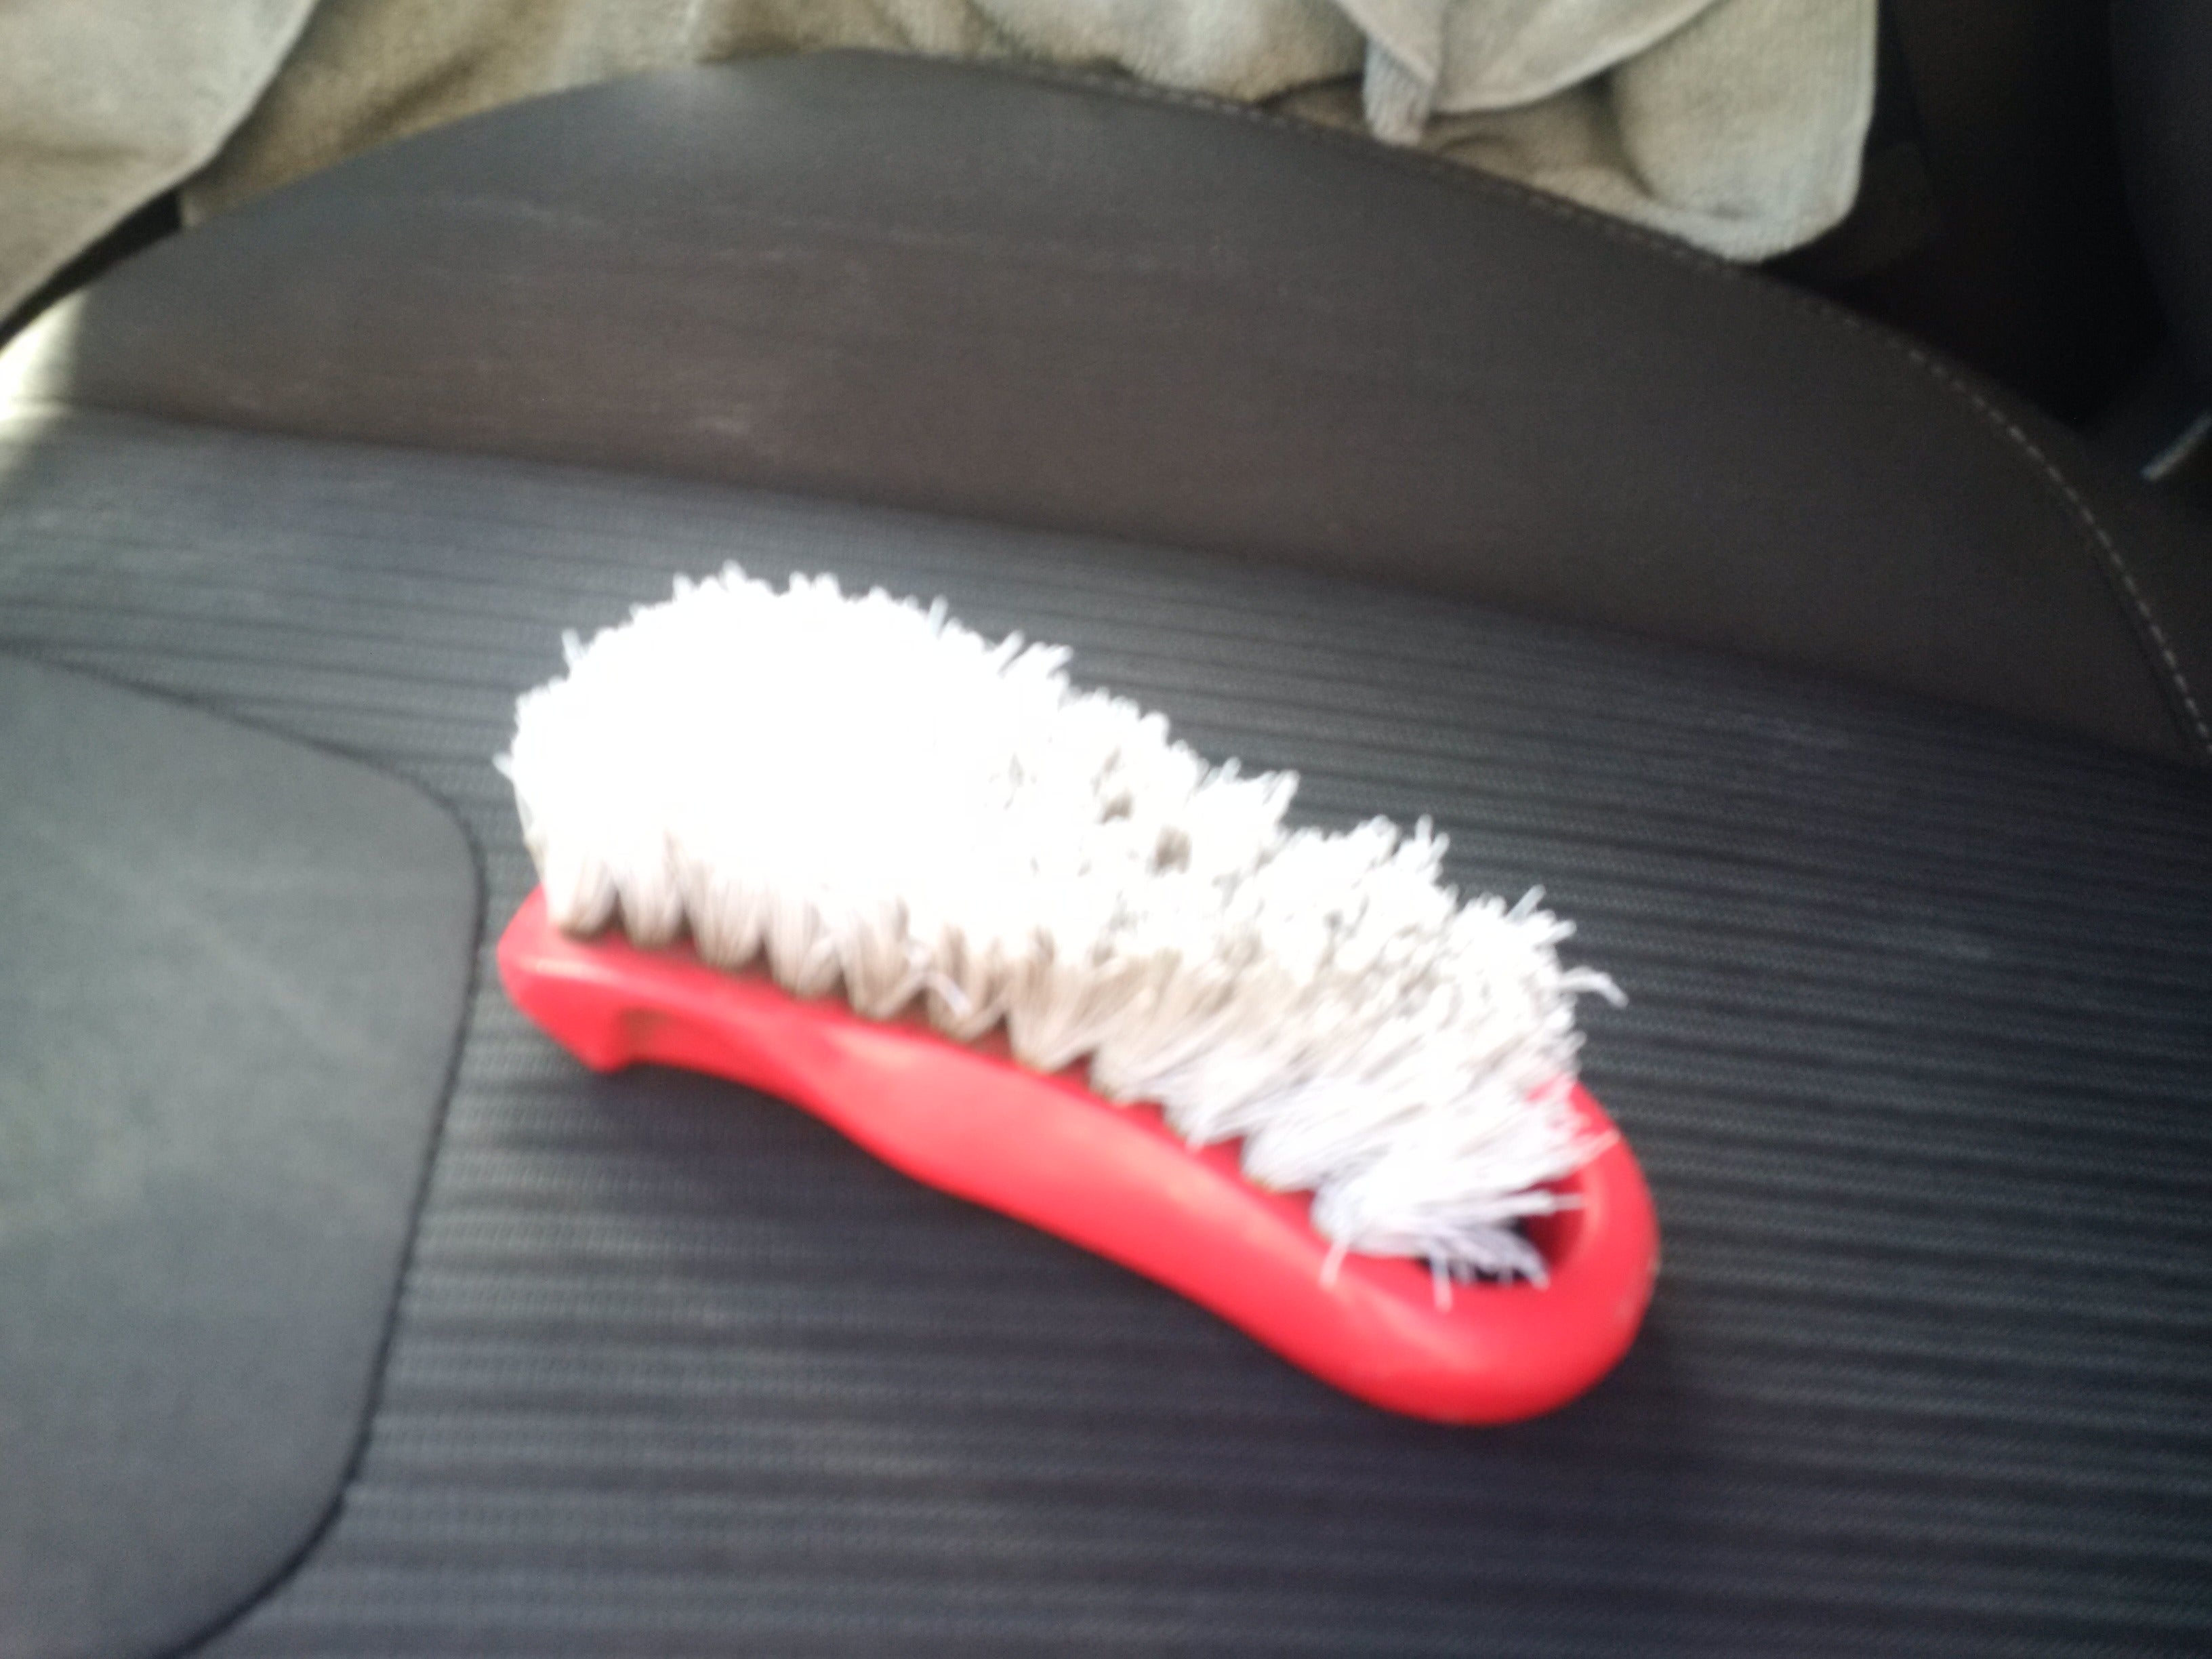
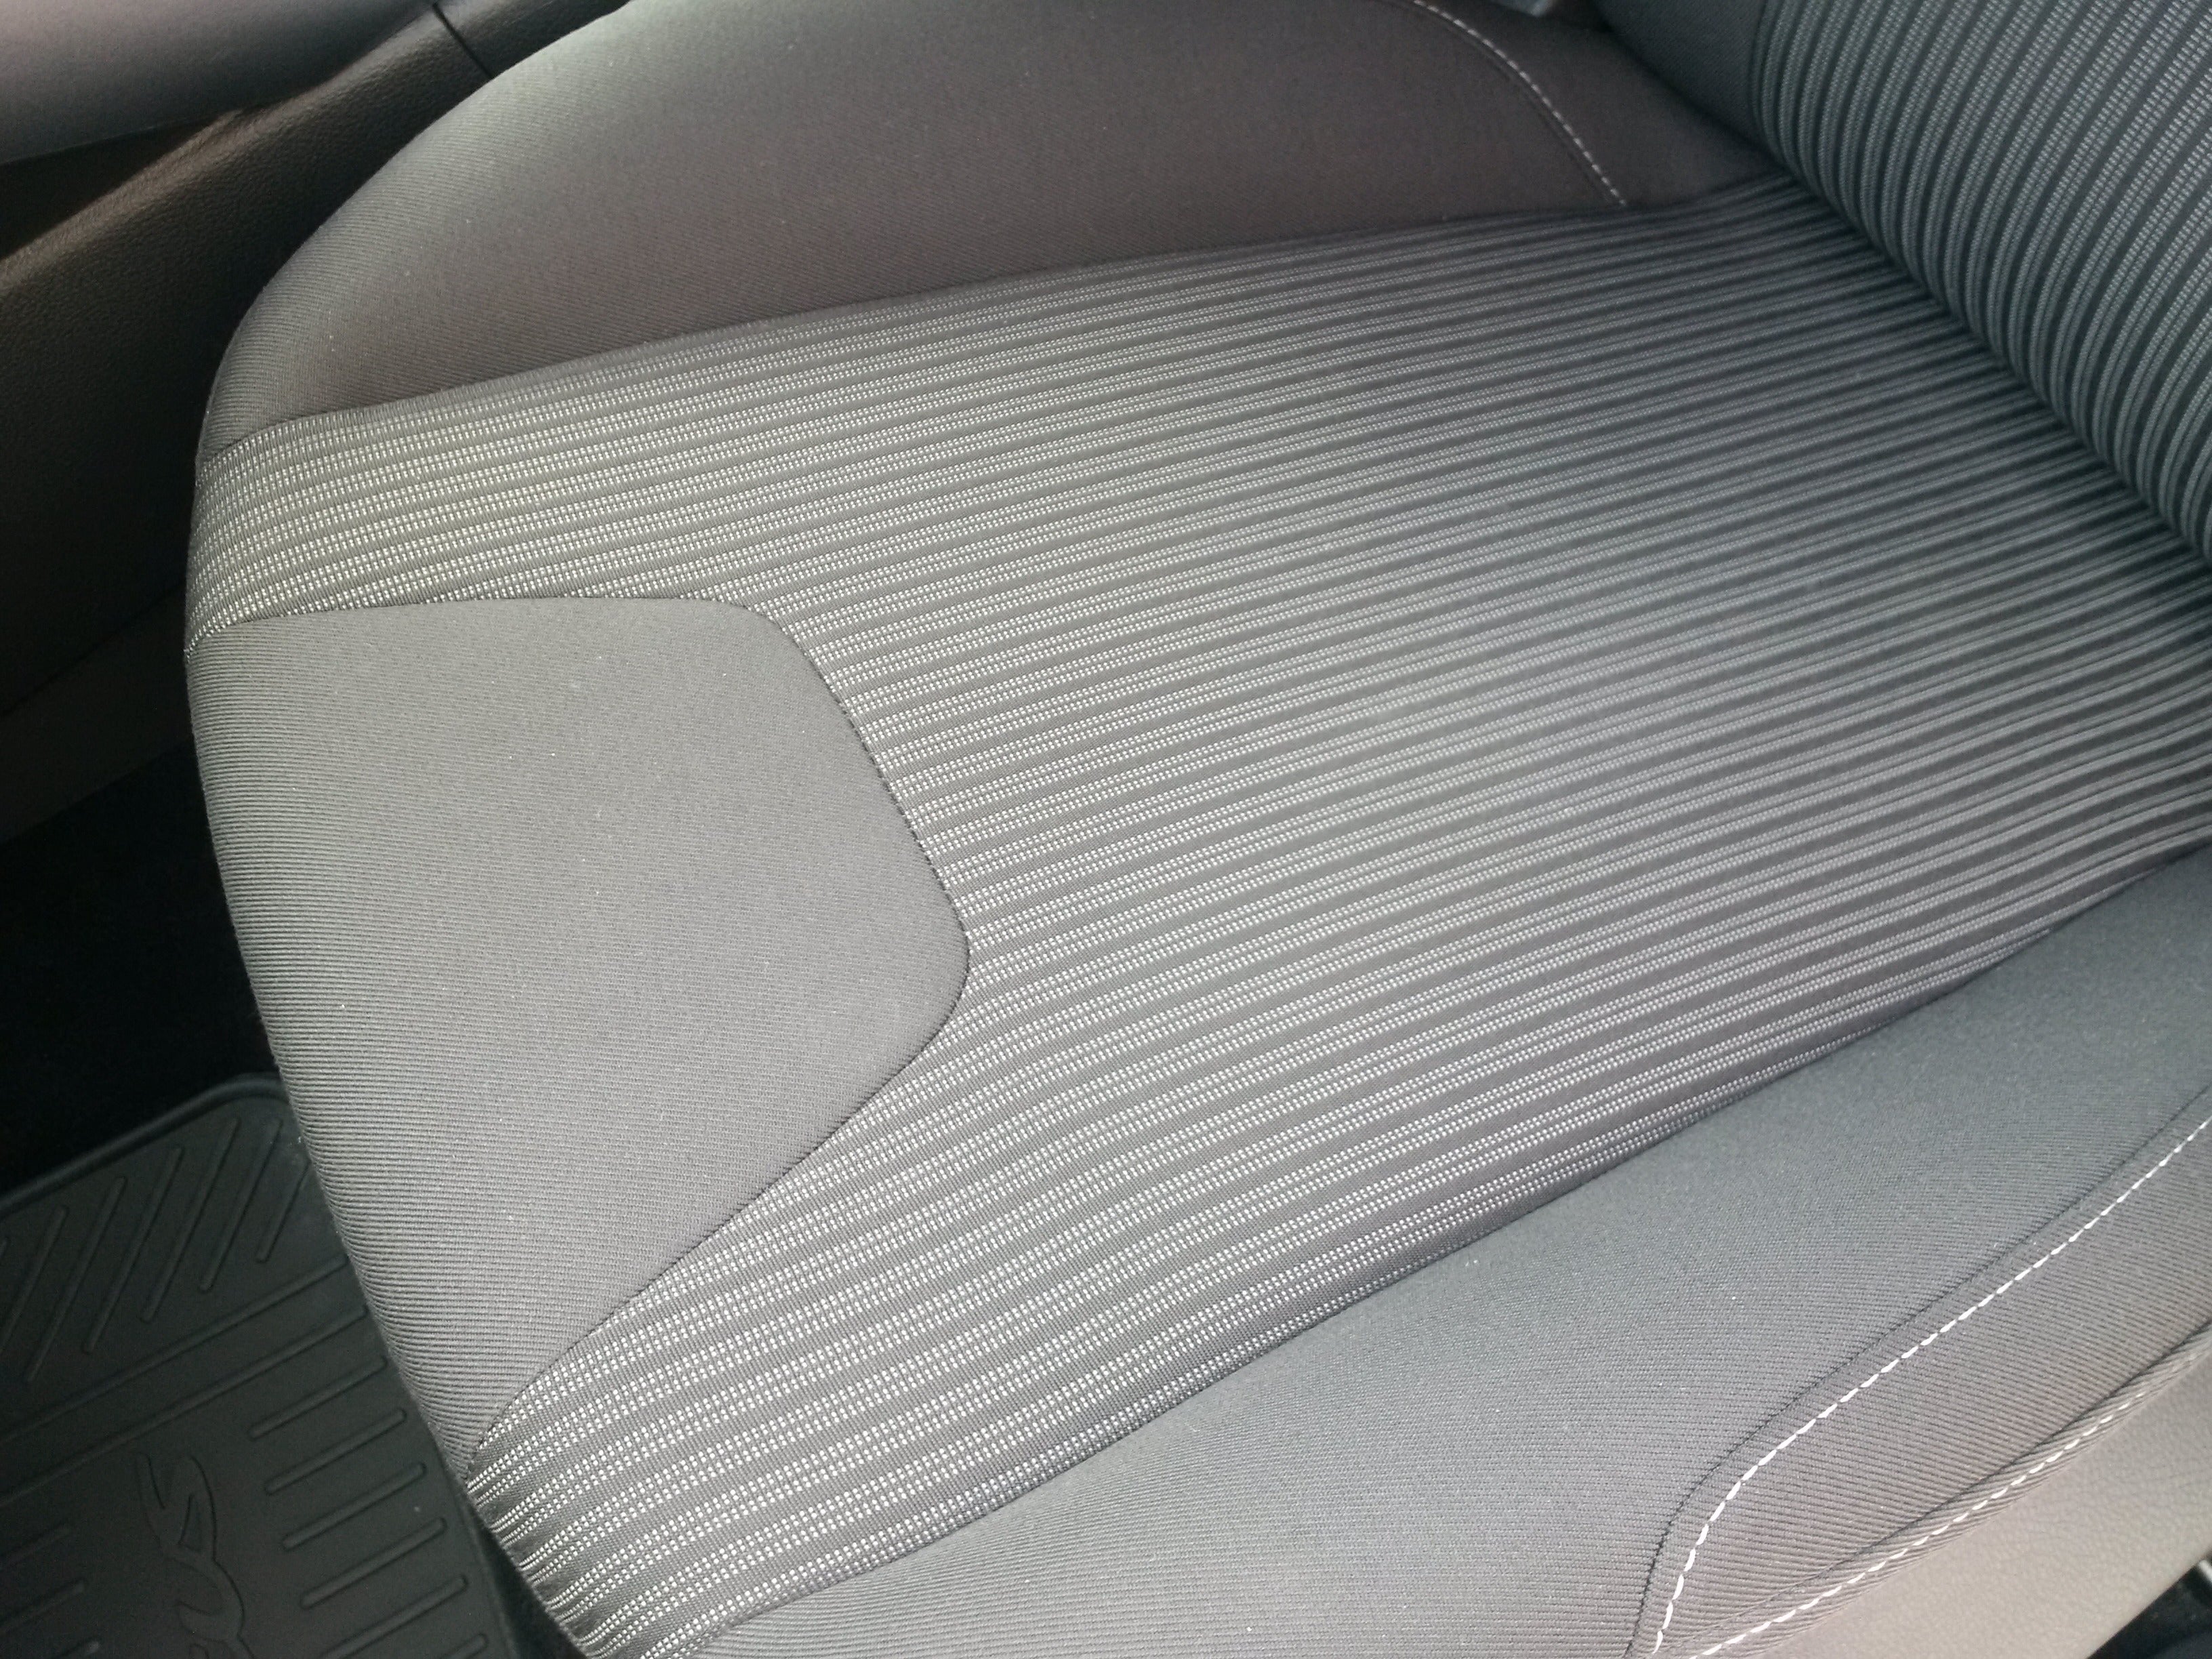
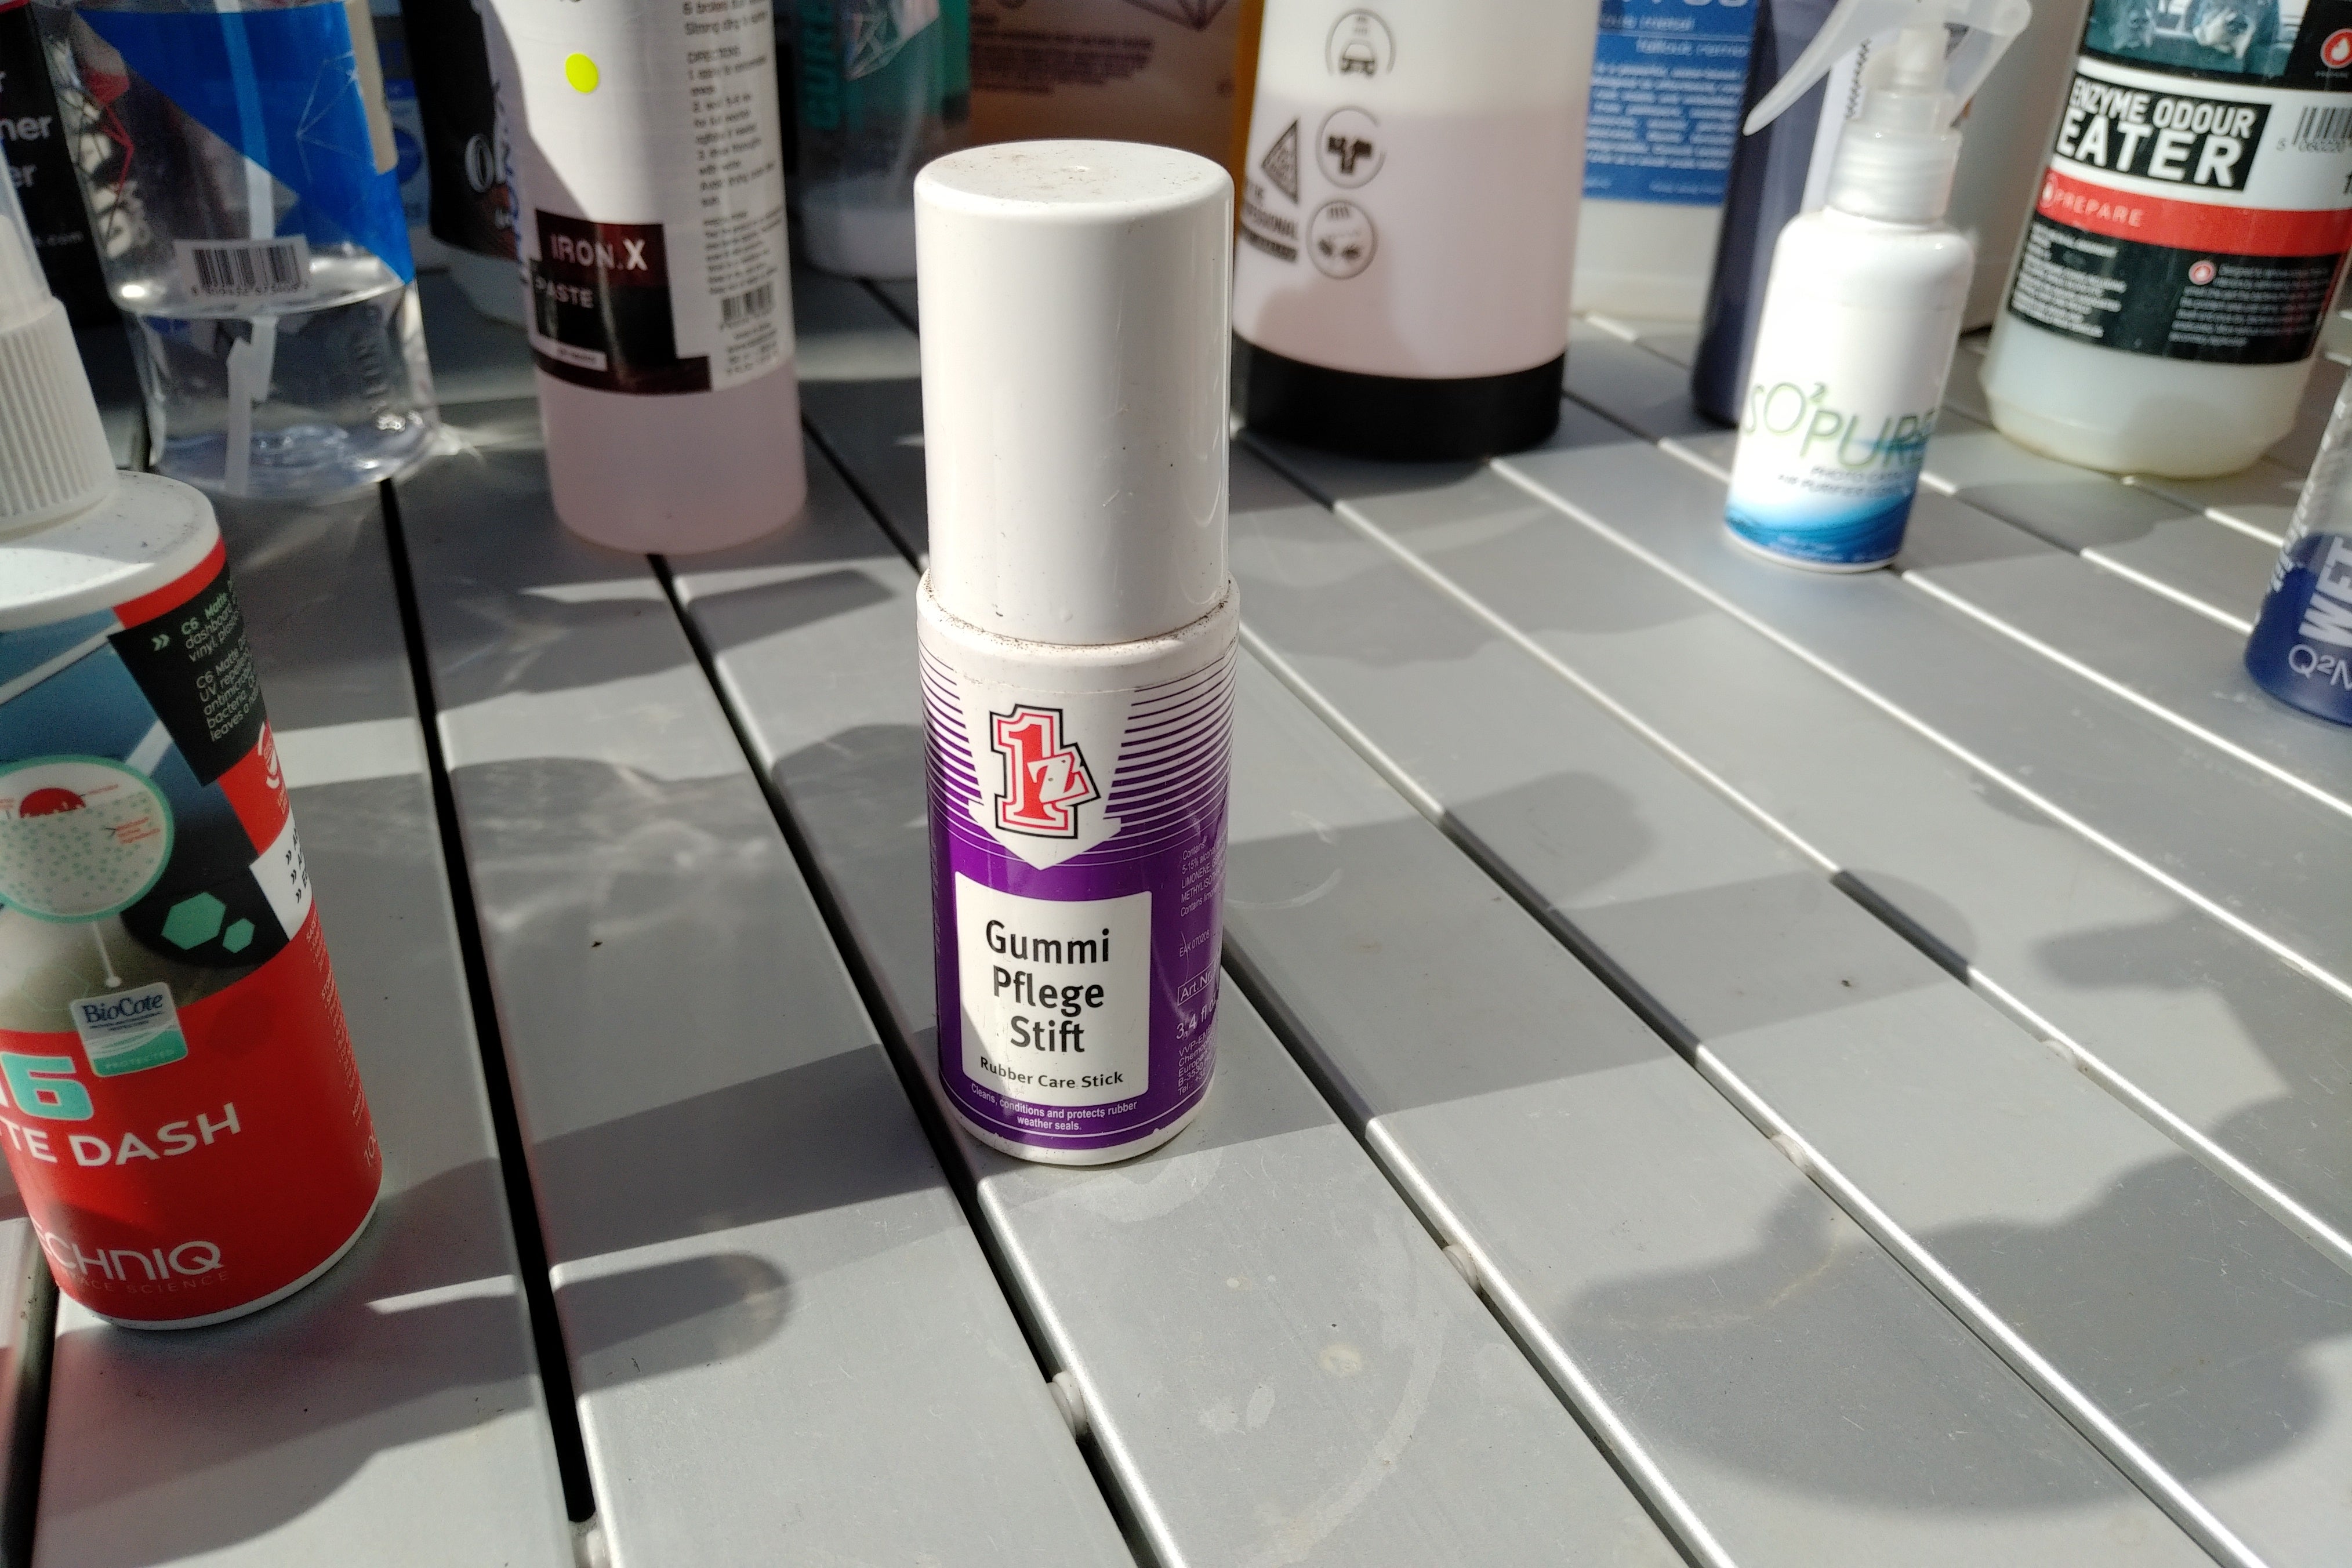
Nice items for that extra touch.
Einszett Gummi Pflege Stift, restores door rubbers perfectly, keeping them supple and stopping the awful Ďdoor freezeí that happens in the winter.
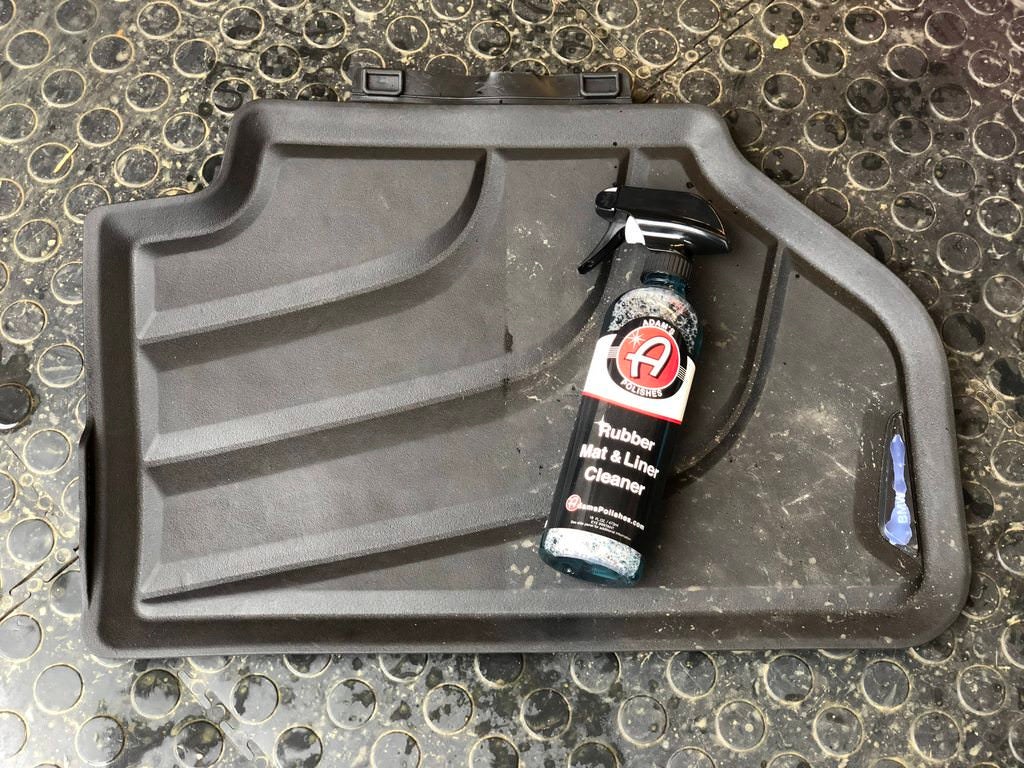
Adamís Rubber Mat & Liner Cleaner. Fantastic for cleaning rubber mats which develop grey/white staining over time. This cleans and restores the rubber to nearly new.
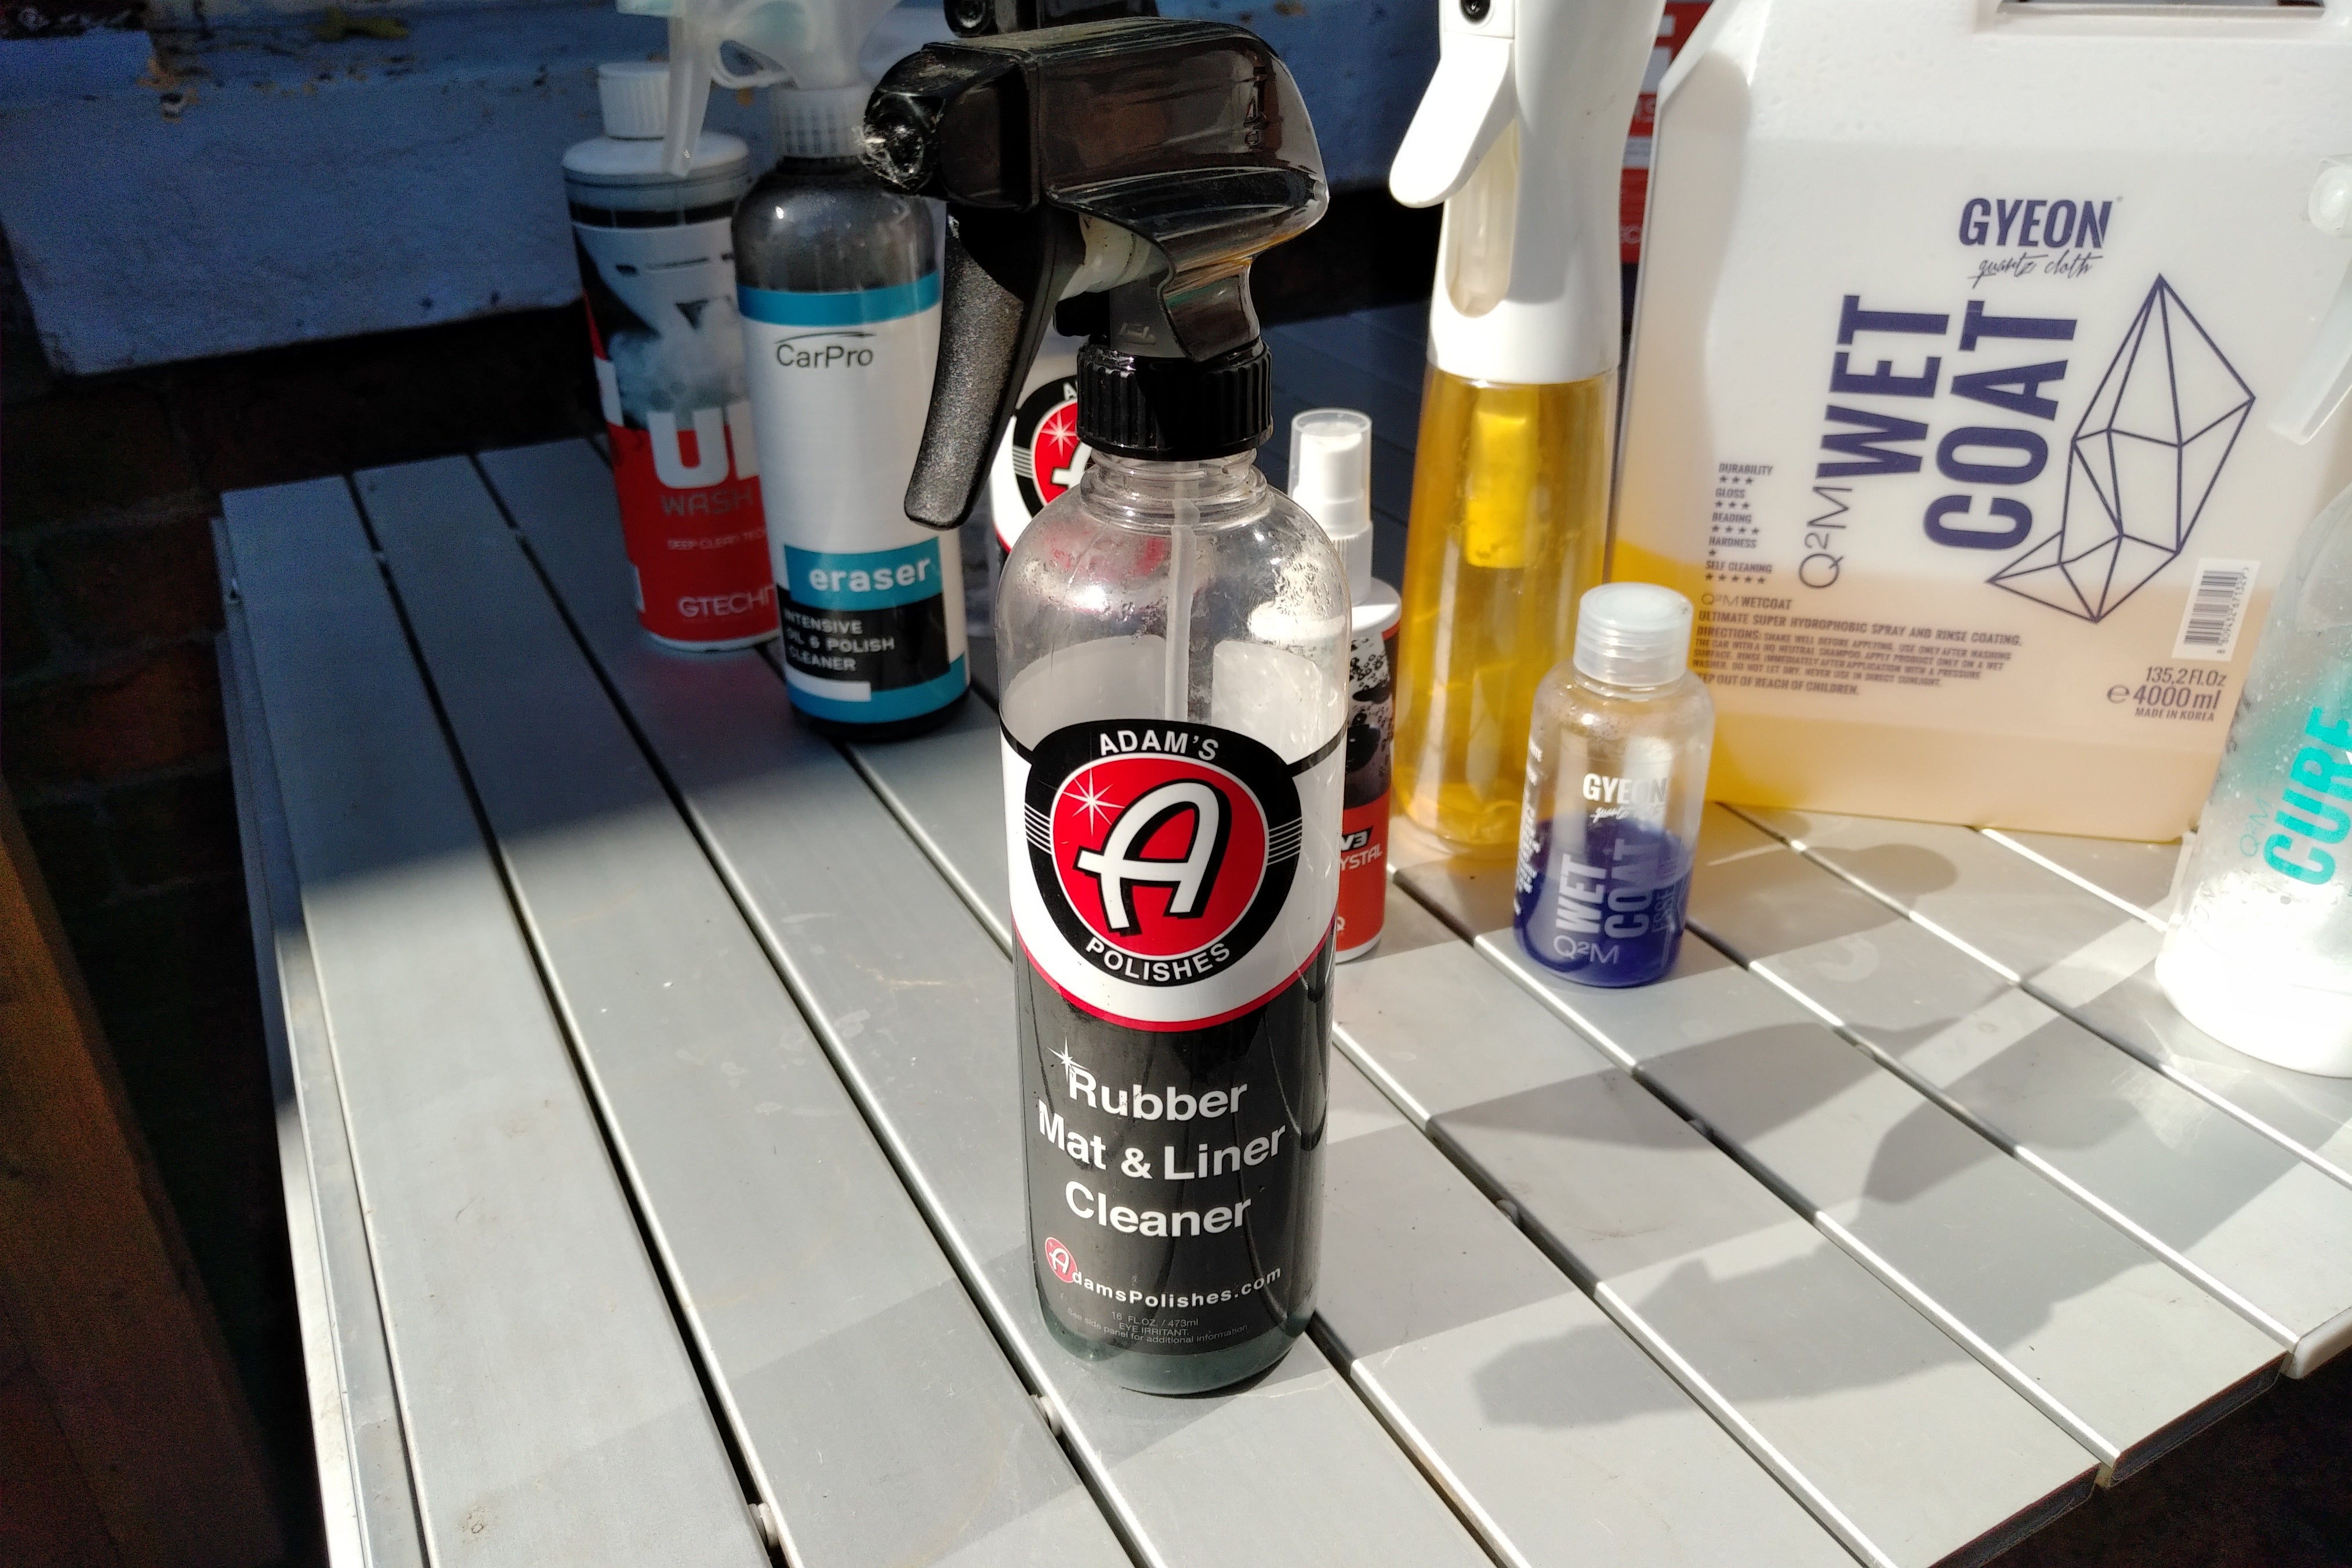
((not my image, canít find mine, sorry))
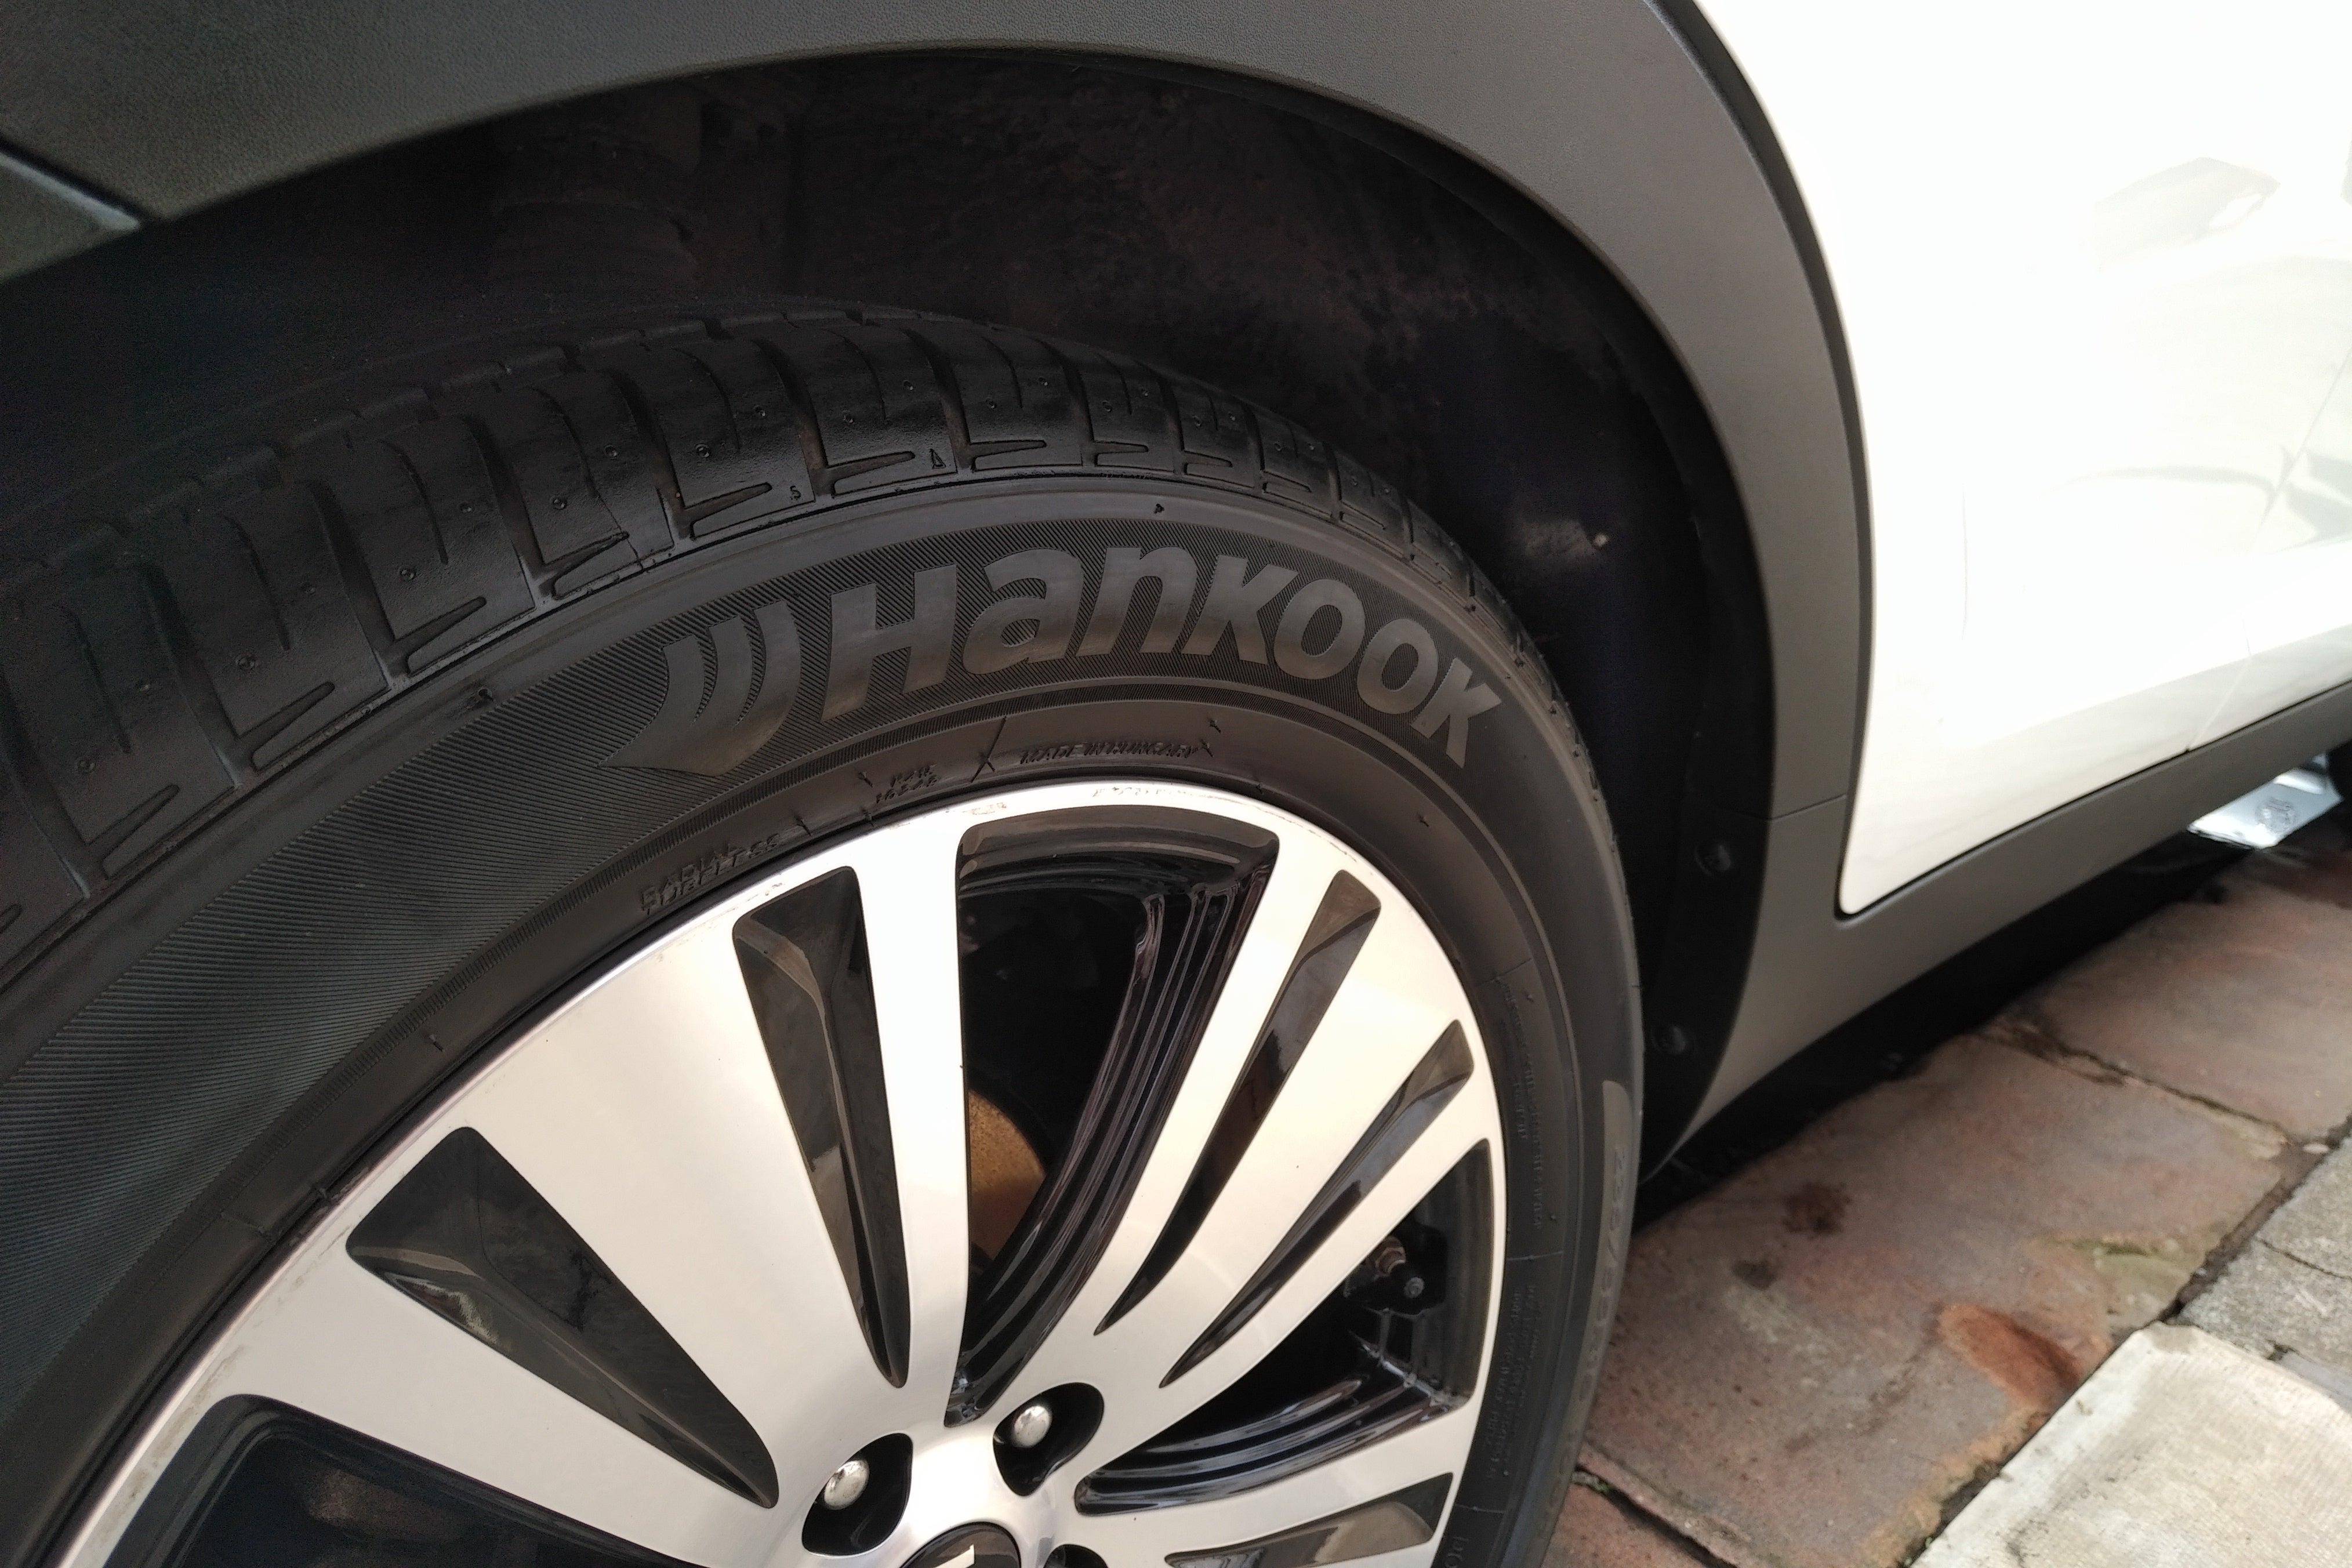
Adamís Undercarriage Spray, great for dressing wheel arches to make those pictures pop. Simply spray and walk away.
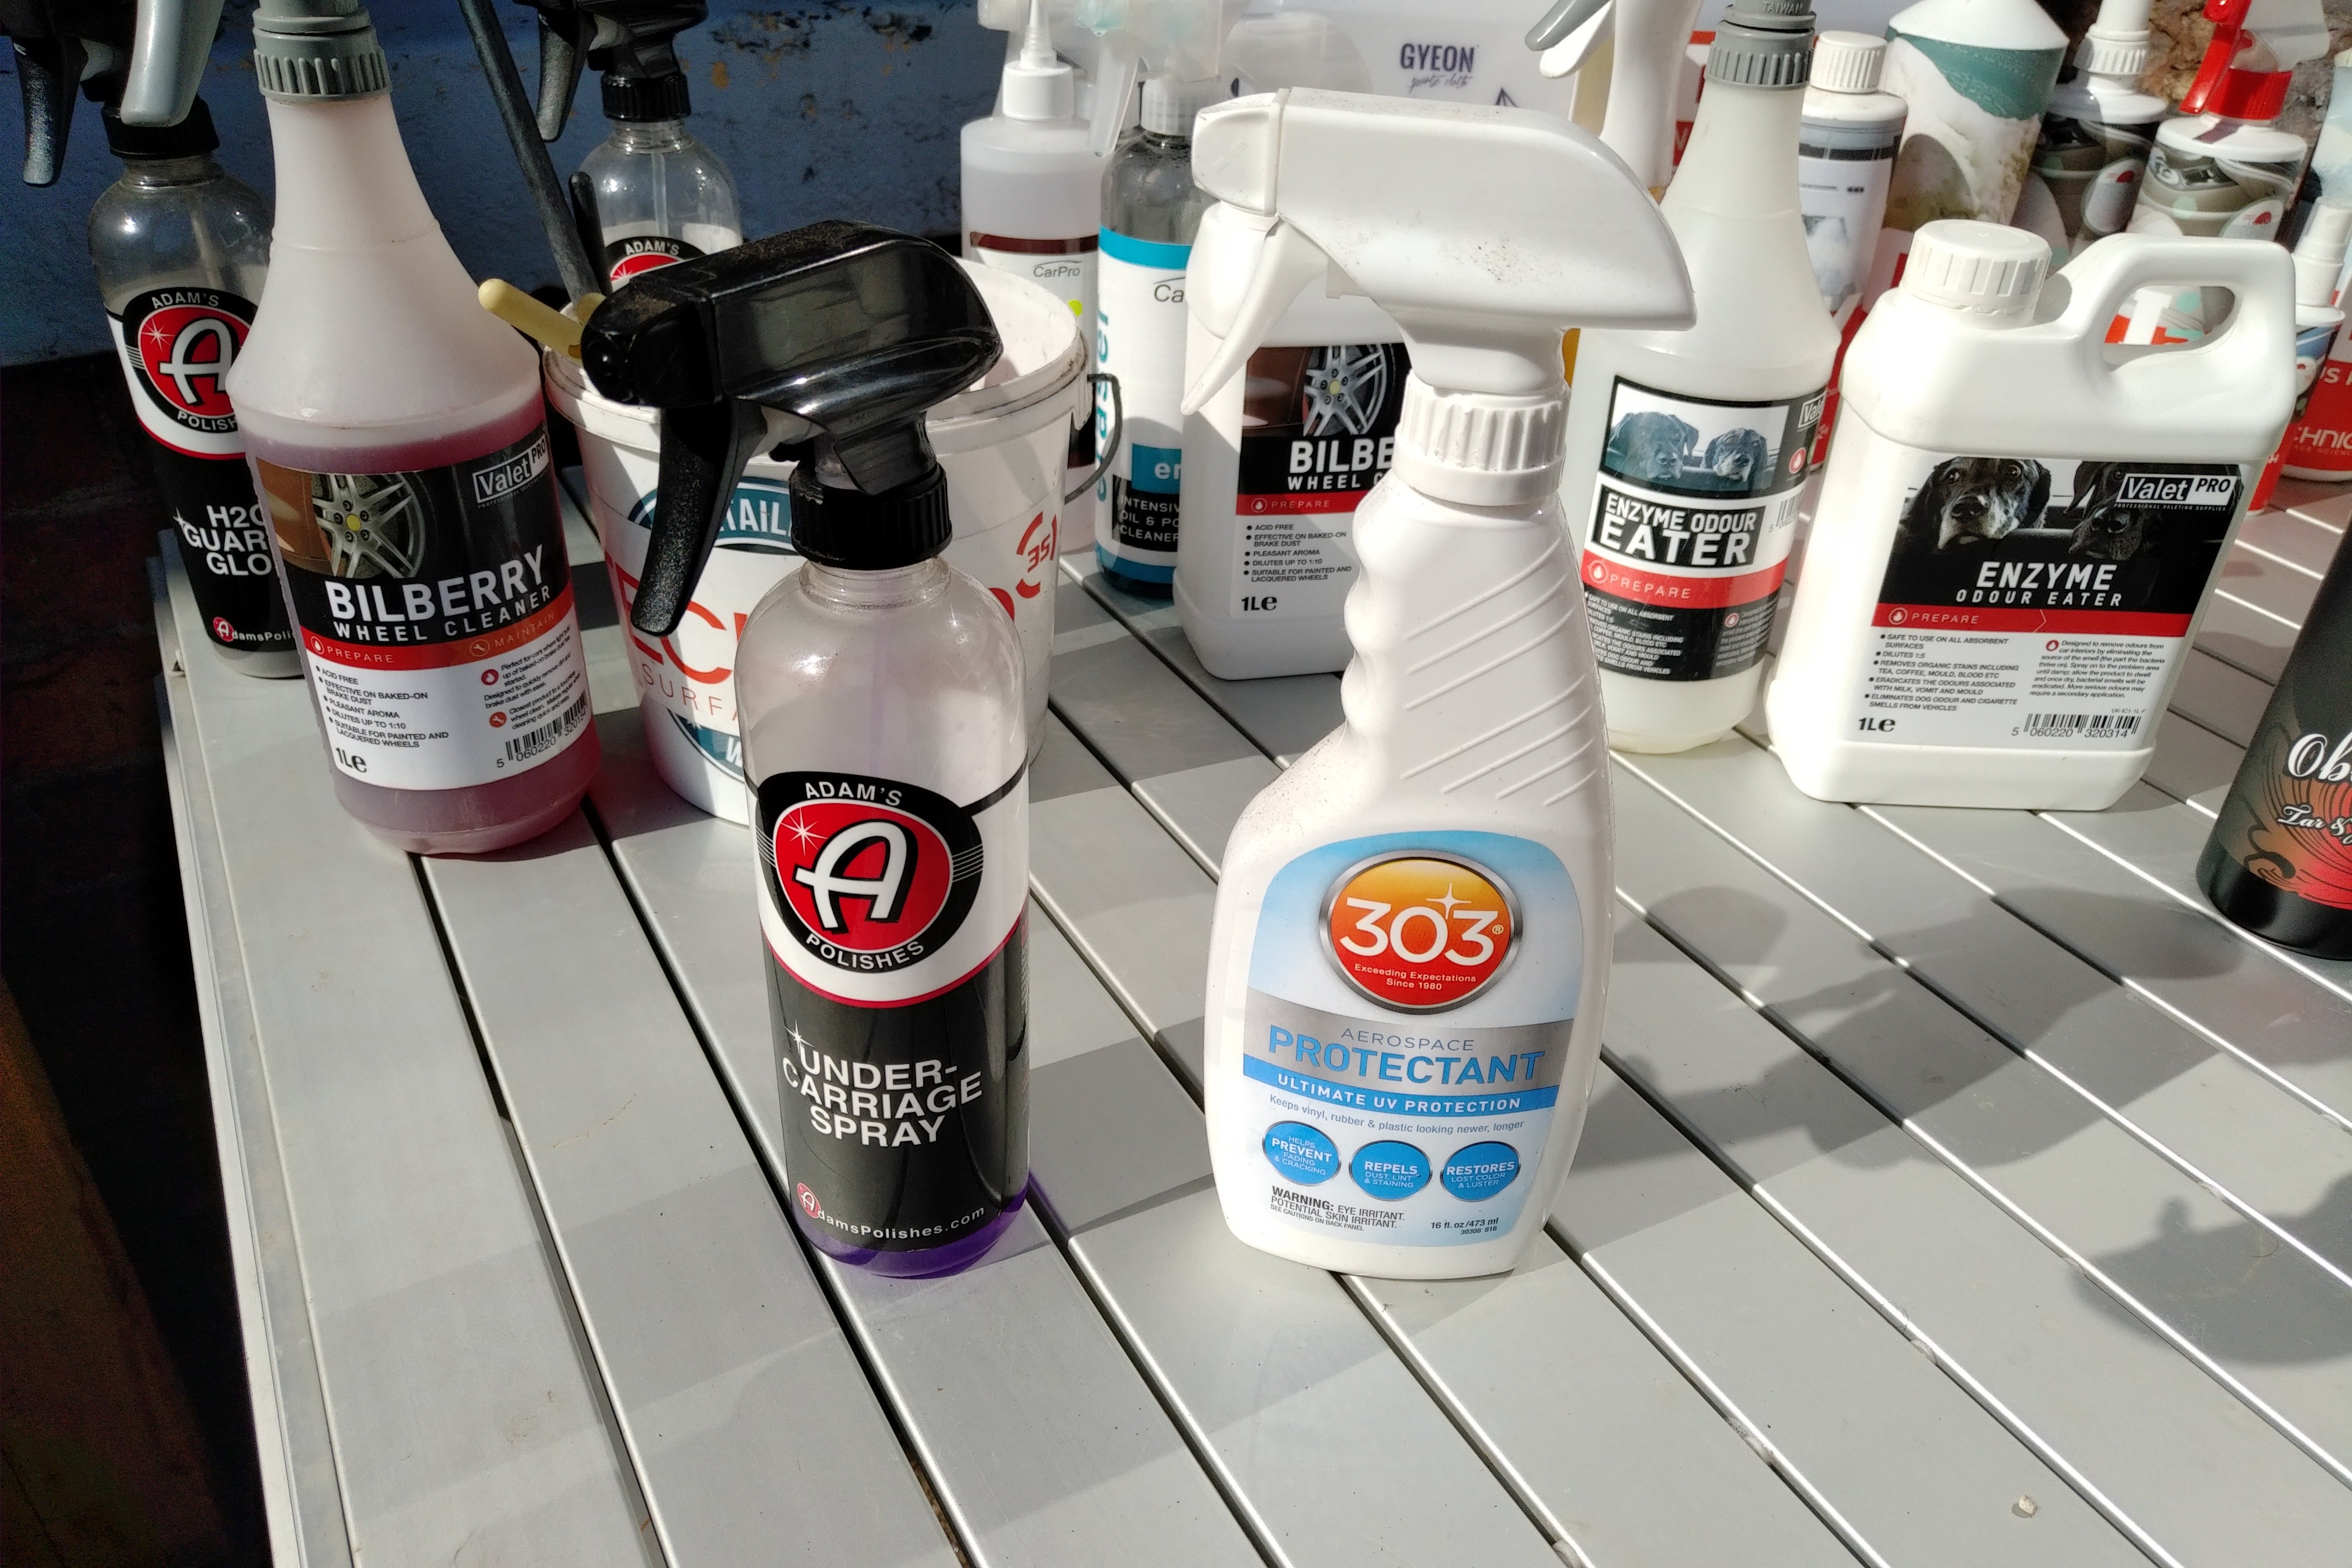
Accessories, swabs, cloths and brushes.
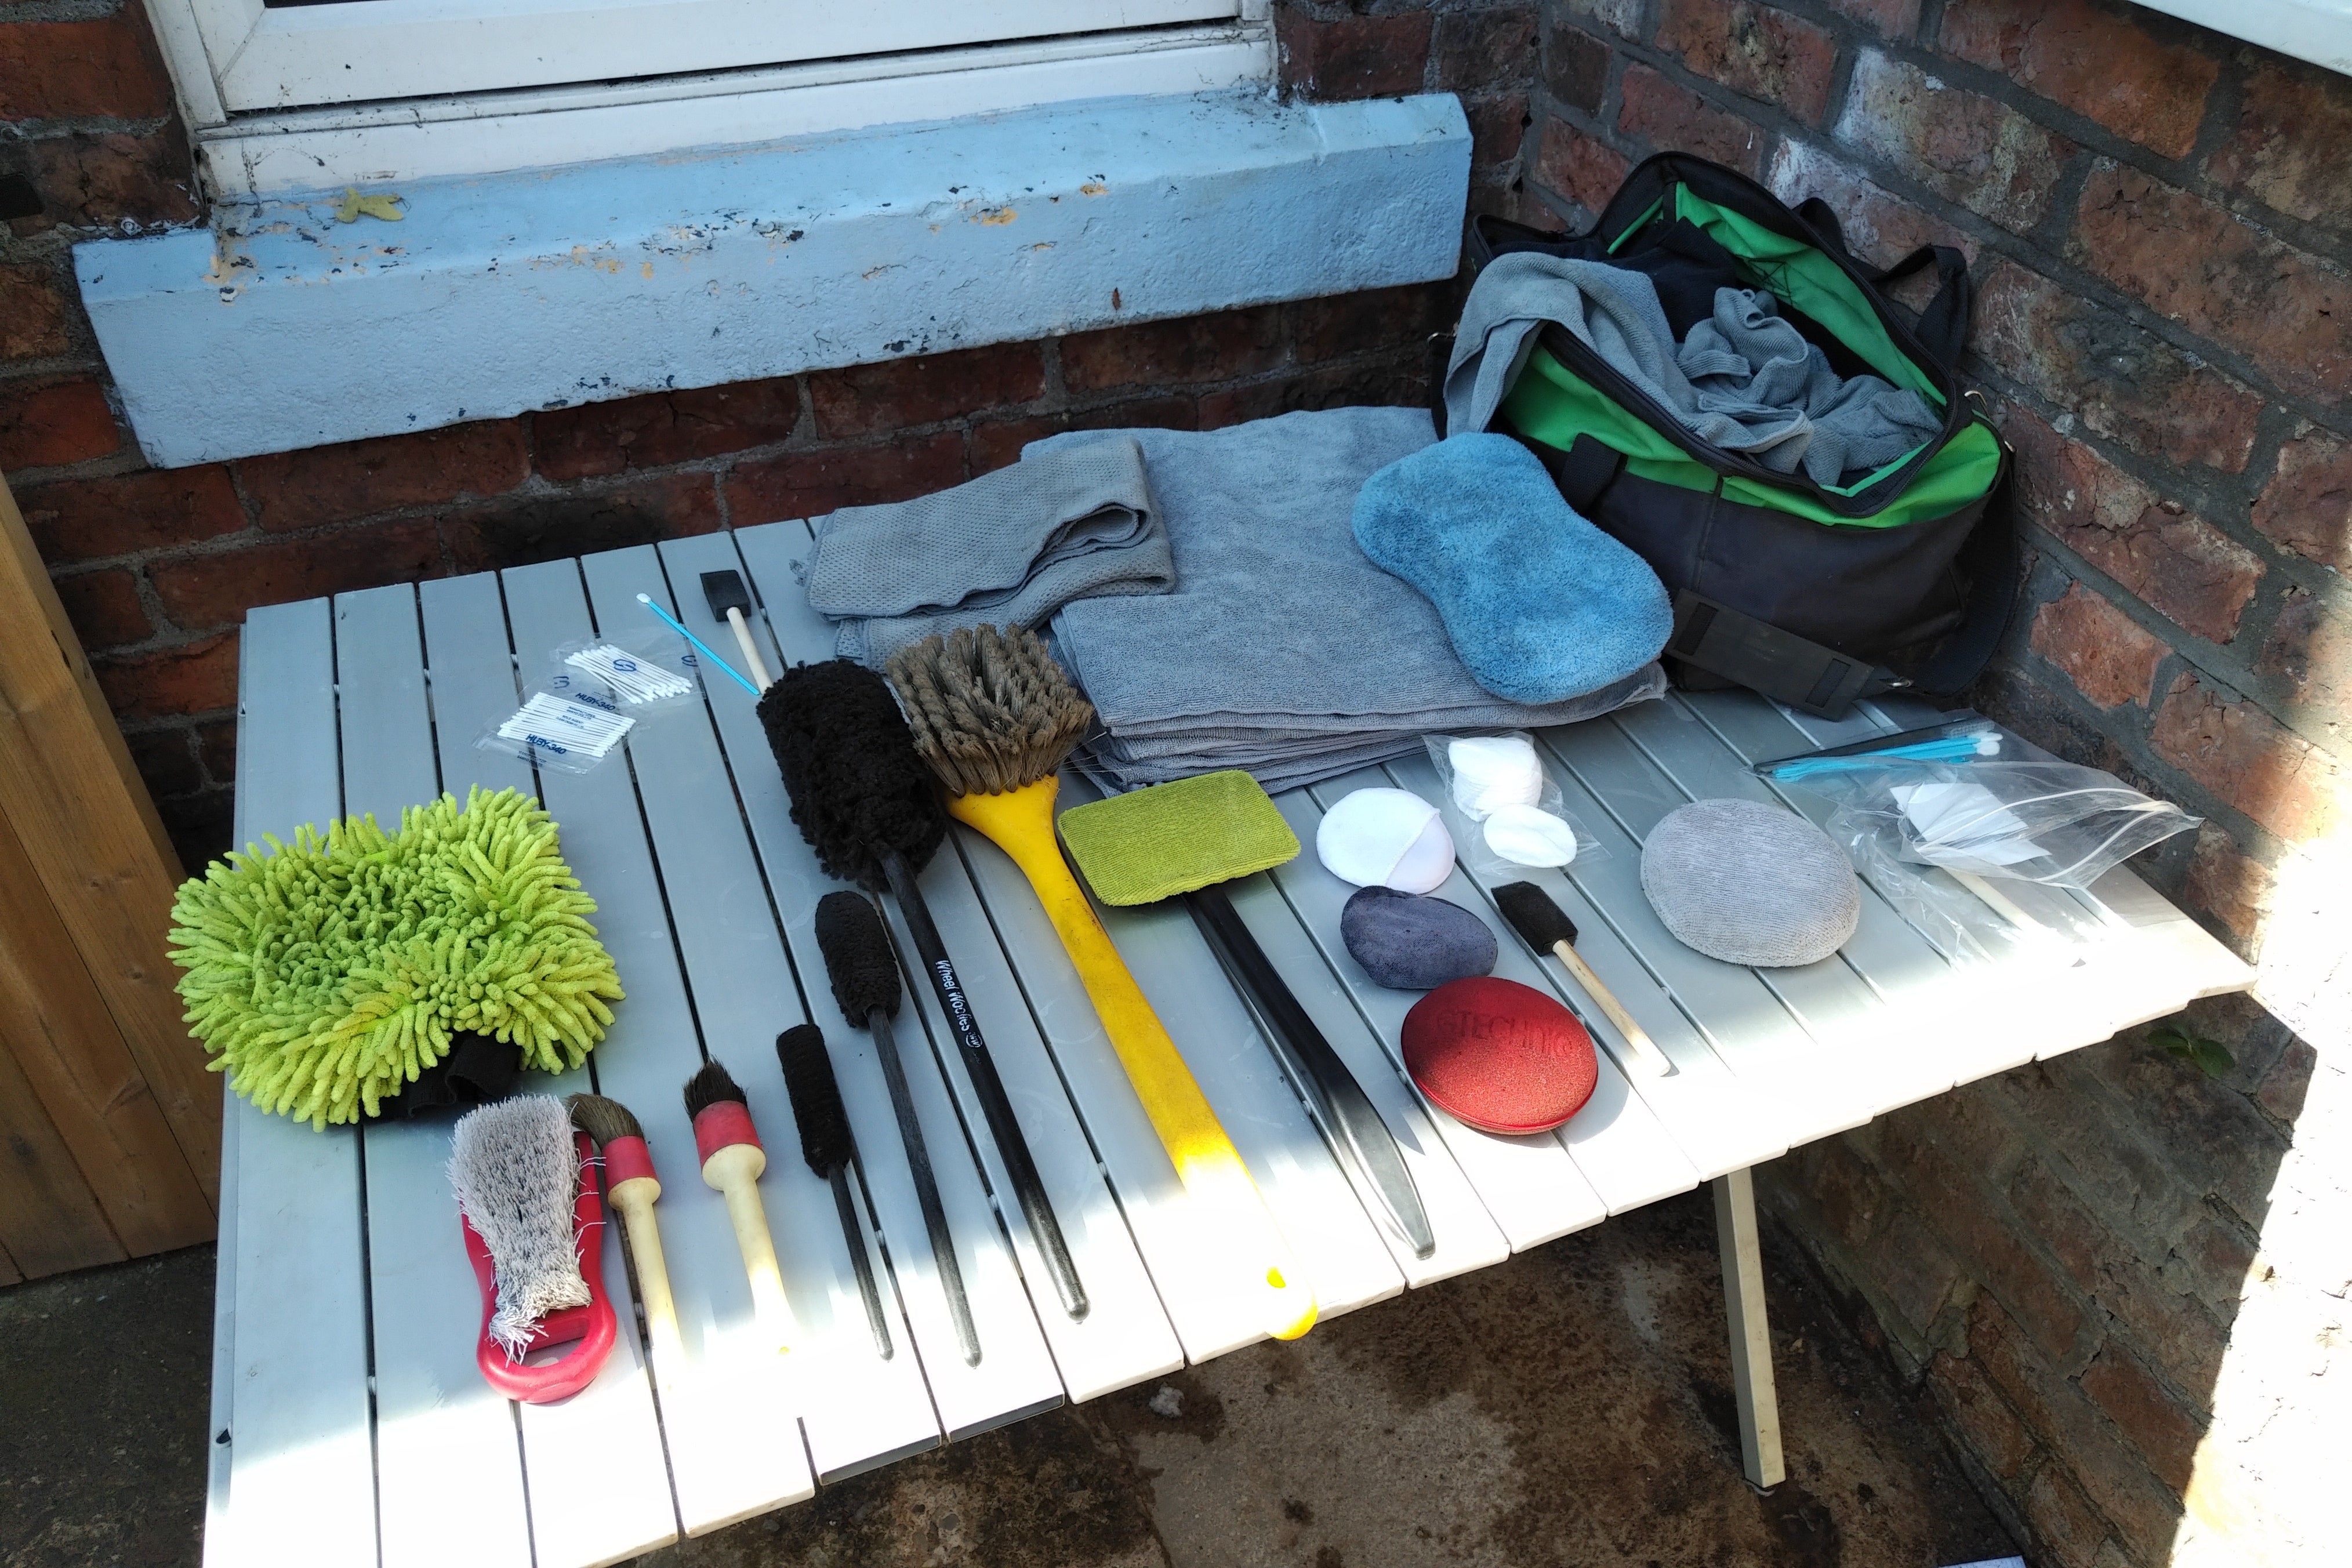
A large variety of tools is always handy.
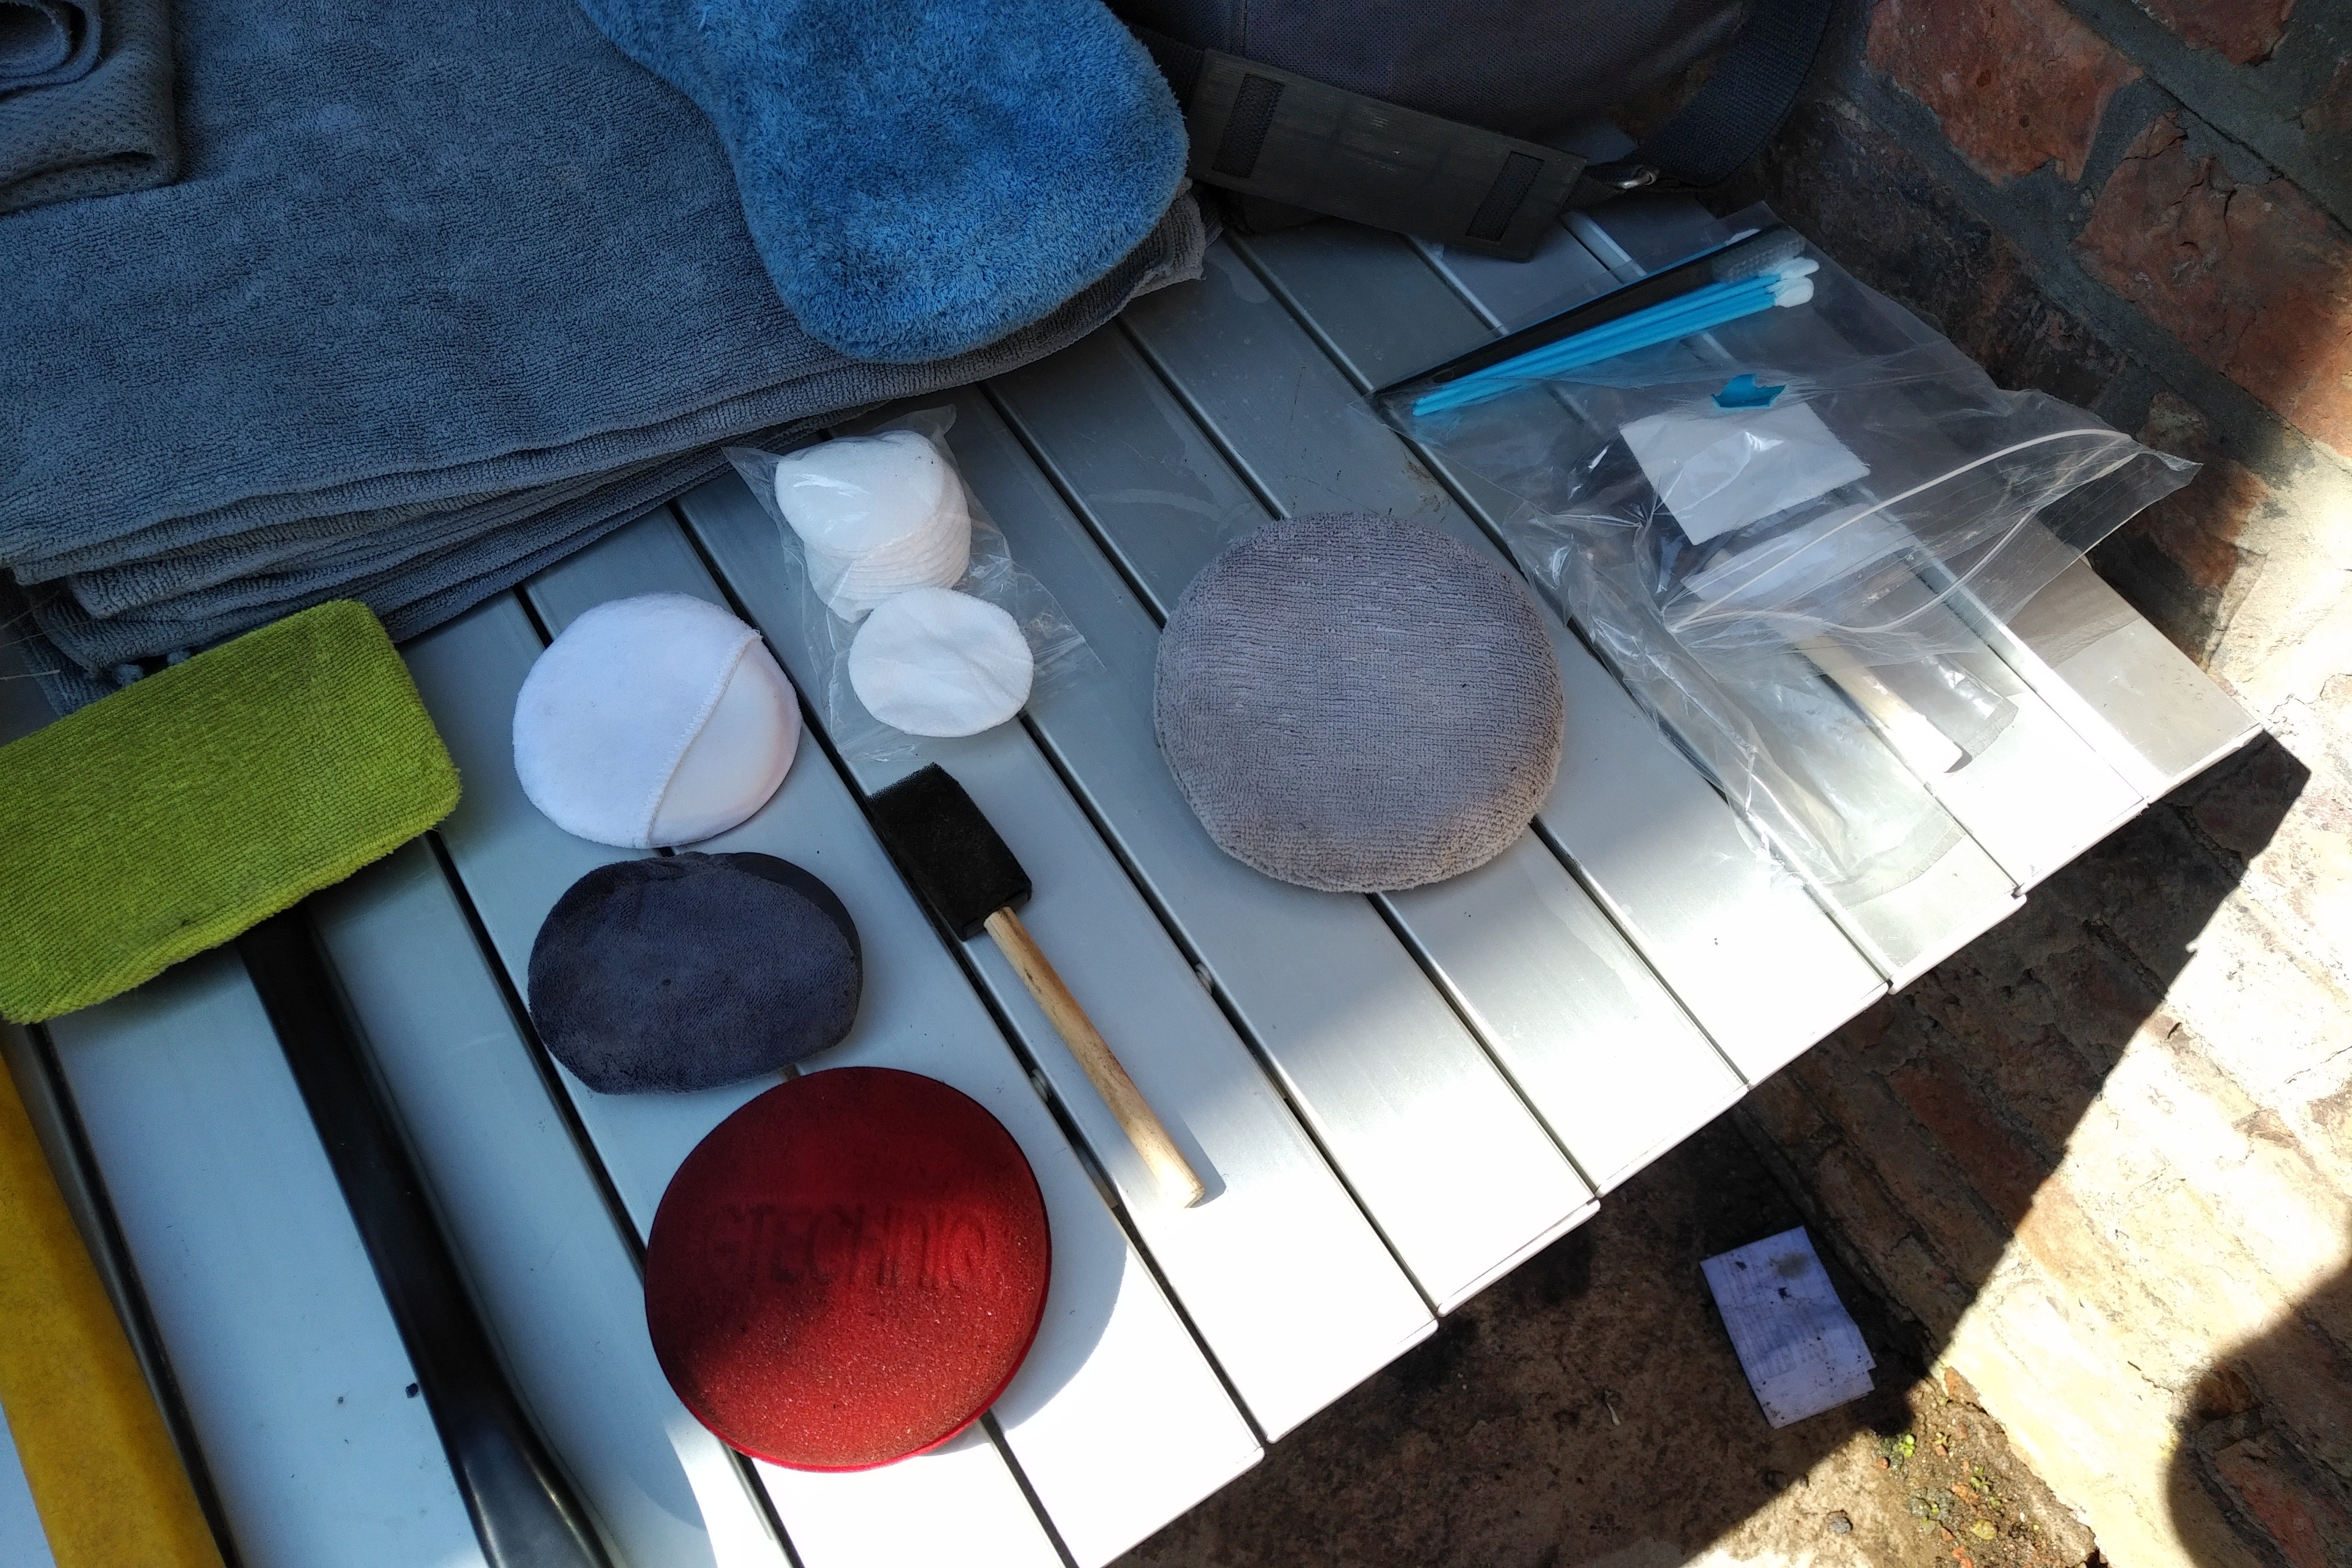
Inside window pad,
white, soft applicator for applying particular coatings or dressing to easily scratched areas such as gloss black or Ďpianoí surfaces,
Same as above but well used so now used for applying rubber dressing to exterior window rubber and trim around the mirrors, etc...
Red soft foam pad for applying dressings to larger areas such as plastic rubbing strips around the exterior of the vehicle,
ĎMake up padsí for applying coatings,
Grey foam on a stick, for dressing awkward areas such as grille mesh and grille,
White microfibre foam pad for applying sealants to larger areas.
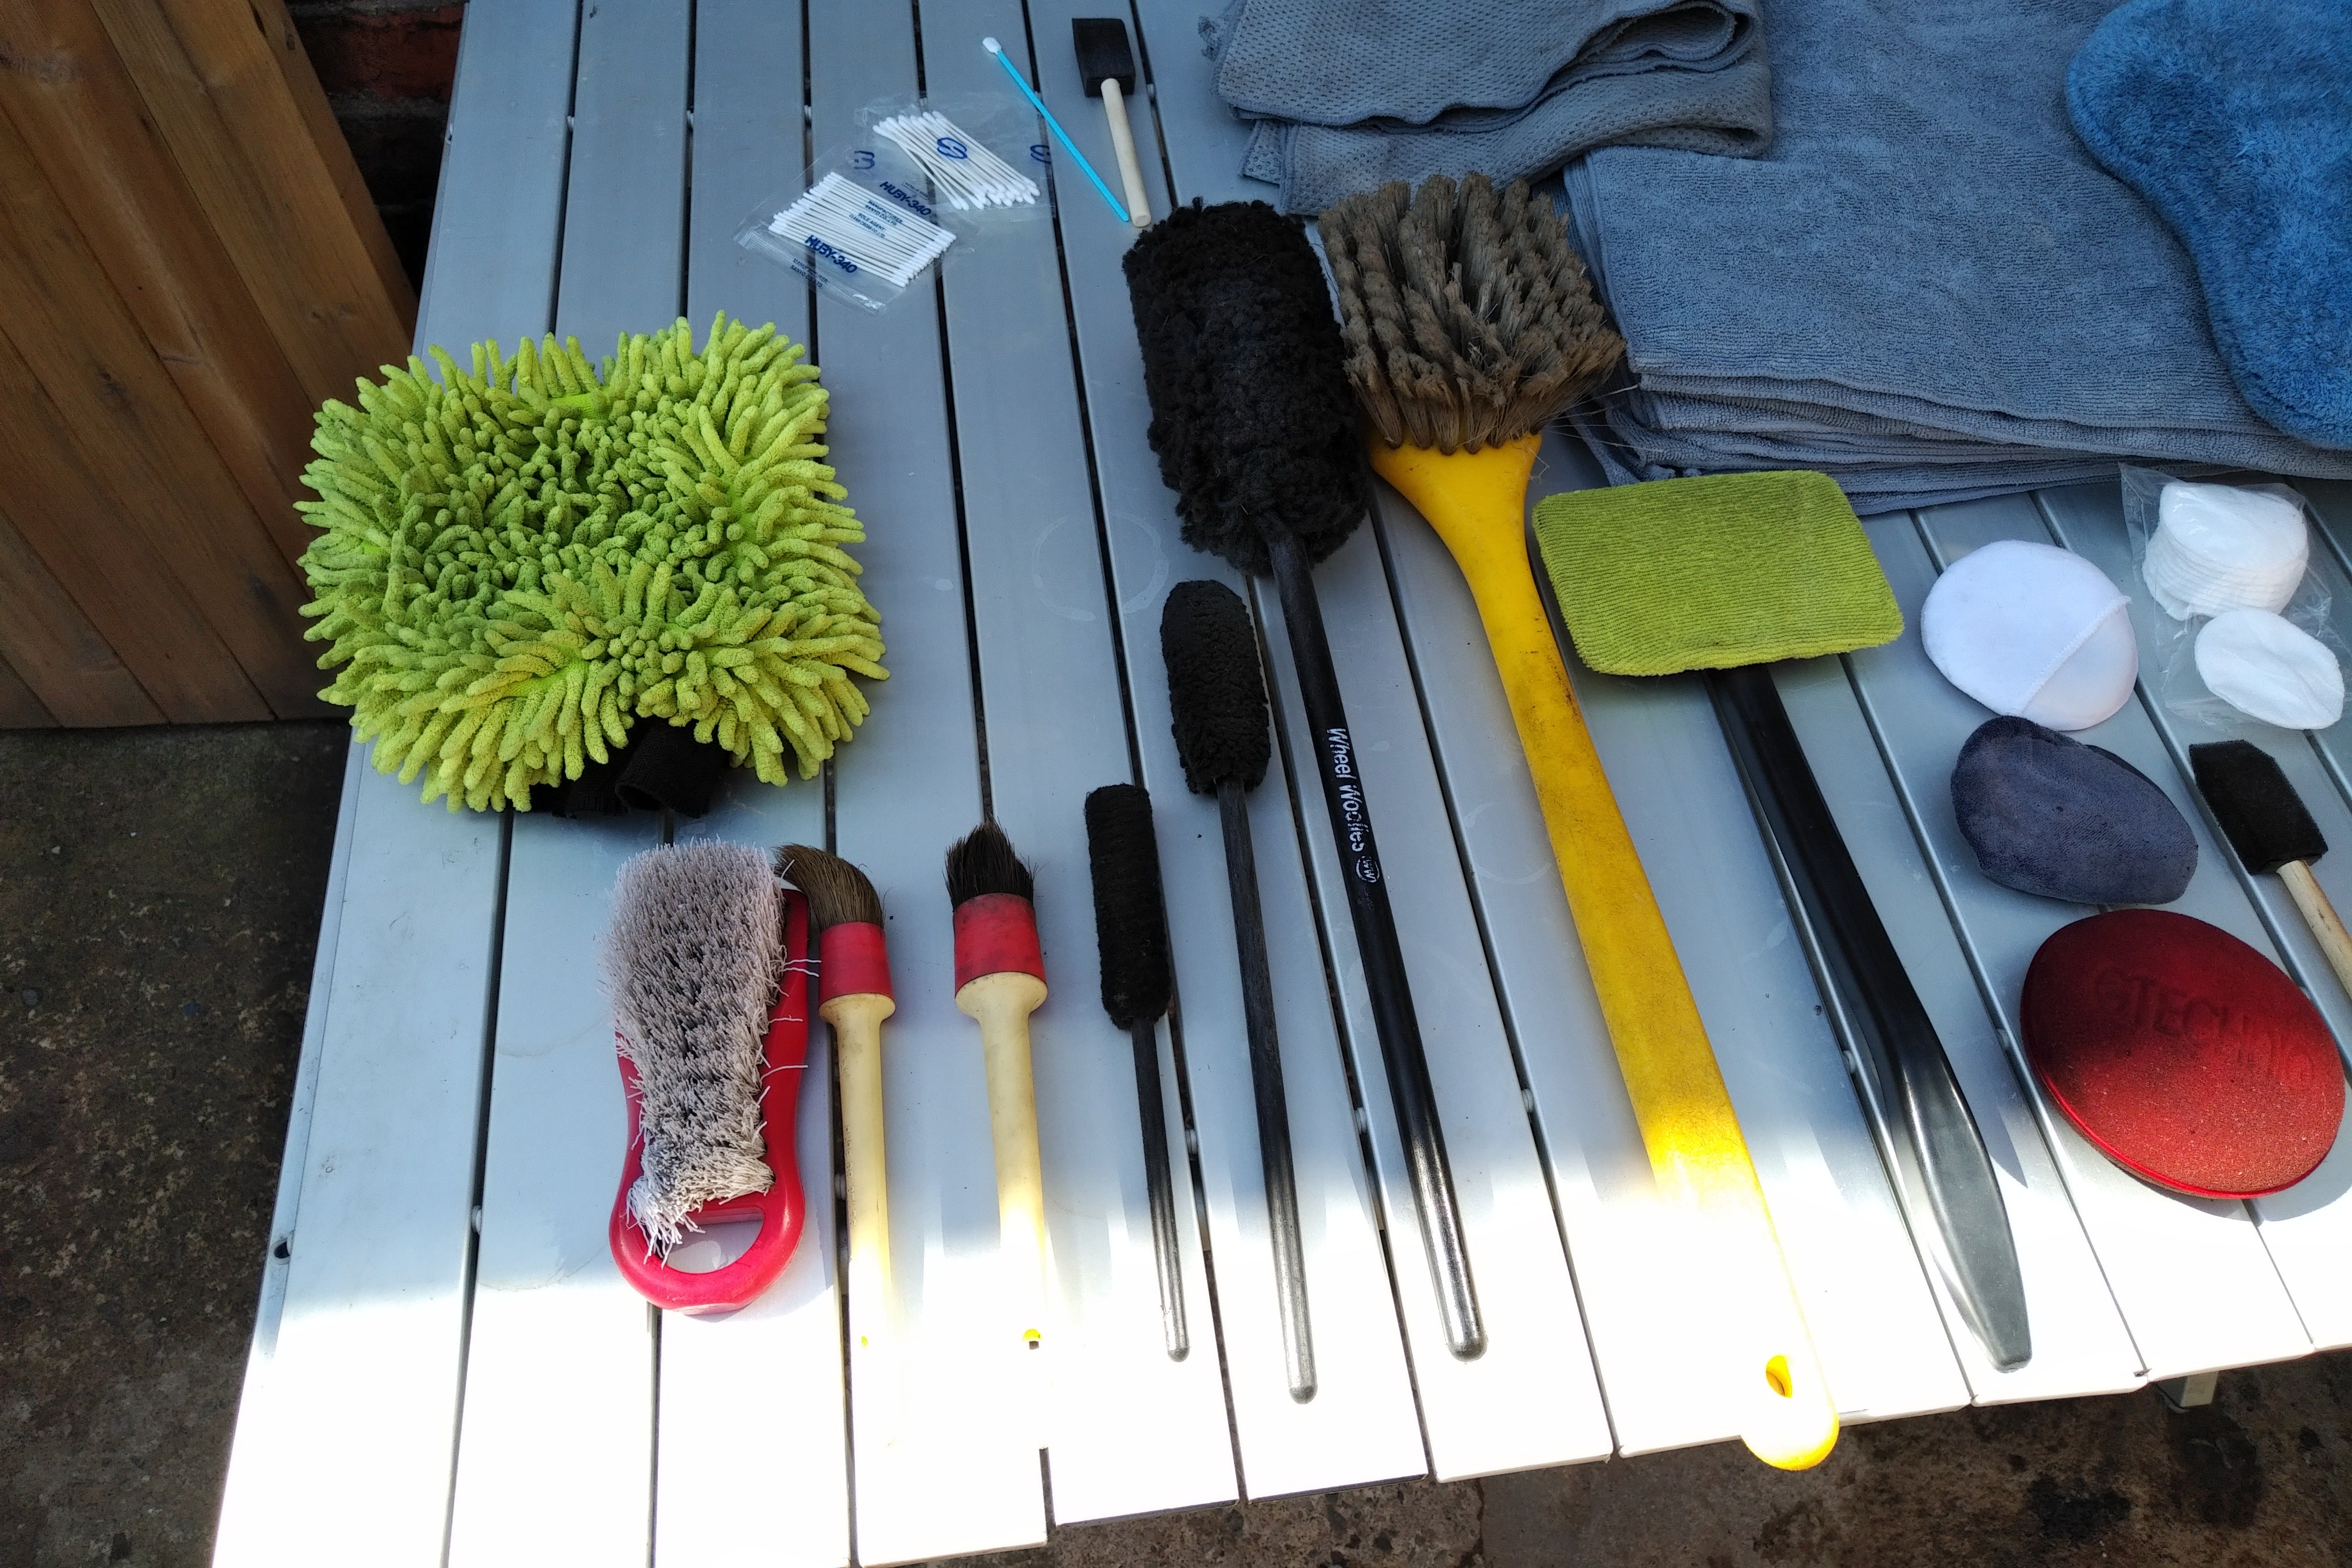
Yellow microfibre noodle wash mitt,
Stiff nylon brush,
Two different size detailing brushes,
Three different sized Wheel Woolies for anywhere from narrow spoke wheels to large wheel arches,
Large yellow wheel arch brush,
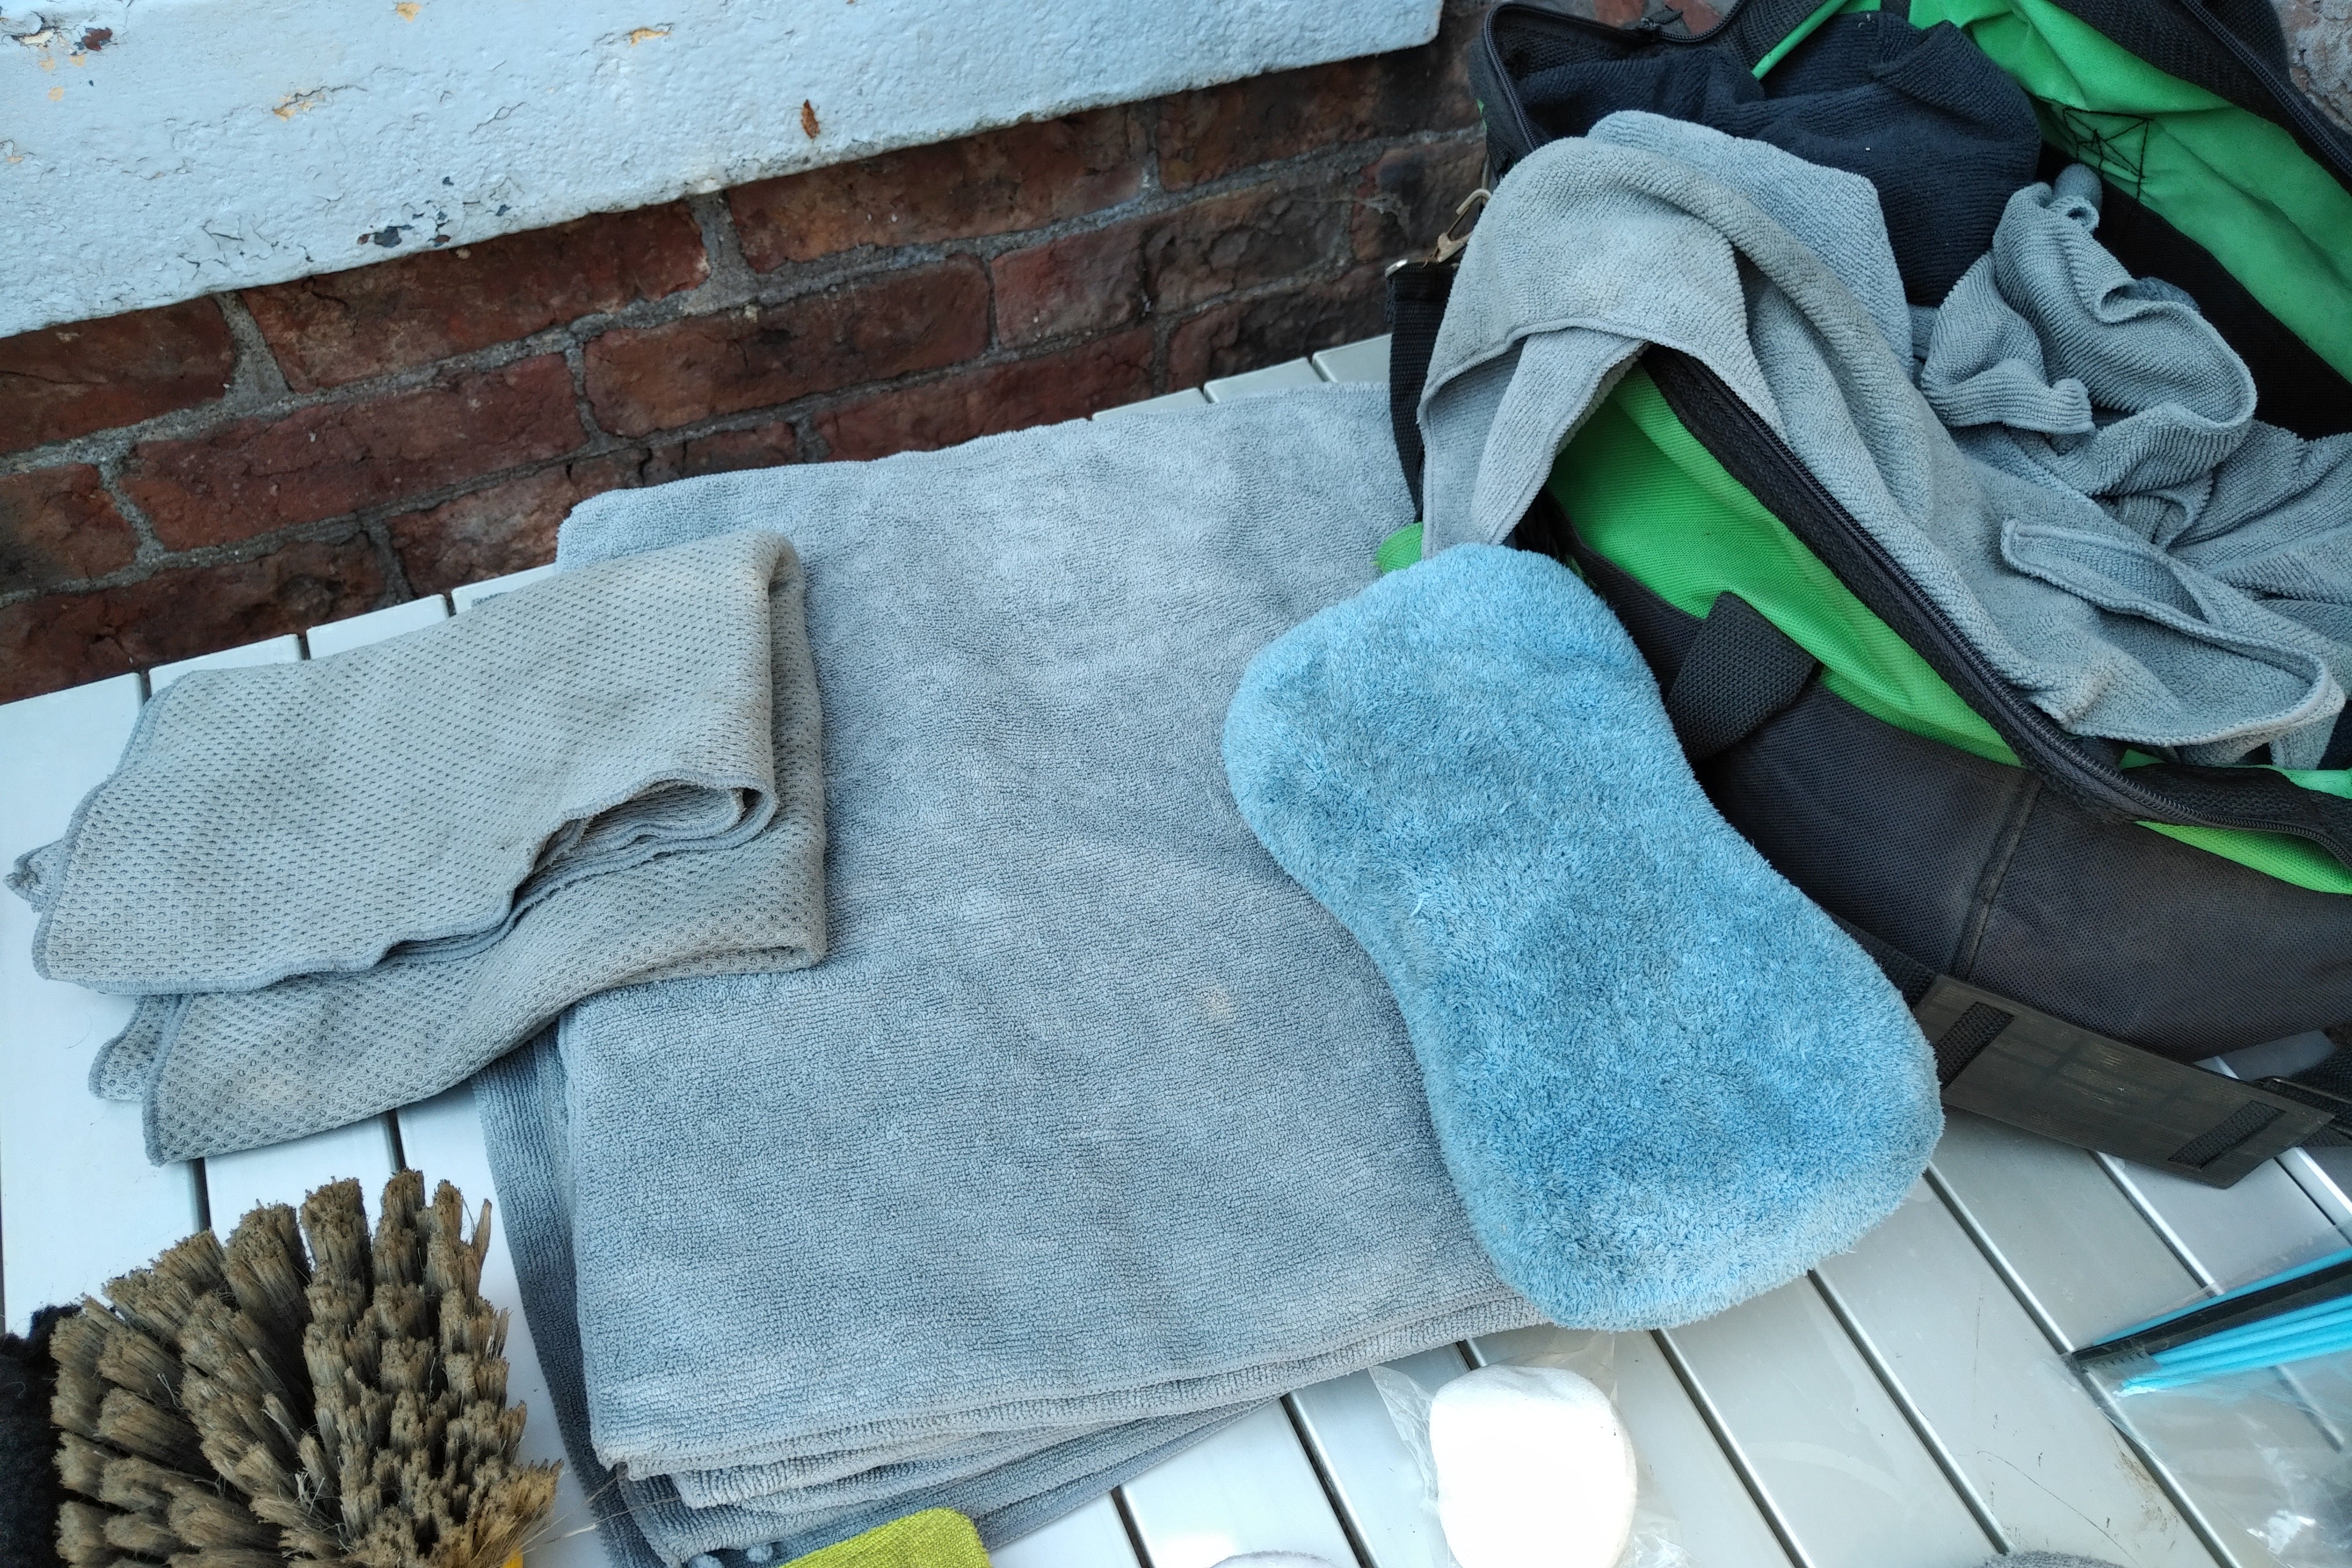
Microfibre cloths, youíll need lots of them.
Cloths are like paper and come in gsm the smaller the gsm the more suitable for just cleaning, a great mid way is around a 300-360gsm, which can be used for cleaning, buffing and inspecting, those higher arenít suitable for cleaning at all.
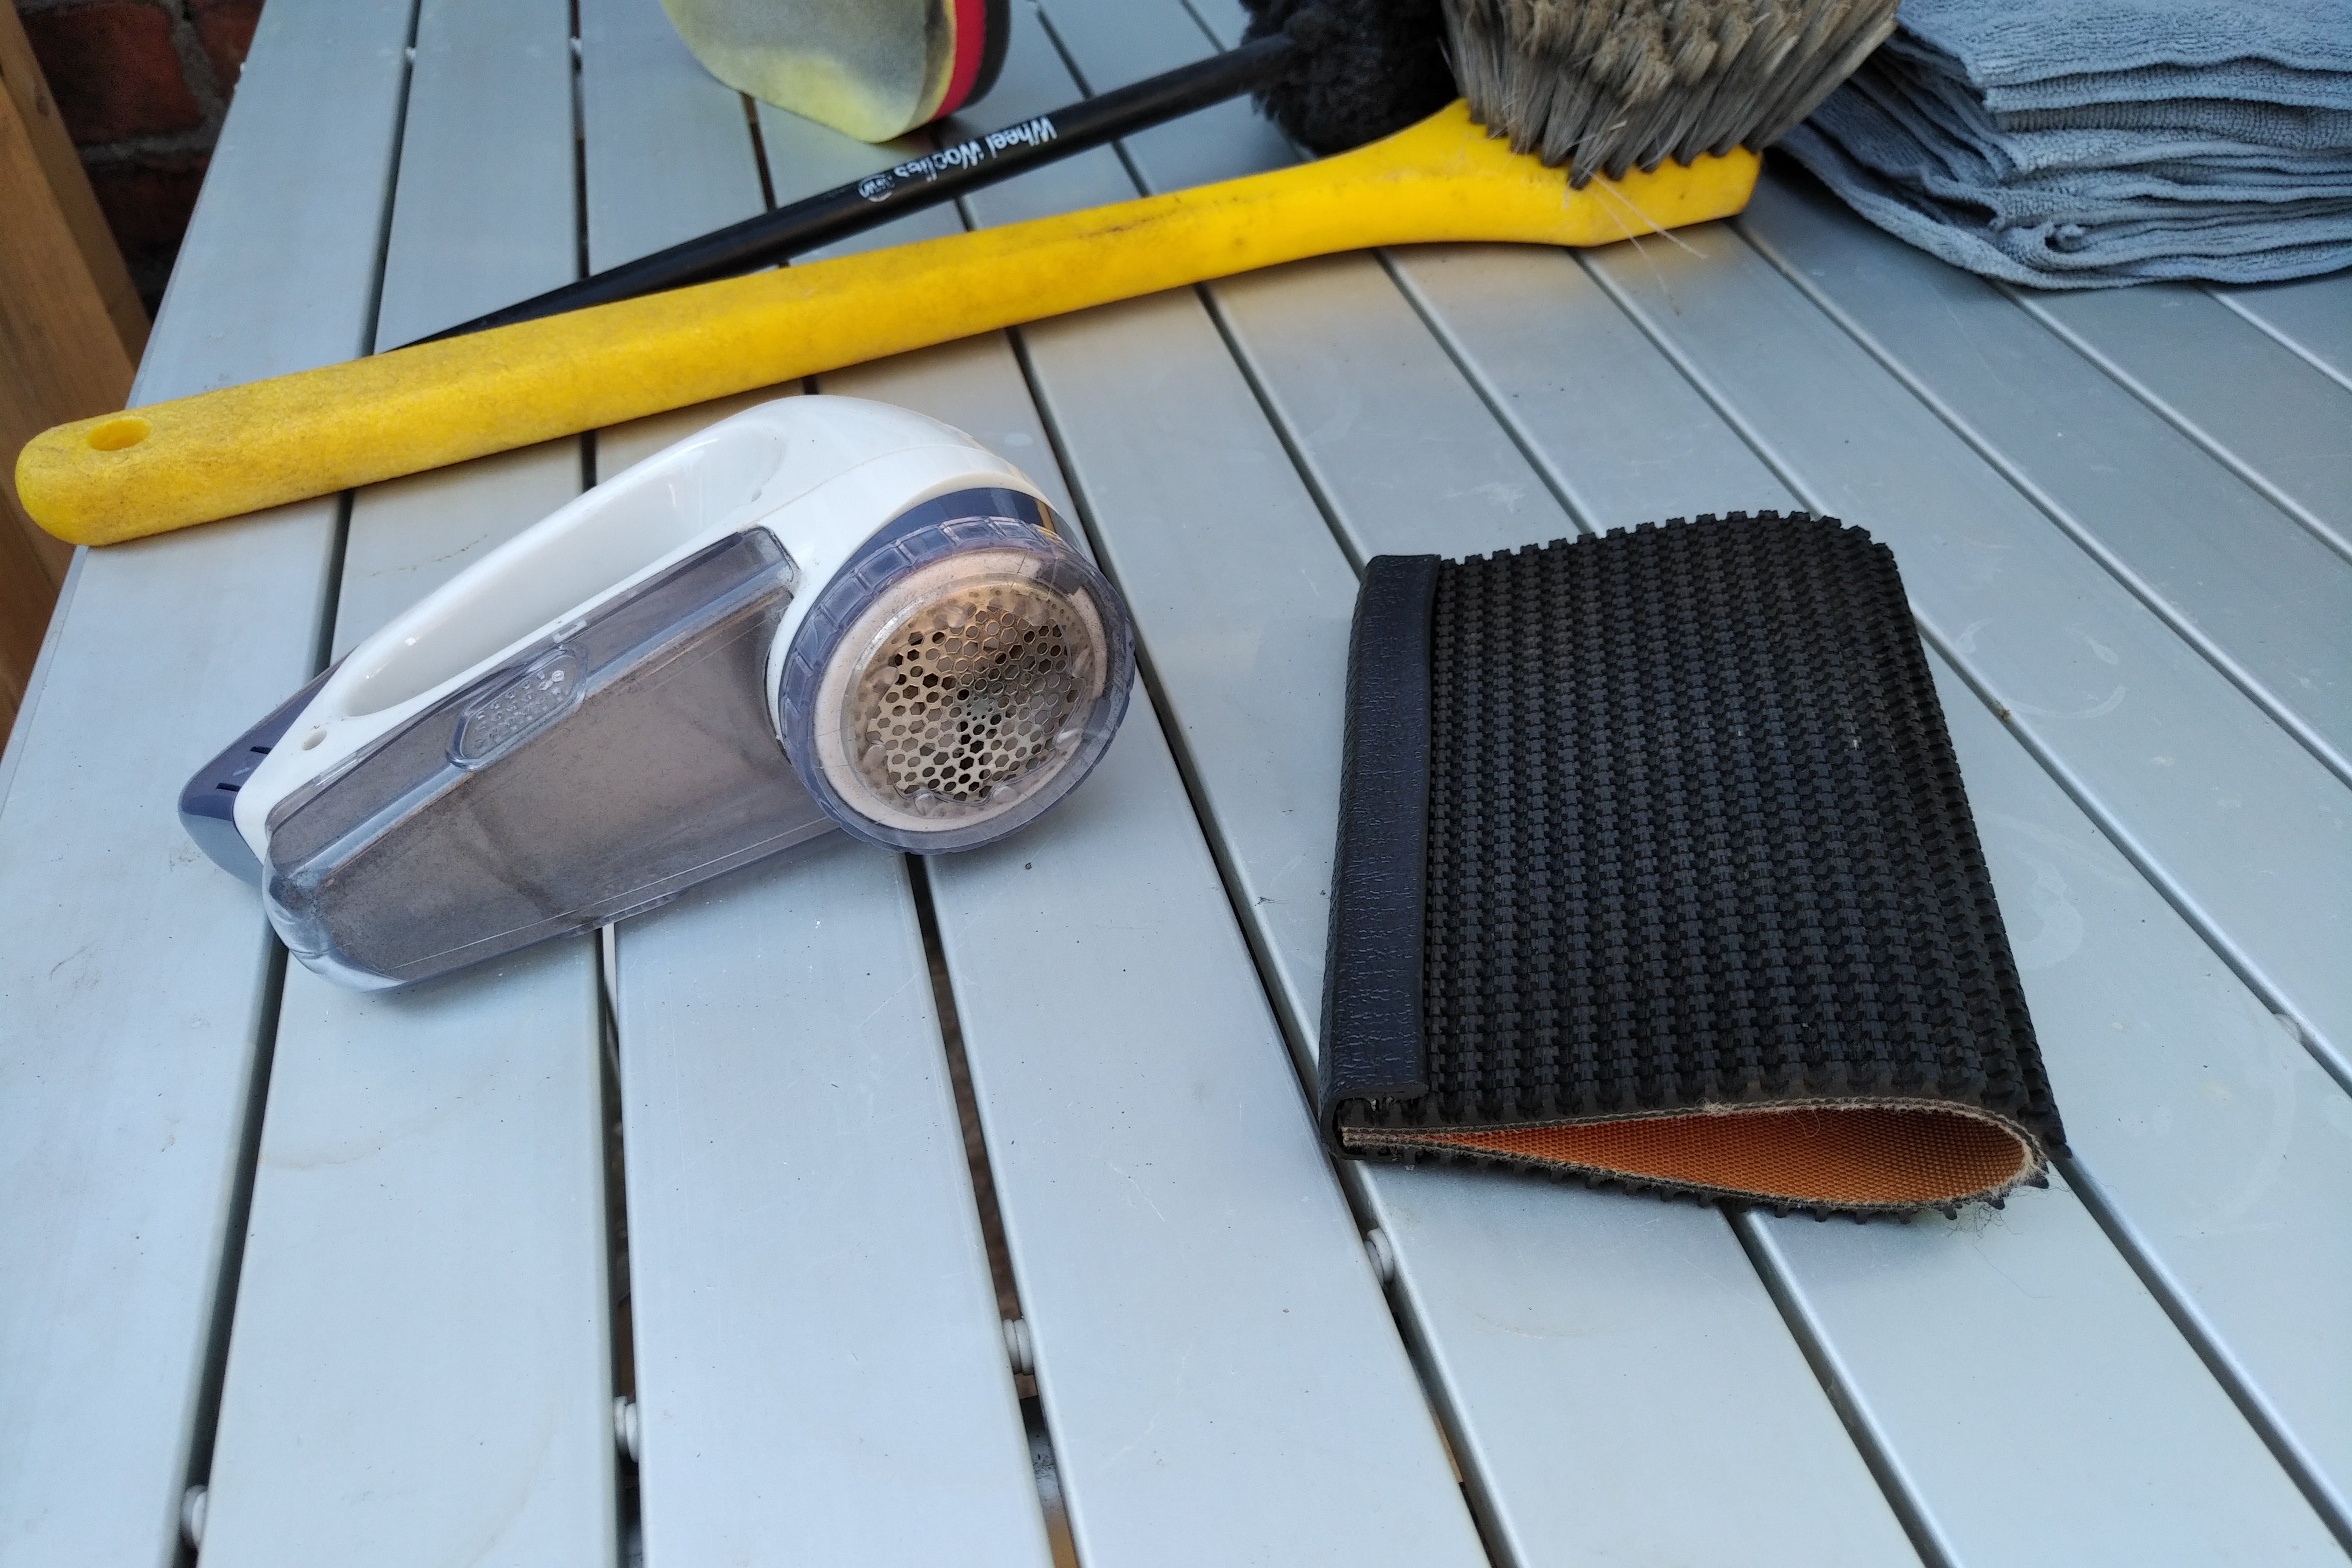
Two great tools are the one on the left, a Ďpilling removerí, which for other than removing little bobbles of cashmere jumpers it ideal for trimming the carpet and upholstery fibres after some have lifted from a too vigorous cleaning,
the one on the right is great for removing dog hairs from fabric.
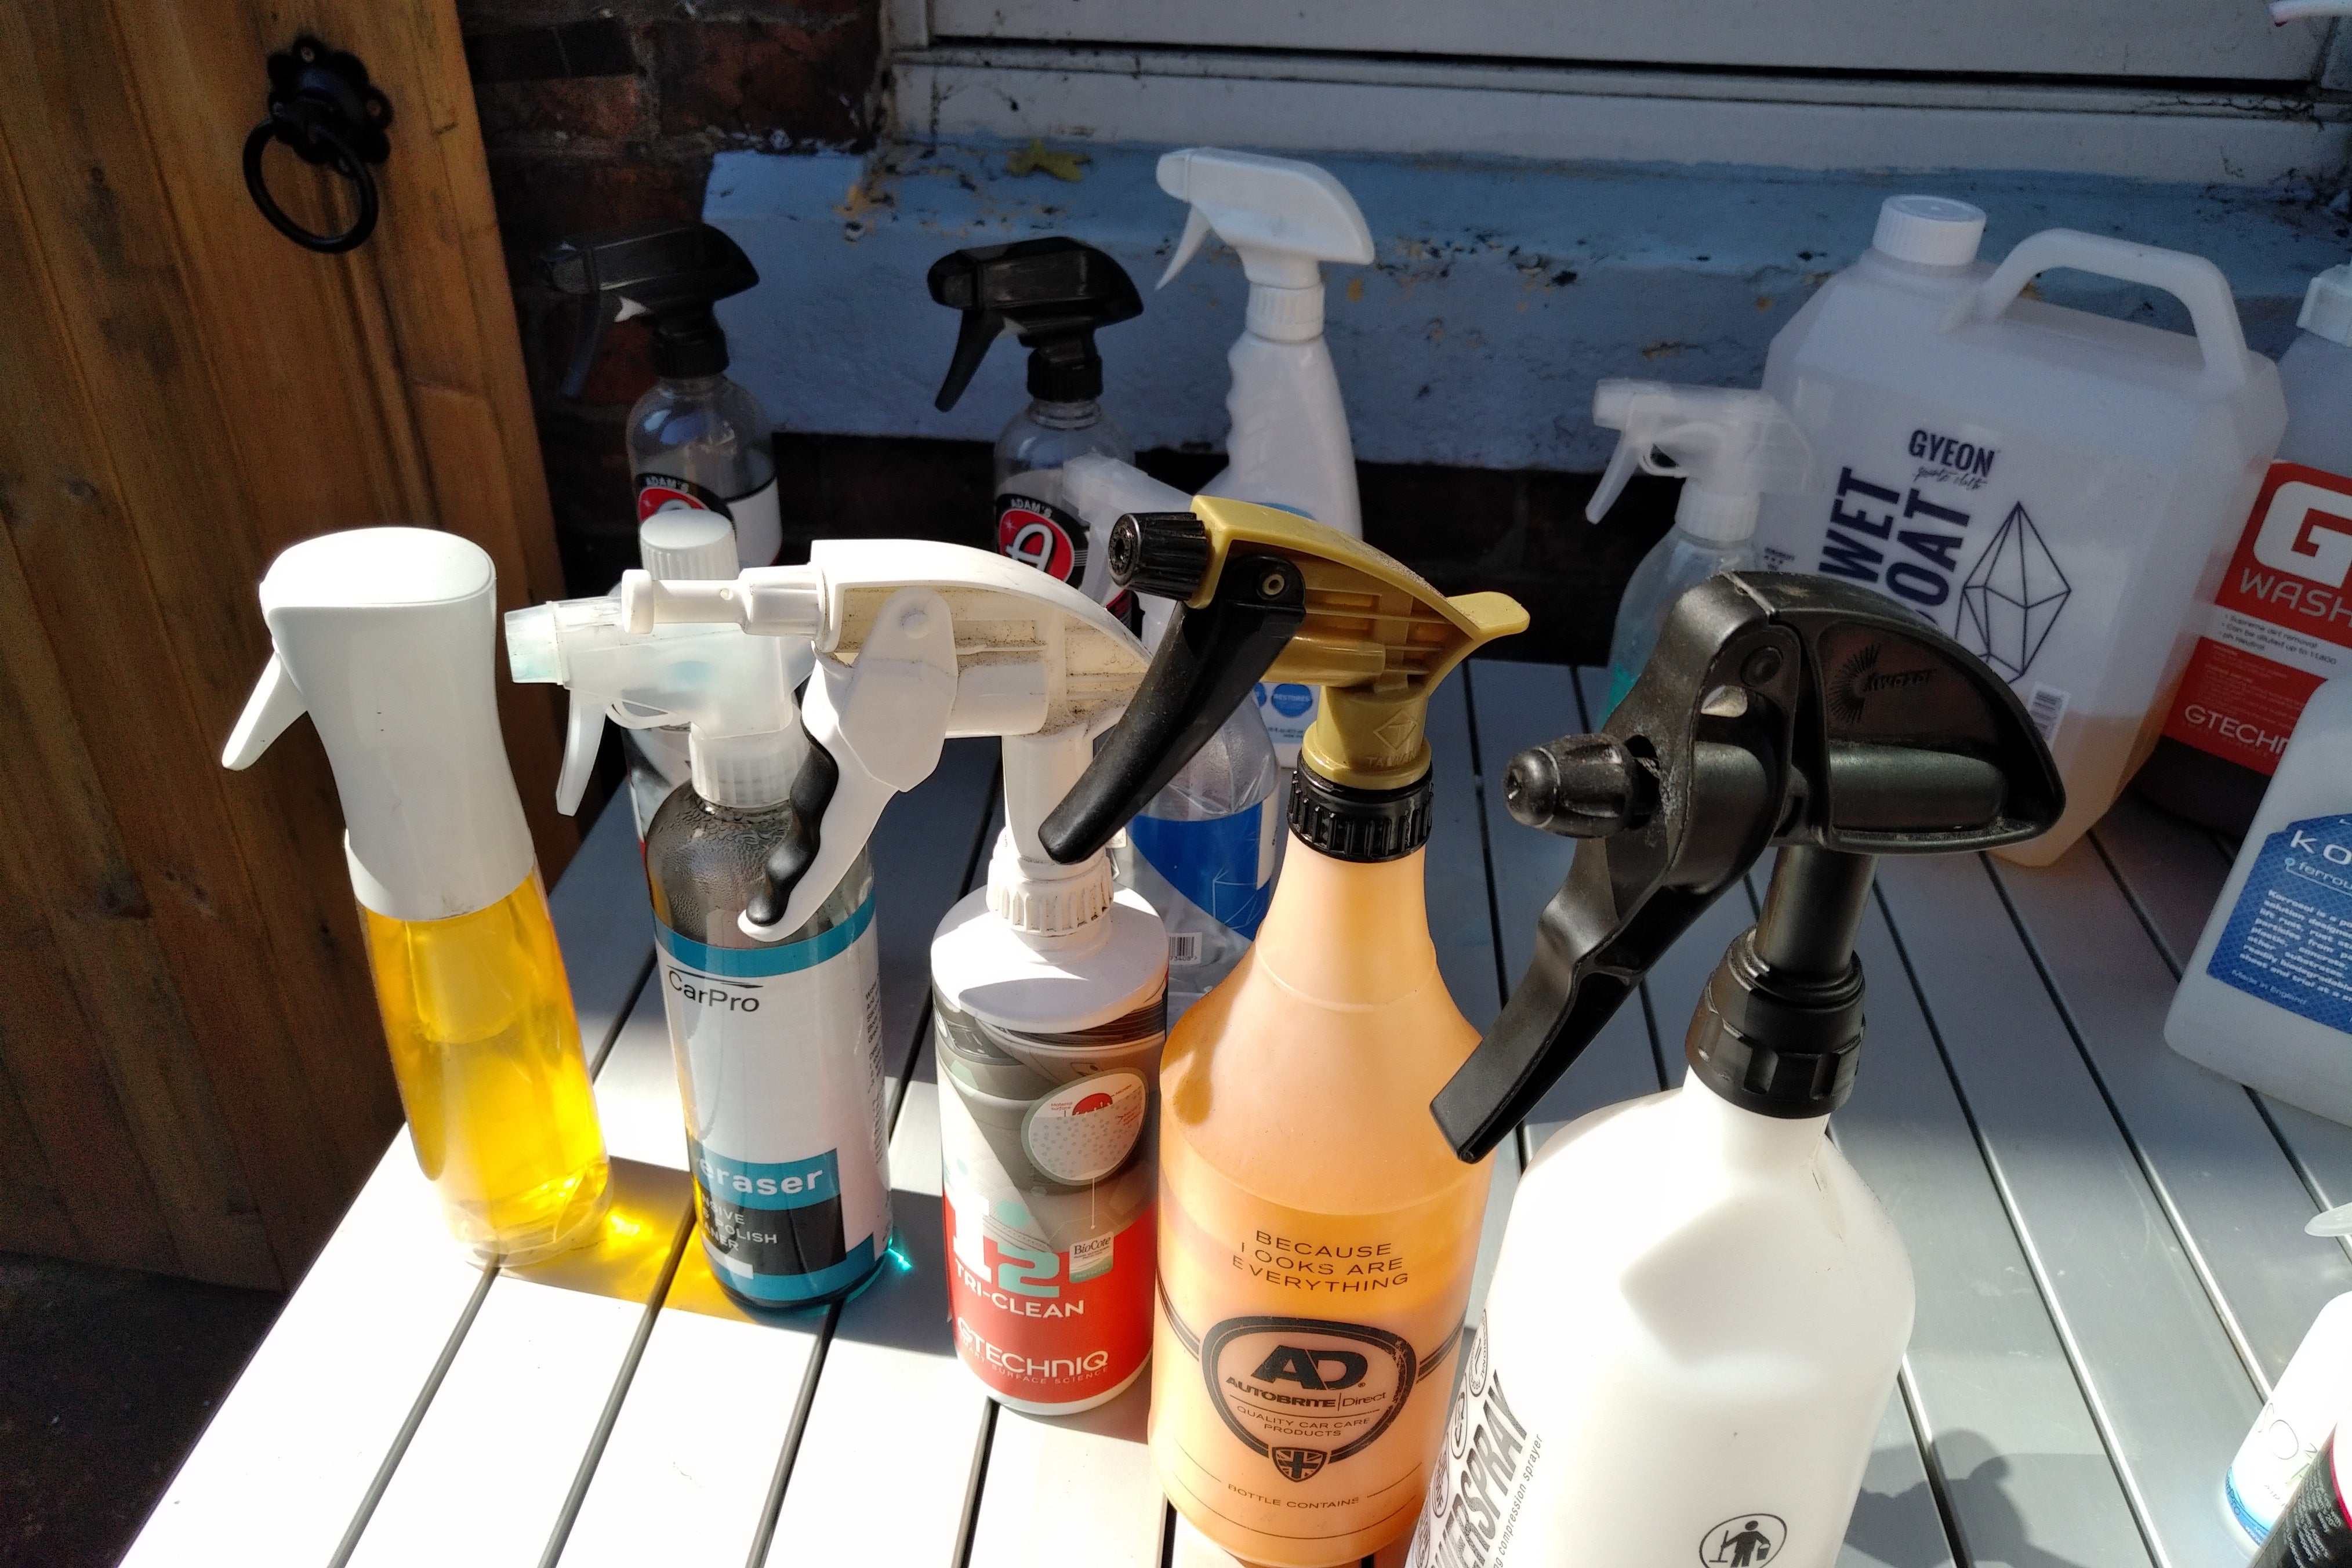
A good assortment of spray heads is always needed, from left to right-
White trigger atomiser spray head, normally used for hair salons but great for applying a very fine mist to stop runs and streaking of items such as Gyeon Wetcoat,
next is a clear regular spray head, after that is a foaming spray head for when cleaning fabric surfaces and you want the agent to stay on the surface to work with it rather than have it soak into the fibres but you can use it,
next is a chemical resistant spray head as some chemicals can destroy the mechanism and finally a double pump trigger, ideal for spraying large areas where your finger muscles can suffer from quite quickly.
 winterlegacy, here 'till the end
> Svend
06/29/2018 at 21:25 |
|
A great guide, Svend. Iíll have to read this again once I have a car that doesnít have New England rust all over it.
Did you mean ďdoor sillsĒ when you wrote ďdoor shutsĒ?
 Svend
> winterlegacy, here 'till the end
06/29/2018 at 21:30 |
|
Thanks, putting it into words was a lot harder than I thought Itíd be.
Door shuts are the whole aperture around the door, both on the door and on the vehicle body and not just the doors but also the tailgate. †
 MM54
> Svend
06/29/2018 at 21:32 |
|
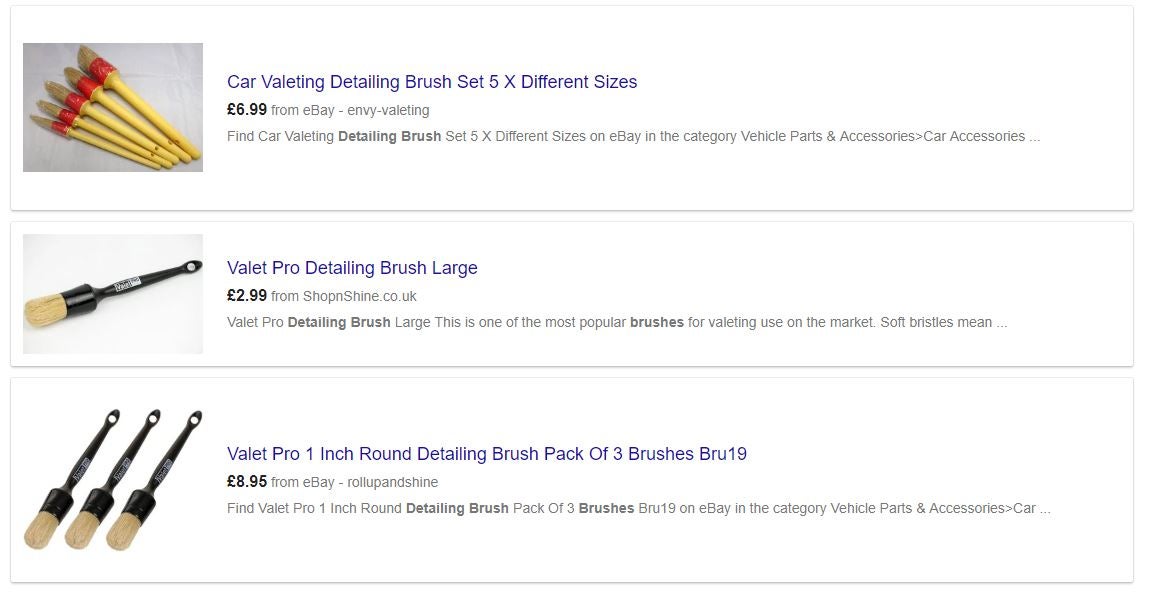
What sort of little detailing brushes would you recommend? It would be very useful to me to be able to get in around badges and other tight areas. Just pick something from amazon, or otherwise what should one look out for?
 Svend
> MM54
06/29/2018 at 21:43 |
|
Detailing brushes sound a rather general term but q uite specific in appearance. They come in different sizes and materials from wood to plastic handles and nylon to boars hair bristles.
In the most part any bristle, but best is around a one inch diameter, used in conjunction with an all purpose cleaner sprayed onto the badge area and a little onto the bristles on the brush and then agitated into all the nooks and crannies of the badge to get all the grime out.
 DutchieDC2R
> Svend
06/29/2018 at 21:50 |
|
This is very good Oppo.
Thnx for setting this up and posting it, Svend!
 Svend
> DutchieDC2R
06/29/2018 at 21:53 |
|
Thanks. There is so so so much more which †each area could take up pages of writing and pictures to explain.
 Daily Drives a Dragon - One Last Lap
> Svend
06/29/2018 at 23:13 |
|
How perfect those door jambs are makes me sad. I need to do that but...
 Svend
> Daily Drives a Dragon - One Last Lap
06/29/2018 at 23:28 |
|
Thanks, the trickiest bits are the front doors at the hinge, getting in needs a bit of Ď fettlingí of the doors and a variety of brushes but kept on top of and the right products make it easier.
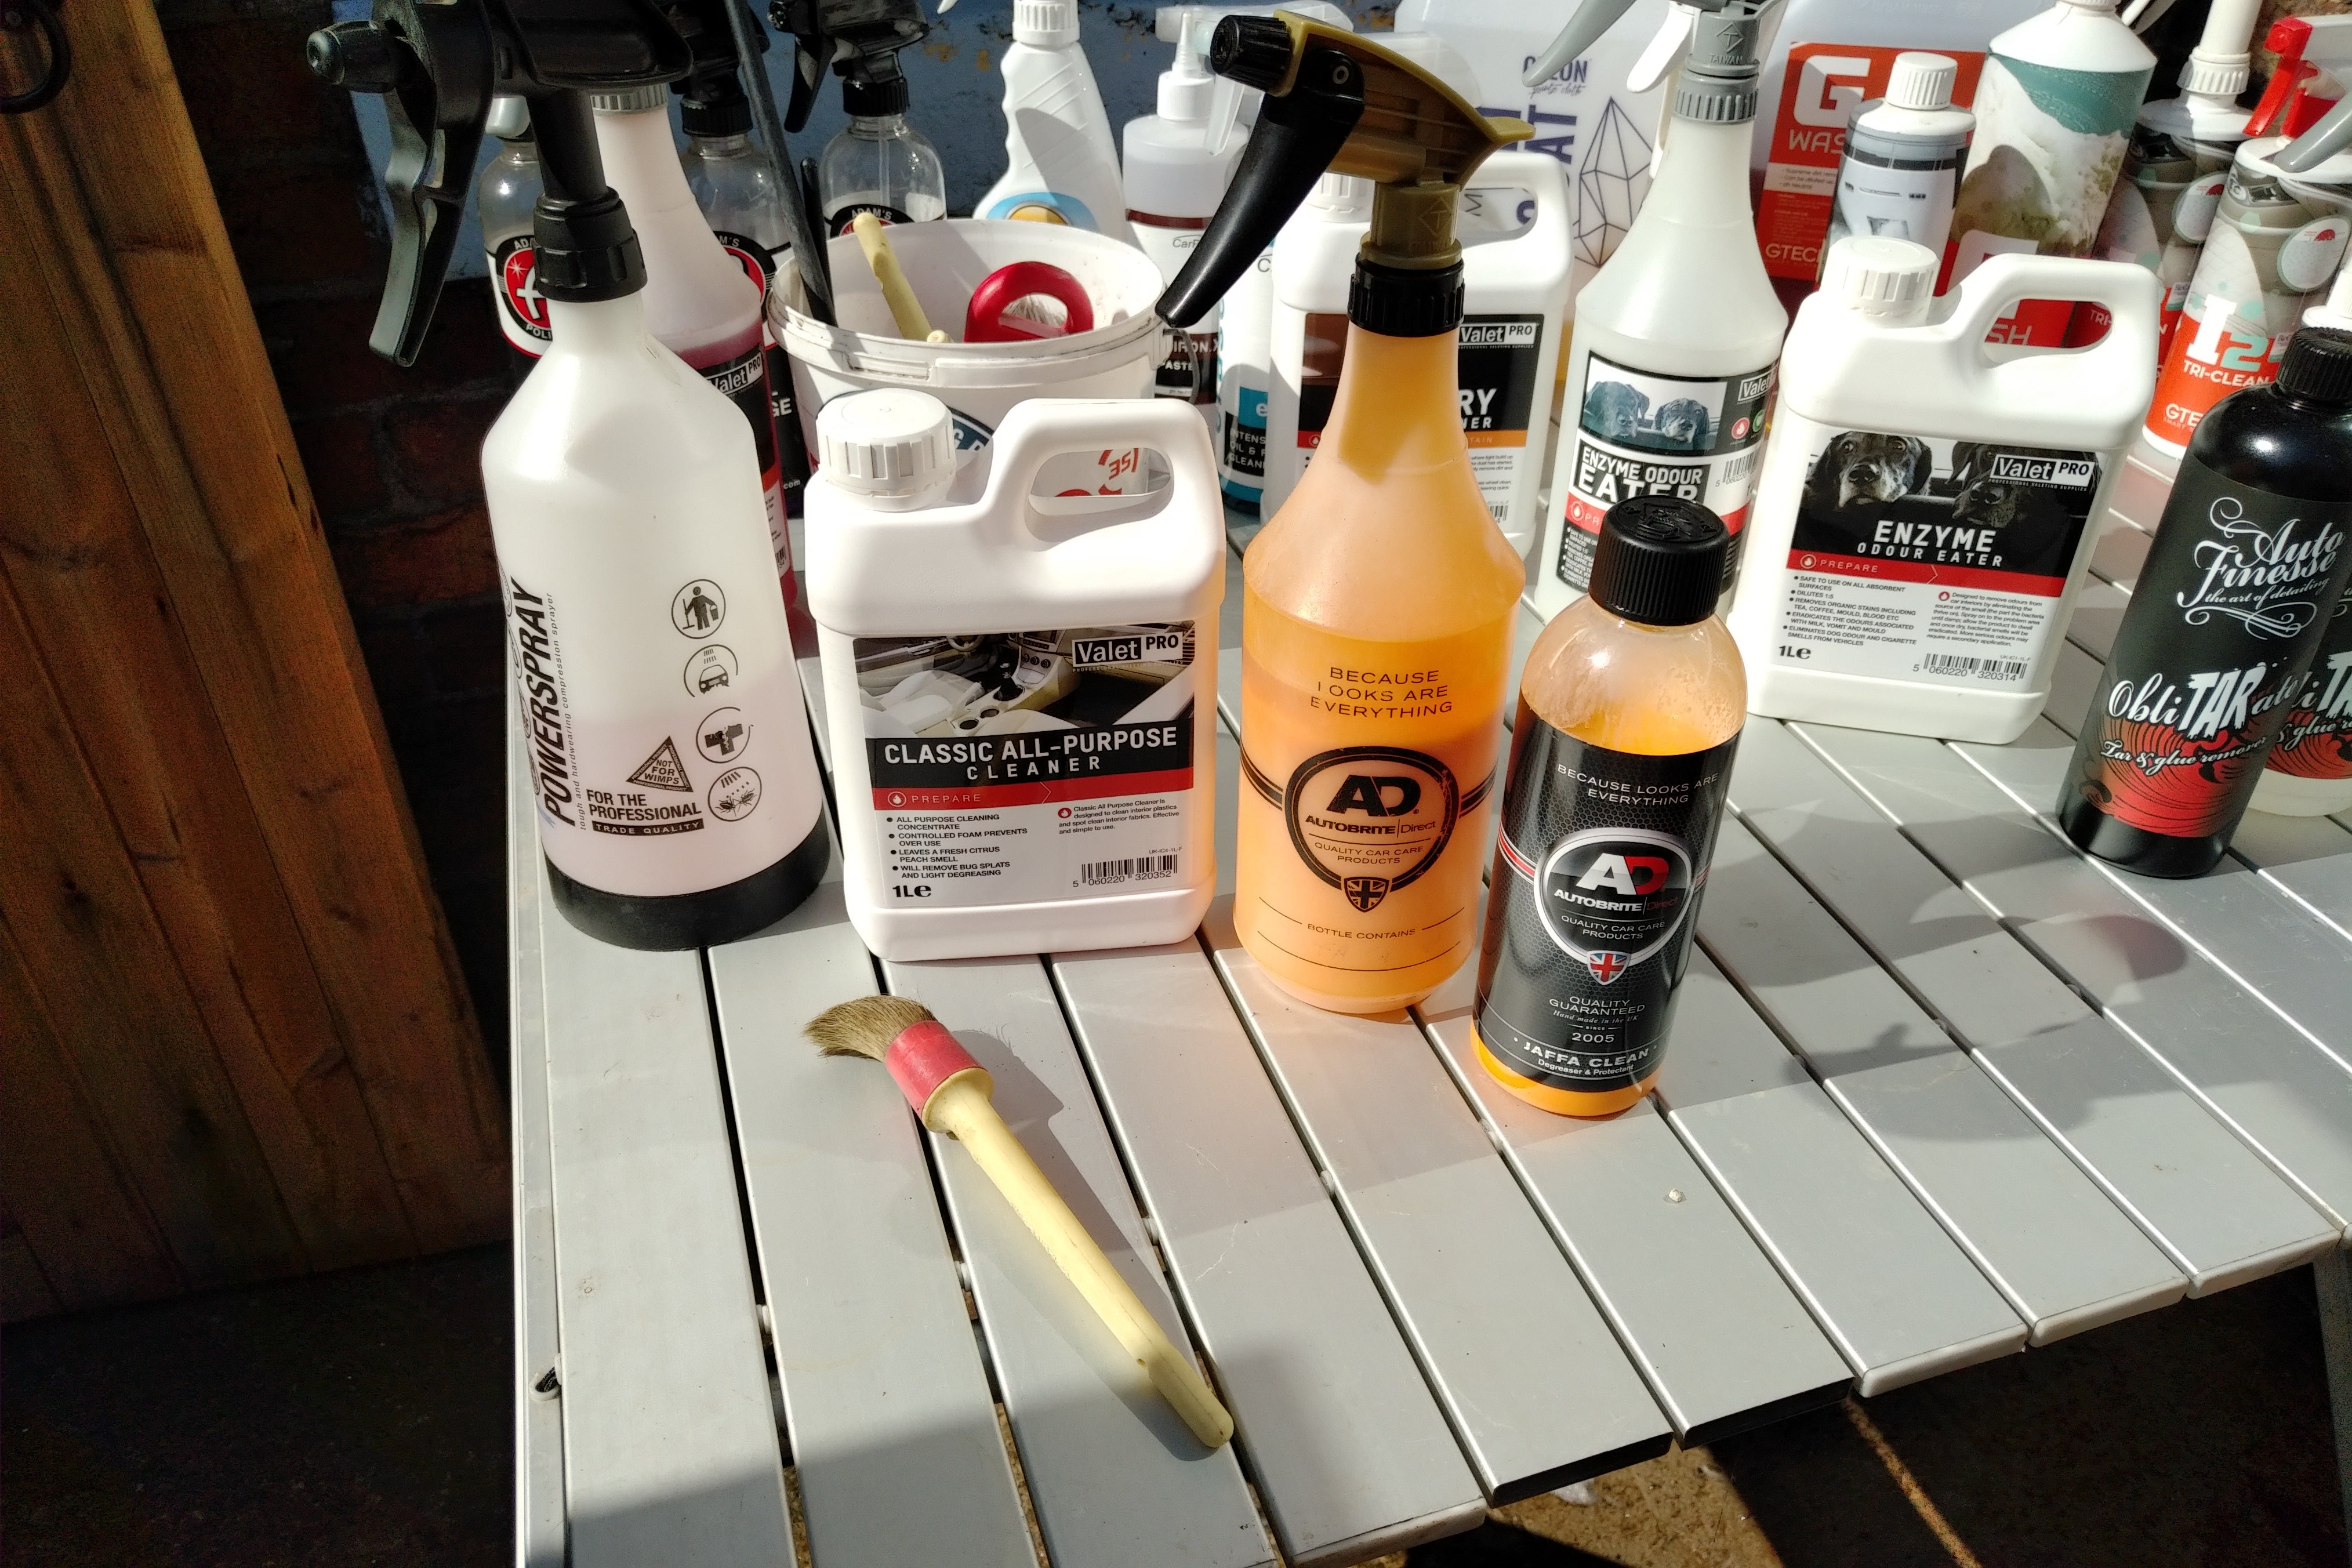
The orange product is Auto Brite Jaffa Clean which is a cleaner, degreaser and protectant in one in that I can easily spray on, let dwell for a minute or two agitate and pressure wash off.
 Daily Drives a Dragon - One Last Lap
> Svend
06/30/2018 at 01:30 |
|
It'll just collect again, especially on the front where the inner fender can be seen from inside the hinge.†
 Svend
> Daily Drives a Dragon - One Last Lap
06/30/2018 at 02:02 |
|
To be fair you can say that about cleaning a car or anything for that matter.
But hereís a good one someone once told me when someone says, Ďwhatís the point, itíll only get dirty again!?í, that response is, Ďwell you wipe your arse donít you?í.
The thing is, done properly once and protected makes it much easier to keep that way. And literally only needs a quick few squires from time to time with no agitation needed and a pressure rinse to clean off again.
I clean and dress wheel arches that'll only stay clean until the first puddle or bit of debris on the road, but it's worth doing.†