 "Akio Ohtori - RIP Oppo" (akioohtori)
05/28/2018 at 16:58 ē Filed to: Disco Inferno
 6
6
 6
6
 "Akio Ohtori - RIP Oppo" (akioohtori)
05/28/2018 at 16:58 ē Filed to: Disco Inferno |  6 6
|  6 6 |
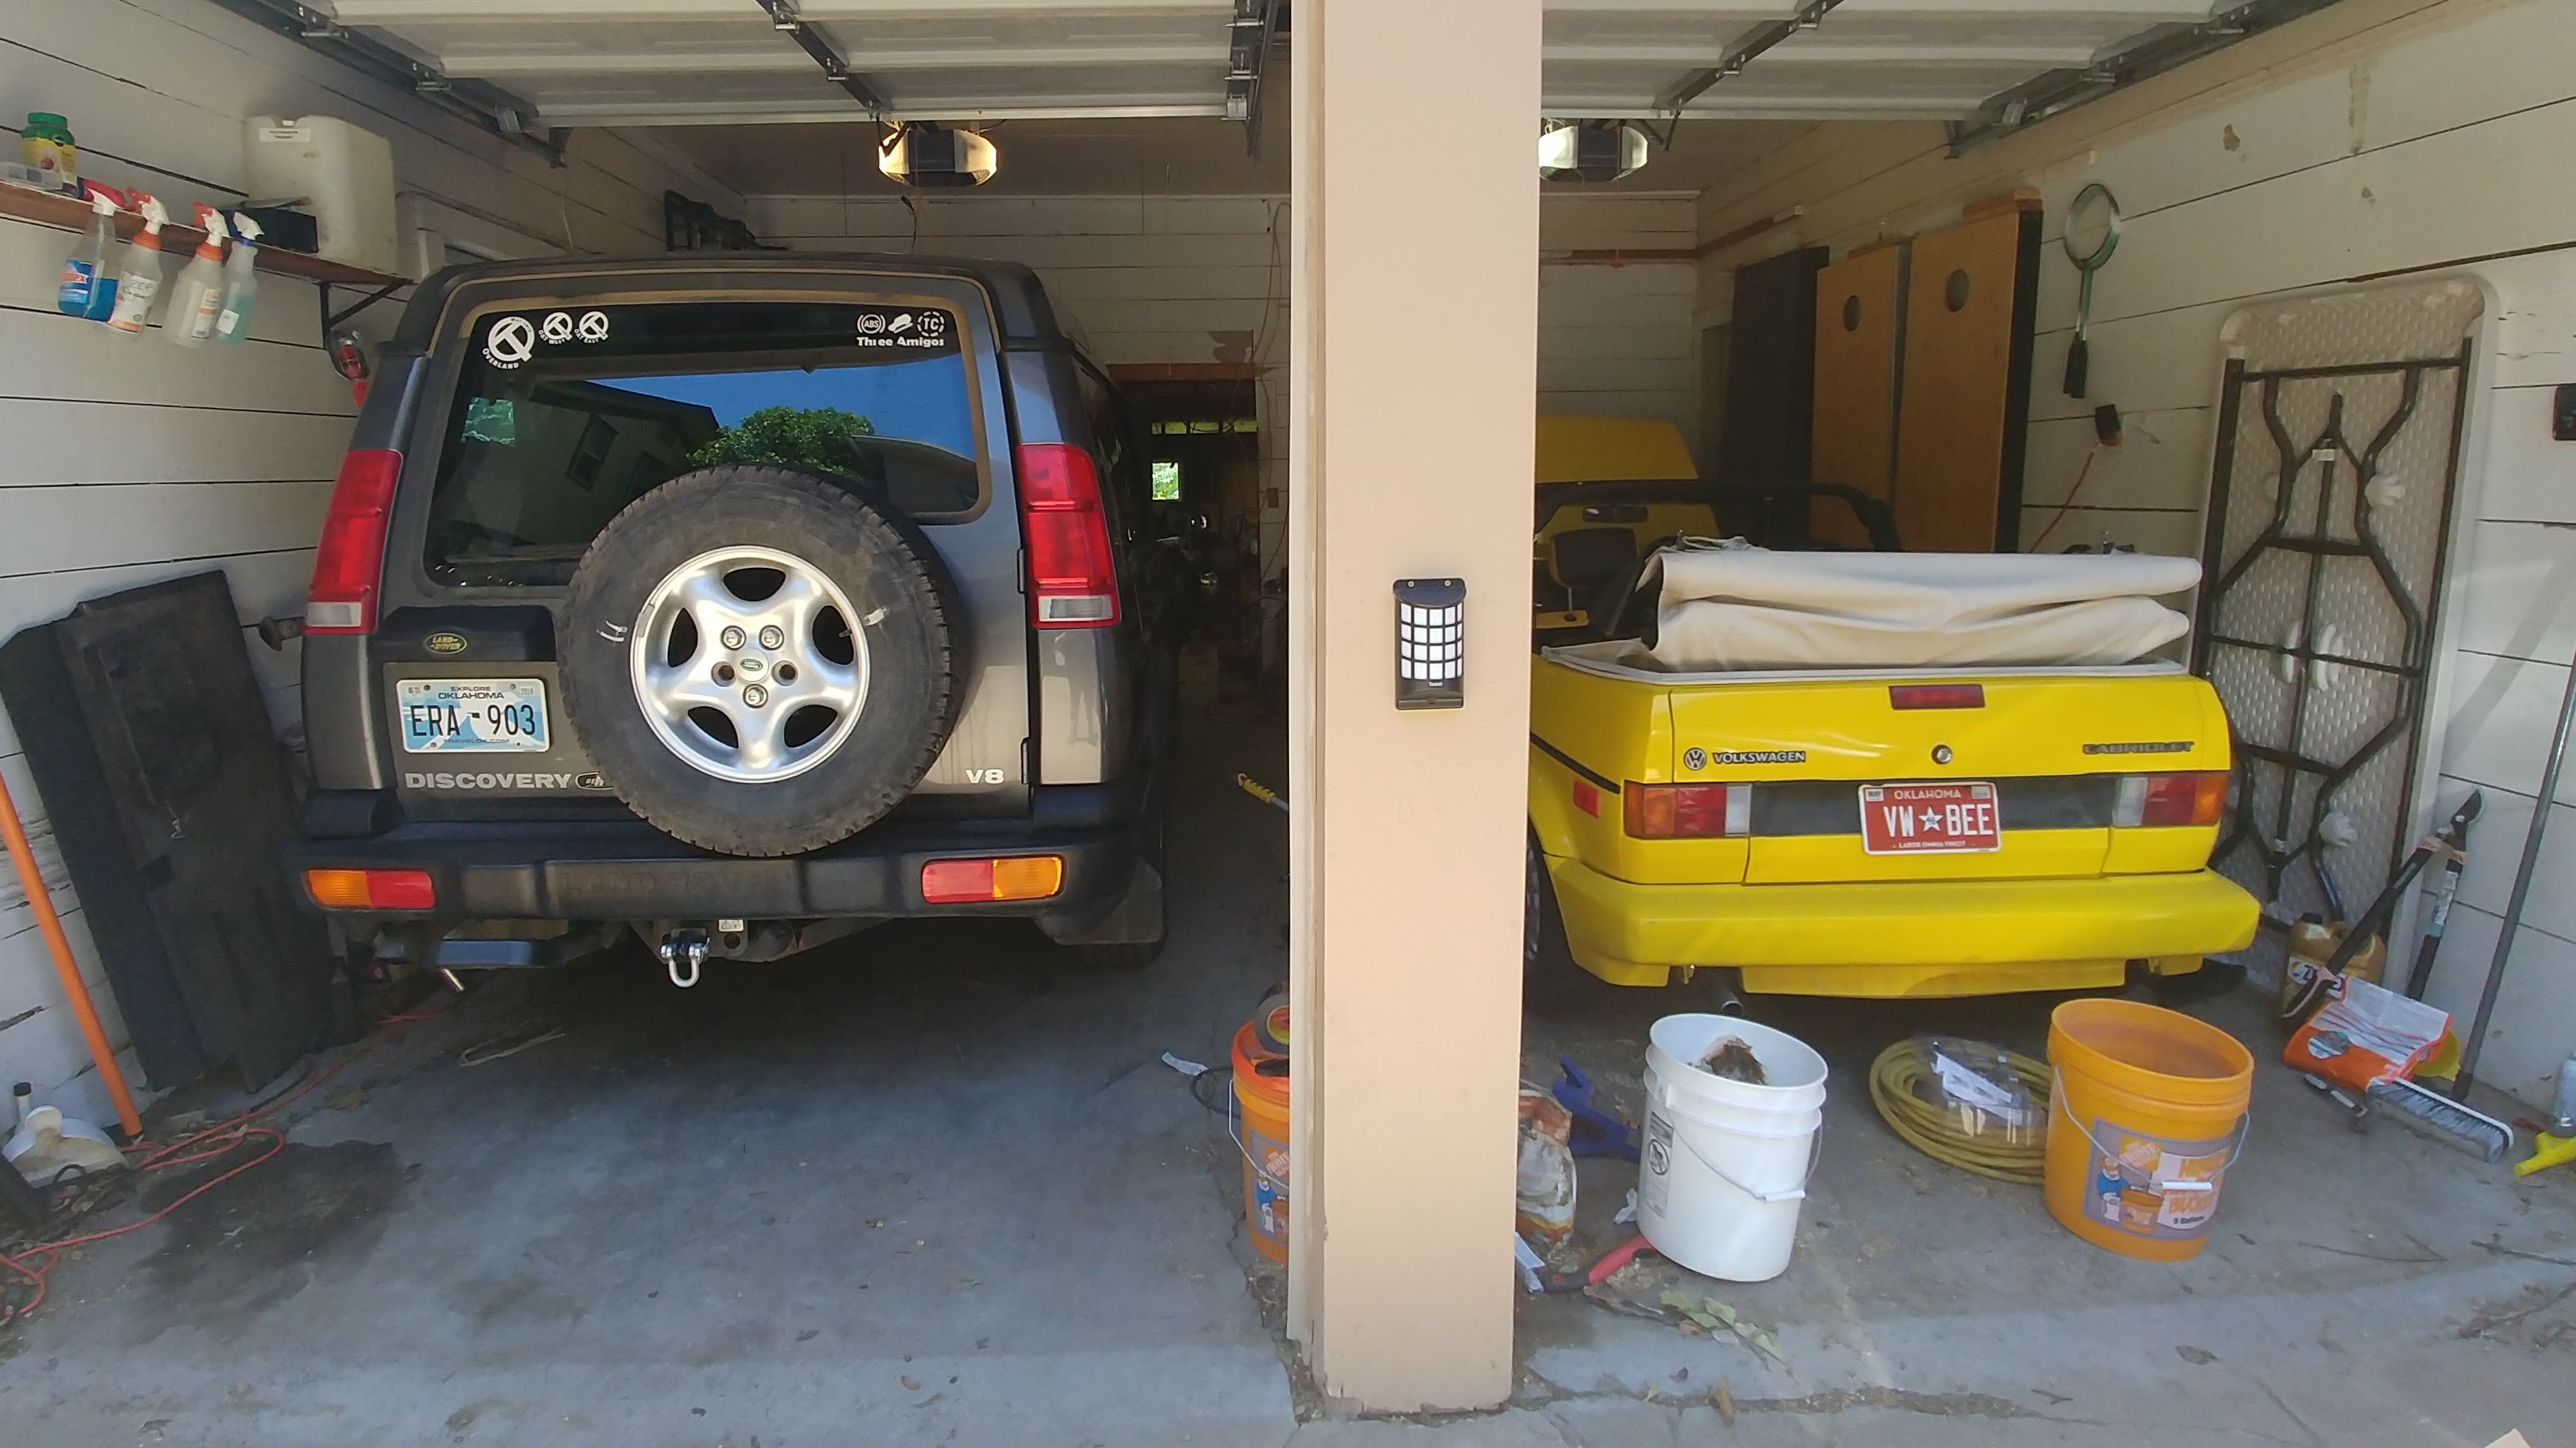
I had a rather ambitious weekend planned, full of cars, car repairs, and the answer to last weekís puzzler. While I didnít complete most of what I intended to, so I did get the Disco back on the road!
!!! UNKNOWN CONTENT TYPE !!!
Given that list... how did I do?
Volvo
Yeah no.
Saab
Pass. Letís talk about something else!
Alfa
Oh hey I did do some work on this one! A heat shield came loose either on the track or on the way back from the track. I got under it, reinstalled the screws that hold it in place, and weíre back in business!
I drove it a bit this weekend and the ground issue is getting worse... >_<
Land Rover
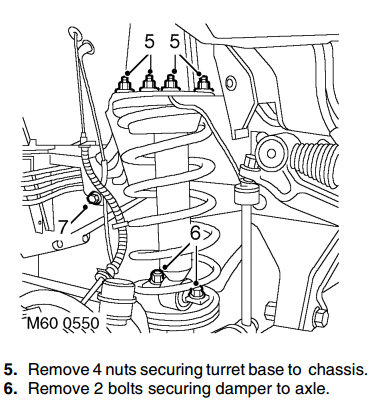
I set out to do the shocks and front anti-roll/ sway bar links and bushes and against all odds I actually did that thing!
It was a weird mix of very easy and very difficult. Despite being coil-over-shock, the shocks are actually a breeze to remove. Except this big bastard bolt, which on both sides ends up interfering with something, making it a pain to remove.
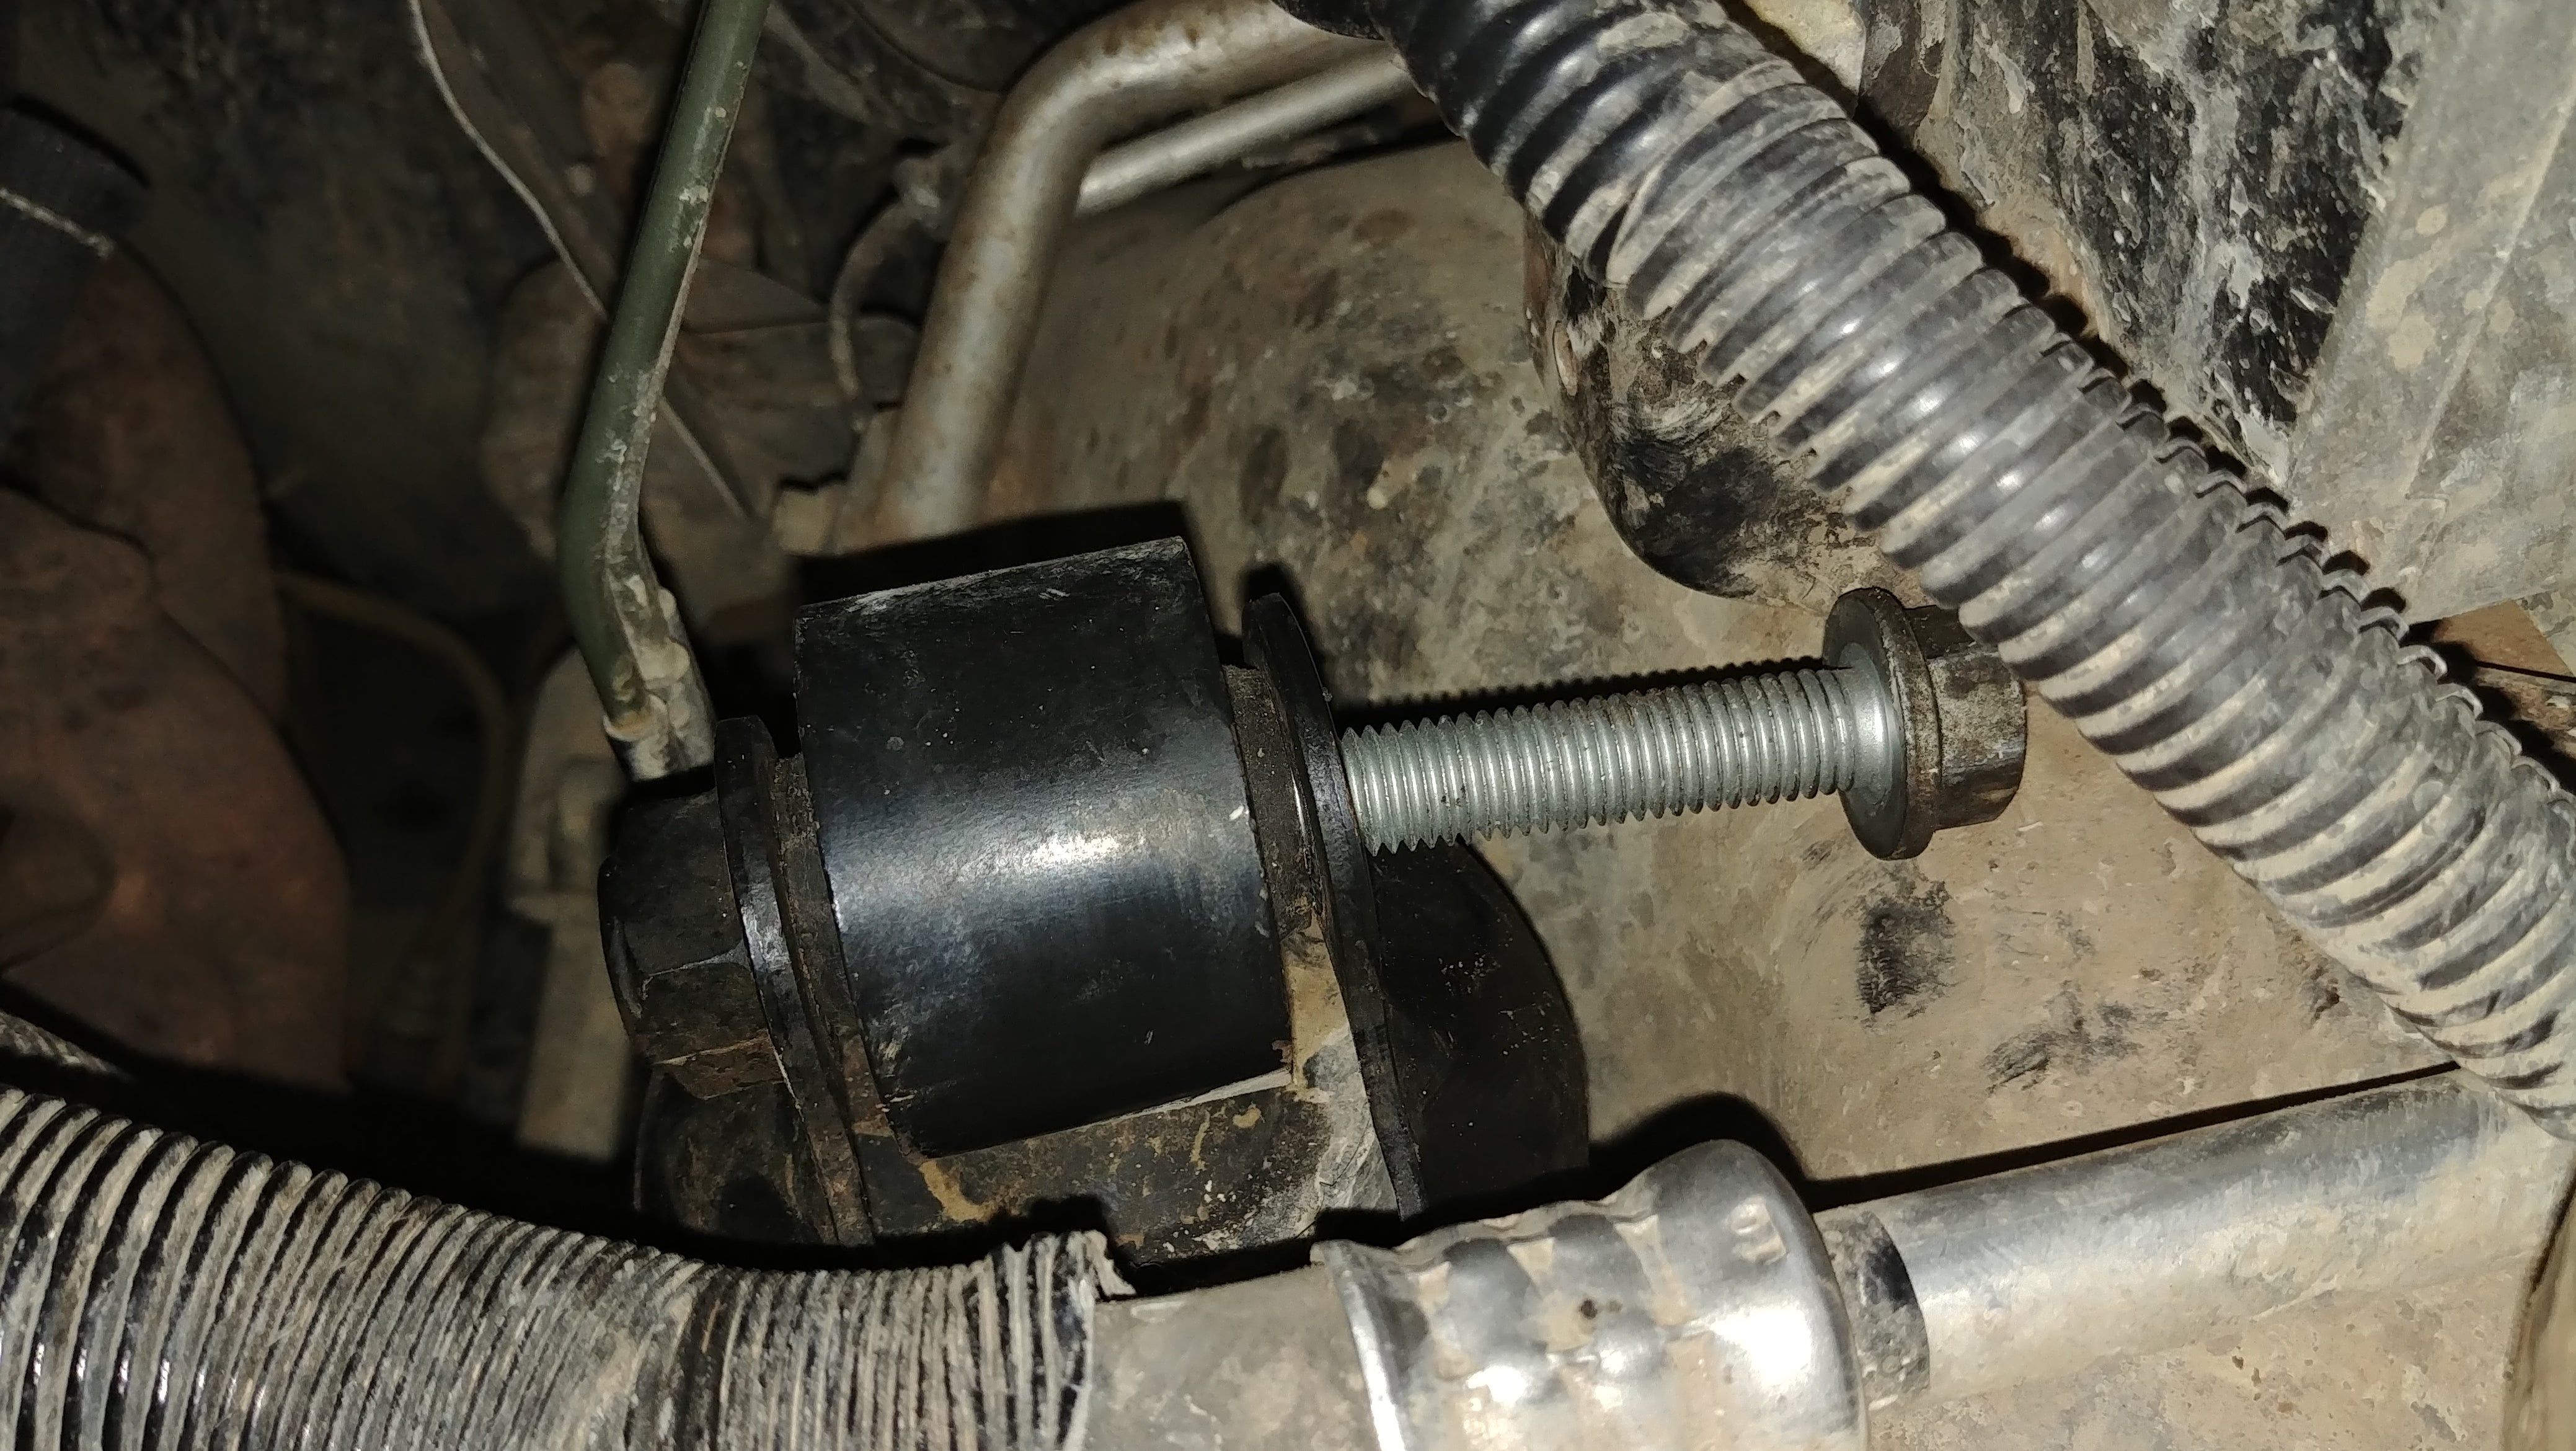
OTHER THAN THAT, they were really easy to put in.
What was not easy, where the sway-bar links. For starters, to get the old ones out you have to put a torx bit through a wrench and try and and wrestle the whole thing loose. The means either putting a ton of torque on a T40 torx bit and risk stripping it or breaking the bit, or trying to get enough leverage to torque on the nut.
Neither was a good option.
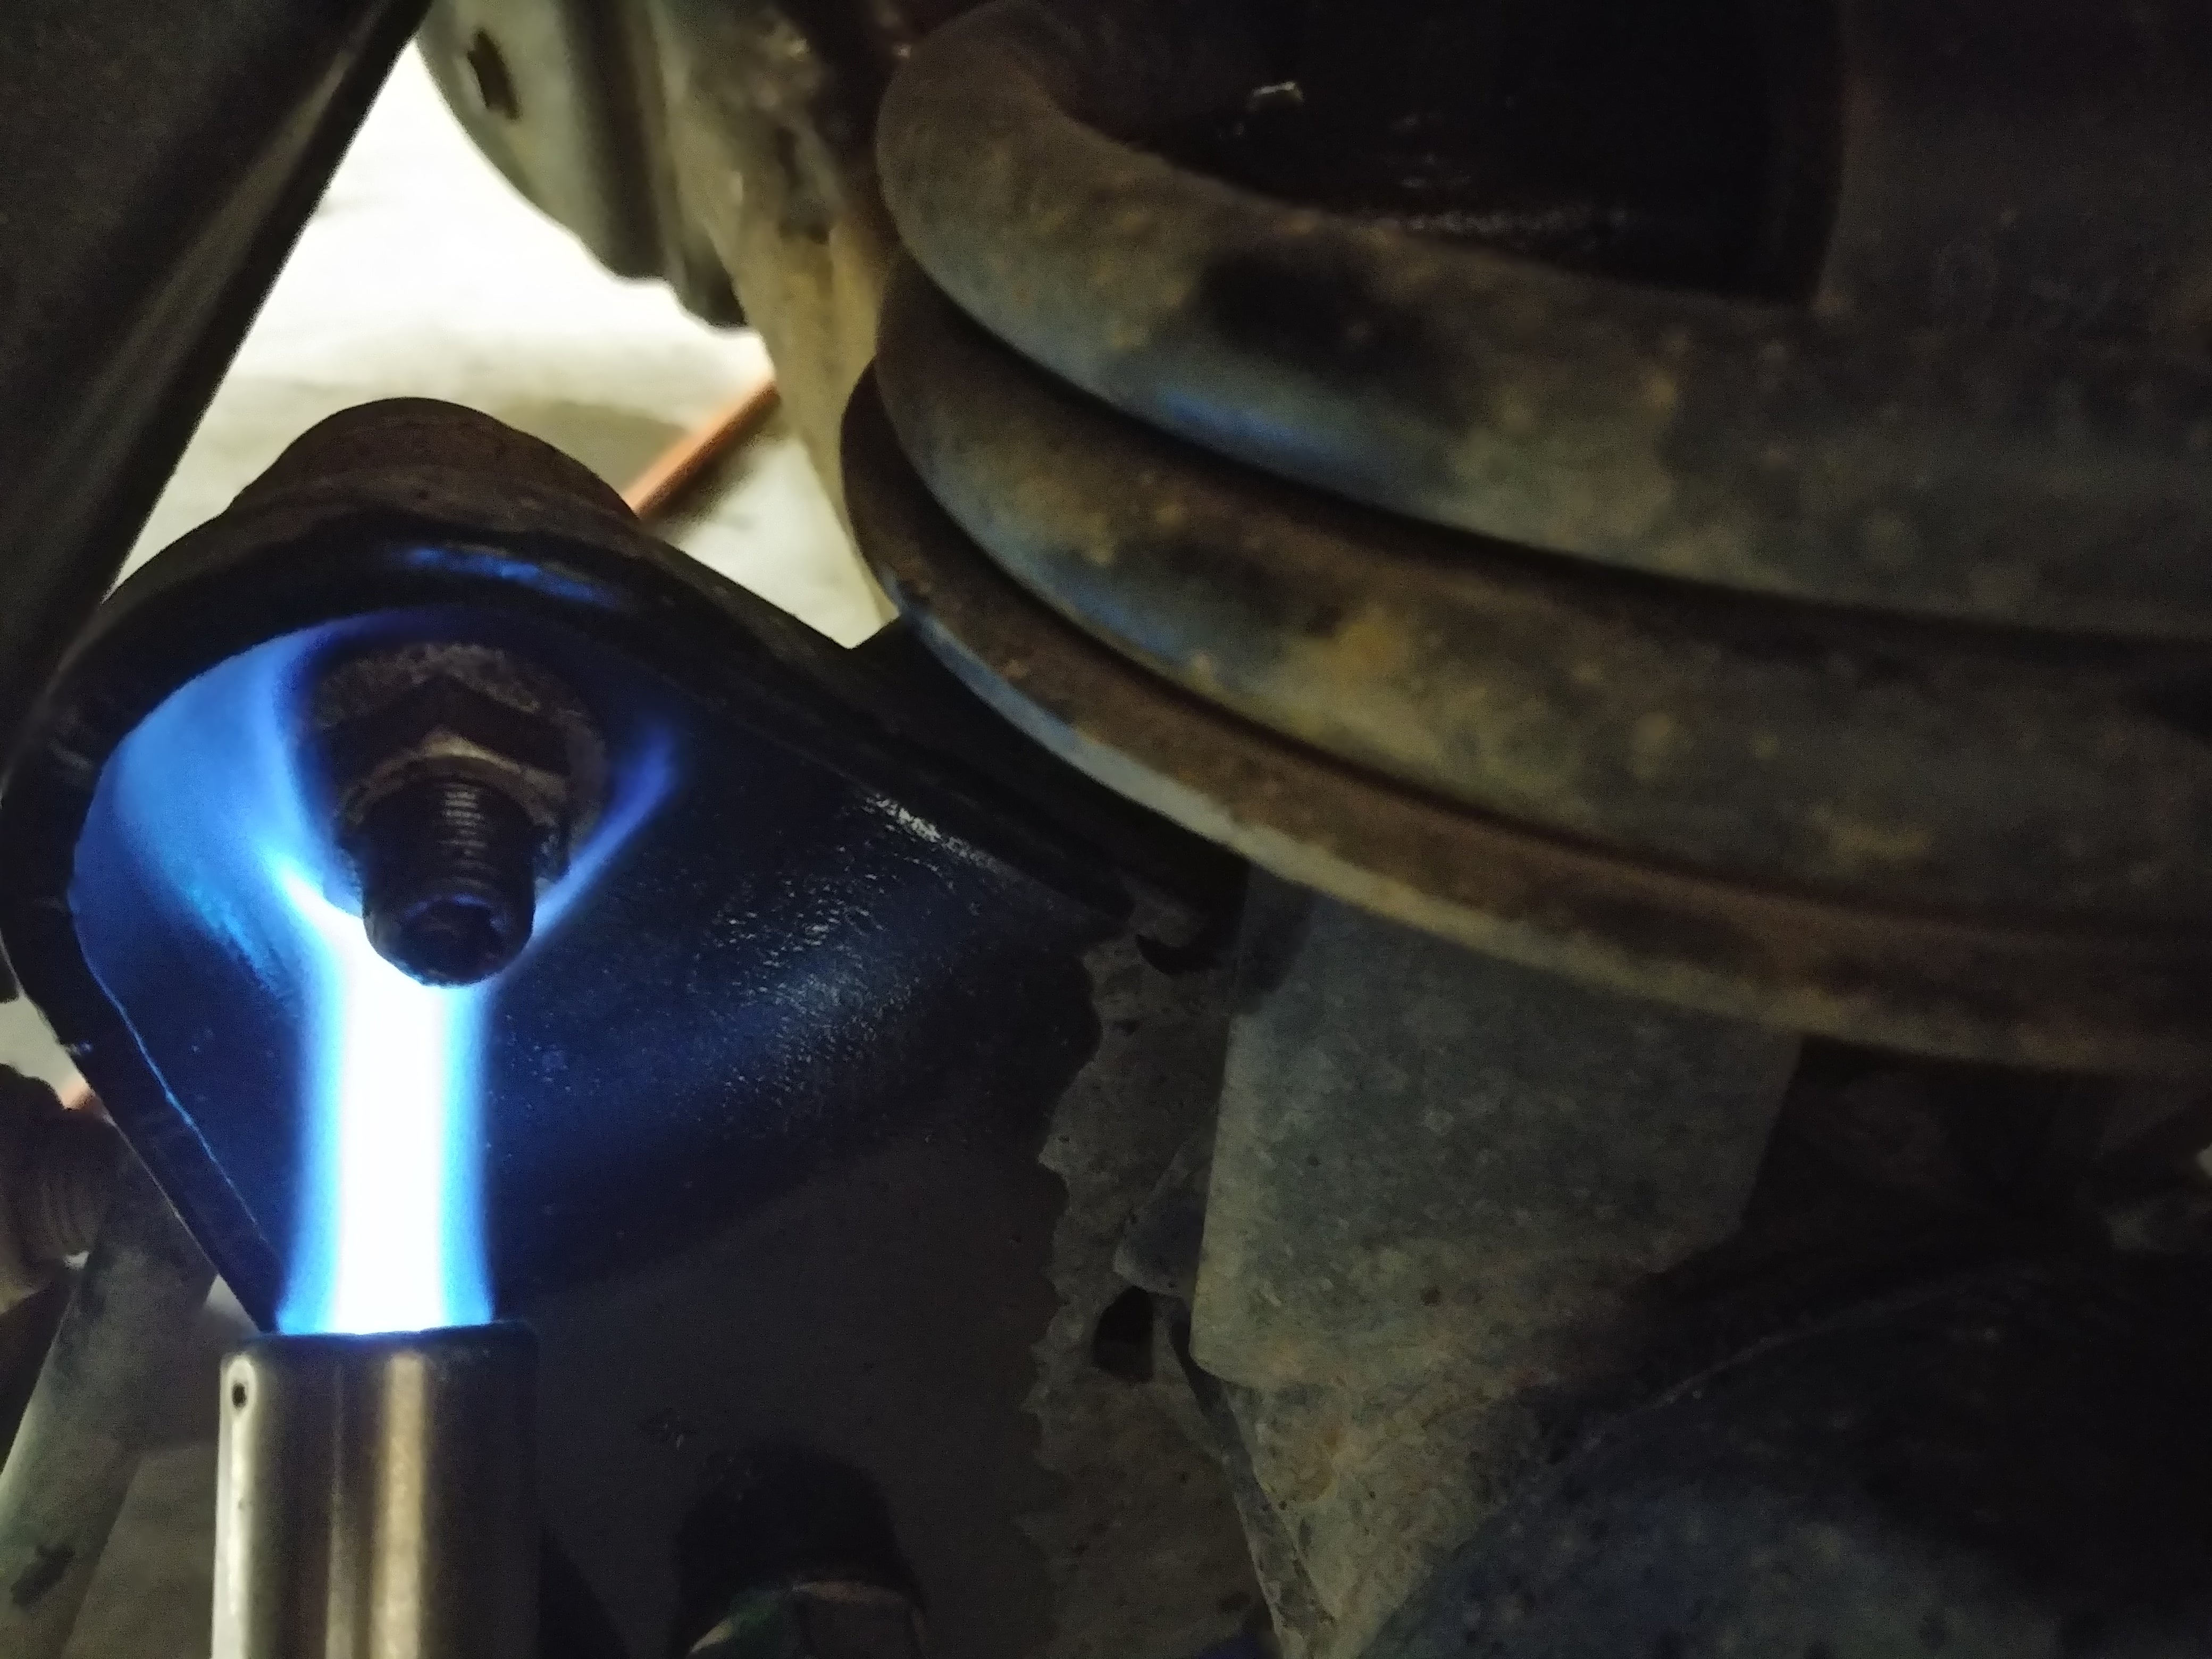
Ultimately a mix of penetrating fluid, heat, and an air impact got the little bastard loose.
But now I have this fancy dis connectable link set to assemble. The bad part is it came with zero instructions, so youíre left to just wing it.
Eventually I got the passenger side link in, new bushing in (also a nightmare), and was trying to fit the driverís side link. This did not go well.
The link itself didnít line up at first, then when I did get it to line up, the bushing popped out and I had to remove it again, and the top of the link interferes with some shielding that is there to protect the steering box.
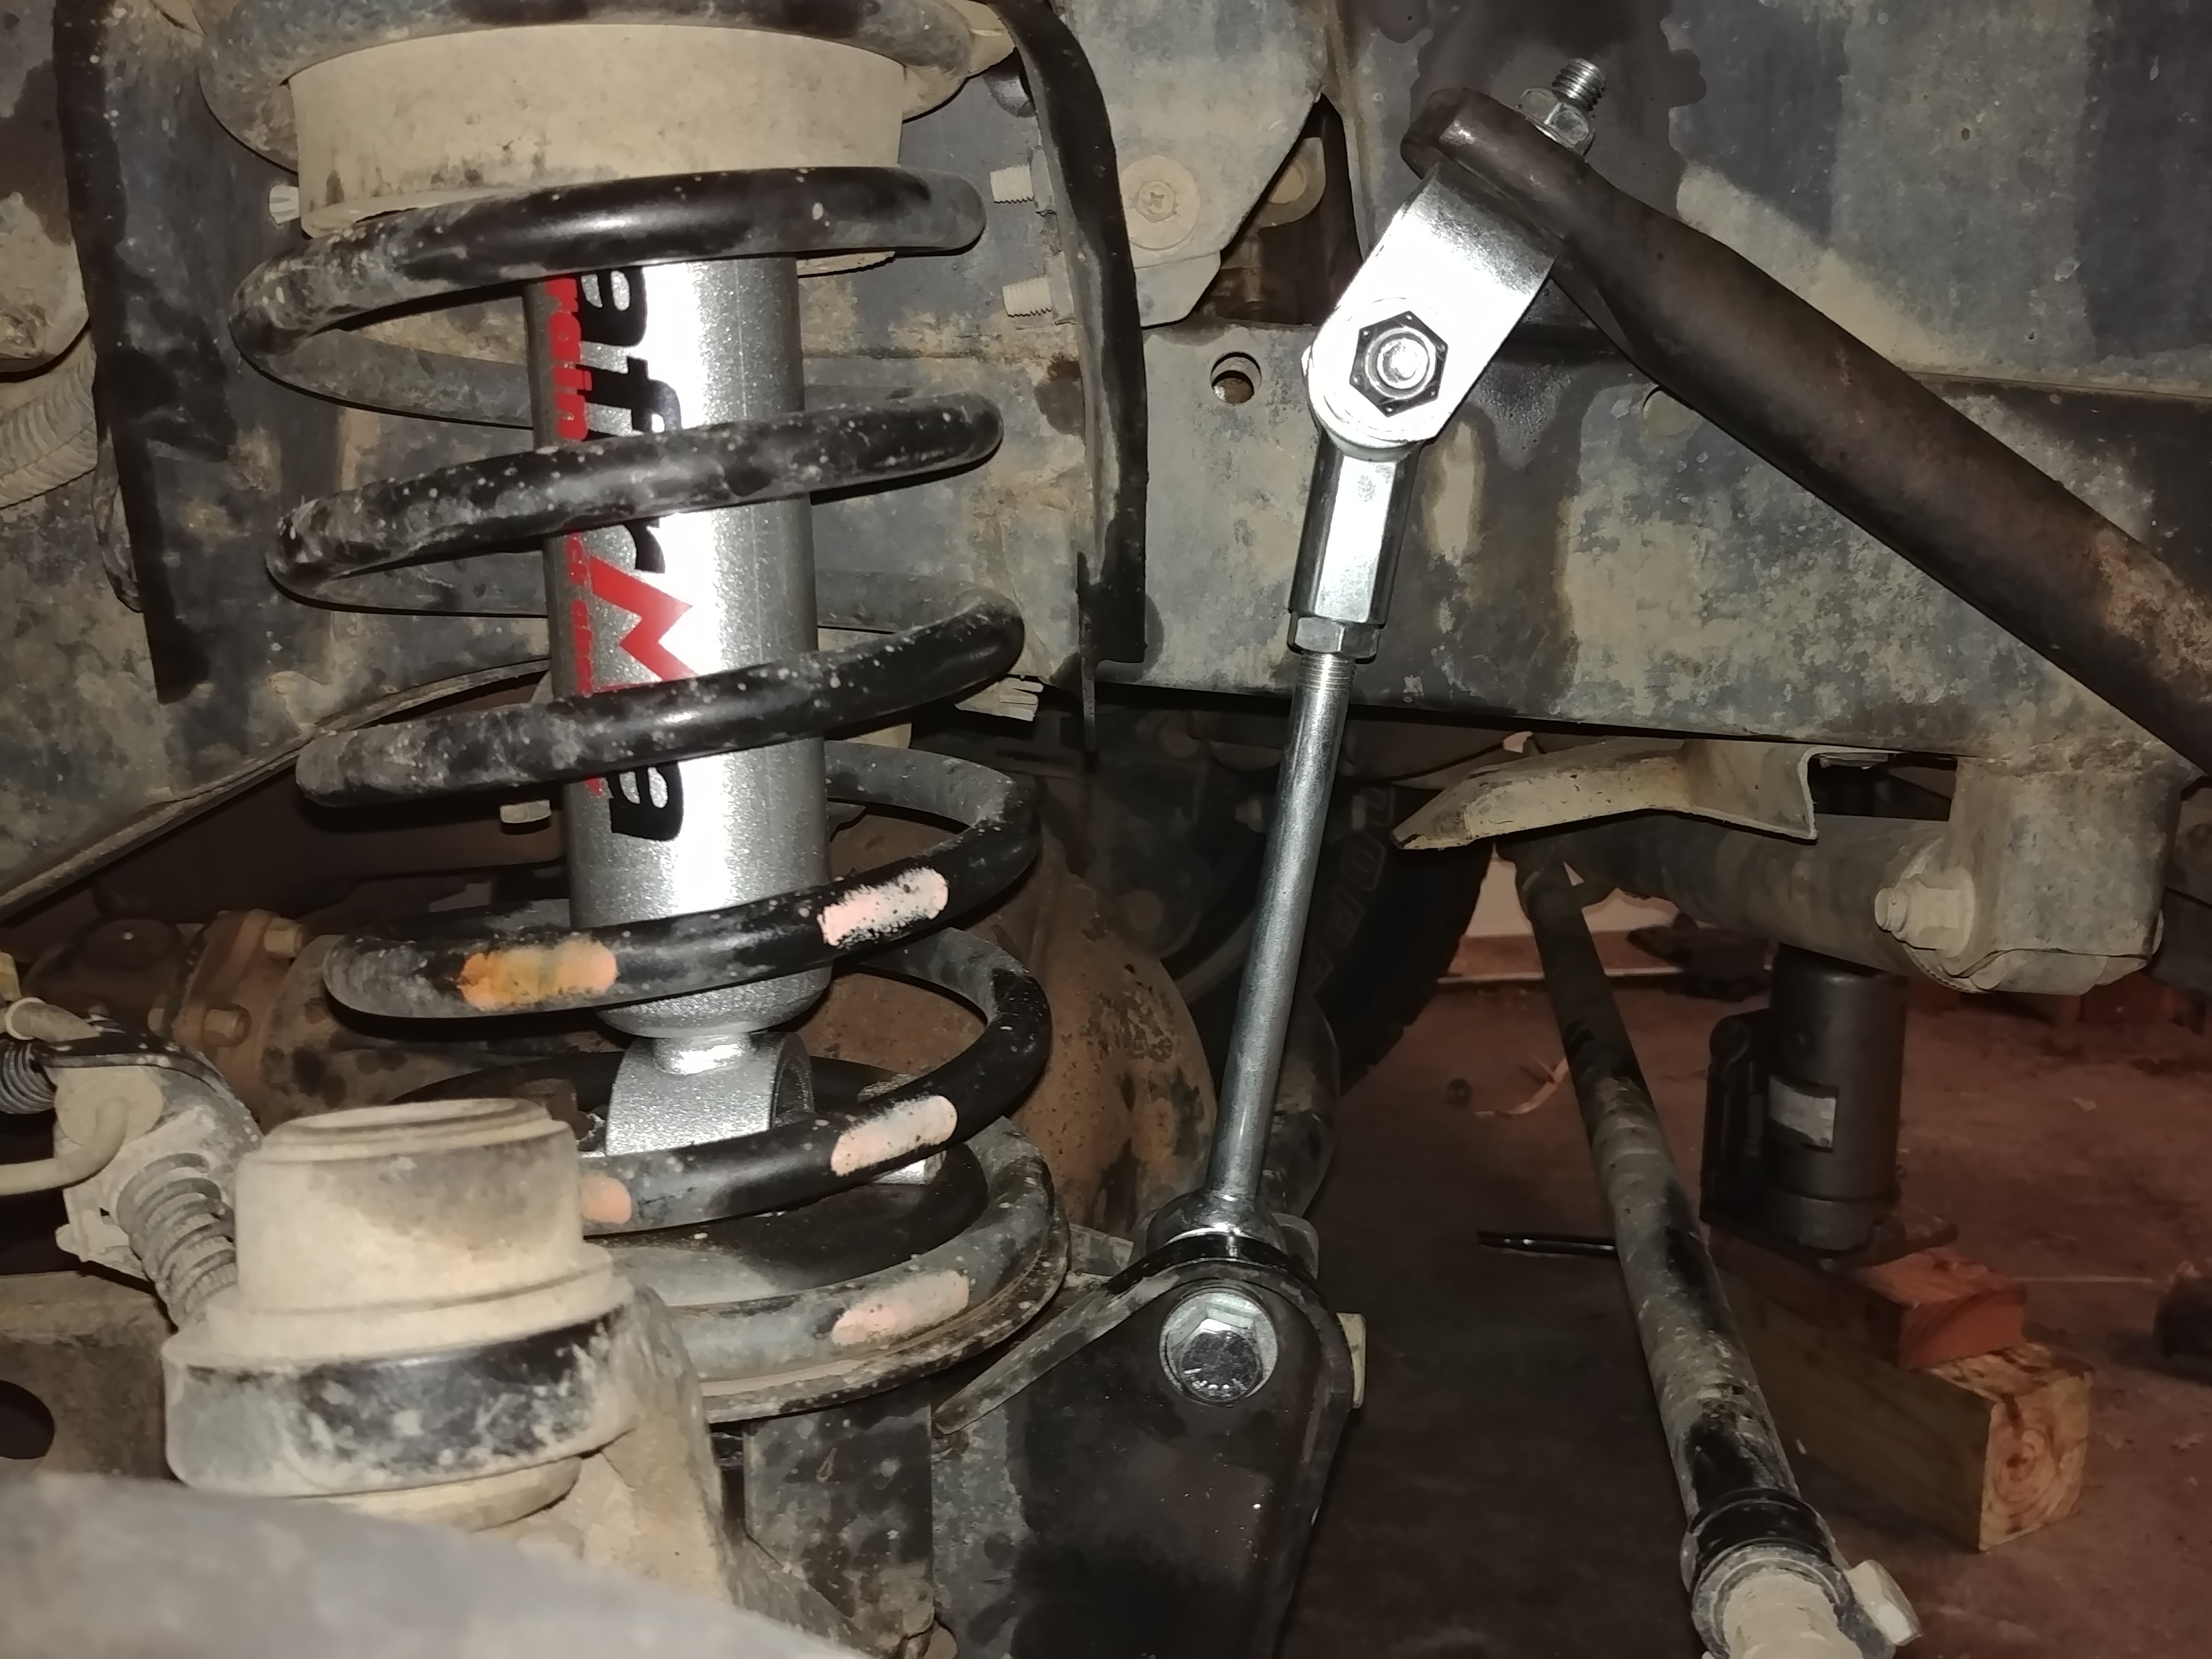
It was a shit mess, but it is done.
The rears were simple and easy, for a change, and I had those done in about an hour.
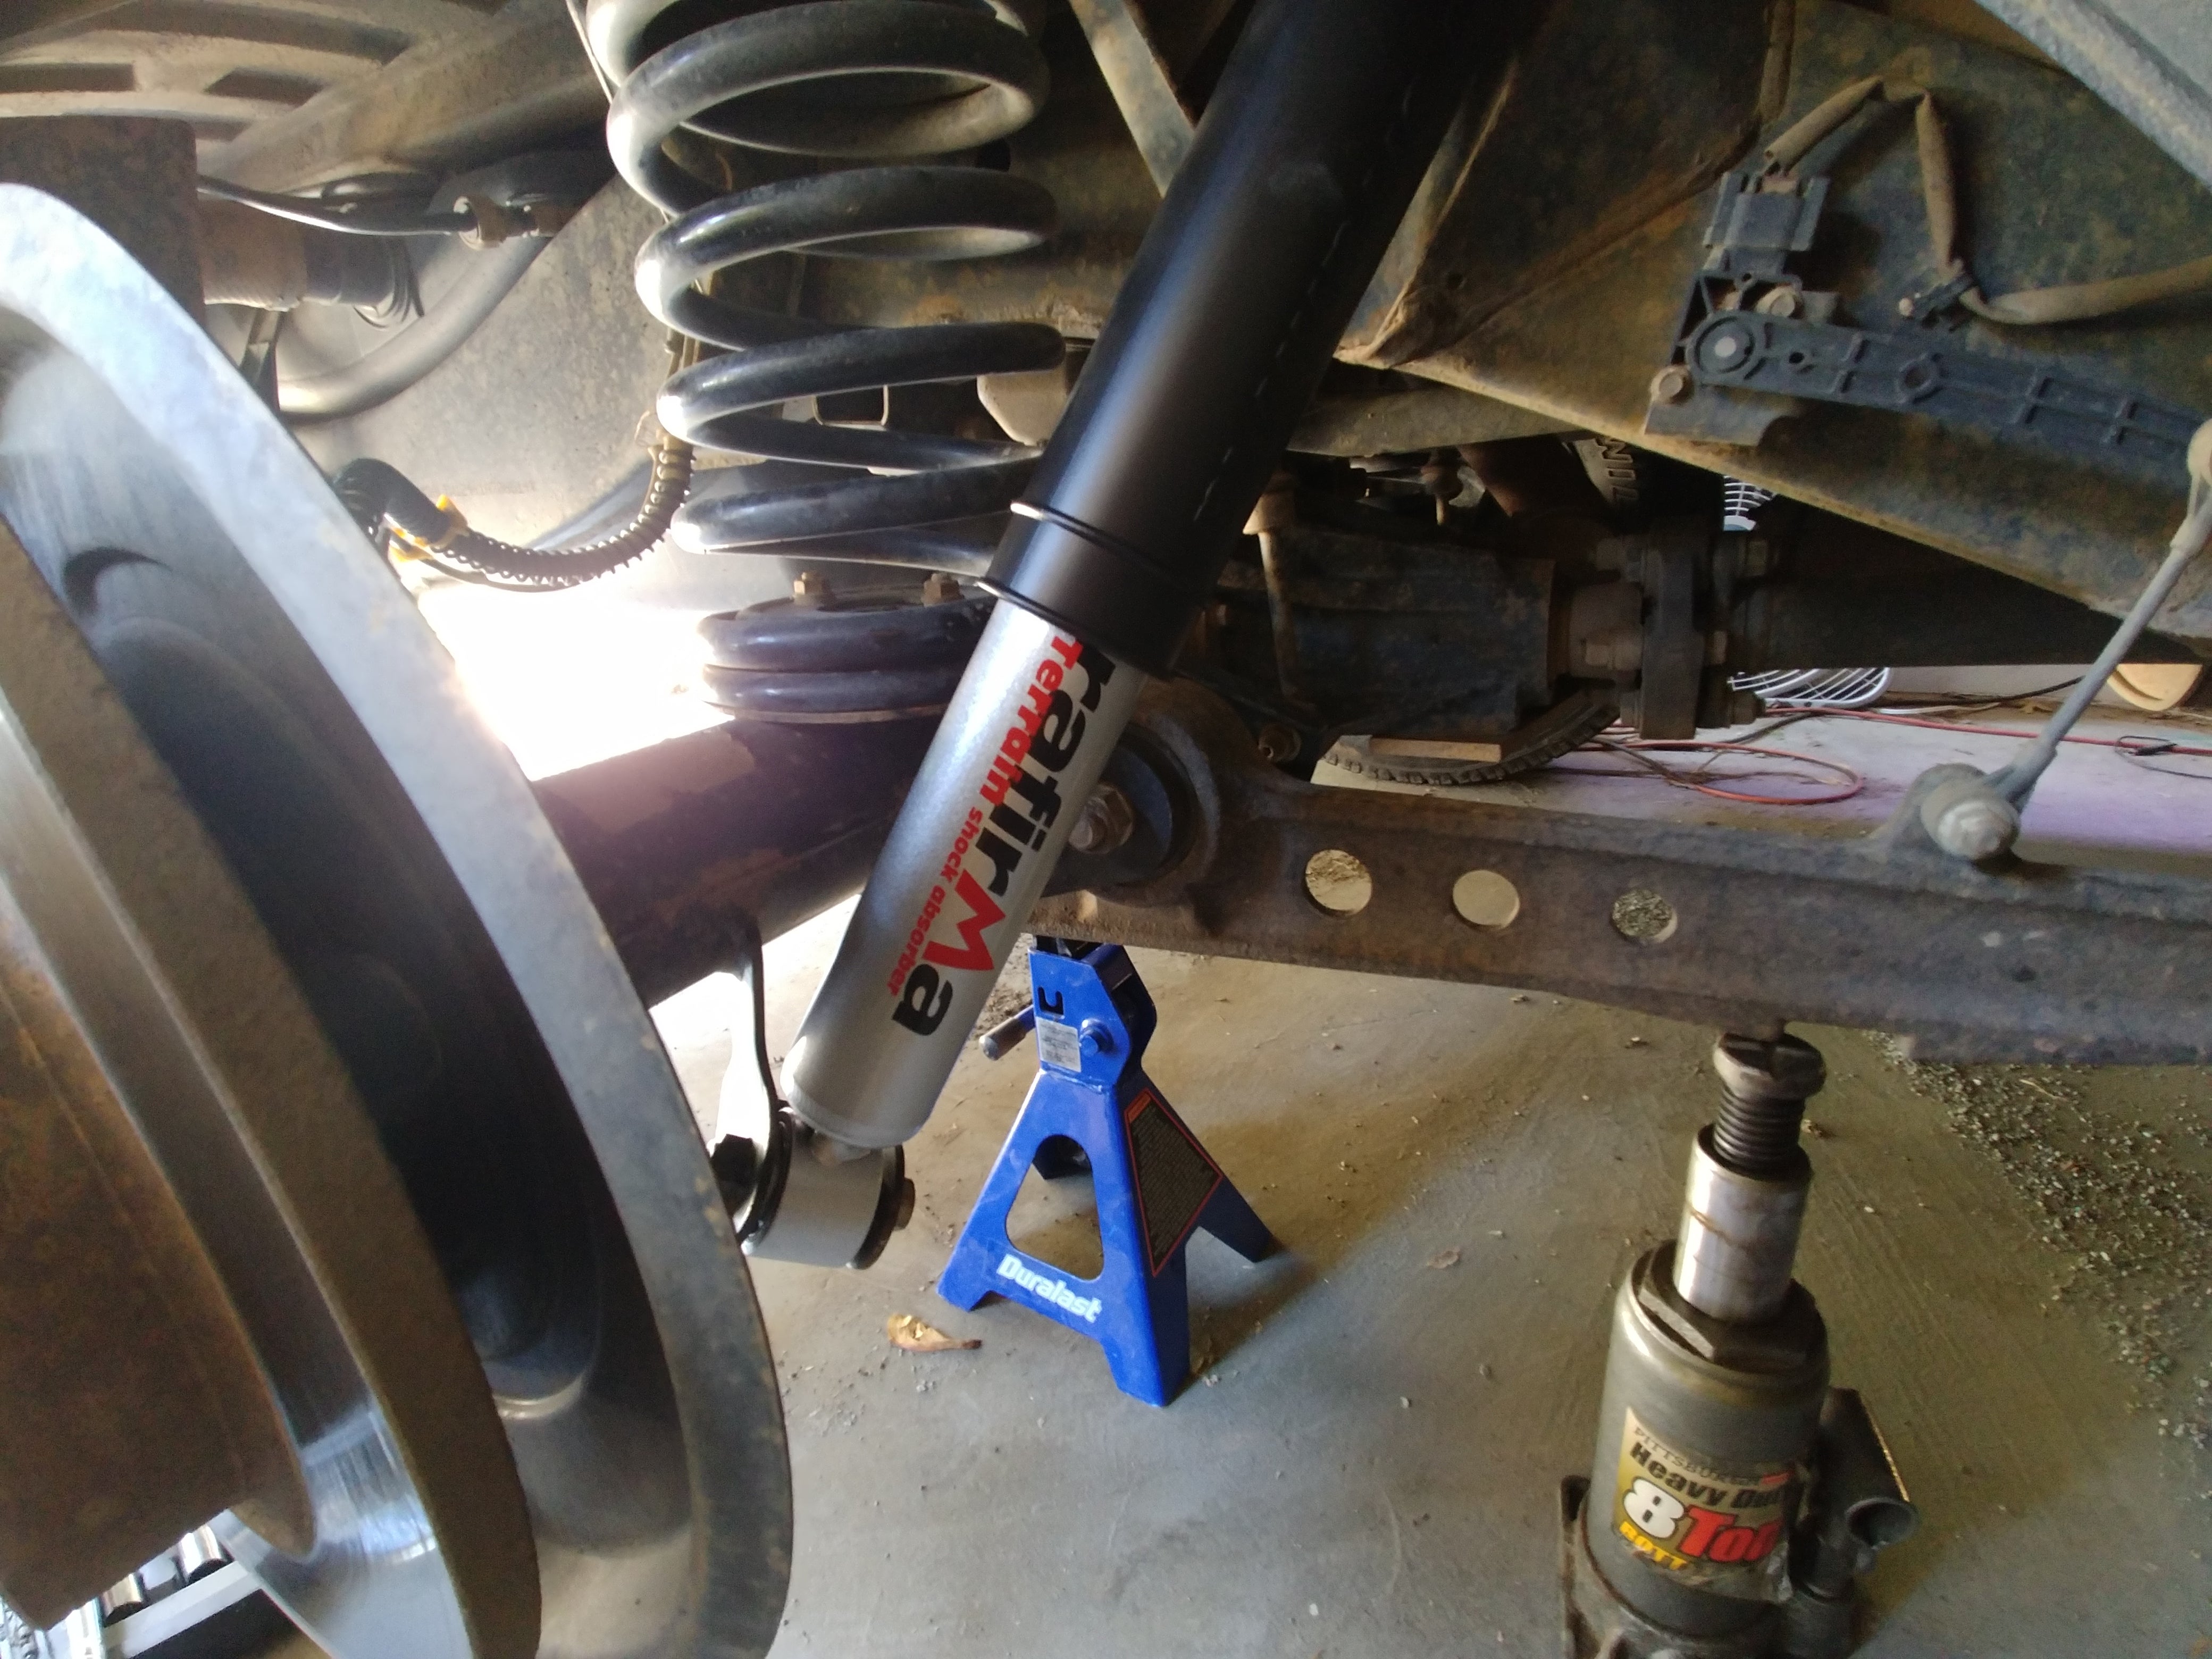
So, all in all, not too bad. Iím looking forward to getting it back on the road and seeing what breaks next!
 LimitedTimeOnly @ opposite-lock.com
> Akio Ohtori - RIP Oppo
05/28/2018 at 17:26 |
|
and the answer to last weekís puzzler
Rest in peace, Car Talk .
 MiniGTI - now with XJ6
> Akio Ohtori - RIP Oppo
05/28/2018 at 21:50 |
|
Put new Way Motor Works end links on the back of my MINI yesterday. Also came with no instructions. Fortunately I had the required 16 (!) mm wrench and socket already from upgrading the seat bar on my Clubman.
Pretty easy and now QUIET. should have done it ages ago
 Akio Ohtori - RIP Oppo
> MiniGTI - now with XJ6
05/28/2018 at 22:10 |
|
Ugh right? I donít know why certain sets skip certain sizes. This weekend my 16, 17, 18, and 19mm all got a good workout, which is bananas, but I had to remember which set had which wrench/ socket. Frustrating.
 94RRC
> Akio Ohtori - RIP Oppo
06/04/2018 at 16:07 |
|
I know this is late, but to remove the front shocks, itís WAAAAY easier to just remove the shock tower with the shock attached. There are four nuts at the base of the tower / on top of the upper spring seat. (#5 in the diagram you posted)
 Akio Ohtori - RIP Oppo
> 94RRC
06/04/2018 at 16:25 |
|
Yeah, I could see that. Oddly (and you probably already know this) but that is how they have you put them back in. I didnít see any reason not to reverse the orientation of the shock tower, so I did that too and now that bolt is super easy to put in/ take out.
 94RRC
> Akio Ohtori - RIP Oppo
06/04/2018 at 23:17 |
|
Yeah, I donít know how else you can replace the shock and spring if you donít remove the tower first. Did you wiggle everything in position with the tower in the way?