 "Akio Ohtori - RIP Oppo" (akioohtori)
11/19/2018 at 11:47 • Filed to: project golf ball, wagovan
 7
7
 13
13
 "Akio Ohtori - RIP Oppo" (akioohtori)
11/19/2018 at 11:47 • Filed to: project golf ball, wagovan |  7 7
|  13 13 |
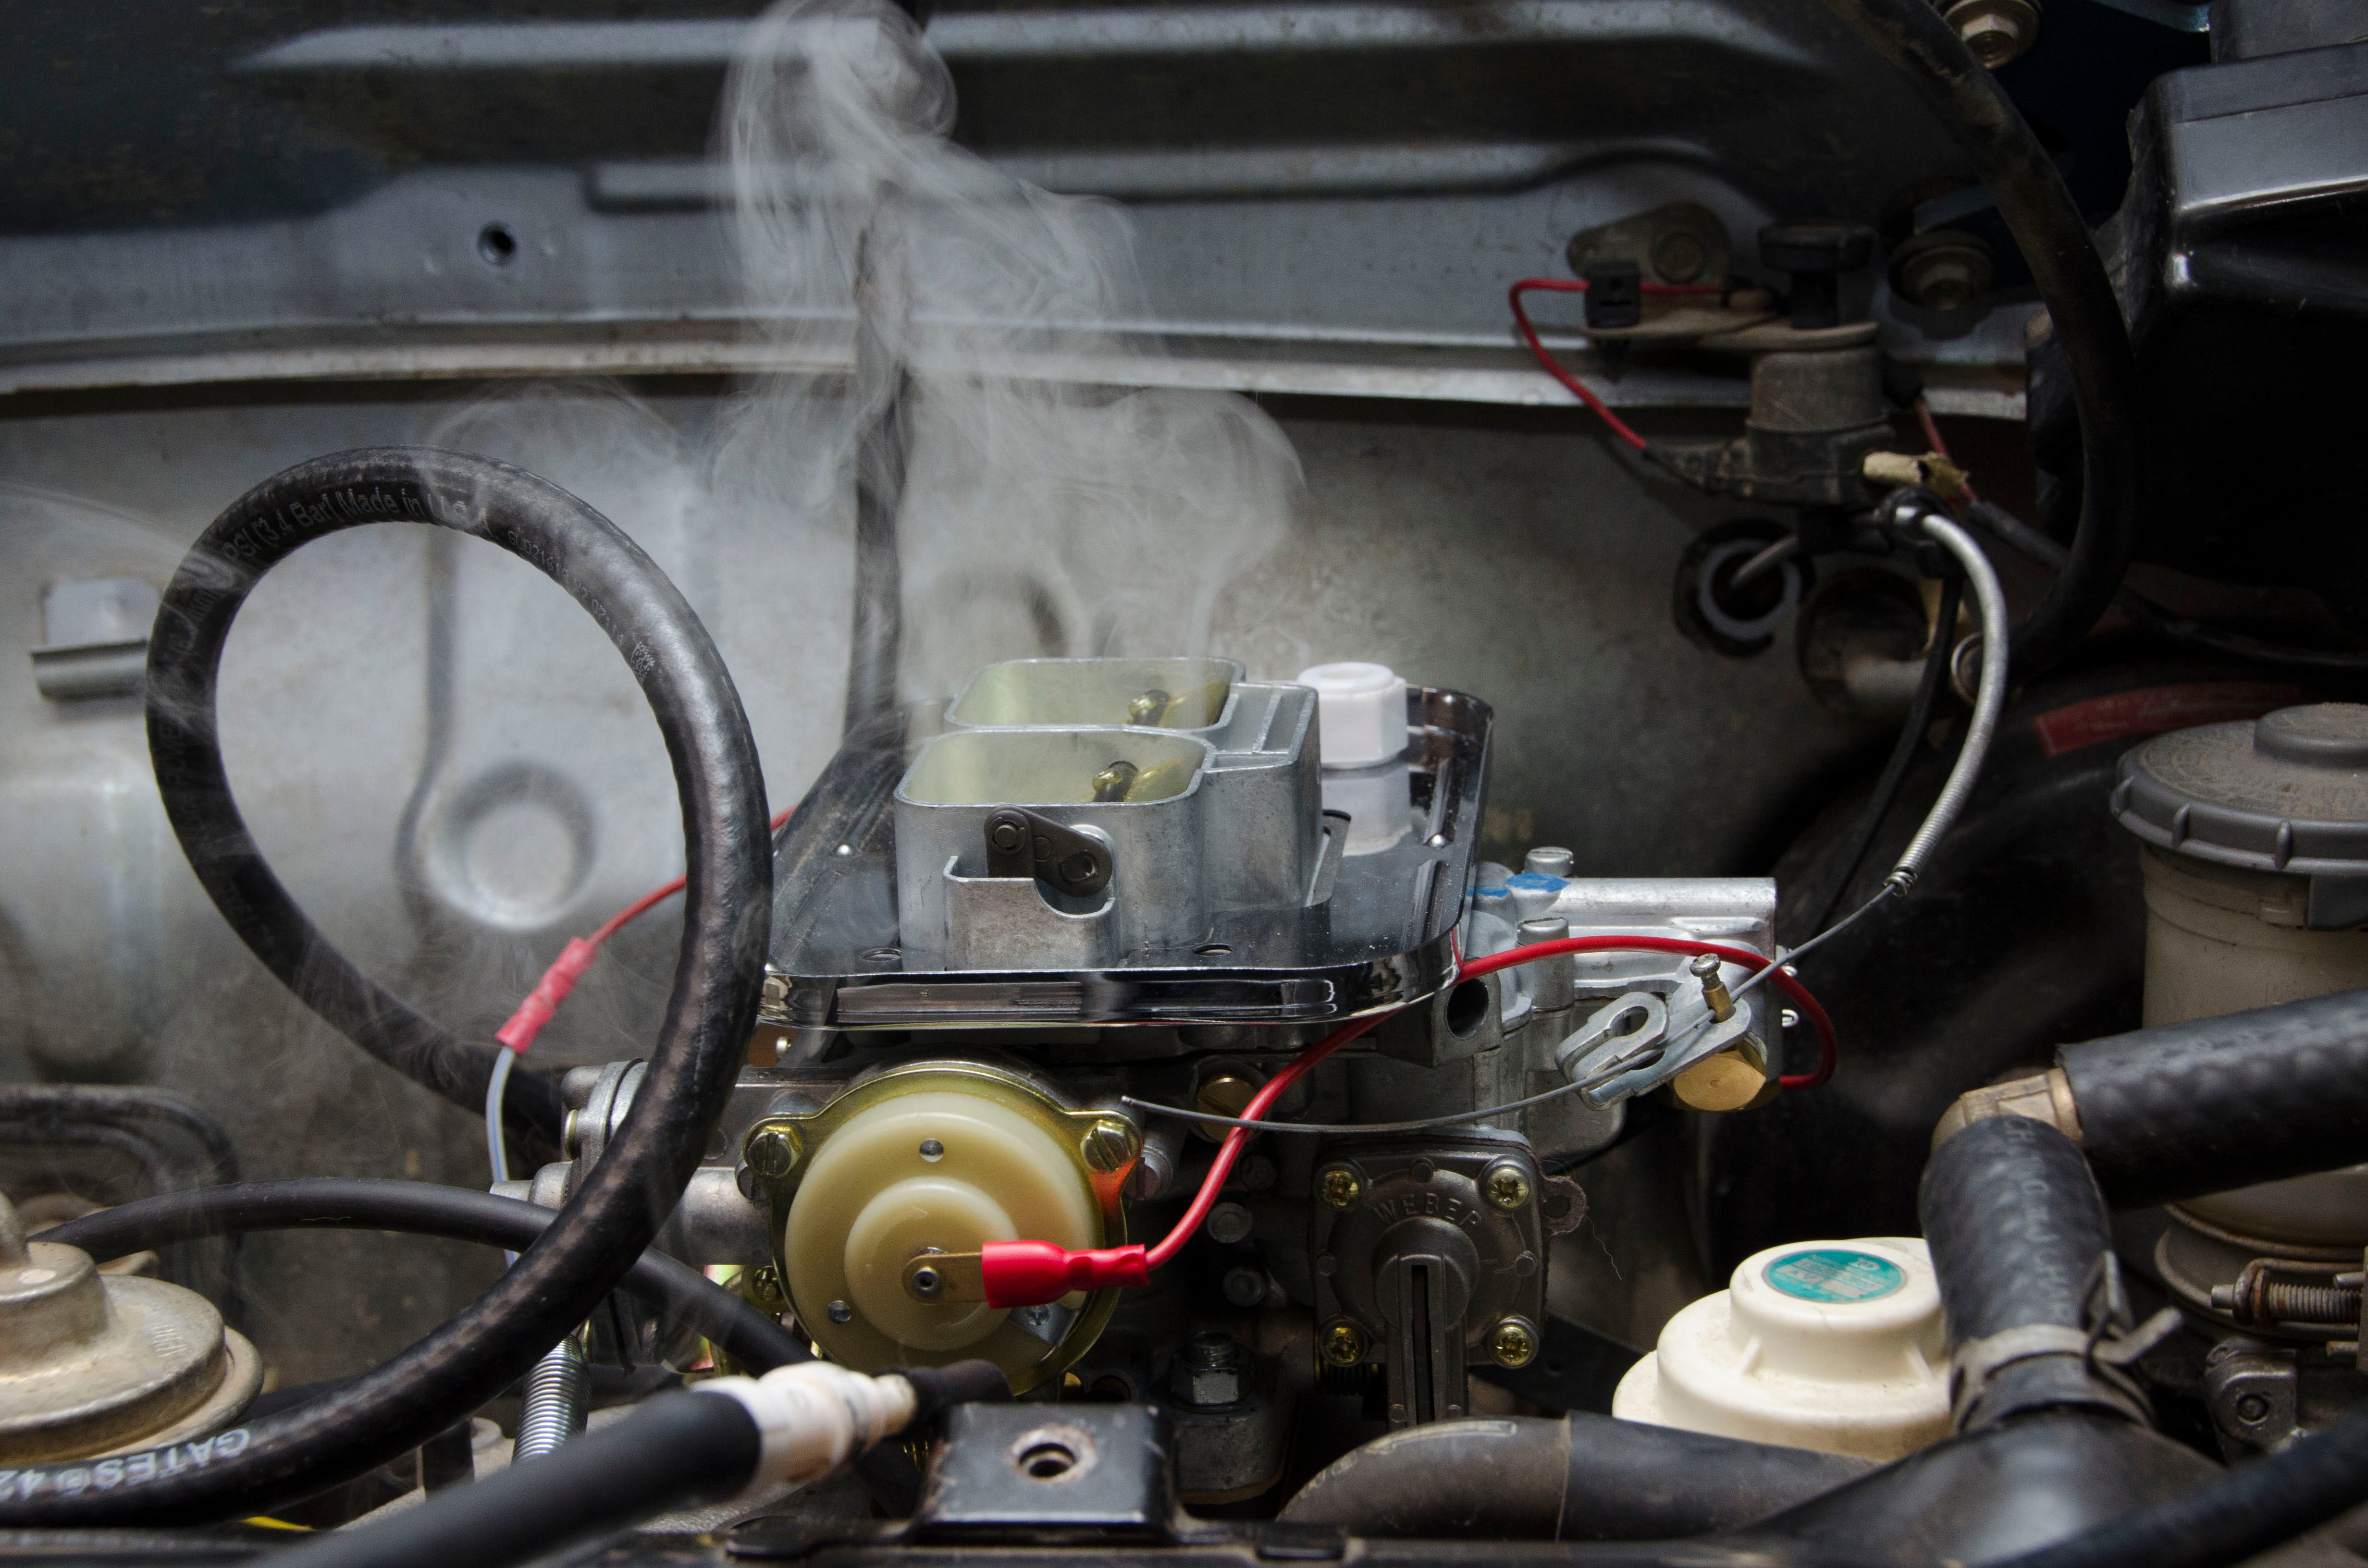
“It’ll take like... seconds.” I said. “It’s just four bolts!” I said. “How hard could it be!?” I foolishly, foolishly said. To be fair I was correct in theory. In theory the carburetor goes together like a child’s puzzle and should have been do-able in under an hour. Weber/ Redline, however, intervened.
After the coolant fiasco, which I am still not convinced is over, given Weber expects a paper gasket to hold back coolant… but that is for another day, the carburetor was pretty much ready to bolt on.
So basically this whole tale is going to be a detail of how crappy the instructions that came with the carb are. They’re very generic, but with just enough specific information about the carb peppered in so that you think they might not be.
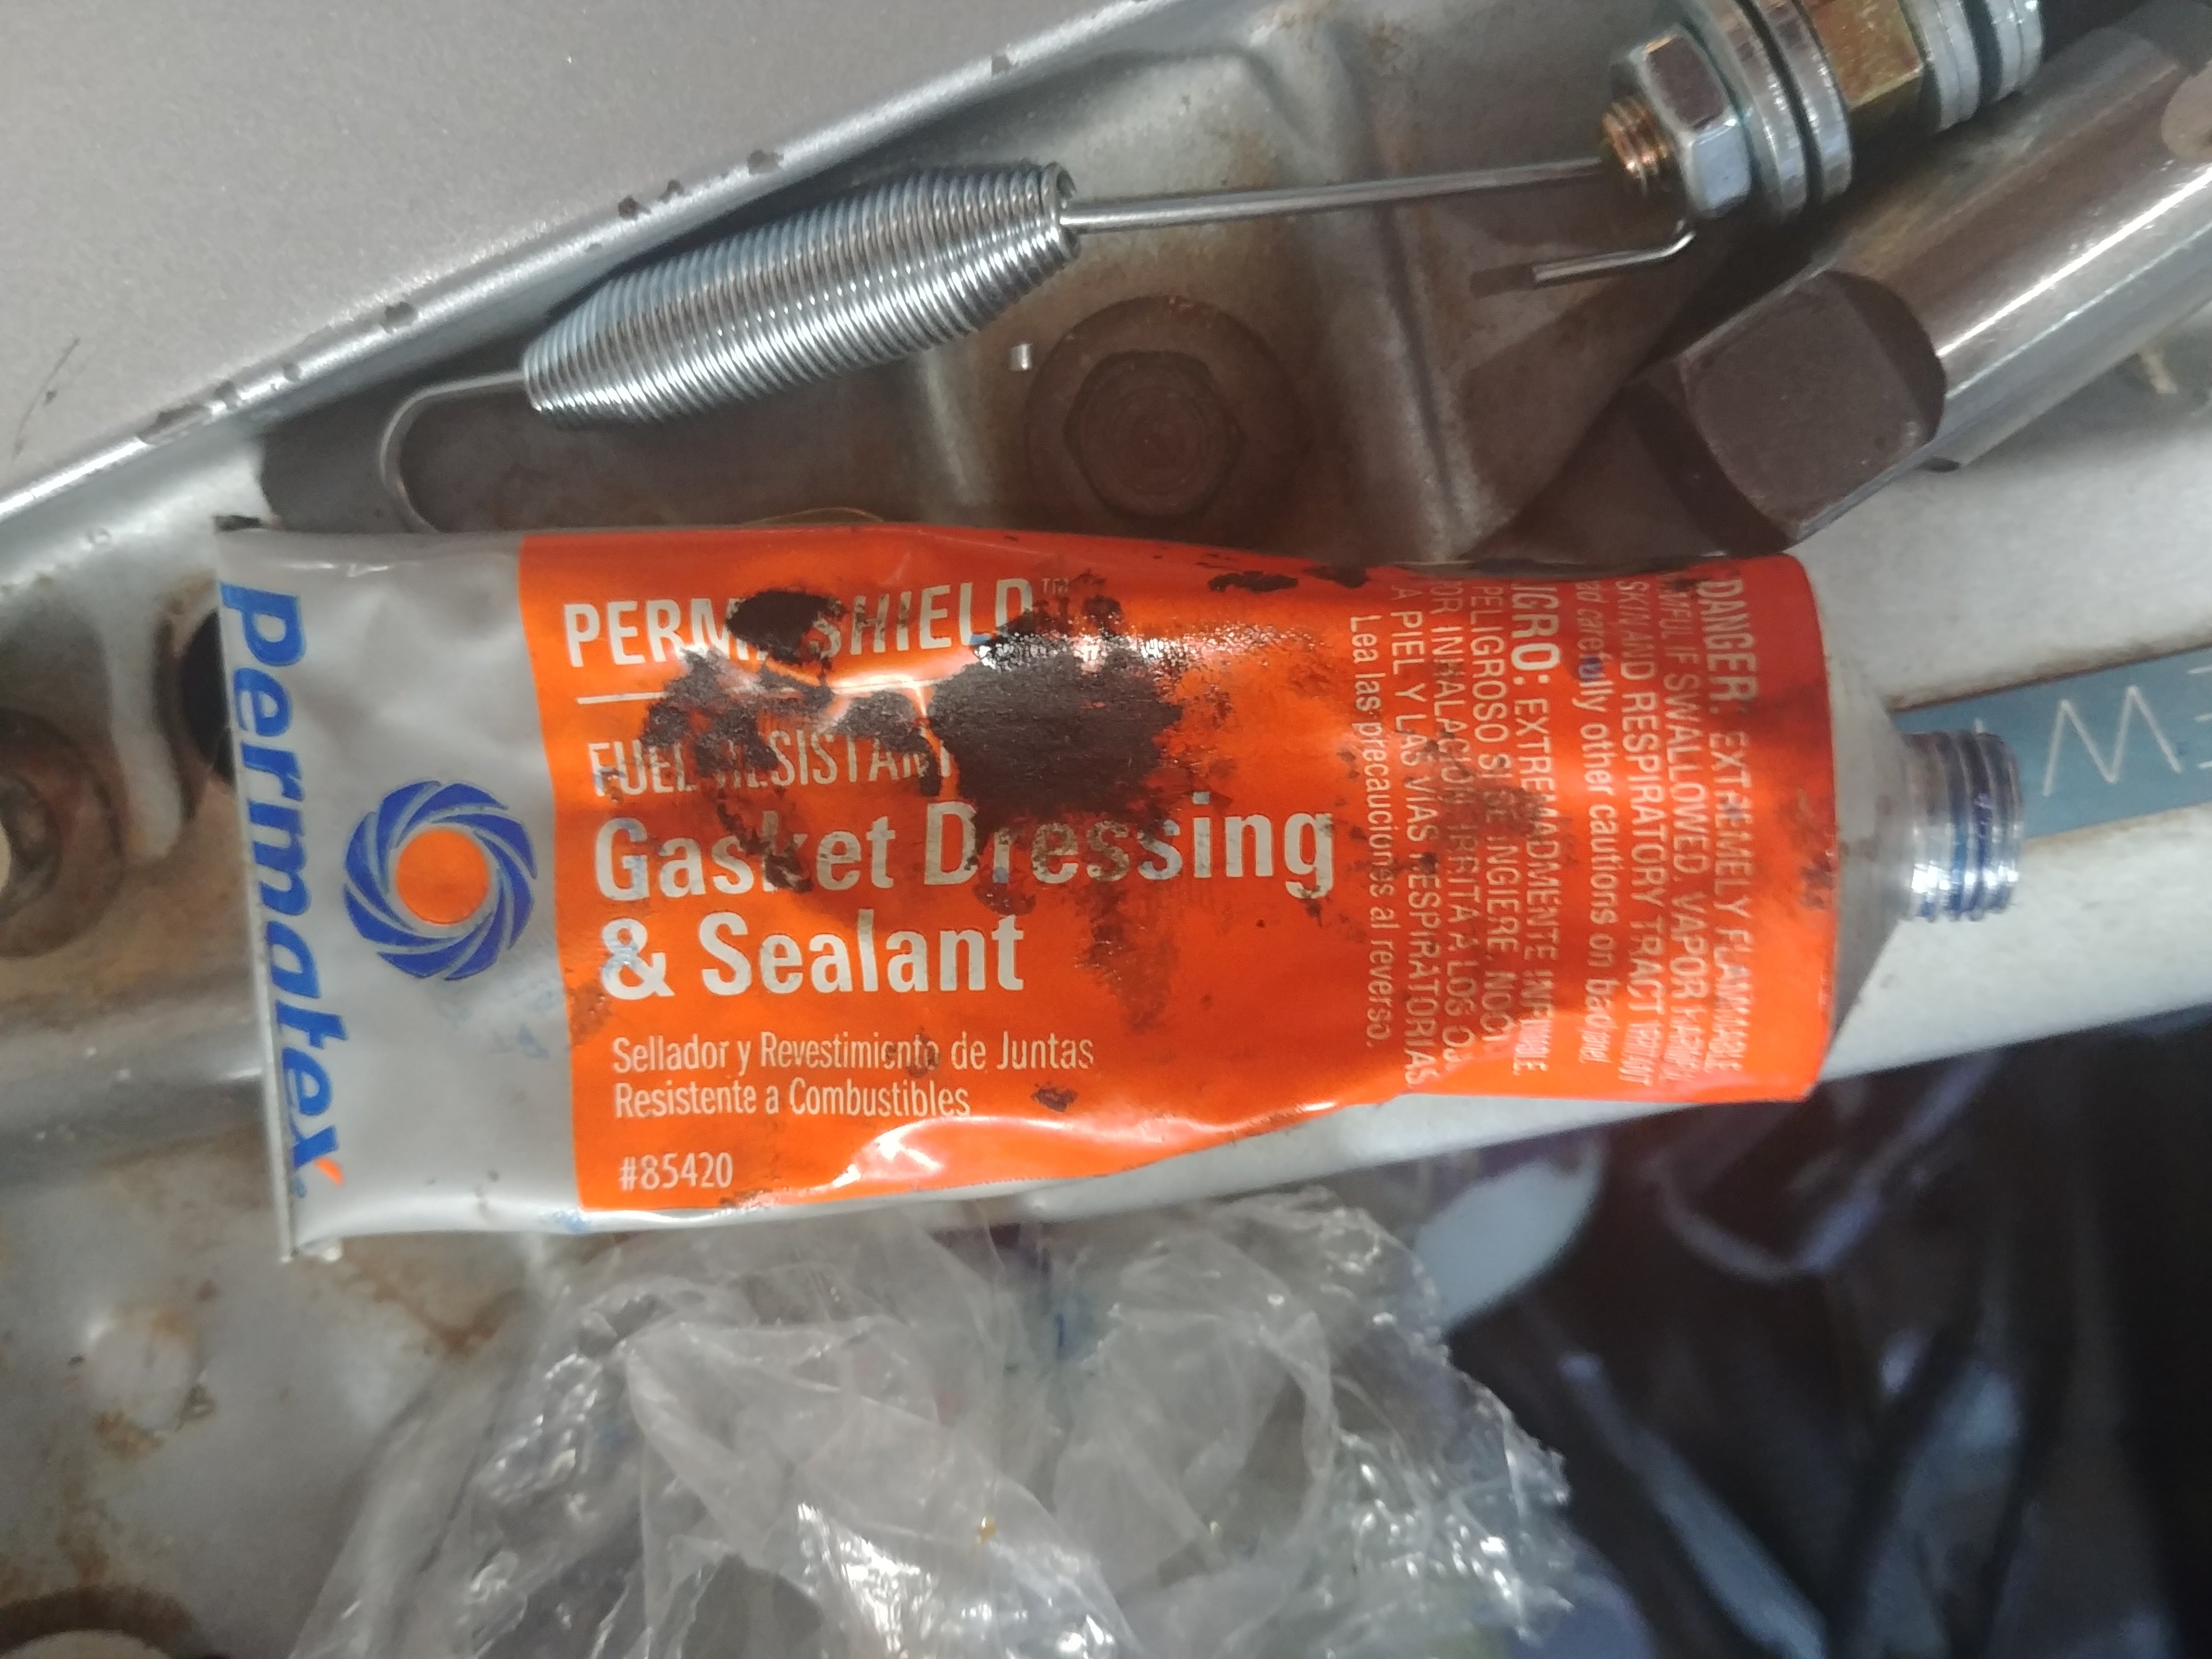
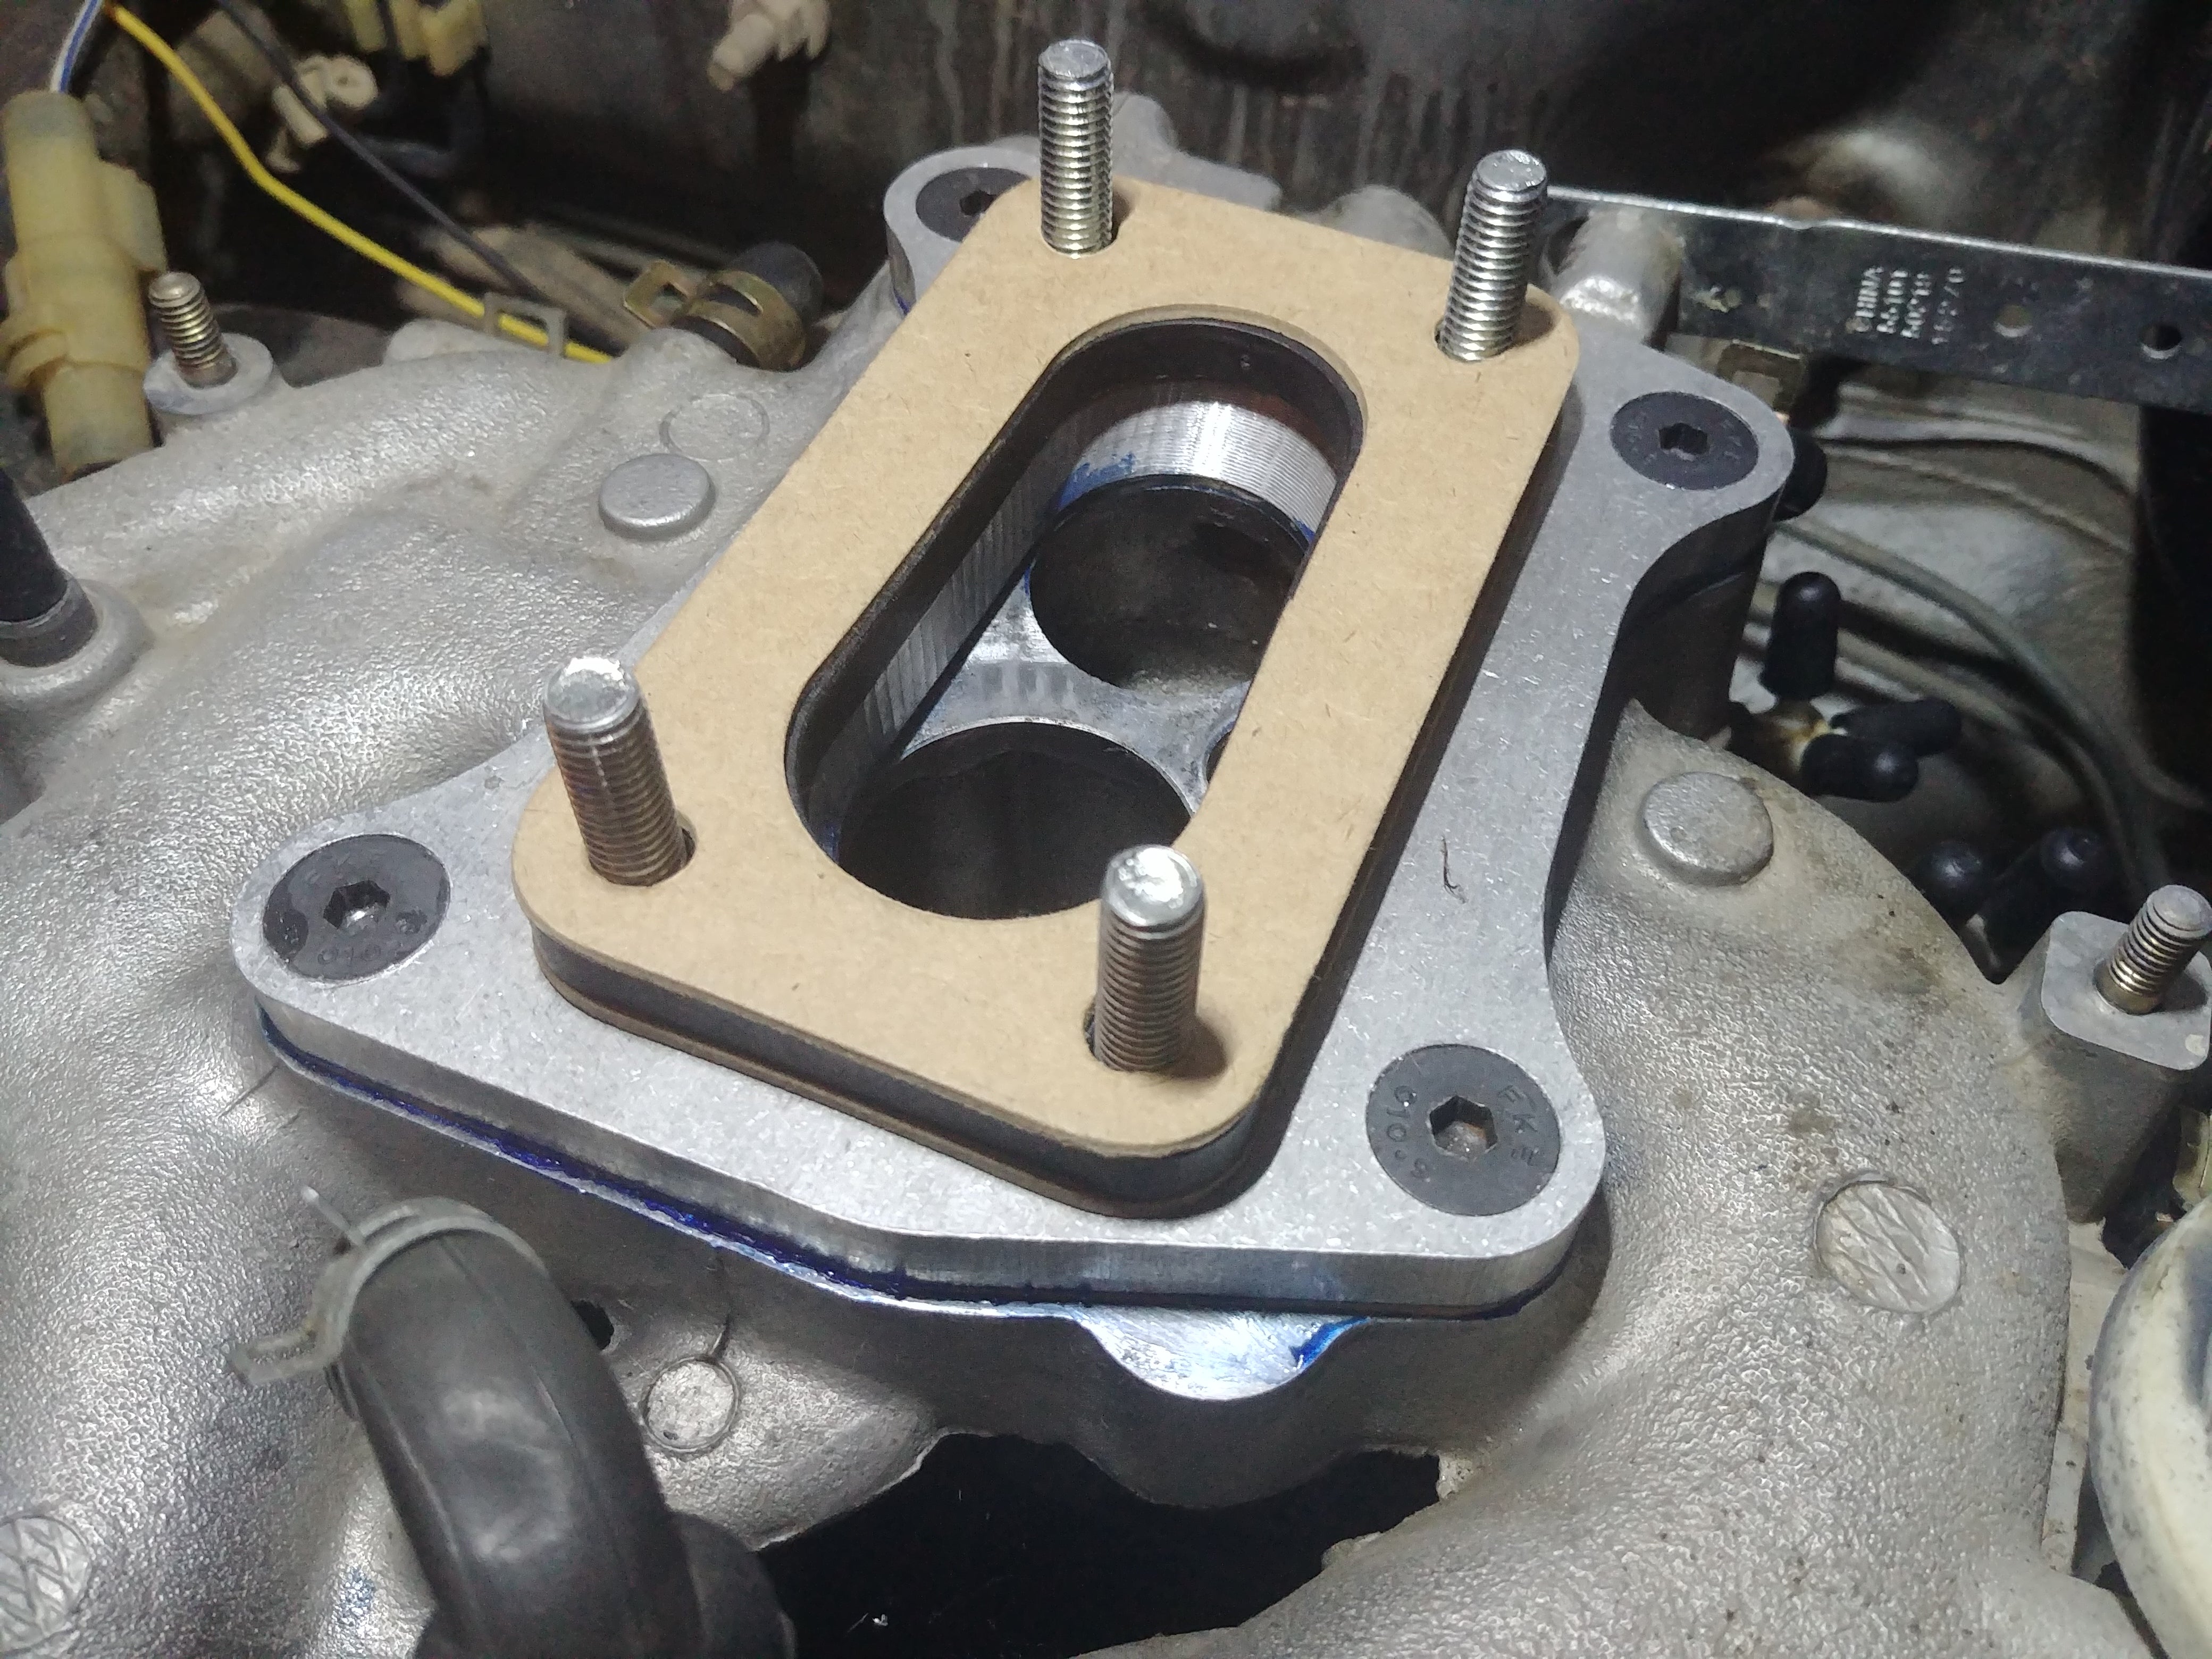
I started by installing the adapter plate and studs using removable threadlock, as suggested by the instructions. As per the instructions I also applied “a suitable gasket sealer (Silicone or RTV is NOT suitable”. Apparently they mean gasket dressing? Luckily I had some... so hopefully that is the right stuff.
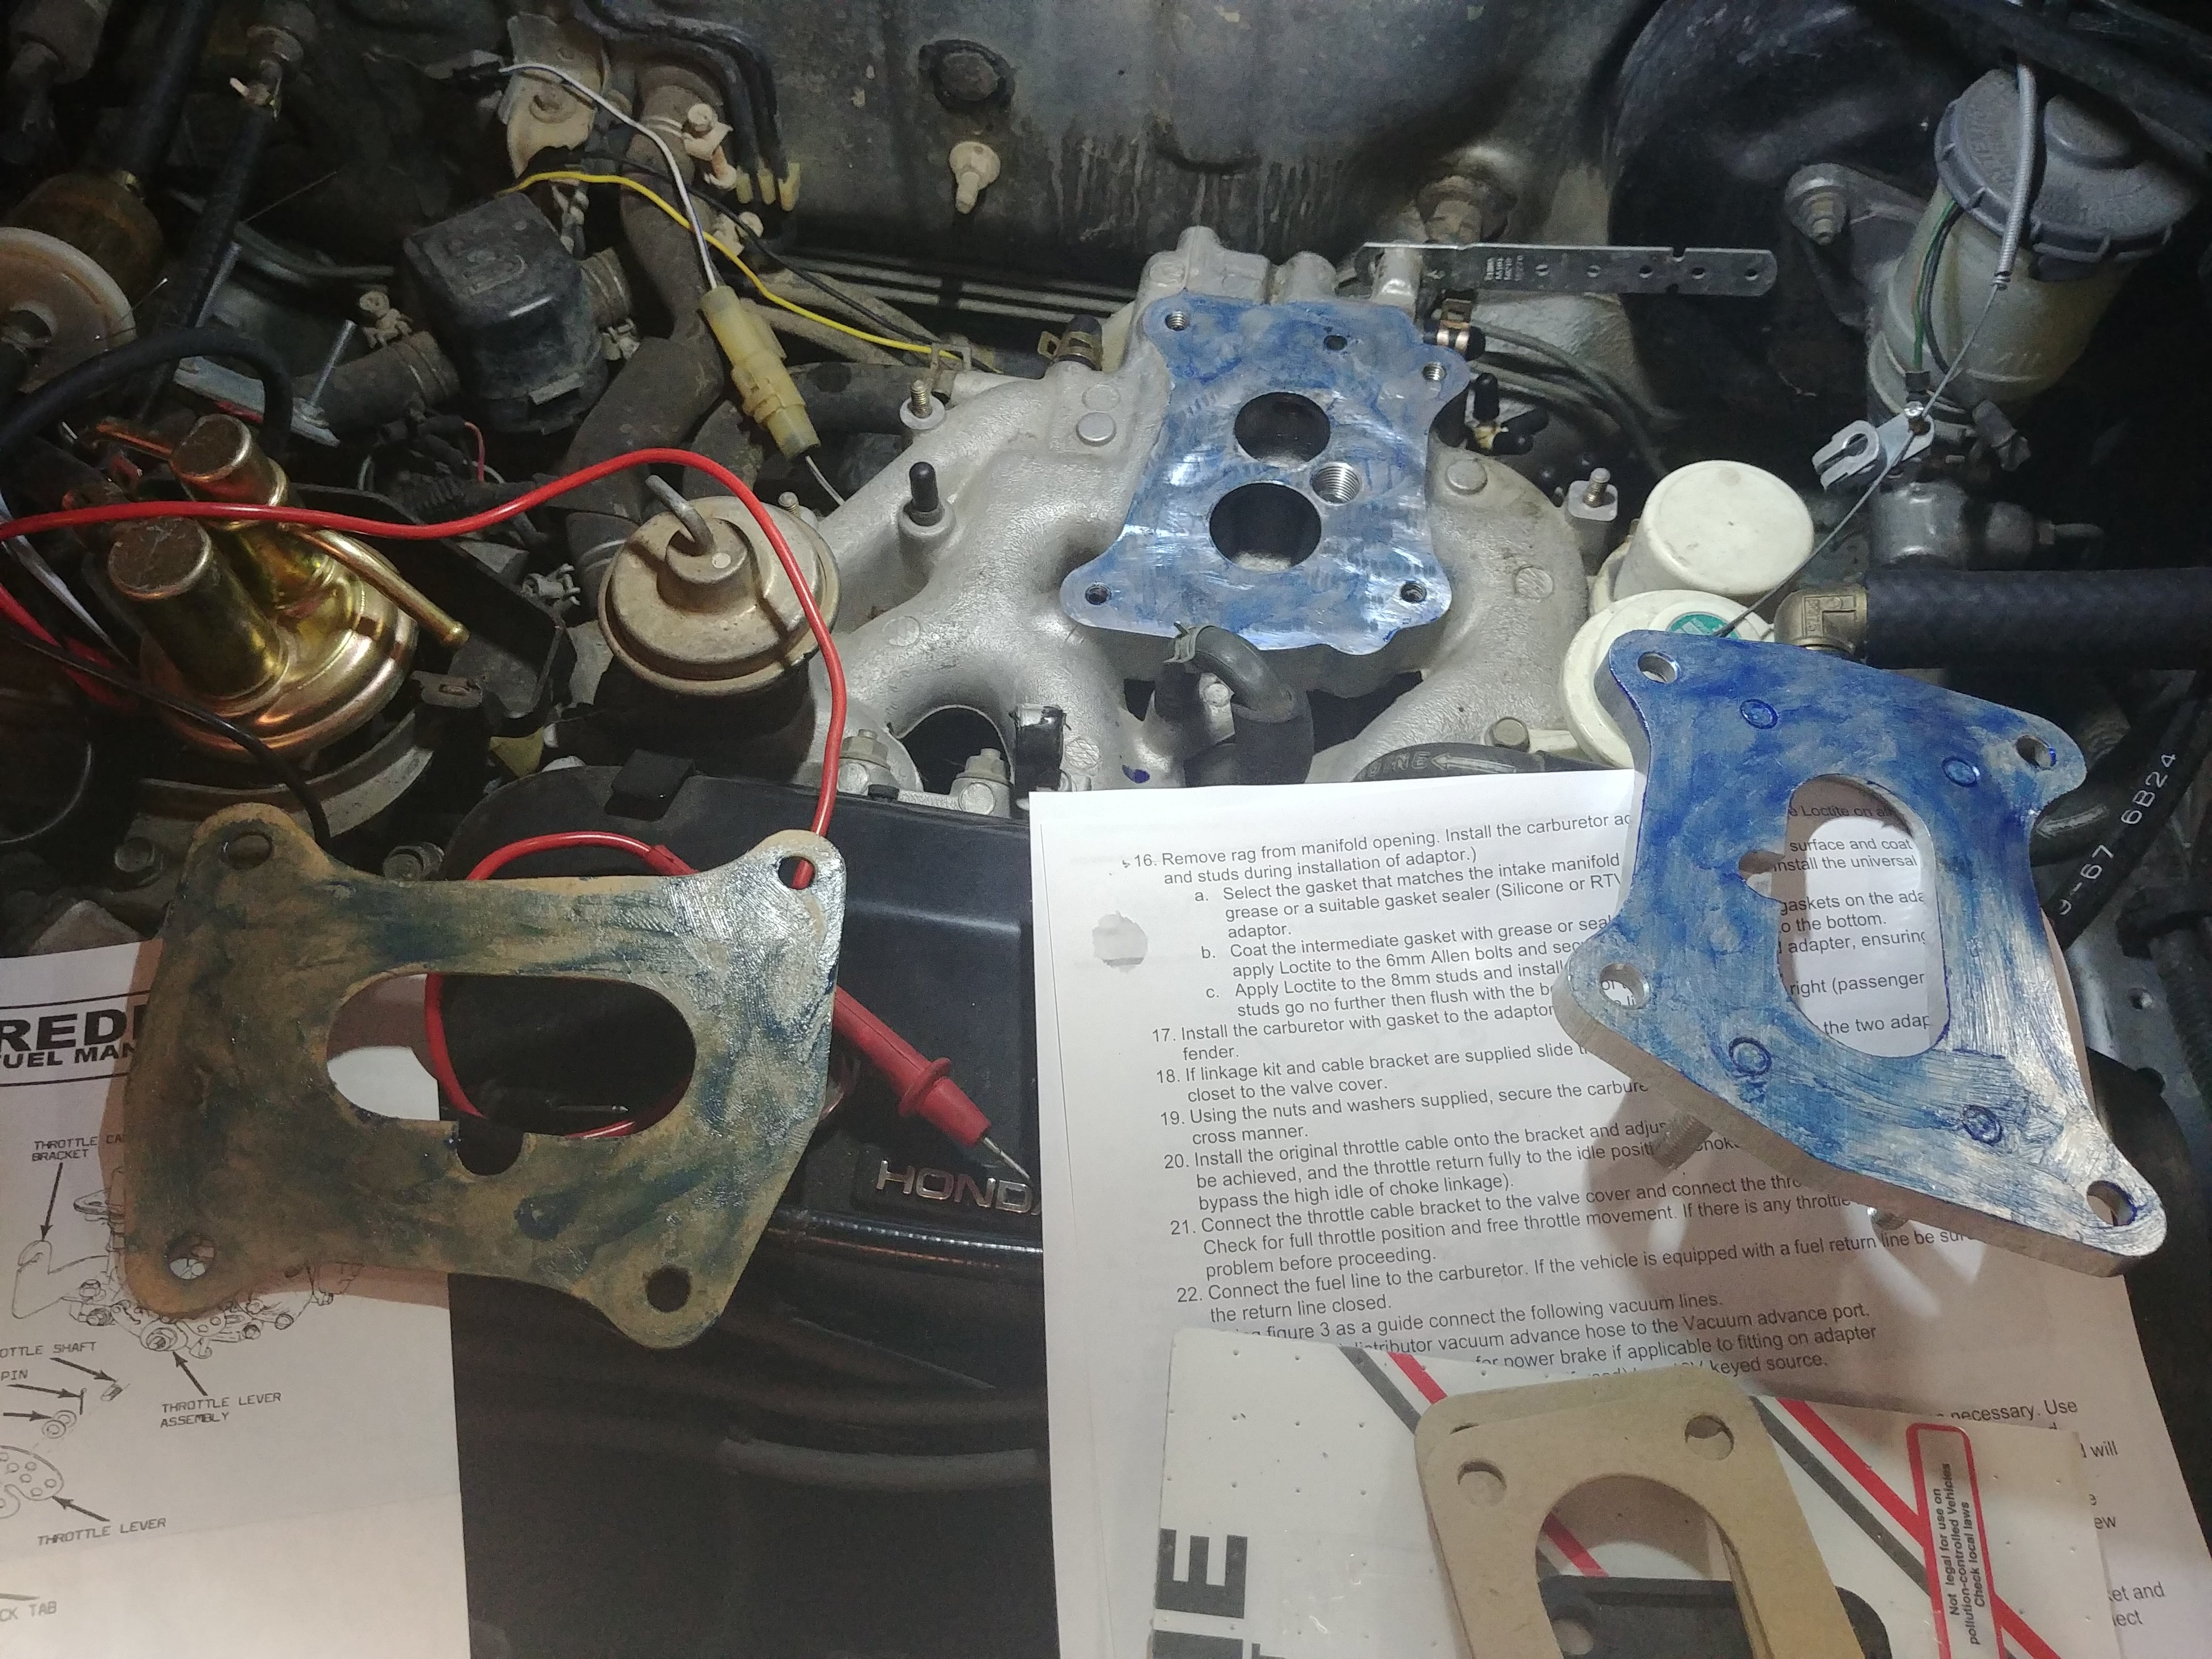
After the thread lock set, it was a simple matter of matching the big hole in the carb with the big hole in the intake, slapping the gaskets in, and bolting down the carb.
Wait… but the directions say “Install the carburetor with gasket to the adaptor with the linkage towards the right (passenger side) fender.” That is like… the opposite of how I just did it.
Ok, remove the carb, gaskets, and spacer and try again.
Ok but now the holes are mismatched! I guess that is OK? I dunno. On the the fuel pickup is on the wrong side…. And the throttle cable has to basically go a full 360 around the carb and/ or make some really weird angles. Hmm no I don’t like that.
Ok, remove the carb, gaskets, and spacer and try again.
Ok but the gaskets are still kinda odd and I guess the spacer isn’t a 1:1 mate anyway… Maybe I’ll google it. Yeah looks like someone else has it the other way. Heh ok….
Ok, remove the carb, gaskets, and spacer and try again.
The next step goes on to say “slide the throttle cable bracket over the two adapter studs closest to the valve cover.” Ok but… that isn’t possible with the carb in this orientation. Even if the geometry of the carb would allow that, which it doesn’t, that would have the throttle cable _pushing_ the throttle linkage and I don’t think that is right.
Ok, remove the carb, gaskets, and spacer and try again.
Ugh wait now all the adjustments are on the back! That’s not going to work!
Ok, remove the carb, gaskets, and spacer and try again.
Ok so… now that we’re pretty sure the carb is in the right orientation, the one specified in the first place, and the throttle bracket in the right spot, opposite of what was indicated, let’s figure out the throttle linkage adapter, kit number 99007.116. Cool, it comes with its own instructions!
“Assemble as shown”
Uhh… but… there isn’t an assembled picture.
“Assemble as shown.”
But like… what are all these extra pieces for? What even is this?! Is there a missing page.
“Assemble as shown.”
:sigh: God damn it.
Ok so at this point the directions go in the bin and we’re going to go with what seems right.
What I came up with is wrong as I’m using the hole intended for the throttle cable to hold the return spring and I think what is supposed to be for the return spring for the throttle linkage. Ahh well. It lines up really well and seems sturdy, so I’m sending it. My last carb kit I ended up with bailing wire as my throttle linkage, so this is an improvement.
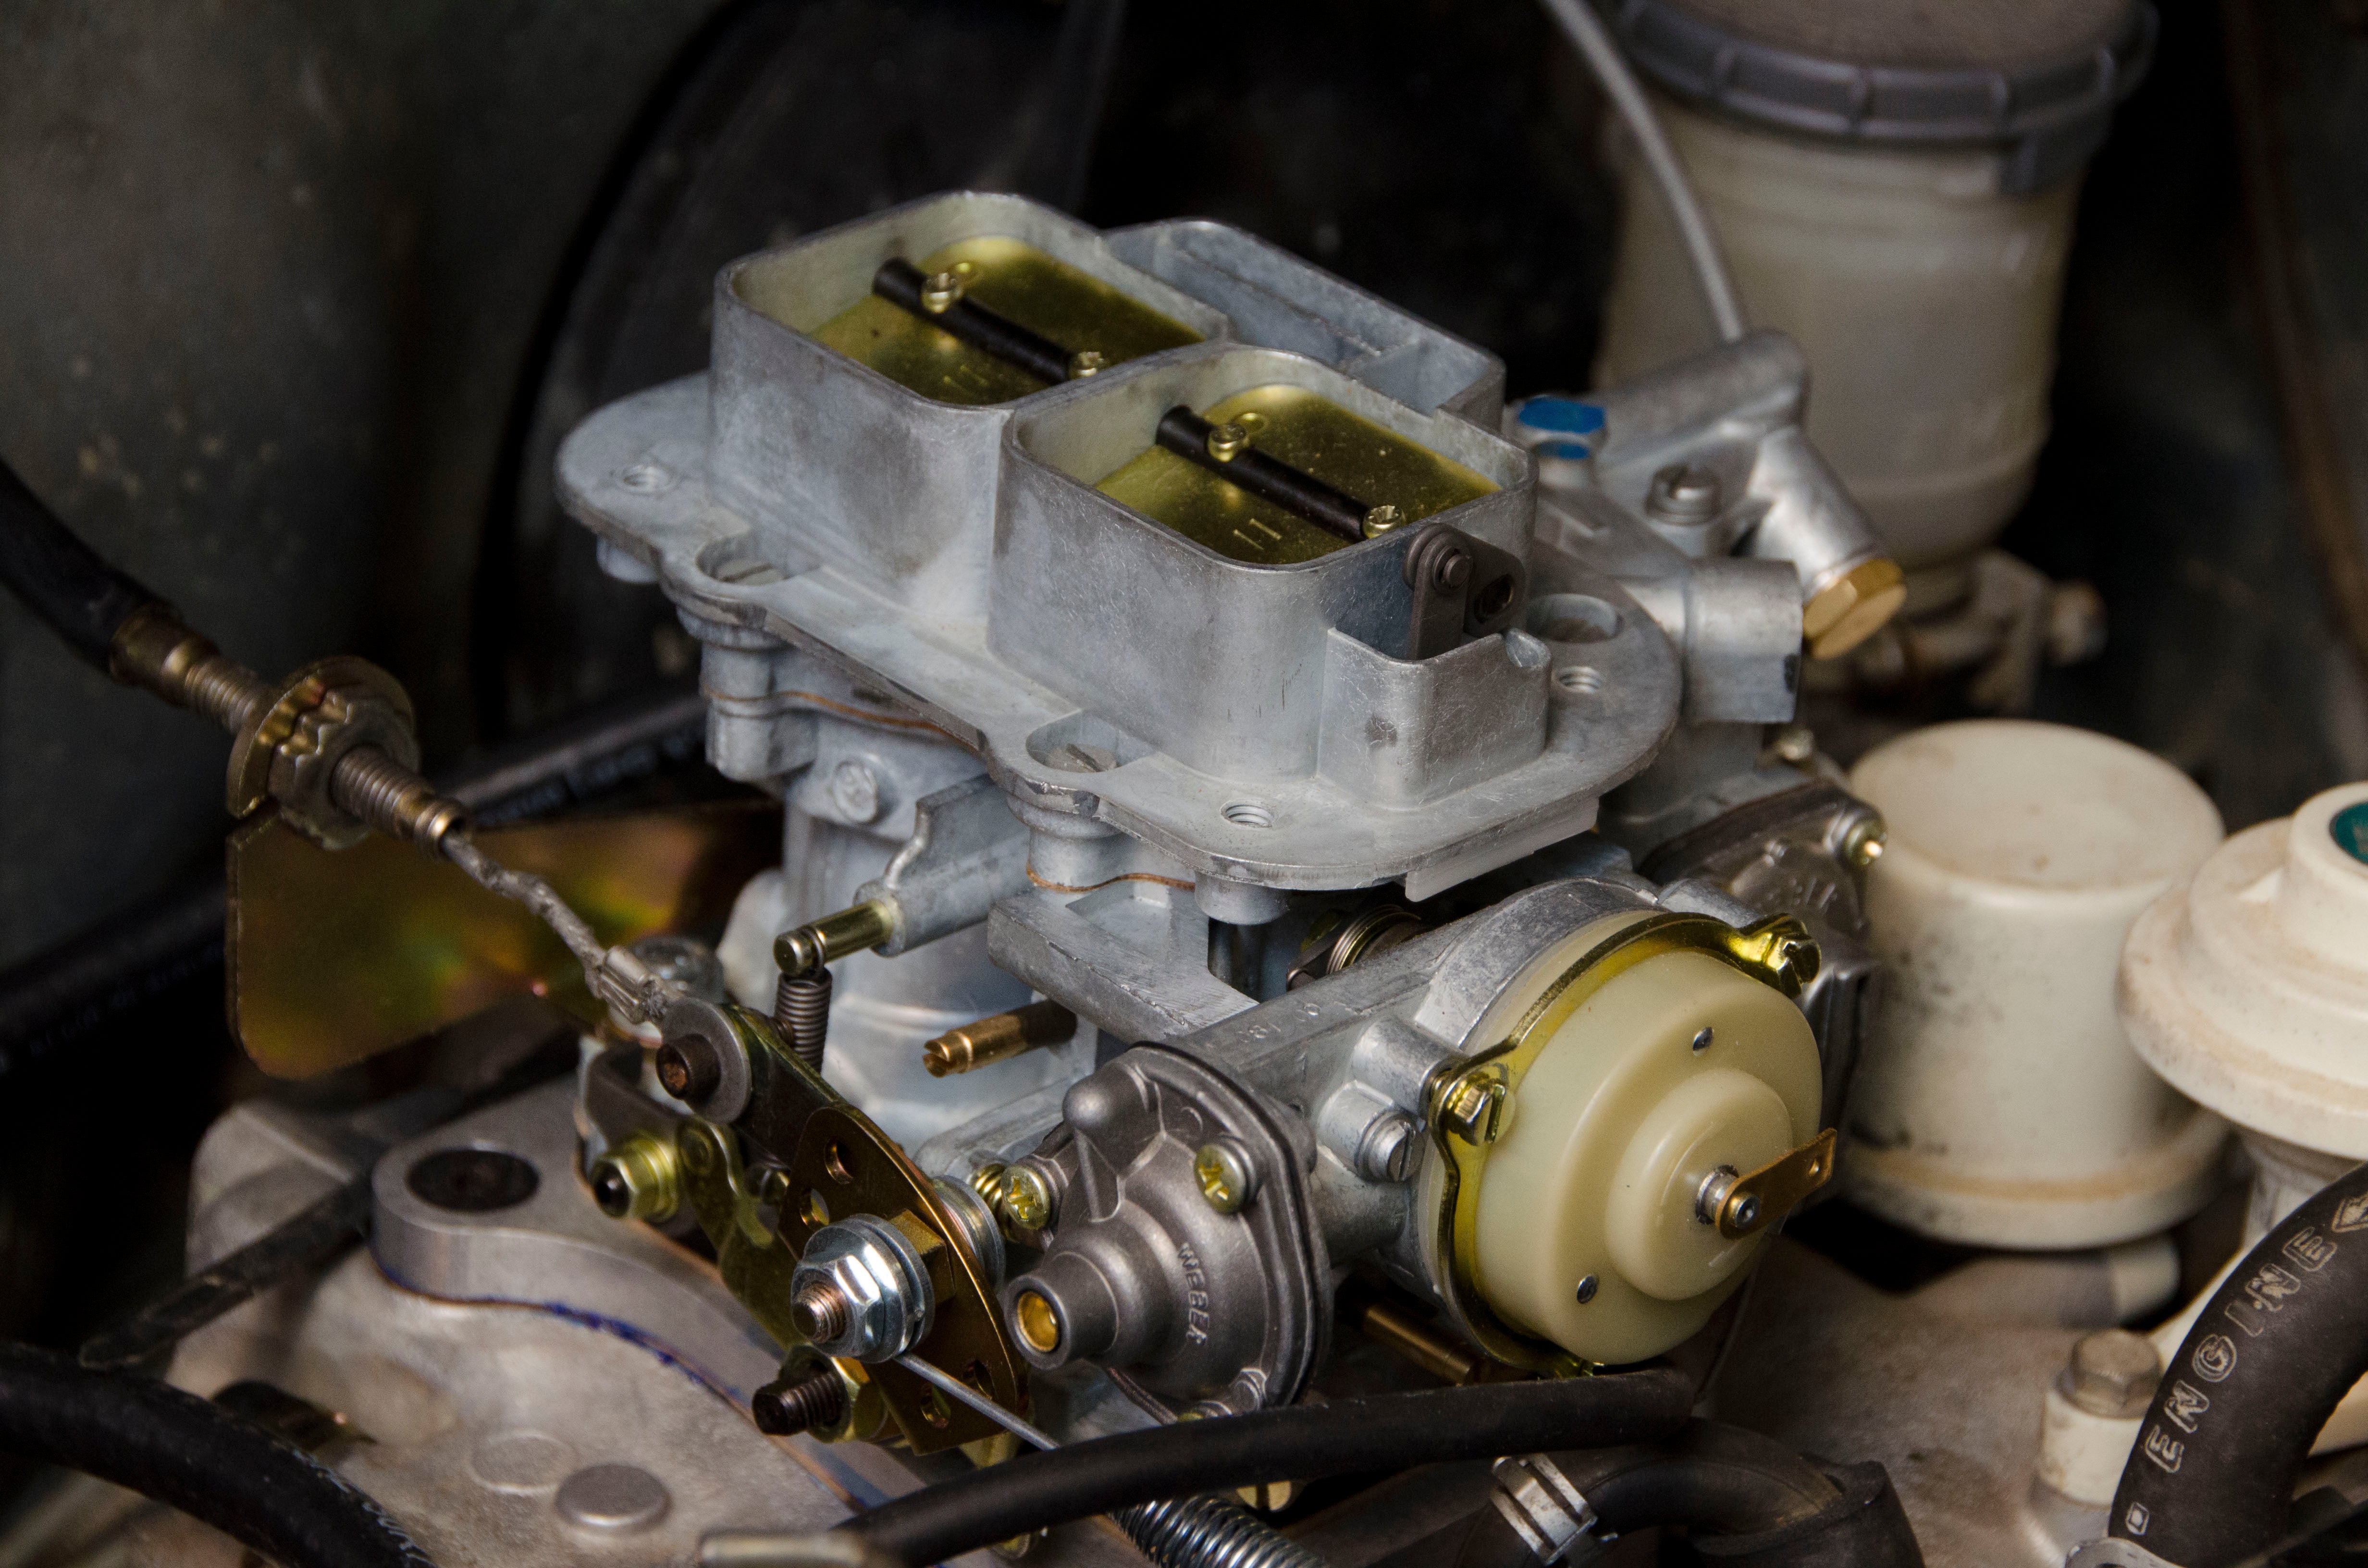
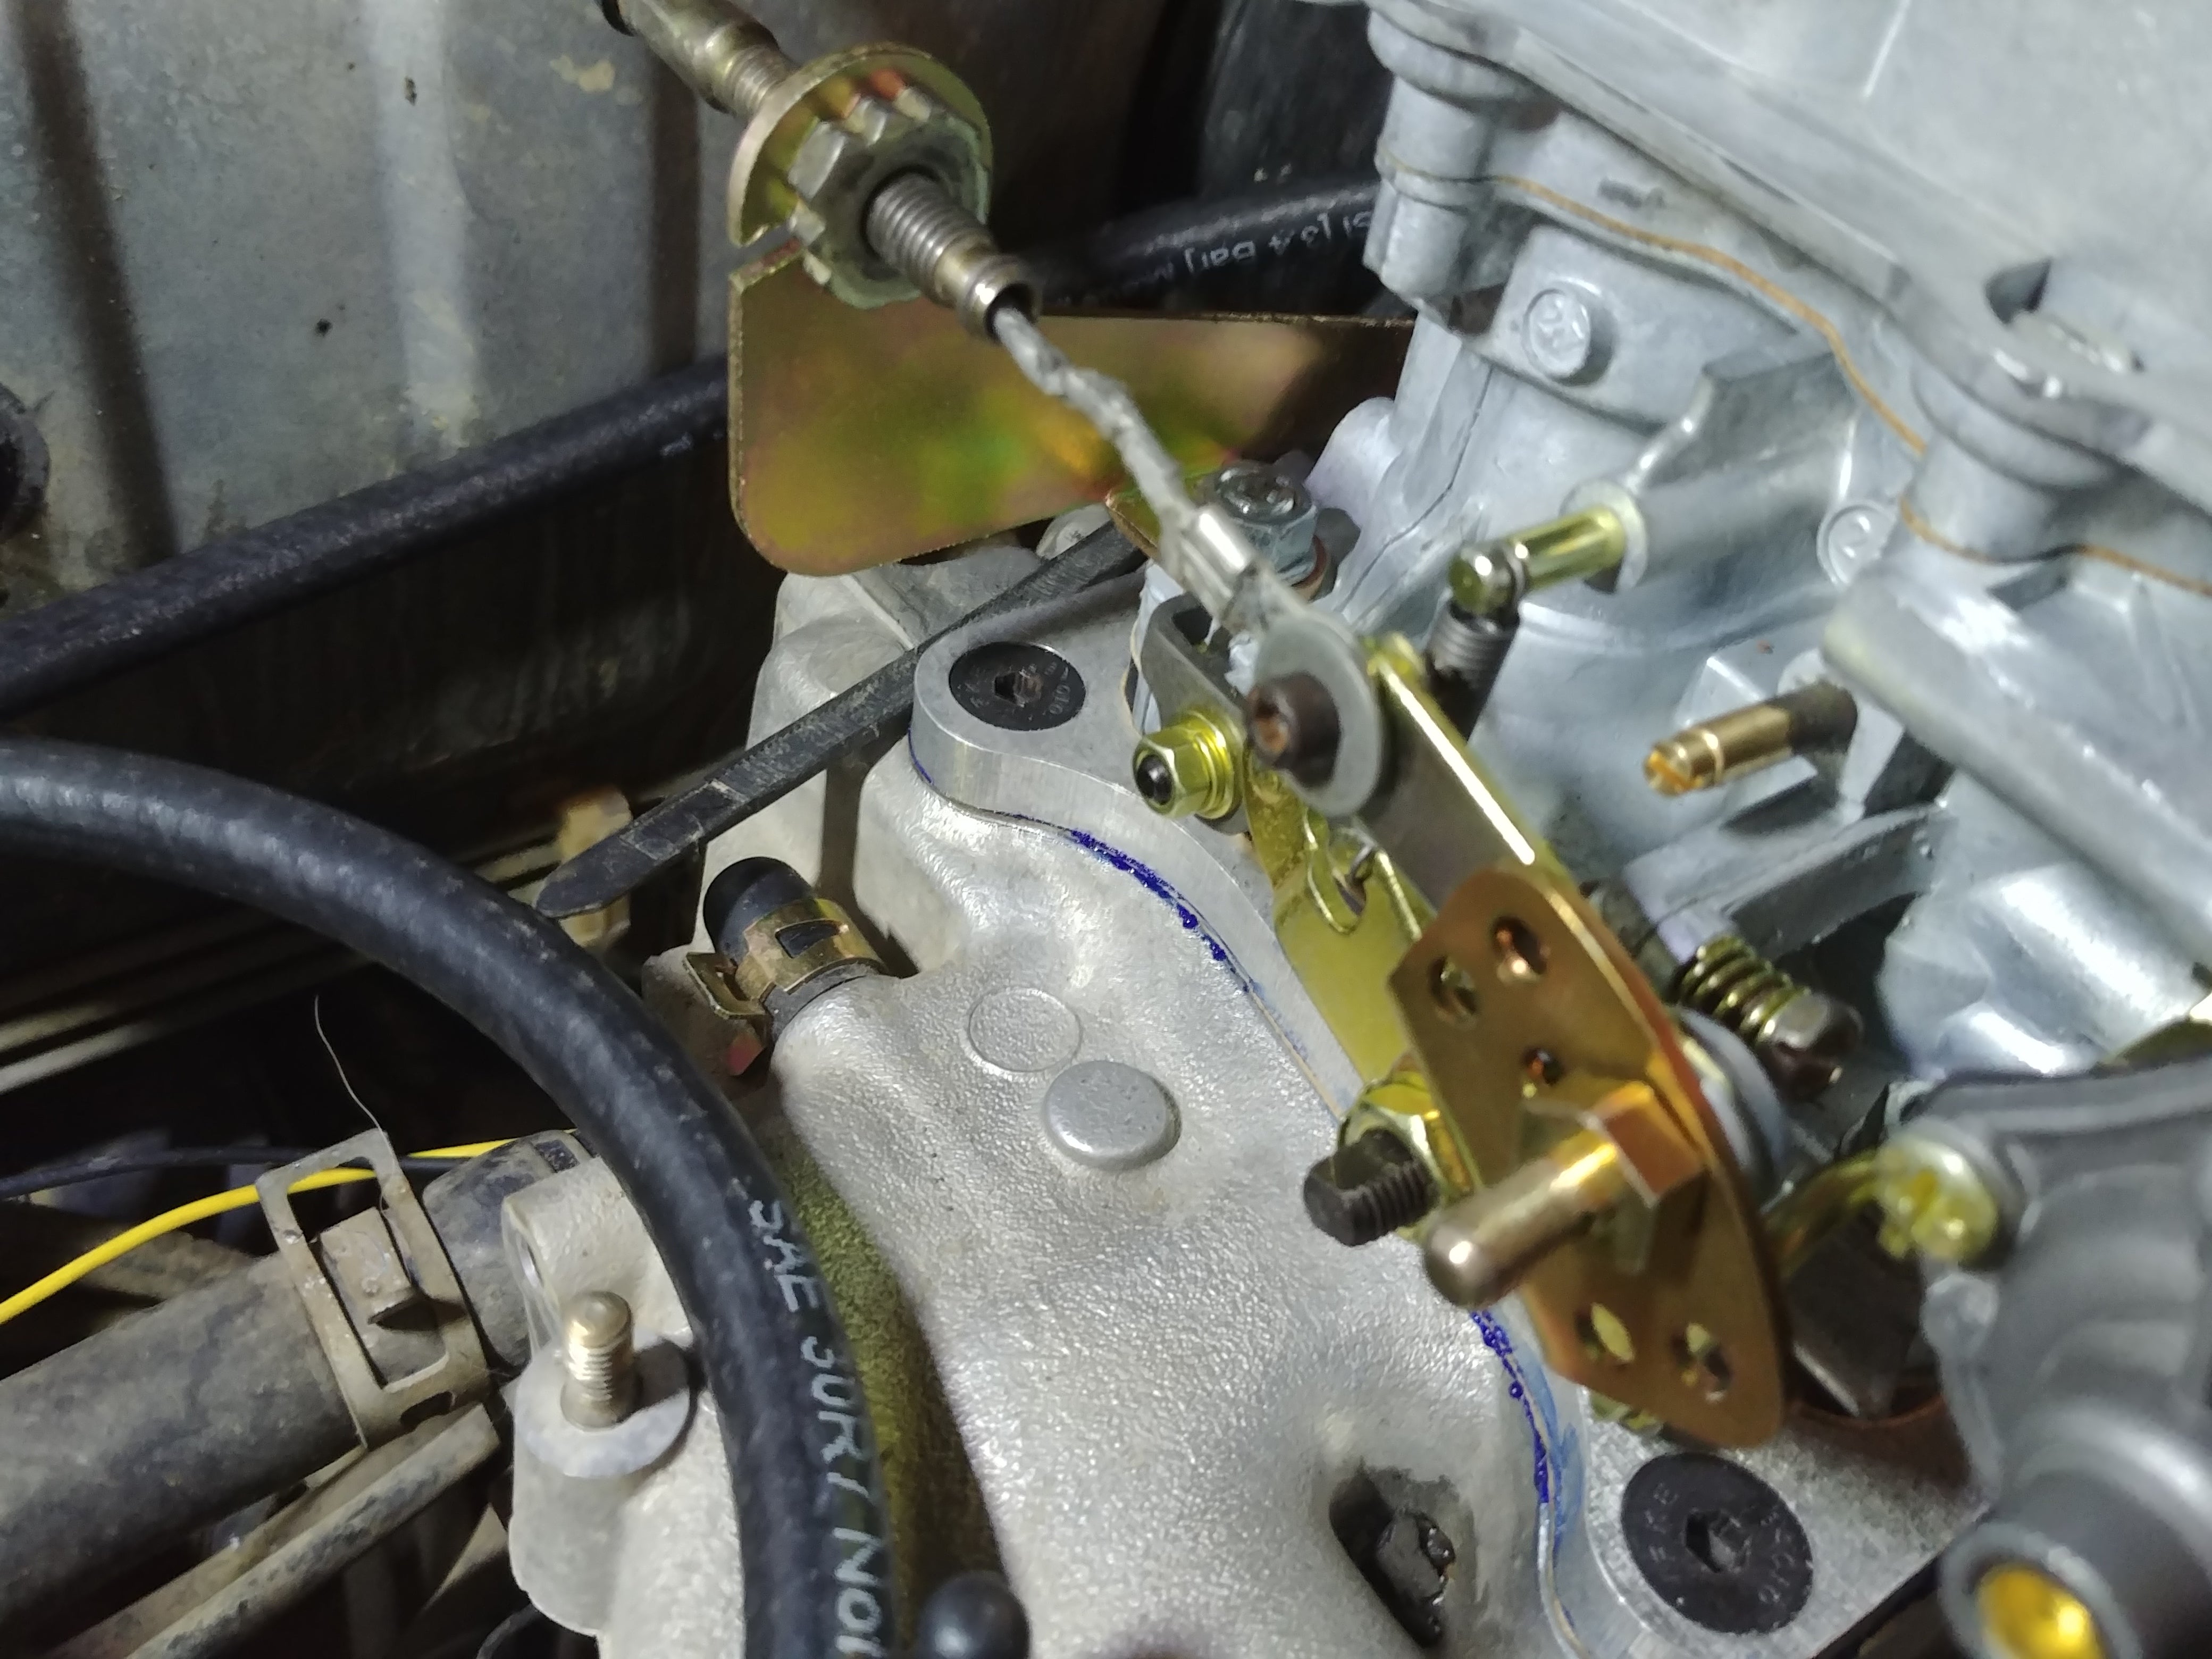
DAMN YOU AUTOFOCUS!
With that sorted, and dry fit, everything got bolted down for real. Vacuum lines were connected or plugged, as appropriate, and the fuel line was run. Suddenly, it was starting to look like I had a complete car!
I hooked up my eBay smoke injector thingy to check for leaks and, shockingly, didn’t find any!
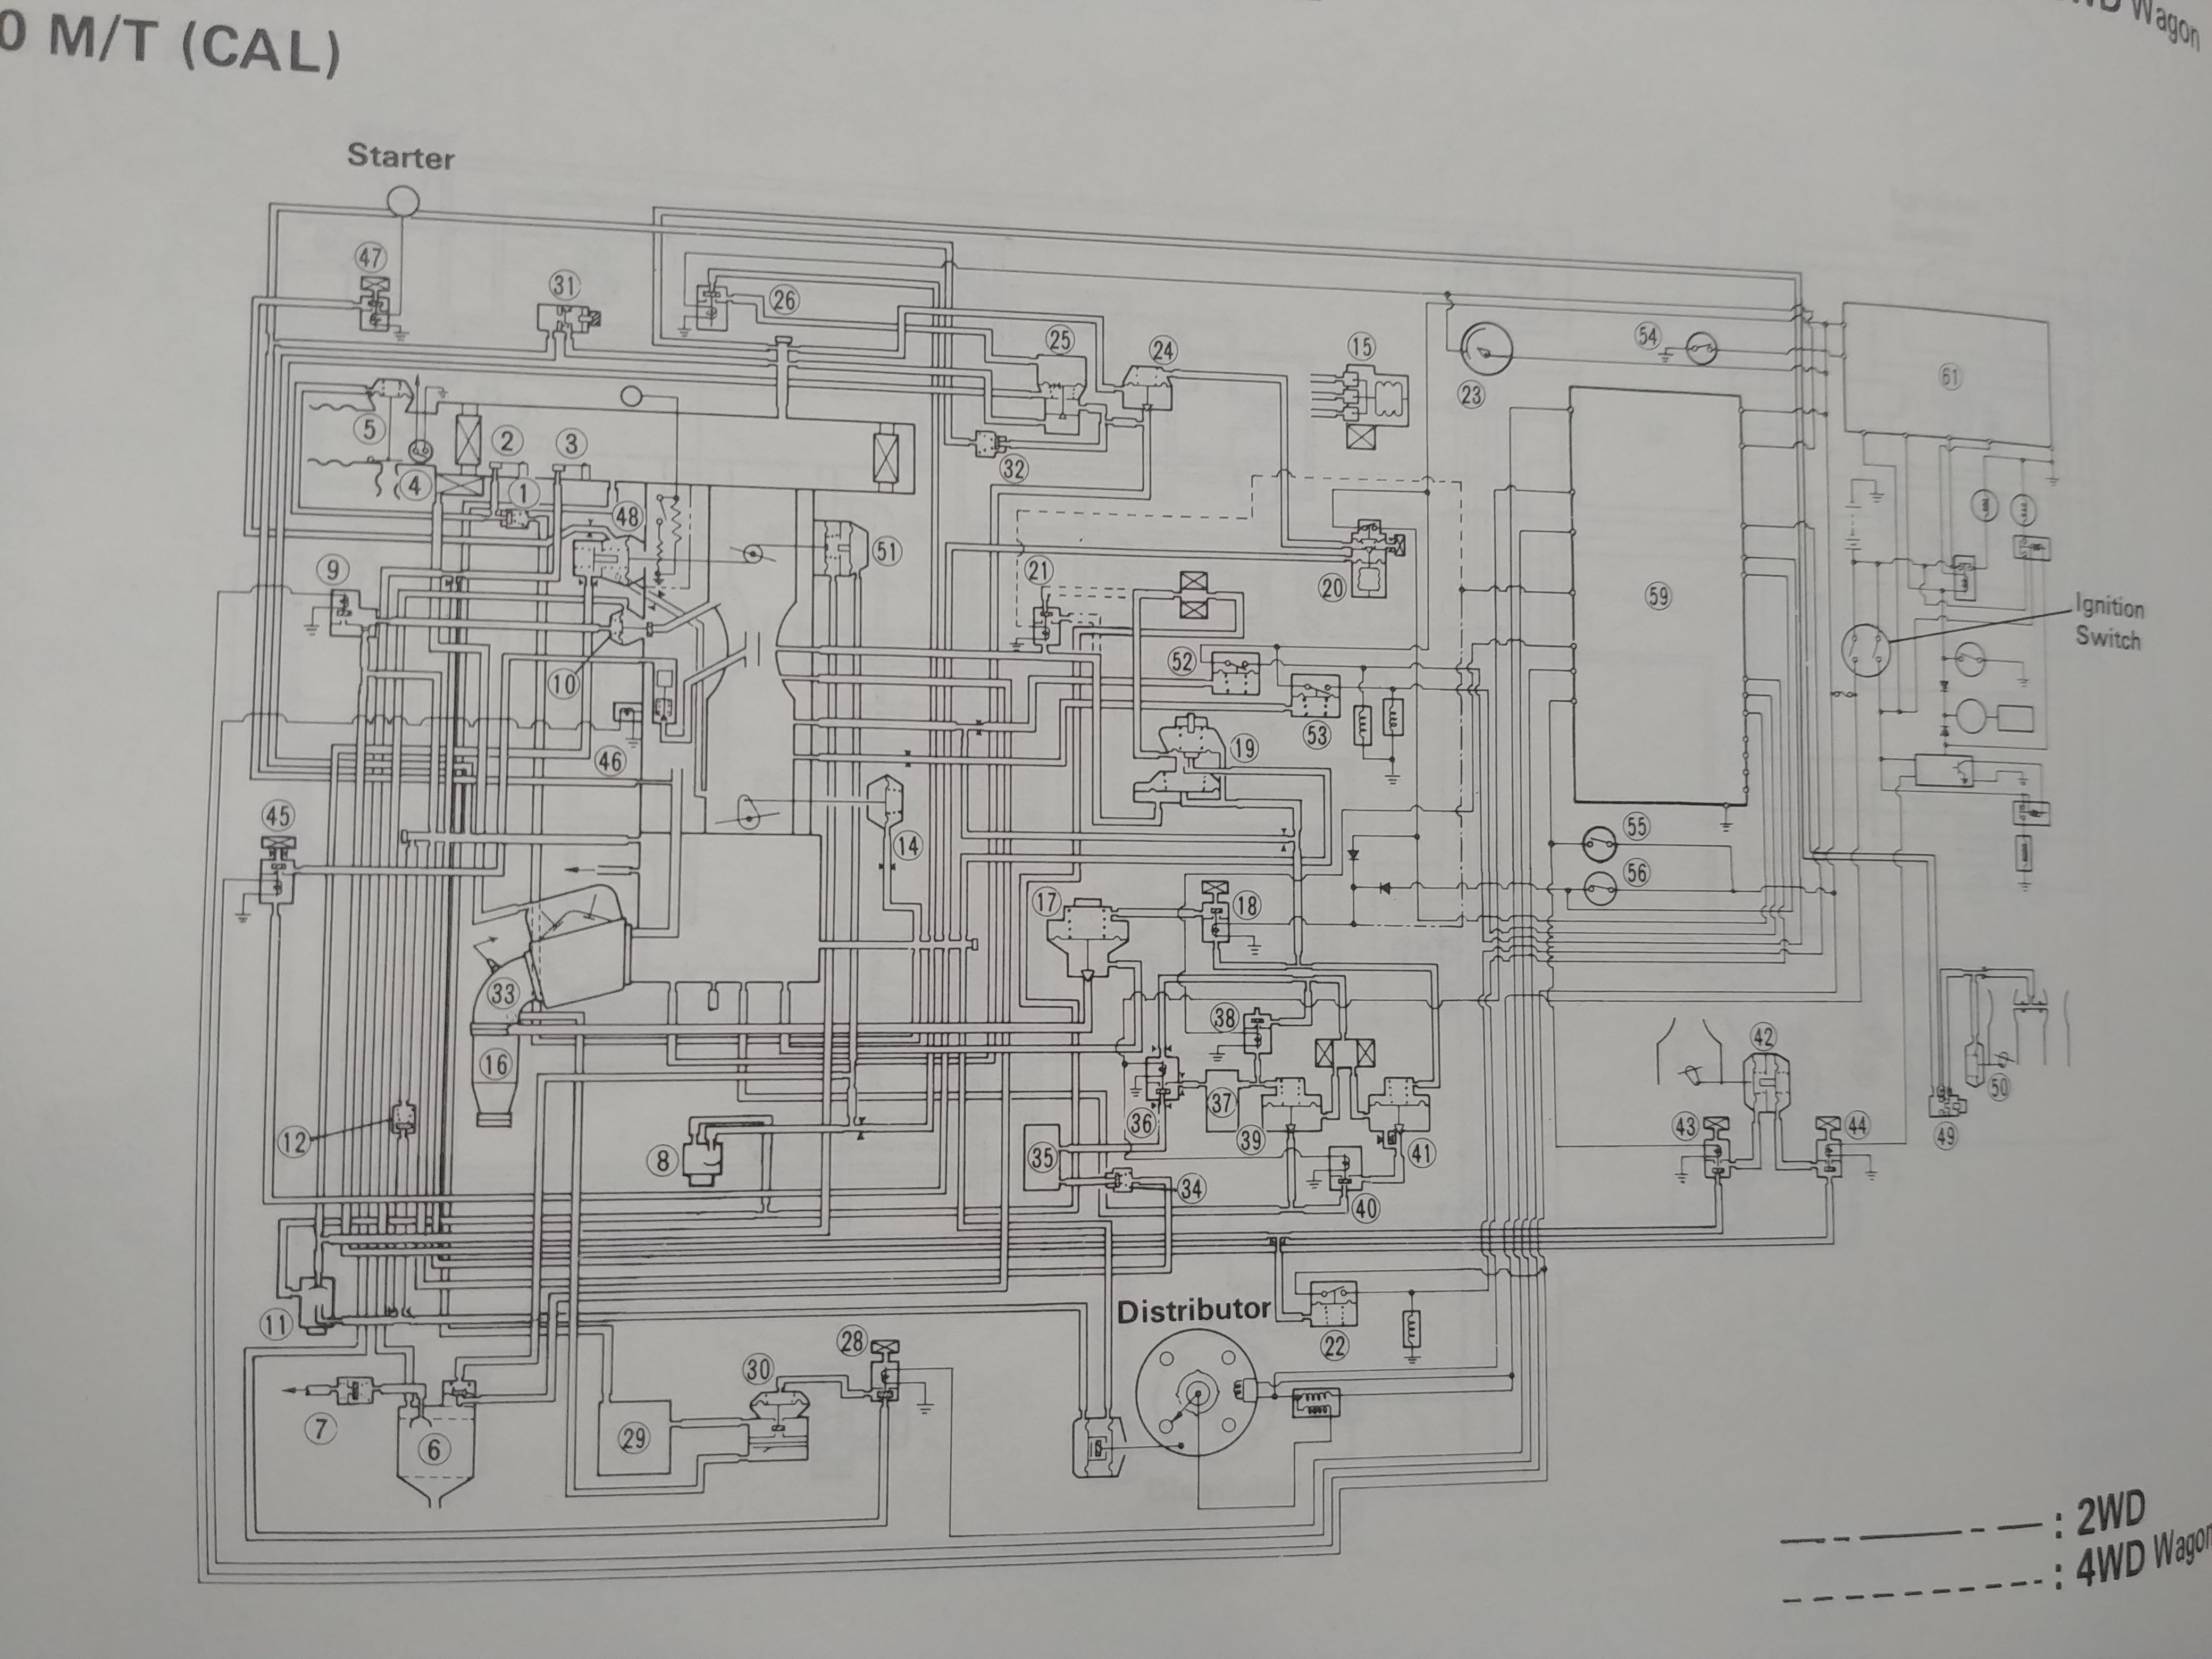
The last little niggle was getting a connection for the automatic choke. The car came fitted with a manual choke, so it was a matter of finding a switched 12V source somewhere in the engine bay, or running one from the interior. The coil and ingnitor were good choices, but neither were spade or screw terminals, so we’d be looking at a cut-and-solder - not ideal. I poked around in the wiring diagrams for other options.... and found a connection labeled “automatic choke”.
“But wait!” I said. “This car had a manual choke.... didn’t it?” Checking the owner’s manual confirmed that no, it did not. The PO added a manual choke for... reasons. I guess that explains why it looked like a tacked on AutoZone special... because it was!
Alright, after a little bit of a fuss actually confirming which wire was for the automatic choke, information the I eventually found in the Haynes manual of all places, I got the choke connected.
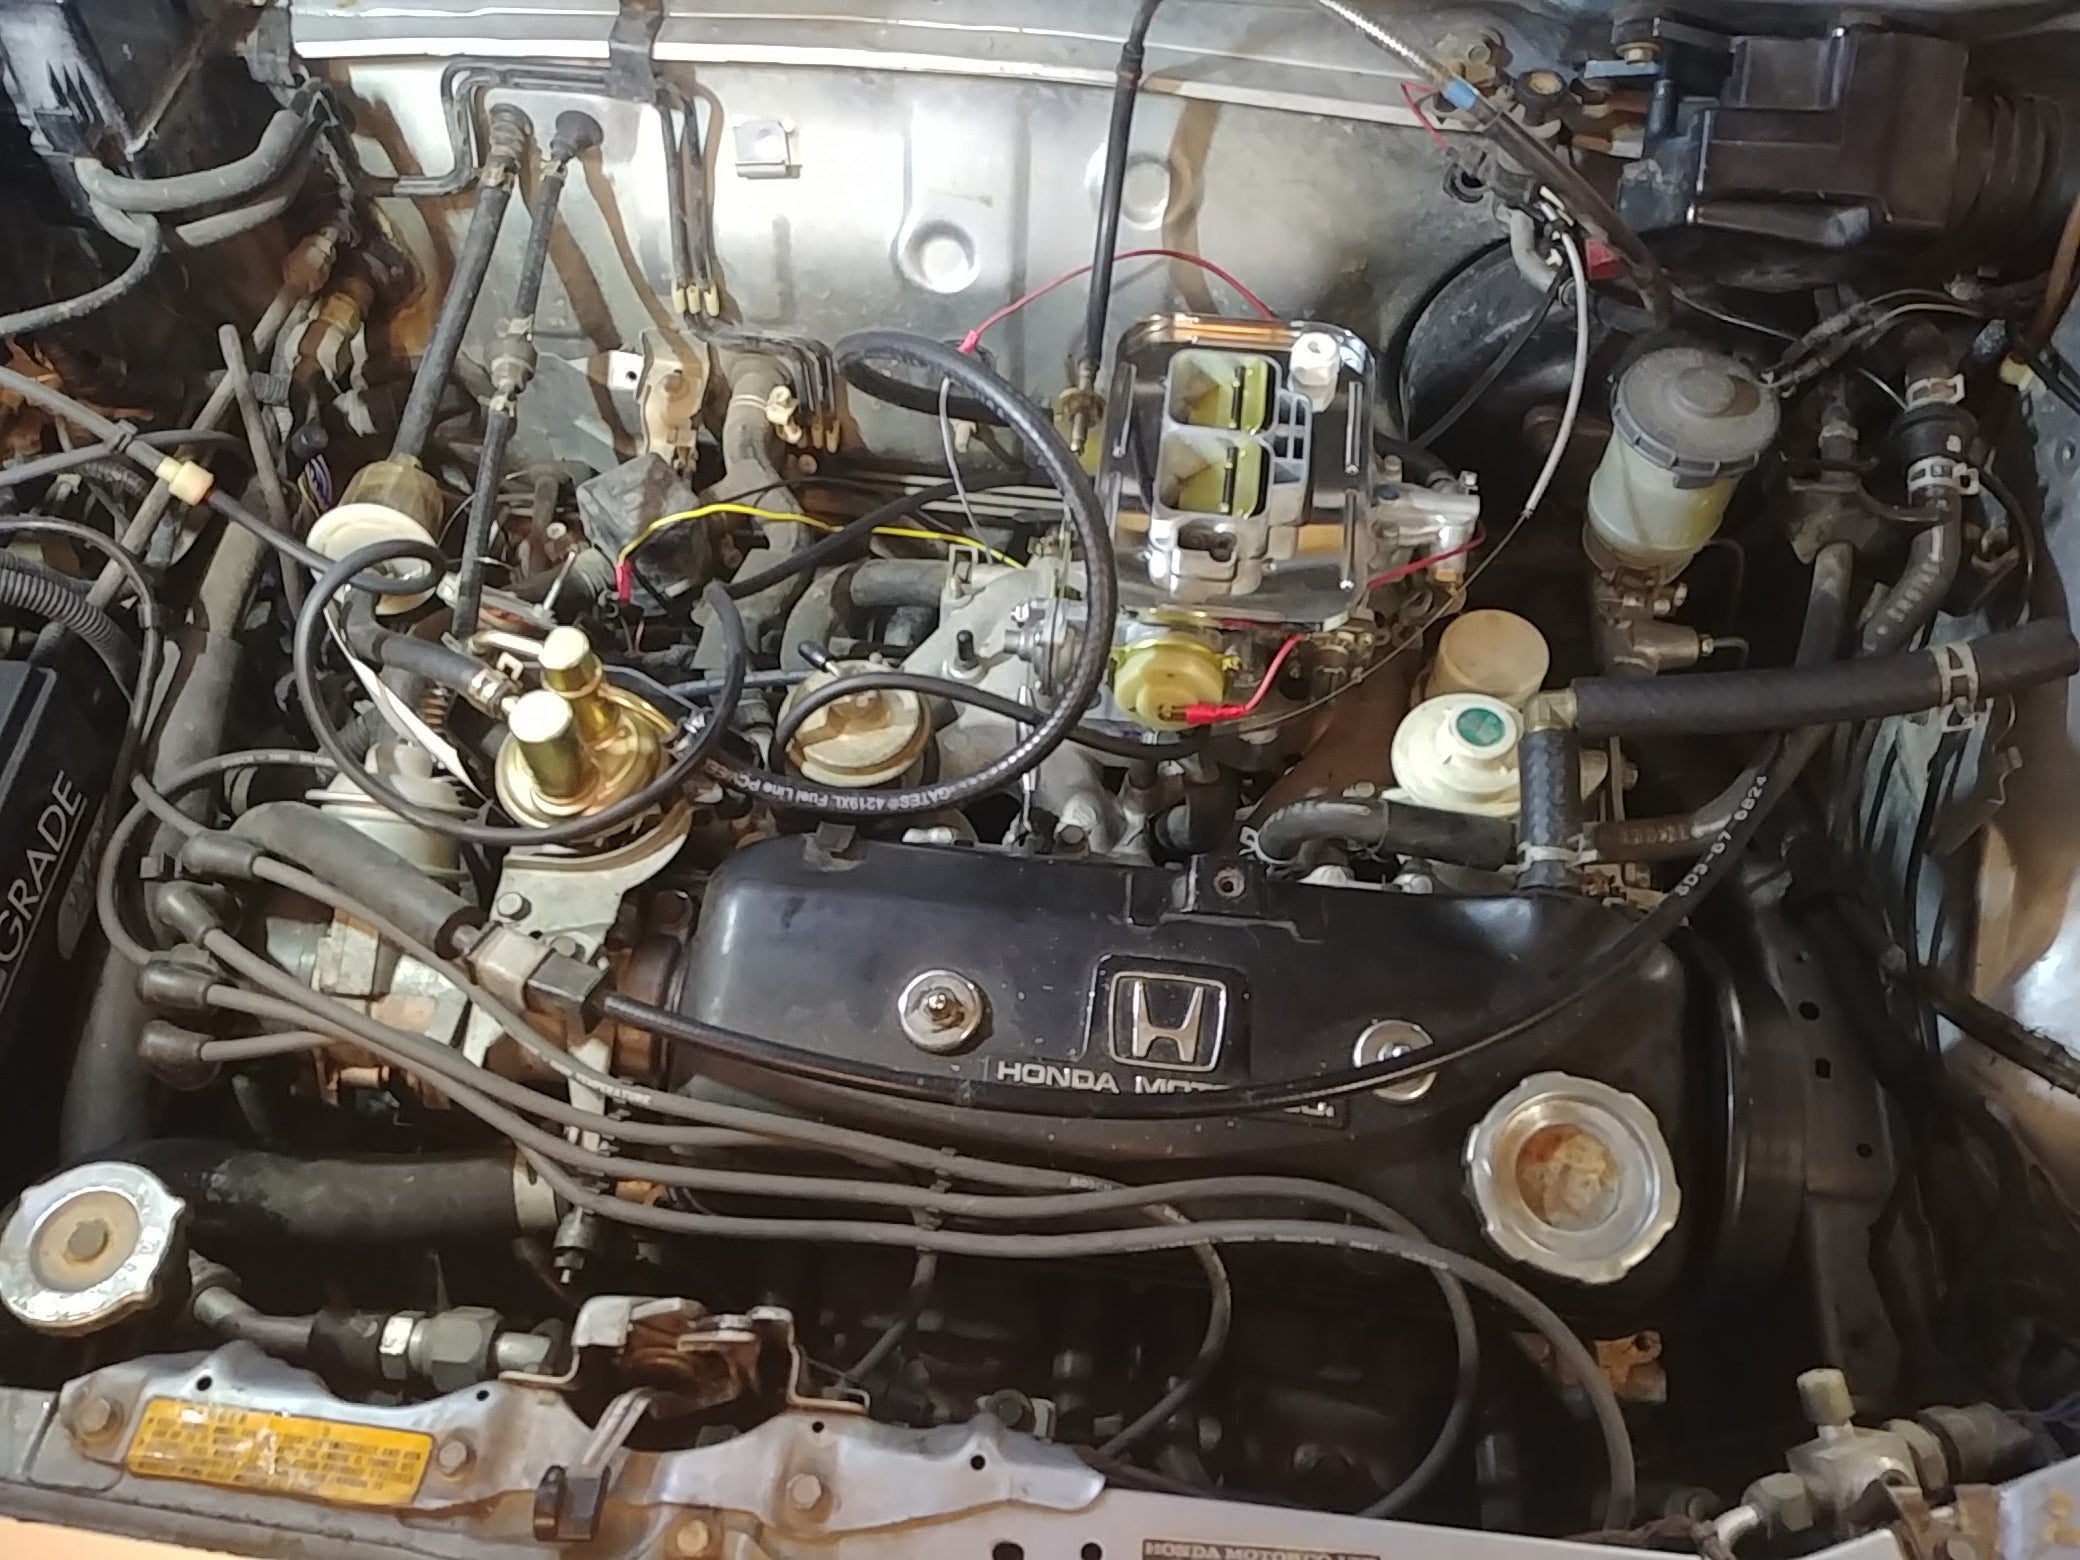
For good measure I drained the gas tank (because this thing has a gas tank drain!!) and refilled with fresh gas.
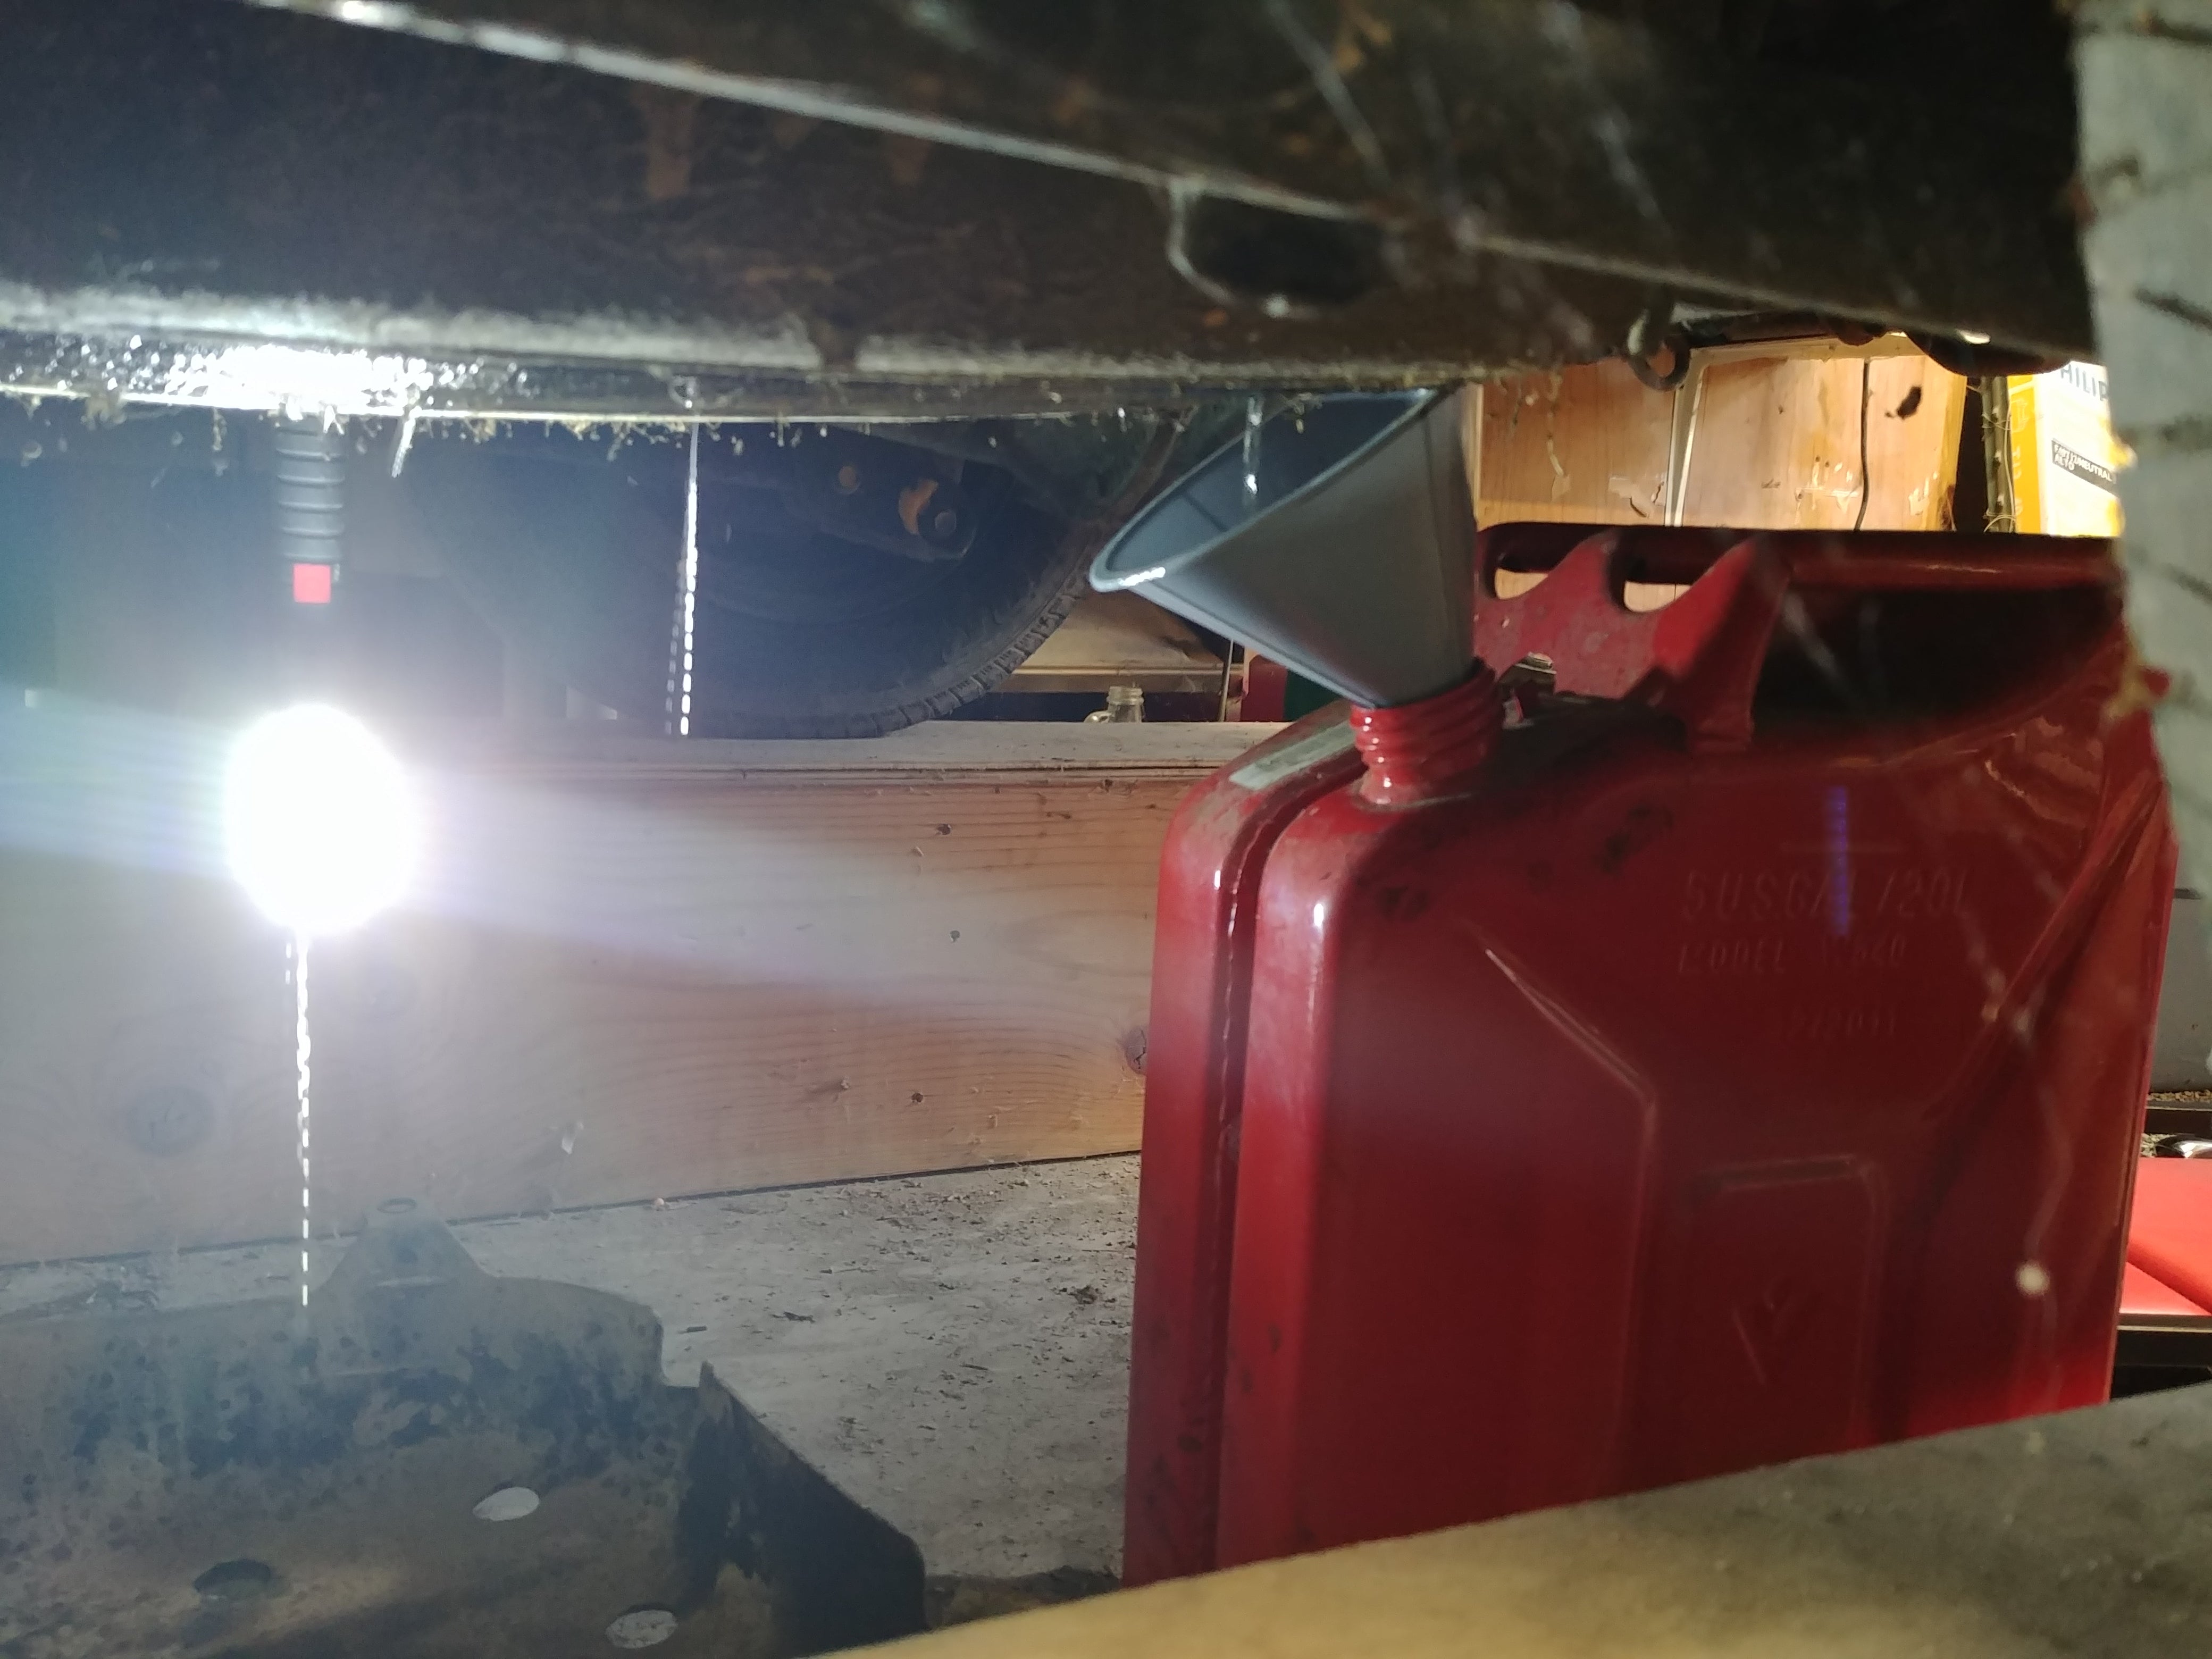
So. Many. Spiders.
Not being able to think of any more excuses, it was time to try starting. With dry fuel lines, I didn’t bother trying to build oil pressure first, figuring they’d build simultaneously.
Key in... first test of the starter... it cranked! Sounded good too.
We alternated about 7 seconds of crank with about 10 seconds of rest. After burning out the starter in the Saab I don’t really wail on starters like I used to.
After about 20 seconds of cranking the oil light turned off.
Shortly thereafter fuel started flowing through the filter.
To shots of carb cleaner and....
!!! UNKNOWN CONTENT TYPE !!!
Woo! The throttle cable was too tight, so it was idling around 2k RPM. We killed it adjusted the throttle cable, and against all odds it restarted without any fuss. Idle was now around 700 RPM, low but acceptable for now, and the engine was purring like a kitten. SUCCESS!
Honestly I’m shocked it went as smoothly as it did. Still a lot to work on, dress, and confirm, but a running engine is a phenomenal step.
I rewarded myself by finishing the air cleaner project. So happy with the results.
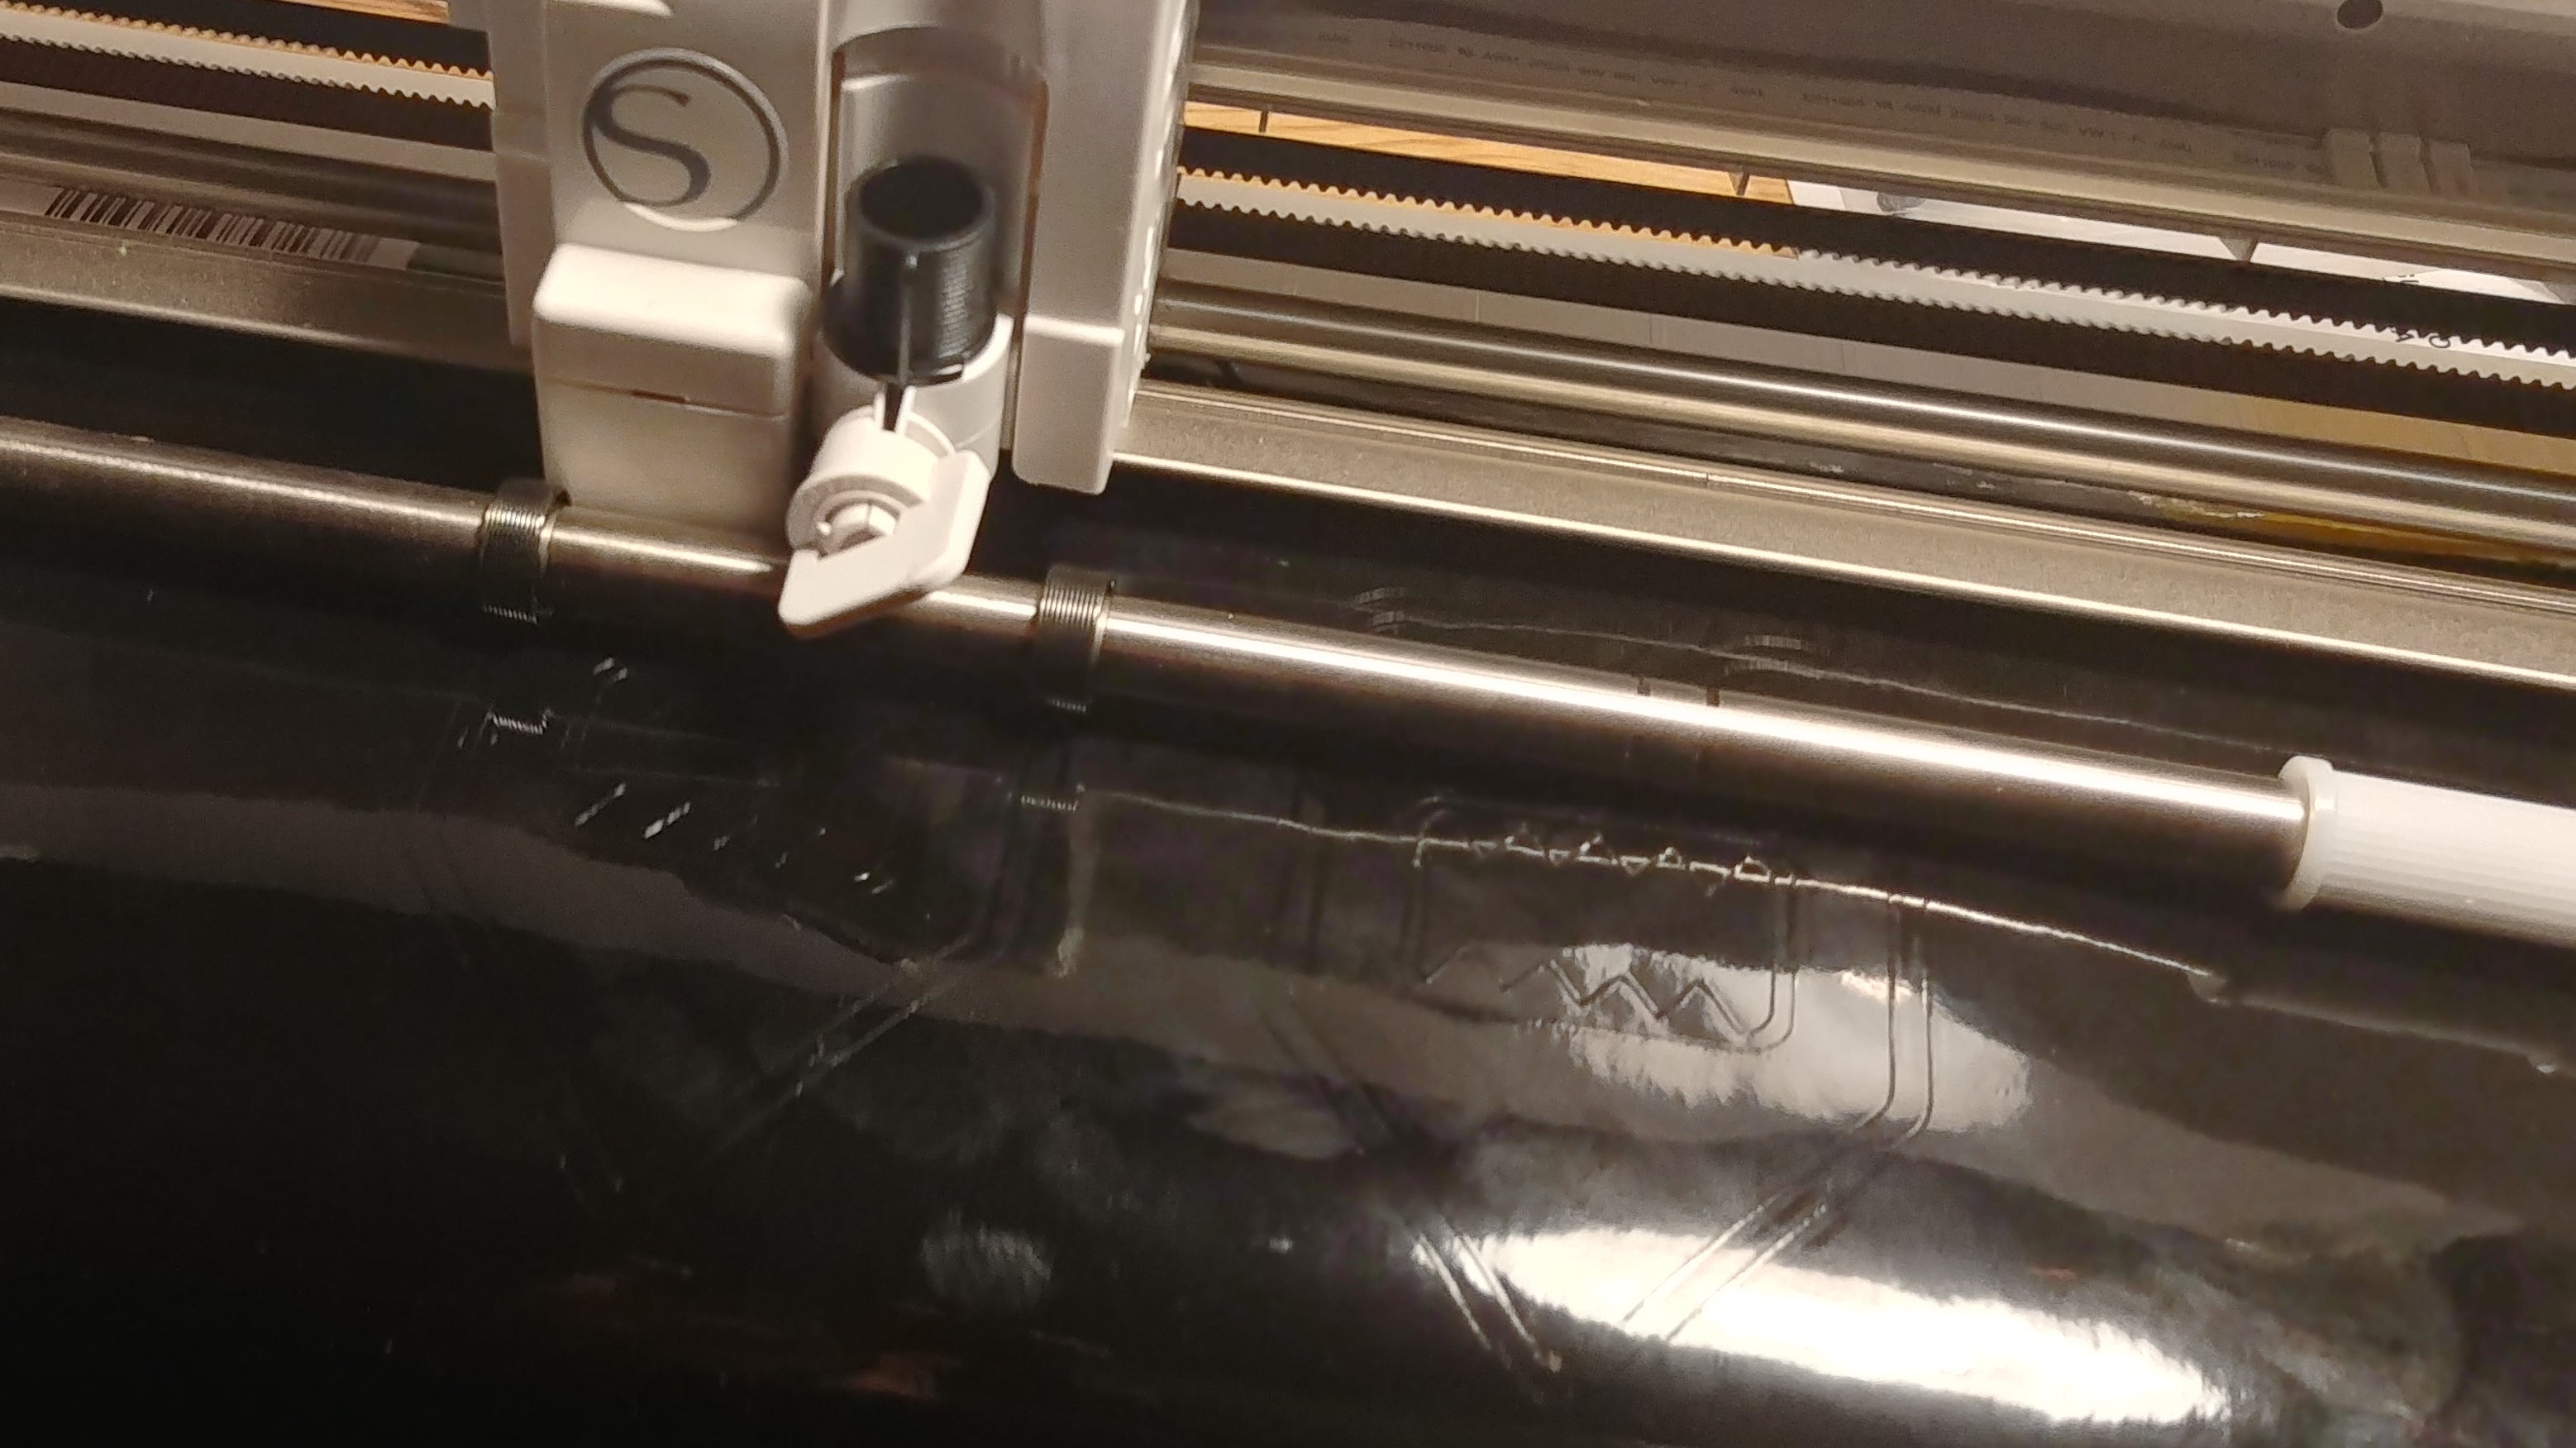
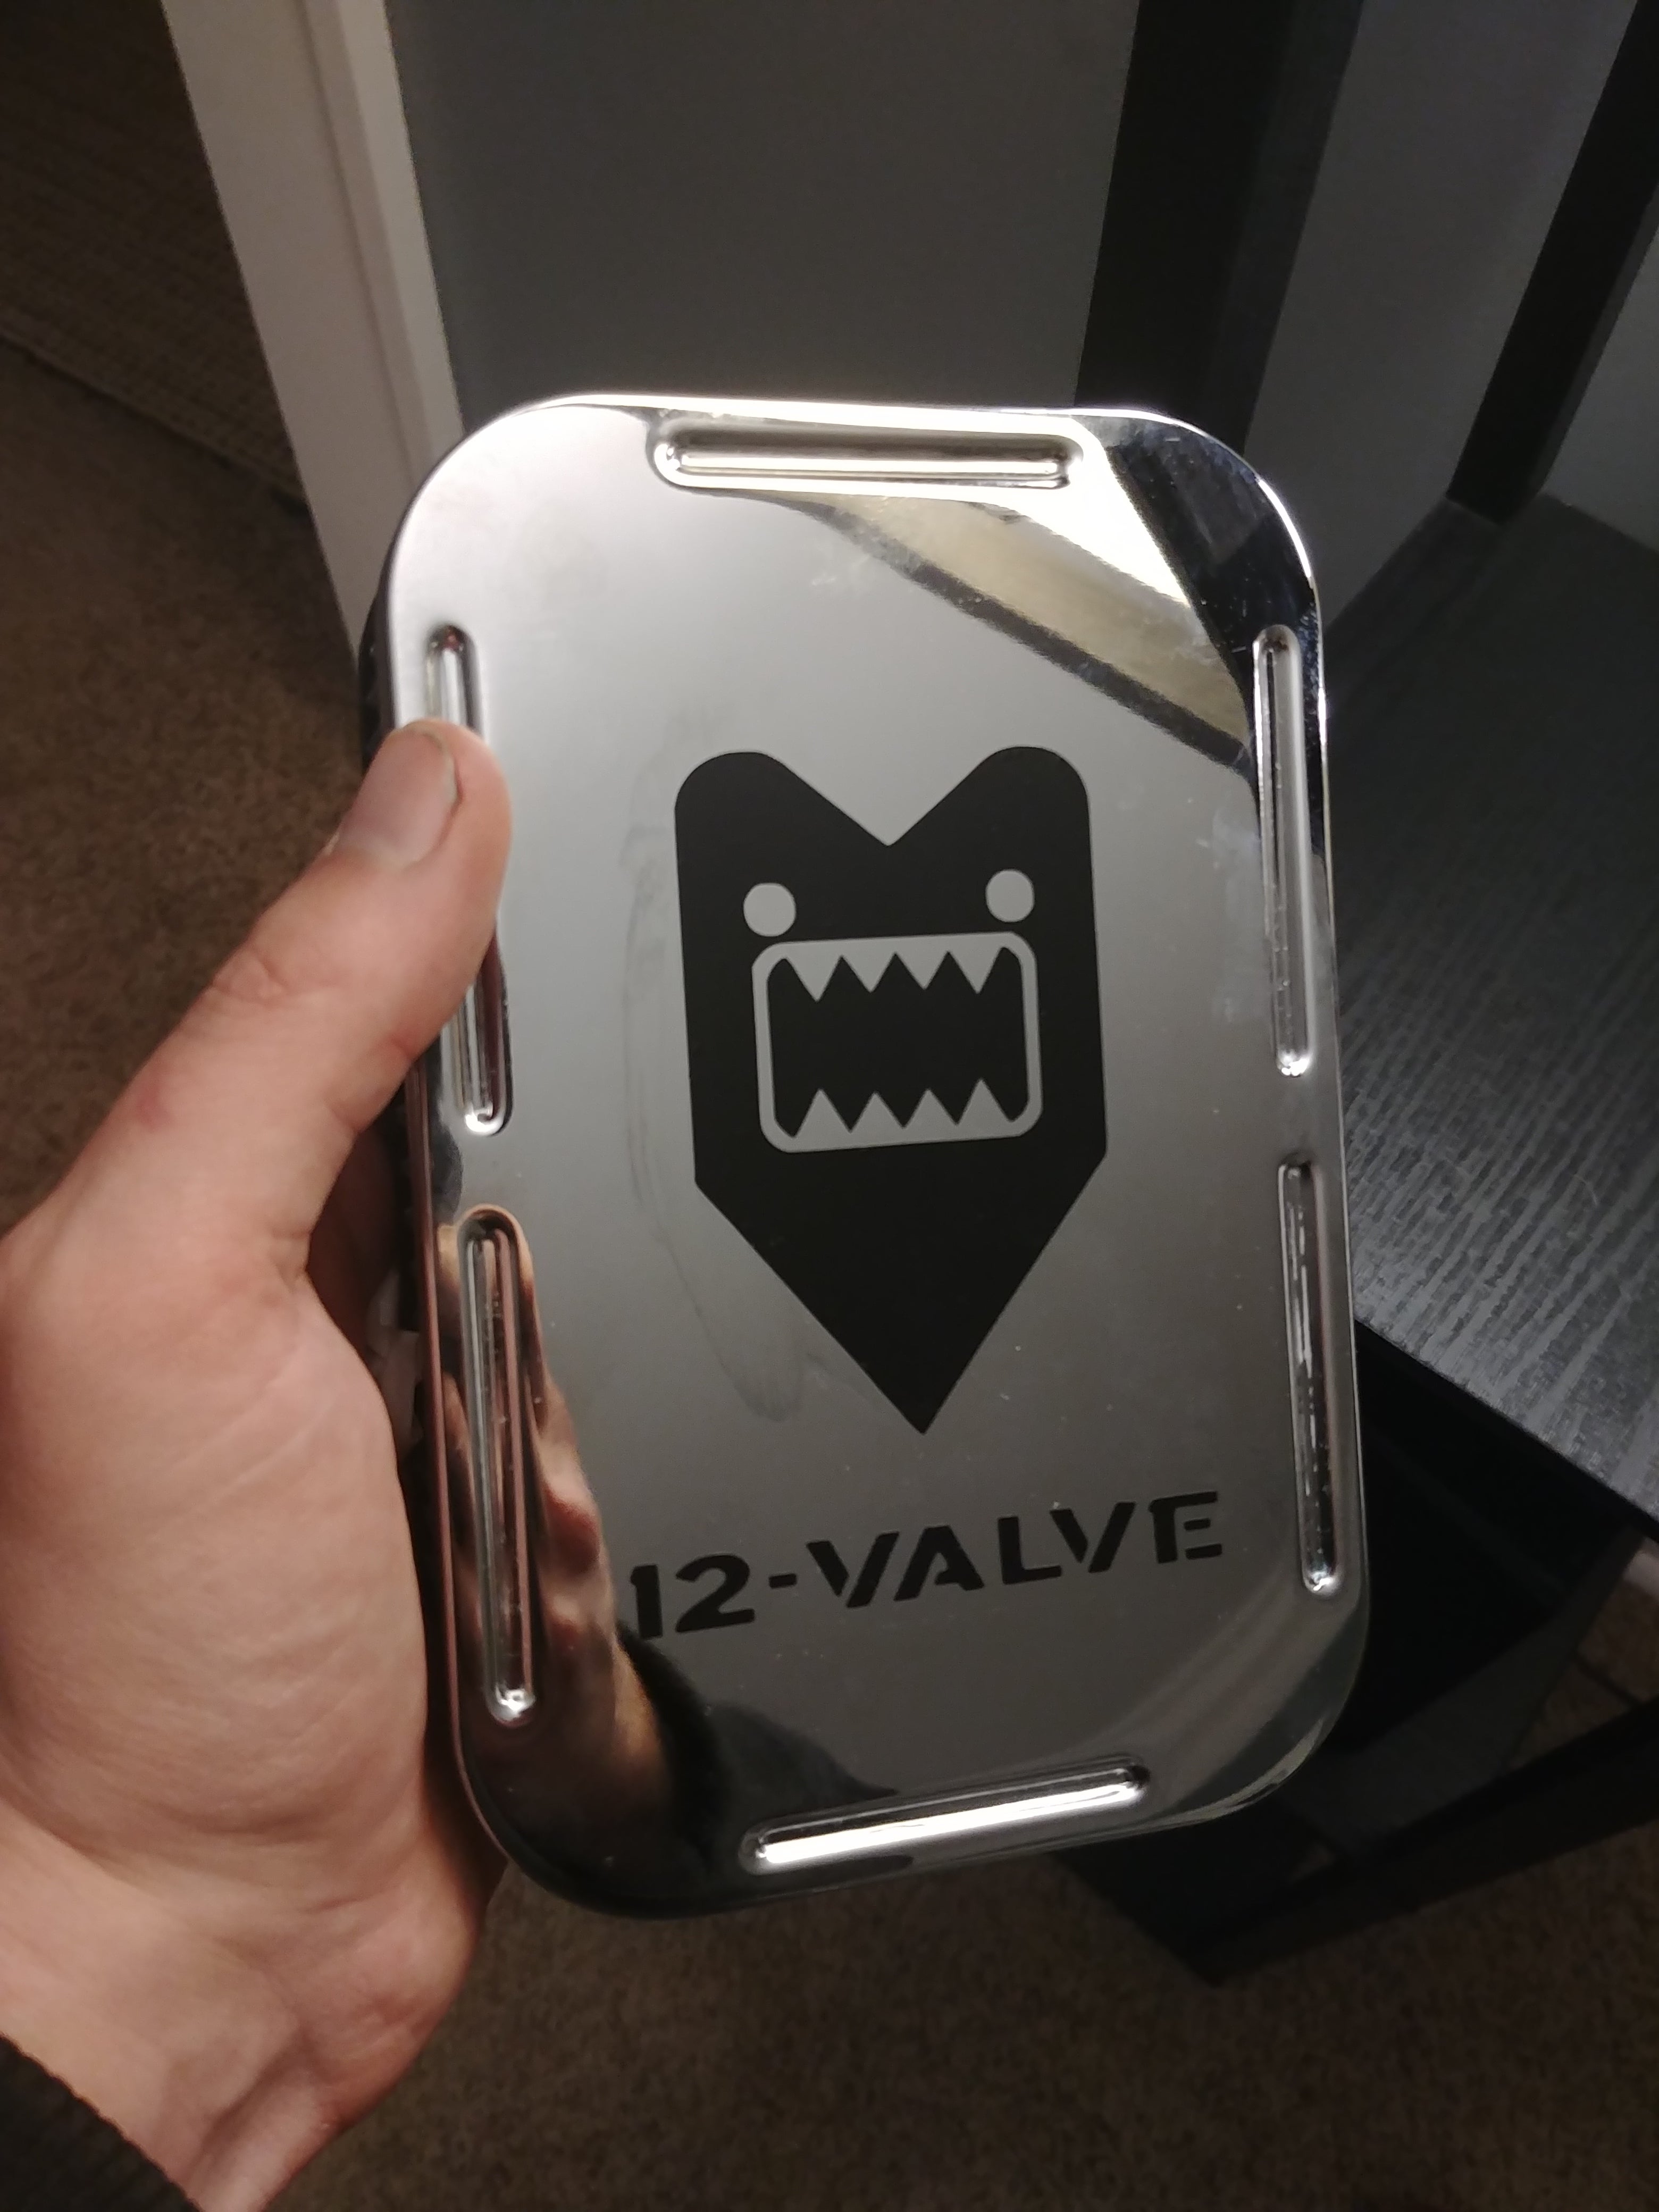
Sadly, I don’t think I’m going to have much time to work on it before we have to fly out for Thanksgiving, but I’m happy I can now say I am back to 100% running(ish) cars!
...as long as there are no followup questions.
 RacinBob
> Akio Ohtori - RIP Oppo
11/19/2018 at 13:01 |
|
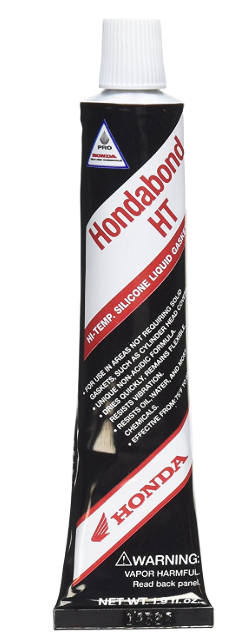
Handabond is amazingly go od stuff and likely what they meant.
 Sovande
> Akio Ohtori - RIP Oppo
11/19/2018 at 13:01 |
|
Nice! I installed a Weber carb on my Nissan a few years ago. But really I installed a knock-off “licensed by Weber” carb on my Nissan. I have never touched a jet, or adjusted anything except for the throttle to set the idle. The damn thing will start every single time, no matter what. Hasn’t run in a month and it’s 14 degrees? No problem.
I remember the directions for their decided lack of anything memorable. It was basically a picture of the carb and some wording to the effect of “Install carburetor.” The throttle linkage took a fair bit of customization to get working, but I have been very happy with the results. Sounds like you had similar results.
 Akio Ohtori - RIP Oppo
> RacinBob
11/19/2018 at 13:53 |
|
Hmmm... maybe? I’ve used this gasket dressed before as recommended by someone here on Oppo (AMGTech?) and been happy. It is good stuff. Leak check came out OK, so I’m happy. Still might pick up a tube of this stuff to have it in my back pocket, so to speak.
 Akio Ohtori - RIP Oppo
> Sovande
11/19/2018 at 13:55 |
|
This is my third carb install and by far the smoothest of the three. I did an Edelbrock onto an IH engine and could never get that one quite right. Later I put a Solex on my VW and it worked OK overall. This one was by far the smoothest of the three.
 Sovande
> Akio Ohtori - RIP Oppo
11/19/2018 at 14:00 |
|
That was my experience as well. I have put two carbs on the 350 in my El Camino and both took a ton of tuning and fiddling before they ran well. The Weber just fired right up and worked fine. Did you pull all the emissions stuff, or was there a way to hook it all up to the new carb? I measured the vacuum hoses I removed from the Nissan after I installed the Weber and it tota led 17 feet.
 Akio Ohtori - RIP Oppo
> Sovande
11/19/2018 at 14:13 |
|
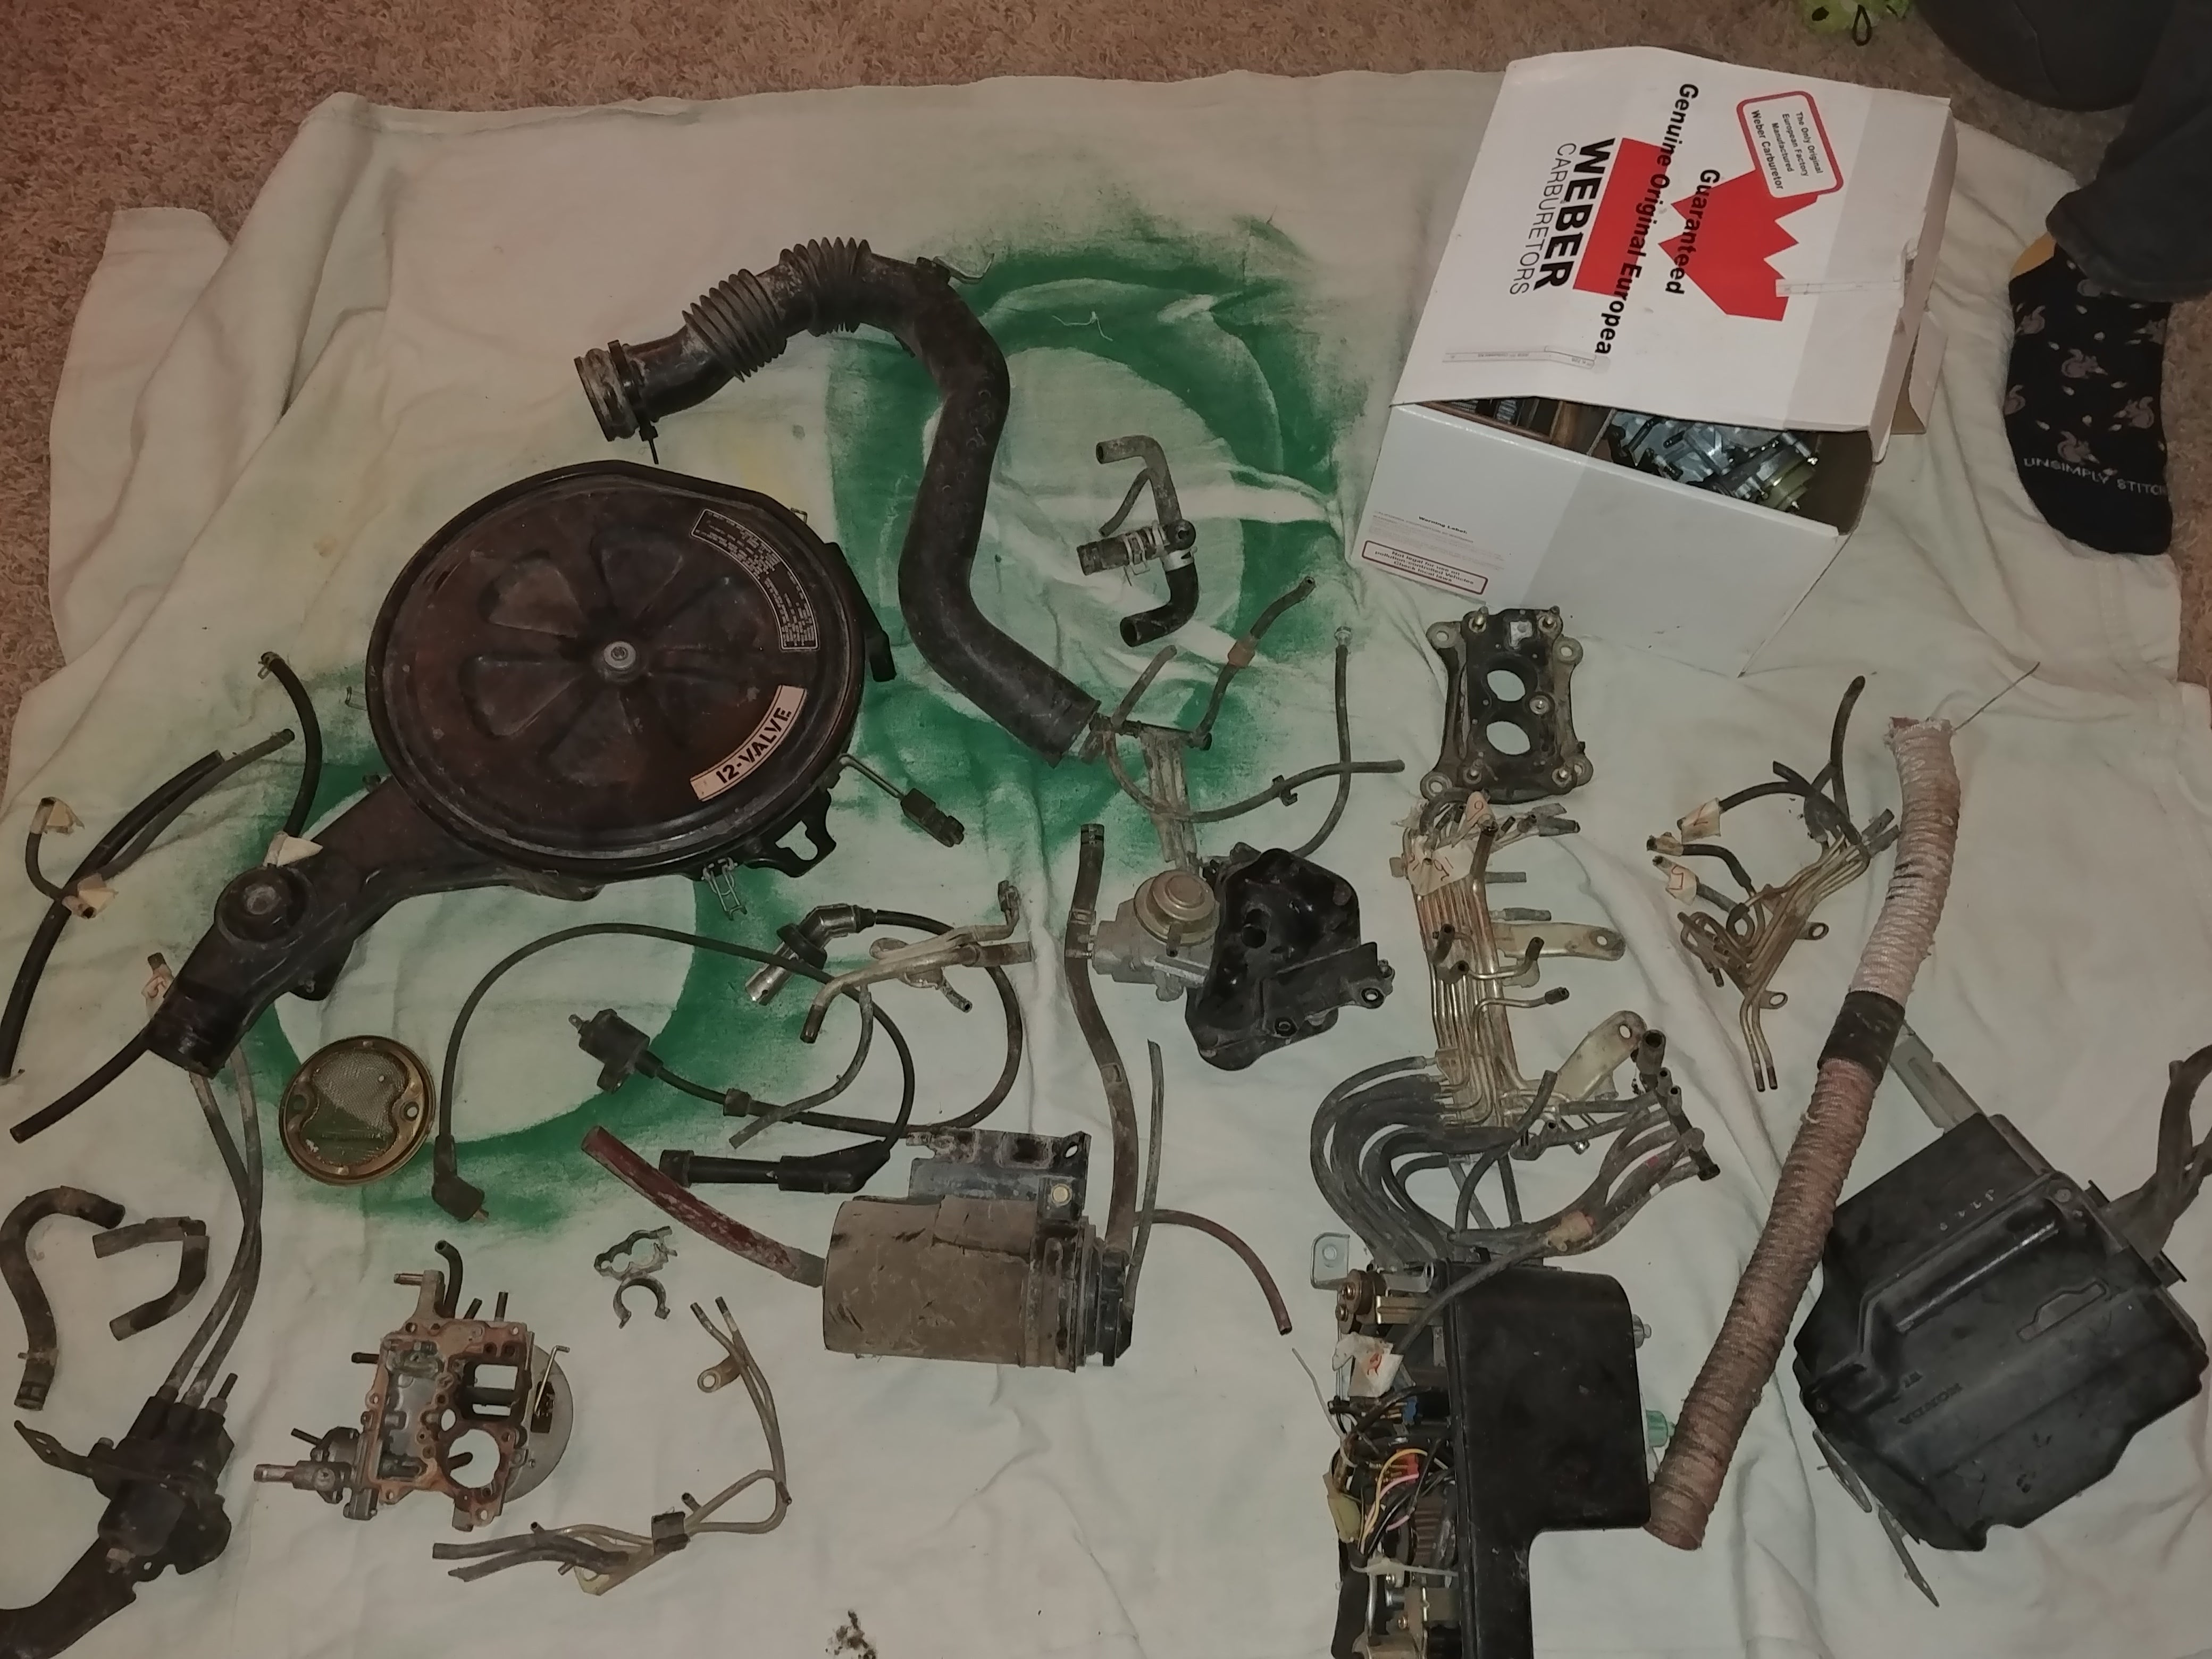
The PO pulled it all off, but I didn’t make much of an attempt to put it back on. There is... a lot. I did try to reinstate the EGR, but it requires one of the vacuum computers to work and eff that.
 Sovande
> Akio Ohtori - RIP Oppo
11/19/2018 at 14:15 |
|
Yep! That looks very similar. It’s really nice now to be able to look in the en gine bay and actually be able to see an engine.
 Urambo Tauro
> Akio Ohtori - RIP Oppo
11/19/2018 at 14:39 |
|
“Assemble as shown”

 Urambo Tauro
> Akio Ohtori - RIP Oppo
11/19/2018 at 14:42 |
|
I wonder what’s wrong with a light smear of RTV? I sometimes use it as a ga sket dressing , with good results too. I feel like there needs to be a class on sealers, and that I should probably take that class. So many options and techniques out there.
 Akio Ohtori - RIP Oppo
> Urambo Tauro
11/19/2018 at 14:53 |
|
I think most RTV and silicone isn’t fuel resistant? Given that this stuff was located after the throttle plate that’d be my guess. Also the gasket dressing doesn’t dry which makes it good for.... reasons. I dunno.
 Urambo Tauro
> Akio Ohtori - RIP Oppo
11/19/2018 at 15:02 |
|
That’s probably it. Come to think of it, I don’t think I’ve ever used RTV in a fuel-related application. Most of the seals are O-rings anyway .
 Akio Ohtori - RIP Oppo
> Urambo Tauro
11/19/2018 at 15:30 |
|
Fuel resistant sealants appear to be few and far between. Permatex 85420 is good for gasket dressing, but other than that all I think I’ve found is Seal-All and Pro Seal N62020. I used Seal-All to short up the fuel pump donut on the Saab (oh the joys of an 8-Valve) and the Pro Seal on the tank itself.
 Manwich - now Keto-Friendly
> Akio Ohtori - RIP Oppo
11/19/2018 at 17:19 |
|
“Checking the owner’s manual confirmed that no, it did not. The PO added a manual choke for... reasons.”
Apparently the automatic choke on these was unreliable... but it had it for some EPA-related reason
. The 1987 Civic Wagovan I had (Canadian model) had a manual choke right from the factory.