 "Sweet Trav" (thespunbearing)
07/24/2017 at 10:53 • Filed to: None
 8
8
 2
2|
"Sweet Trav" (thespunbearing)
07/24/2017 at 10:53 • Filed to: None | 8
| 2 |
Made quite a lot of progress this weekend on project #autoxmcss
Well I thought i had the engine finally bolted to the trans with both bell housing pins in, but upon further inspection found that the rear cover bolts were contacting the bellhousing and not allowing the motor and trans to mount flush, so I had to separate the engine and trans and file down a part on the bell housing. Big thanks to my friend who came over to help. After filing them down, we got the engine and trans married correctly and installed the headers, the cheap EBAY stainless long tubes took minimal massing to fit. The passenger side dropped in the from the top and the driver side had to come in from the bottom.
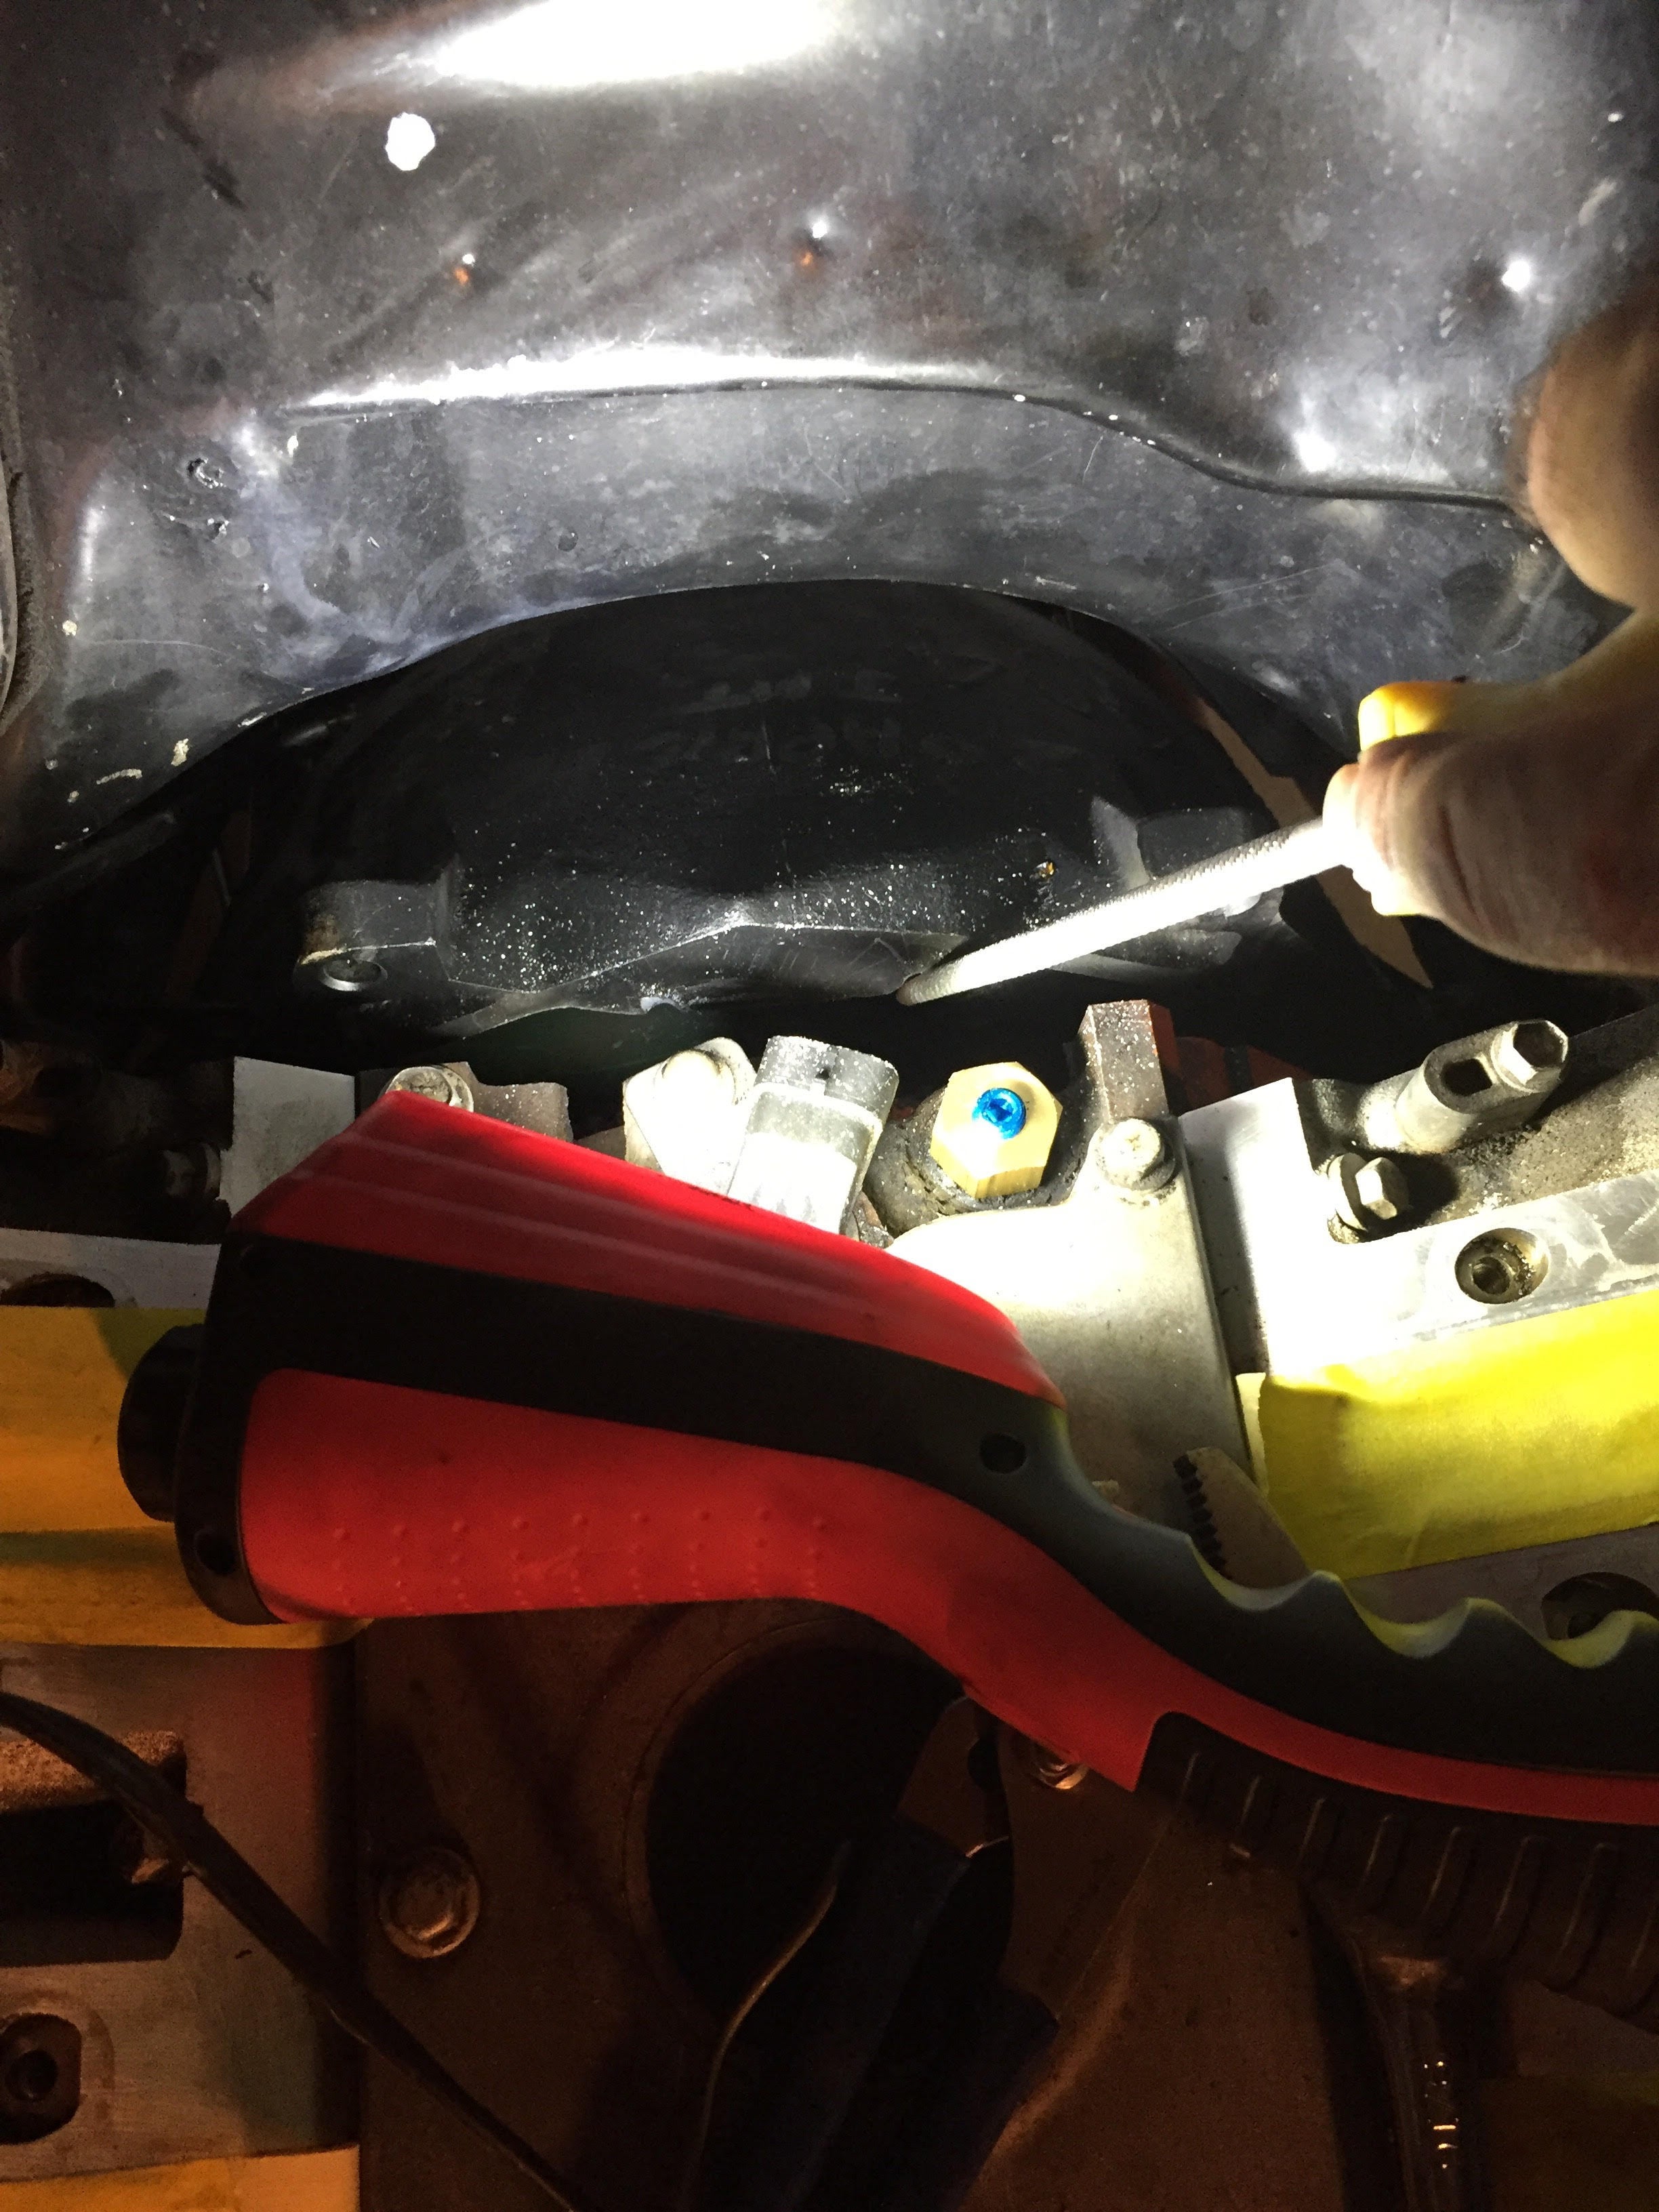
Had to file the bell housing to get it to mount flush due to some stubborn rear cover bolts
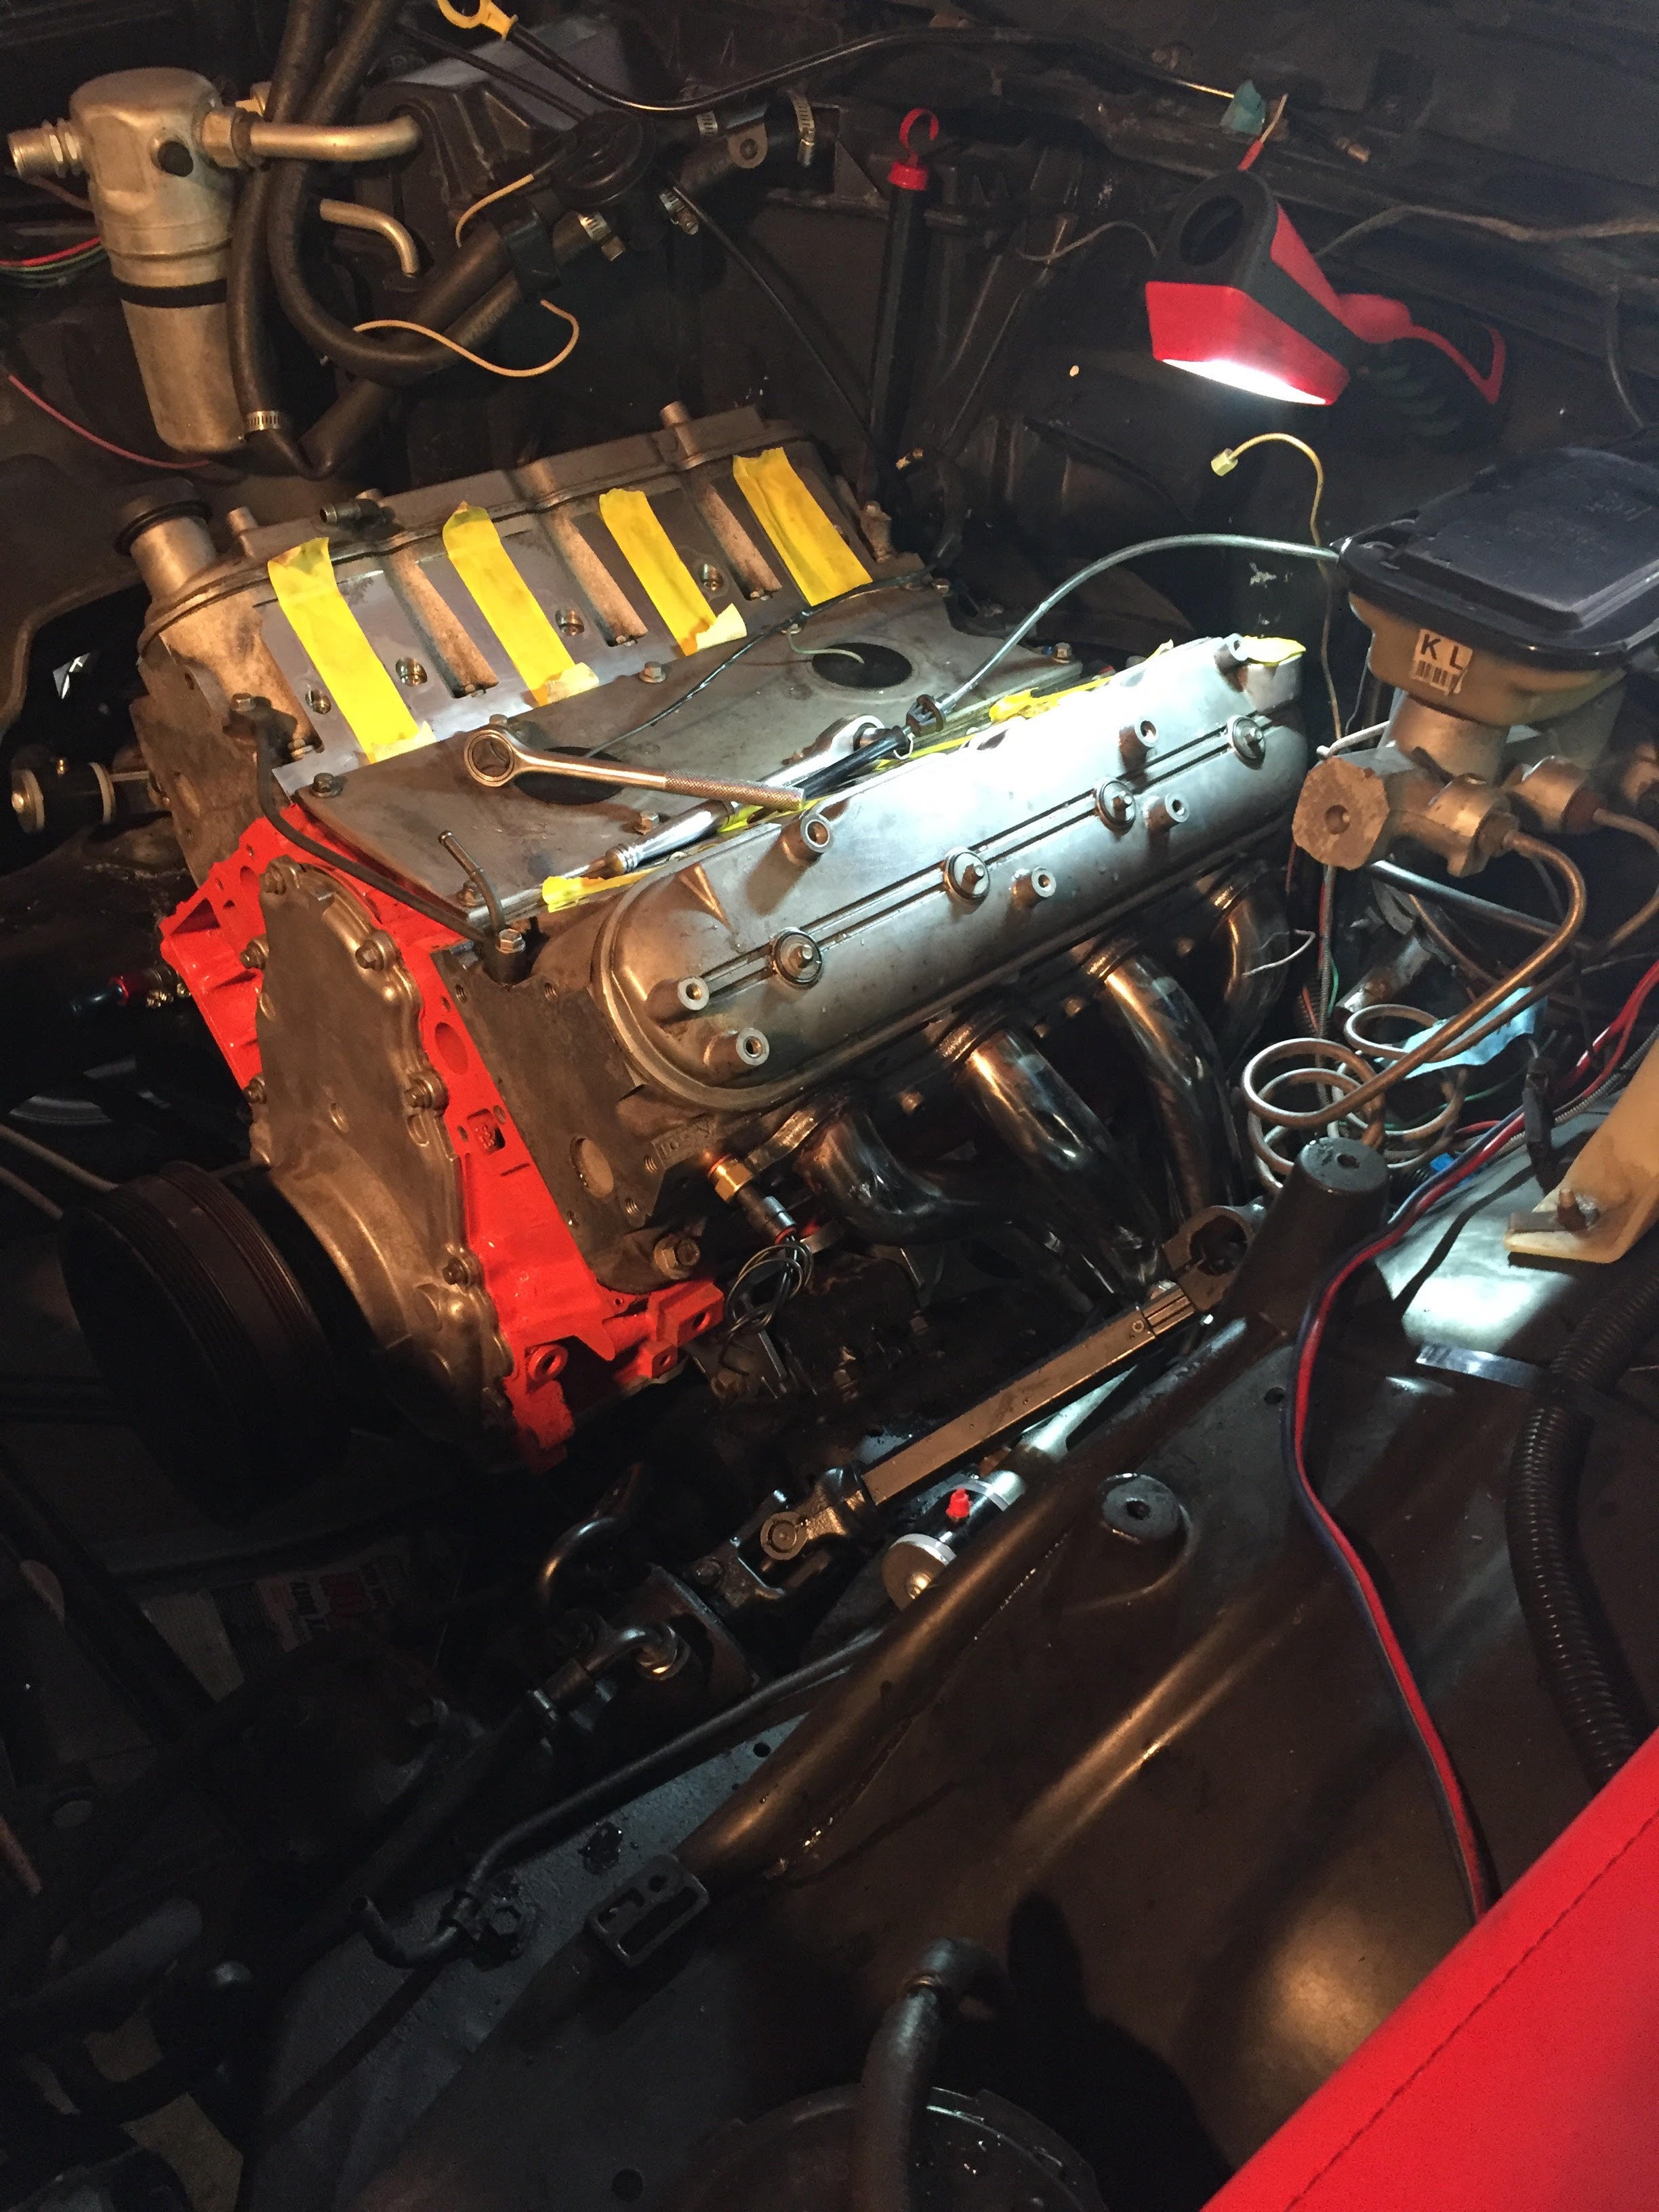
Headers Installed!
After we got the headers installed we dropped the fuel tank. My friend left and I installed the front accessory drive, had to get a replacement power steering hose because the old one I had wouldn’t fit. That was the end of Saturday
Sunday my Dad came down to lend me a hand. We got the fuel tank plumbed and installed with the GM filter/regulator. He also fabbed me up some brackets for my electric fan and some radiator hold downs out of flat aluminum stock.
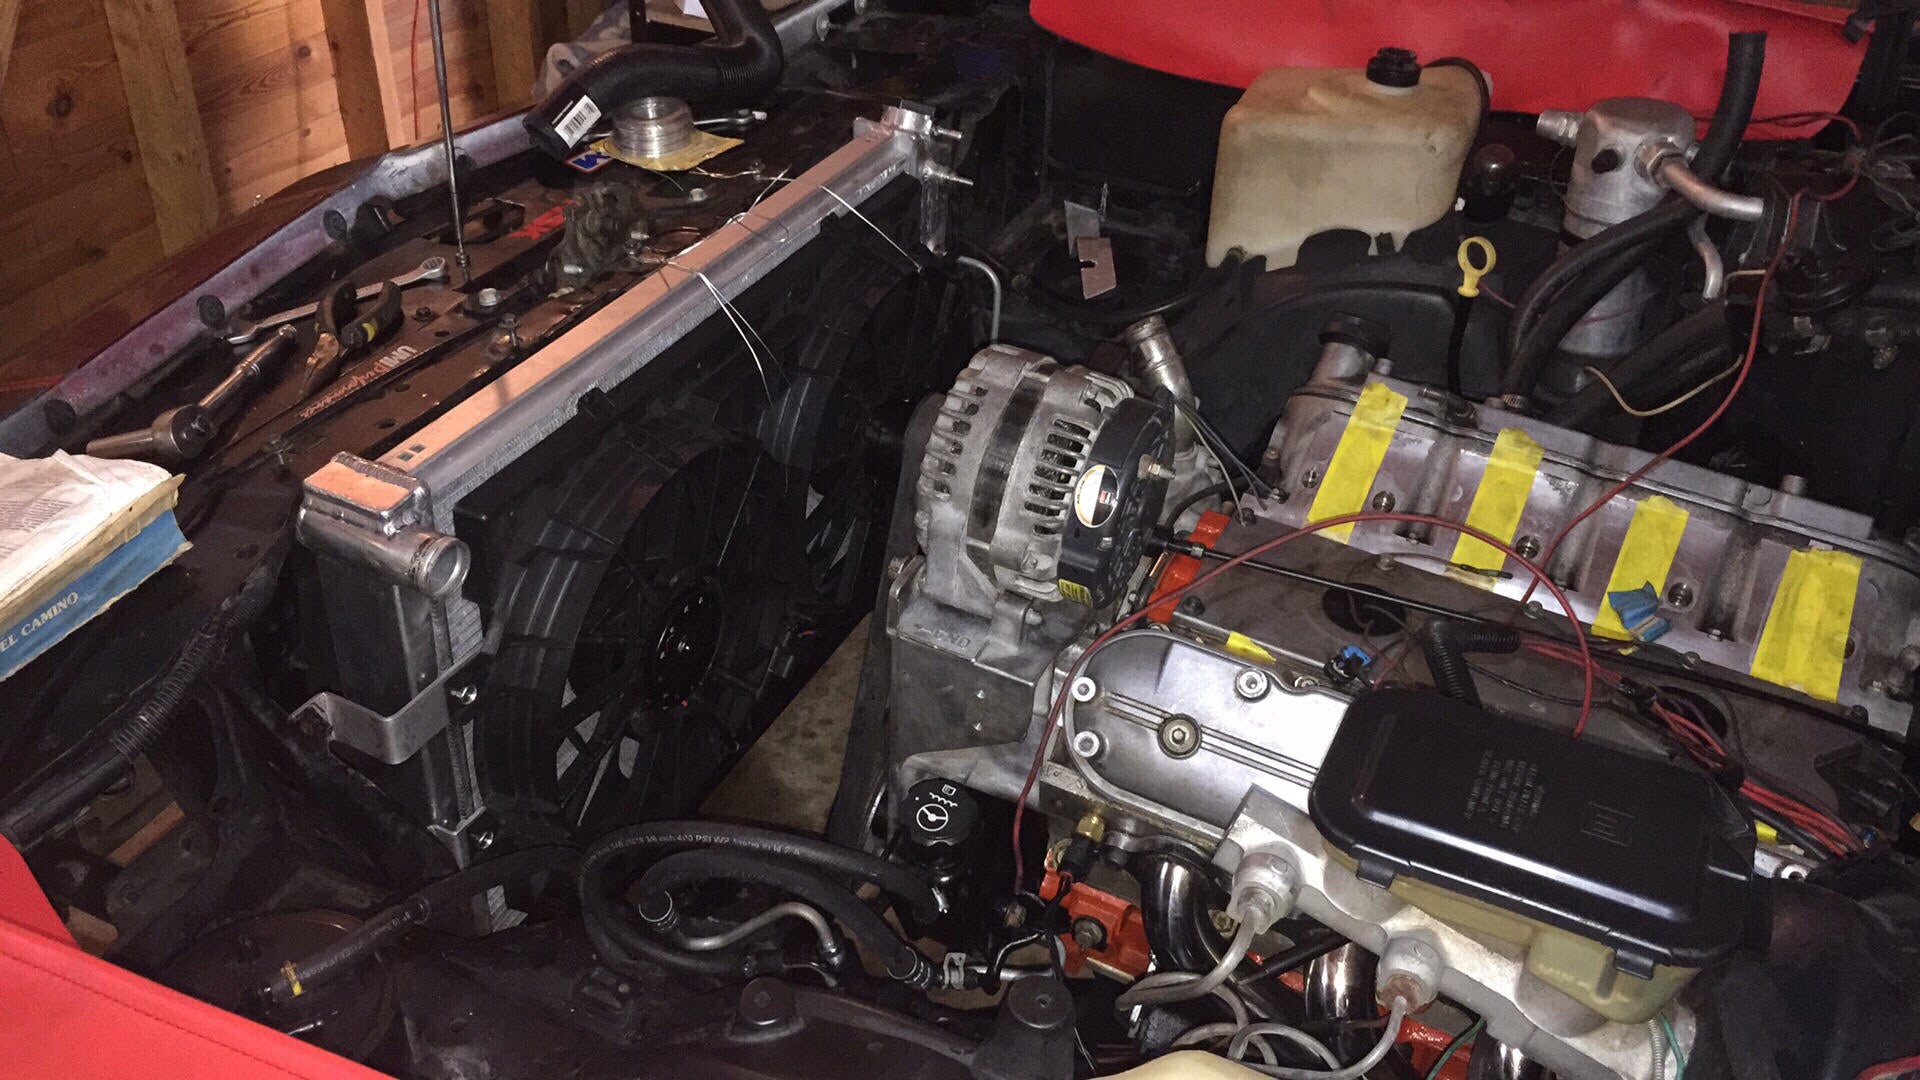
Fabbed up some brackets for the electric fans.
After getting the radiator and fans installed, we turned our attention to the ECU harness. I’m running MicroSquirt and it has a large 30 pin harness that needed to run through the fire wall. It took some determination and some super lube, but we were able to pass the 1 inch wire loom through the grommet so that i could mount the ECU and ECU fuse block inside the passenger kick plate.
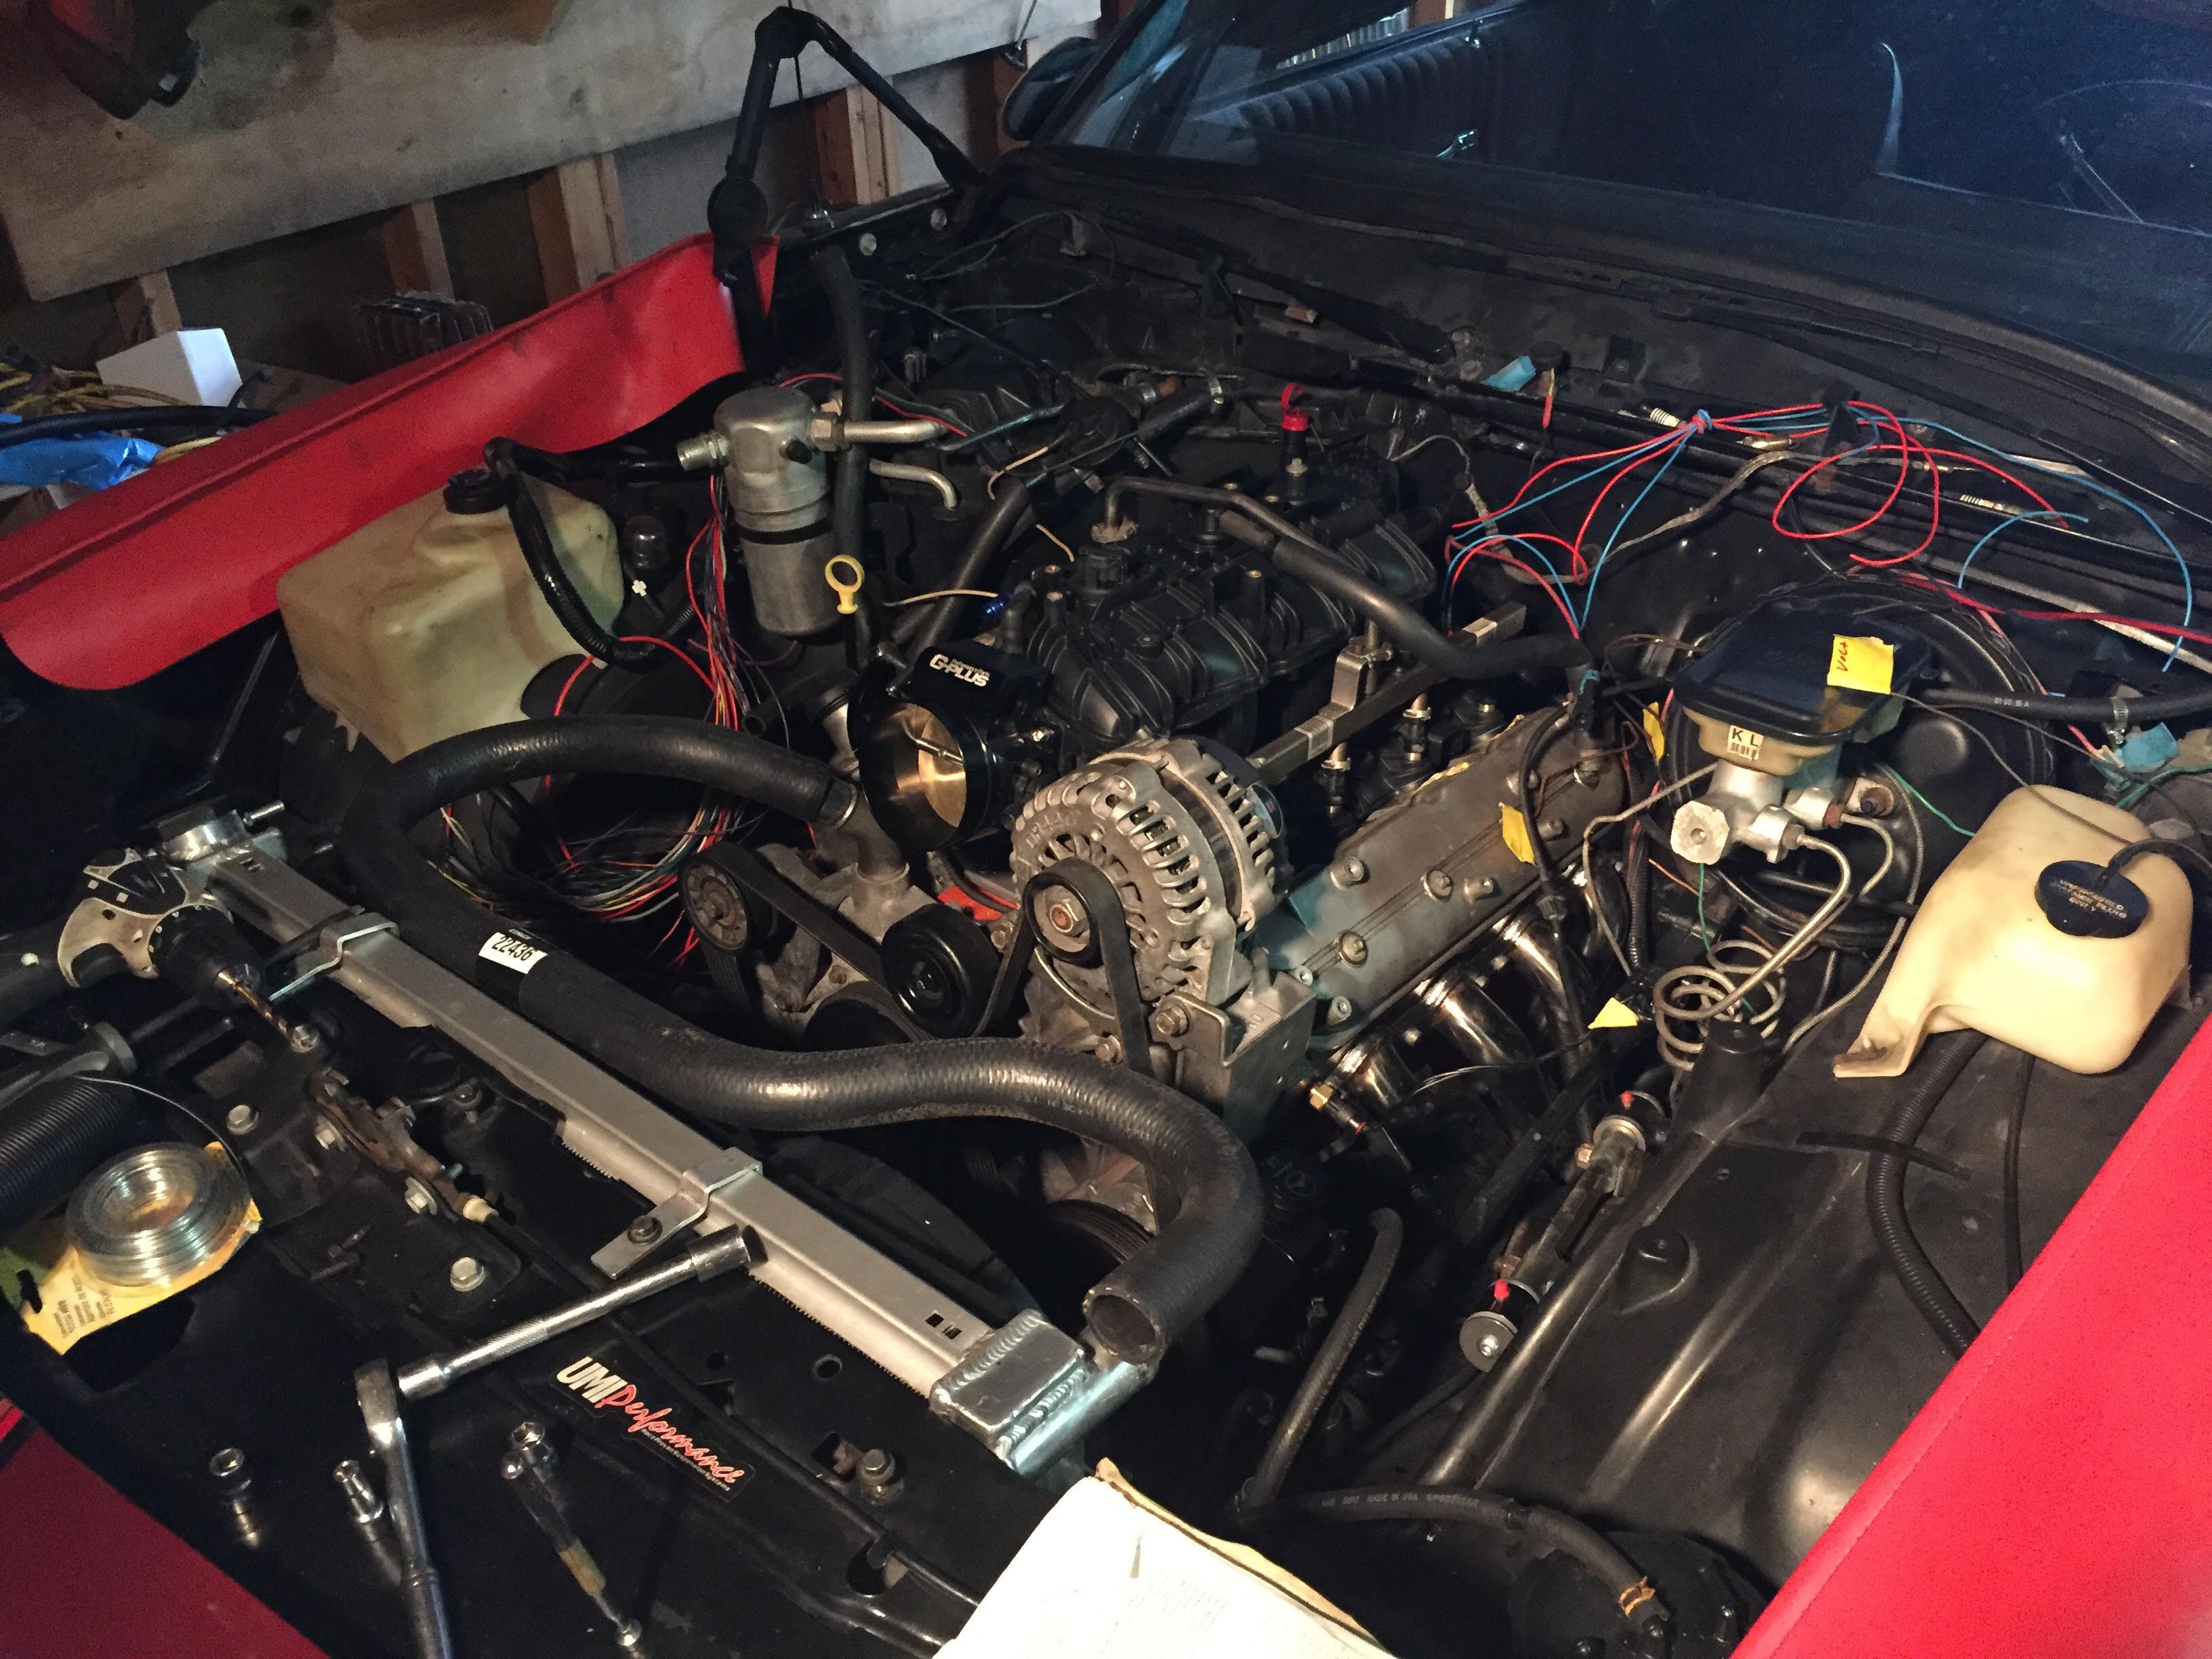
Intake Mockup and front accessories installed
I set the intake on the motor just to get an idea of what it would look like completed.
The only “mechanical” work left is to install the starter, the wideband O2 sensor and cut the old exhaust off at point to cobble it to the reducers to fit on my 3 inch slip fit collectors.
From there on out it is minor fabrication (coil relocation and throttle bracket) and wiring (ECU, electric fan controller/relay and fuel pump relay) and filling it with gas and fluids.
 Urambo Tauro
> Sweet Trav
Urambo Tauro
> Sweet Trav
07/24/2017 at 11:22 |
|
Nice progress!
What kind of flashlight is that? It’s got kind of a funky shape to it, and I’m not sure if that’s some kind of knob on top in the first pic, or a hole in the second pic.
|
Sweet Trav
> Urambo Tauro
07/24/2017 at 11:29 |
|
Thanks, it was a slog. I am so sore.
The flashlight is some cheapo LED work light i bought because i got tired of burning my self on my old trouble light. It has a detachable micro flashlight that you can pull out of it. It’s kind of cool, but also kind of annoying as the switch is a three way switch and sometimes when you think you have turned the light off, it turns the flashlight on.