 "Urambo Tauro" (urambotauro)
04/11/2017 at 18:00 • Filed to: 41TE, Automatic Transmission, Rebuild, Blog
 4
4
 1
1|
"Urambo Tauro" (urambotauro)
04/11/2017 at 18:00 • Filed to: 41TE, Automatic Transmission, Rebuild, Blog | 4
| 1 |
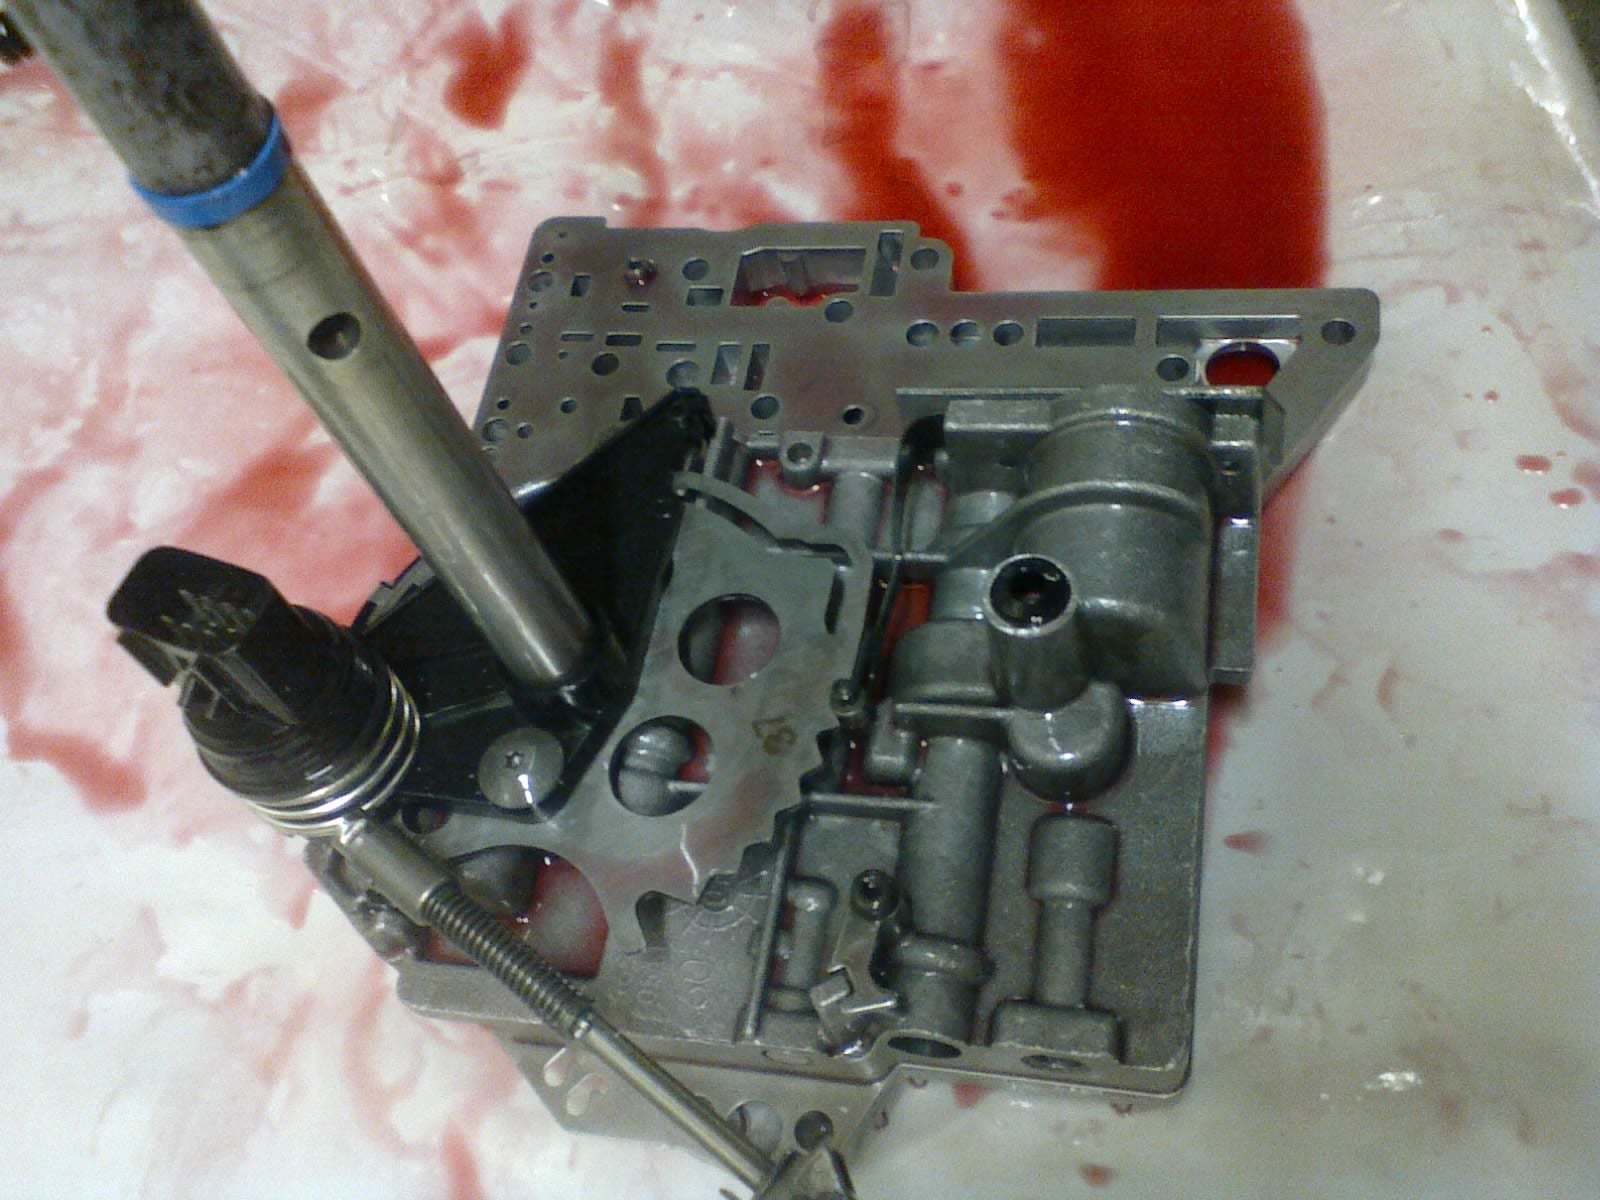
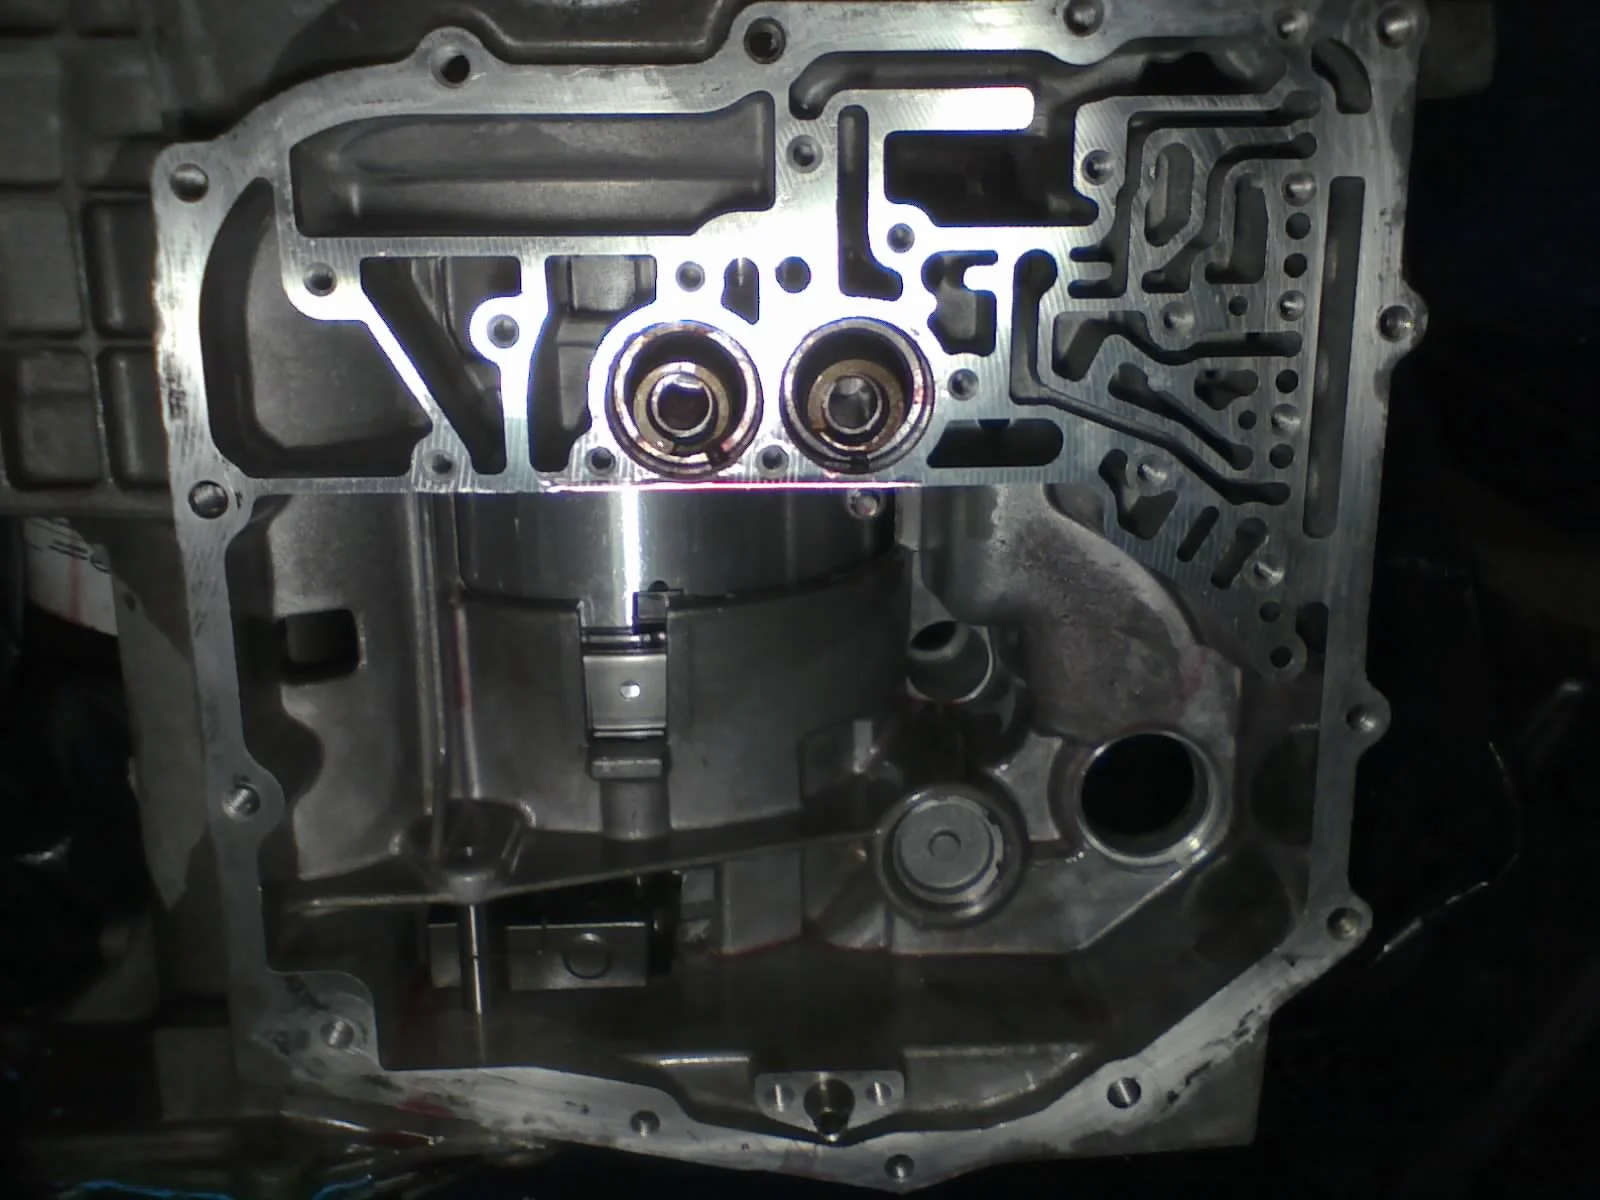
Now that the hydraulic circuitry of the main valve body is assembled, we have a few more things to attach.
This rubber seal goes in the top of the 2-4 tower
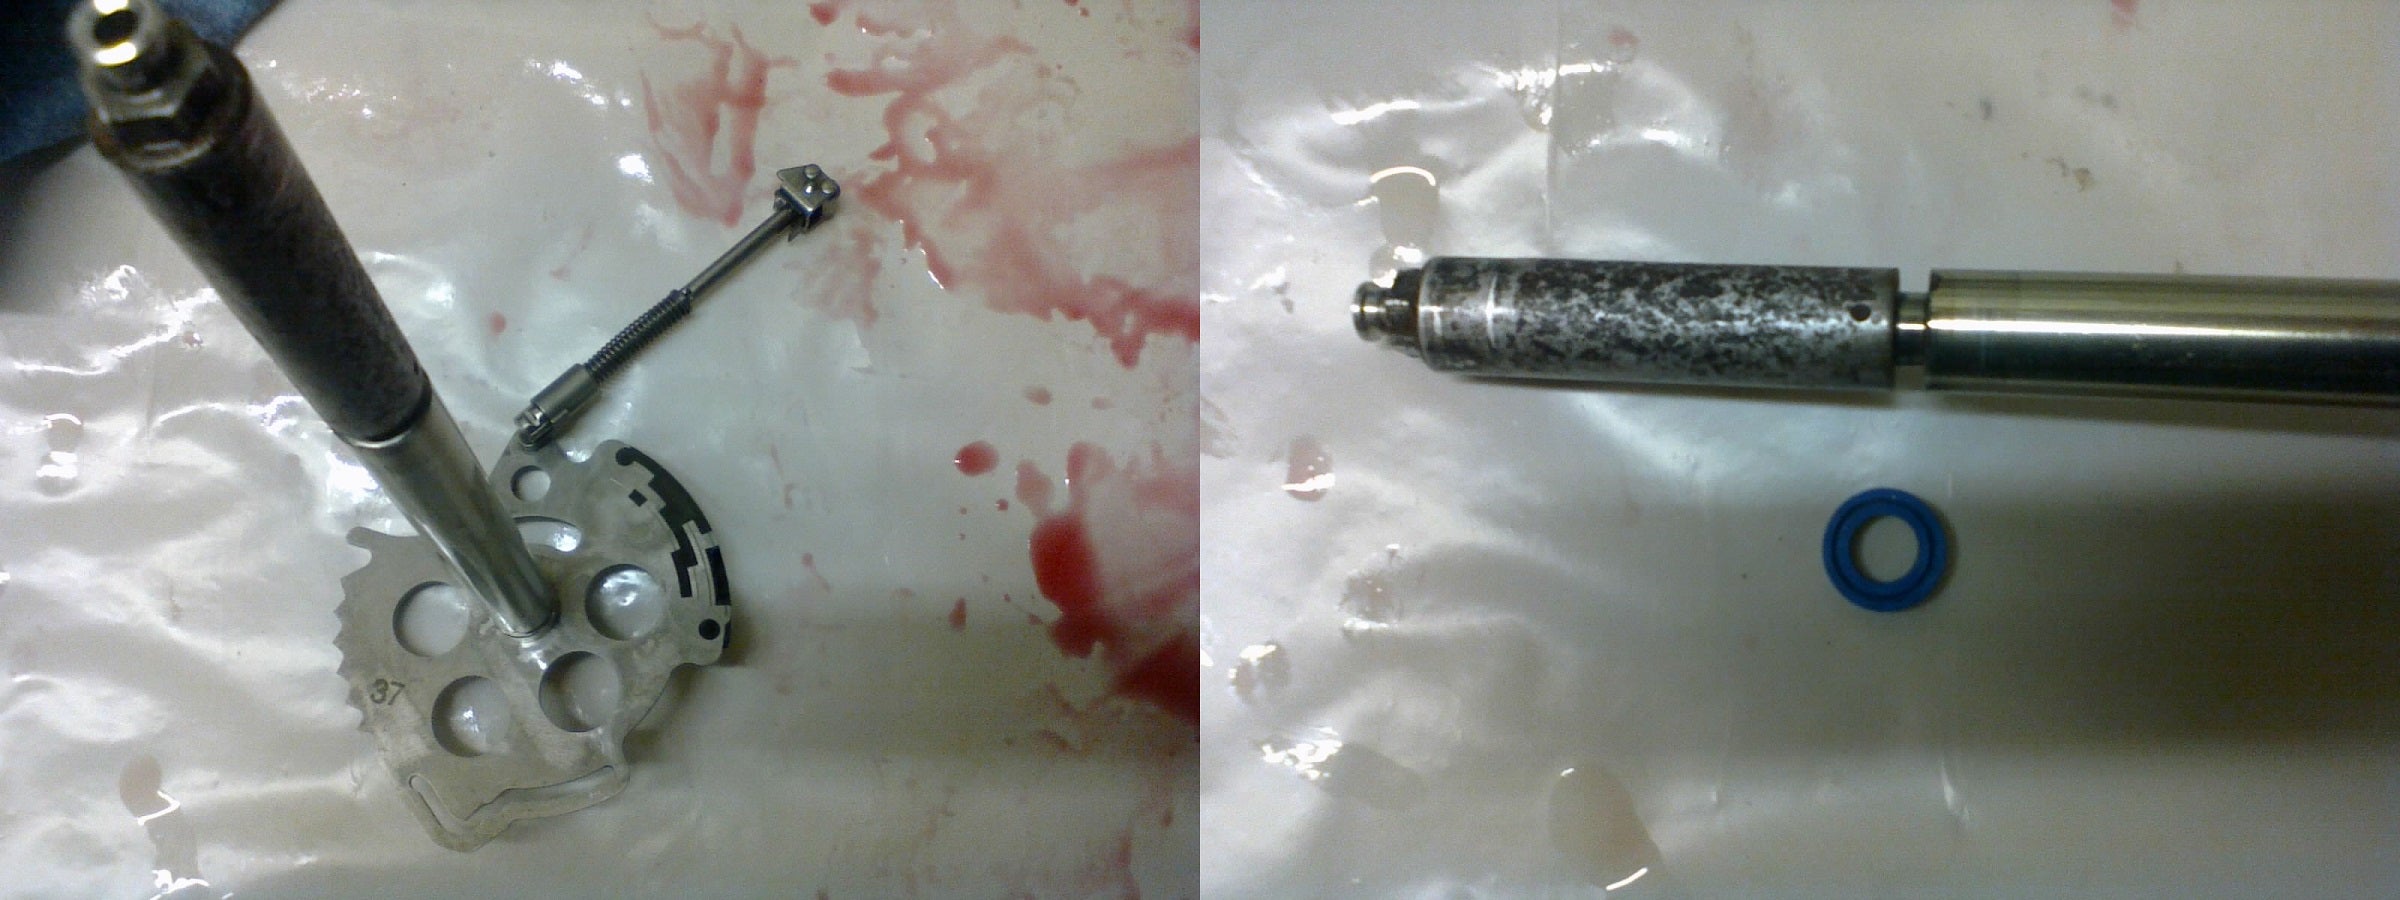
LEFT: This is the manual shaft & attached park rod. RIGHT: The upper portion (the part that sticks out of the case) had a bunch of rust on it, so I sanded it down a bit before sliding the new shaft seal down into place. NOT PICTURED: A small vent cap goes on top (removed for cleaning, installed later).
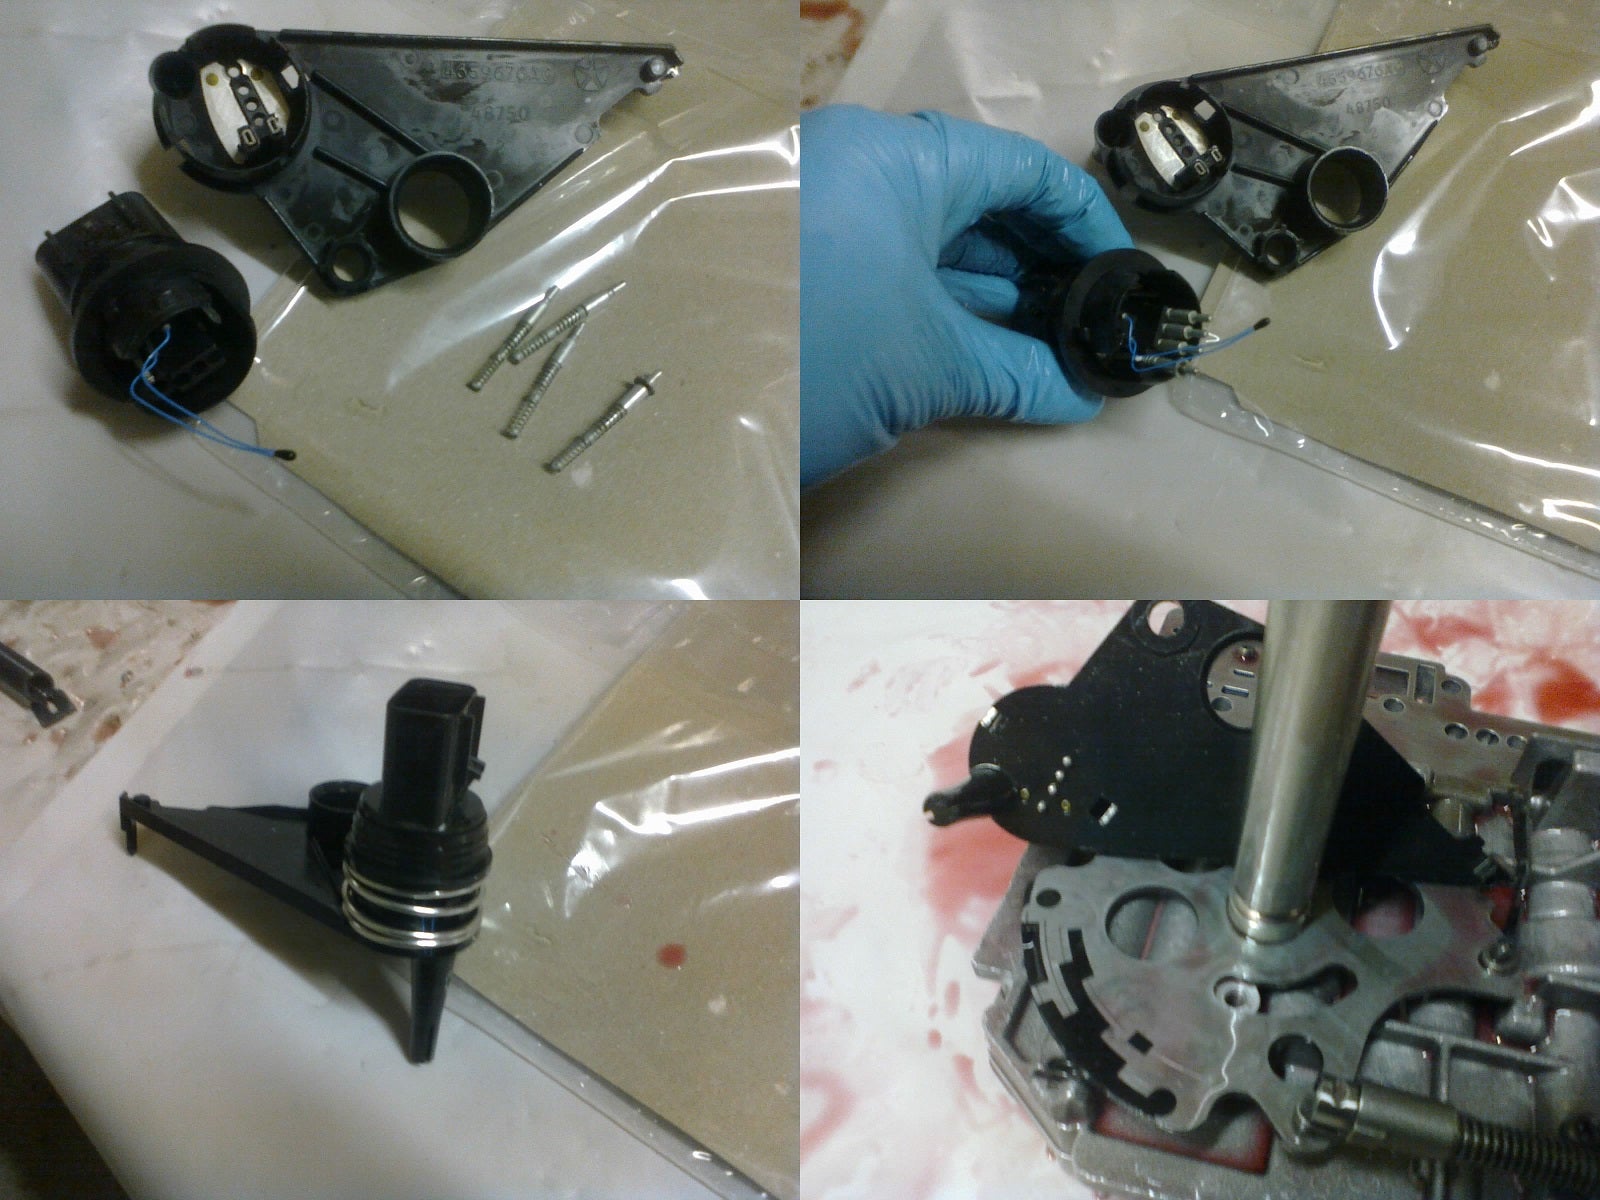
The range sensor came apart during disassembly. My instructions did not cover it at all, but careful attention during teardown helped me keep track of where things go. These four spring-loaded pins slide inside the connector head, and the head clips into the housing with the spring in-between. These tiny blue wires must be a temperature sensor, I guess, and nestle down into a protective cone that sticks down next to the valve body.
The range sensor bolts down to the valve body in a fixed position. The plate at the bottom of the manual shaft rotates with the shaft,which is turned by the vehicle’s shifter linkage. As the shaft turns, several things happen at once.
The spring near the 2-4 piston housing clicks against the “rooster comb” to define each shifter position. The spring-loaded range sensor pins ride across the metal & plastic tracks to make or break certain connections. And a groove in the plate moves the manual valve back and forth through its bore in the valve body to open & close different hydraulic circuits.
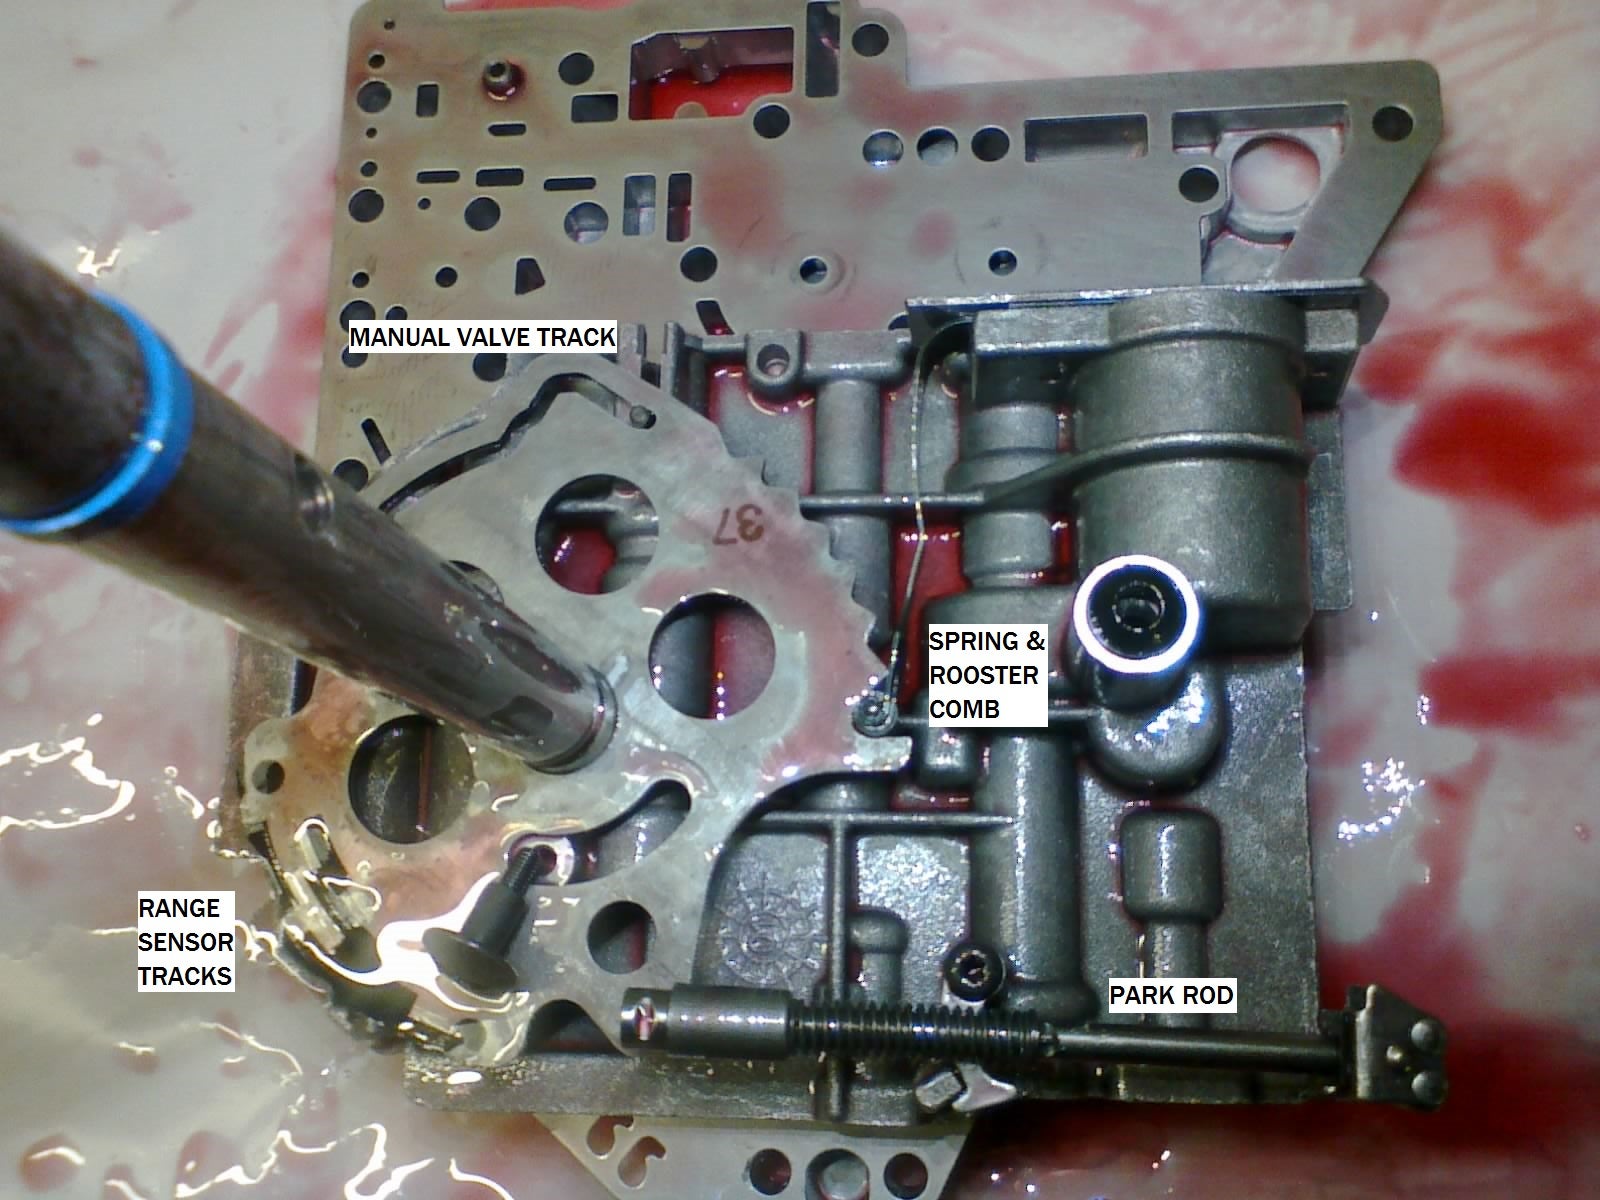
Range sensor removed for clarity (Park position shown)

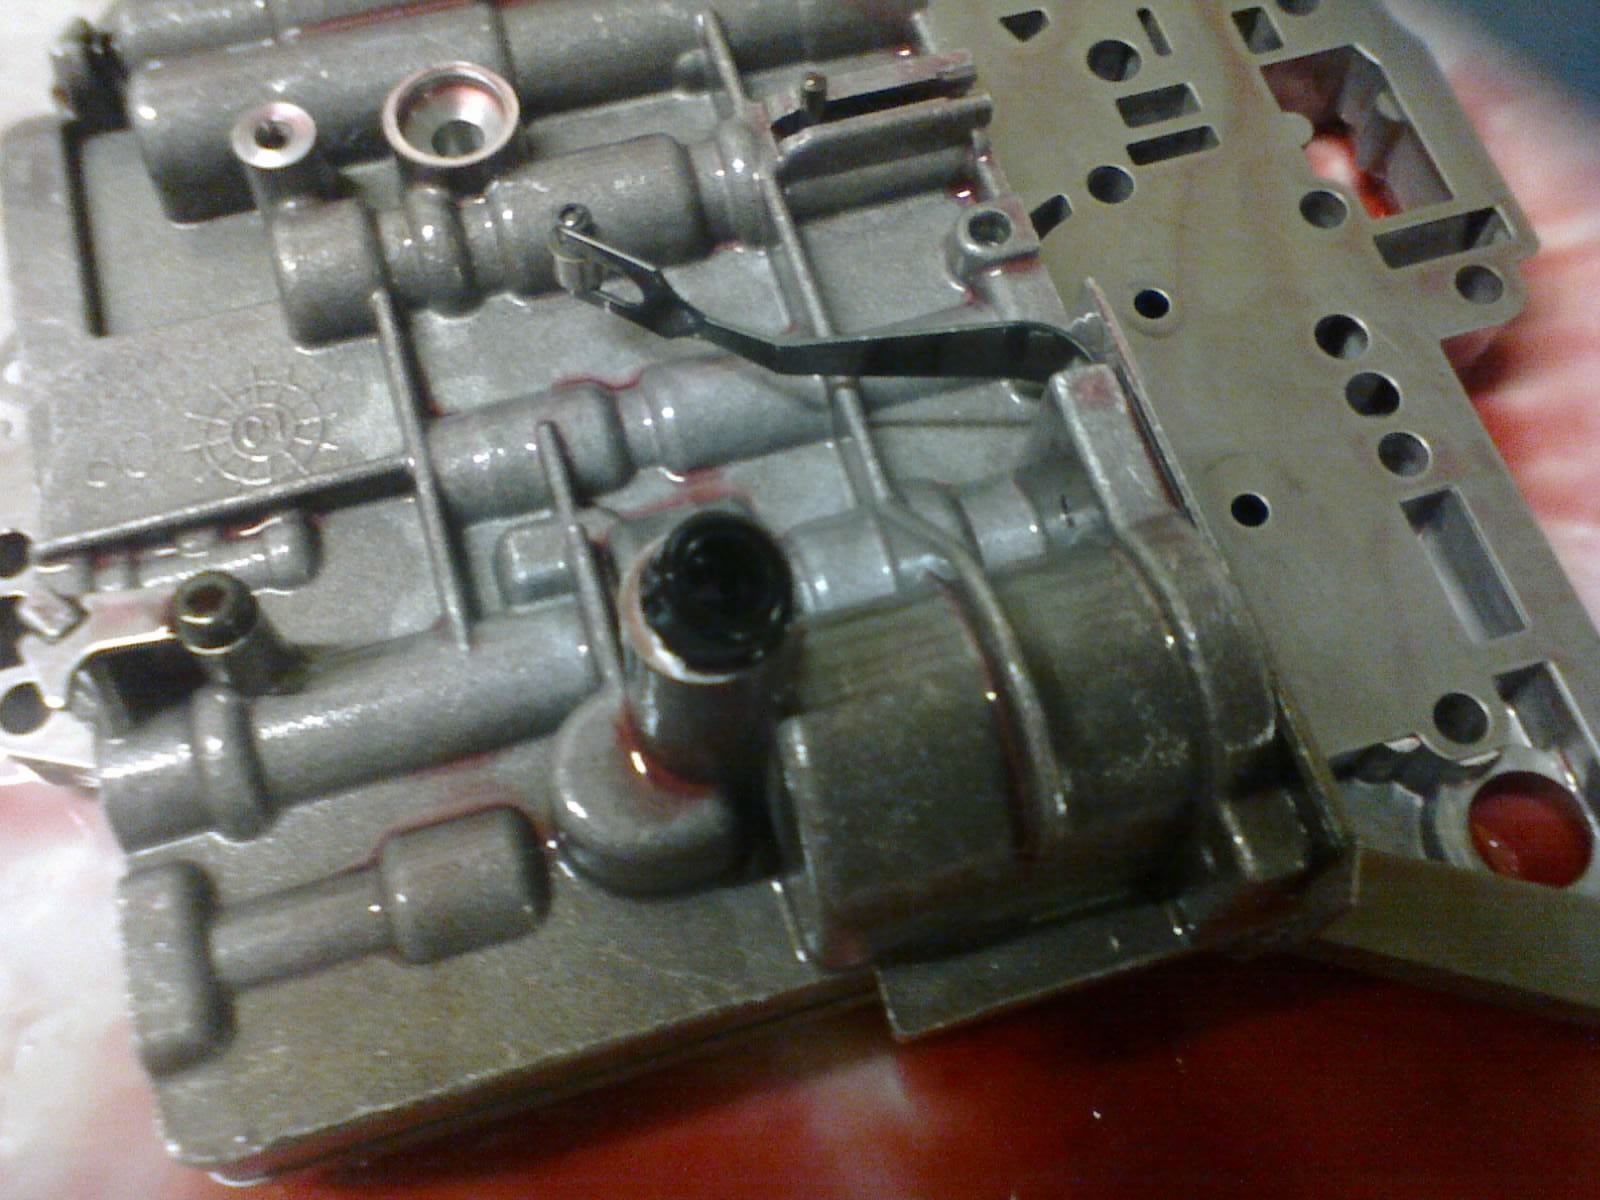
These accumulator piston assemblies receive some modifications before installation (part of the shift kit). We lose one spring and gain three spacers. Expander wires also go into the seal grooves of these pistons (as was done to the 2-4 piston).
Underdrive & overdrive pistons go in with their springs facing the valve body. Low/reverse piston goes in springs-first, and is retained with its cap and snap-ring.
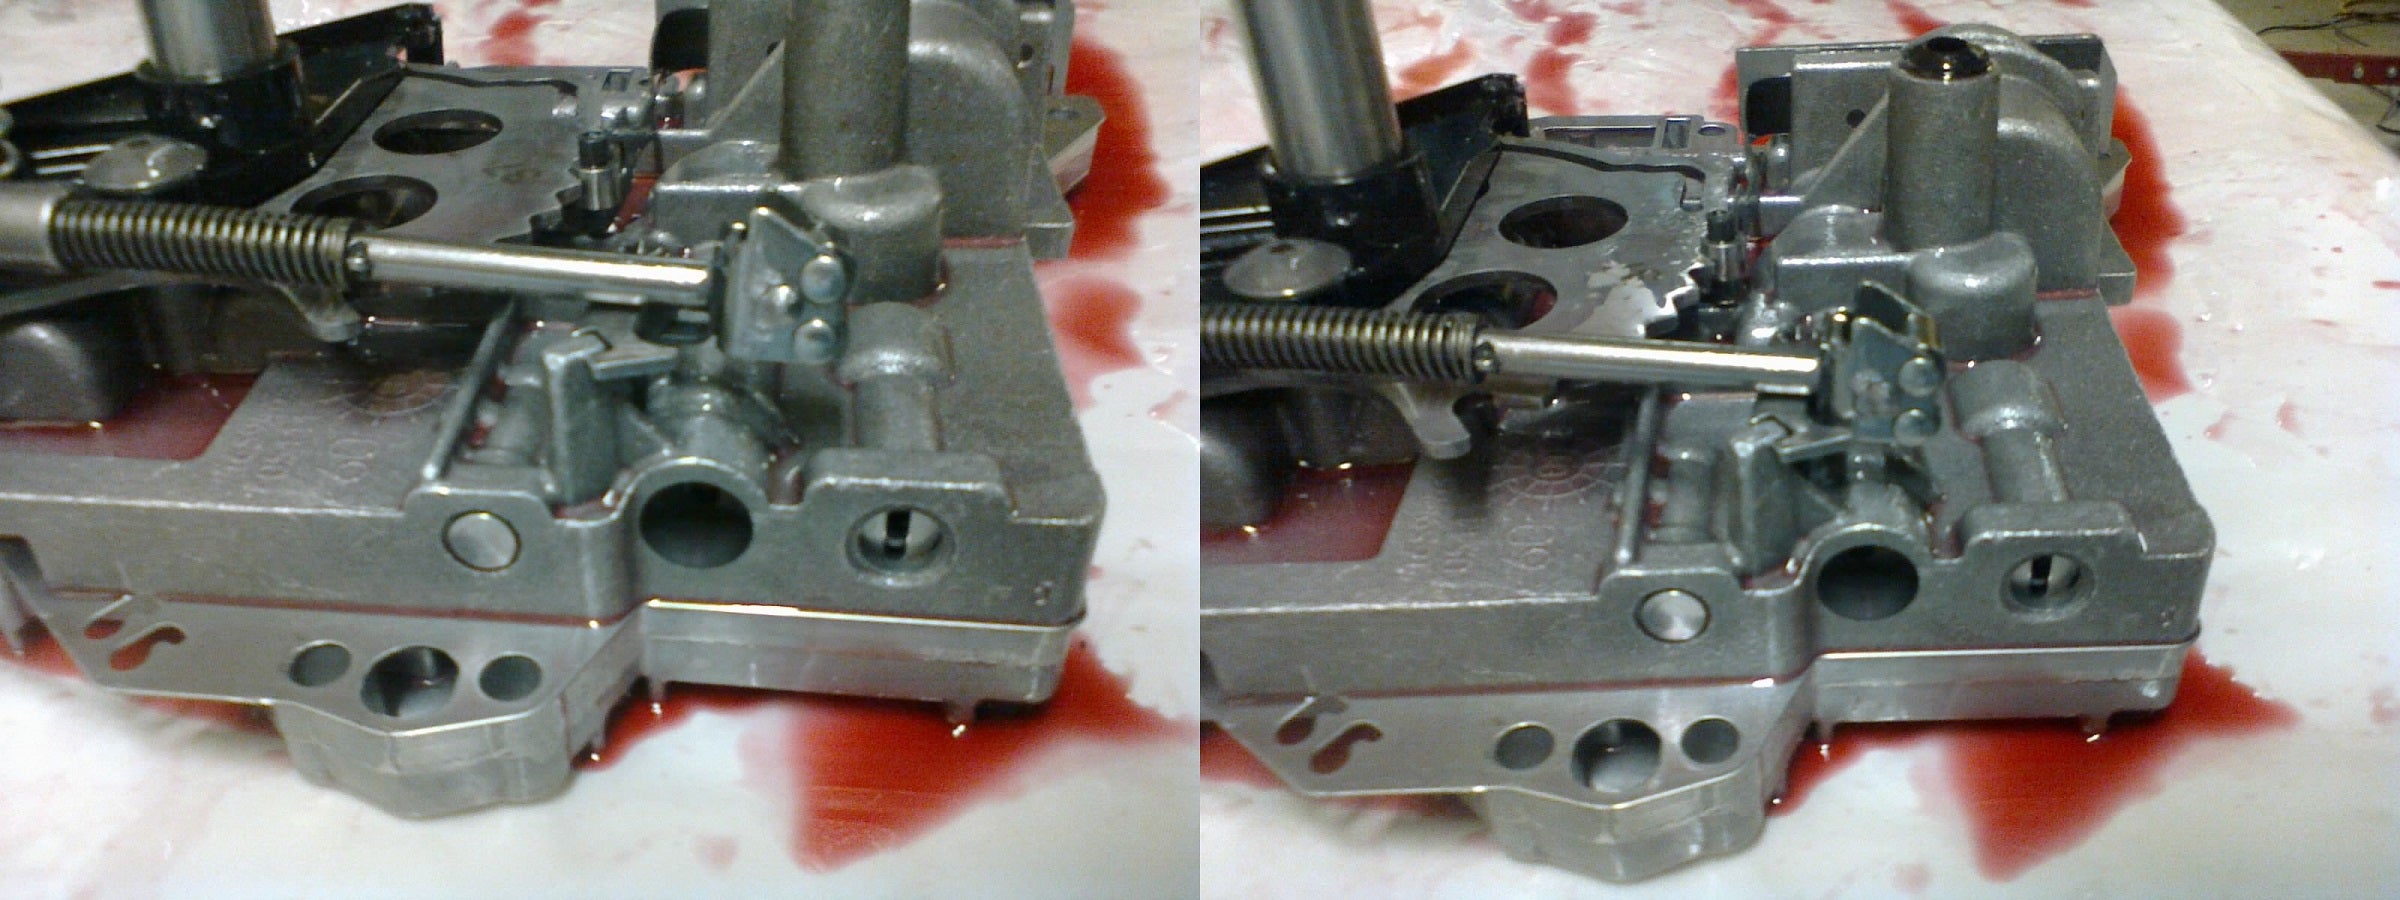
Close-up of the park rod. This rod has been flopping around, and in order to secure it during VB installation, there’s a little tab that needs to hook in under this piece. To do this, we line up the head of the rod and shift the manual shaft one click PAST Low gear. This position is impossible to attain with the shifter linkage attached, and only exists to facilitate assembly & disassembly of the transmission.
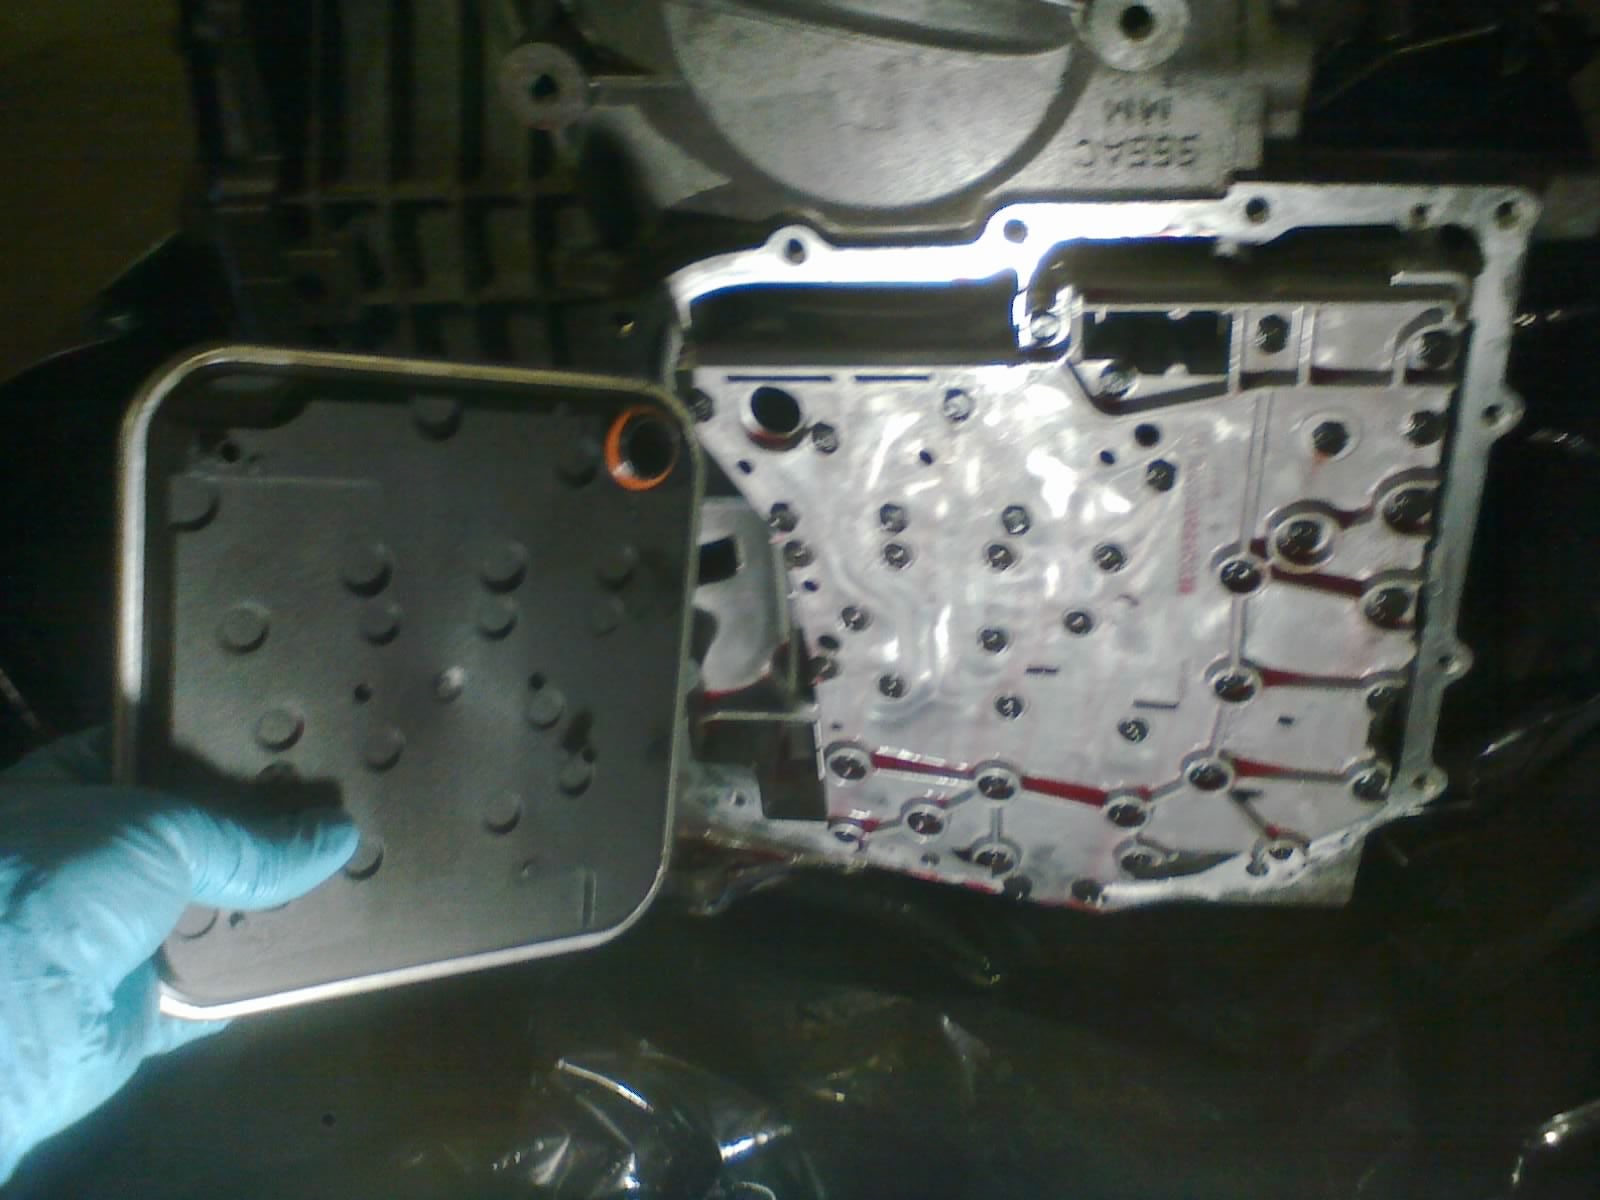
With the park rod locked into position, the valve body can be popped into place and bolted in. A new filter gets firmly pressed onto the valve body.
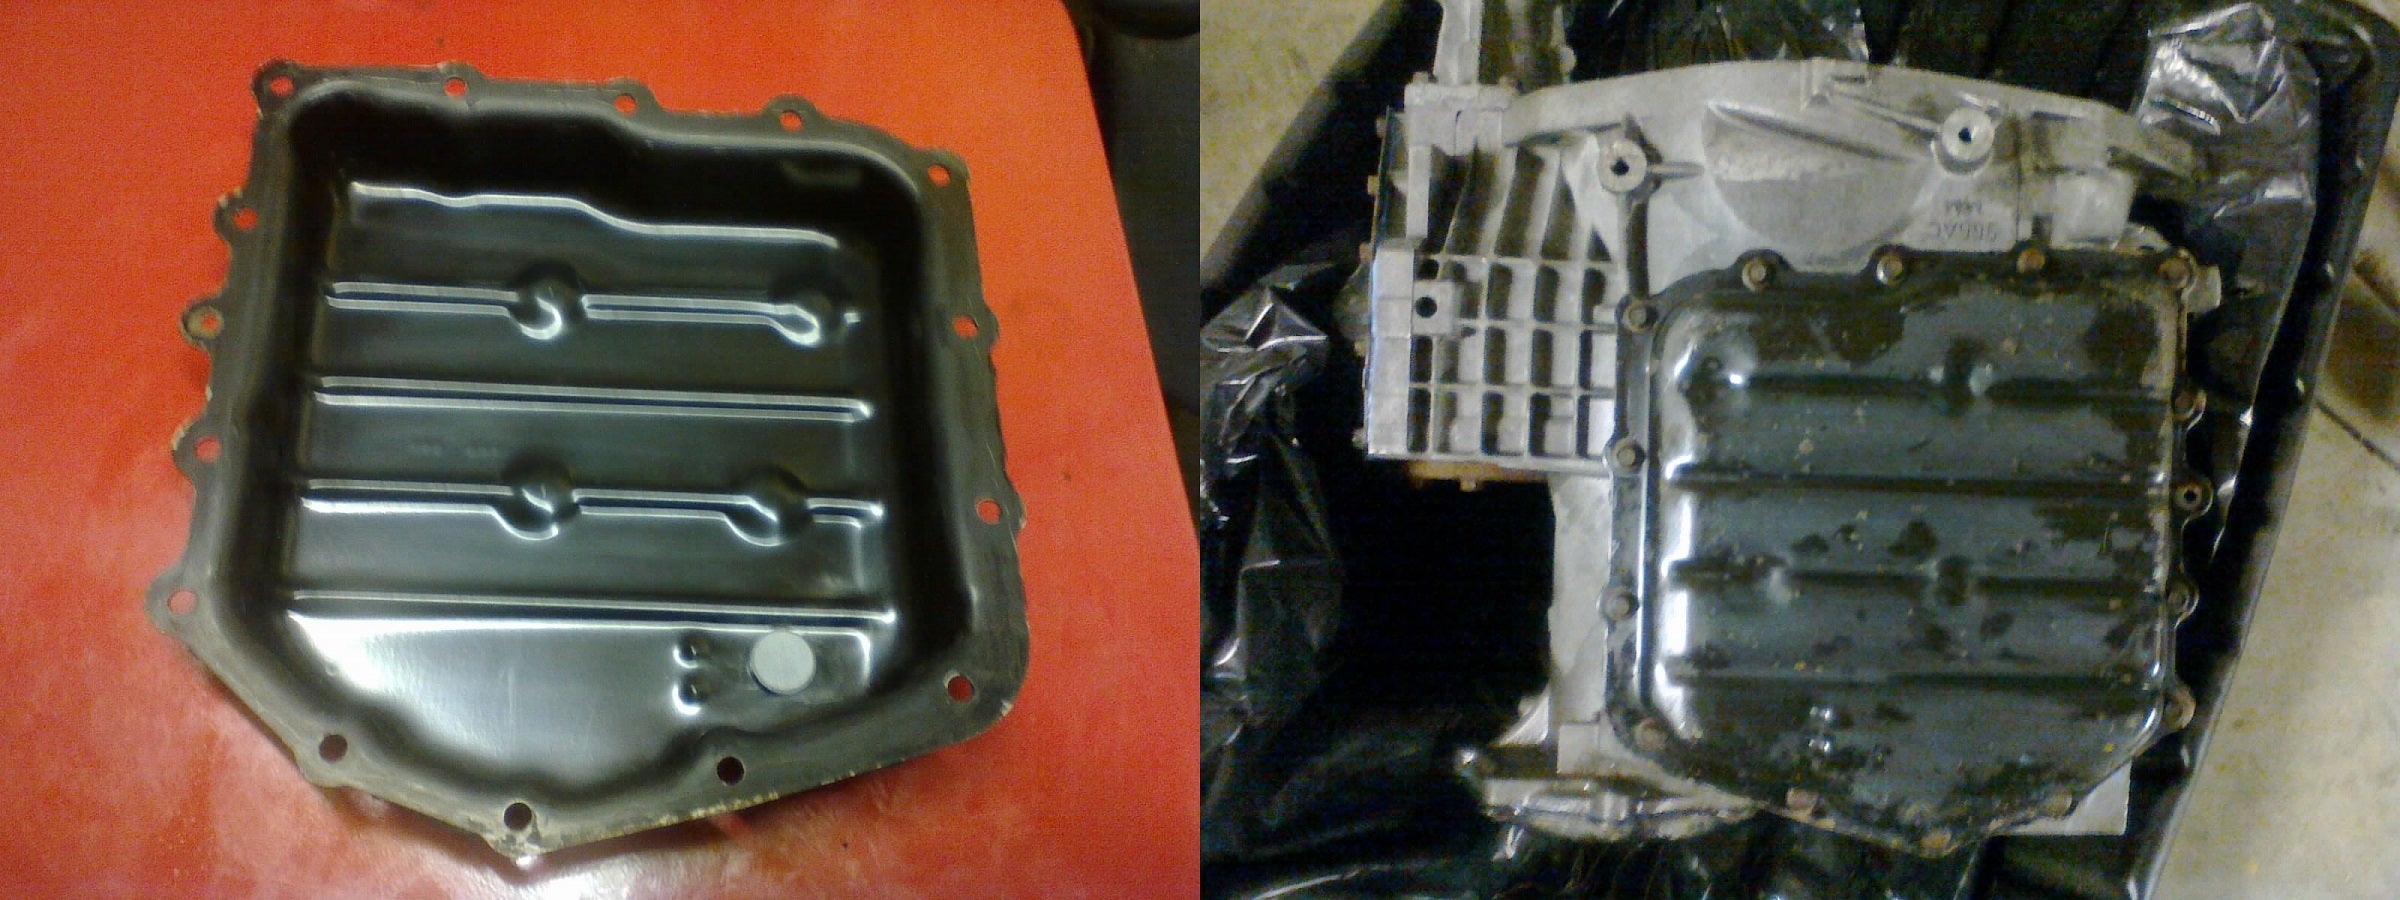
After cleaning out the pan (and the magnetic disc in the corner), we can bolt it to the transmission. Again, no gasket. Just RTV & proper torque.
Getting close now! Just a few odds & ends to go before it can be wrestled back into the vehicle... !!!error: Indecipherable SUB-paragraph formatting!!!
 cbell04
> Urambo Tauro
cbell04
> Urambo Tauro
04/11/2017 at 20:10 |
|
This never stops amazing me. Much dark magic skills you have.