 "Clown Shoe Pilot" (csp)
03/14/2017 at 23:42 ē Filed to: None
 6
6
 7
7
 "Clown Shoe Pilot" (csp)
03/14/2017 at 23:42 ē Filed to: None |  6 6
|  7 7 |
The lines held 350psi of Argon for 24+ hours, no leaks. So tonight I vacuumed out the lines and released the refrigerant into the system. The compressor comes pre-charged so once everything is hooked up and ready, you just open the valves on the outdoor unit and youíre ready to run.
The system runs in cooling and heating modes, both were tested and work. GREAT SUCCESS.
Now I can finish skinning the walls. Hurray!
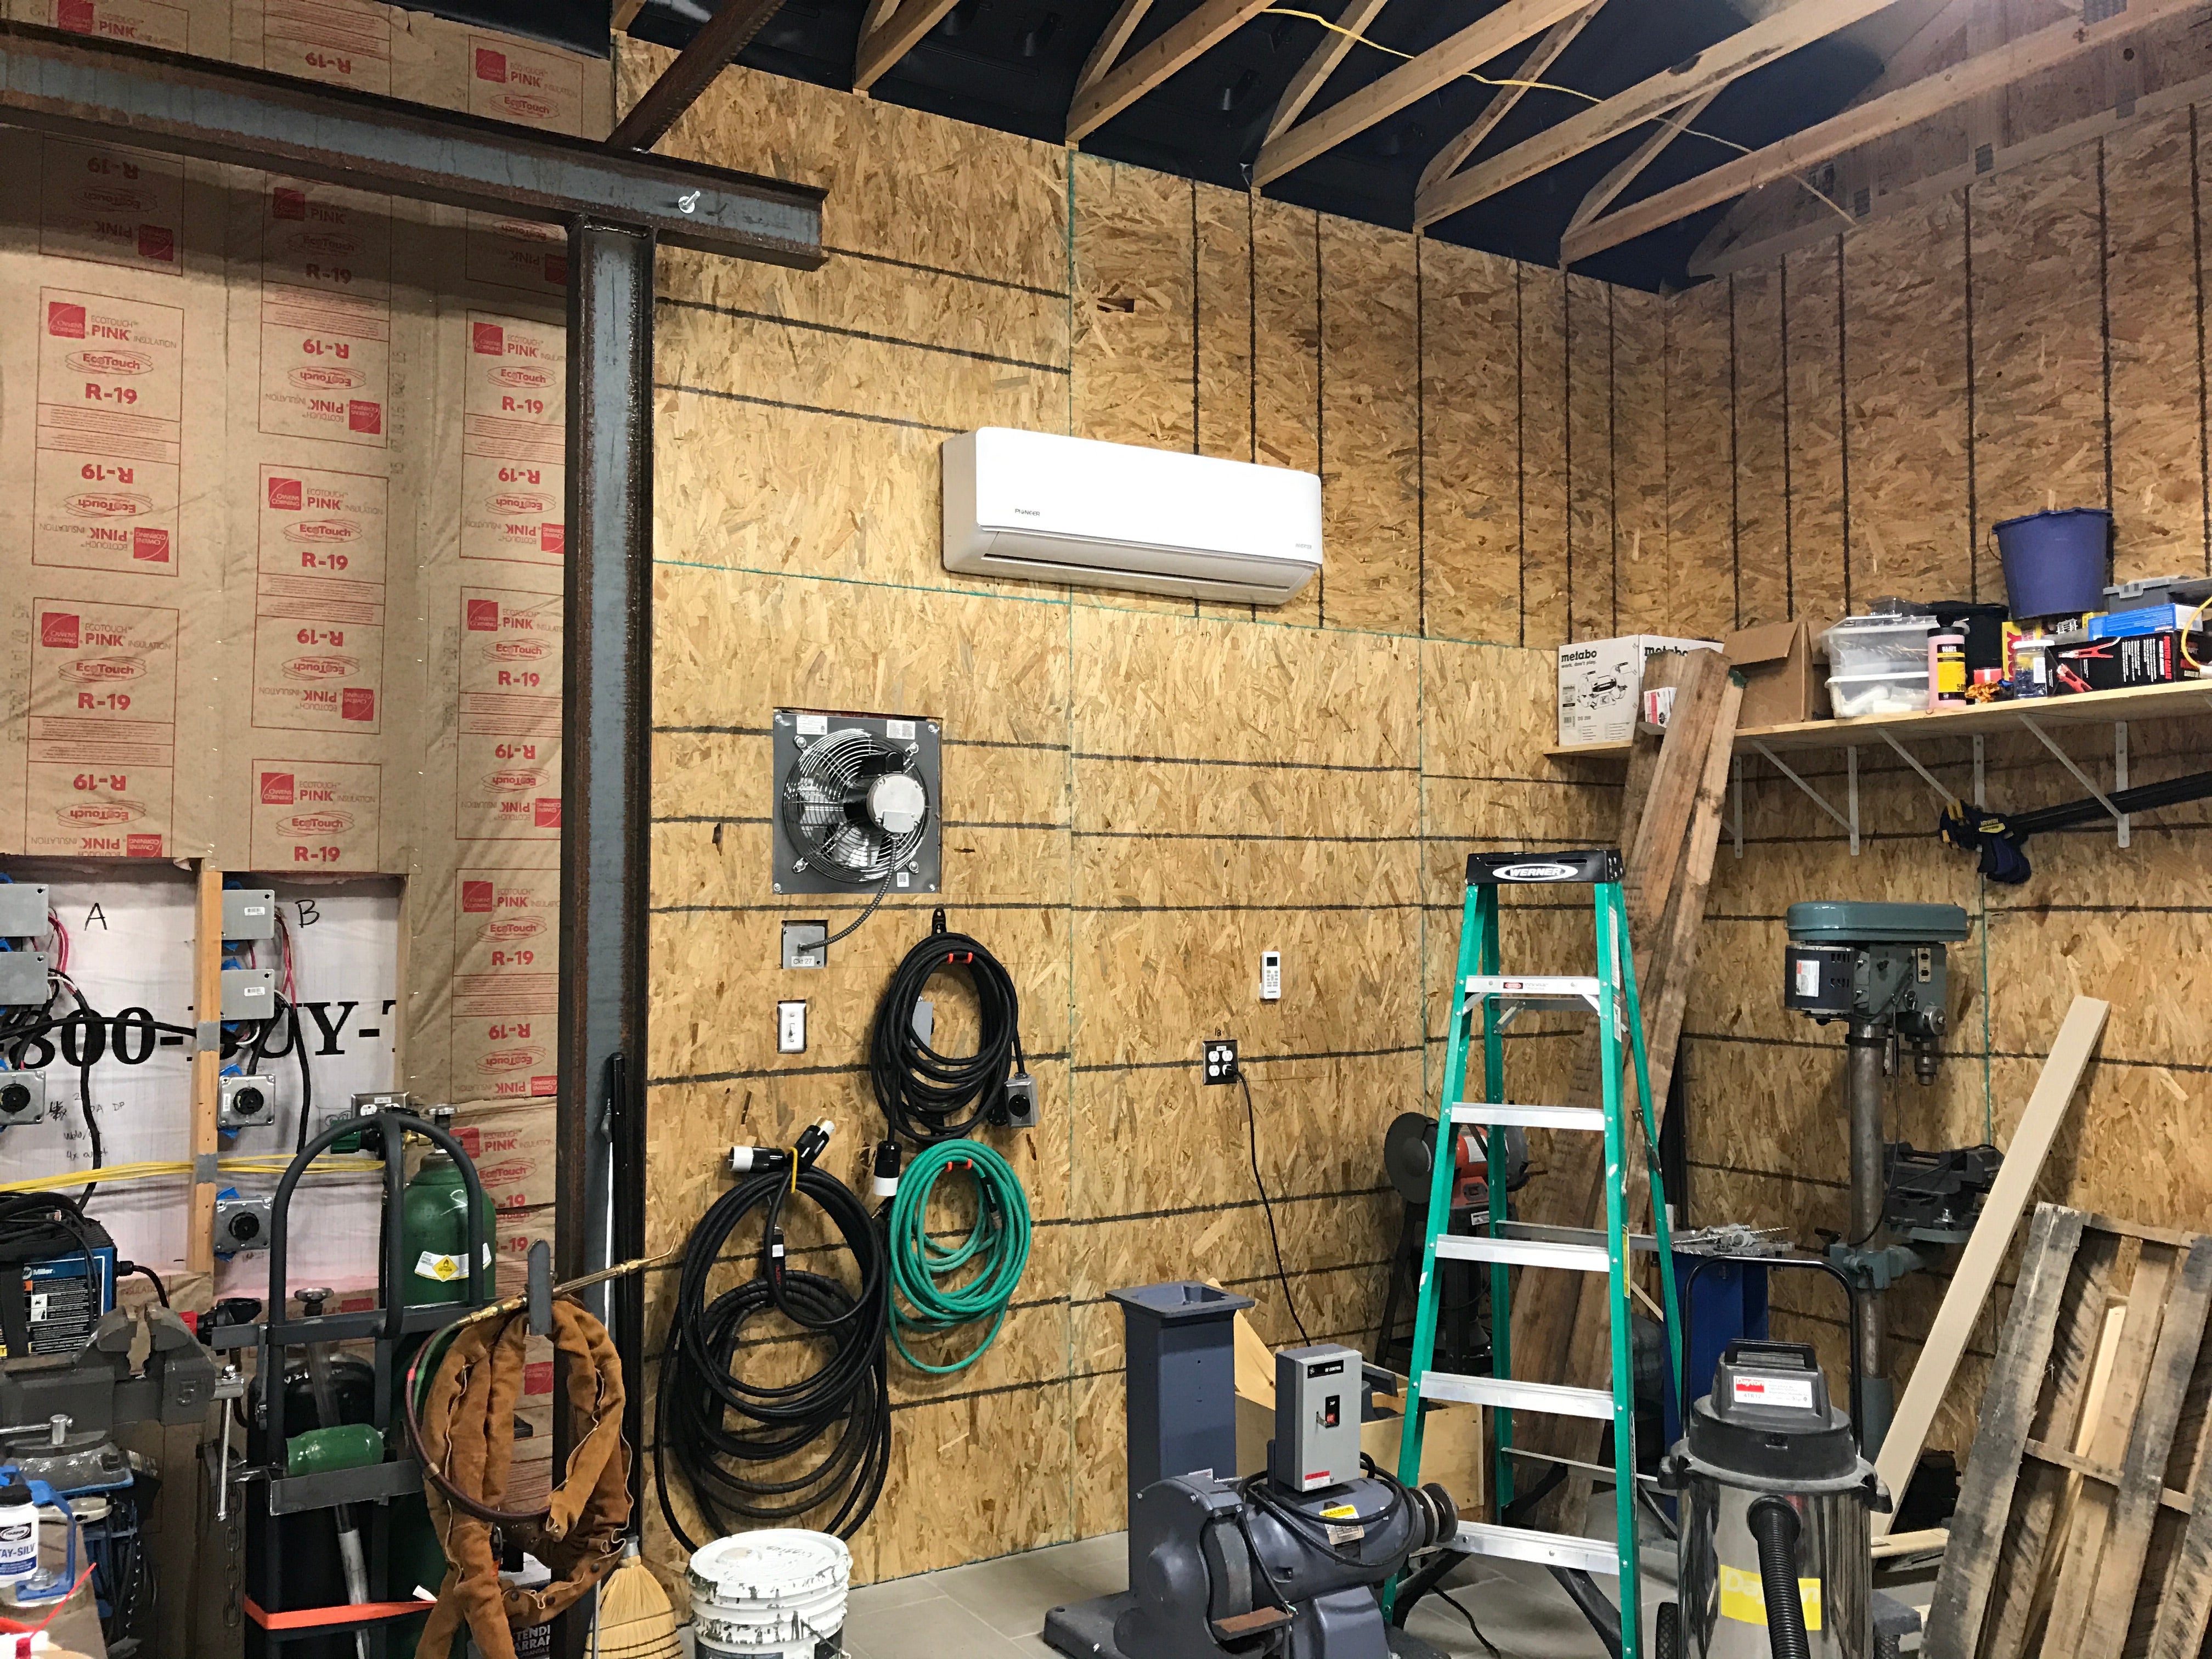
The unit at the rear of the shop
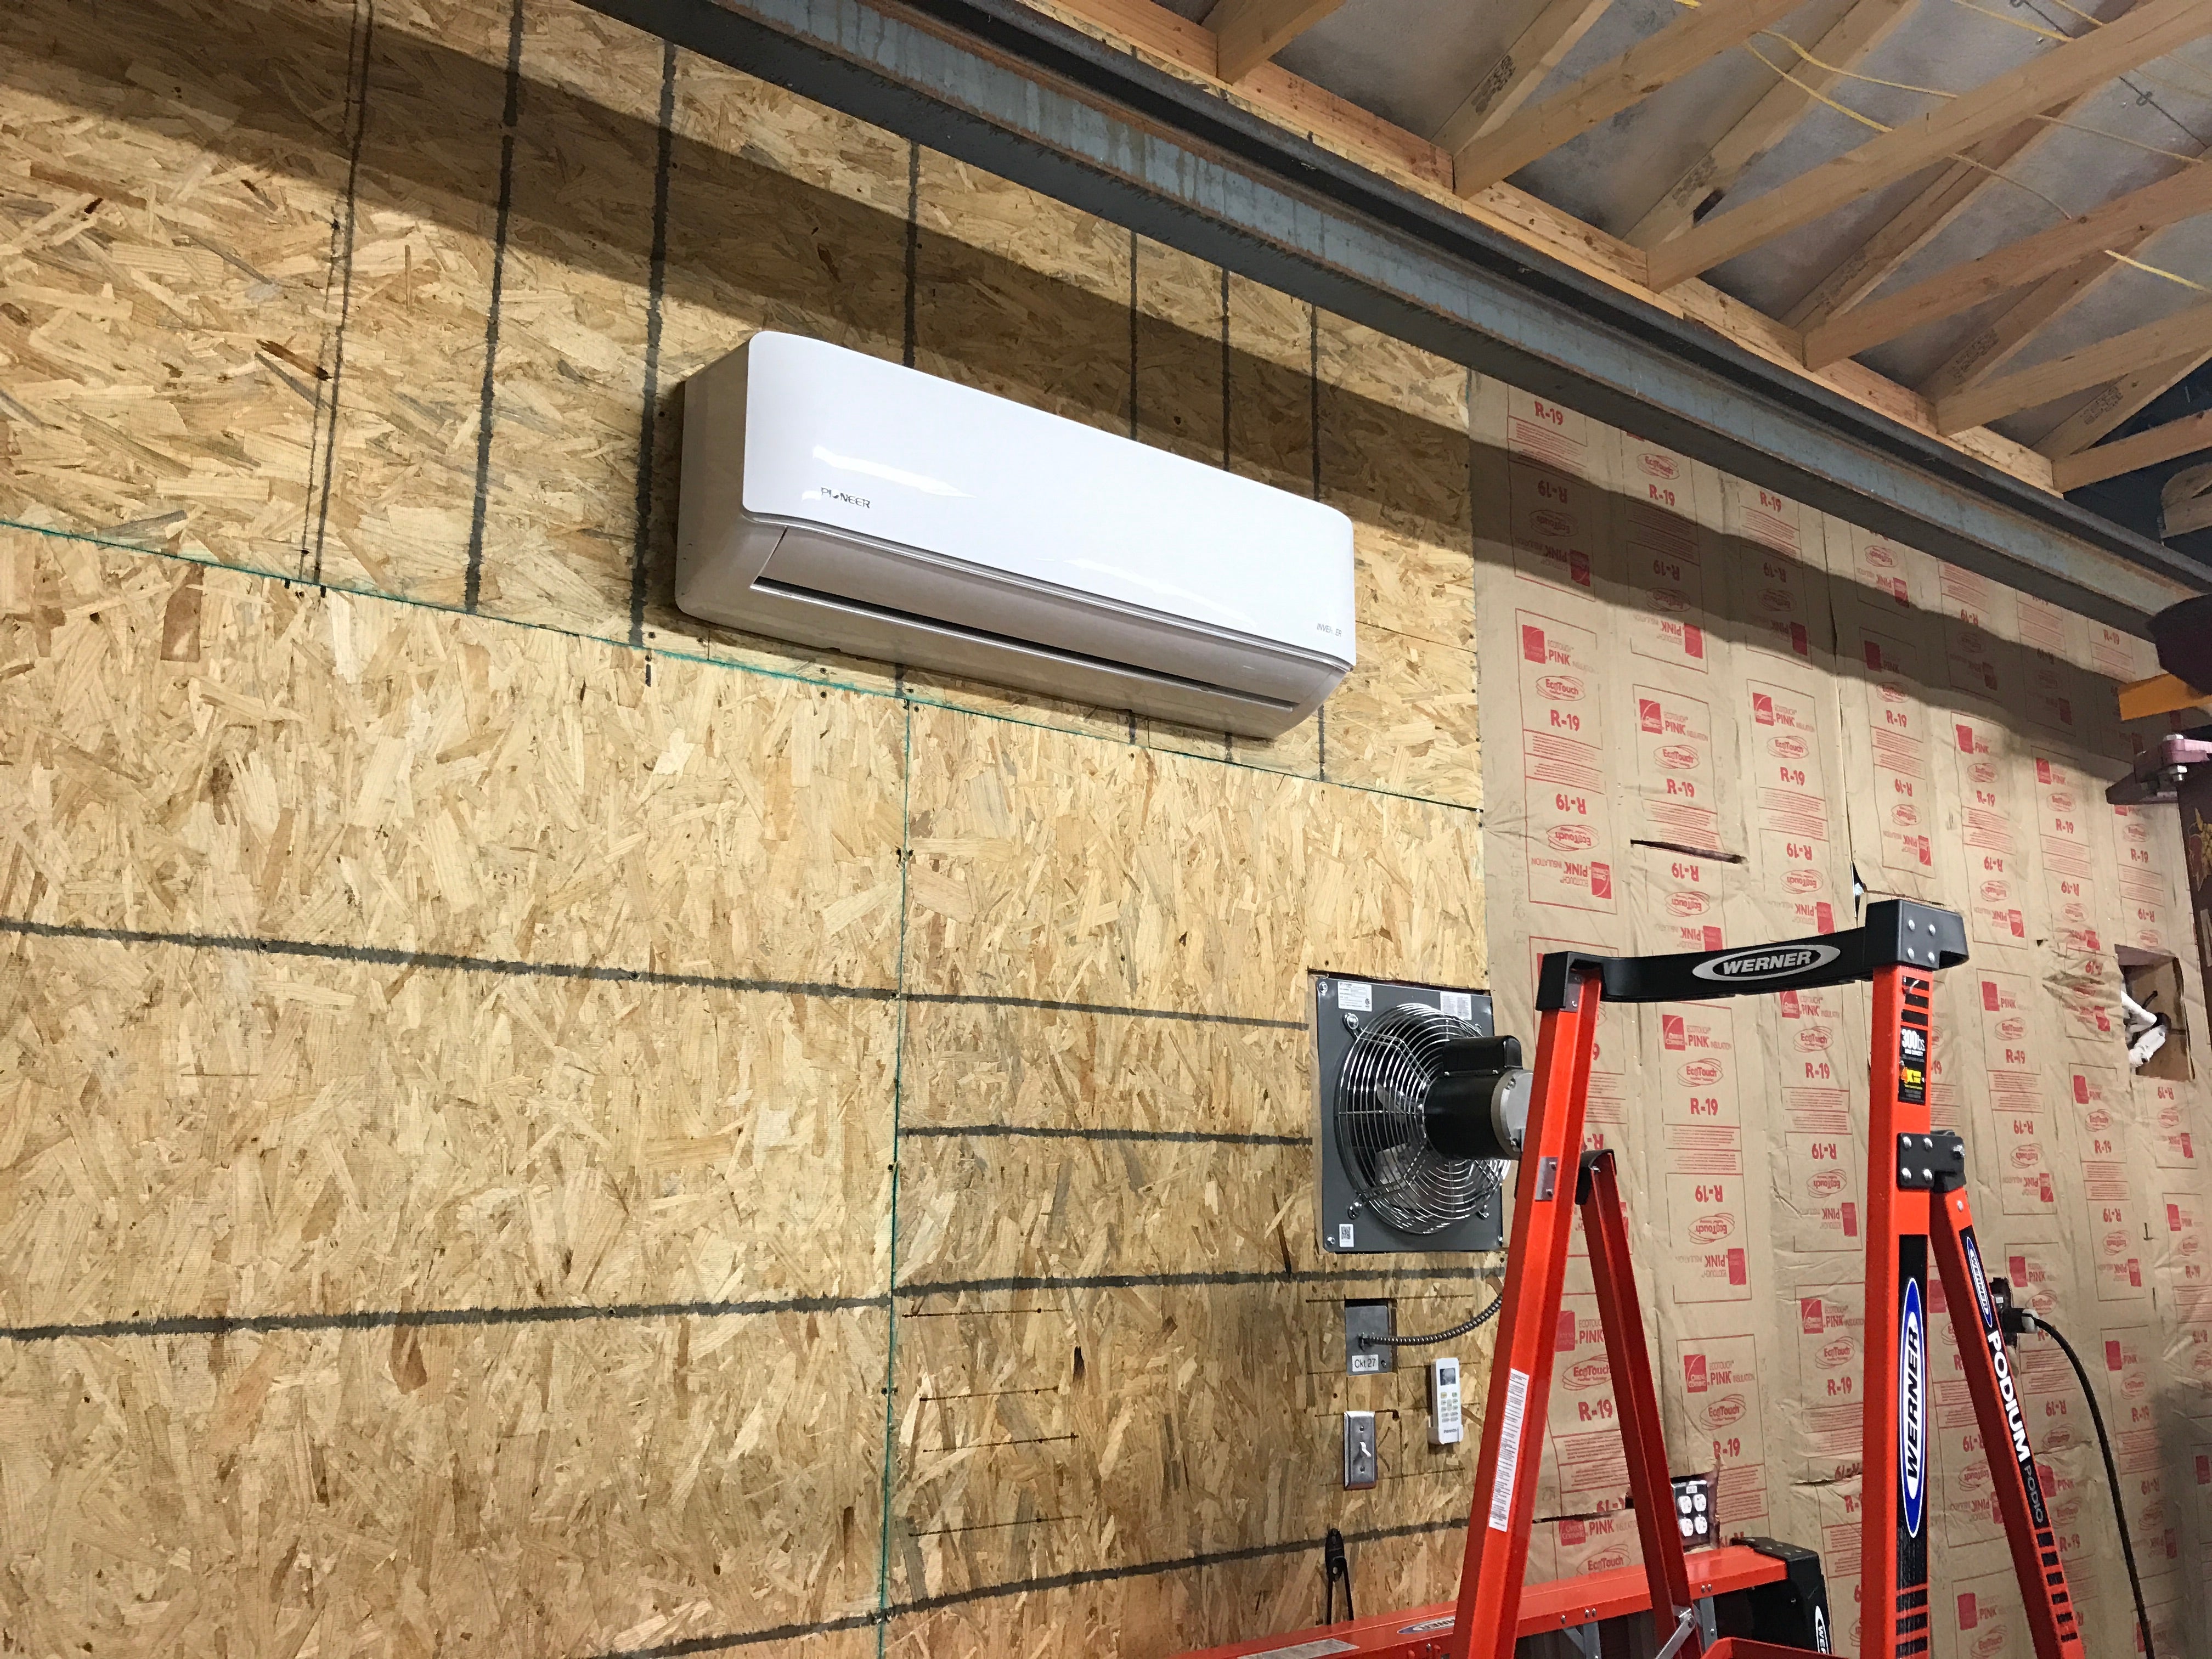
The unit next to the lift
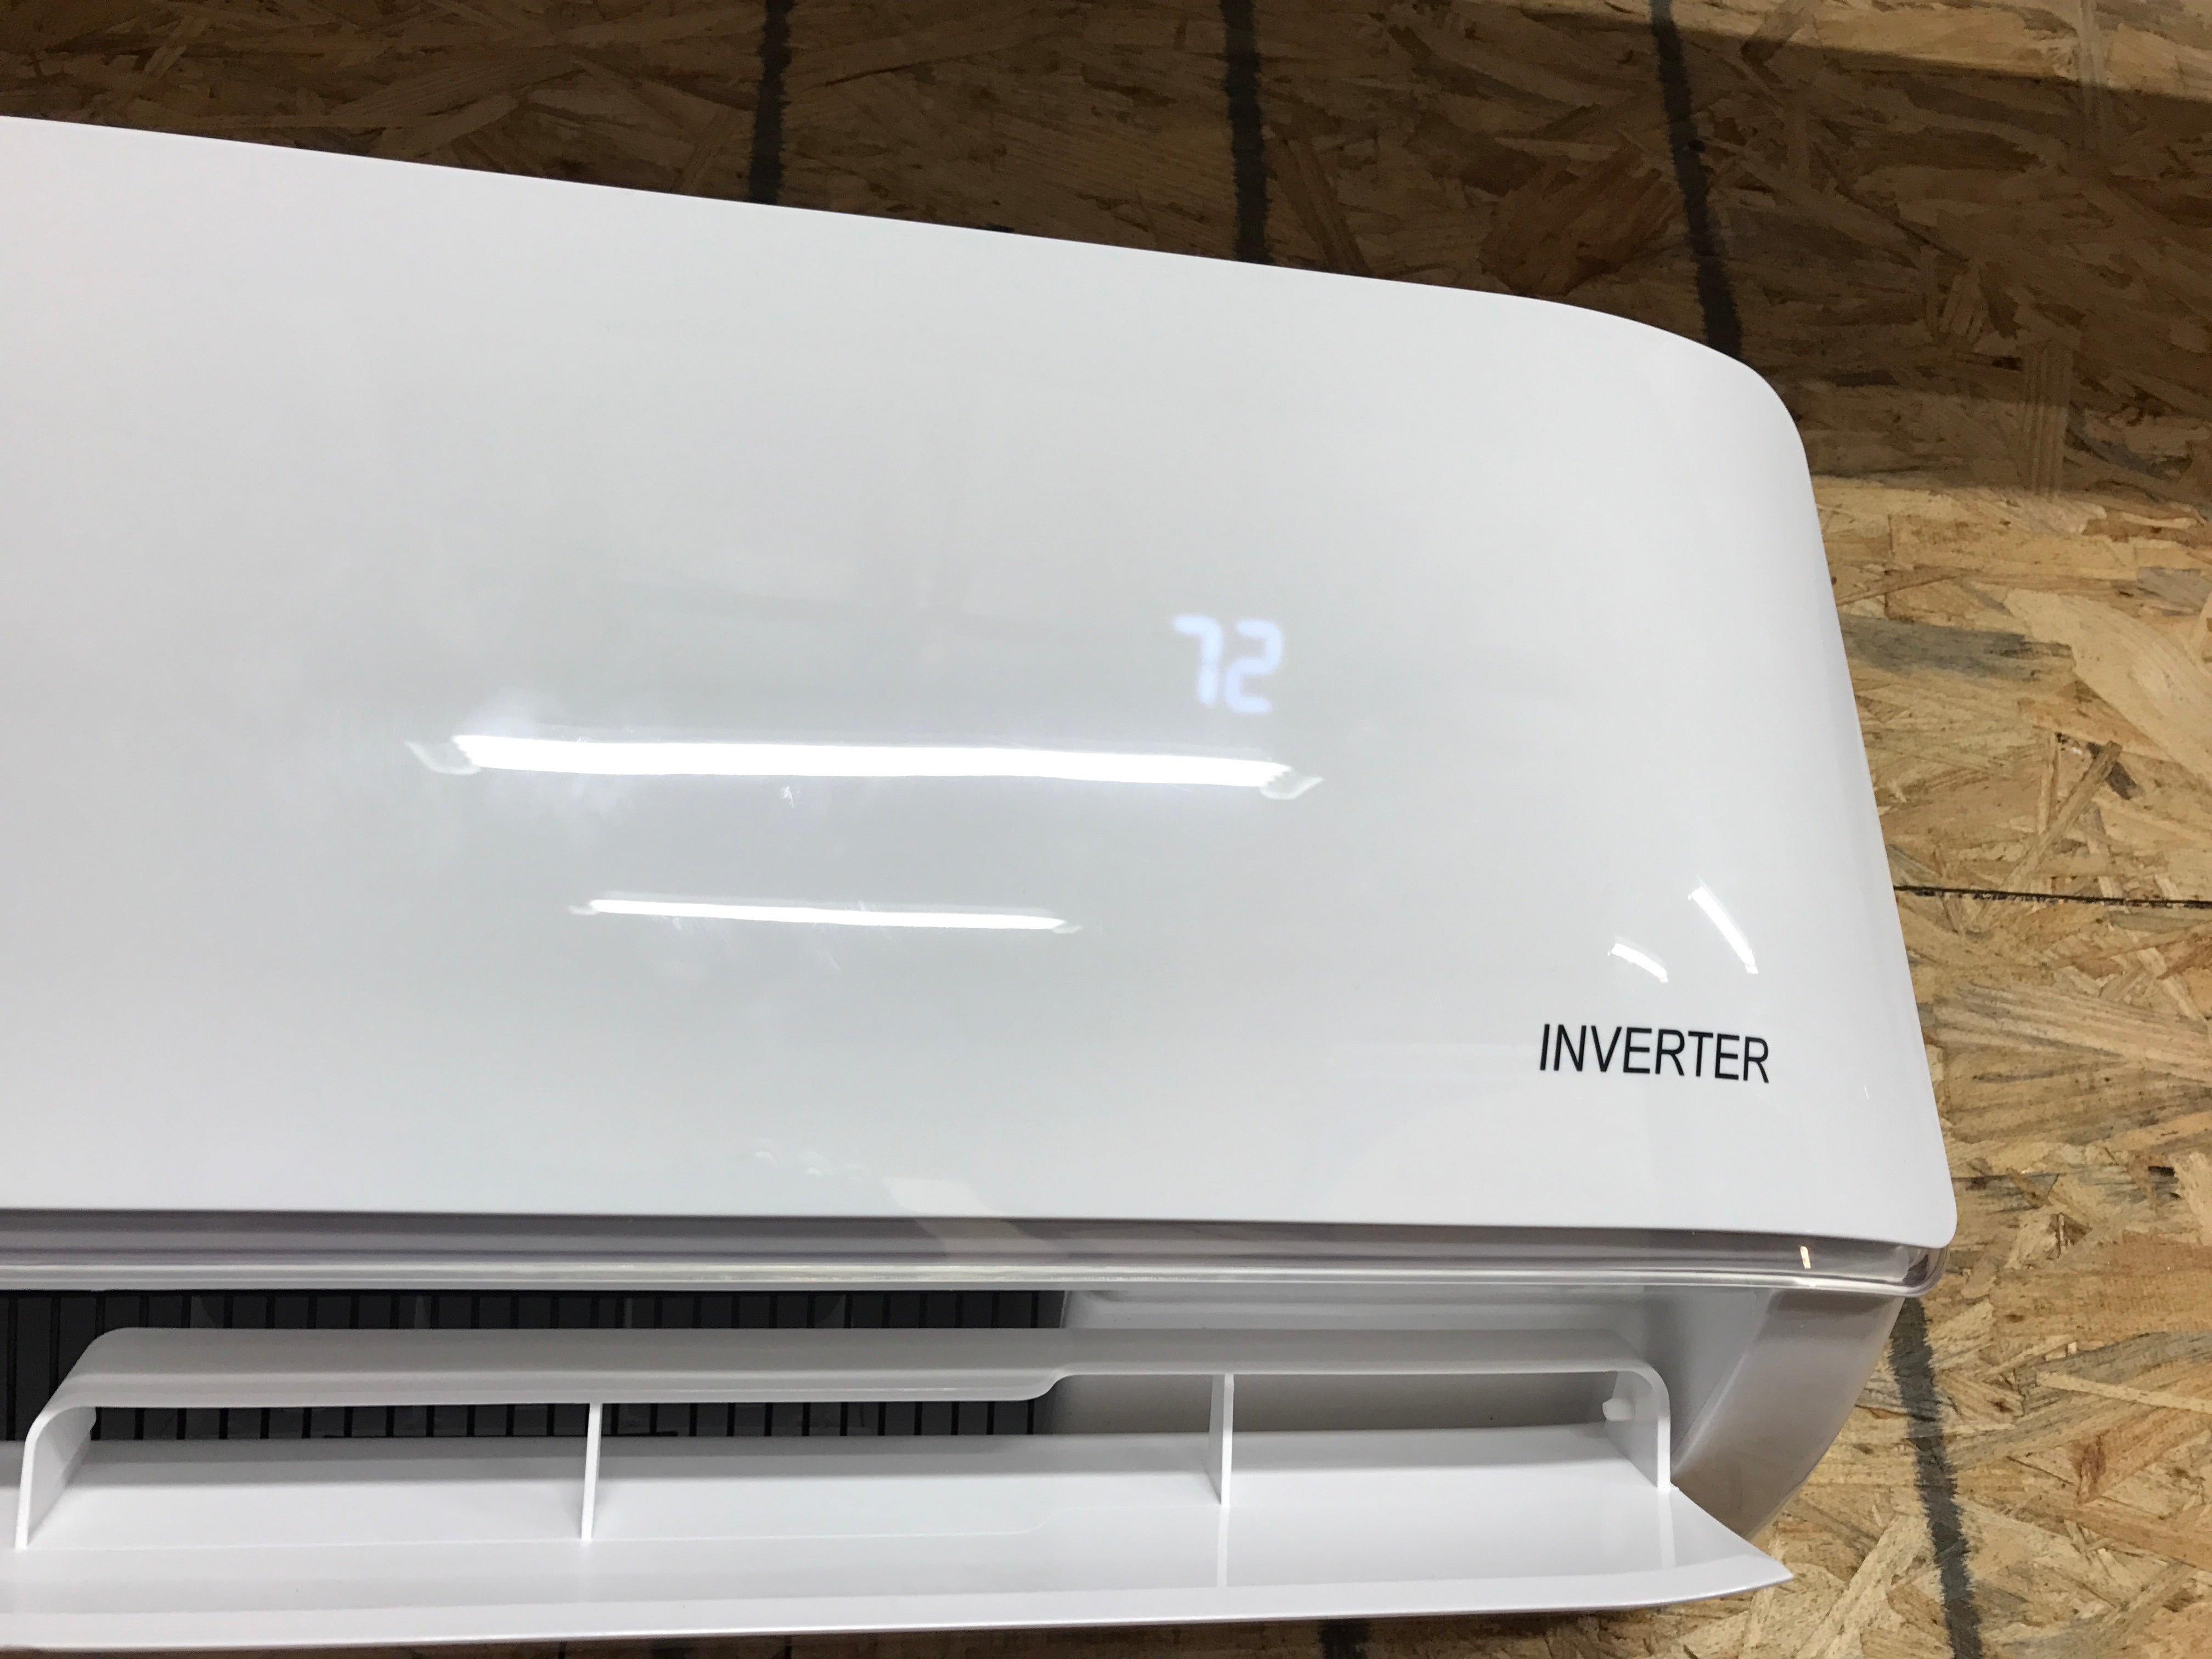
OPERATIONAL!
 TheRealBicycleBuck
> Clown Shoe Pilot
03/15/2017 at 00:21 |
|
Gimme some details! Iíve been thinking about doing this in our garage, so any details you can share would be appreciated. Things like what unit you bought and from where, perhaps a picture of the condenser unit, etc.
 TheHondaBro
> Clown Shoe Pilot
03/15/2017 at 00:35 |
|
Those things are the shit. My bedroom in California (converted garage) had a separate AC system. It was a giant Mitsubishi contraption like that. It was, again, the shit.
 Clown Shoe Pilot
> TheRealBicycleBuck
03/15/2017 at 00:55 |
|
I bought it on amazon. Itís actually sold by a company in Florida called Parker-Davis. The brand on everything is ďPioneerĒ but itís not the Japanese company. The outdoor unit is a Chinese knockoff of a Daikin. Iím not sure who (if anyone) they knocked off for the indoor units.
Everything seems to be well made. The packaging was decent and there arenít any glaringly obvious ďthis is cheap PRC garbageĒ signs. Everything is put together pretty well. The manuals arenít fantastic but theyíre not horrible. Luckily, the Parker-Davis tech support is pretty good and theyíre happy to help fill in the details that the printed docs are lacking.
Installation wasnít crazy difficult. The elctrical is a breeze assuming youíre comfortable doing electrical - itís a 240VAC circuit with a disconnect. I think it was a 30A breaker and I used 8AWG wire. Bending the larger copper tubing without kinking it was challenging. I gave up and learned to braze refrigeration piping instead. Using copper fittings to make the necessary corners was the winning move and since I already had an oxy-acetylene torch rig, it was just a matter of buying the right flux and filler metal.
I took everything really slowly because Iíd never installed an AC unit before. I put all the piping in the walls and hooked everything up at the outside unit. I did all my leak testing with Argon because I had a cylinder of it sitting around. Most AC guys use Nitrogen because itís a lot cheaper. I guess I could have borrowed a bottle from work but I didnít want to hump it home. I had to buy a regulator that could deliver intermediate pressures (350 psi) because the regulator for my TIG machine delivers a maximum of 60psi. Testing was done by pressurizing the lines and then squirting soapy water on all the places you think might leak. If you see a big bubble start to form, youíve got a leak. I brazed up a couple test loops to stand in for the indoor units so I could do initial pressure/leak tests on the outdoor unit and brazed joints.Then I installed the indoor units and re-tested for leaks. For one of my units I had to build a set of 180į turn-around pipes in order to line everything up right. I had a leak in one of those so I got to pull that all apart and try again.
Once I was confident my piping was leak-free, I hooked up my manifold gauges and vacuum pump (pawn shop purchases) and also hooked up an electronic micron vacuum gauge (craigslist) to monitor my evacuation. I got the system down to about 200 microns. The HVAC guy I bought the gauge from said that getting under 500 was the sweet spot. Once I sucked all the air out, I opened all the valves on the outdoor unit, checked pressures one more time and applied power. The indoor units came on and I put them into cooling and heating modes and everything worked as advertised. In heating mode, the outdoor unit was making comparatively†a lot more noise, so I assume it was working harder. I expect that once summer is here itíll be a little noisier on cooling mode too. Any way you slice it, itís still pretty quiet.
 TorqueToYield
> Clown Shoe Pilot
03/15/2017 at 07:03 |
|
Iíve been thinking of getting one of these and that sound a lot like ďI should pay somebody to install this for meĒ...
 Clown Shoe Pilot
> TorqueToYield
03/15/2017 at 08:43 |
|
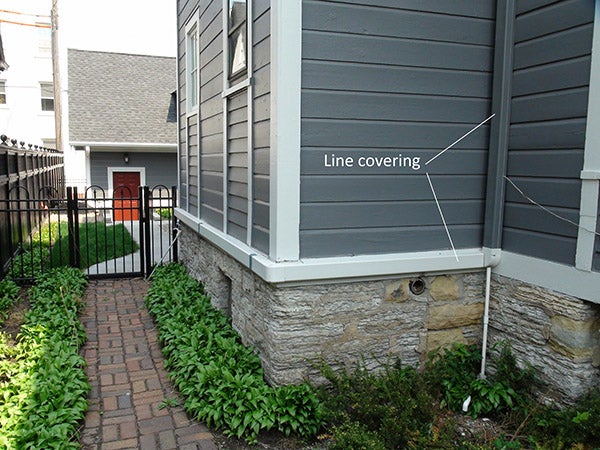
If youíre installing into an existing building the standard move is to attach the refrigerant lines to the outside of the wall and use a paintable cover. I definitely made my own life more difficult by putting lines inside the walls. If youíre not hung up on the aesthetics and donít mind ďexposedĒ lines, itís a much easier job.
Not trying very hard:
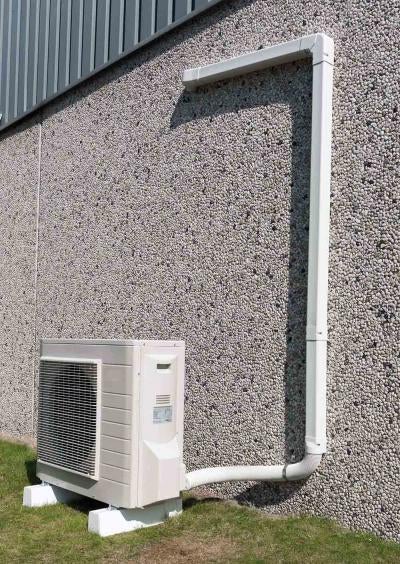
Much fancier covering job:
 CaptDale - is secretly British
> Clown Shoe Pilot
03/15/2017 at 12:42 |
|
Thats cool!
 MM54
> Clown Shoe Pilot
03/15/2017 at 18:55 |
|
Iím still super jealous of your garage.