 "Duck Duck Grey Duck FTMFW!" (theduckduck)
12/11/2017 at 09:53 ē Filed to: None
 0
0
 1
1
 "Duck Duck Grey Duck FTMFW!" (theduckduck)
12/11/2017 at 09:53 ē Filed to: None |  0 0
|  1 1 |
YAY! I FINISHED IT!

It took ALL DAY but I am done. Hereís a linky to day oneís fun
!!! UNKNOWN CONTENT TYPE !!!
Now for a summary of Day 2. I arrived at 8 am looking forward to a day of frustration. Everything went well surprisingly. The only time I was worried was when installing the new timing belt and lining up the marks on the belt with the notches on the cam and crank gears. I spun the engine over by hand like a dozen times making sure everything was lined up. Slapped the covers back on and assorted bits and then moved onto a problem that angered me so.
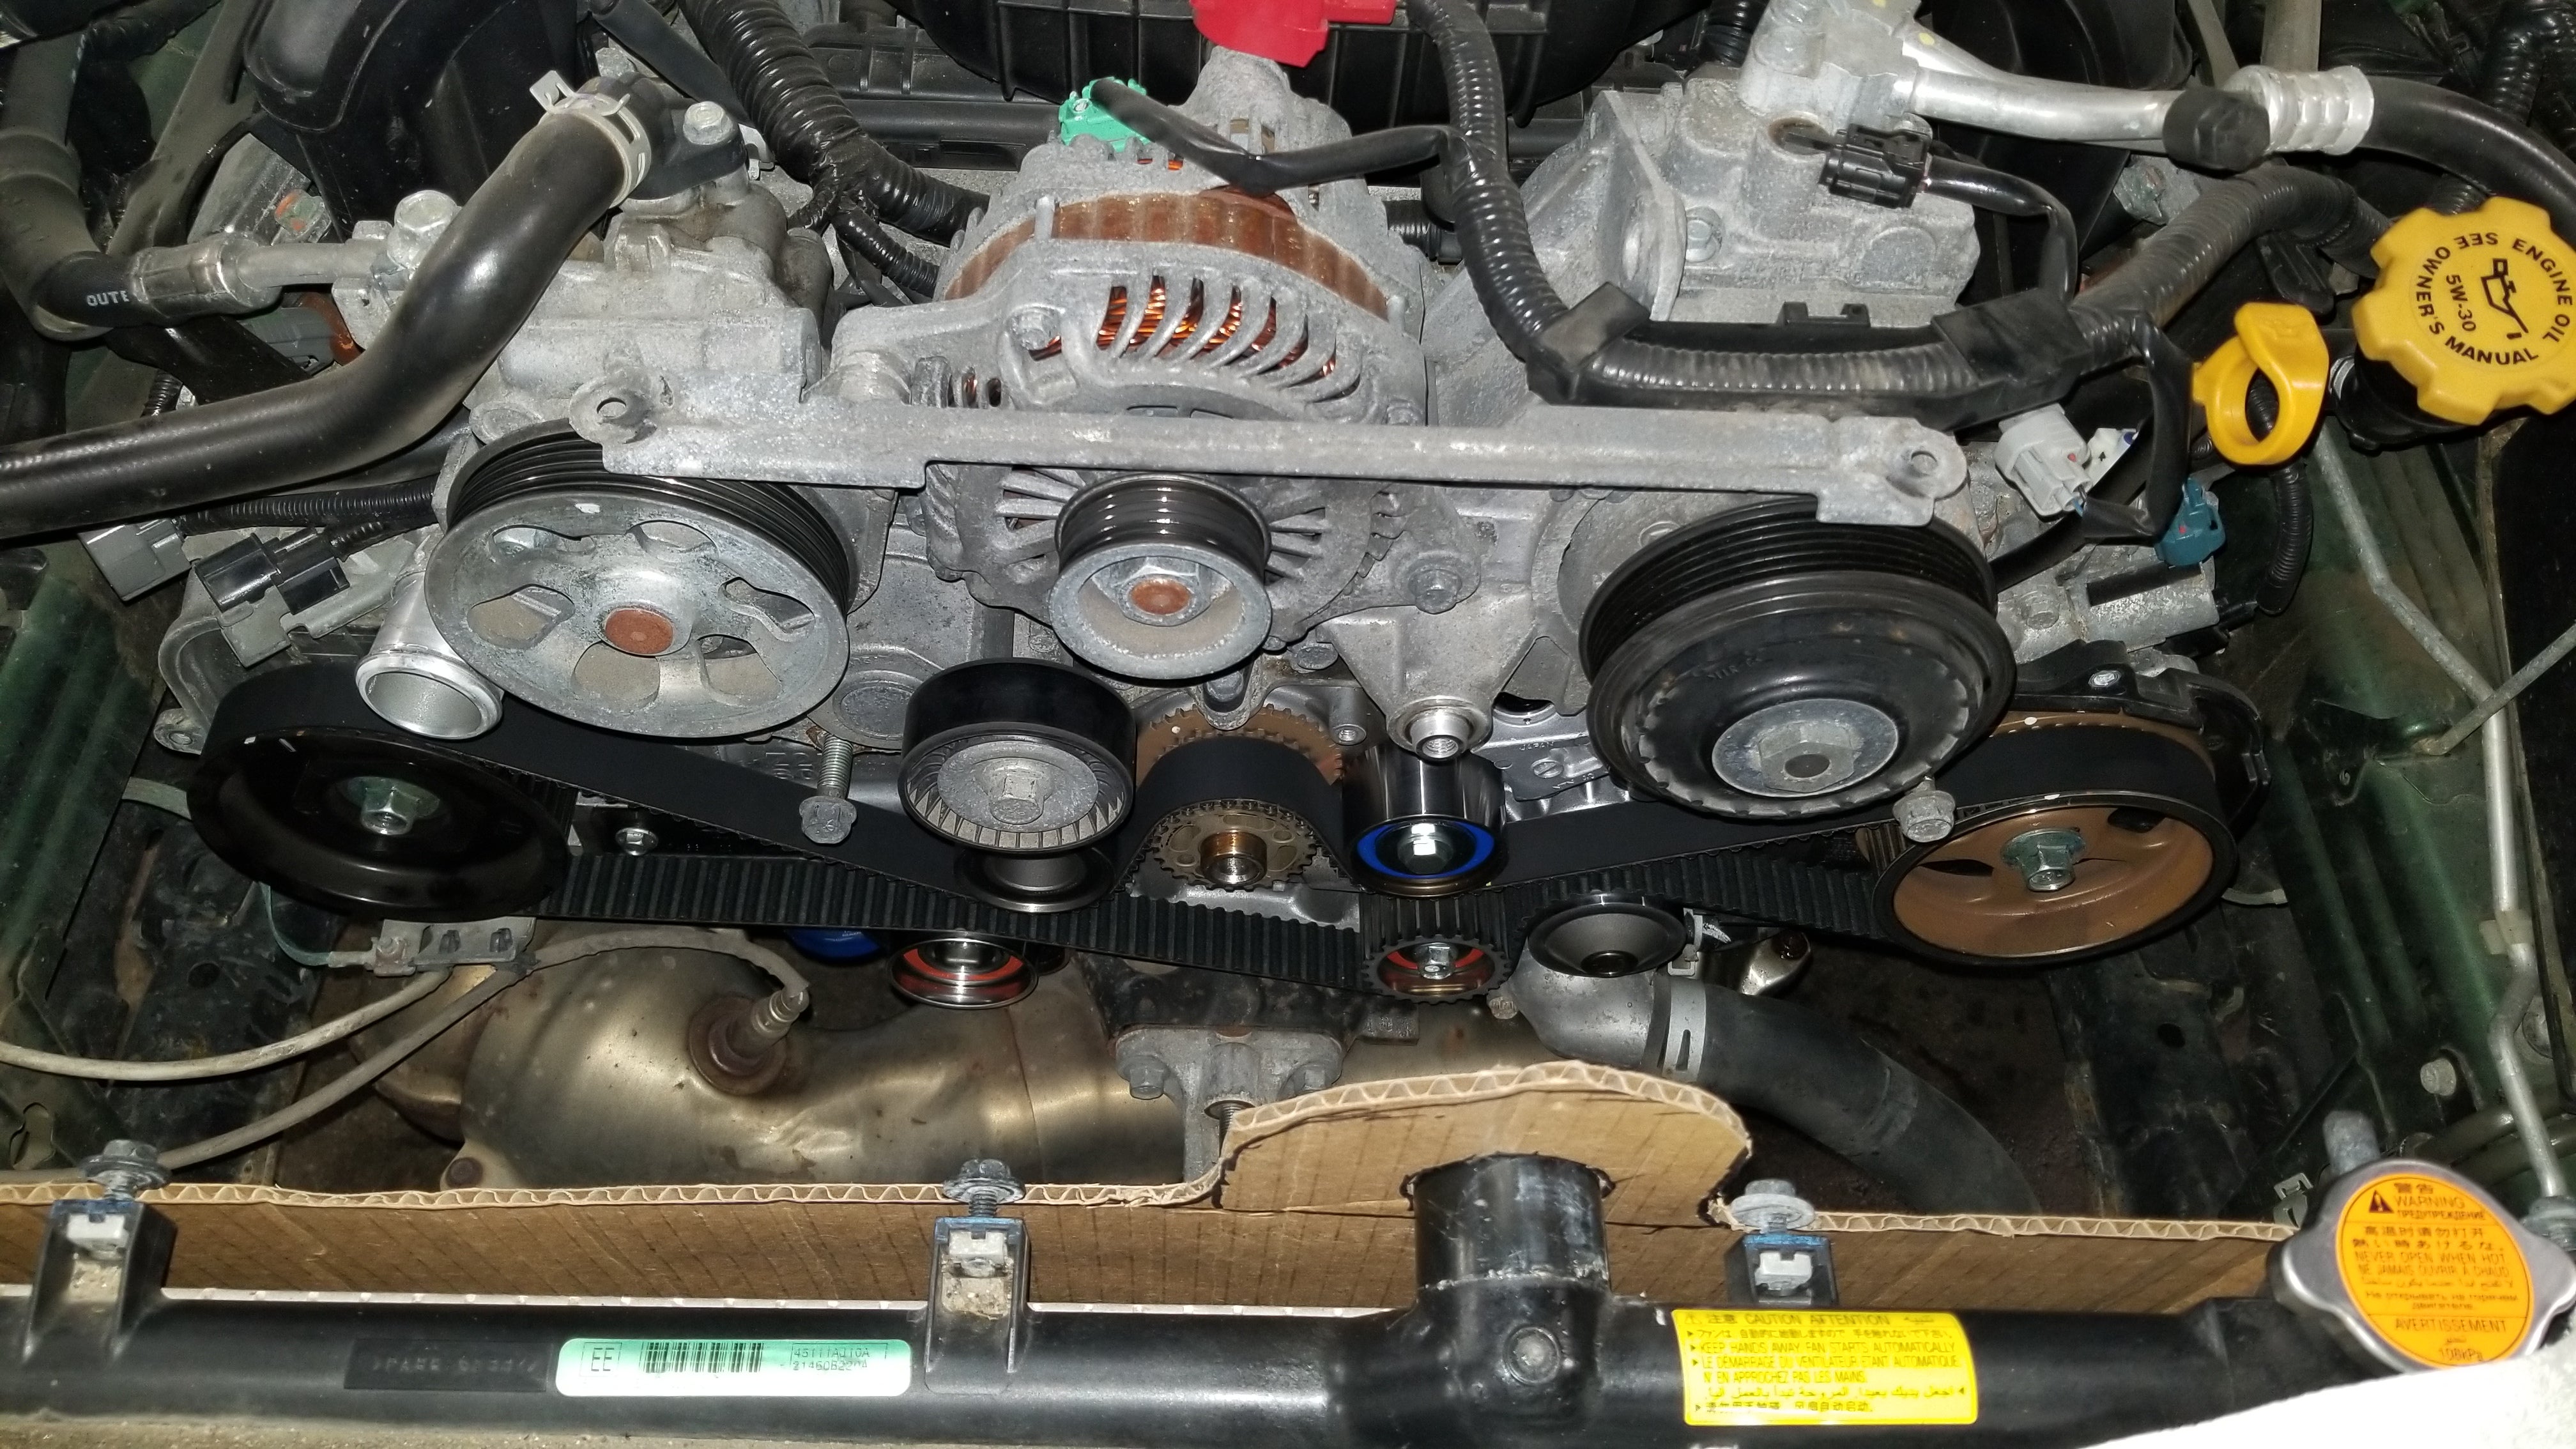
Can you tell itís a new belt with new bits and bobs around it?
If you donít have a fancy ass angle gauge thingabob you have to figure out a way to accurately mark the socket your using to tighten the crankshaft pulley bolt! They wanted you to draw lines on your socket. I said eff that. You have to tighten the bolt to 47 newton meters the turn it an additional 60 degrees with +- 5 degree tolerance. They showed a poor way in my opinion to mark the socket so I did this instead:
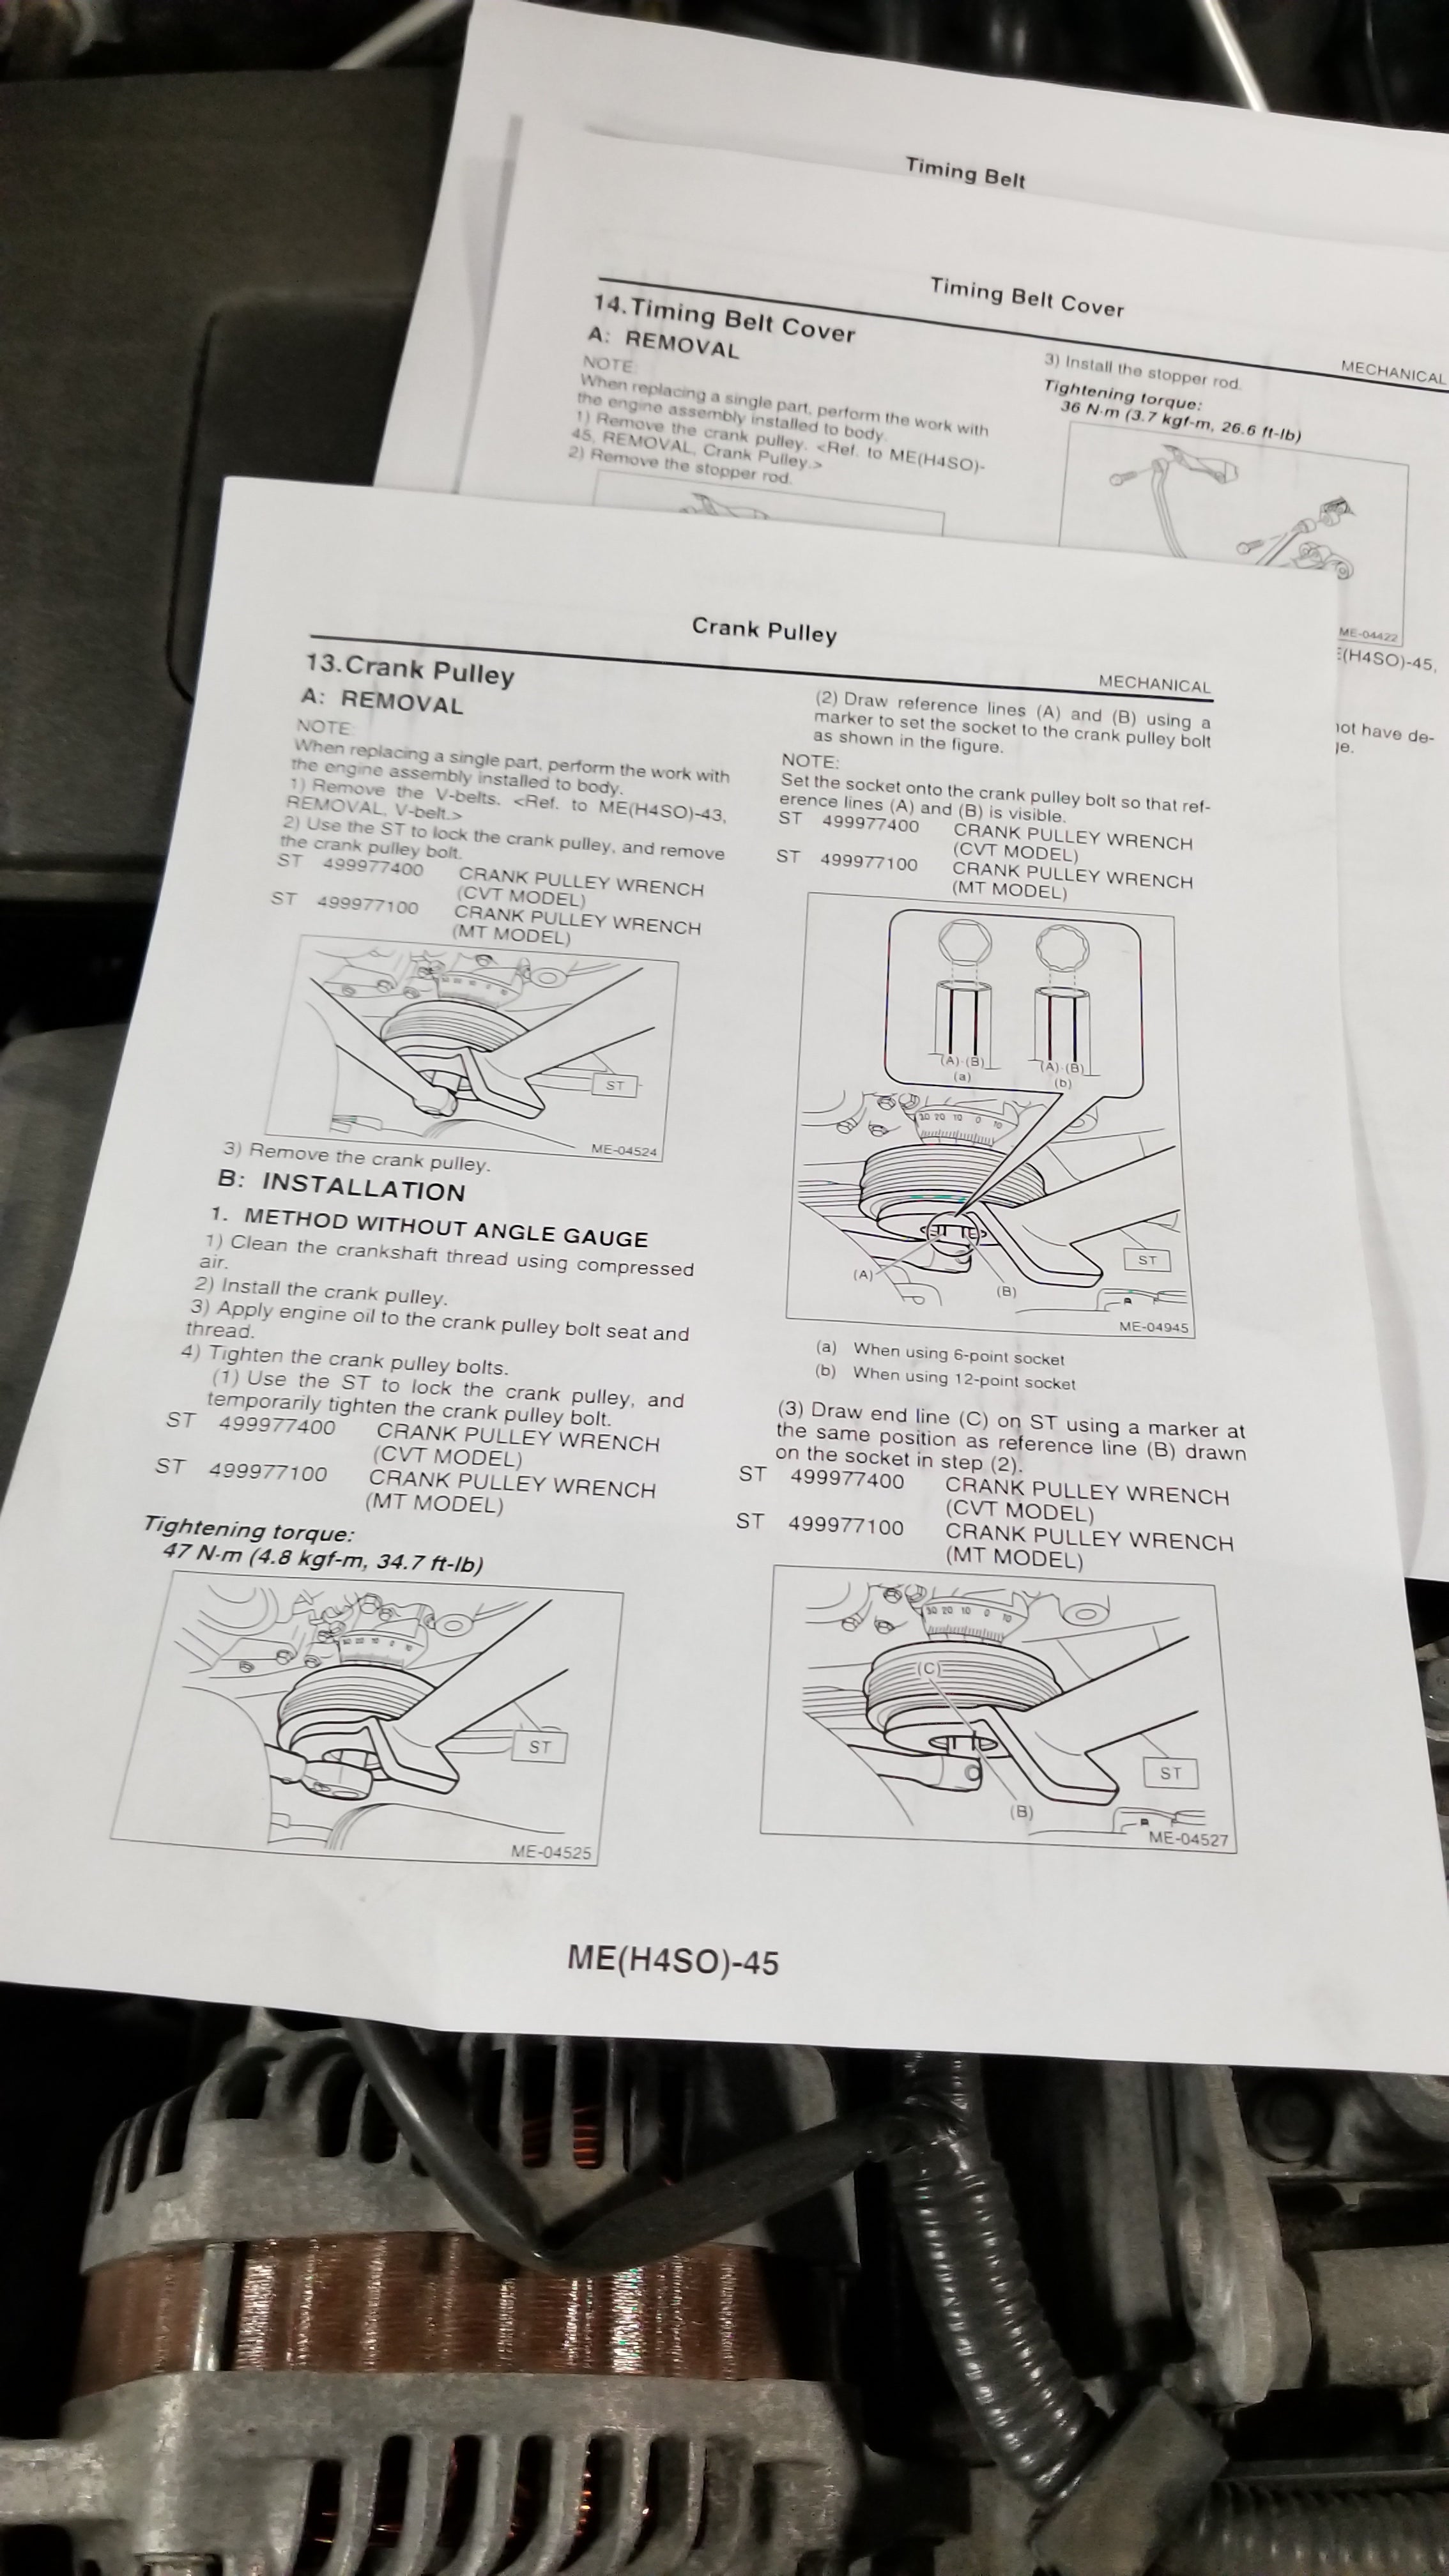
Pretty sure thatís not 60 degrees using there method of marking.
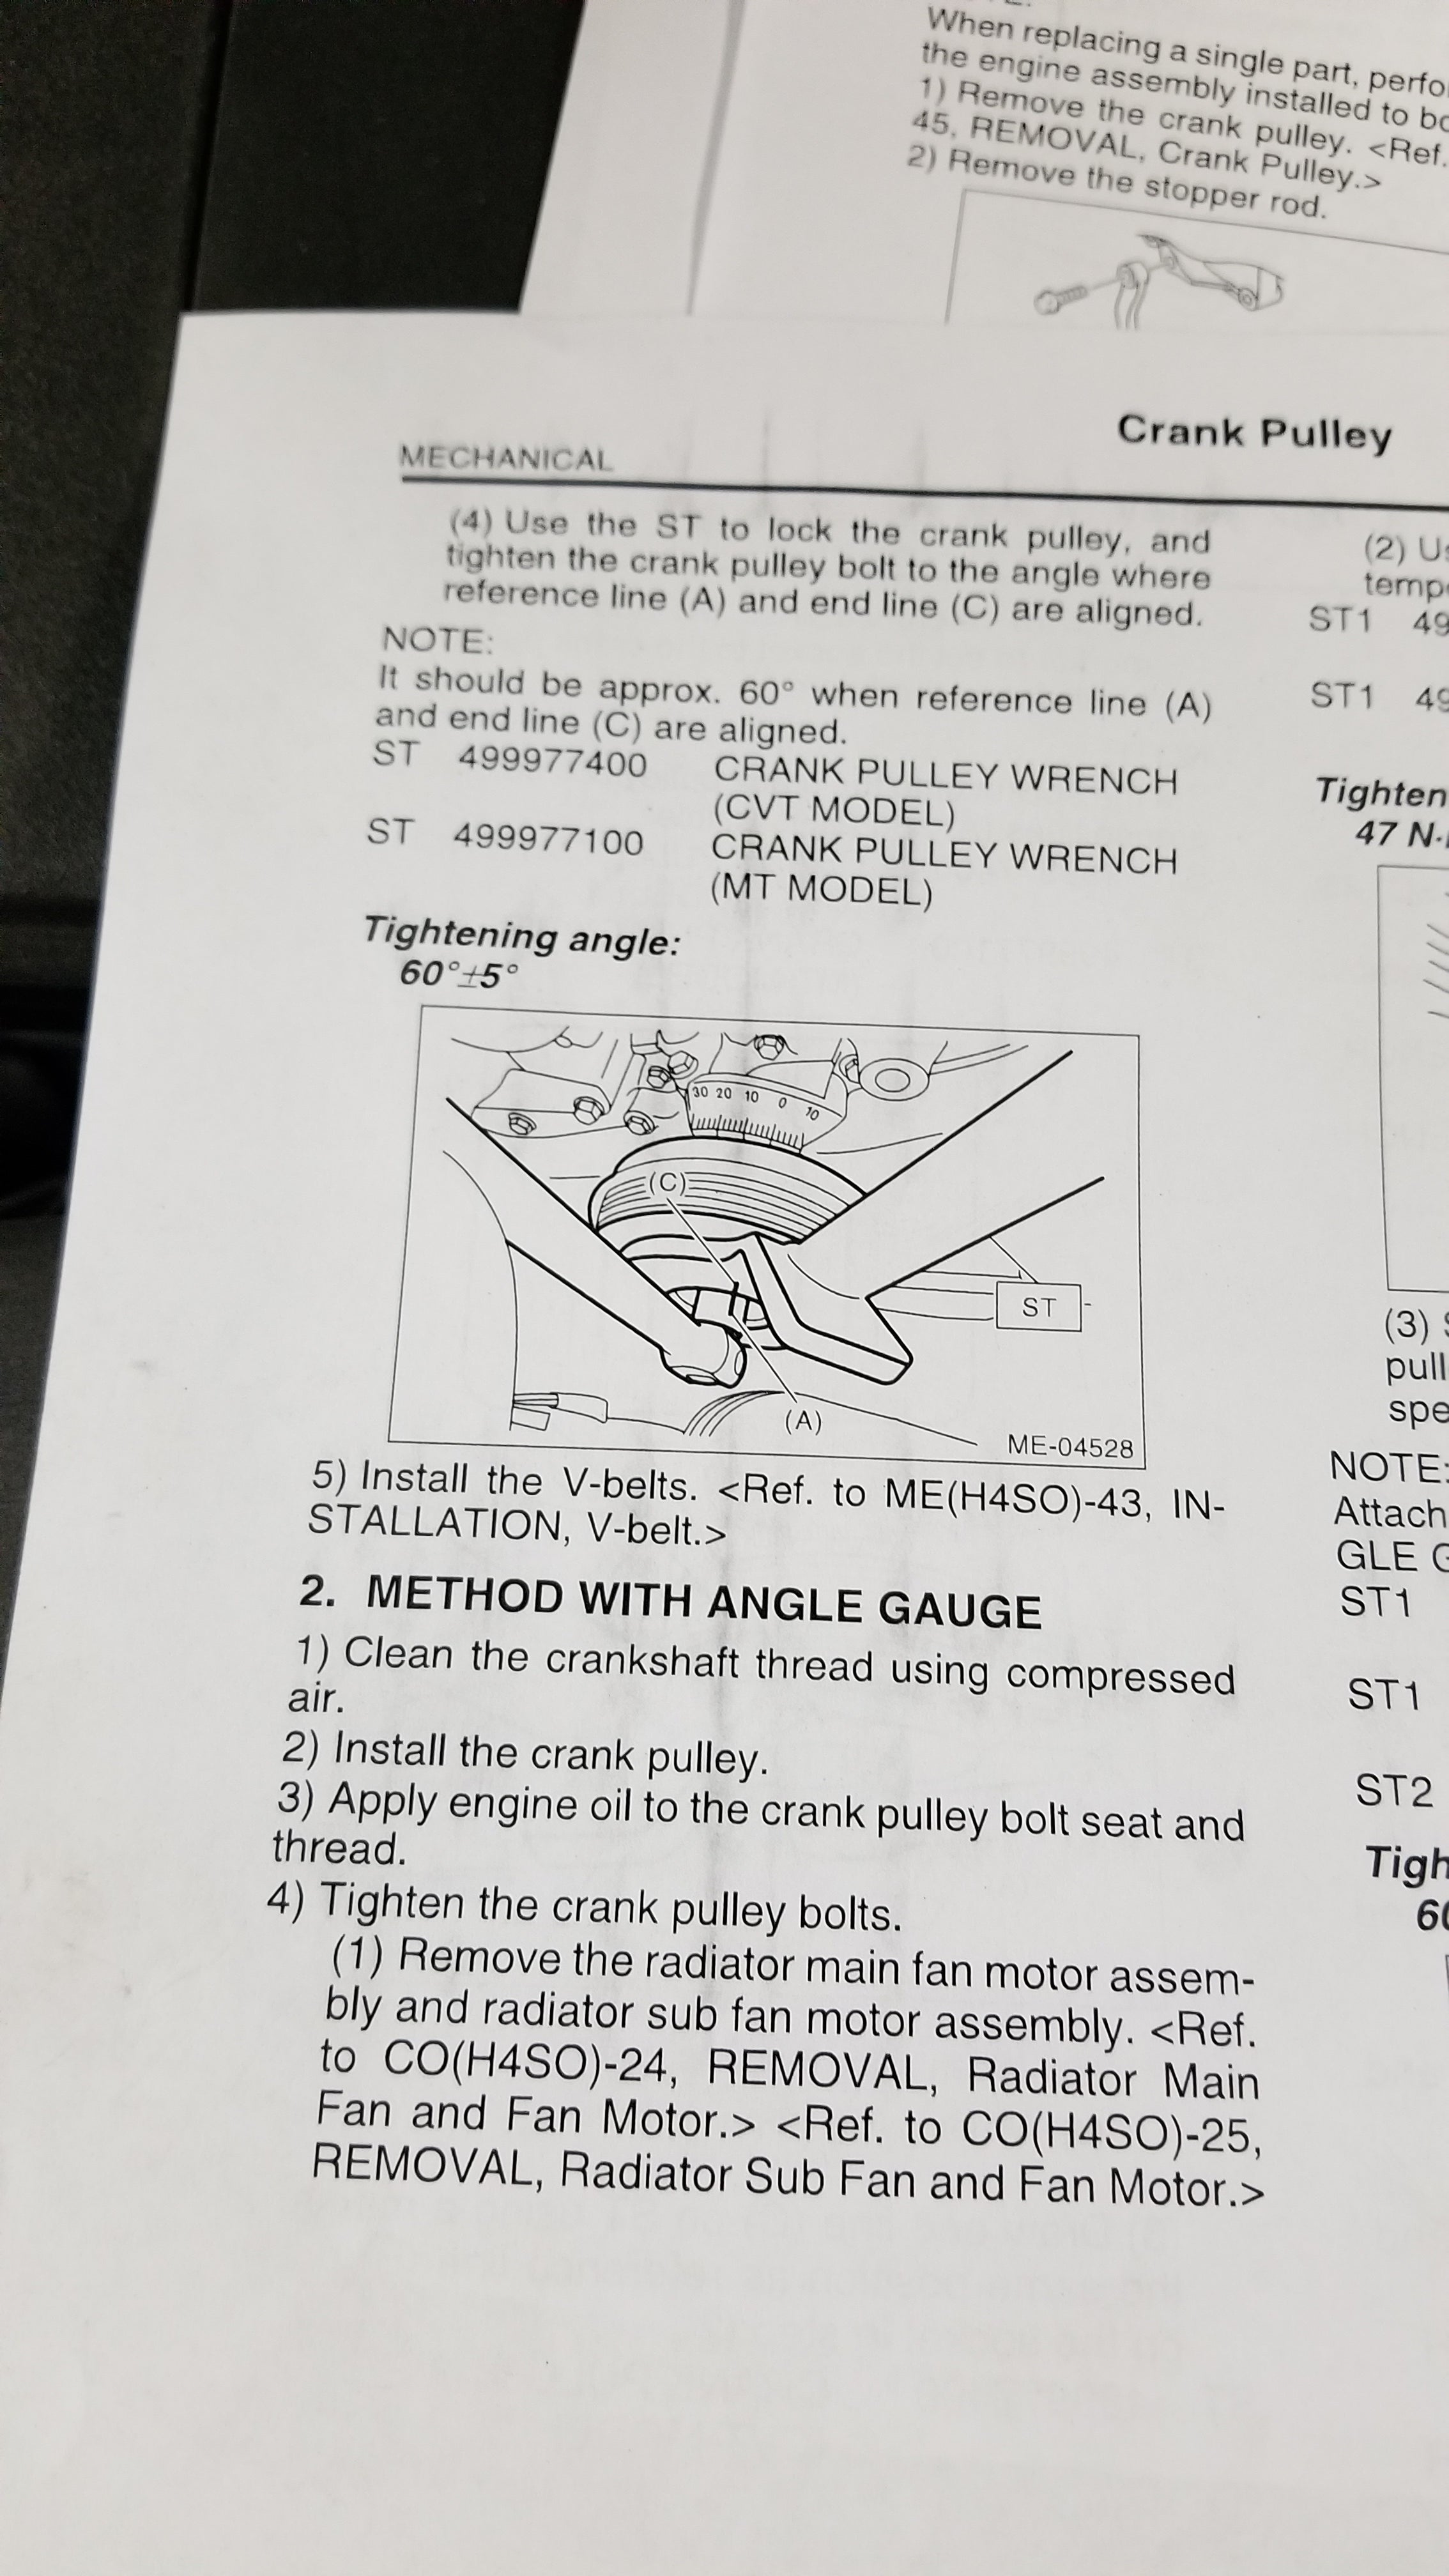
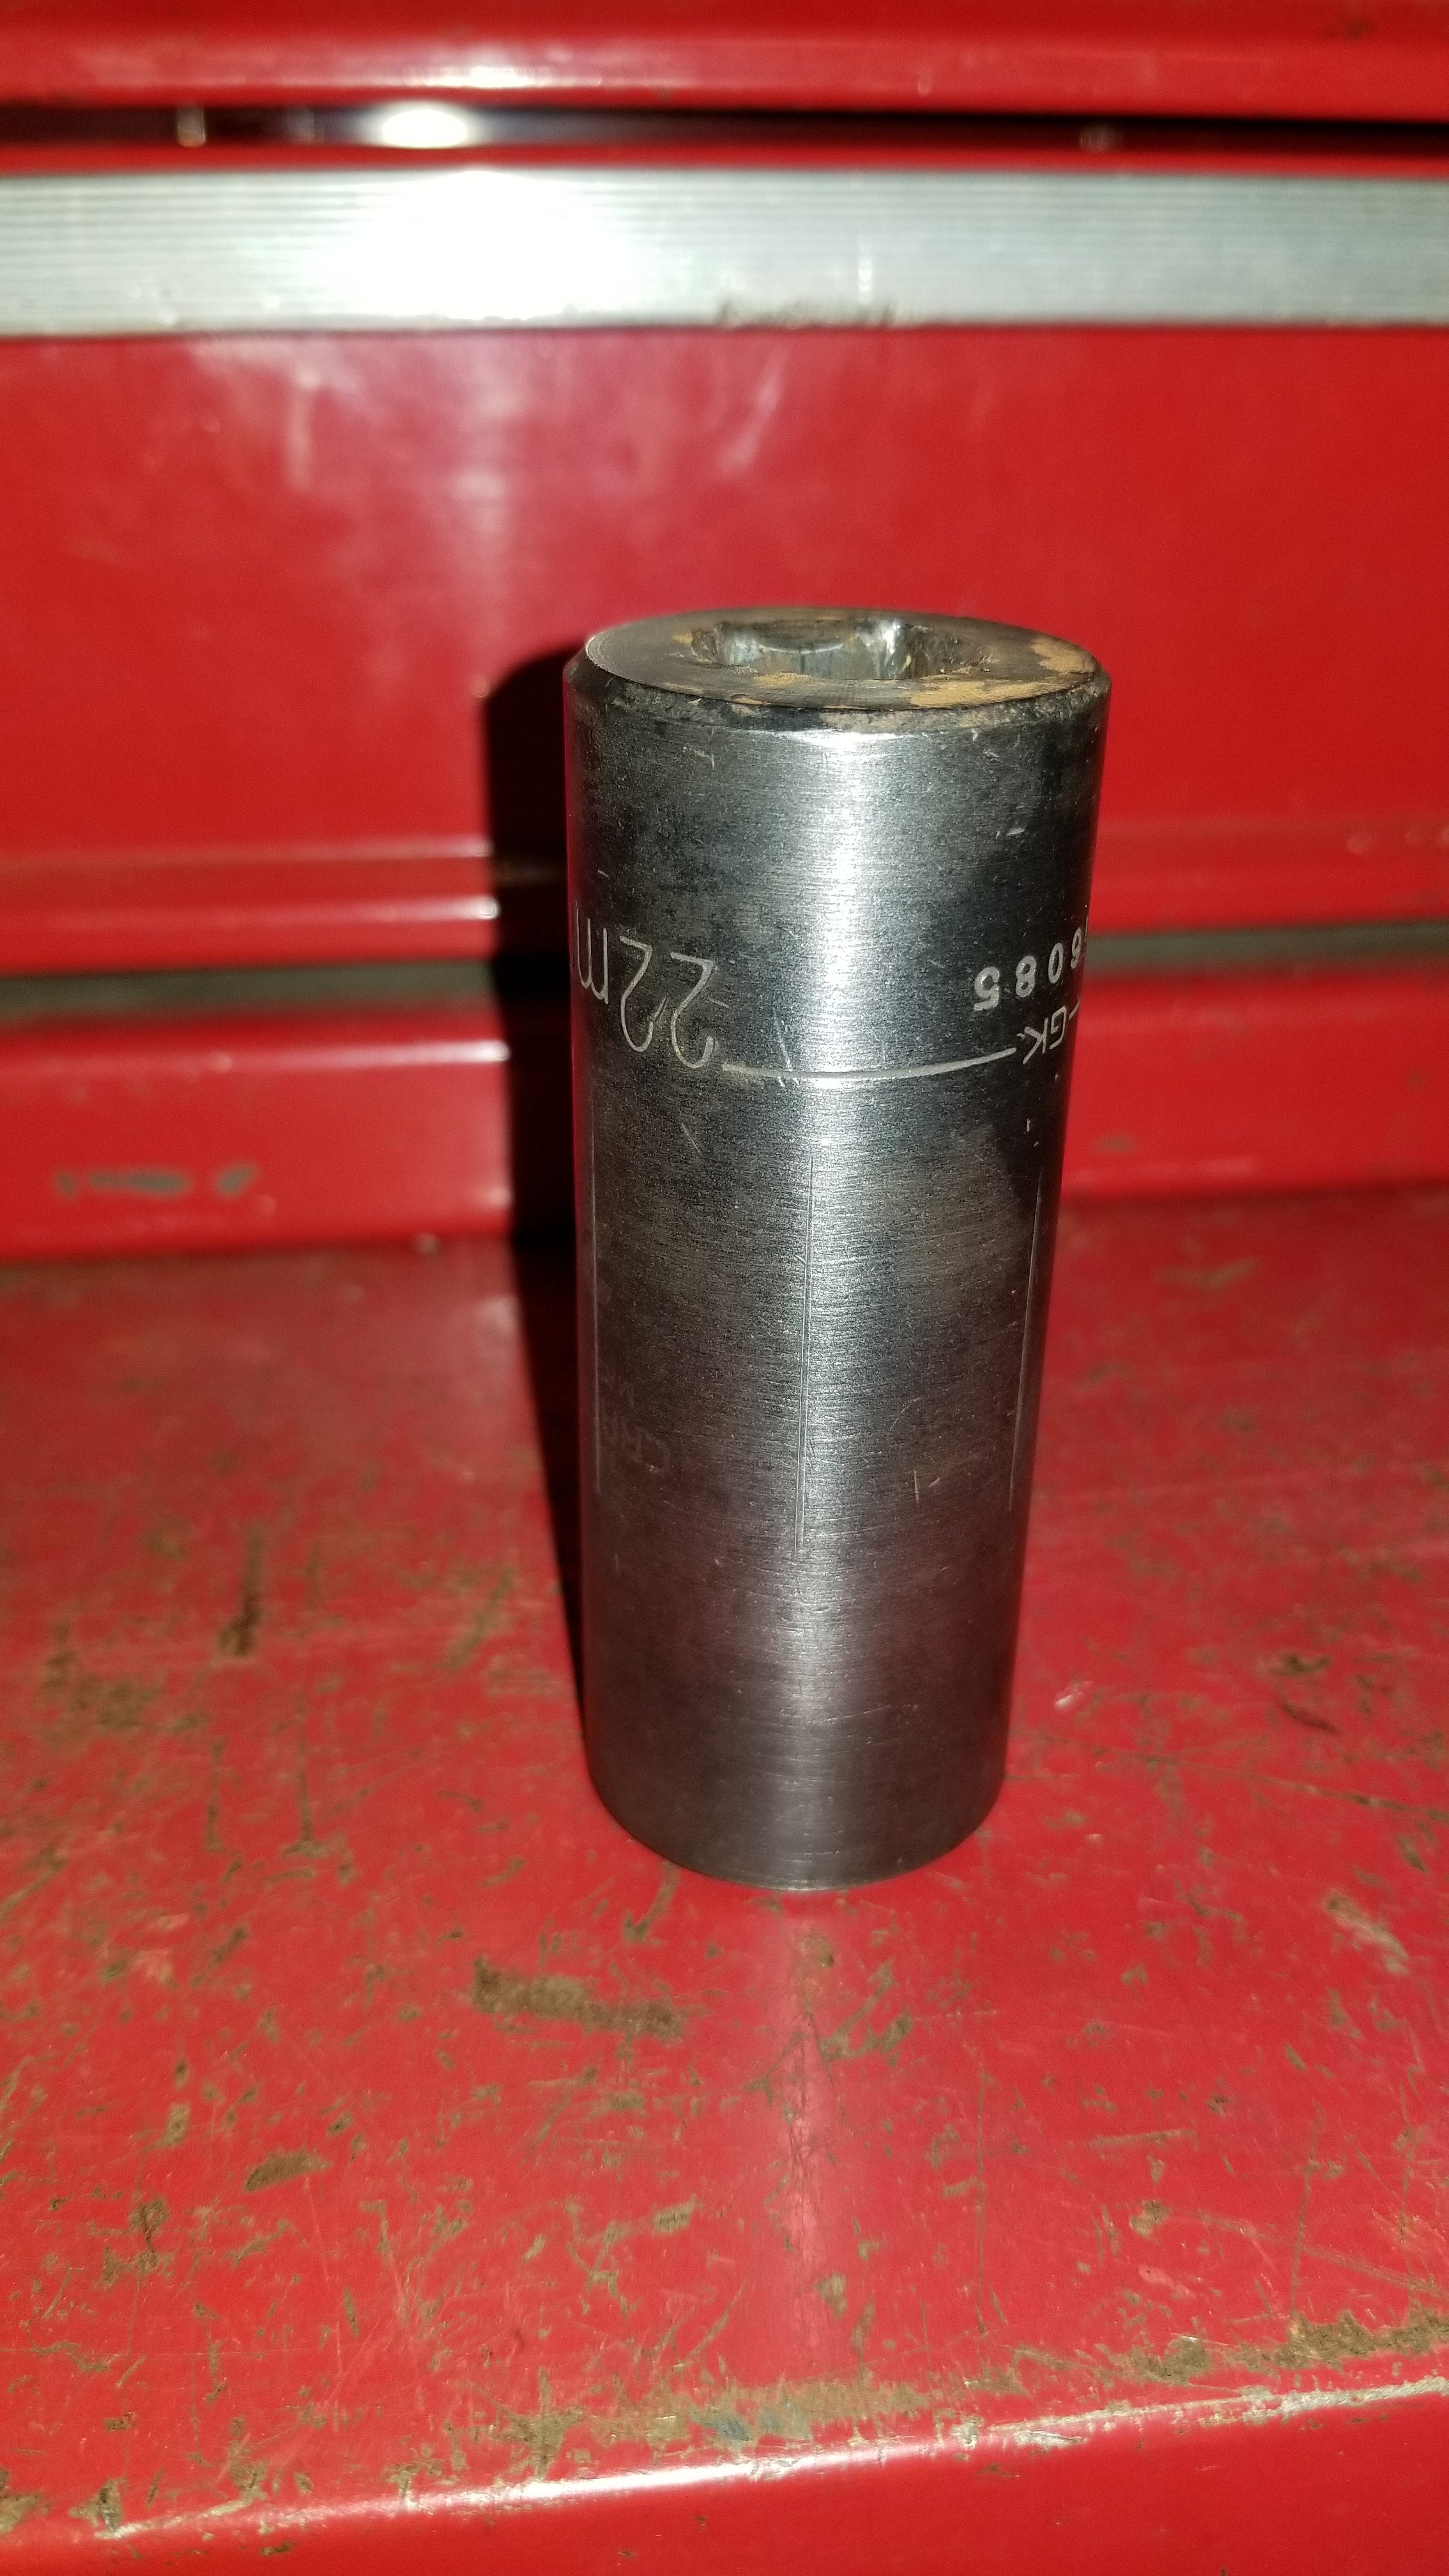
I know they are tough to but those lines are 60 degree marks.
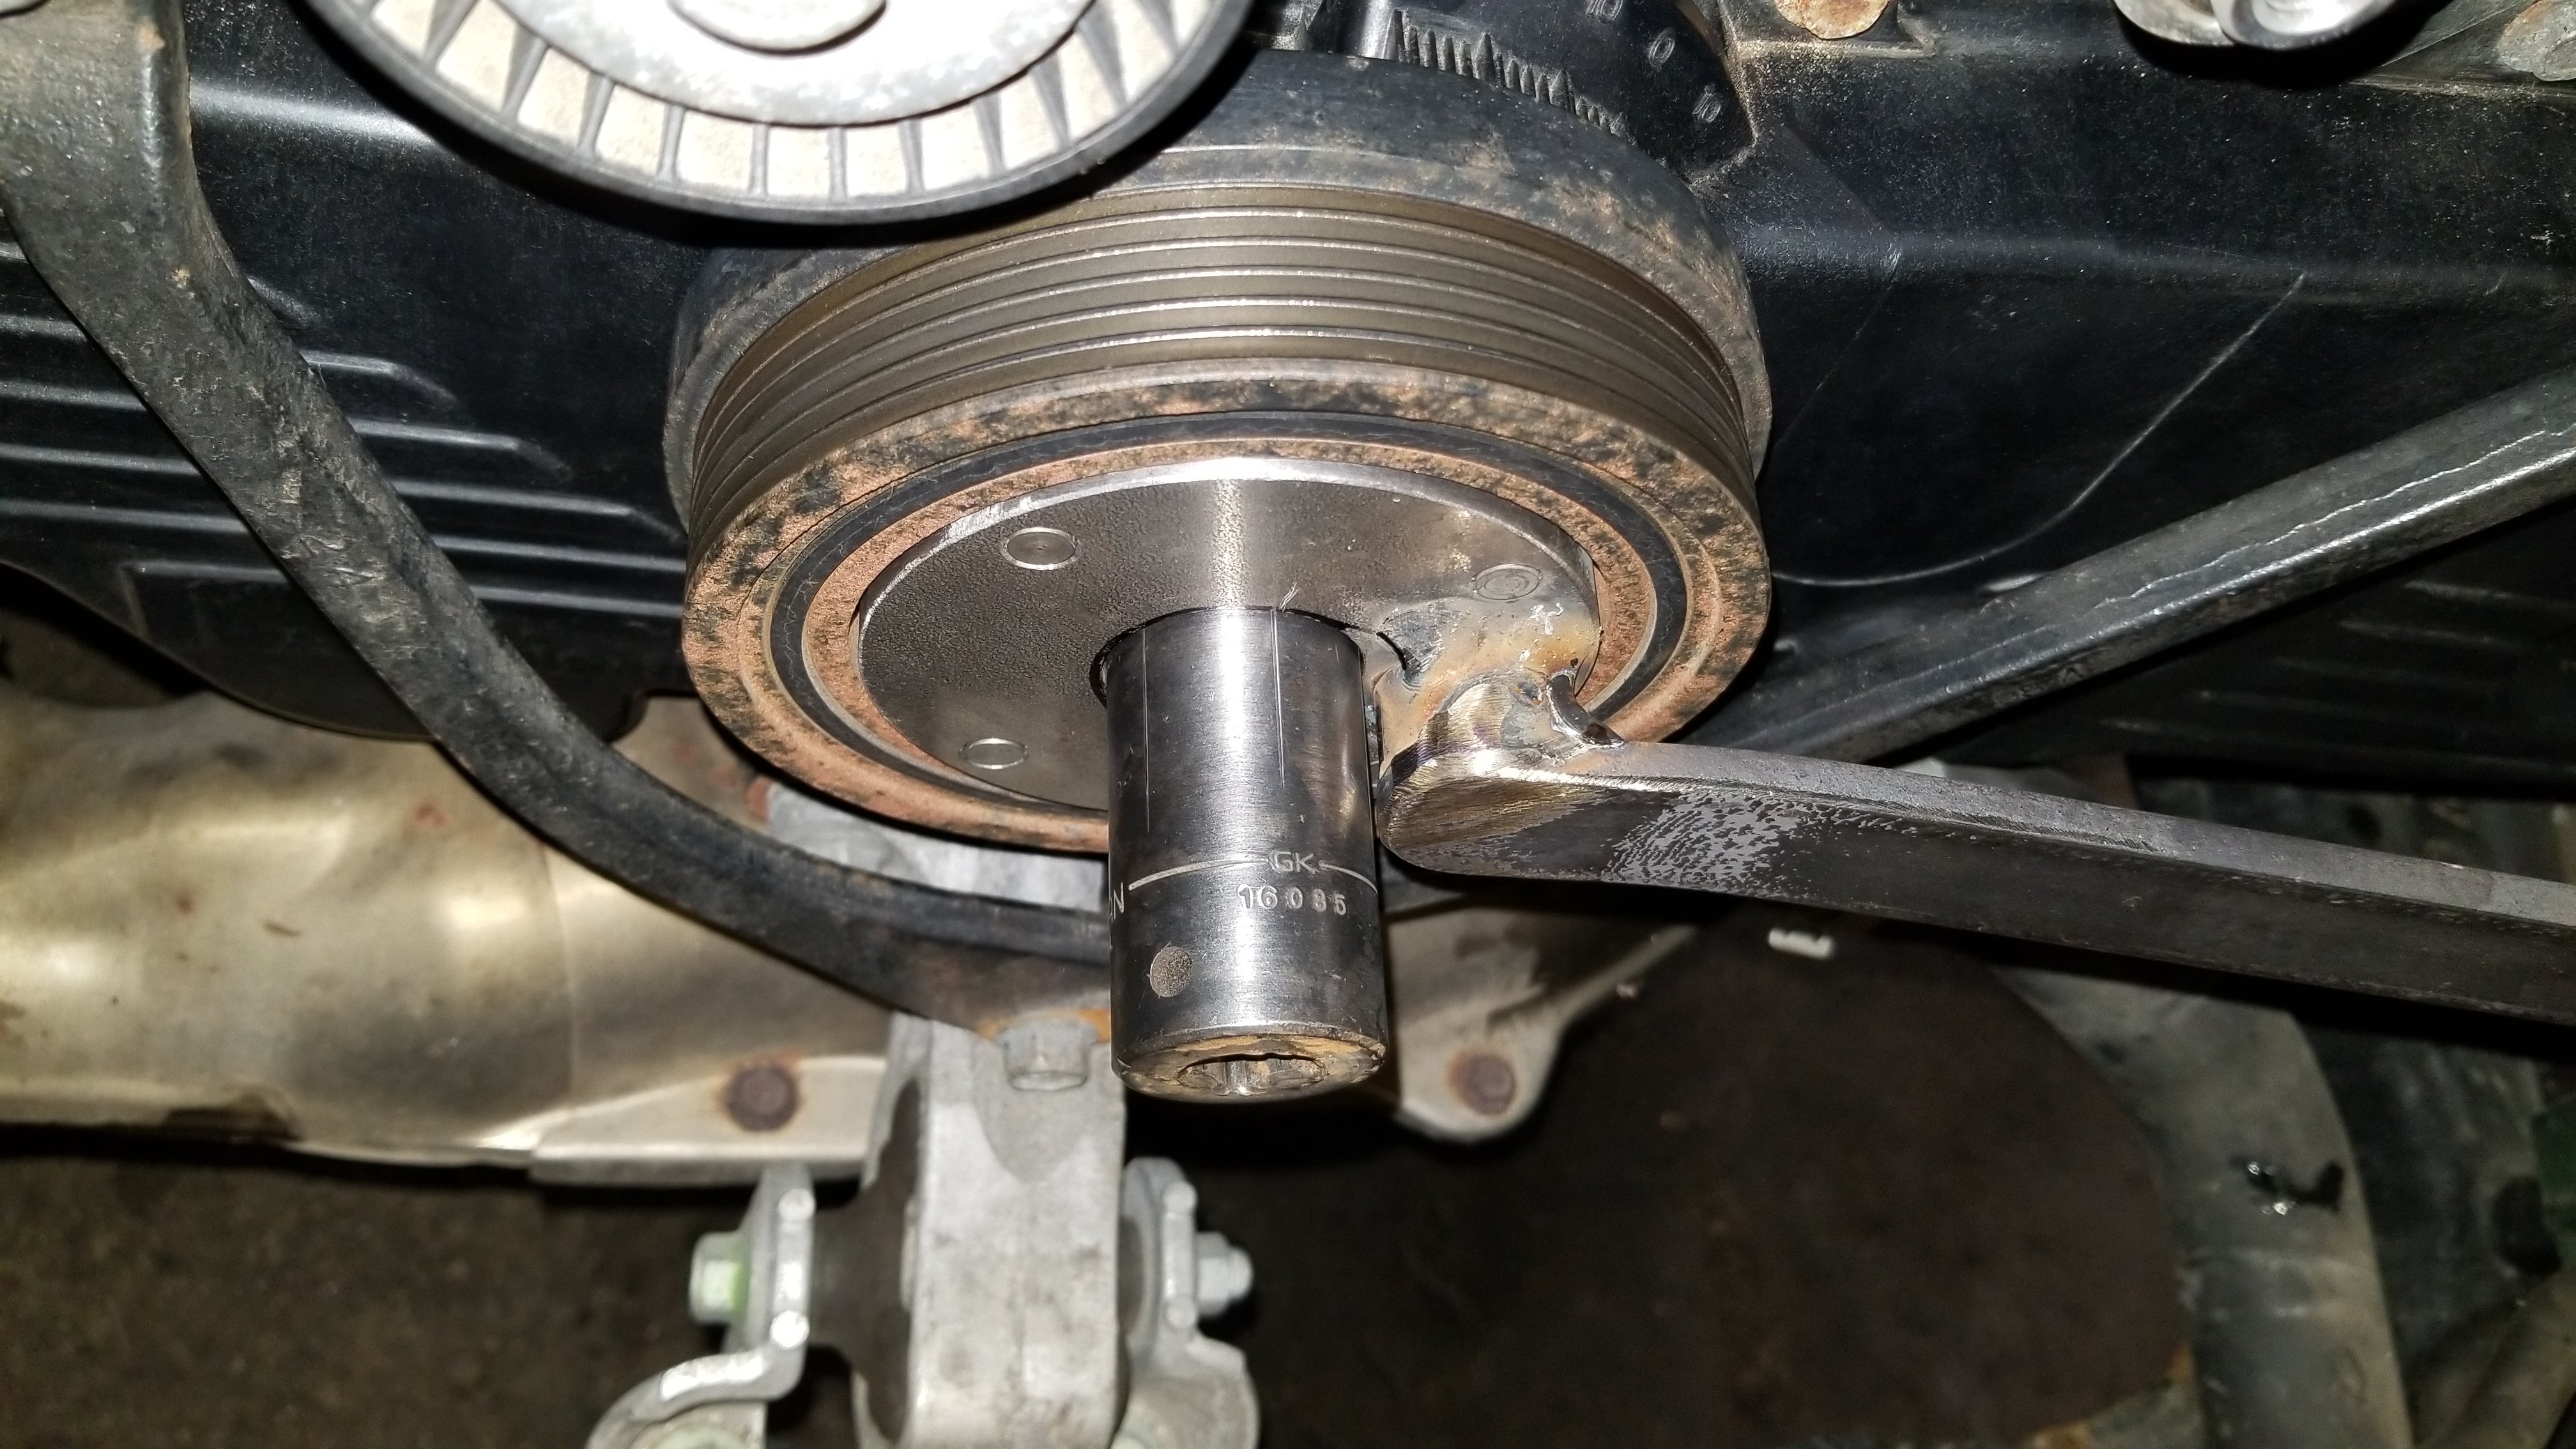
Success!
I put the socket in a 6 jaw chuck on the lathe and found the middle of each jaw and used a facing tool to scribe a line into the socket. I considered this way closer than Sharpie marks. After doing this bit of fucking about, I tightened the bolt like they wanted. Okay next problem.
This serpentine belt idler has a bearing thatís locked in there on BOTH SIDES! YOU BASTARDS!
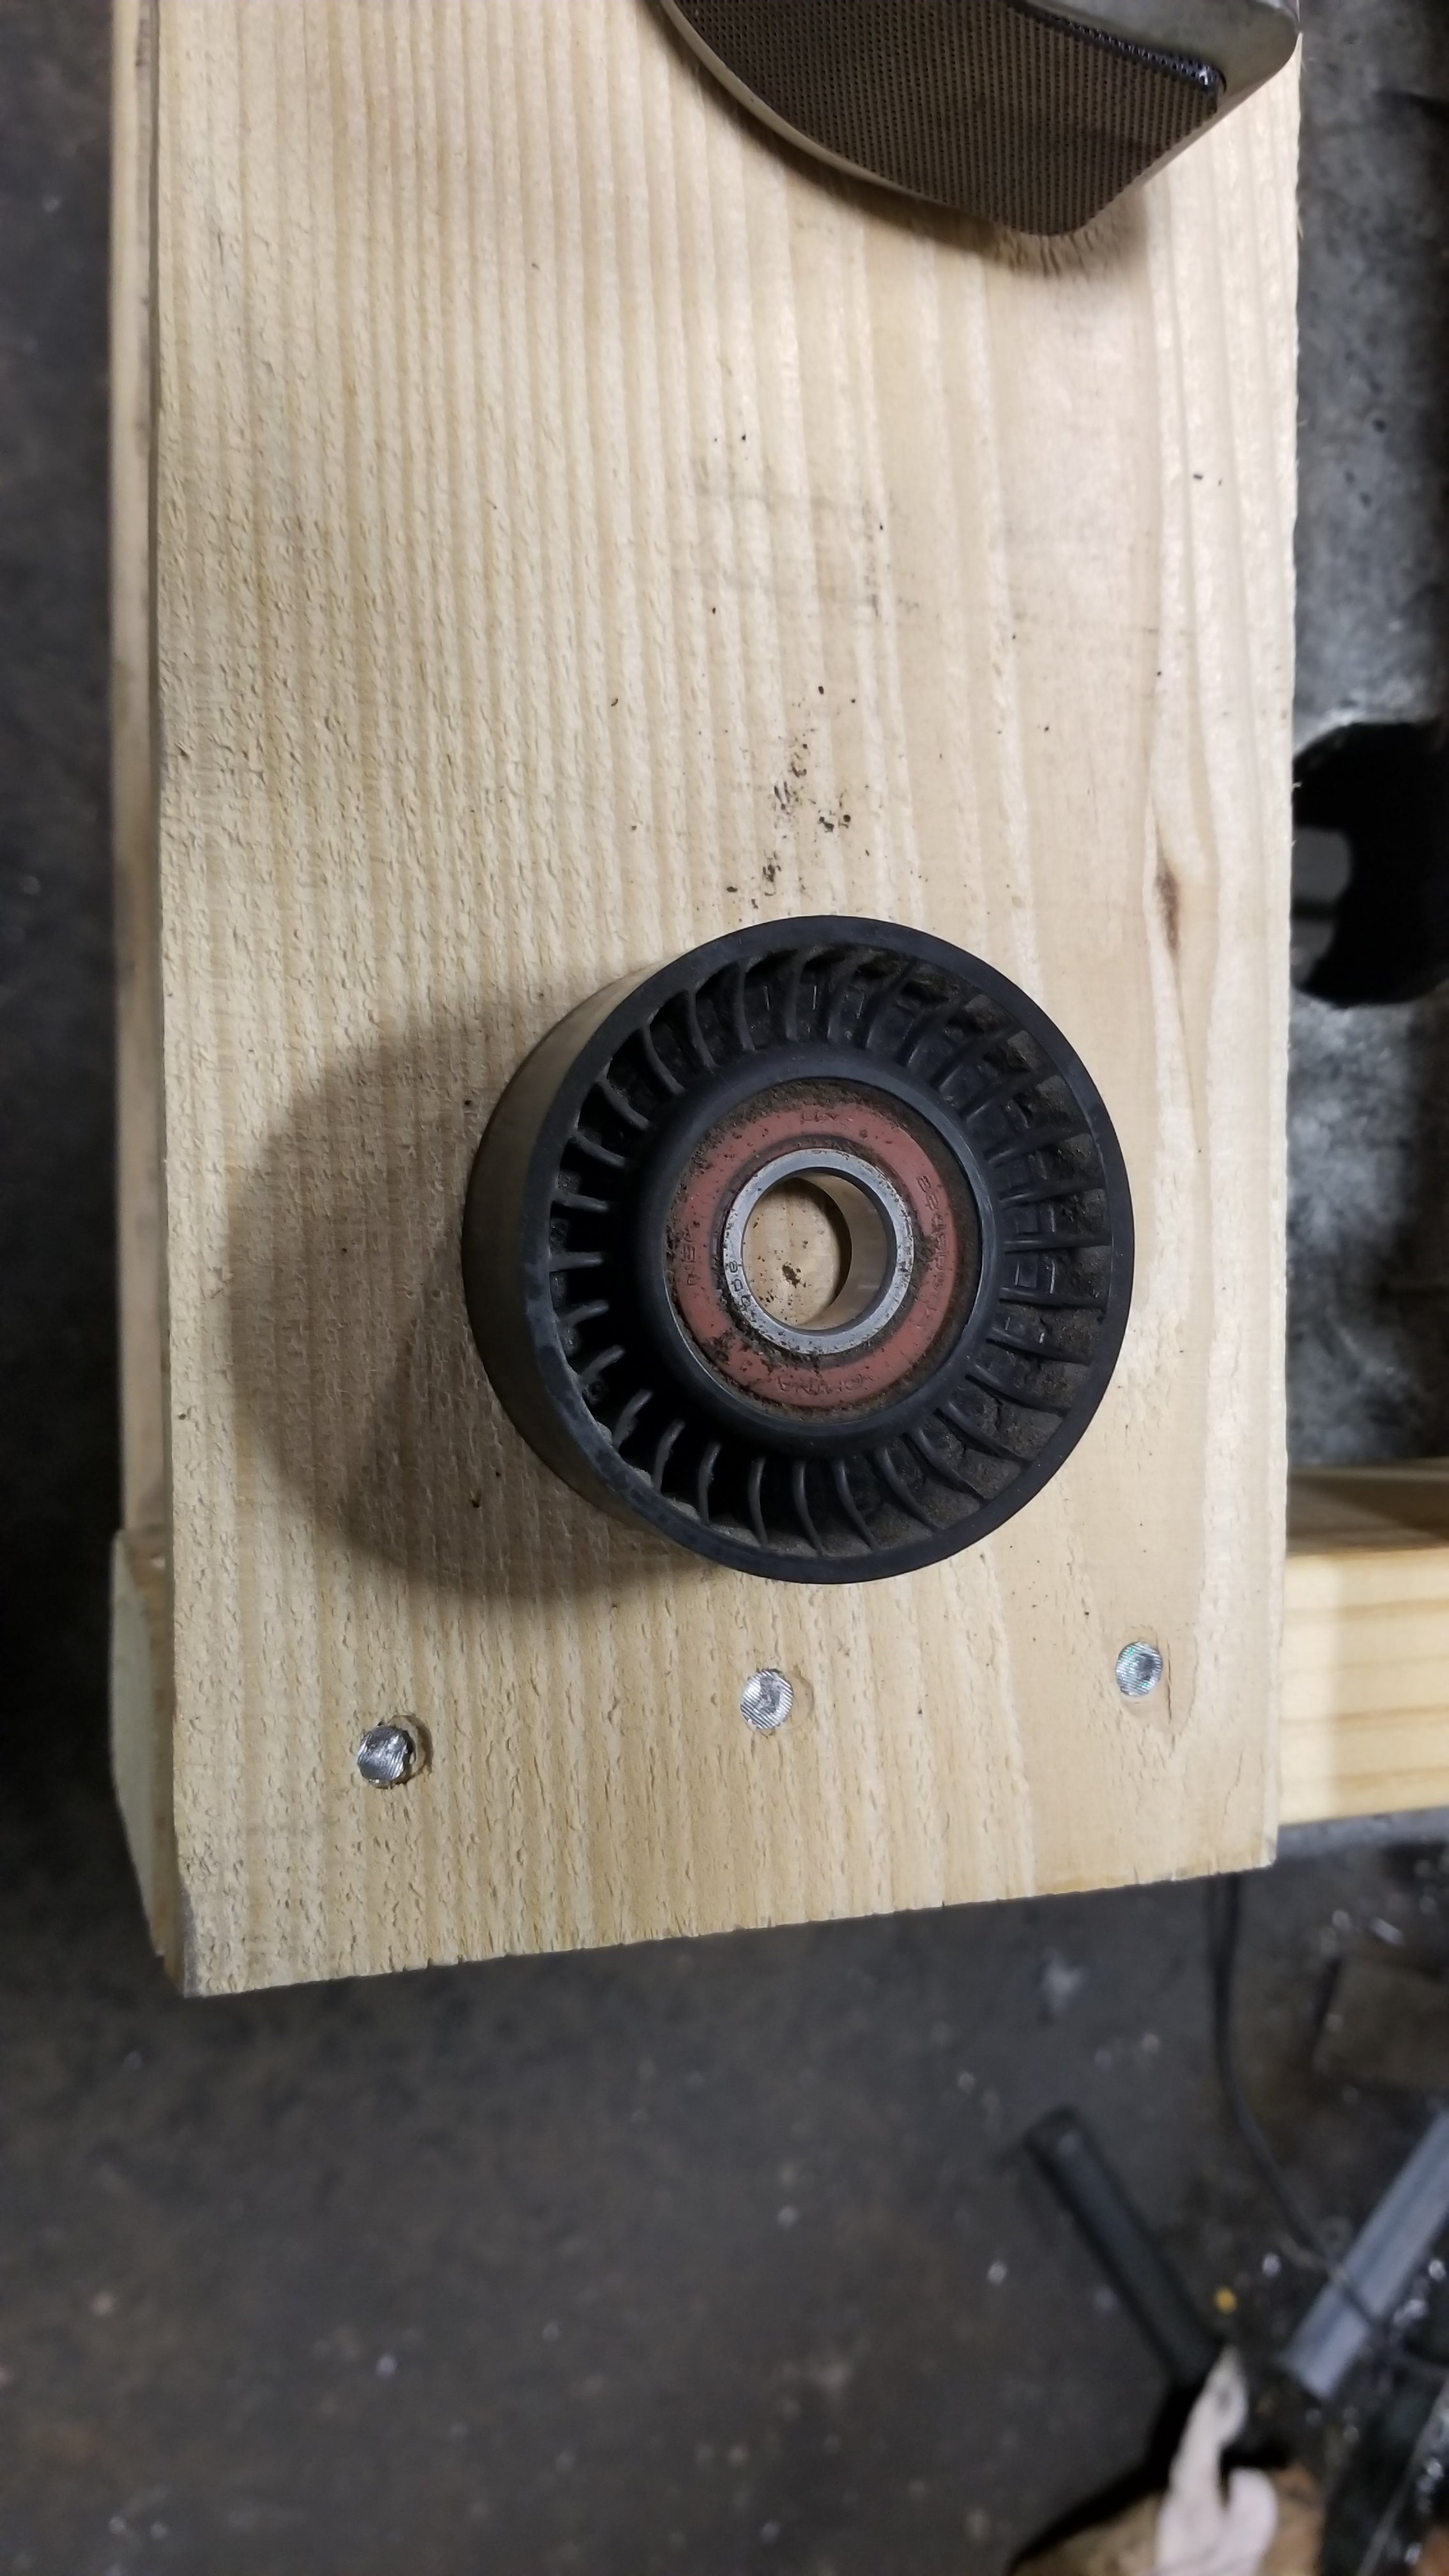
The plastic is molded over the outer race on both sides! Assholes!
In the lathe it went.
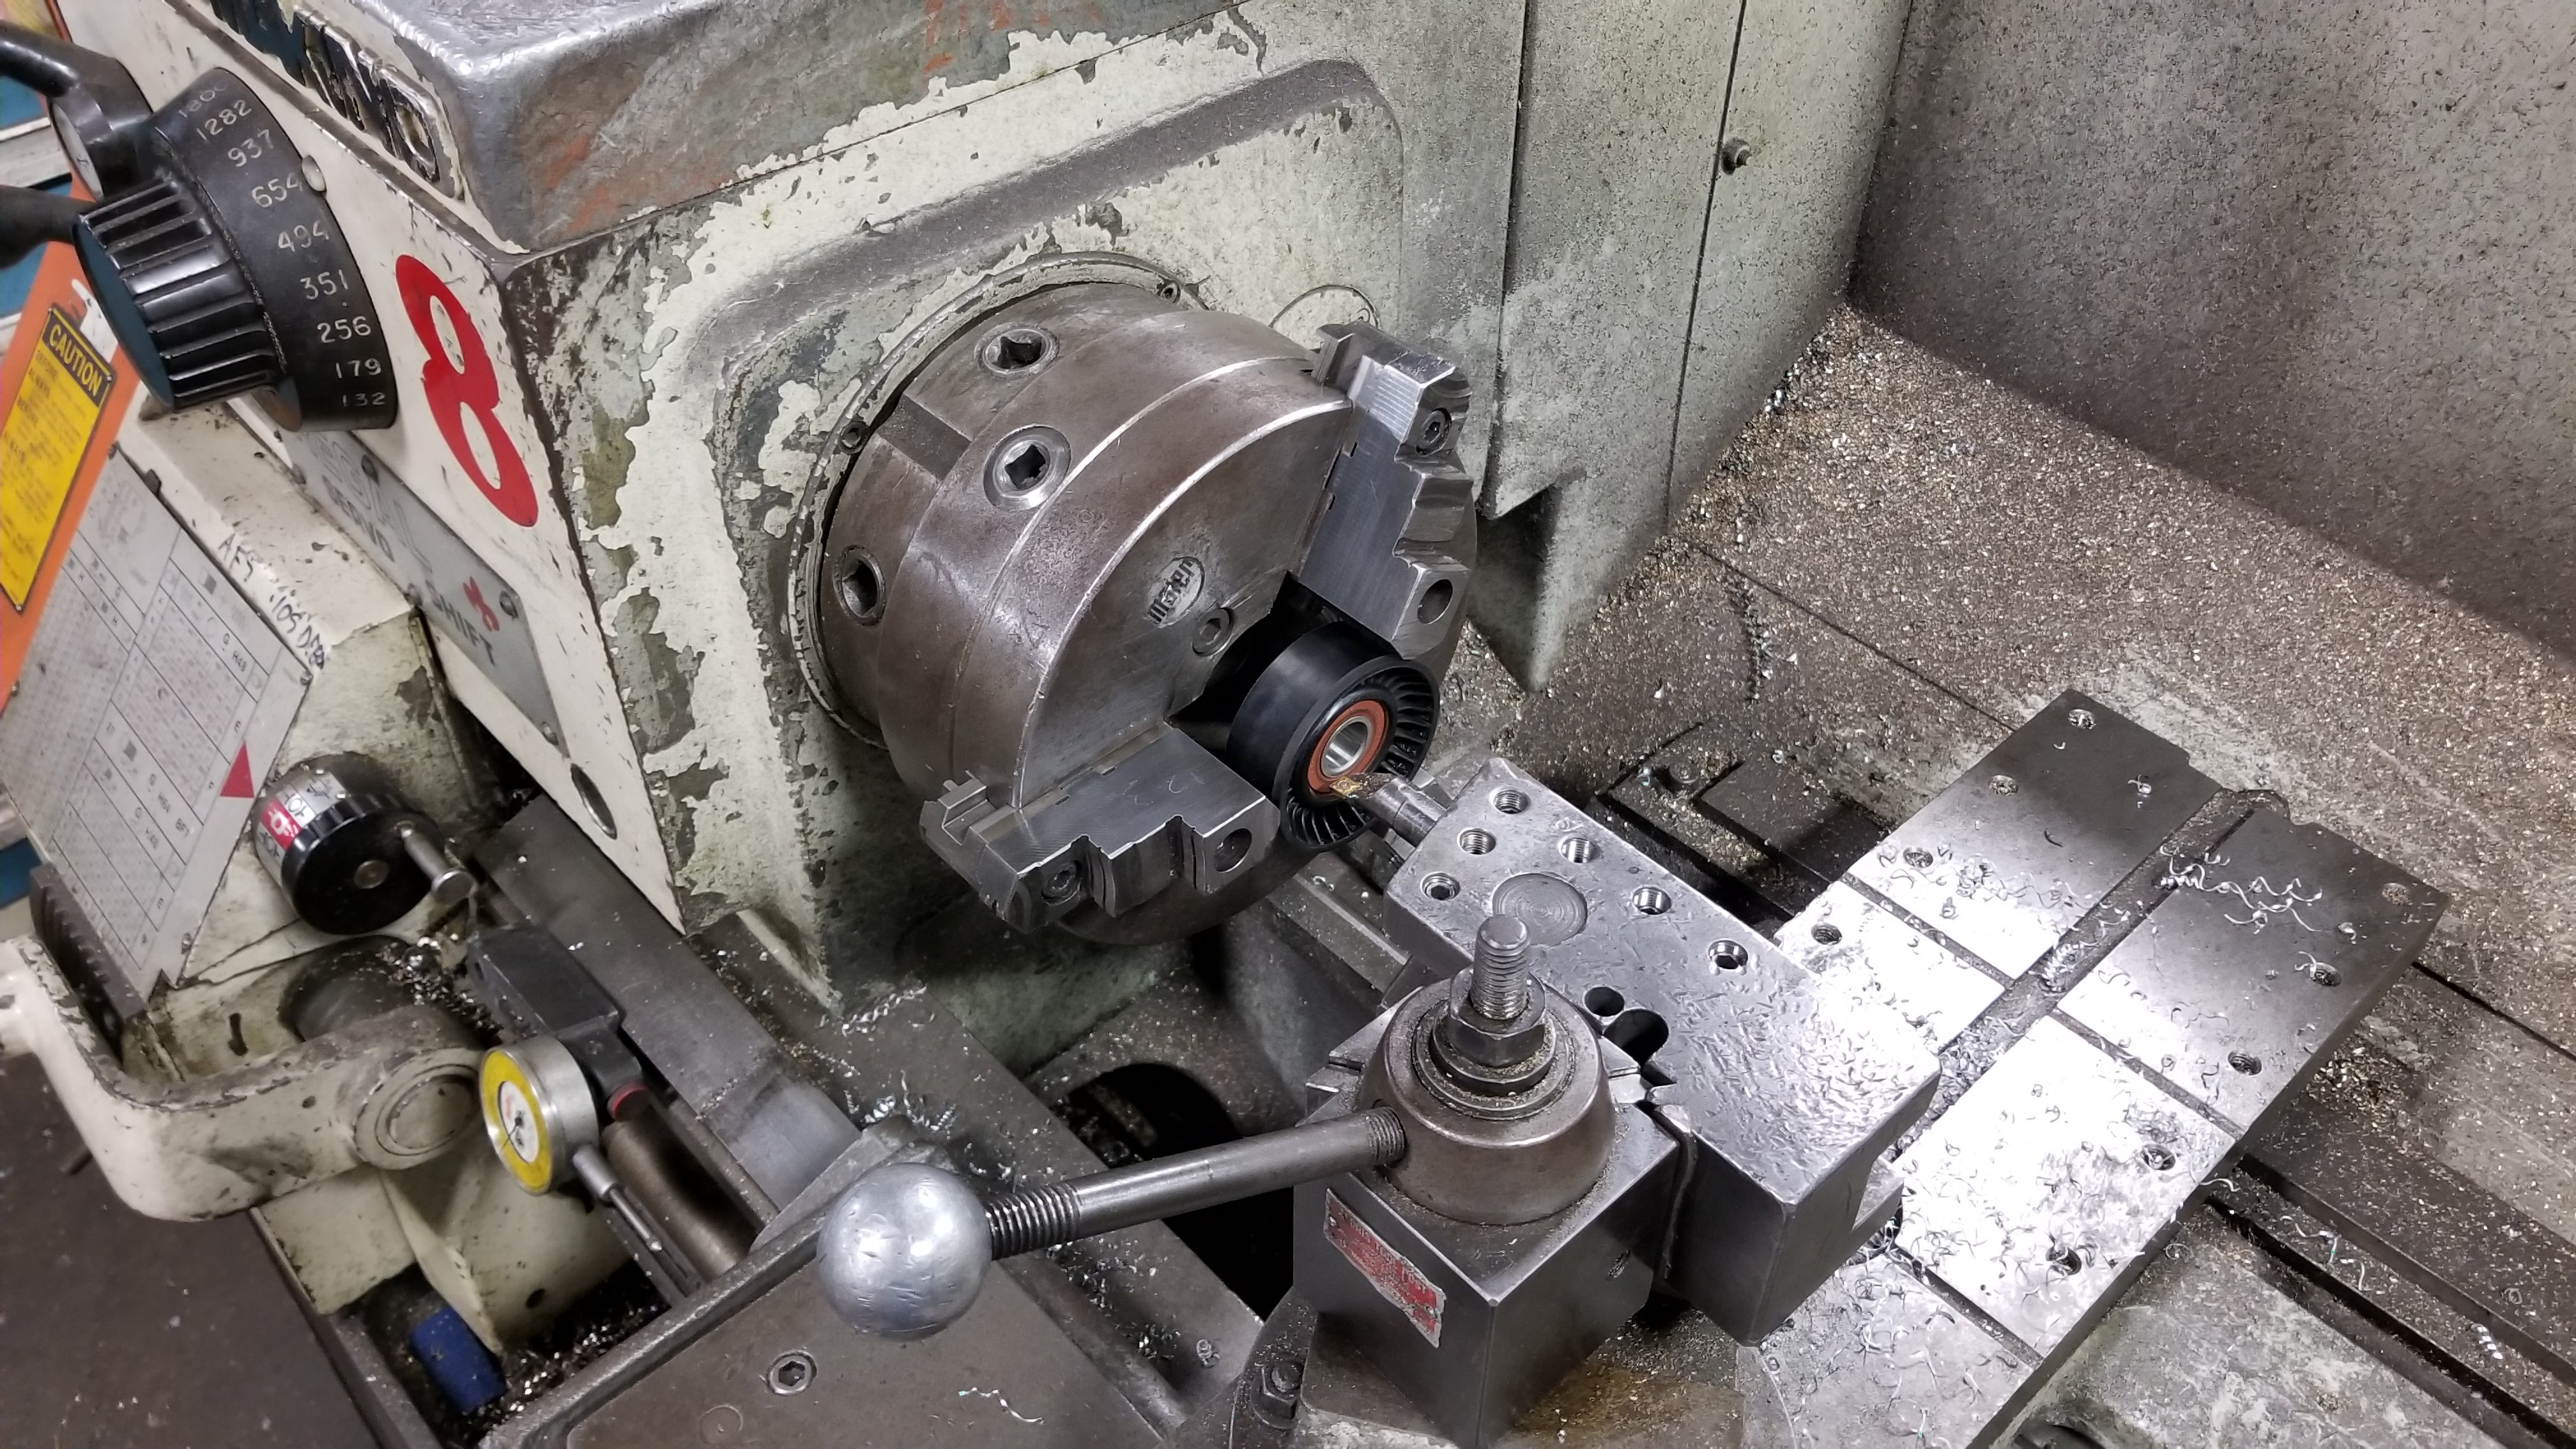
Turning, turning, turning...
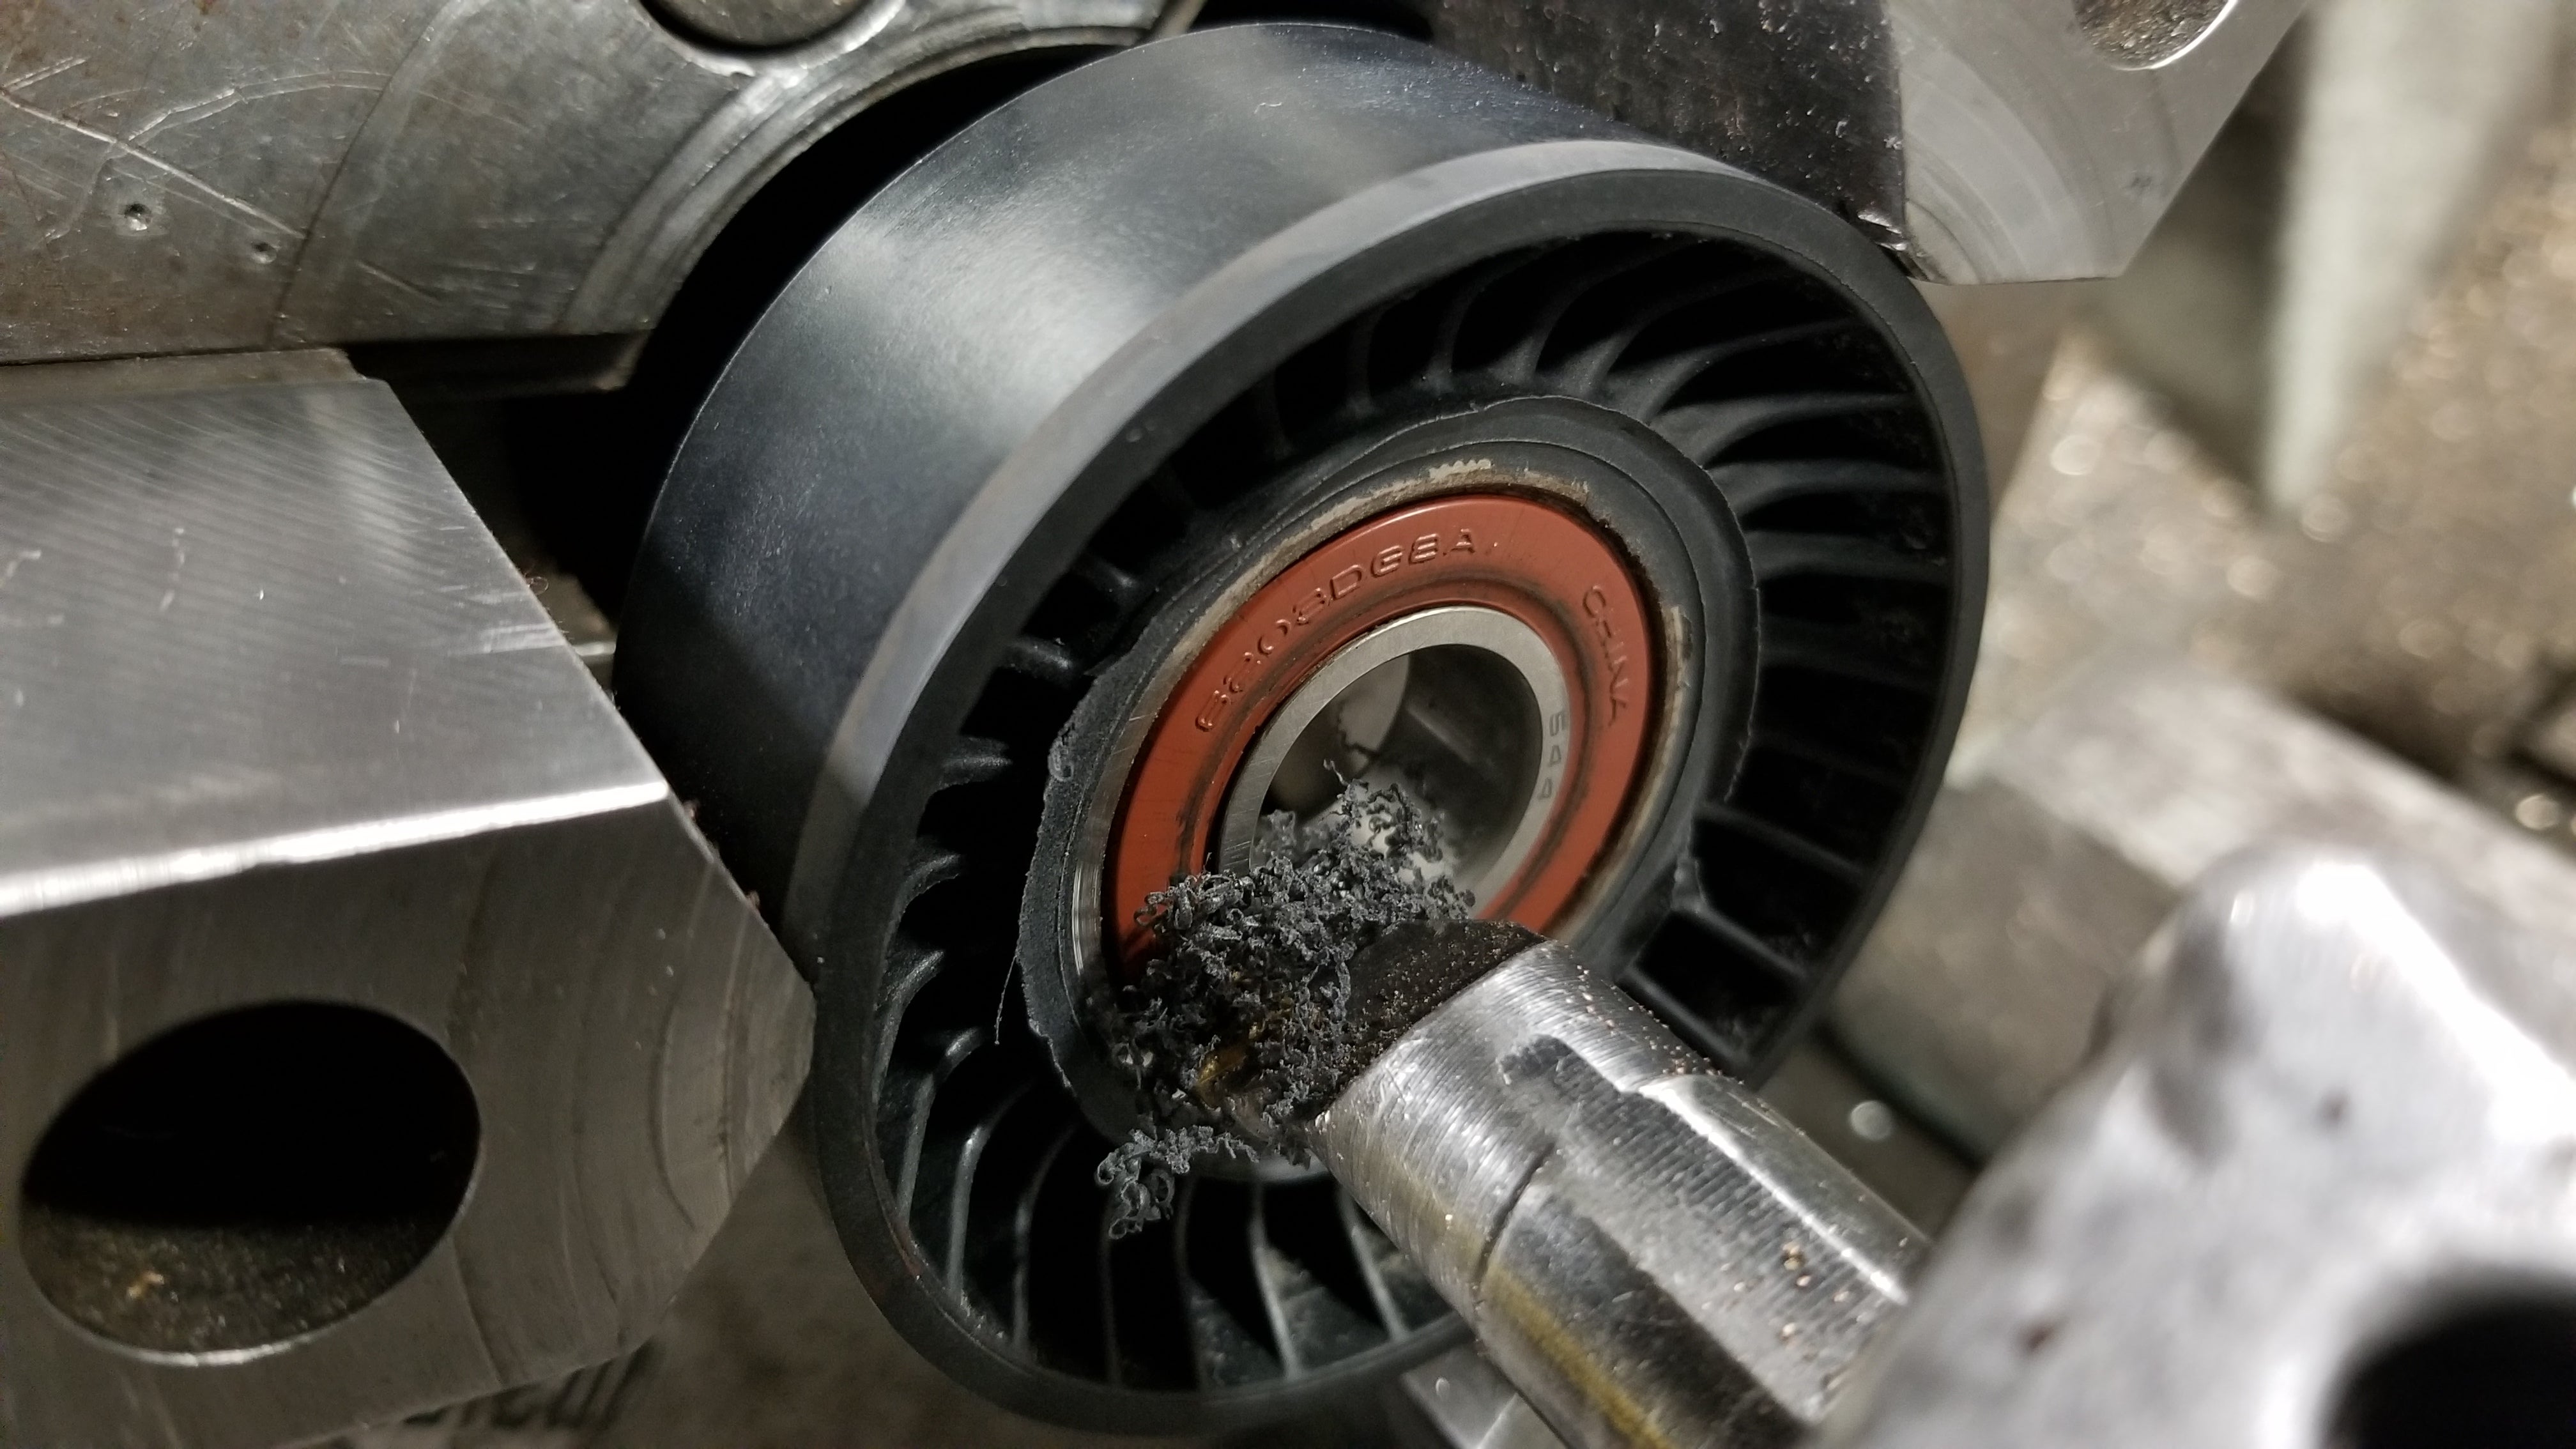
There you are. Fuckers.
So I pressed the bad bearing out and pressed in a new Koyo bearing because we sell them at work and had it in stock. I slathered the outer race in red Loctite hoping that it helps hold it in there.
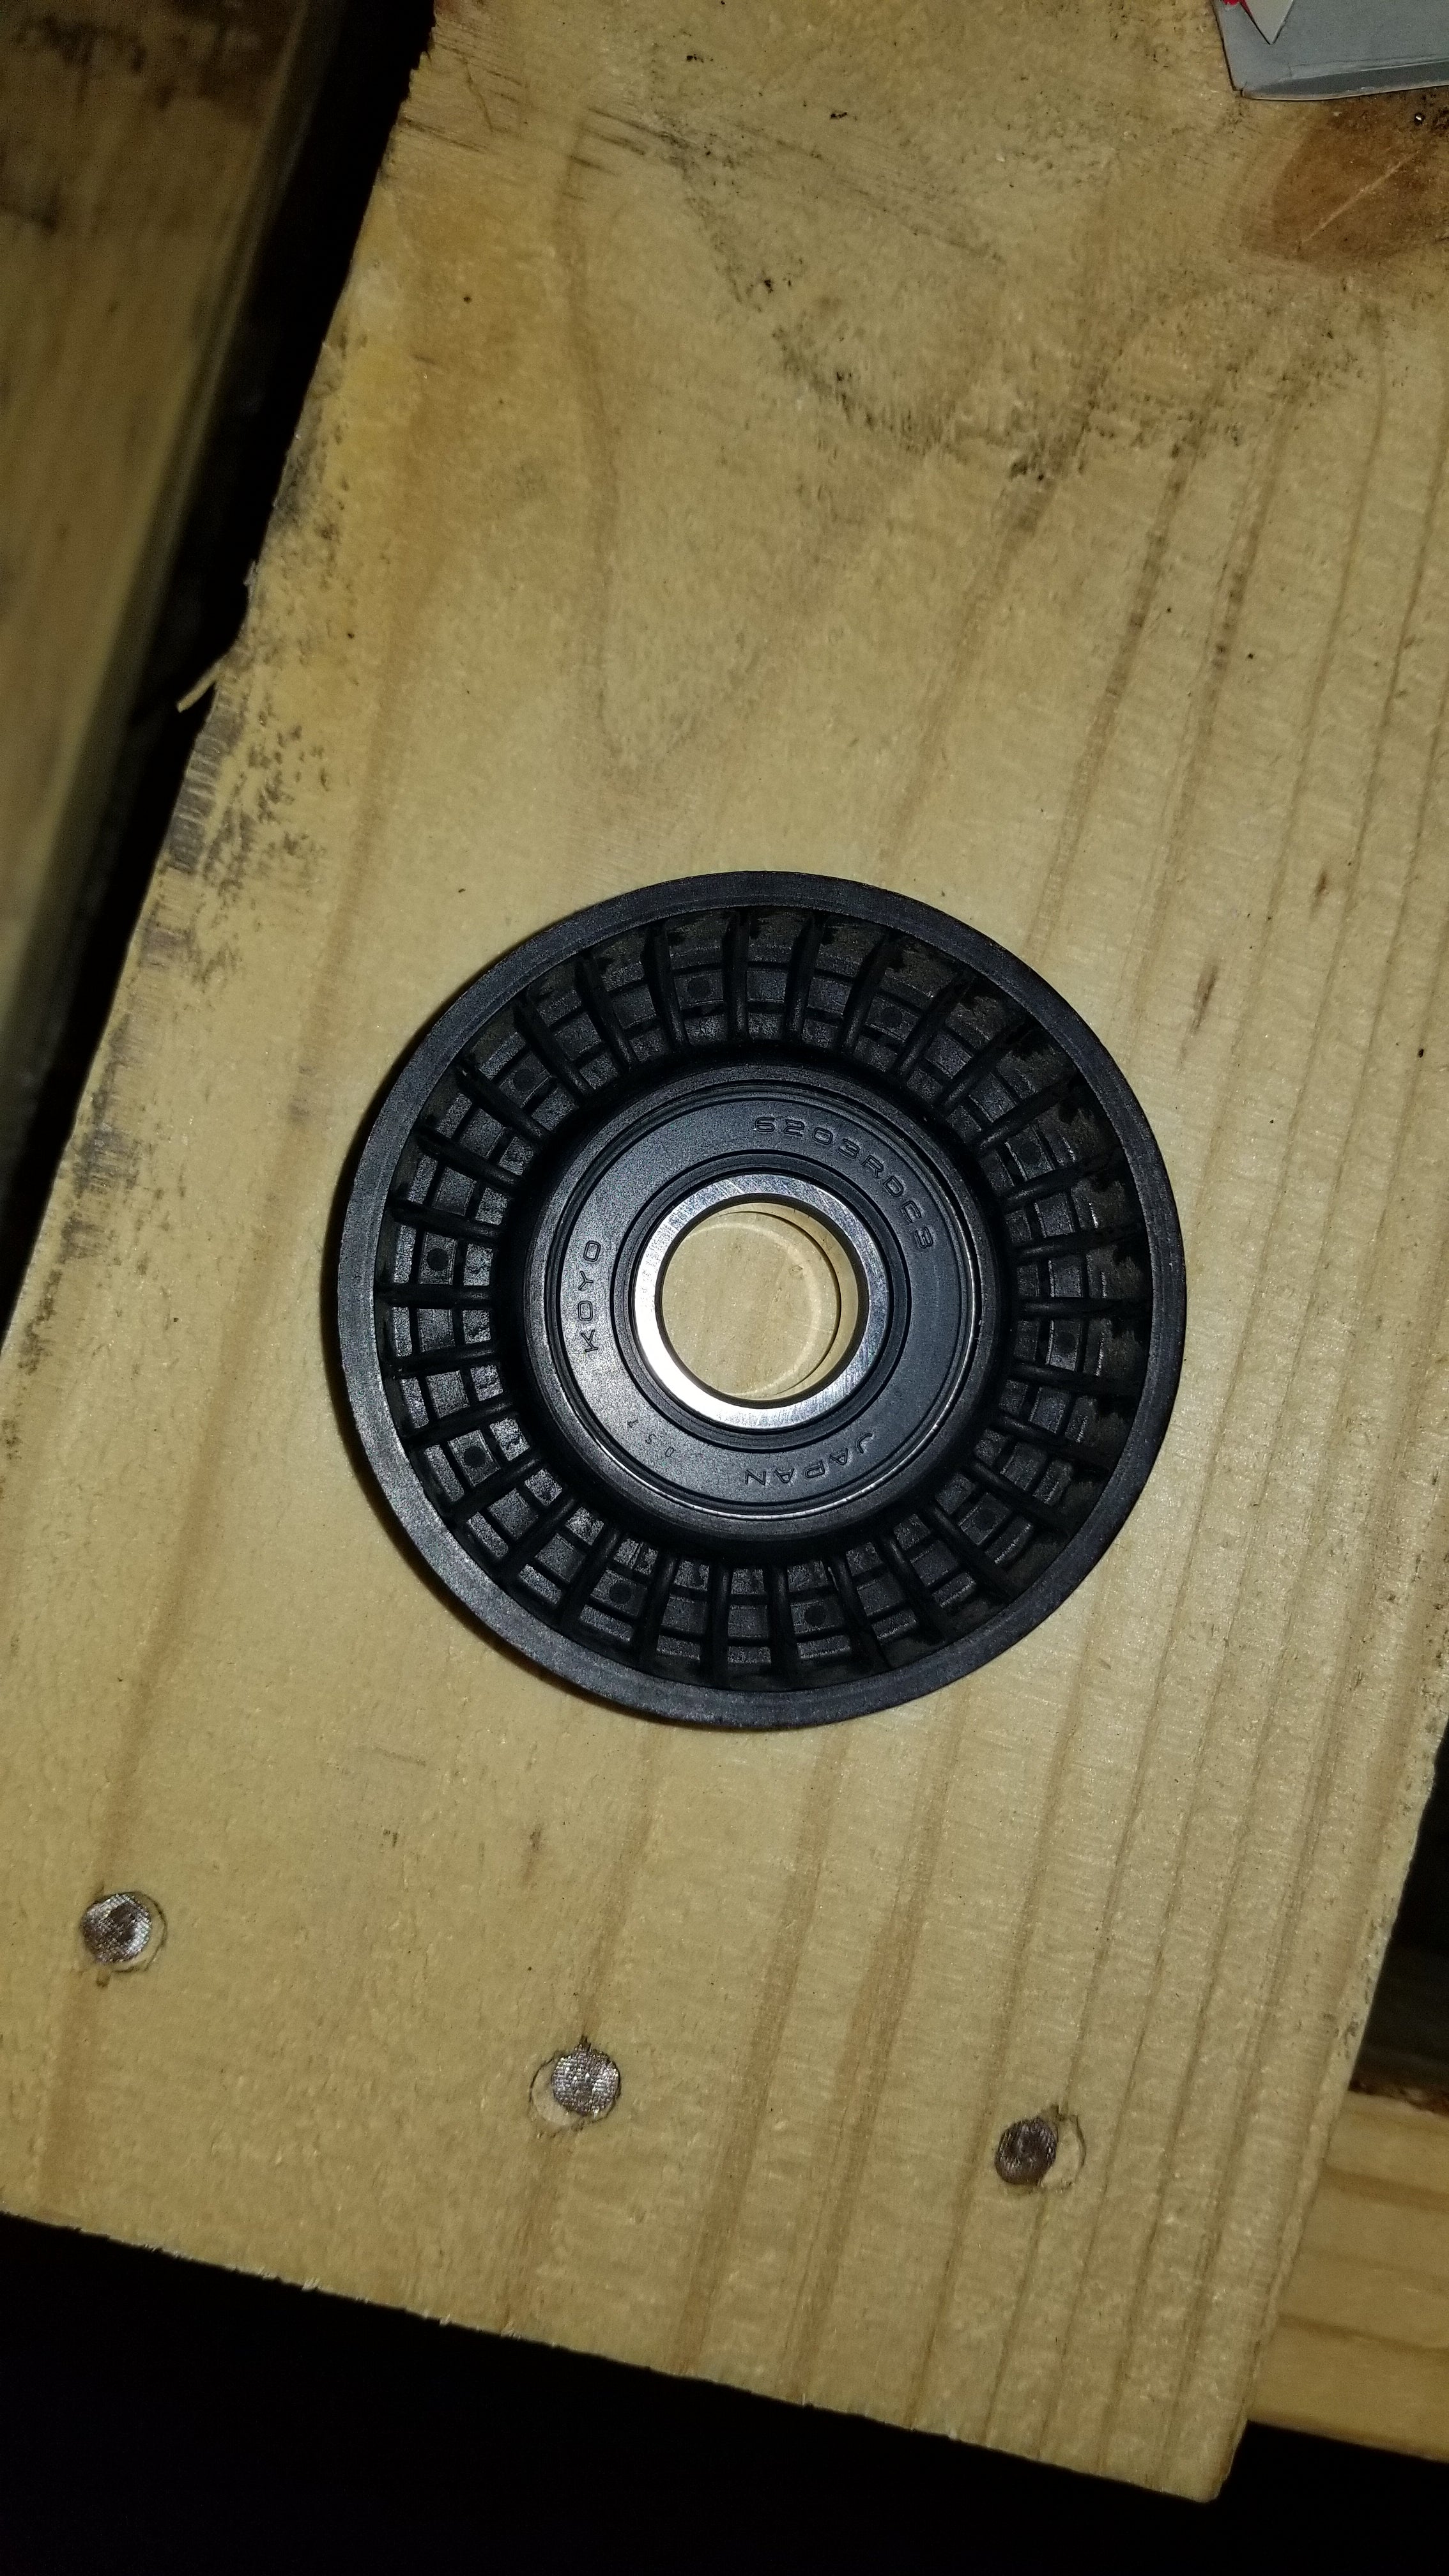
Much wow.
FINALLY done with the actually important maintenance issues, I moved on to installing fun things. MUDFLAPS!
Urethane bitches!
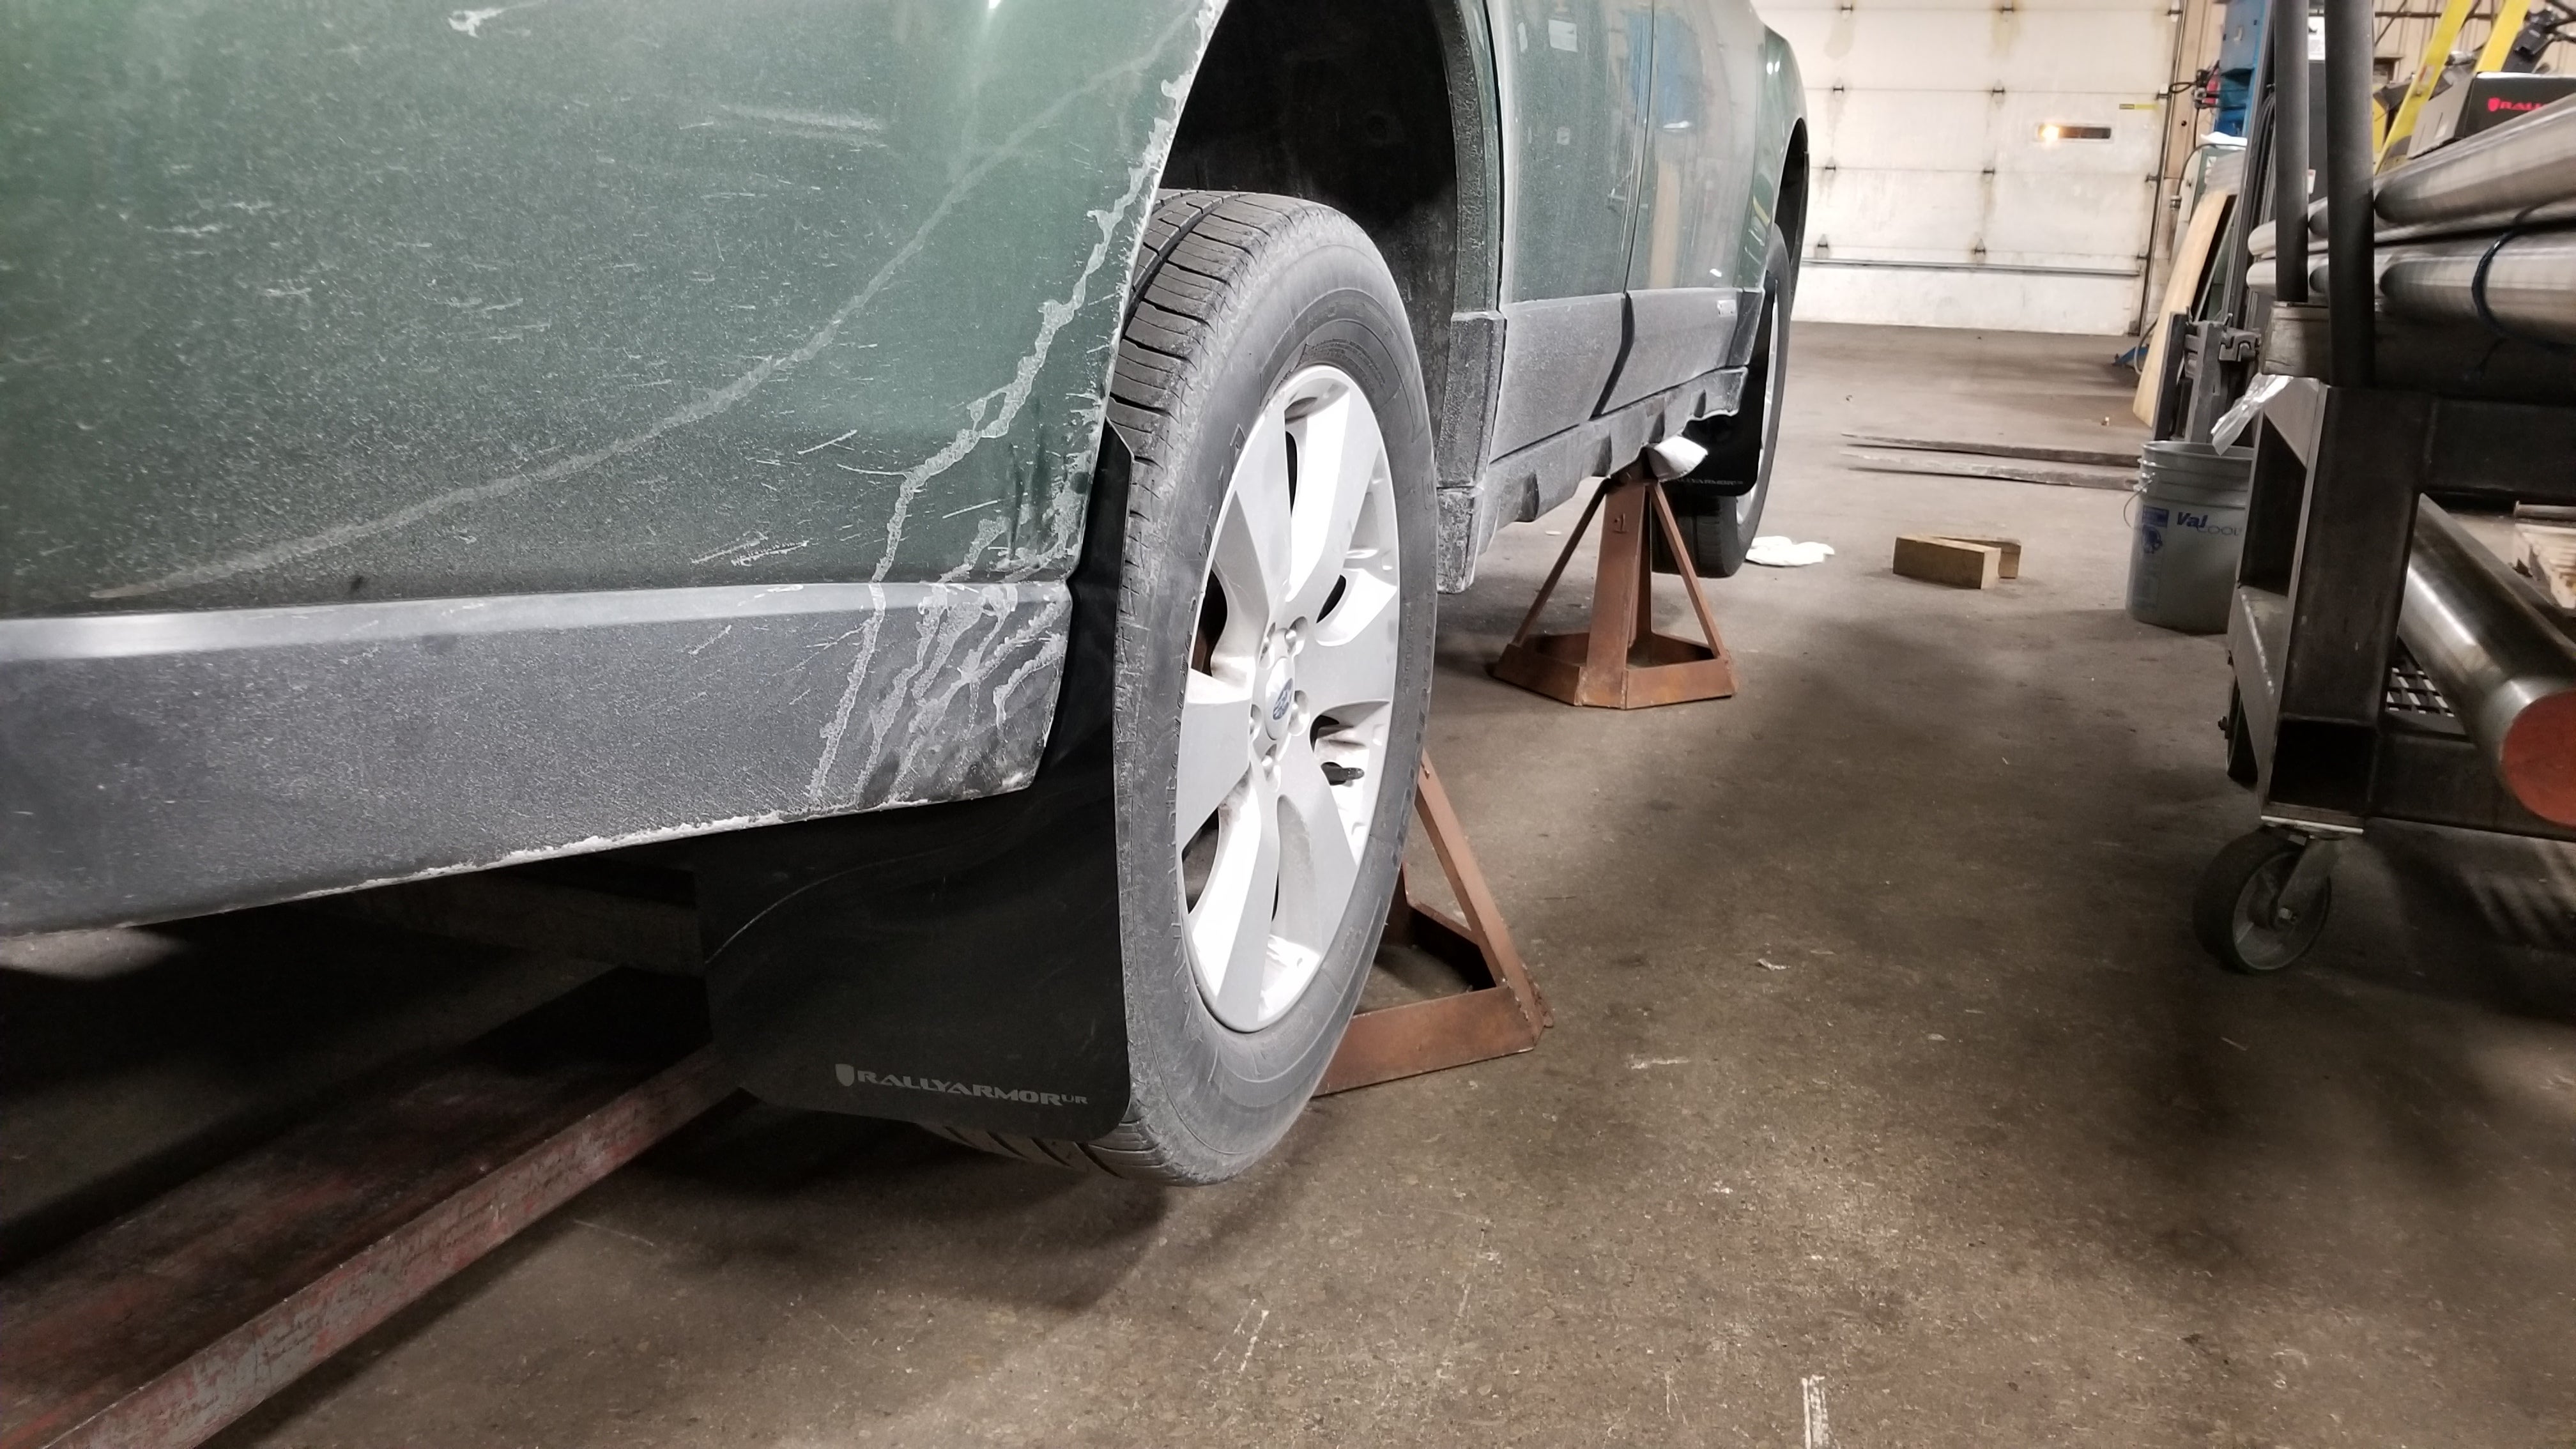
Ooooo.
I am pretty happy with these. My only complaint is with the hardware. Everything was there but they send†you plastic clips for the stainless screws and the very first screw I tried to tighten stripped out the clip. This screw was meant to hold a metal bracket they send for the rear flaps. I replaced it with a stainless 5/16 bolt and NyLock nut. I would have had no faith in the†hardware with the original setup. Sorry no pictures of this because it was getting late and I wanted to go home. The rest of the install went fine even though I am†now wary that all of the screws for the flaps could fall out at any time : /
I also installed a front license plate holder because I donít want a bent plate like Mrs. Duck Duck has (and I havenít fixed yet : /)
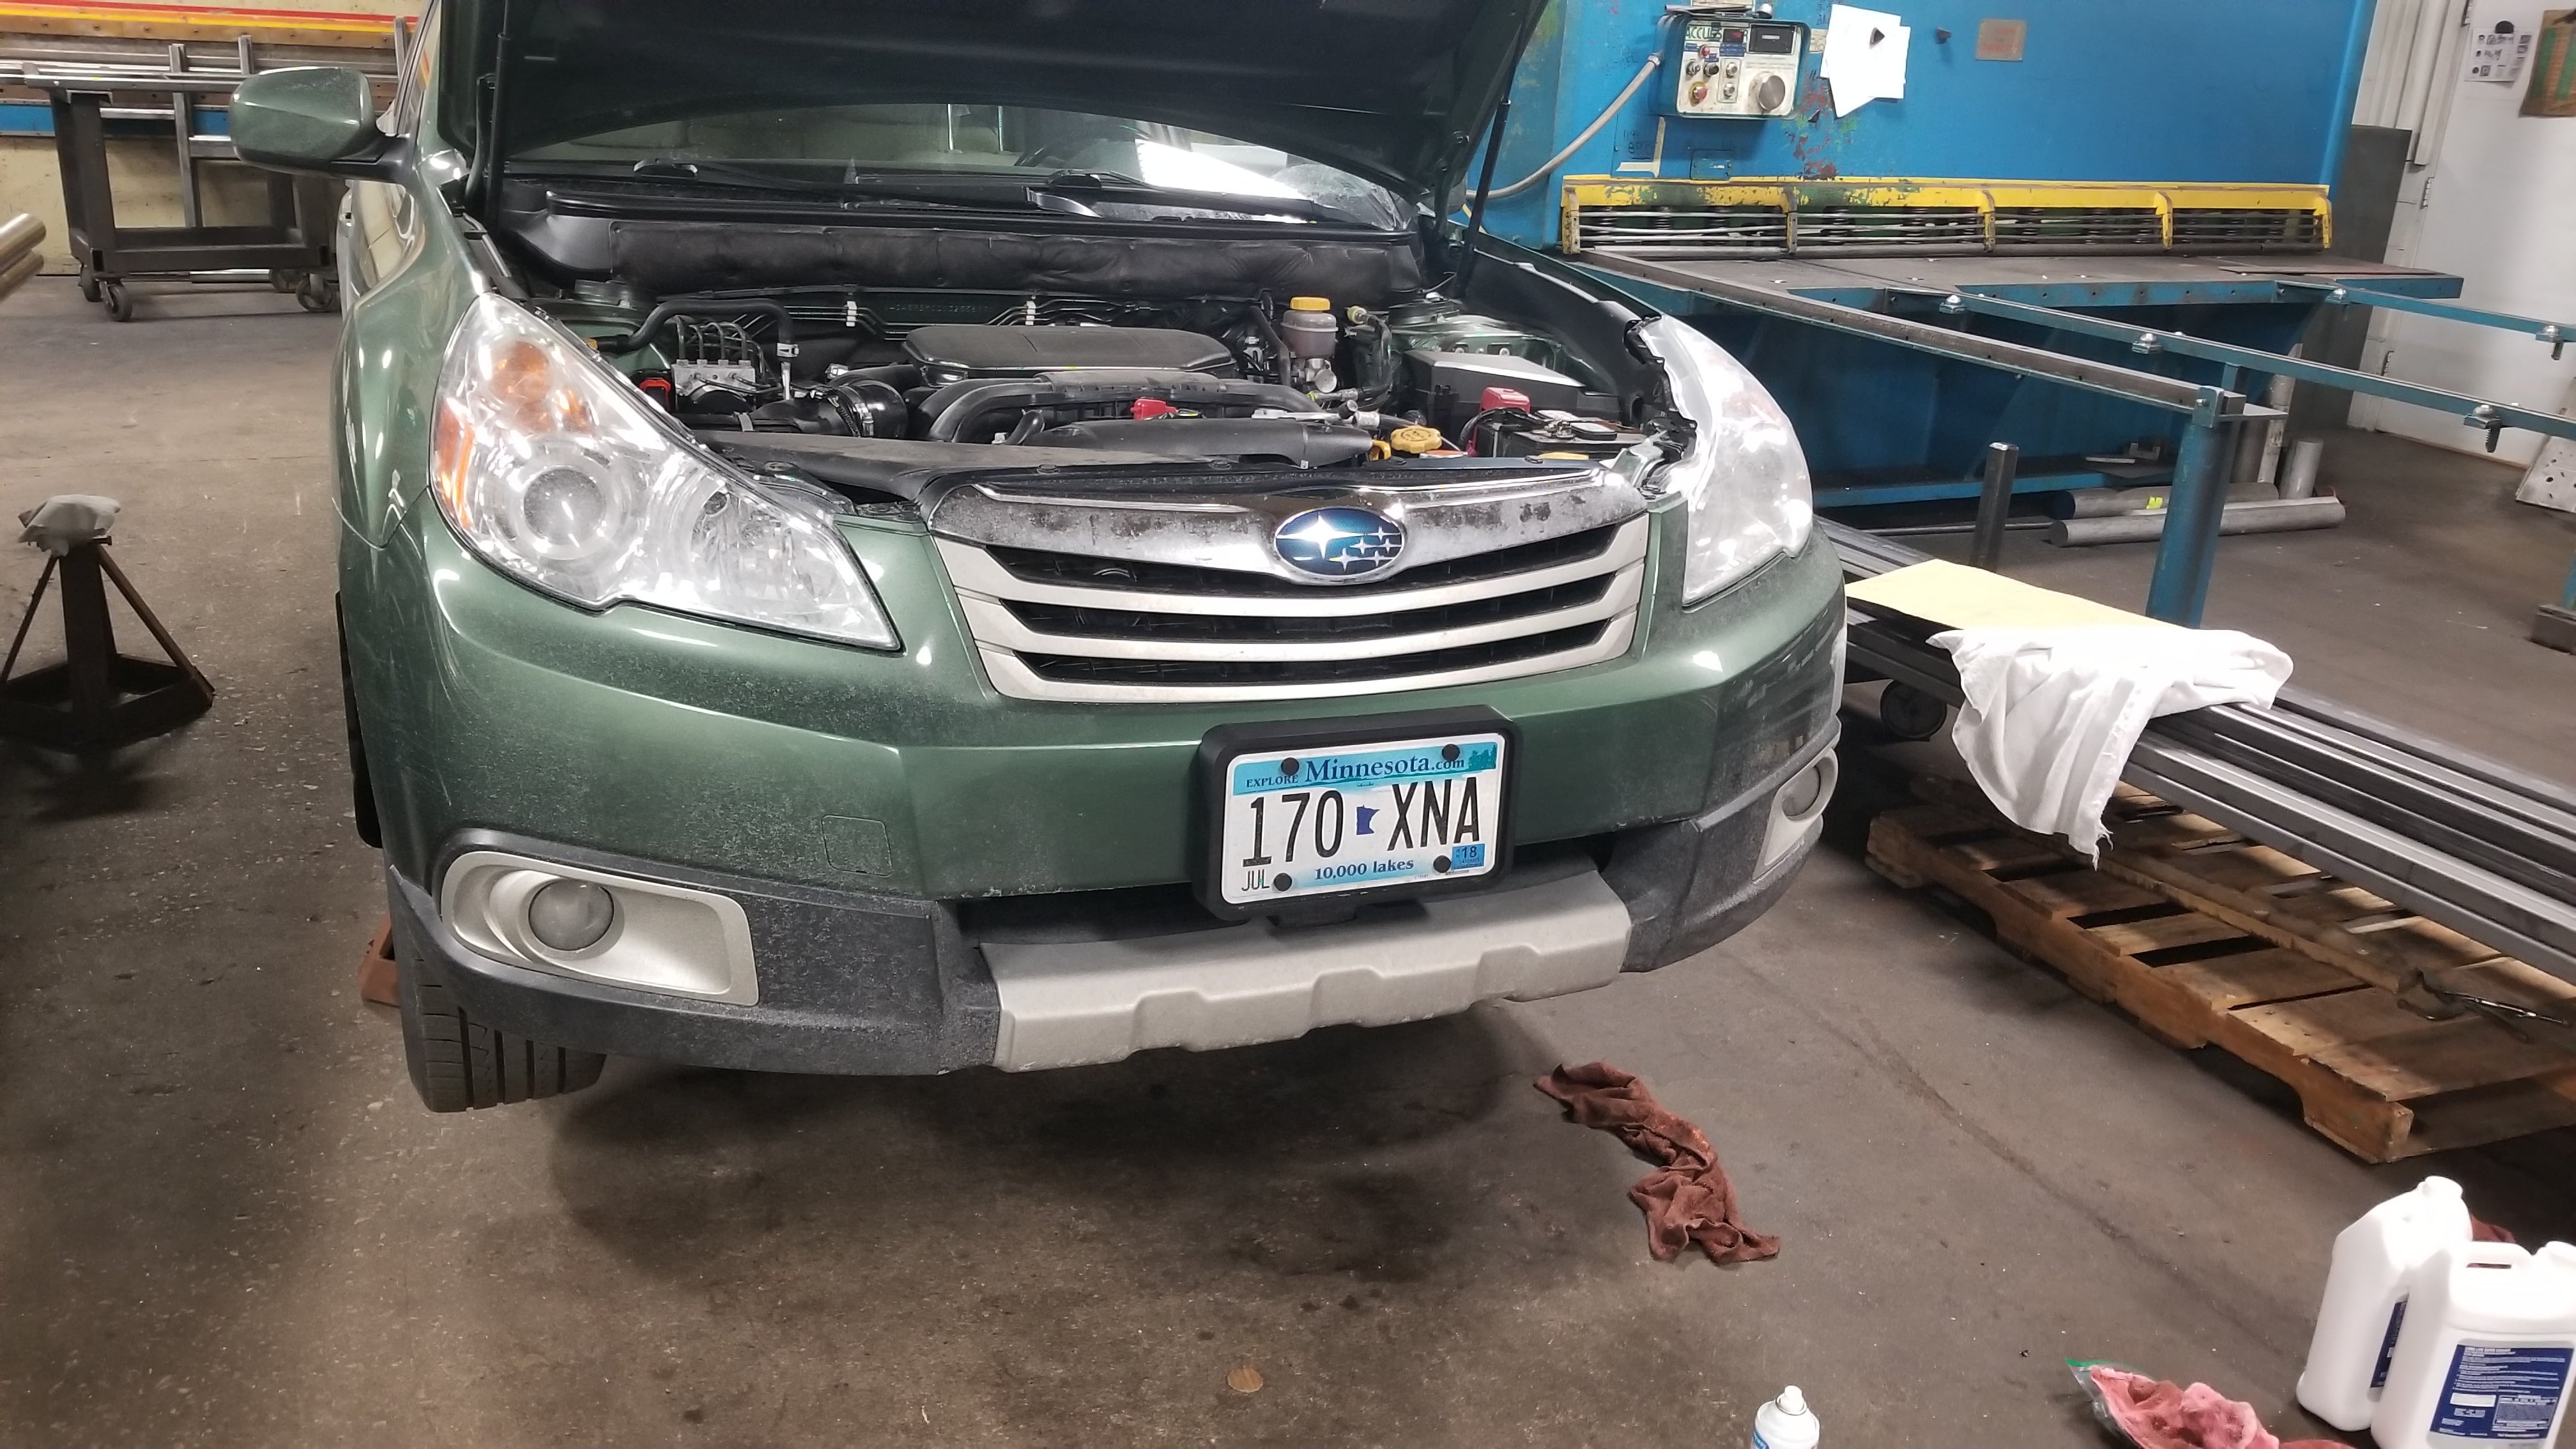
This plate no longer blocks the lower air intake, so thatís nice.
Finally I was done, so I put the car back down with my floor jacks. Everyone, I would like to introduce the Hyster Twins:
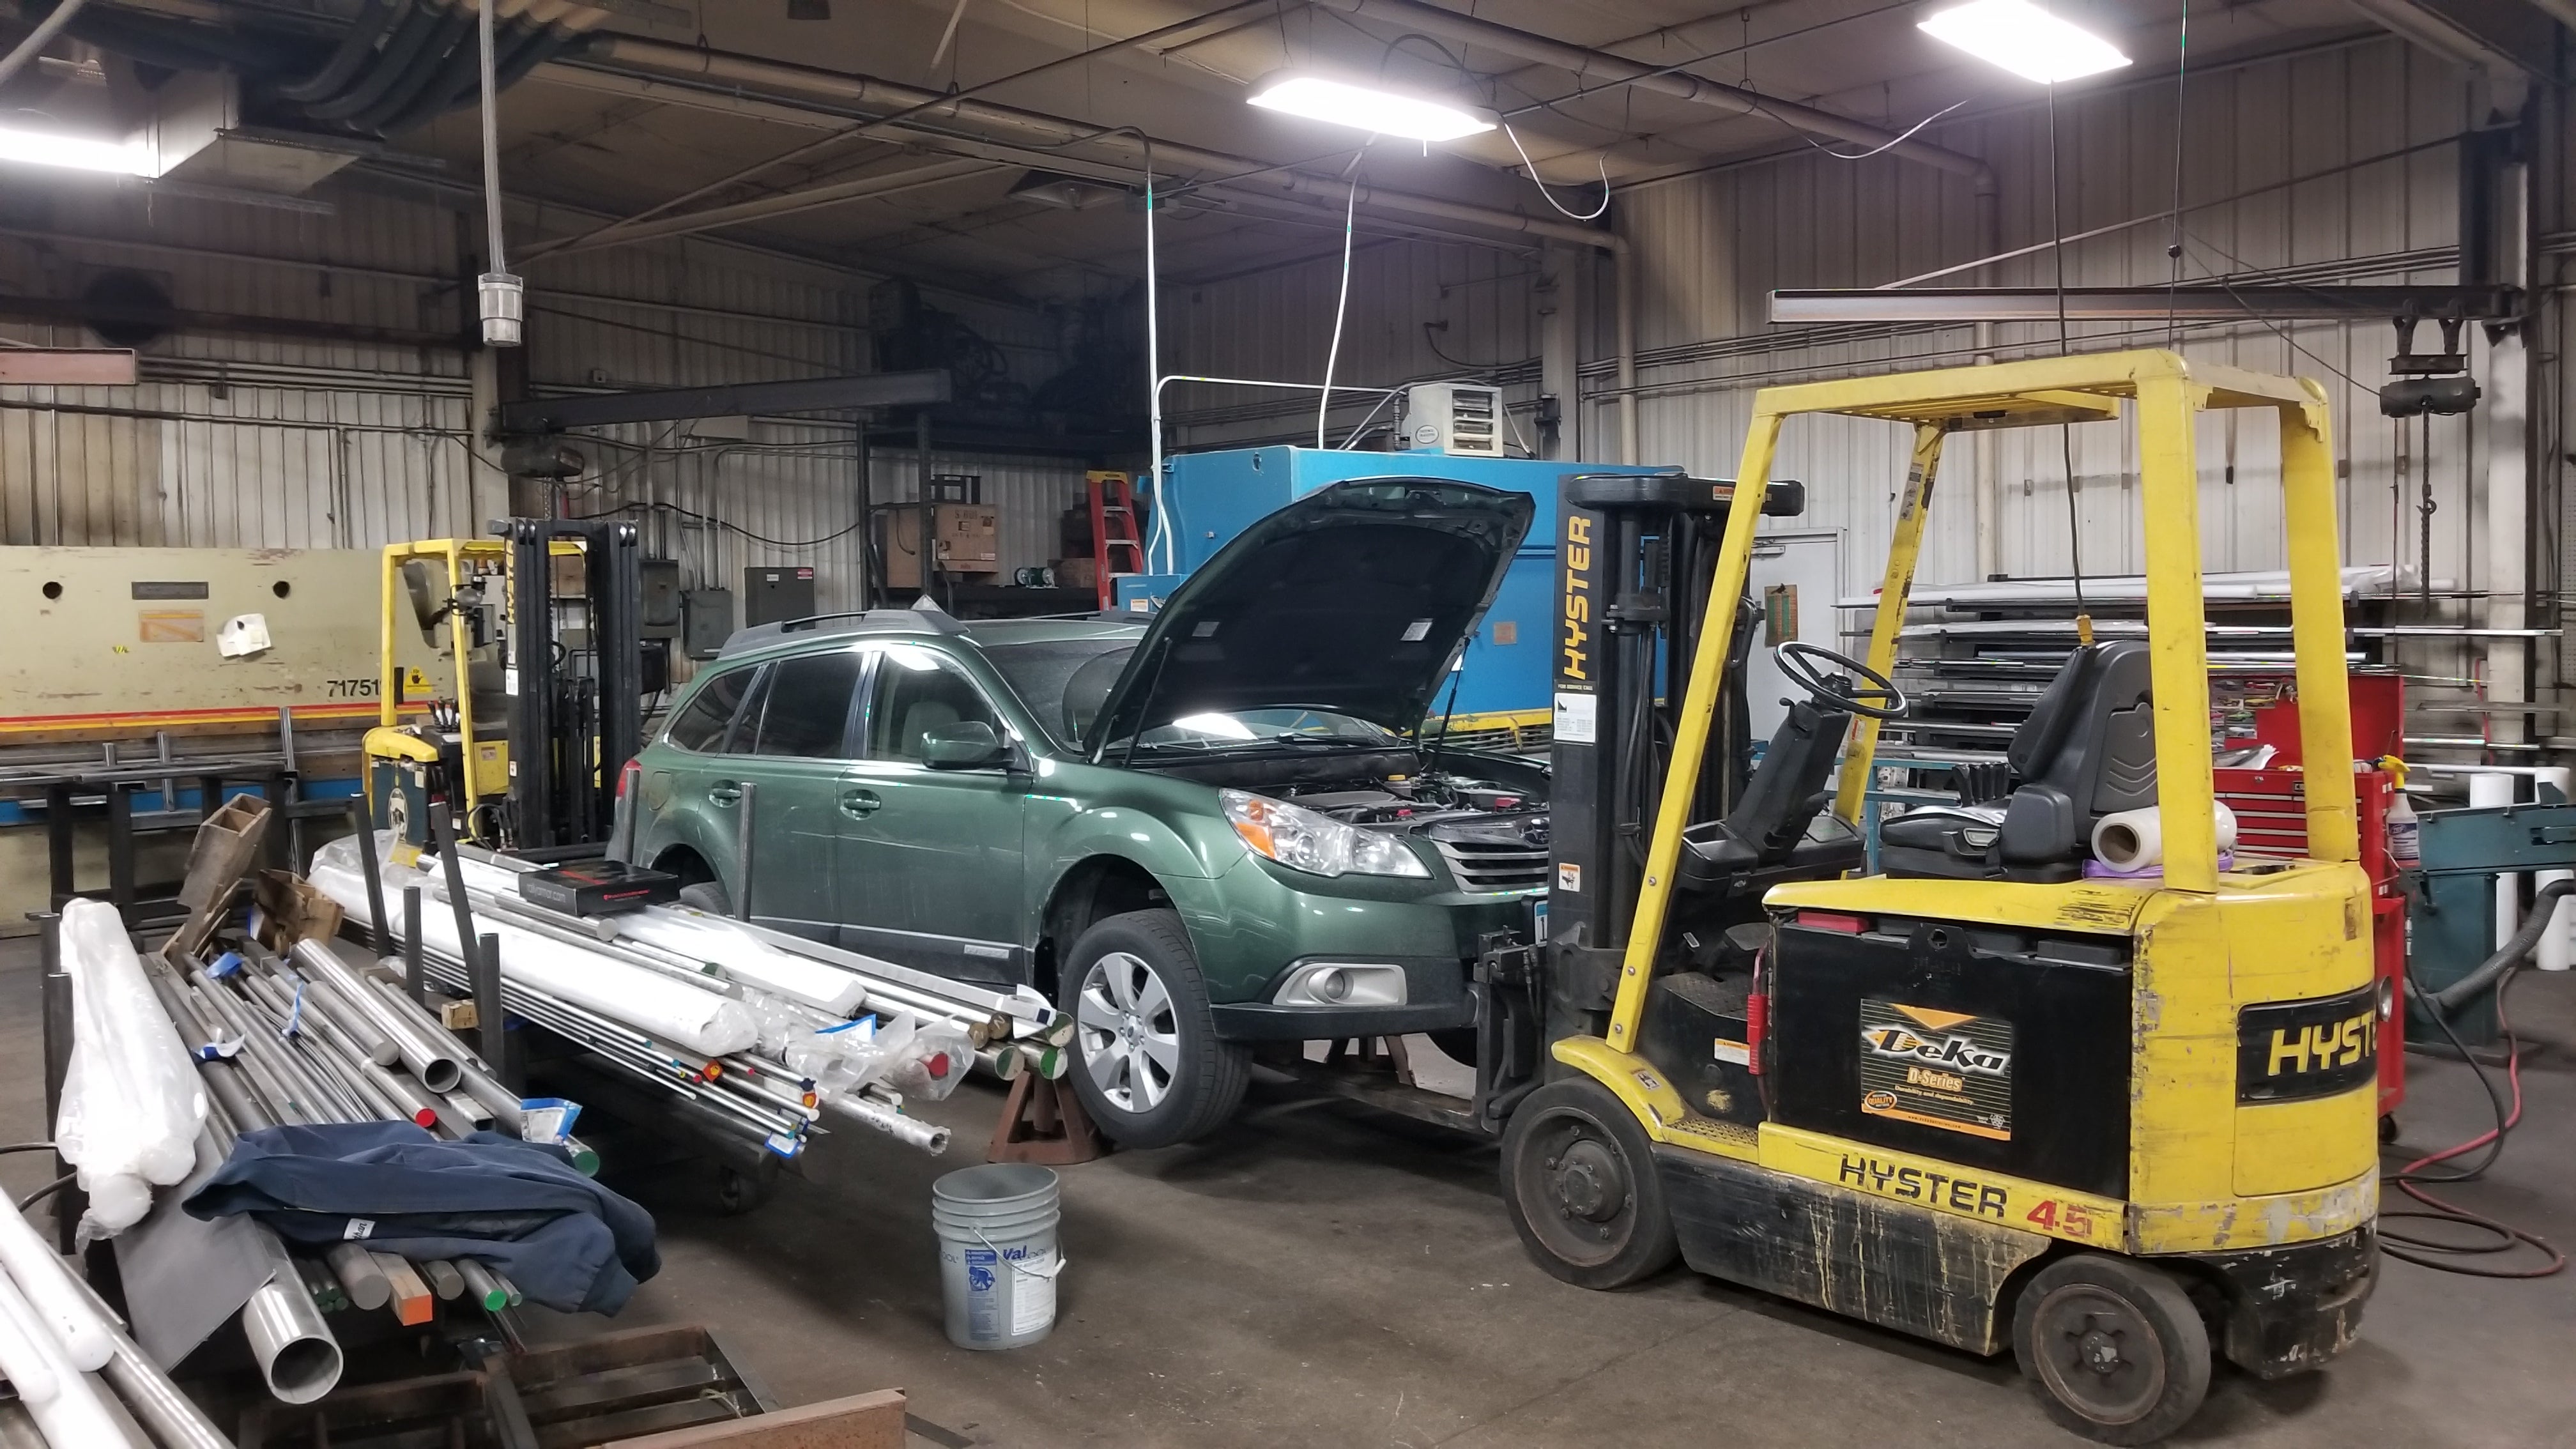
†Thanks everyone for the support on Day 1. I made it. Thanks for reading!
P.S. to the fellow Opponaut who also has a 2012 Outback, I can give you more info and I am also willing to mail you the tool I made to hold the crank and the socket I used.
 pip bip - choose Corrour
> Duck Duck Grey Duck FTMFW!
12/12/2017 at 06:07 |
|
timing belts are the devil
Subaru FB motors are better coz chains