 "Pixel" (Improbcat)
07/06/2015 at 09:57 • Filed to: None
 38
38
 20
20|
"Pixel" (Improbcat)
07/06/2015 at 09:57 • Filed to: None | 38
| 20 |
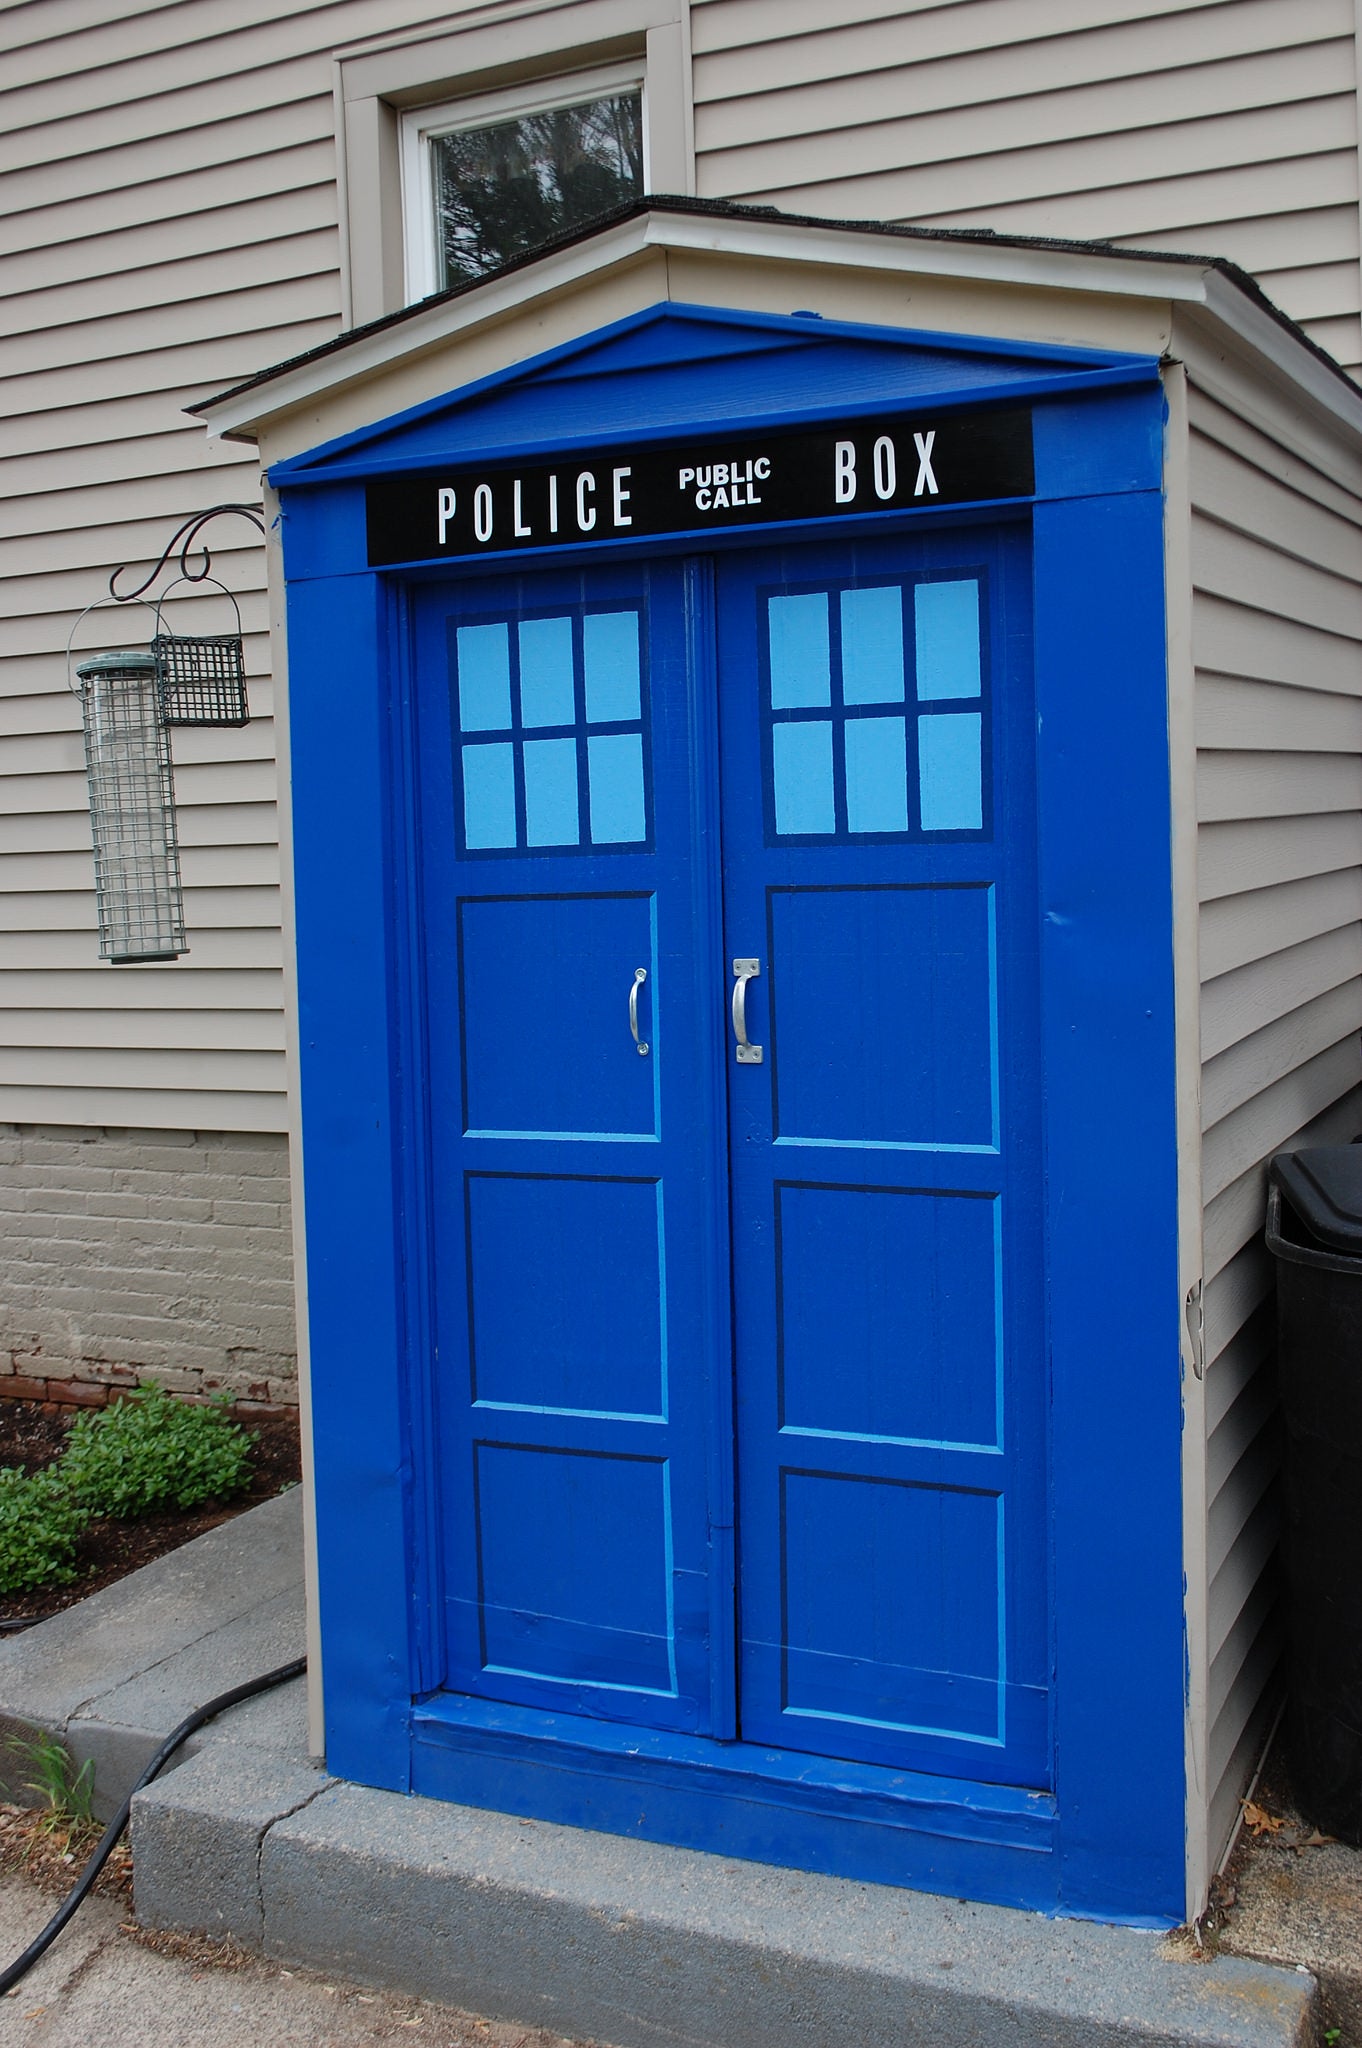
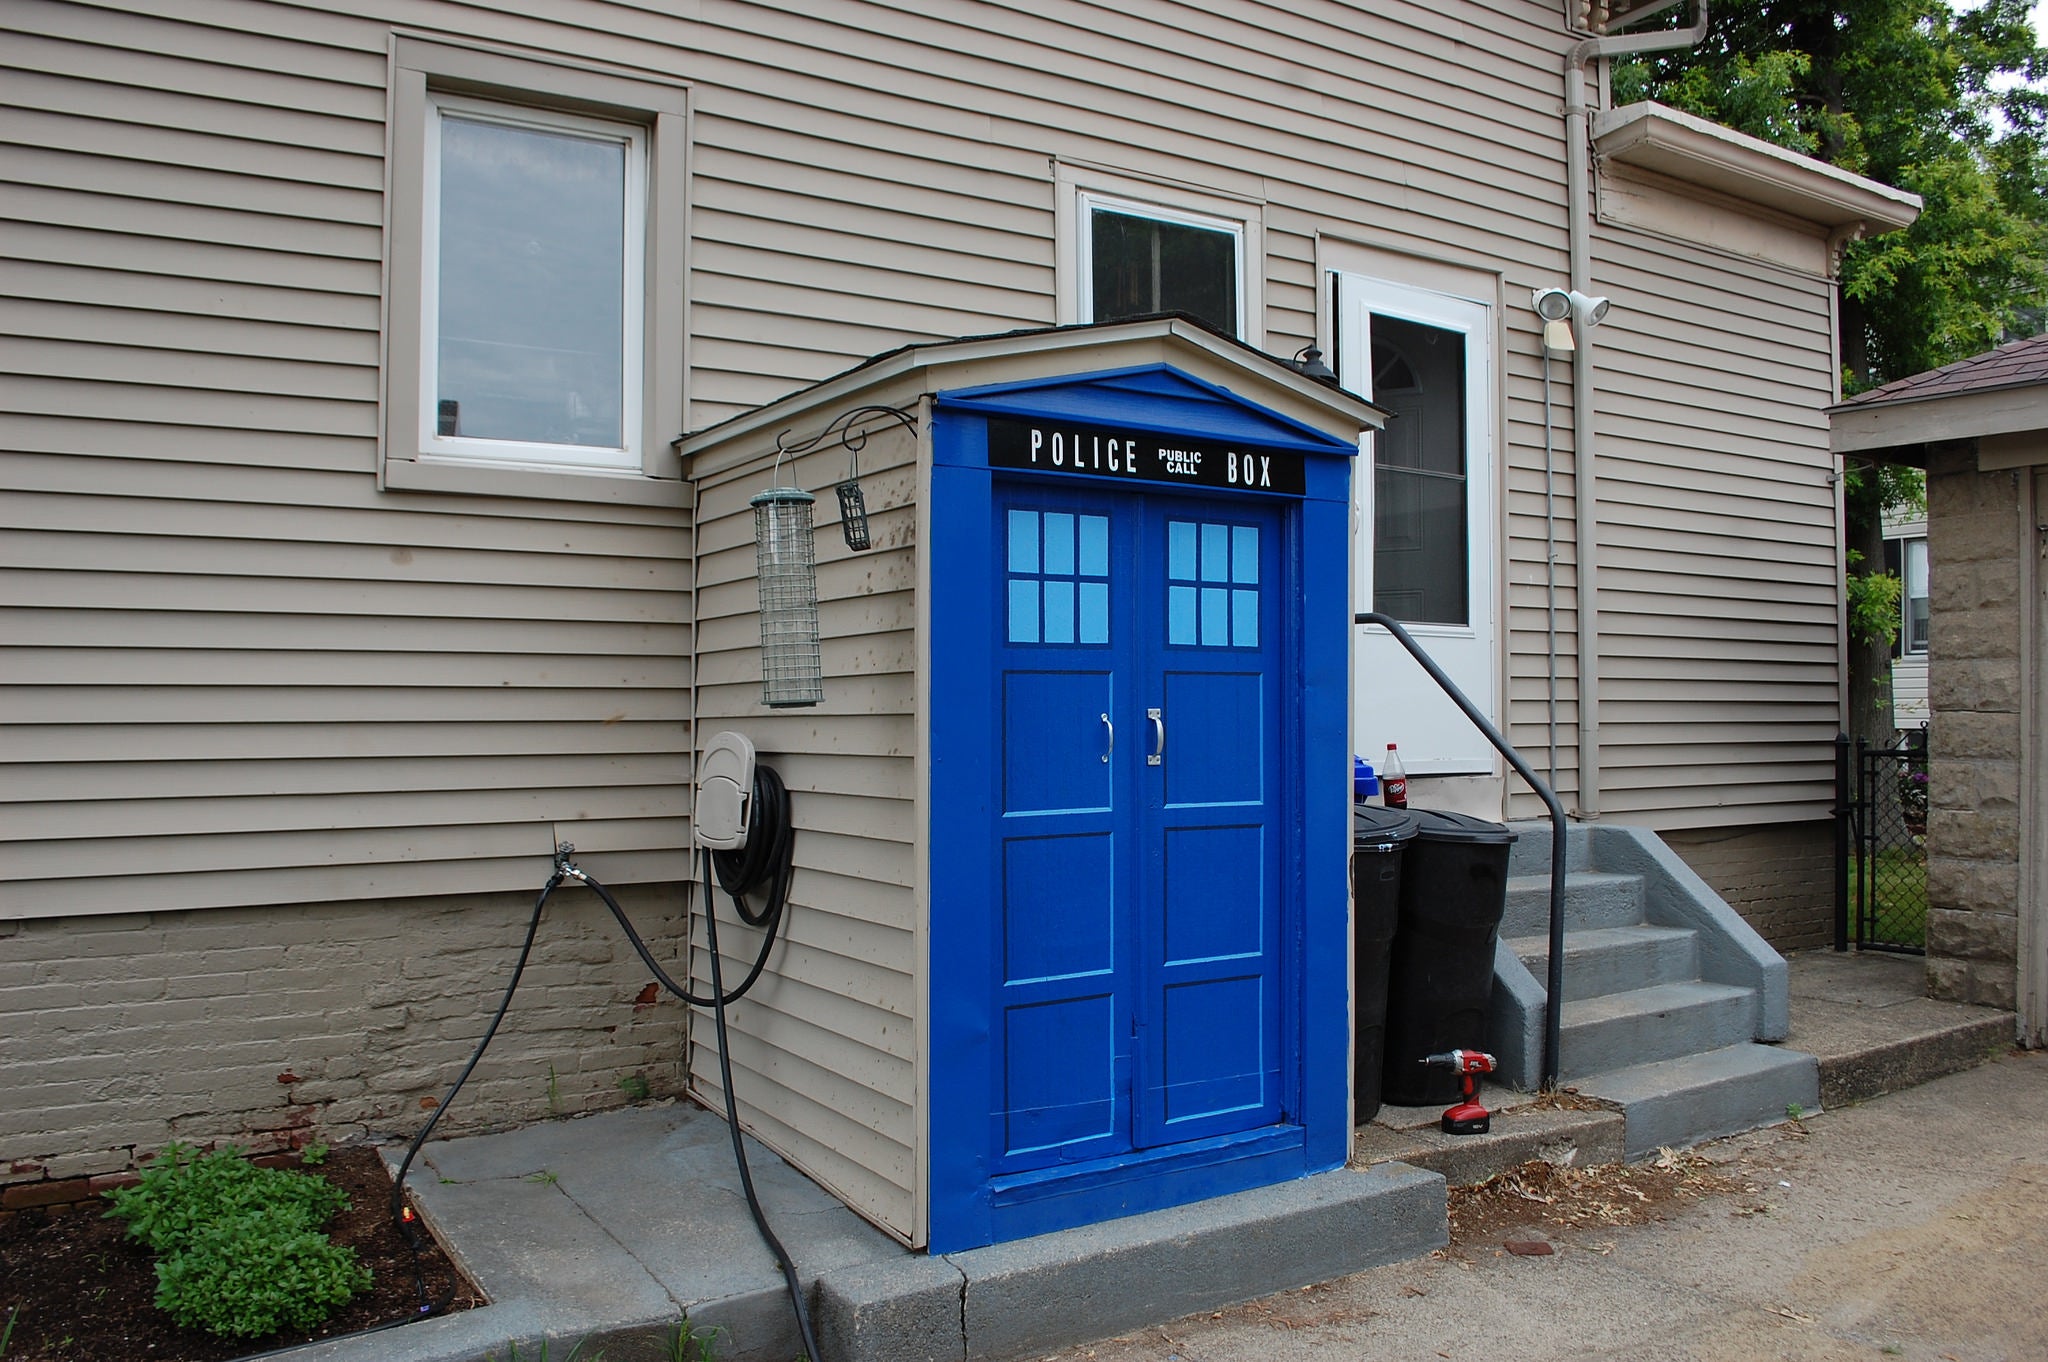
So I repainted my basement door this weekend...
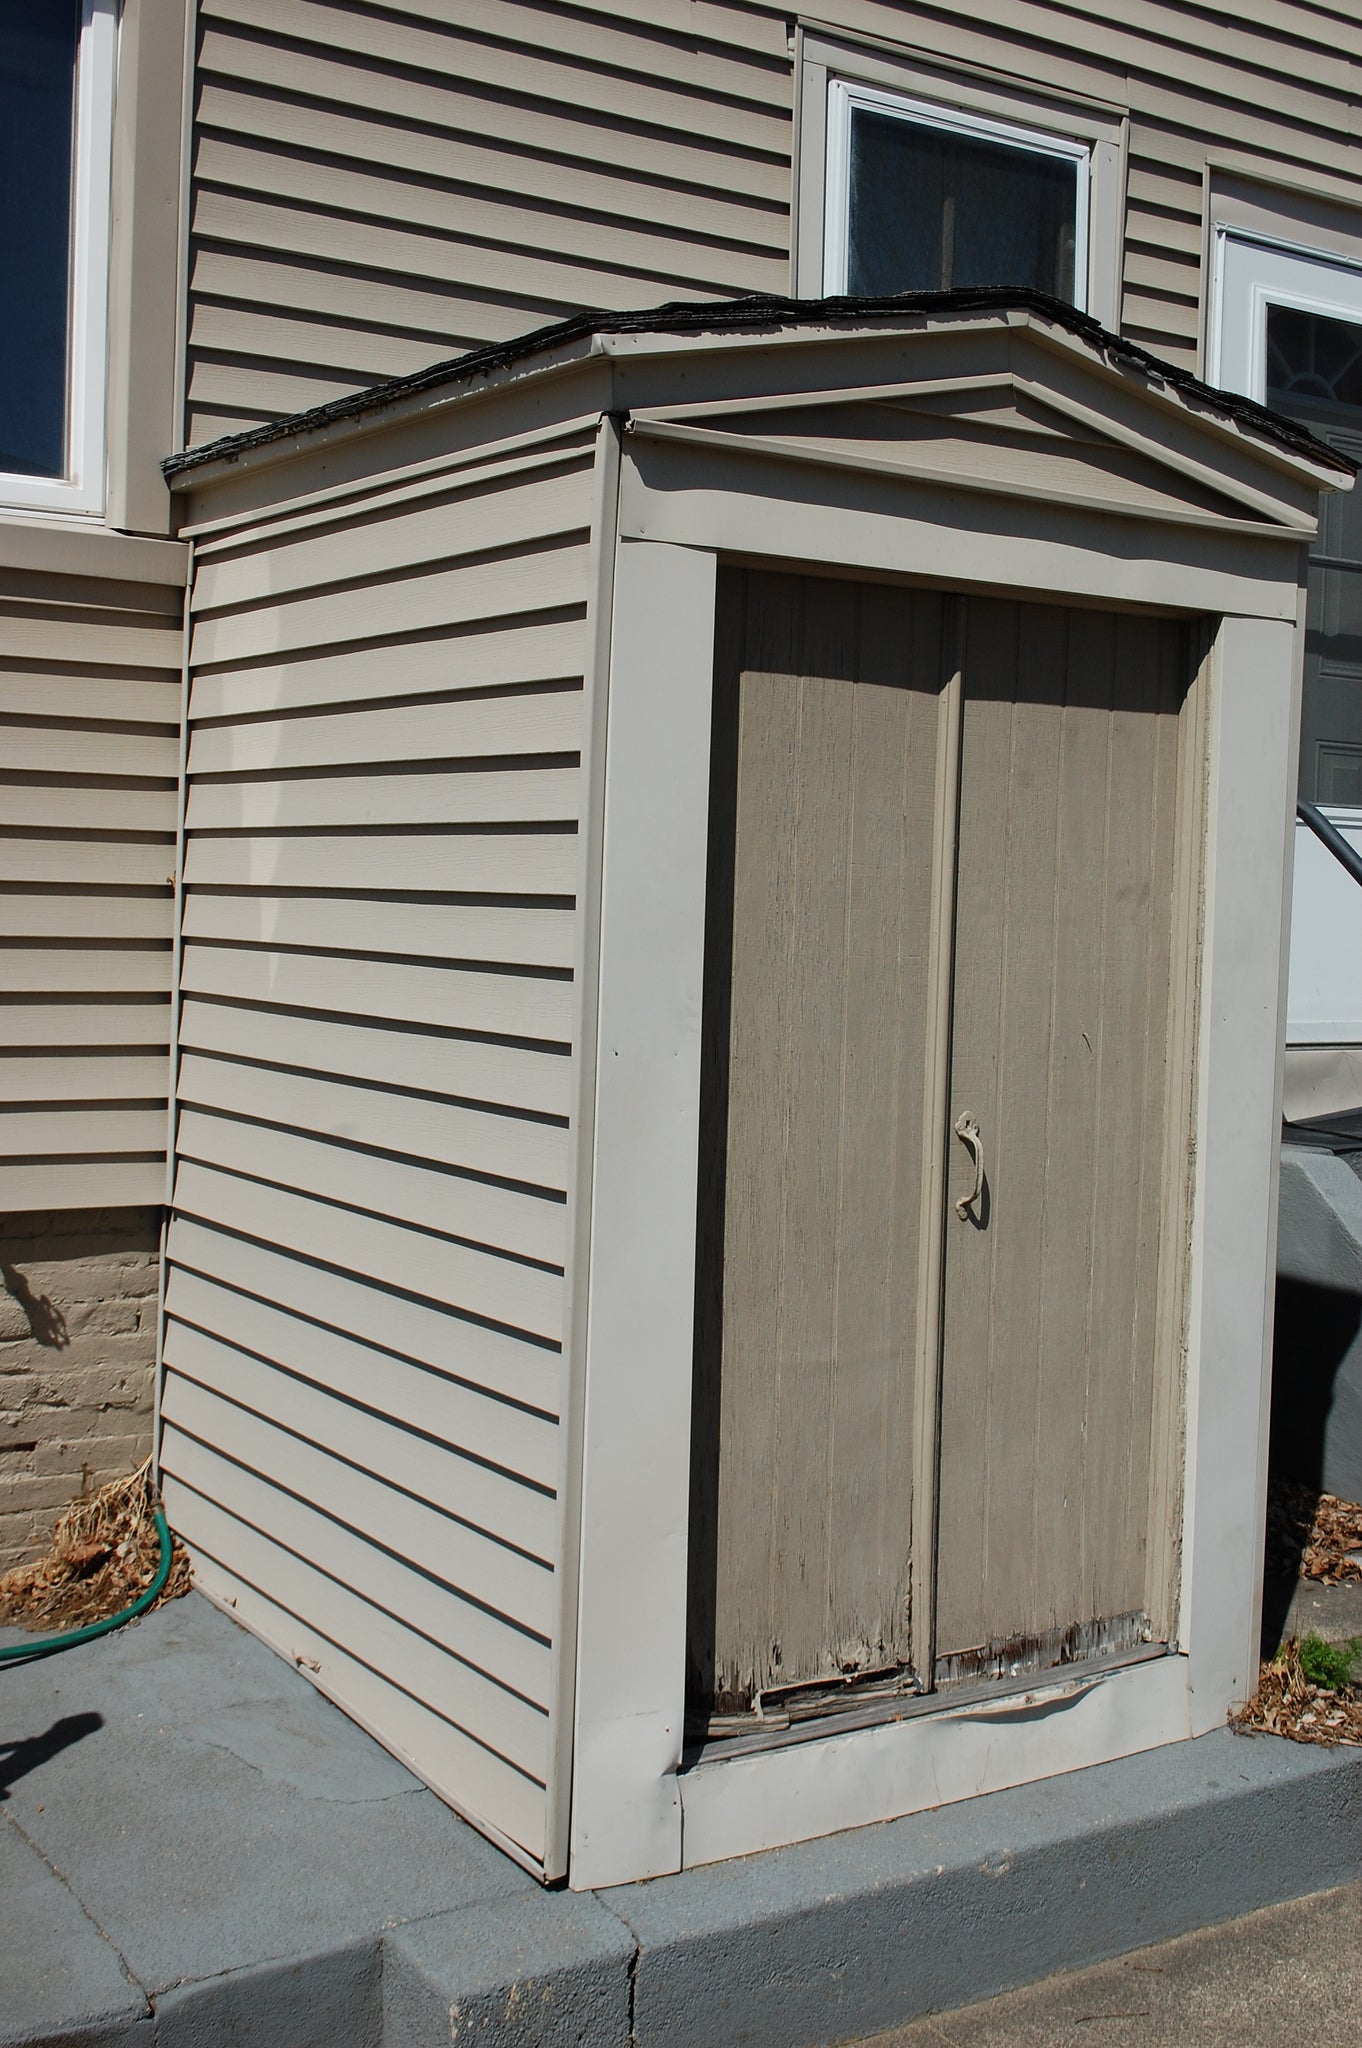
This was the basement door when I bought the house. Ugly, rotting and two shades of beige(I believe these colors are “spoiled putty” and “depressing temp cubicle”).
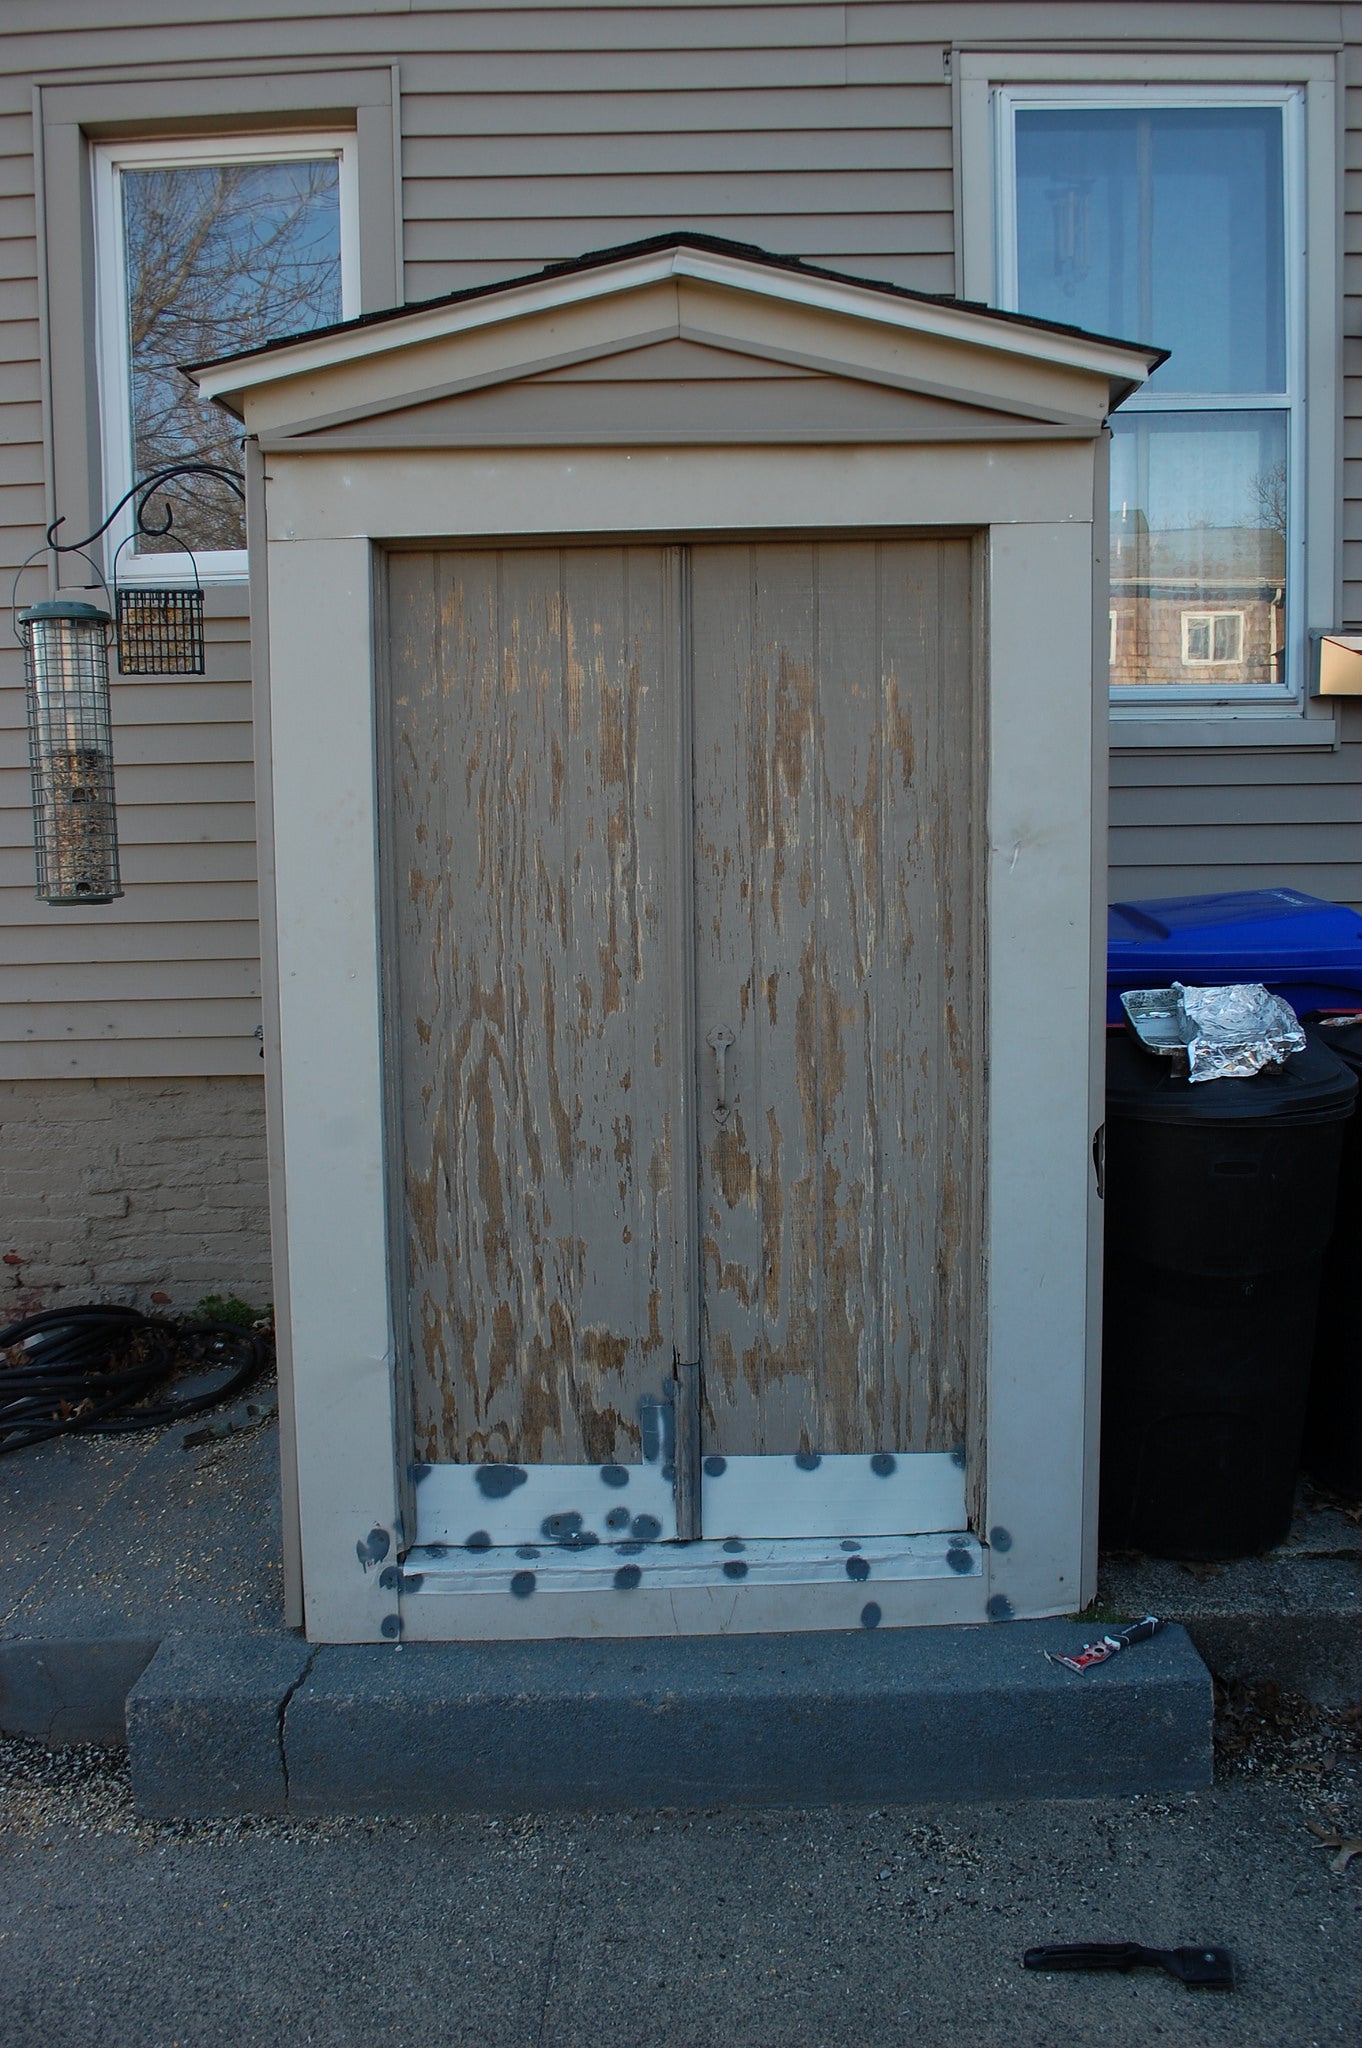
The long term plan is to rip this whole thing down and rebuild it to be less terrible, but that is really far down the priority list, so in the mean time it needed some sprucing up. First I patched the rotted door & damaged sill with some aluminum, then I scraped all the loose paint off the door. You can see the doors are faced in T1-11, which is about the worst surface for the project, it is both a rough surface and has vertical grooves ever 5-ish inches. But sometimes you have to work with what you have.
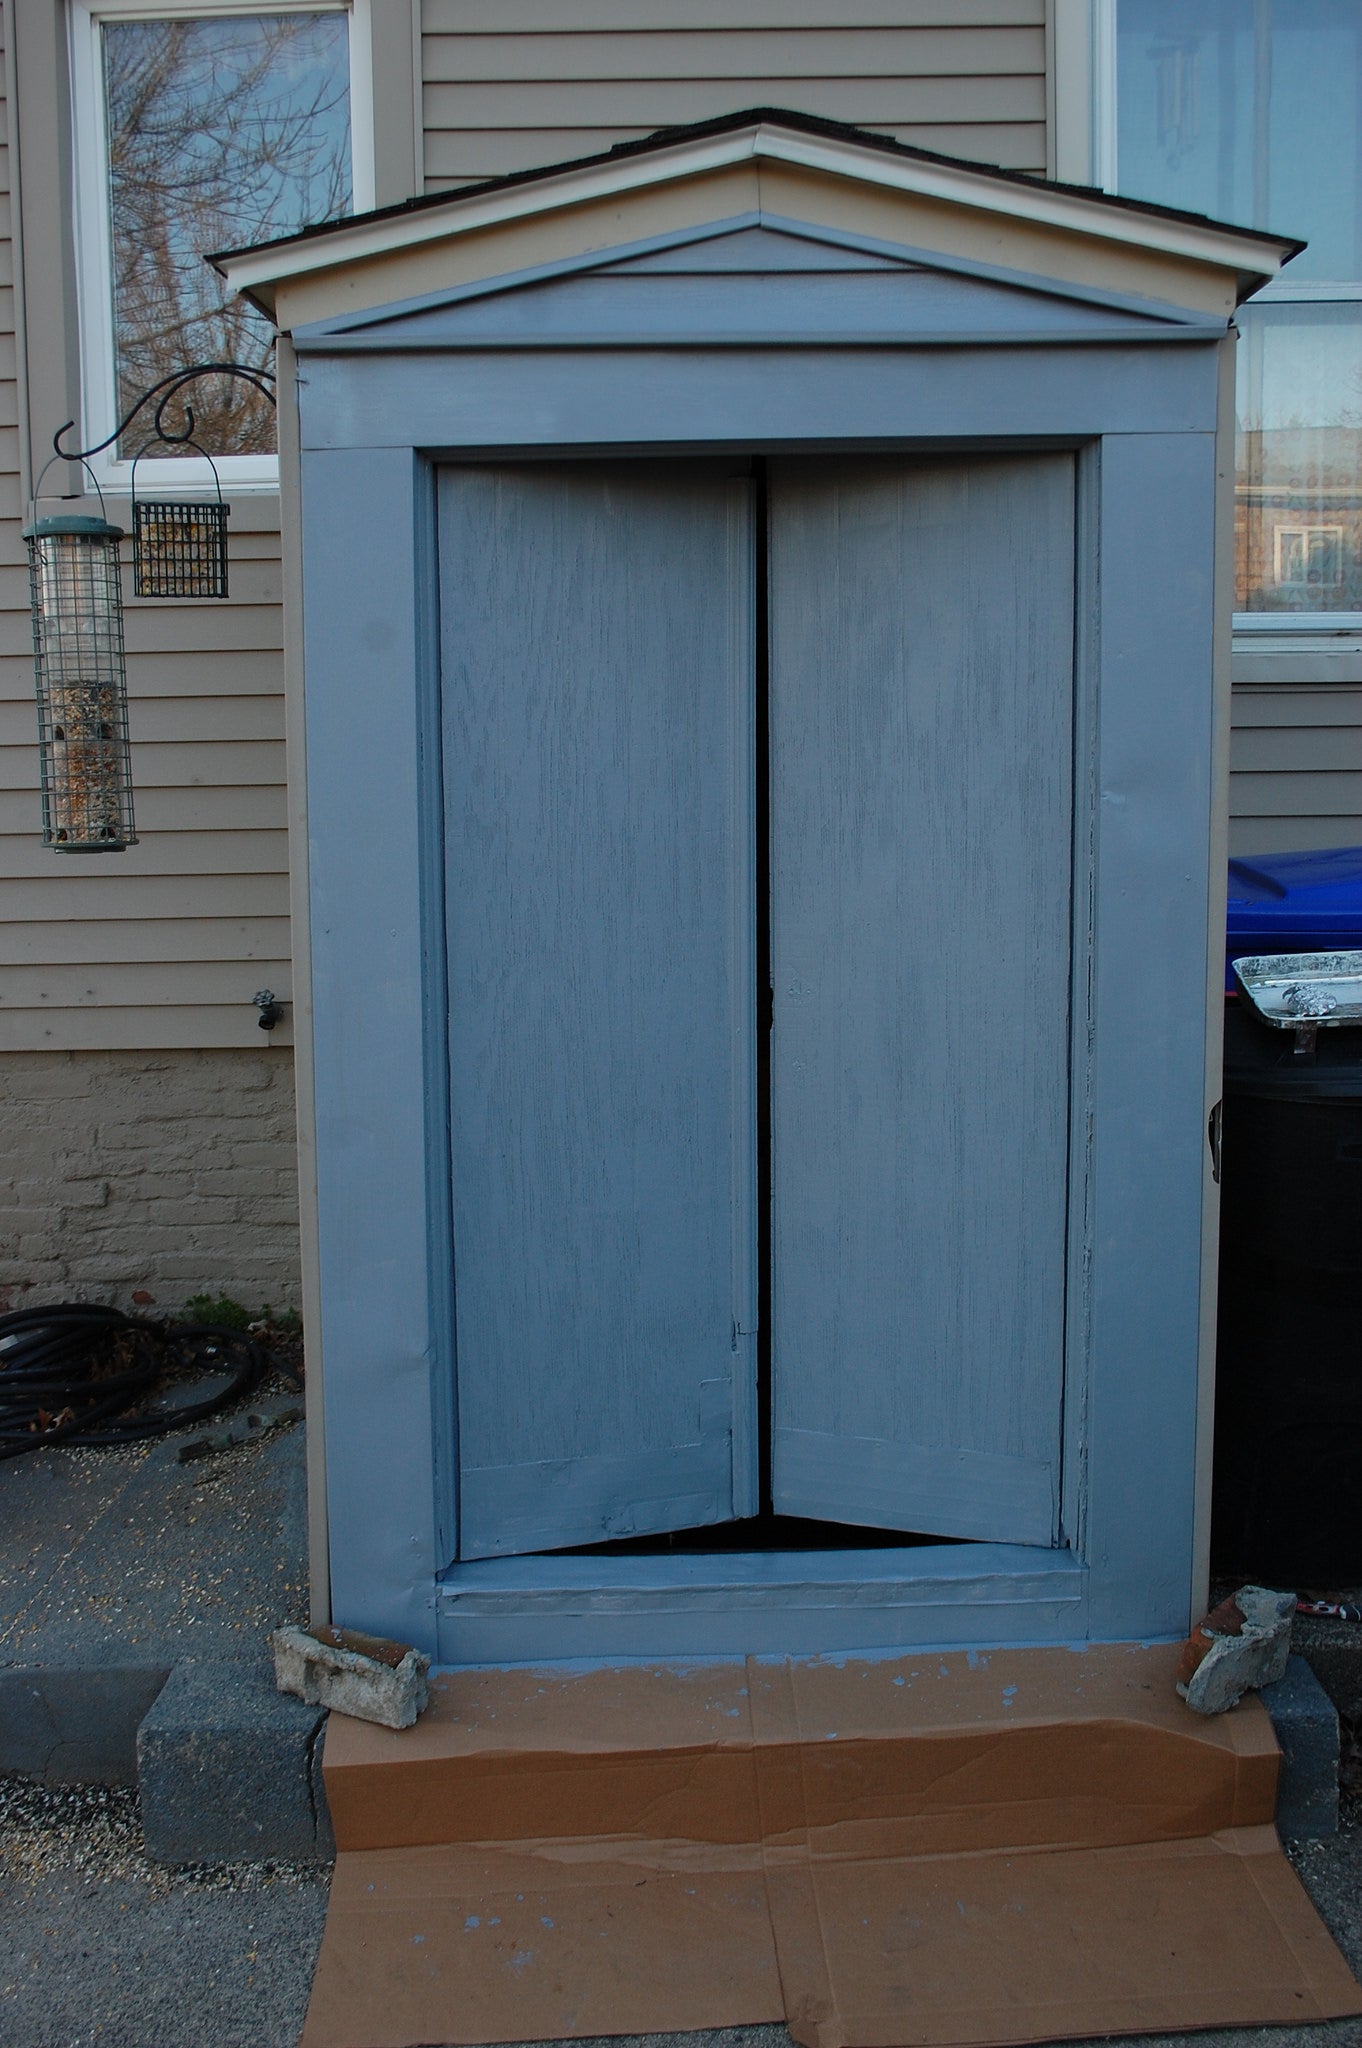
Next came a coat of primer, tinted to help make the blue brighter. This was already a massive improvement. This and the blue were both slathered on very thick to try and fill the tiny cracks & splits in the wood to both smooth the surface and improve the durability of the whole project.
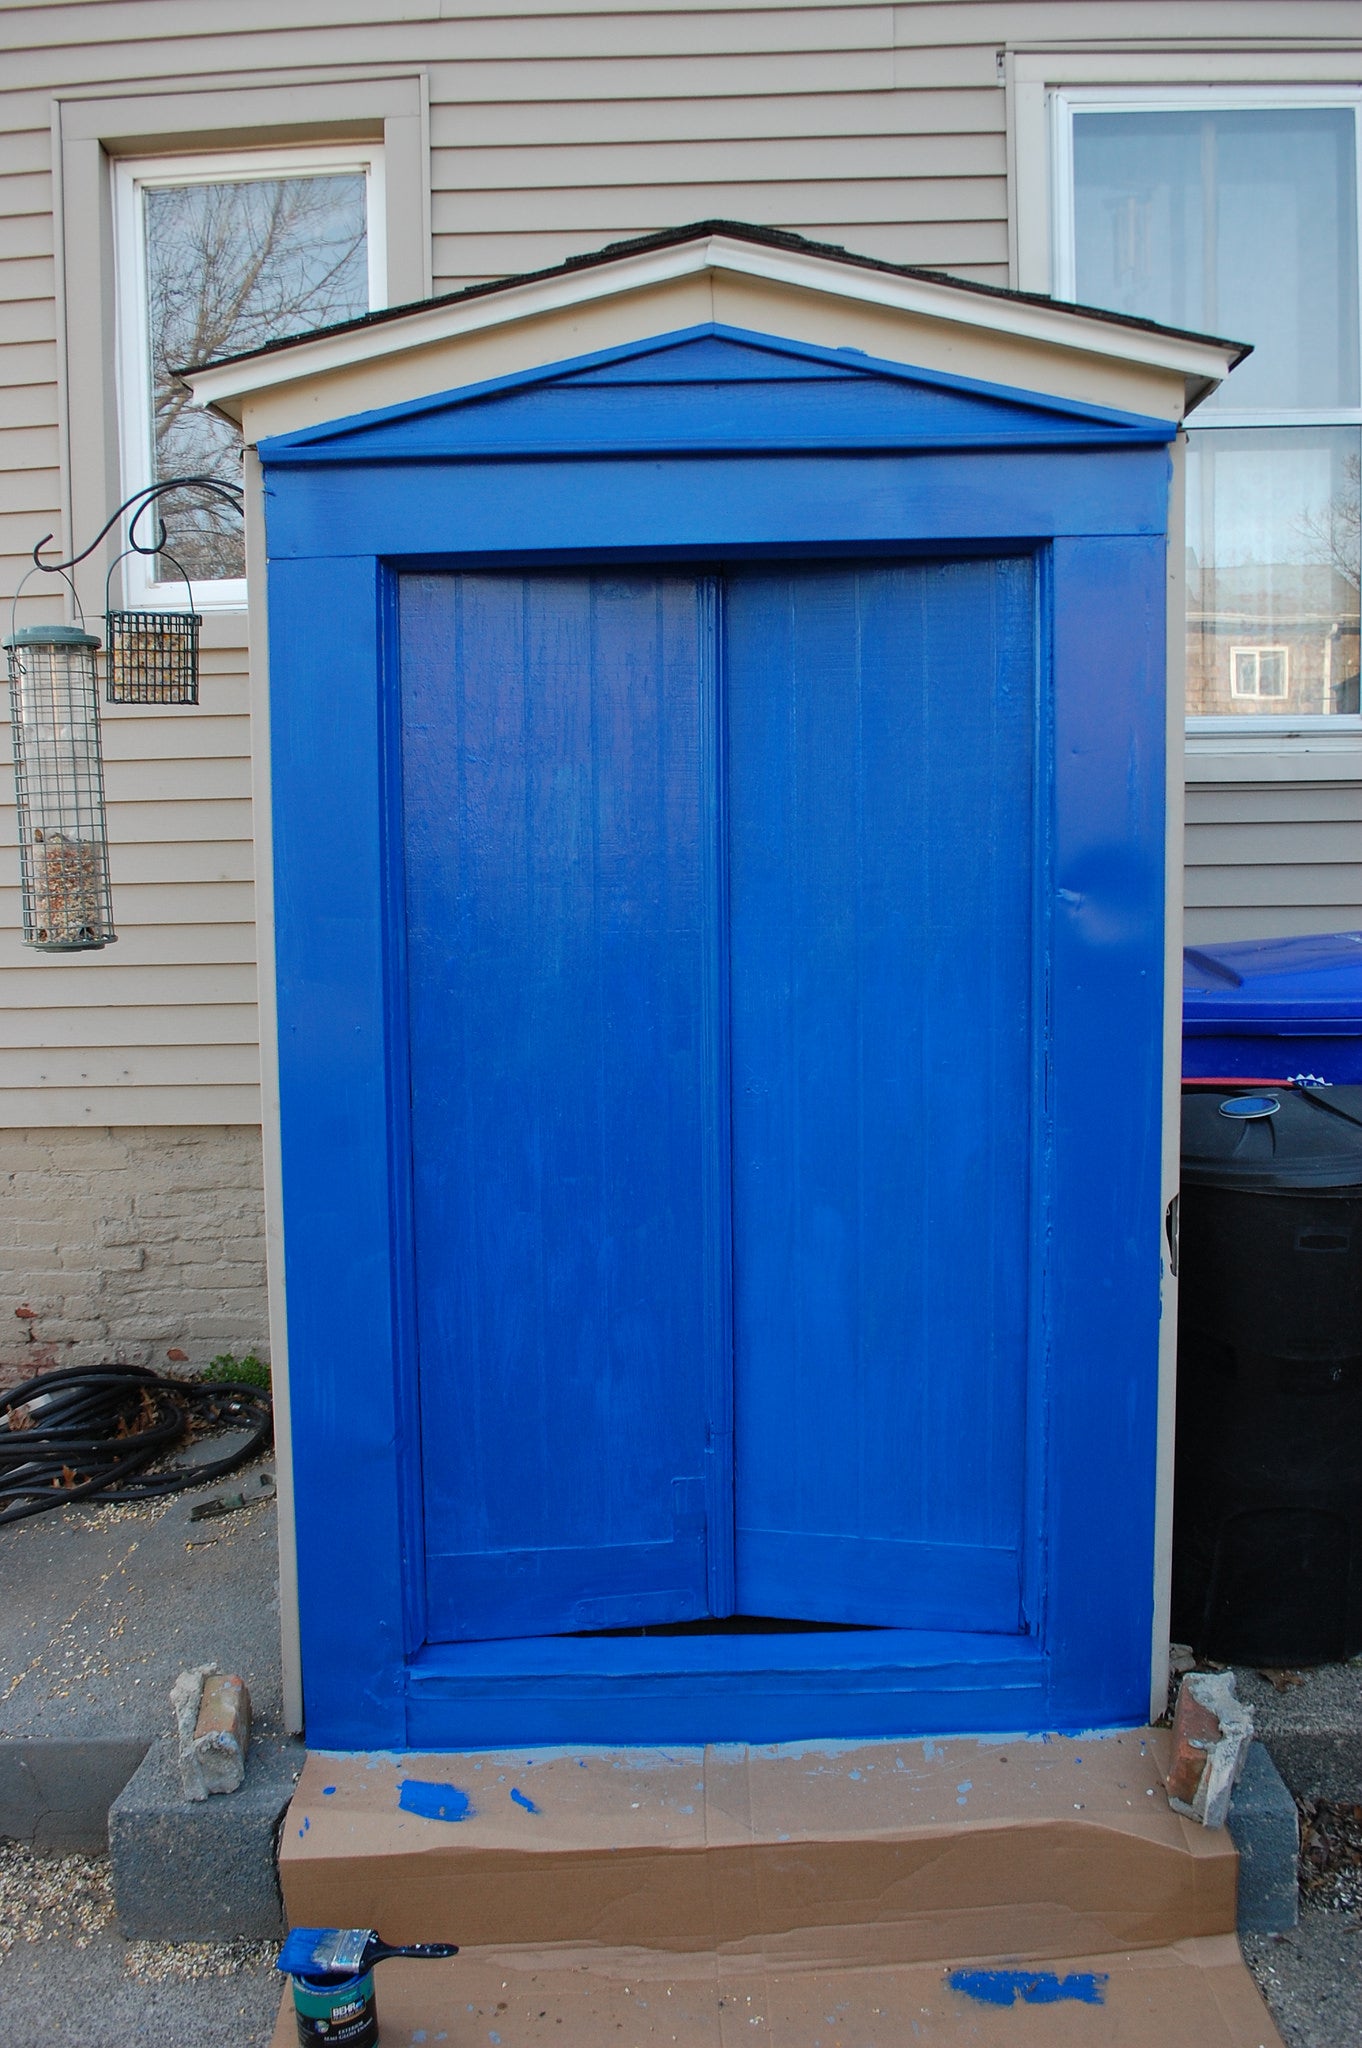
Then the blue, this was the first coat, it was too dark for pictures by the time the 2nd coat went on. The color is Behr “Sapphire Lace” from home depot, this or their “Jazz Blue” are good matches for Tardis blue.
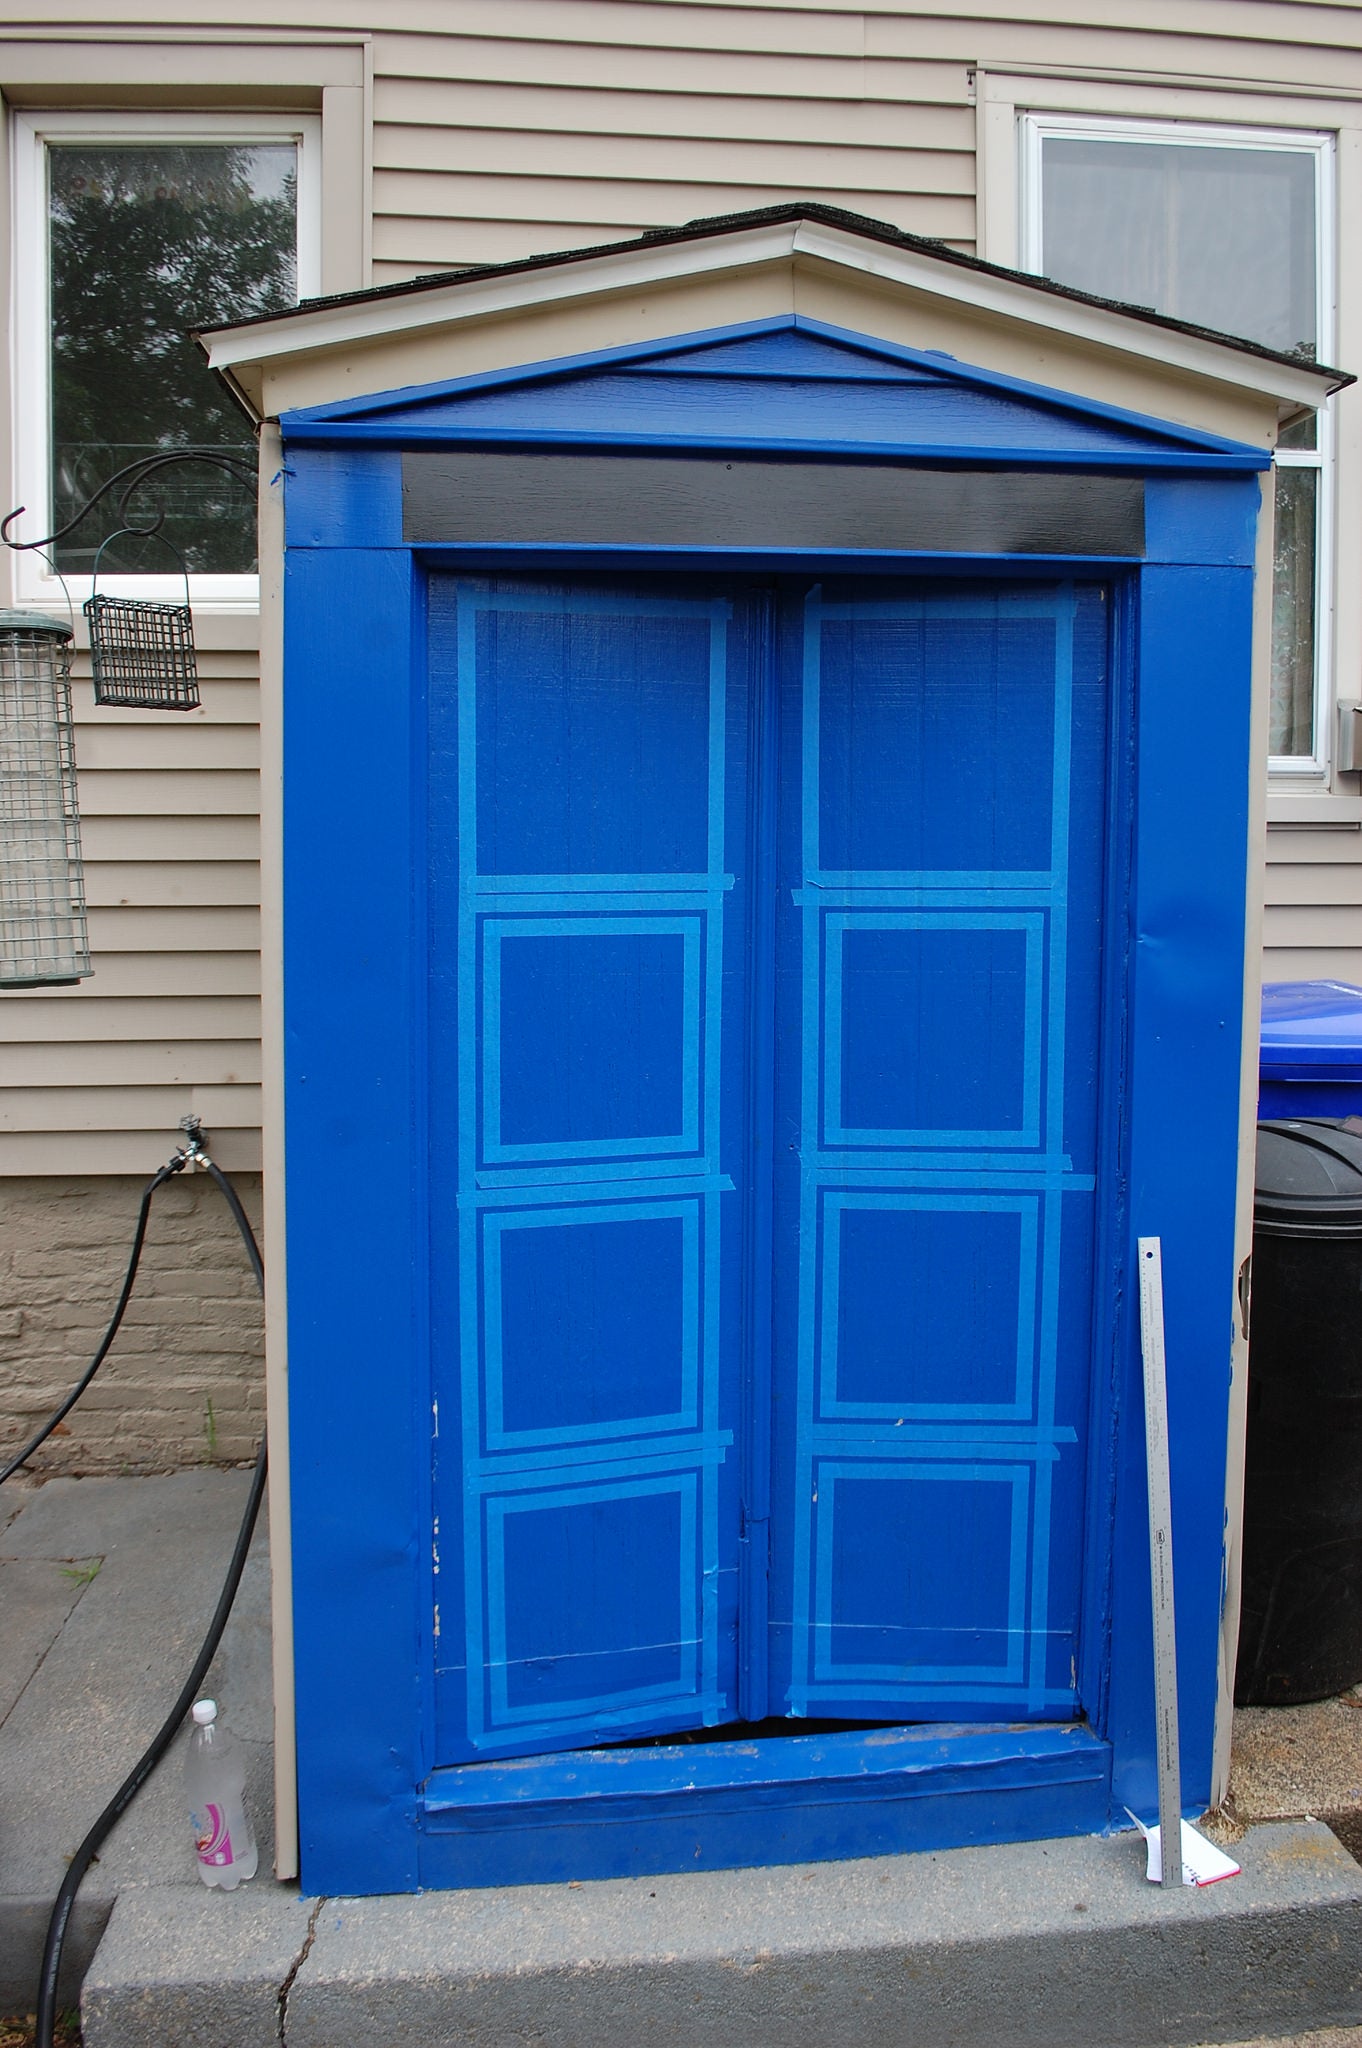
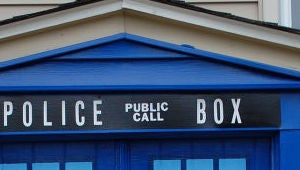
Then came the masking. You can see I’ve already masked & painted the black for the “Police Box” sign at the top. !!!error: Indecipherable SUB-paragraph formatting!!! was useful for doing the faux panels on the door.
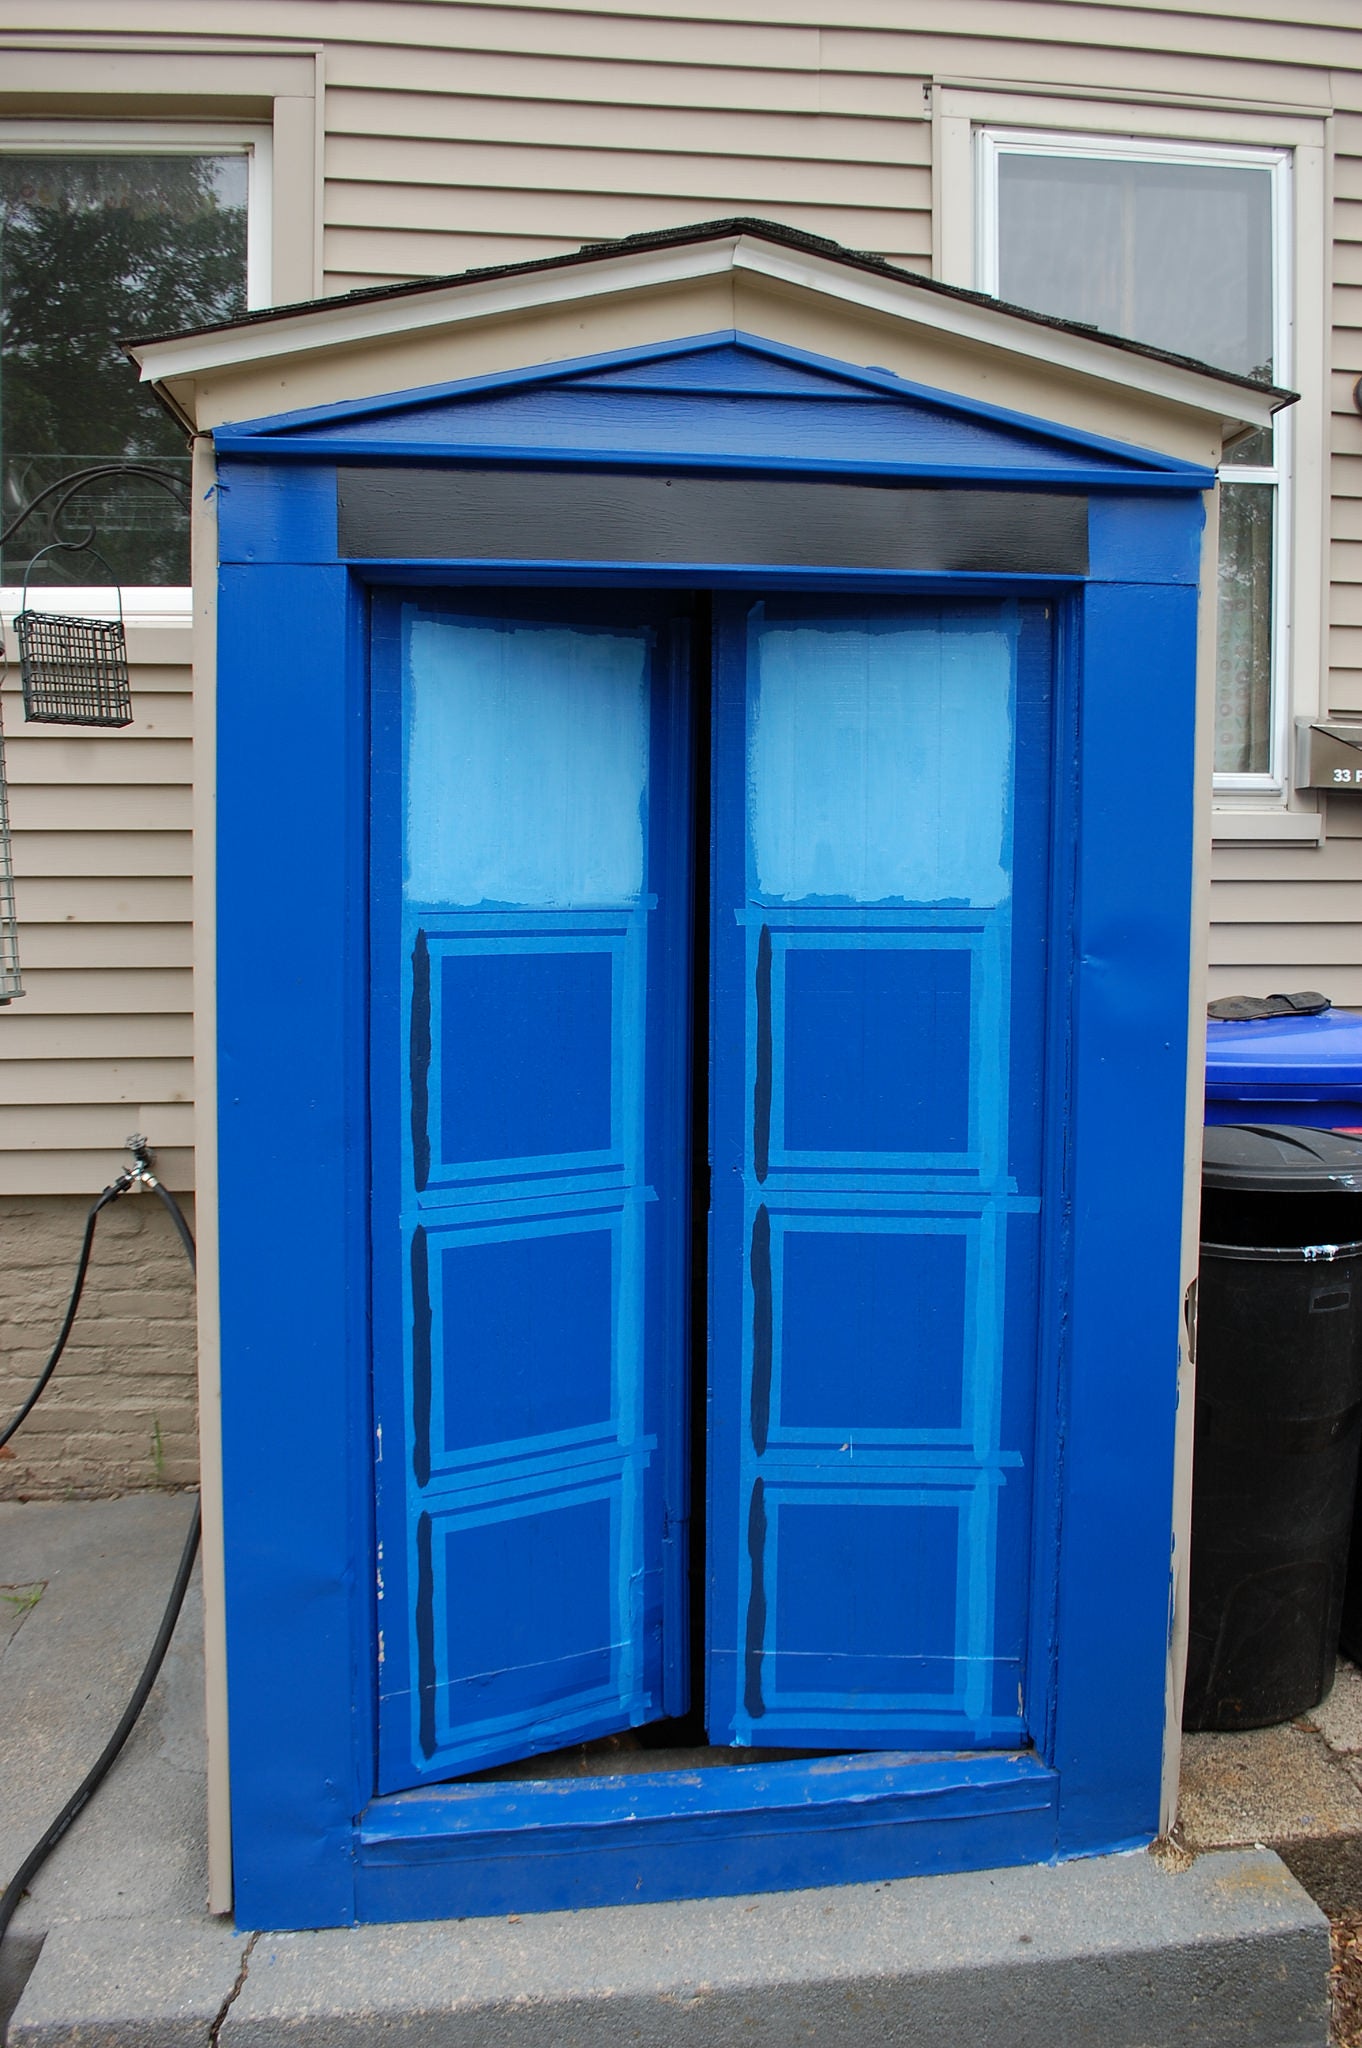
Then the painting started. I’d love to say we had some plan for how to get to the various colors, but honestly it was a lot of “eh, that looks about right.” We took some of the blue and in one cup added white to lighten it, and in another added black. We painted the vertical lines, then added more tint to shift the colors further and once the first paint had dried we masked the corners and painted the horizontals. The window ”glass” is the same colors as the lower horizontal on the panels.
Painting completed. The window muntins were done slightly darker to make them stand out more. I ended up having to do a lot of touching up of paint bleeding under the tape due to the rough surface. I’m going to go back and edge the windows just to make them a bit crisper.
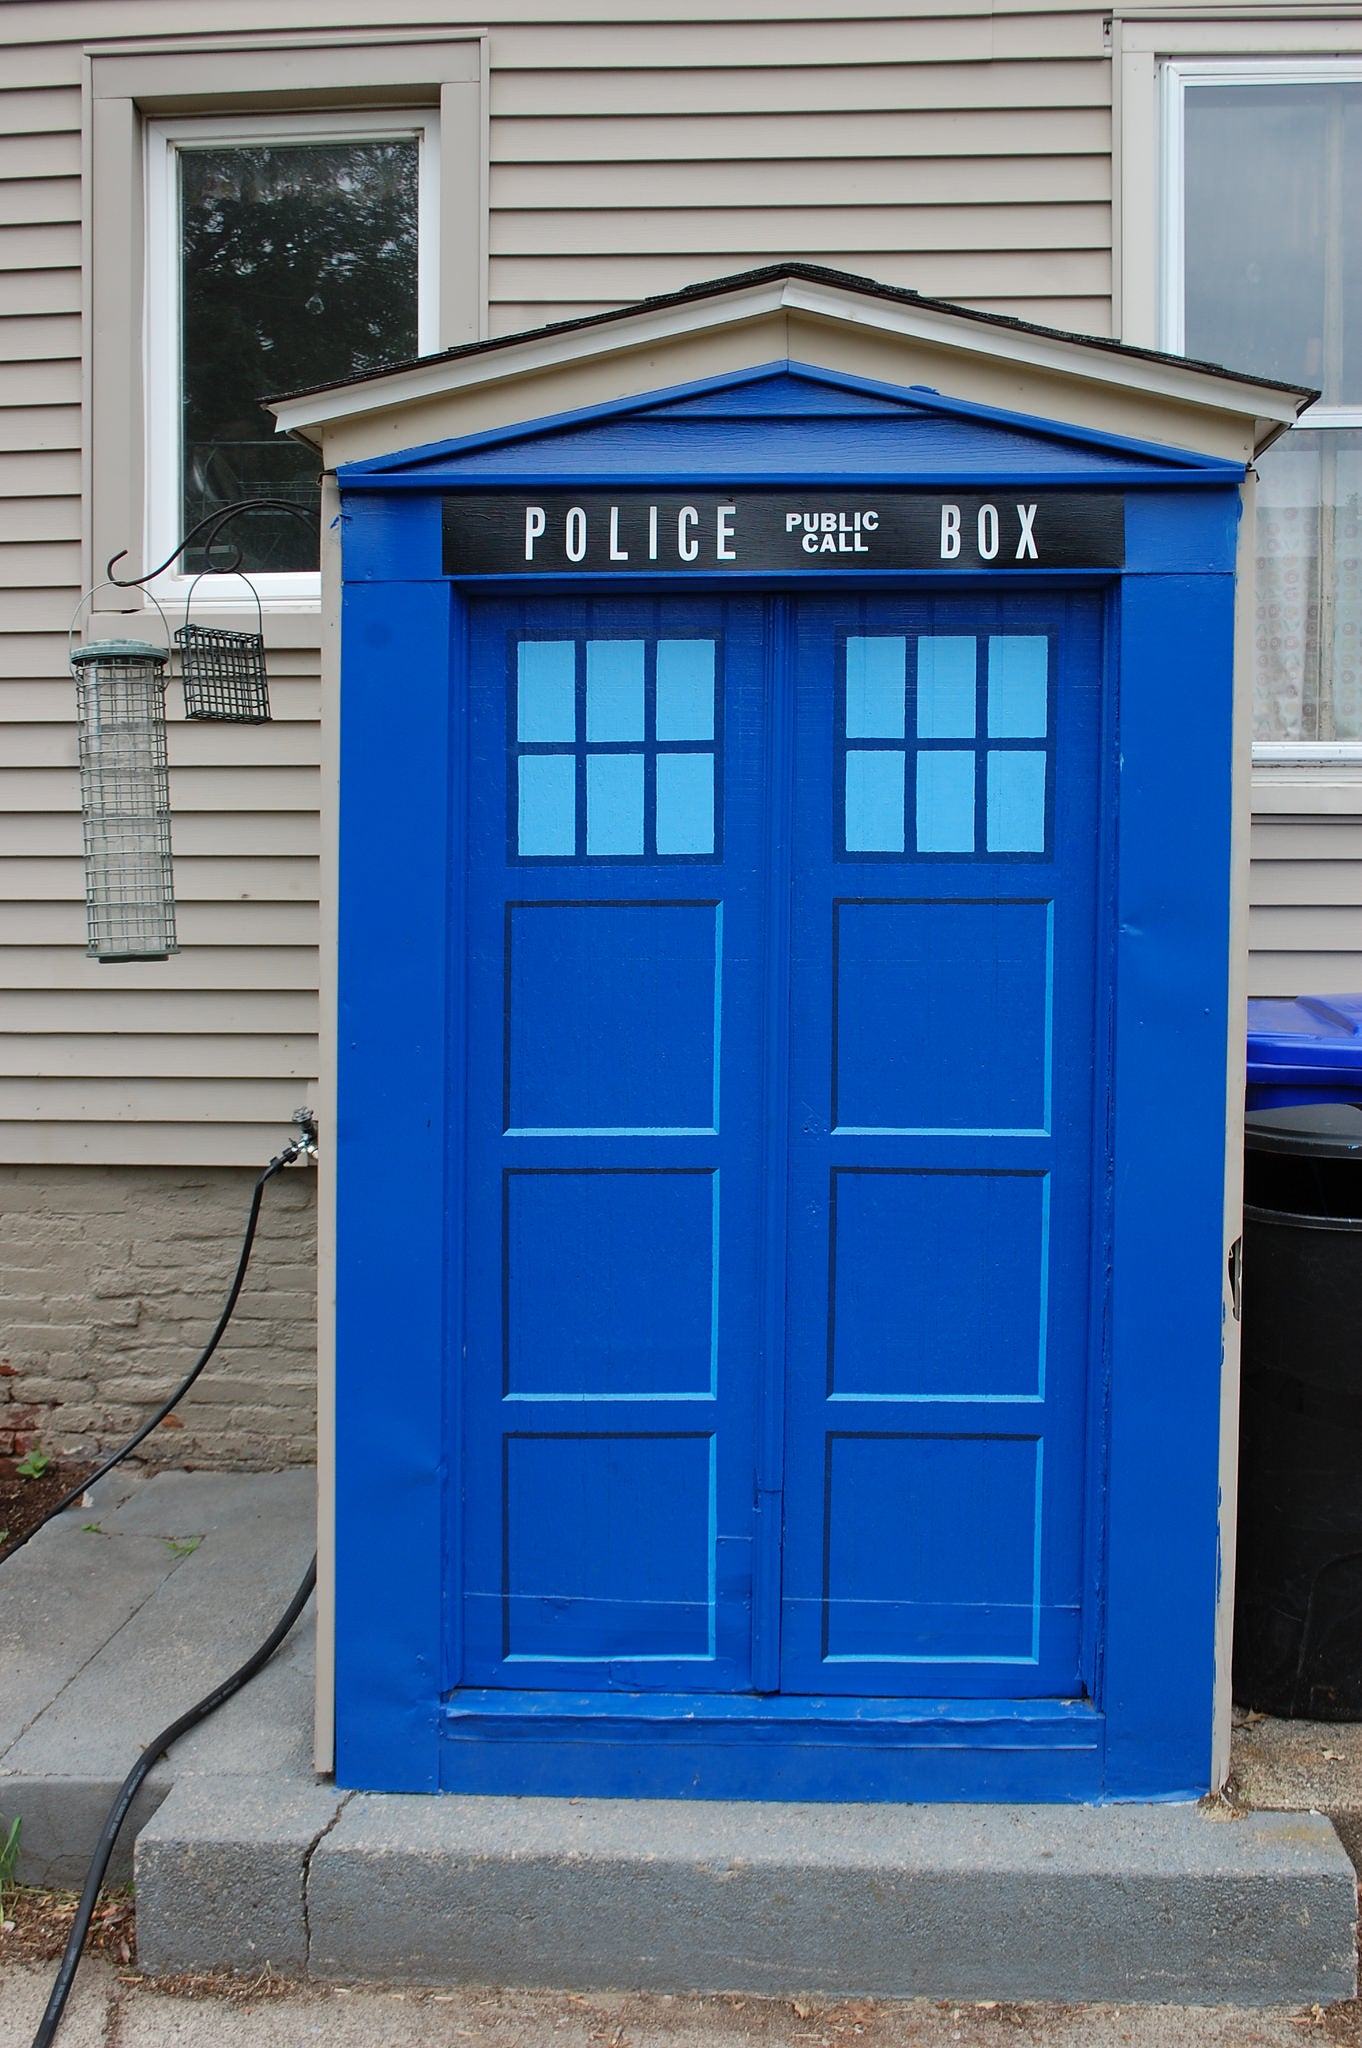
The sign lettering is simple stick-on vinyl lettering from Ace hardware. While the font isn’t perfect, it is pretty good, and the letters being slightly thick helps as this door is wider than the actual Tardis door.
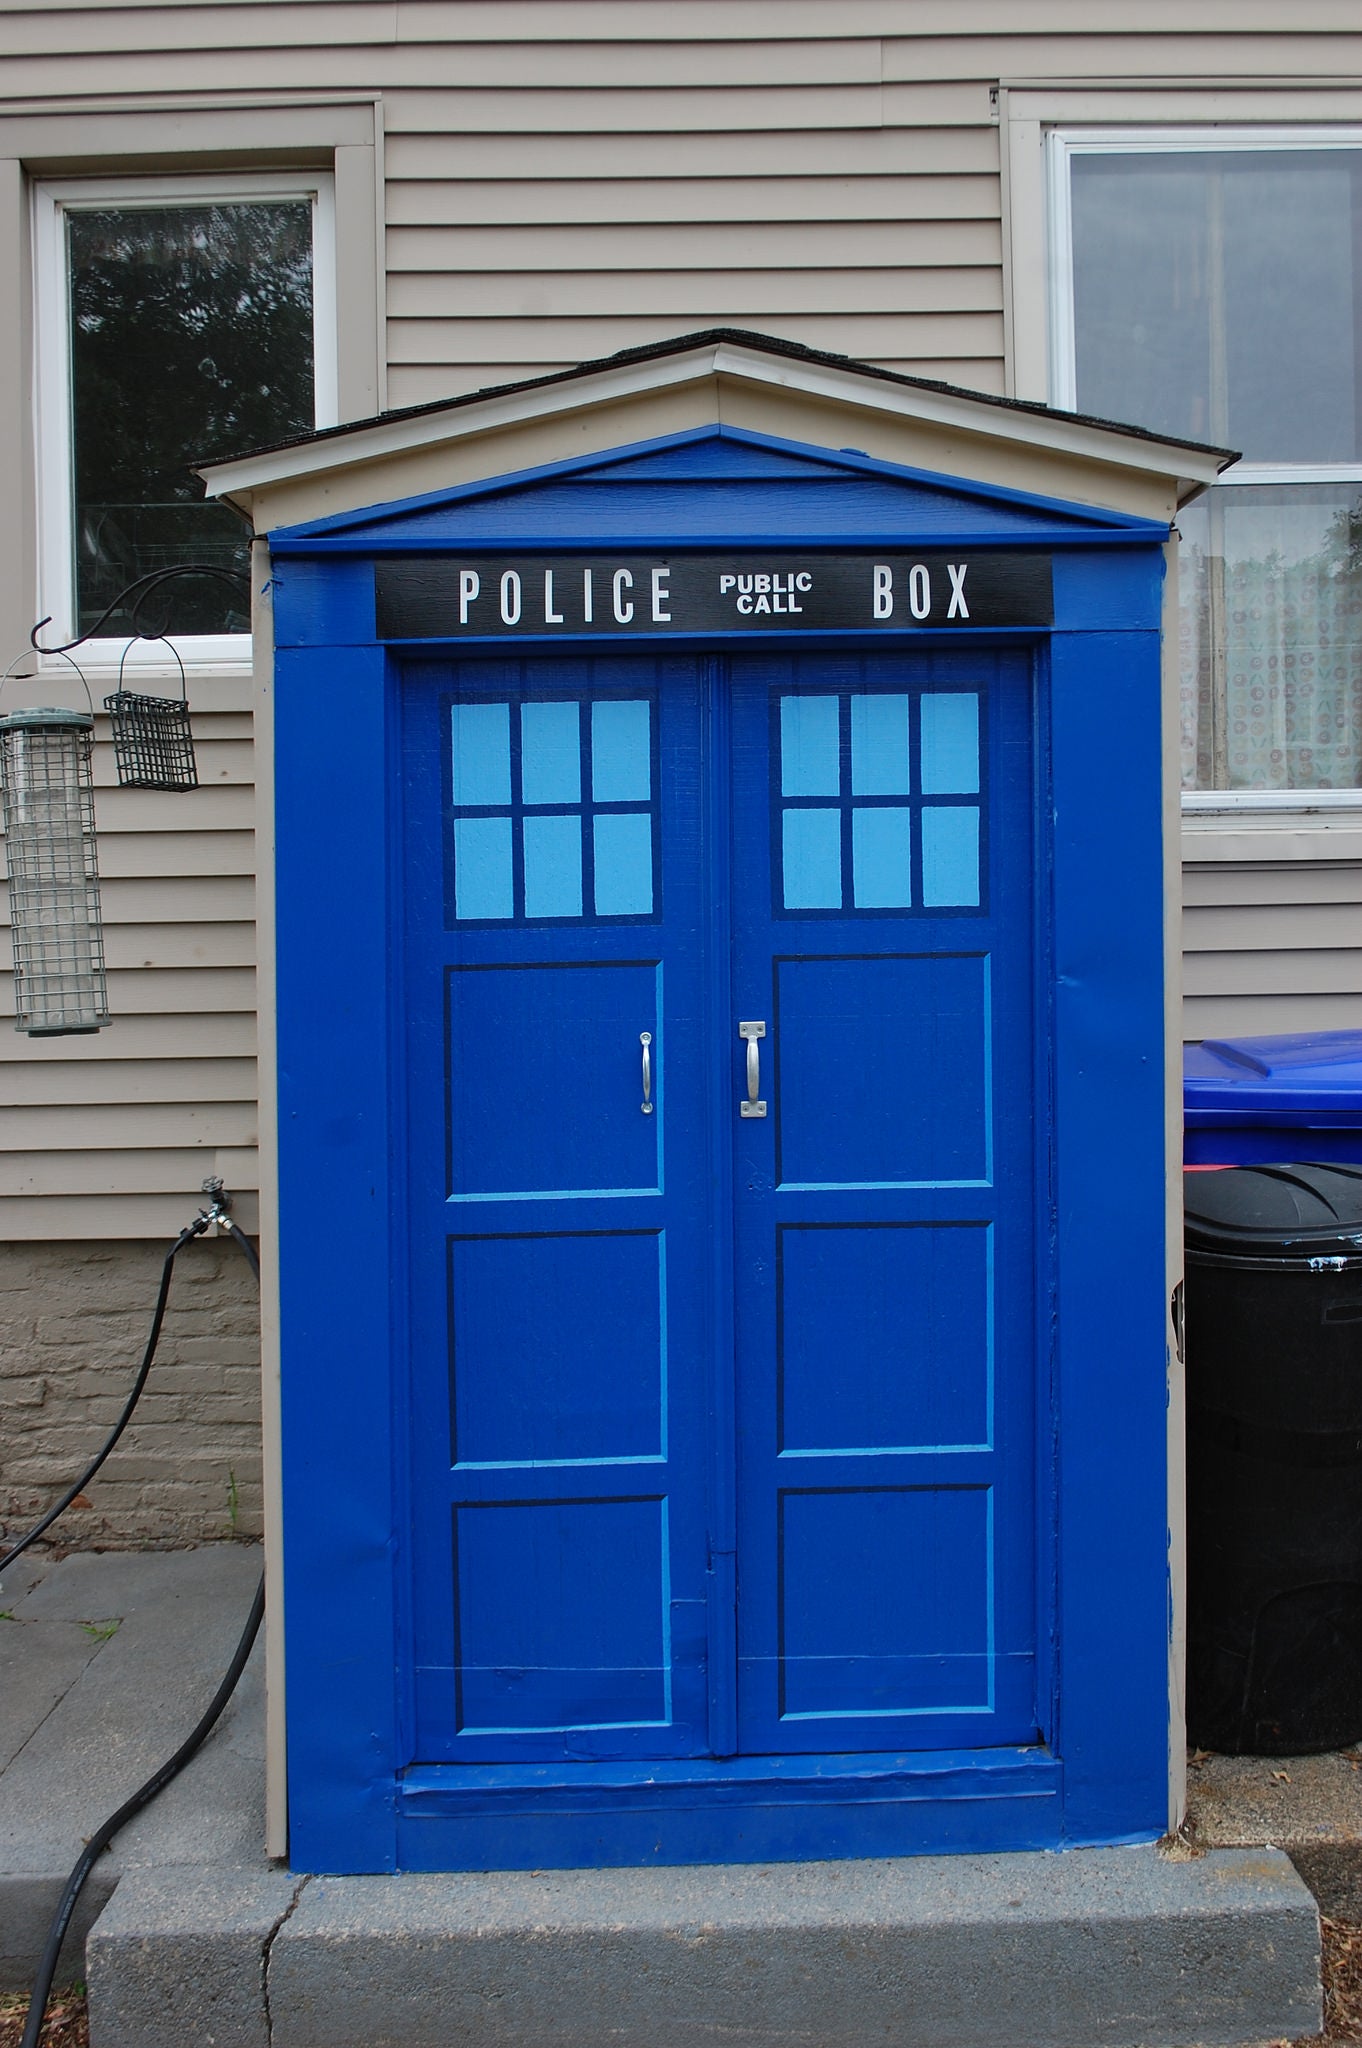
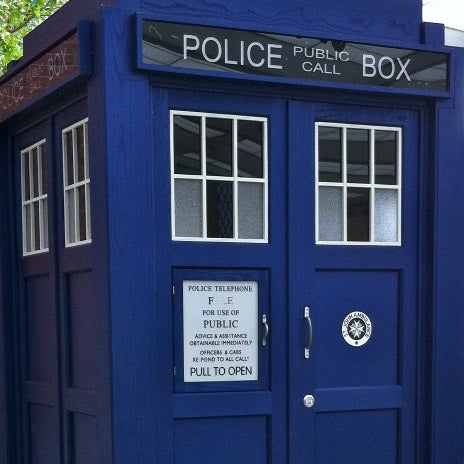
With handles installed. Aside from the window edging this is done for right now. I’d love to add the door sign but the only one I’ve found that looks like it would stand up to being outside is 16” tall, and I need one that is 12-13” tall.
At this point you probably think I’m a huge Dr. Who fan, but actually I’m not. I like the show and enjoy it if I happen to catch it, but that is about it. I did this because a friend suggested it for that ugly door and it is exactly the sort of silly and whimsical project I love taking on. It is the same reason I !!!error: Indecipherable SUB-paragraph formatting!!! , !!!error: Indecipherable SUB-paragraph formatting!!! , and have !!!error: Indecipherable SUB-paragraph formatting!!! .
 $kaycog
> Pixel
$kaycog
> Pixel
07/06/2015 at 10:00 |
|
You did a great job! I love it!
 RamblinRover Luxury-Yacht
> Pixel
RamblinRover Luxury-Yacht
> Pixel
07/06/2015 at 10:01 |
|
This is a perfectly reasonable solution.
-Guy who used a gingerbread house kit to make a gingerbread TARDIS
 64Mali
> Pixel
64Mali
> Pixel
07/06/2015 at 10:03 |
|
Love it. So is your basement bigger on the inside?
 FKA-RacecaR
> Pixel
FKA-RacecaR
> Pixel
07/06/2015 at 10:04 |
|
Awesome idea. It’s amazing how big little things like that really change the look of a house.
Now, my anal retentiveness is bother me. I saw this paint in the first paint photo and thought “Oh, I’m sure he will wipe that off.” or “I’m sure that is just on the tape he used to tape off the area.”
But then there it is, still there, on the final picture...for shame! :-)
And honestly, I did not notice it in the leading photo for some reason.
|
Pixel
> FKA-RacecaR
07/06/2015 at 10:09 |
|
Those bug me too, I’ll be scraping them off at some point.
 Funktheduck
> Pixel
Funktheduck
> Pixel
07/06/2015 at 10:23 |
|
Love it.
 Camshaft Chris: Skyline/McLaren/Porsche Fanboy
> Pixel
Camshaft Chris: Skyline/McLaren/Porsche Fanboy
> Pixel
07/06/2015 at 10:48 |
|
Coolest. Basement door. Ever.
And because I am a huge Doctor Who fan, I probably would’ve gone ahead and painted the sides blue too, lol.
|
Pixel
> Camshaft Chris: Skyline/McLaren/Porsche Fanboy
07/06/2015 at 10:53 |
|
The long-term plan when the whole thing is rebuilt is to make it a proper 3-d tardis all around.
 BoxerFanatic, troublesome iconoclast.
> Pixel
BoxerFanatic, troublesome iconoclast.
> Pixel
07/06/2015 at 10:58 |
|
Now all you need is the white placard for the door, and a motion activated pulsing light fixture above it, and you are good to go.
|
Camshaft Chris: Skyline/McLaren/Porsche Fanboy
> Pixel
07/06/2015 at 11:49 |
|
Awesome. Absolutely awesome. I wish I could do something like this around my house. Alas, I don’t have a basement door (or a basement for that matter).
 Agrajag
> Pixel
Agrajag
> Pixel
07/06/2015 at 12:42 |
|

That’s fantastic.
 MonkeePuzzle
> Pixel
MonkeePuzzle
> Pixel
07/06/2015 at 13:43 |
|
holy vast improvement batman!!!
hey oppo, perhaps we can do a go fund me campaign to get Pixel two matching door pulls?
|
Pixel
> MonkeePuzzle
07/06/2015 at 13:56 |
|
They are like that on purpose. One is for the main door, the other is for the small door the police phone is behind.
|
MonkeePuzzle
> Pixel
07/06/2015 at 14:01 |
|
I KNEW that! I was testing you! or something...
 Birddog
> Pixel
Birddog
> Pixel
07/06/2015 at 17:27 |
|
That’s amazing!
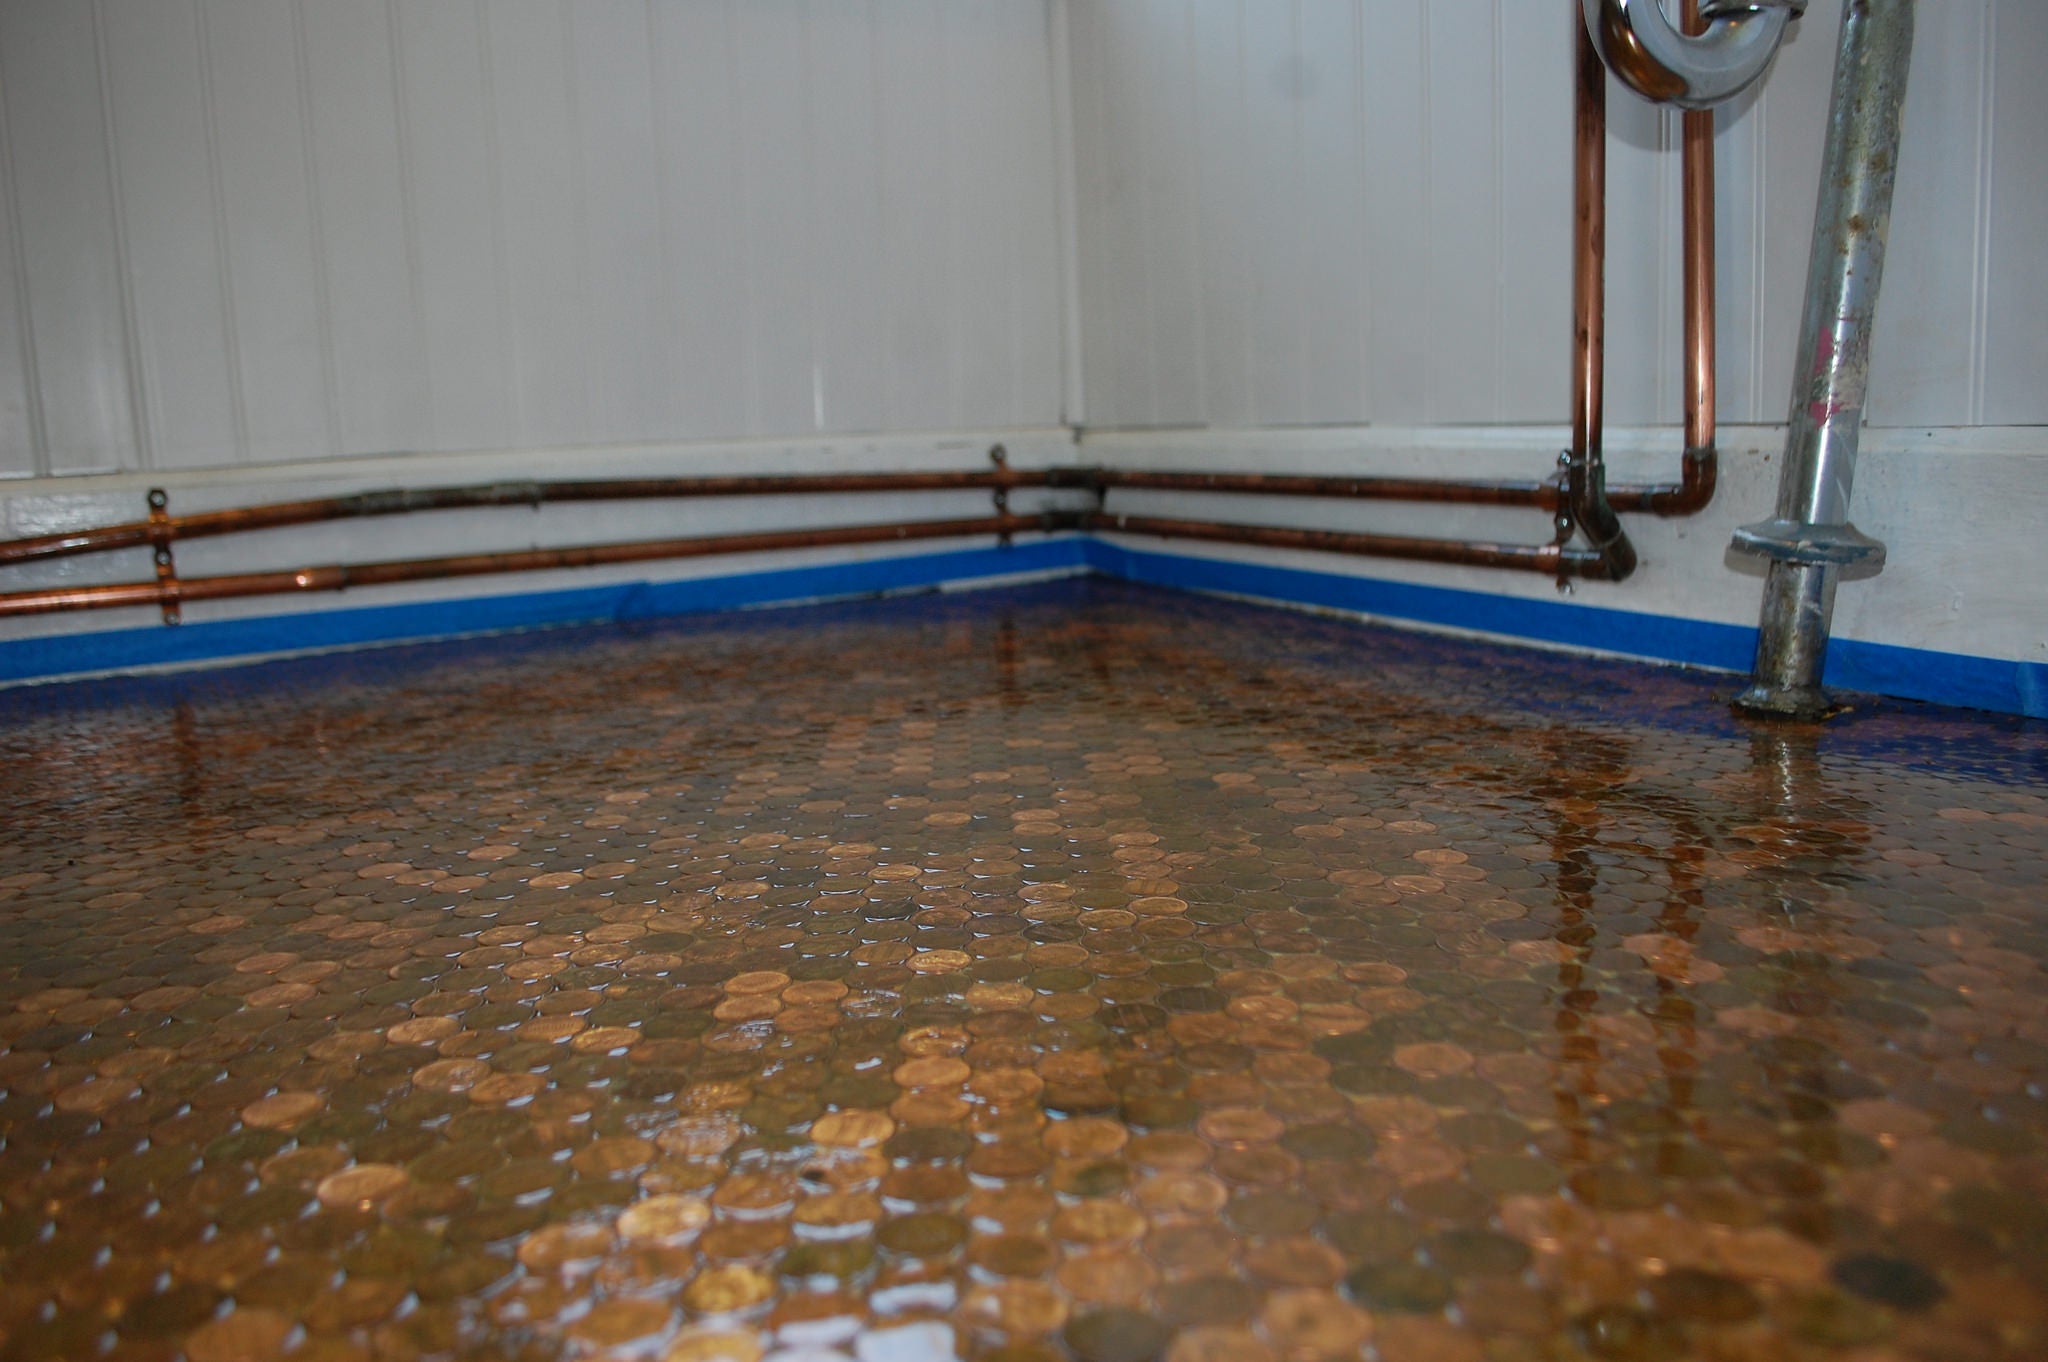
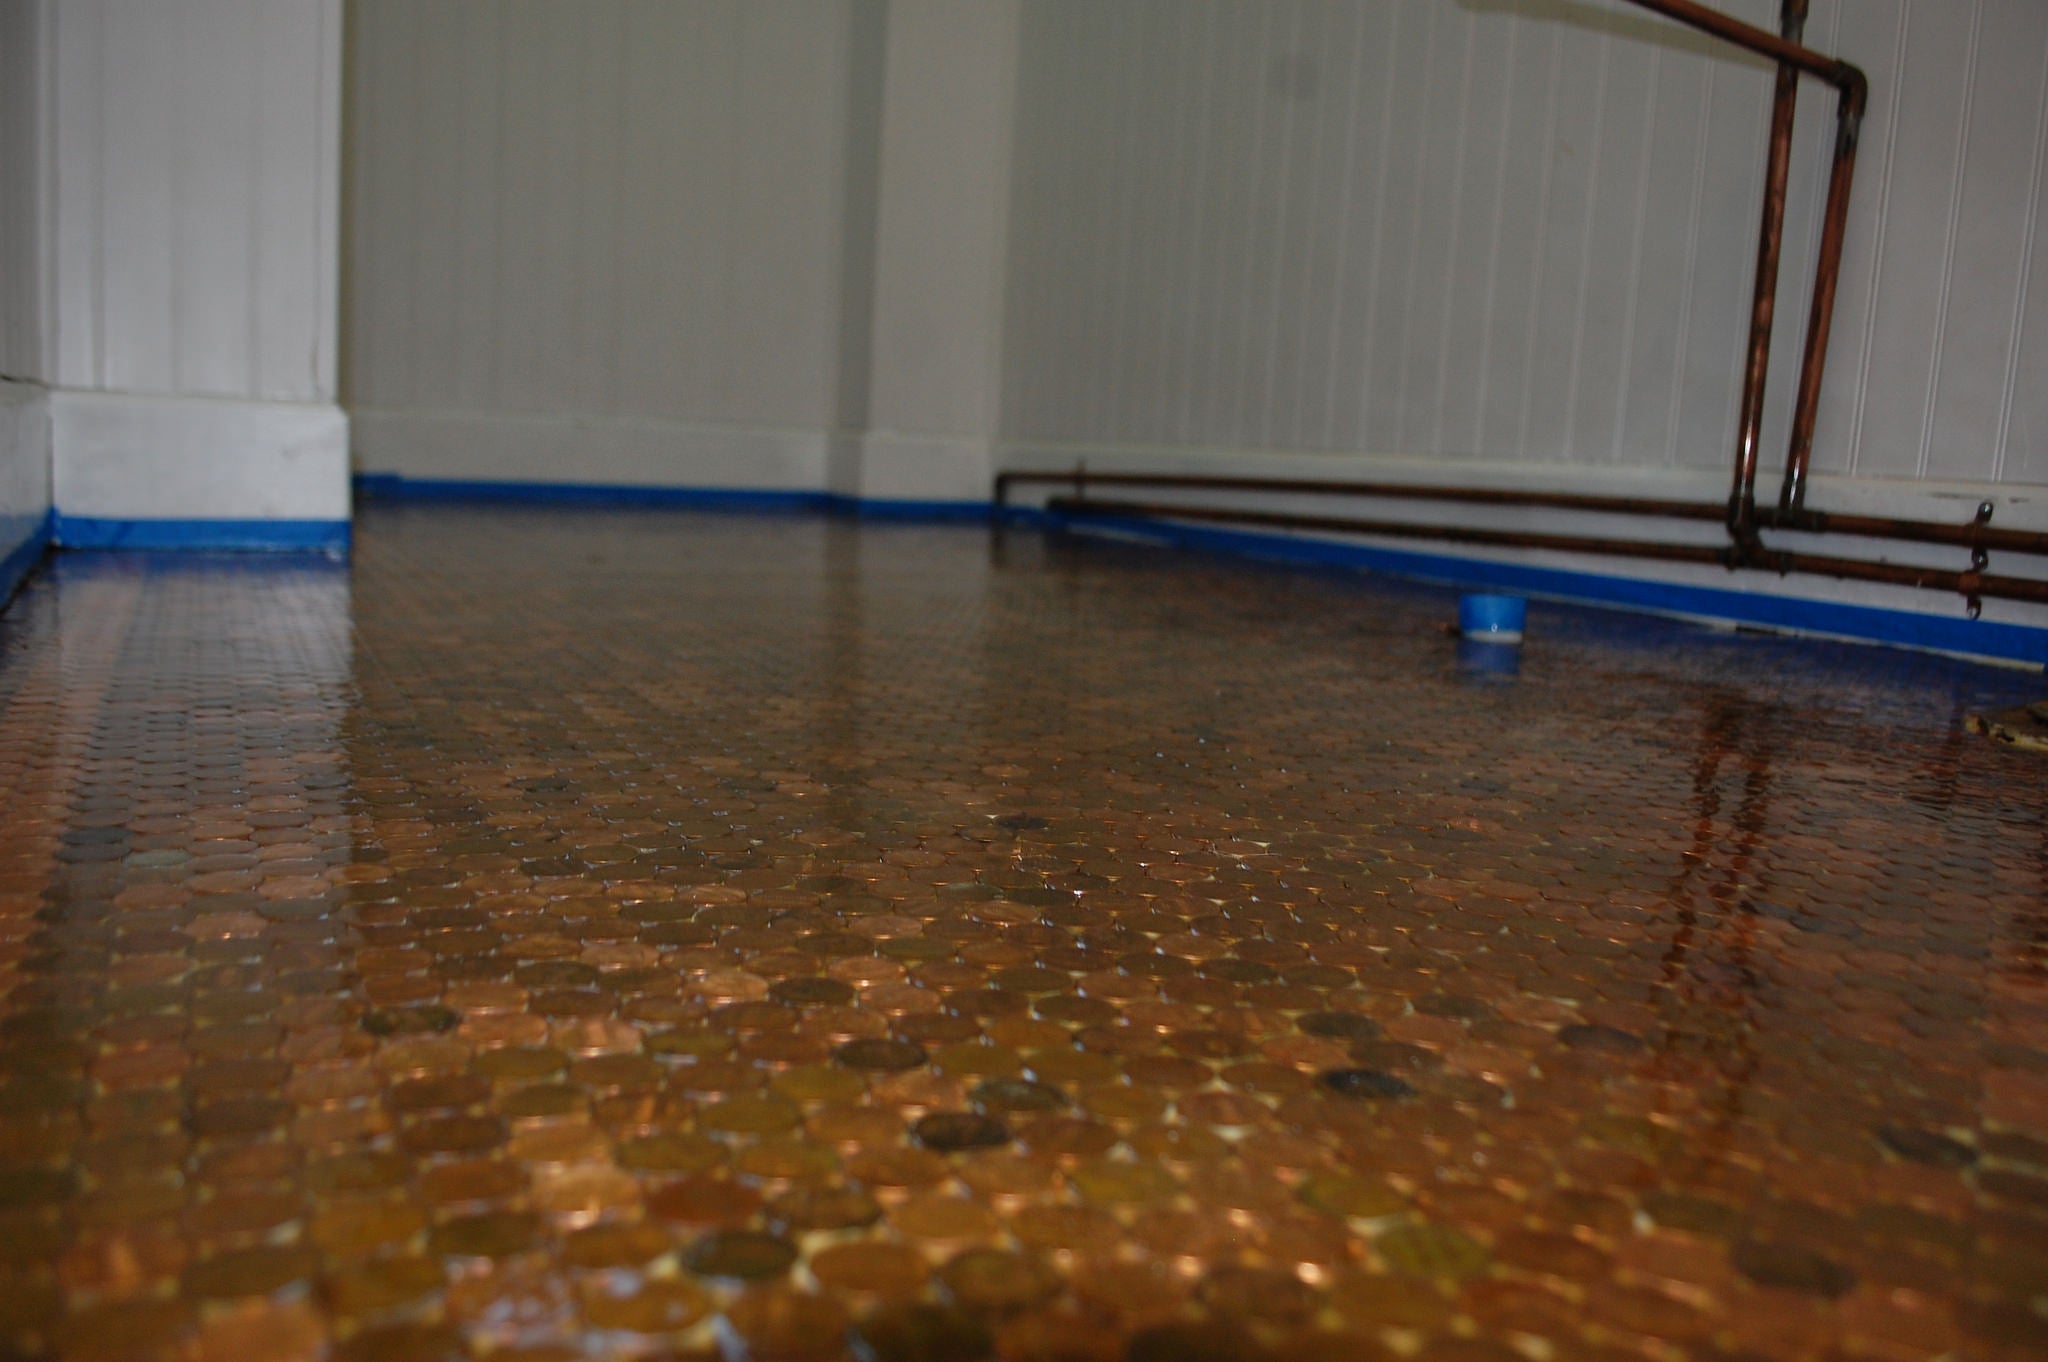
Any “After” shots of the bath floor? I’ll be moving to a new place soon and I’m totally stealing that idea!
|
Pixel
> Birddog
07/06/2015 at 18:36 |
|
Here you go, fresh off the camera. I’m doing the last of the trim & installing the fixtures this week.
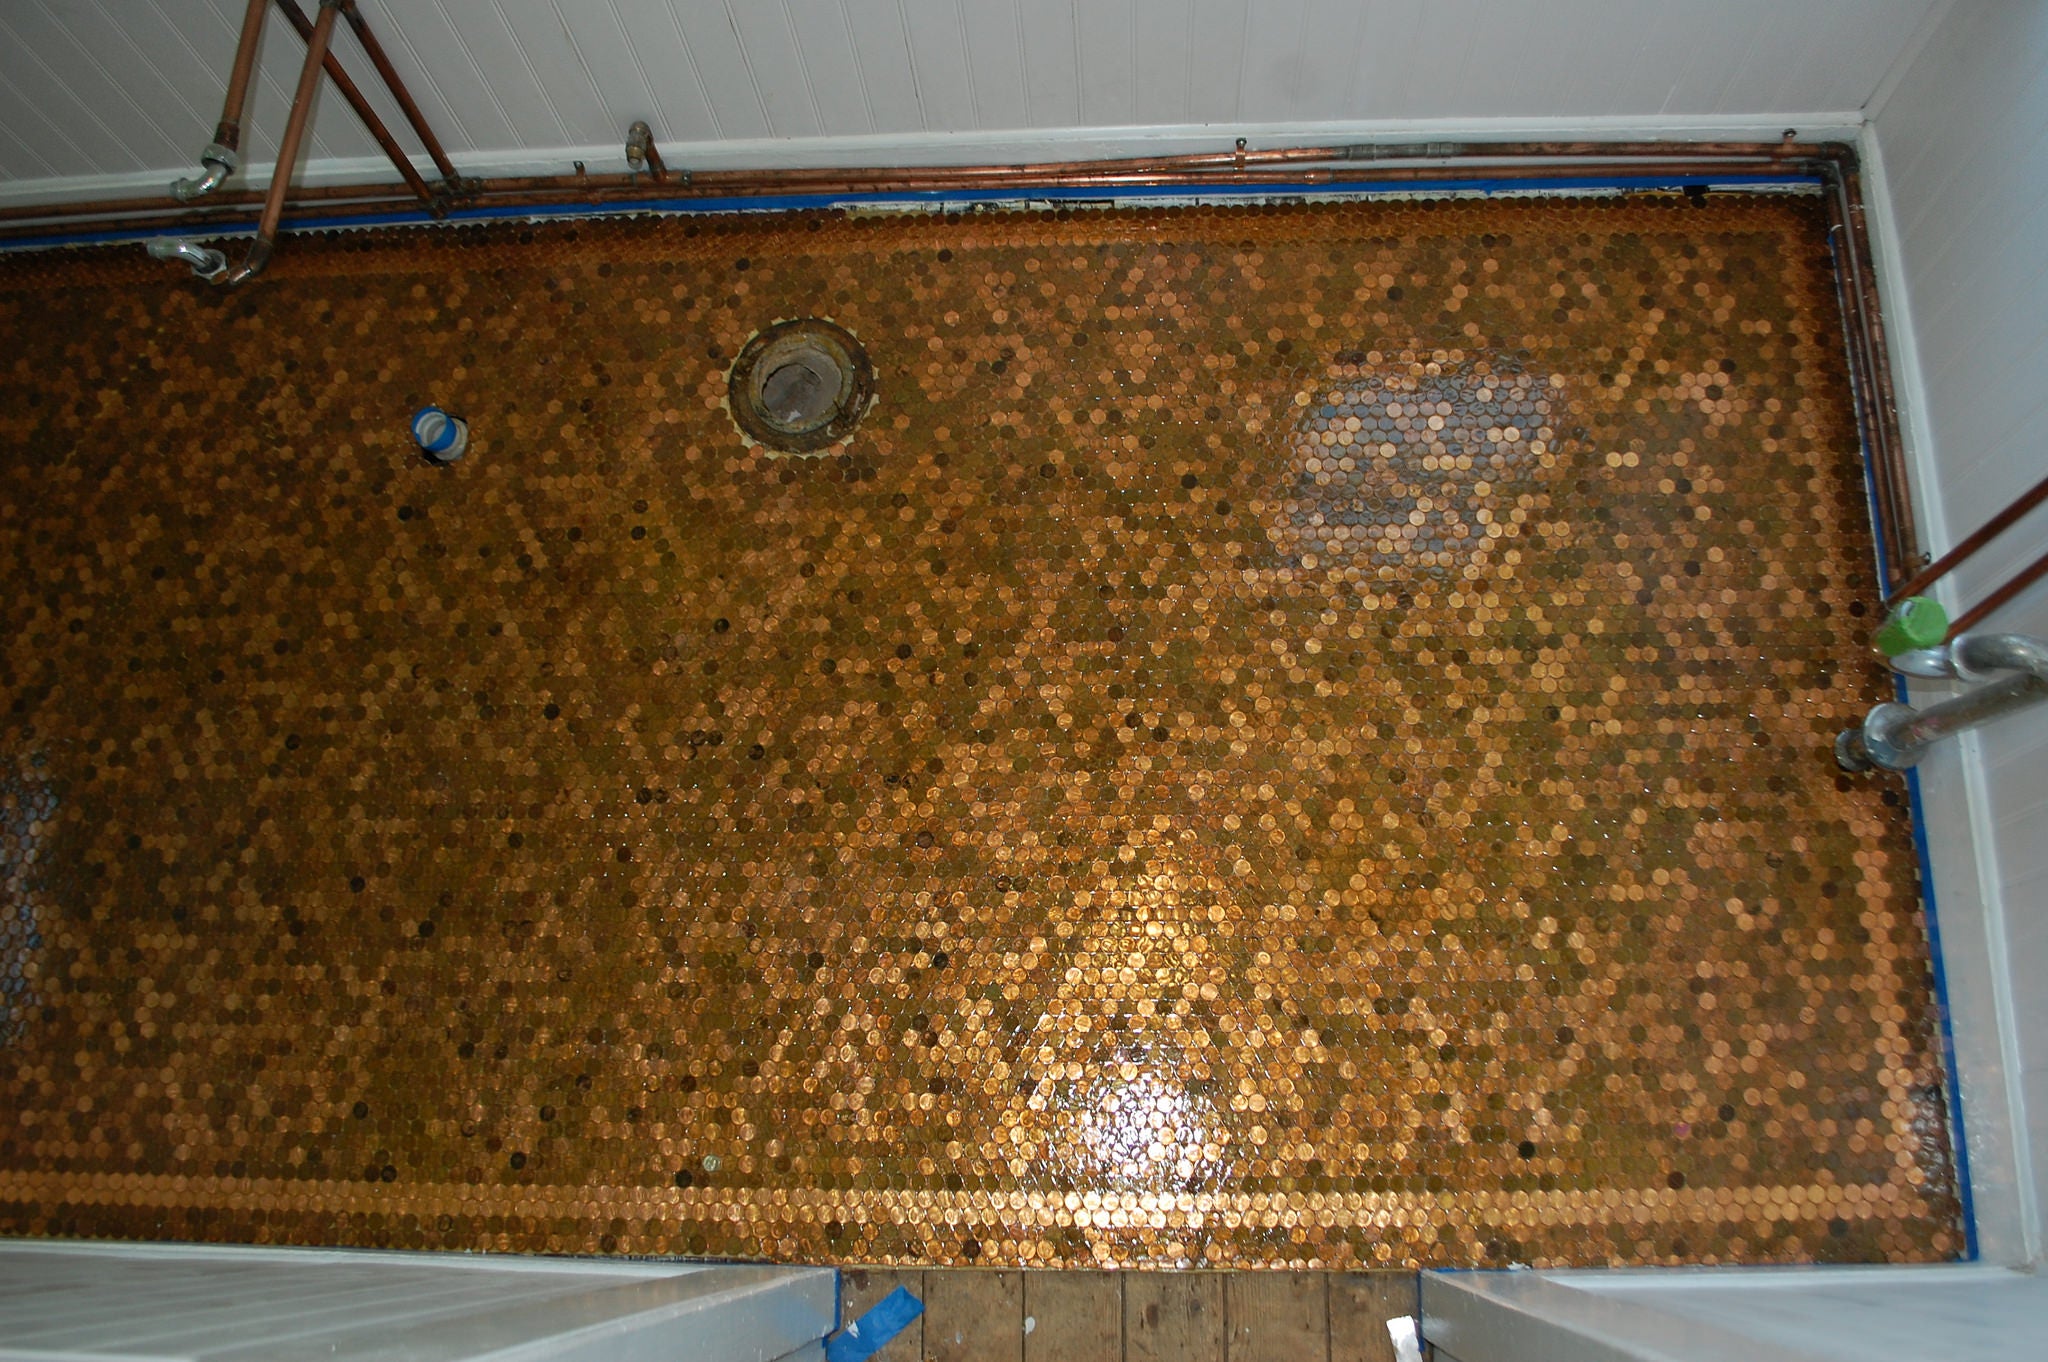
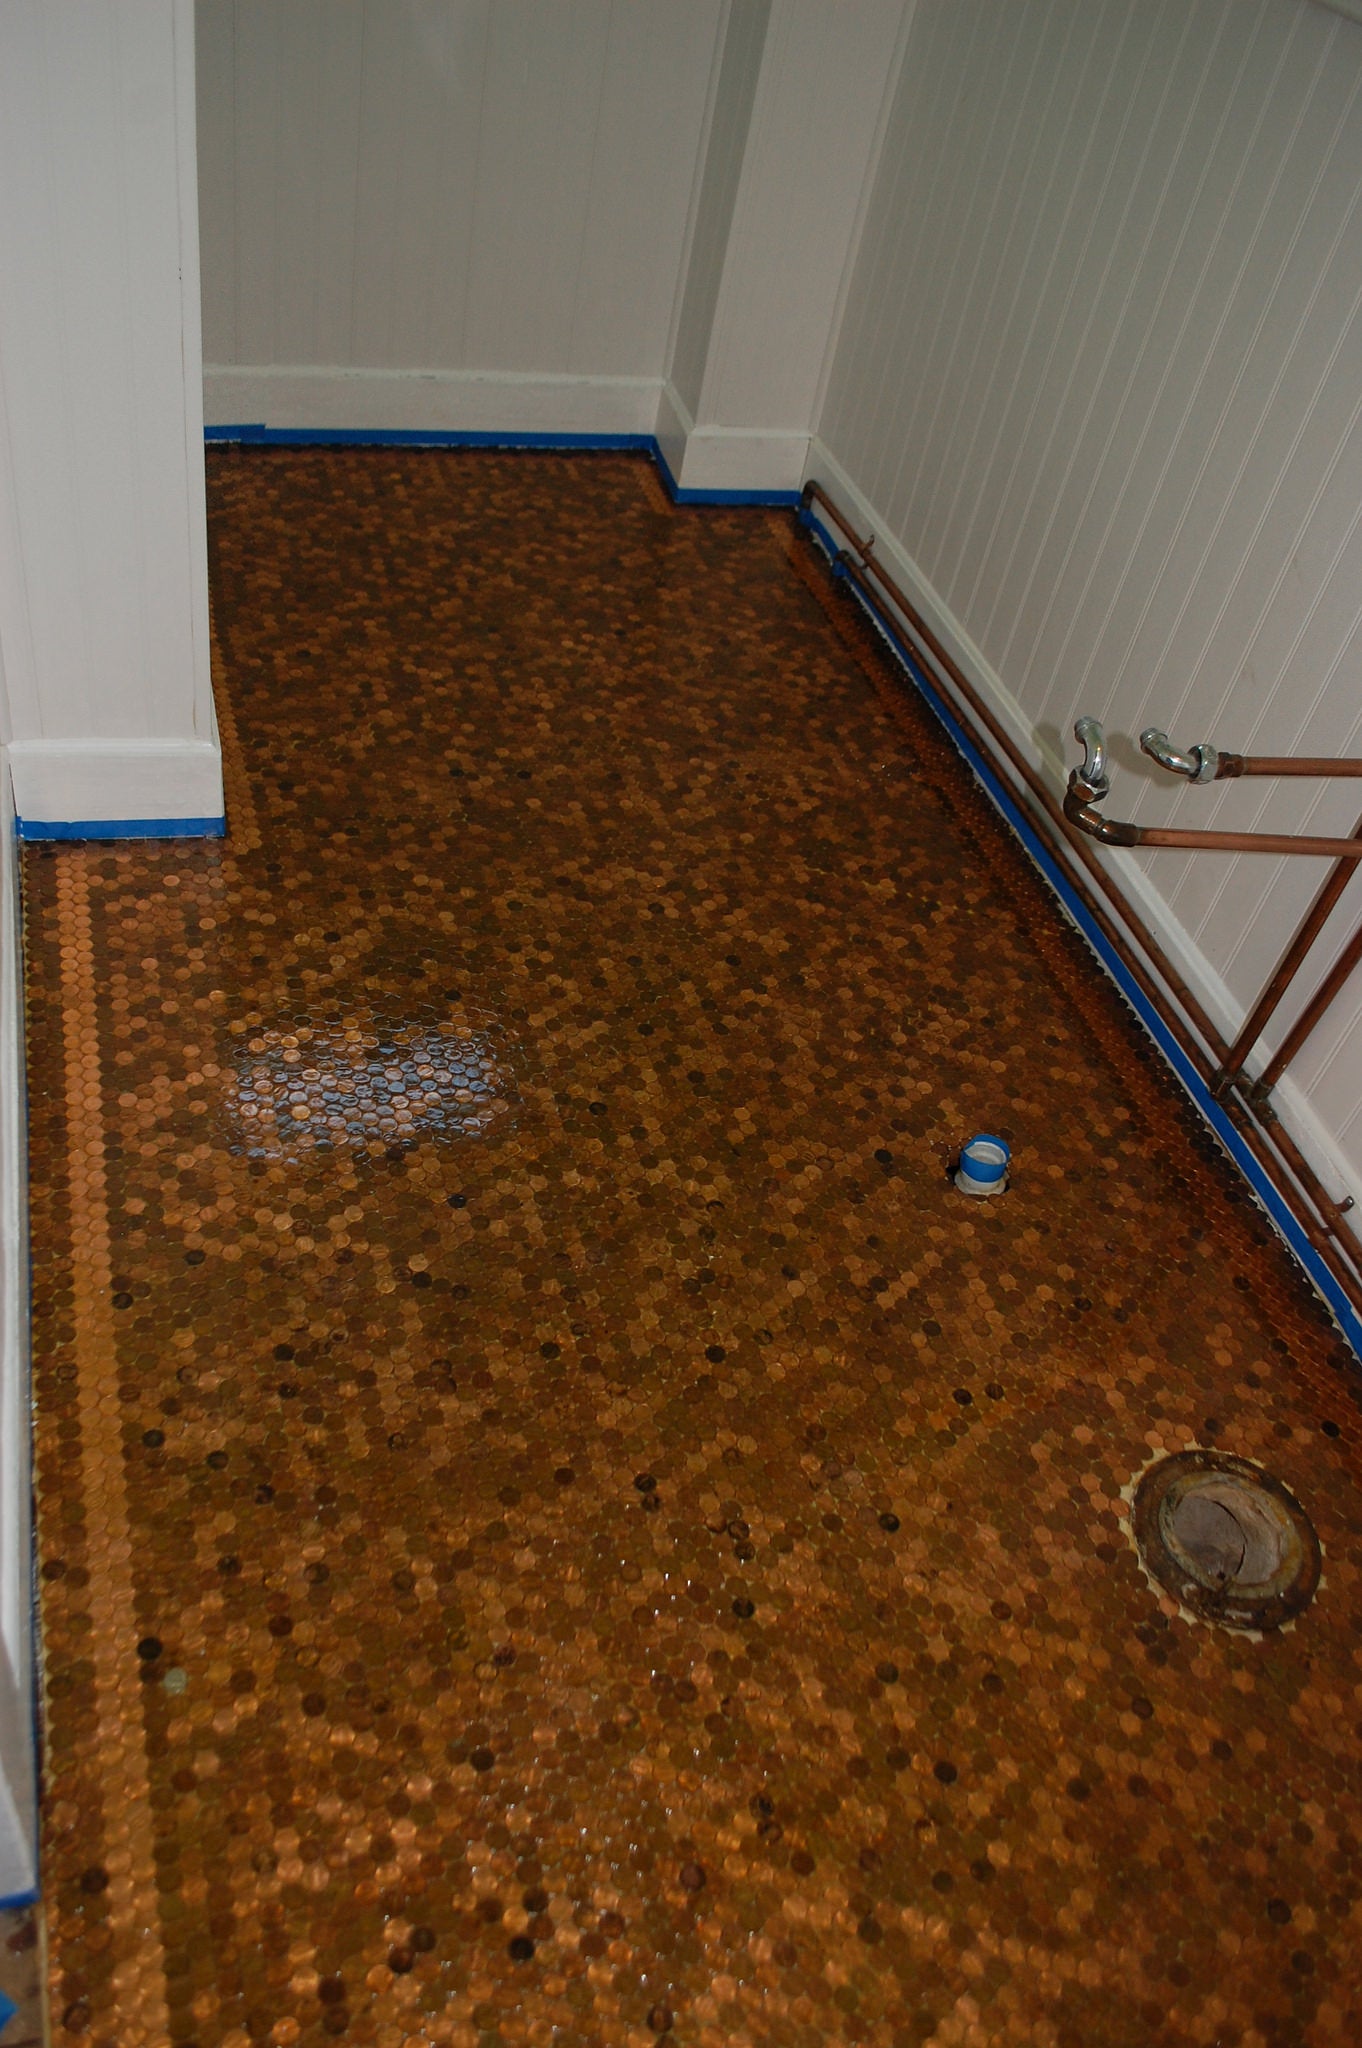
And here is one of the easter eggs hidden in the floor, a British penny that required trimming the coins around it to make it fit.
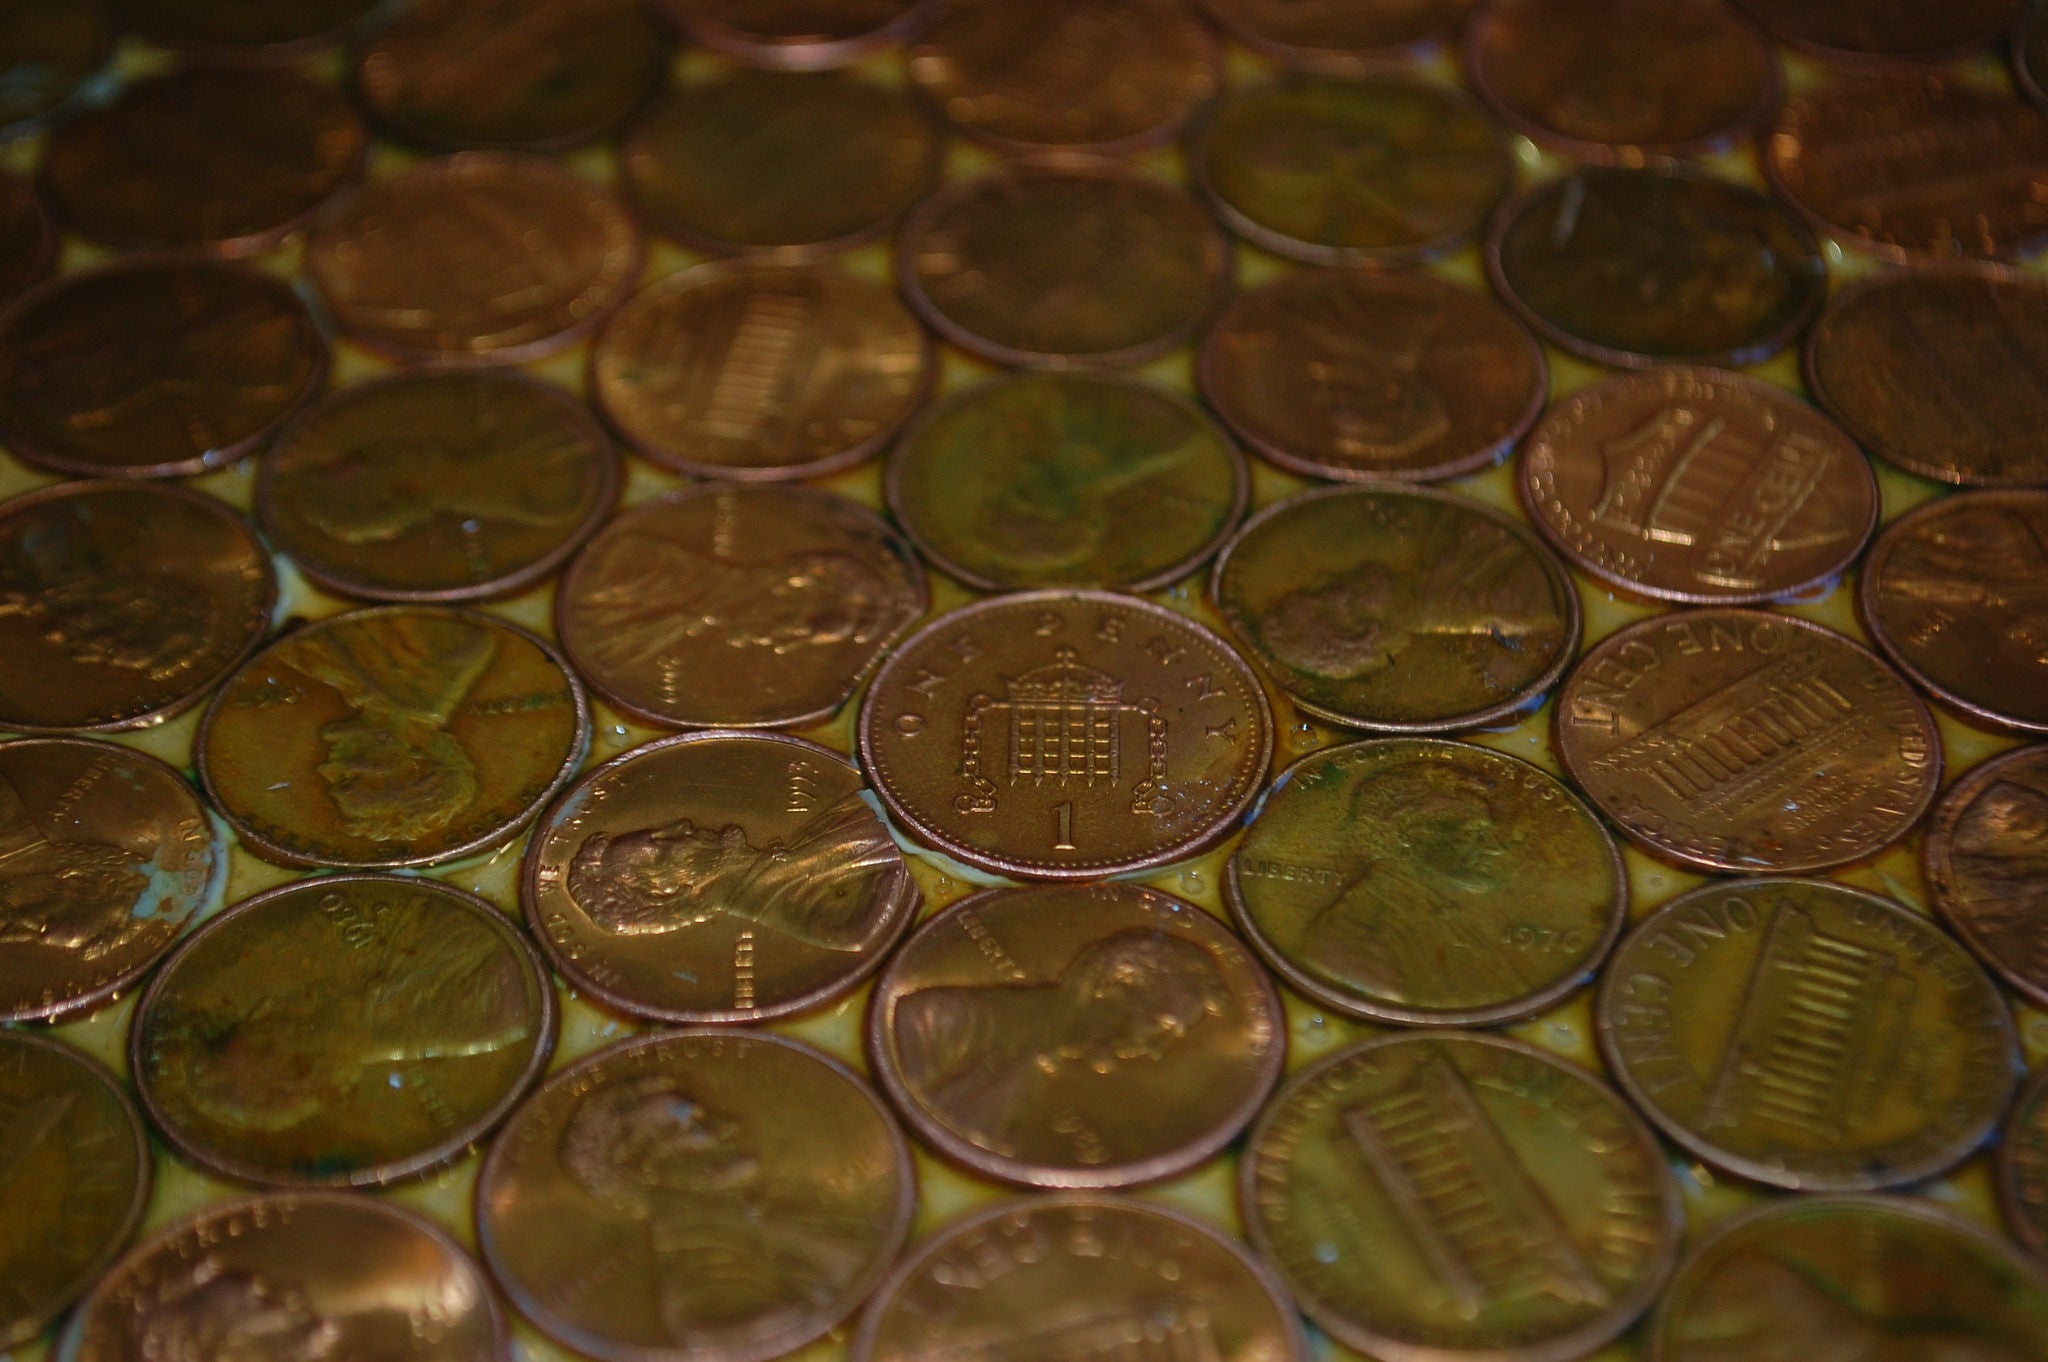
I used liquid nails to glue the coins down, which worked well, then put on two coats of high-build poly, which took forever to dry and resulted in some messed up spots where I stood on the floor while painting the second coat thinking the first coat was dry after 24 hours(as it was supposed to be). It ended up taking a month for the two coats to fully cure so I could sand down the bad spots and re-coat the floor with two coats of regular poly. I’d suggest either a 2-part epoxy or lots of coats of regular floor polyurethane.
|
Birddog
> Pixel
07/06/2015 at 18:40 |
|
Thanks! That is just too cool!
 jvirgs drives a Subaru
> Pixel
jvirgs drives a Subaru
> Pixel
07/12/2015 at 18:09 |
|
So how much money did you put into the floor?
*Bahdum Tisss*
I’ll show myself out.
|
Pixel
> jvirgs drives a Subaru
07/12/2015 at 18:27 |
|
Between $120-$150, which works out to 12,000-15,000 pennies. At this packing density it works out to about $2.95/square foot, which is cheaper than tile. :)
 nerd_racing
> Pixel
nerd_racing
> Pixel
07/16/2015 at 15:58 |
|
That’s awesome!