 "StudyStudyStudy" (jesterjin)
04/24/2015 at 15:10 ē Filed to: 240z, project car
 9
9
 15
15
 "StudyStudyStudy" (jesterjin)
04/24/2015 at 15:10 ē Filed to: 240z, project car |  9 9
|  15 15 |
Body work body work body work.
As seemingly apparent, even though it seemed like my car was a good candidate for a project, my car had all the notorious rust spots very easily covered.
The doglegs were no exception. The door sills have fairly poor fitment near the drip guard, and repeated jacking along the pinch welds spreads the gap and allows water to enter and pool inside the rocker panel and make its way to the rear. Combine that with water being brought up to the tire well and dripping down, any pin hole becomes an entrance for water.
(I apologize for the picture quality, I transitioned into an older camera at this point due to the battery tray in my current camera failing, I know the picture quality hasnít been great, but it is going to be really bad for this post)
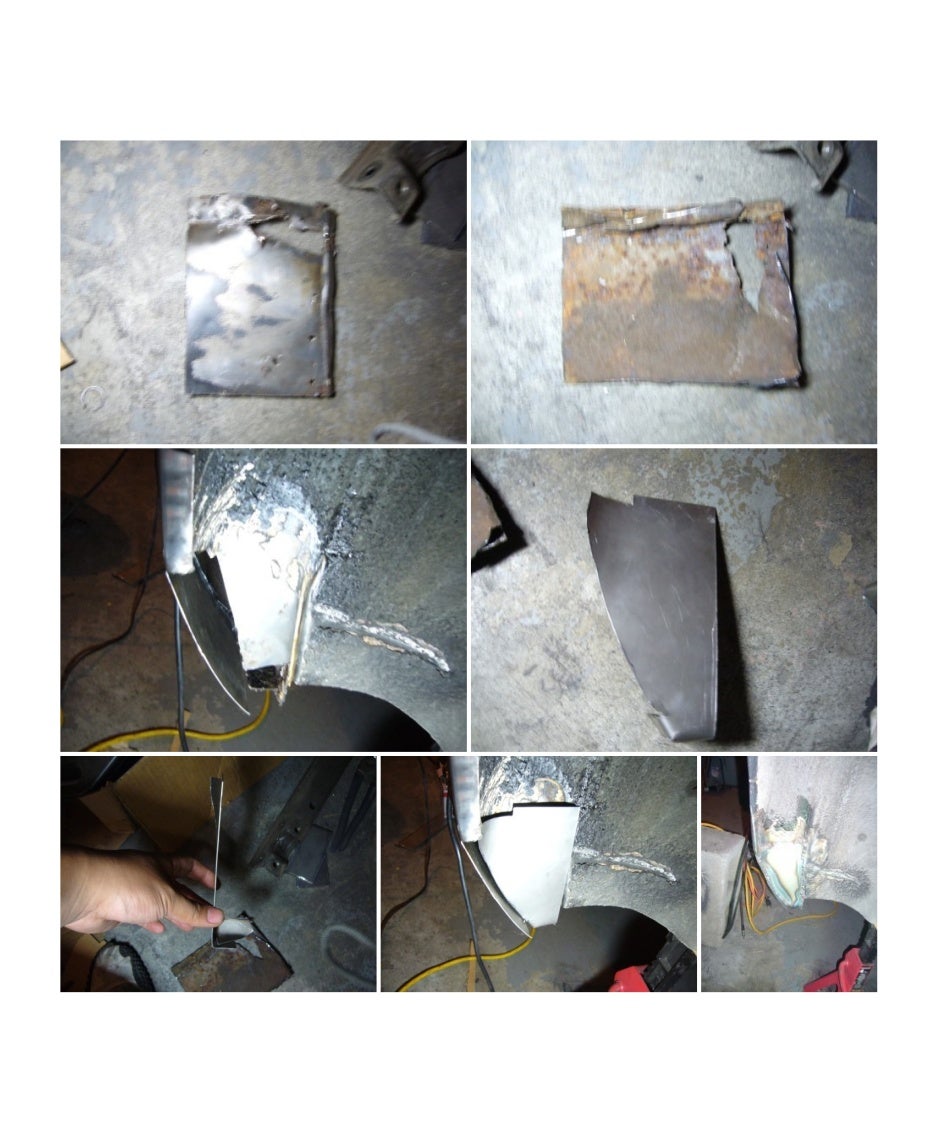
As seen in the first picture, just some wire brushing yielded some pinholes. I decided to cut out the panel and you can see what was hanging out on the inside. I continued the treatment until I could find no more signs of rust. Now it may seem daunting what had to be filled, but with some cardboard templates and a hammer you can make a nice 3D replacement panel pretty easily. a couple test fits and voila dogleg repaired.
Some decisions had already been made for me, the PO had deleted the side mounting points for the rear bumper along with the rear quarter emblems. So that meant going ahead and clearing out the other emblems and bumper mounts as well as the courtesy light in the rear.
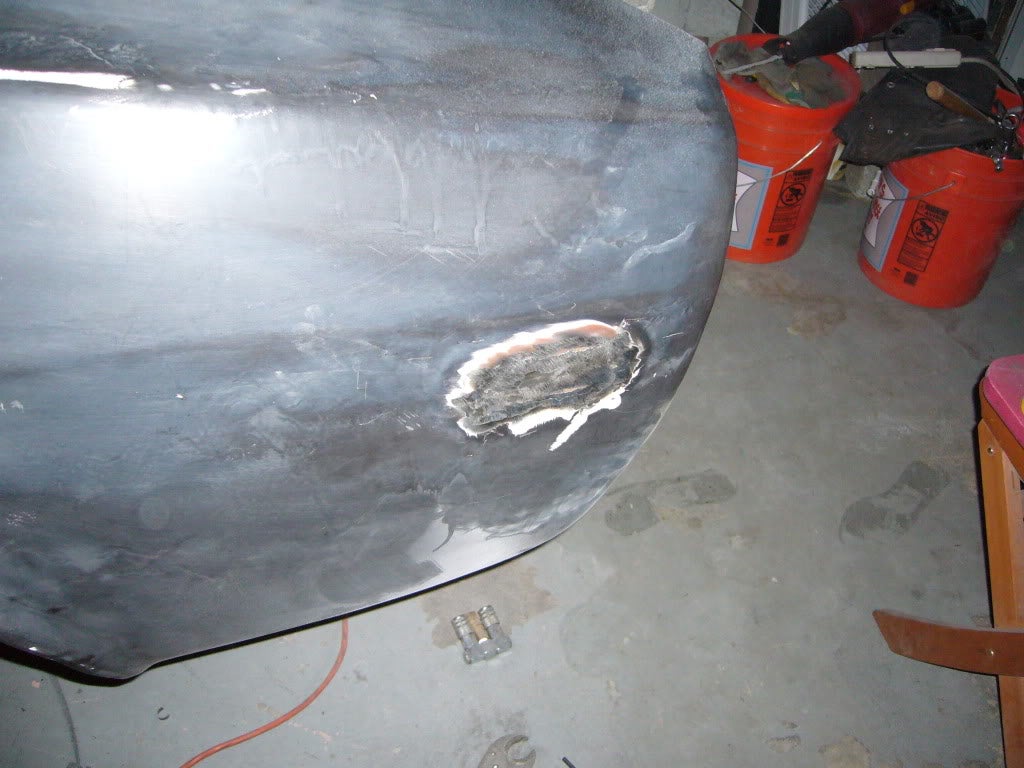
The other side I found a fairly alarming amount of bondo. To my surprise though upon deeper inspection I could not find a reason for it.
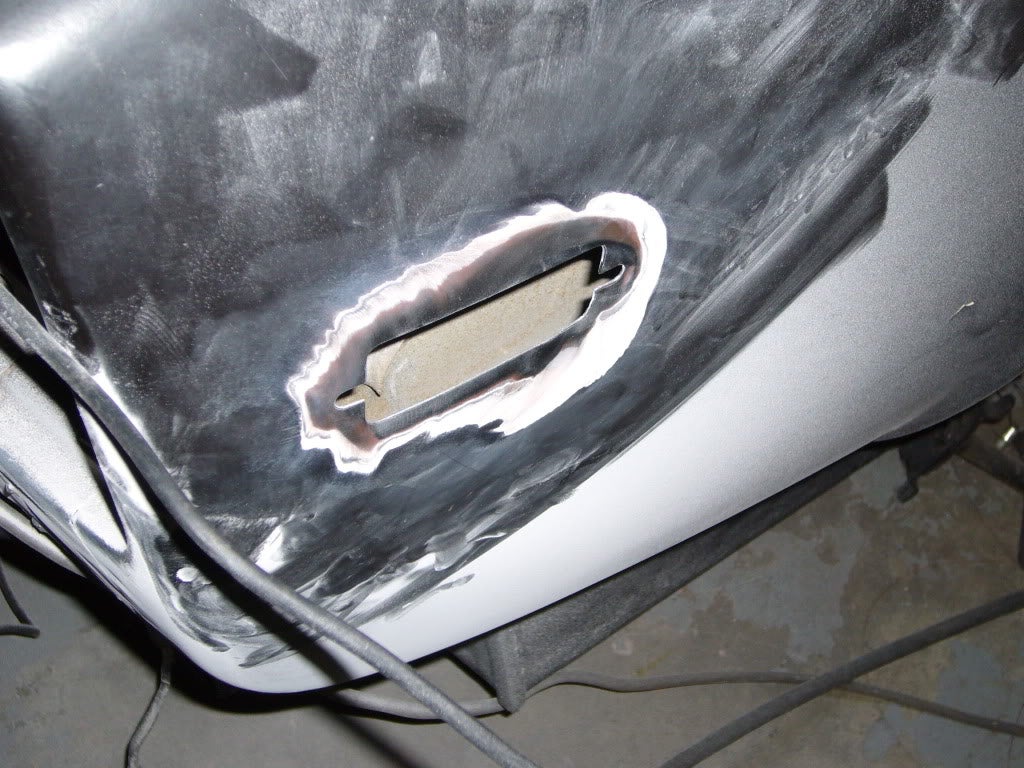
I would come to find quite the liberal usage of bondo on the passenger side.
I pulled the bondo back, but couldnít find any real reason for such a large slab, but decided that I wasnít going to sand the car fully down to bare metal. So I skimmed off quite a bit then finished it back up.
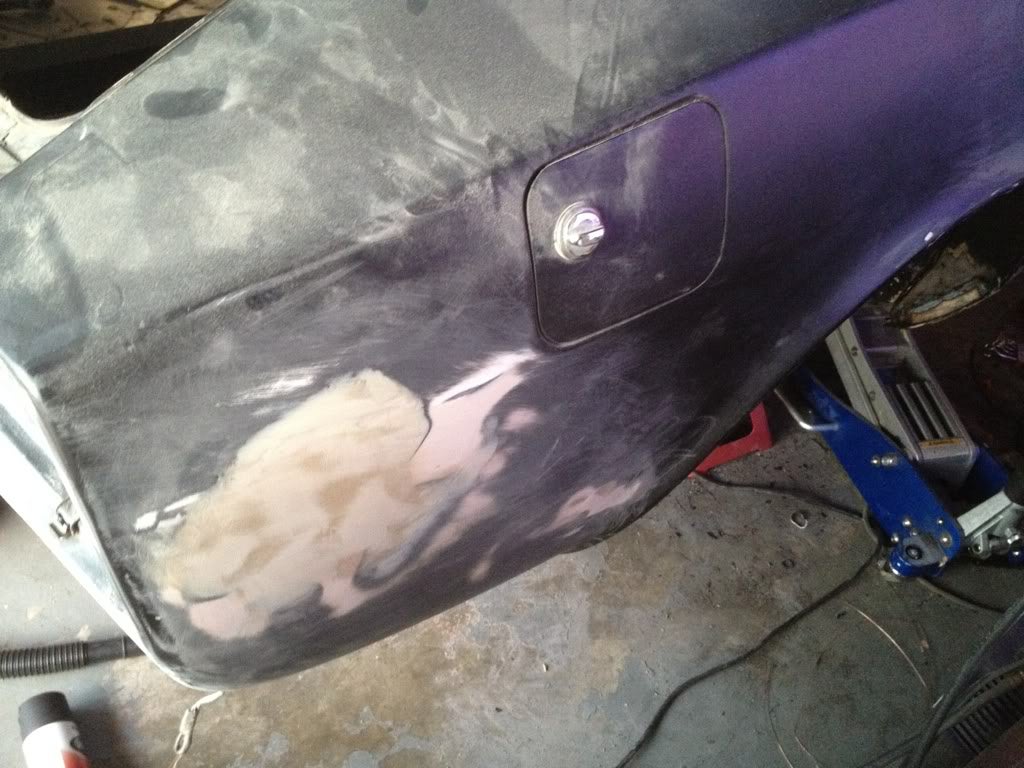
The rear bumper deletes also received a fair amount of the body filler to be sanded down as well
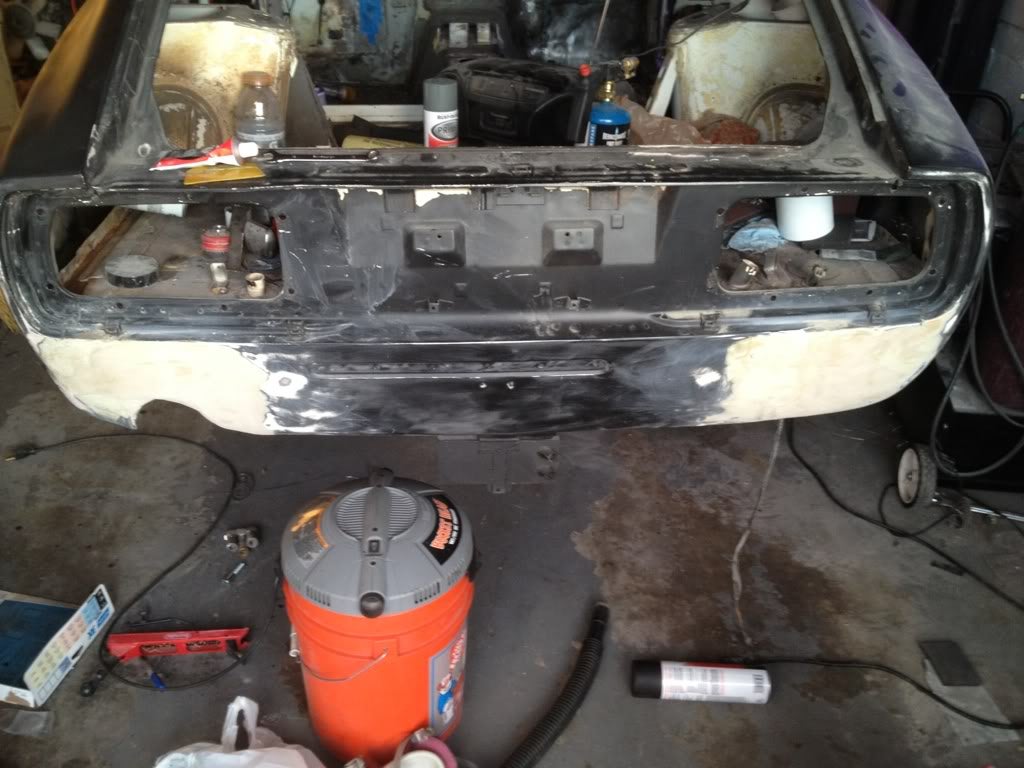
At first I was just going by hand, just trying to aim for smooth, but found I could not get it very reliably. A little searching yielded the guide coat technique, spray a little bit of gray or black and sand down, the remaining gray and black spots will show the low spots that need to be filled or will show how much further you have to sand.
Once all the little dents and knicks were sorted, hammered out, filled, I sanded down the entire car with a rough grit of 200 or so, followed by a nice thurough wipe with wax and grease remover, then coated the entire car in primer. I had a moments hesitation once it was all nice and flat black.
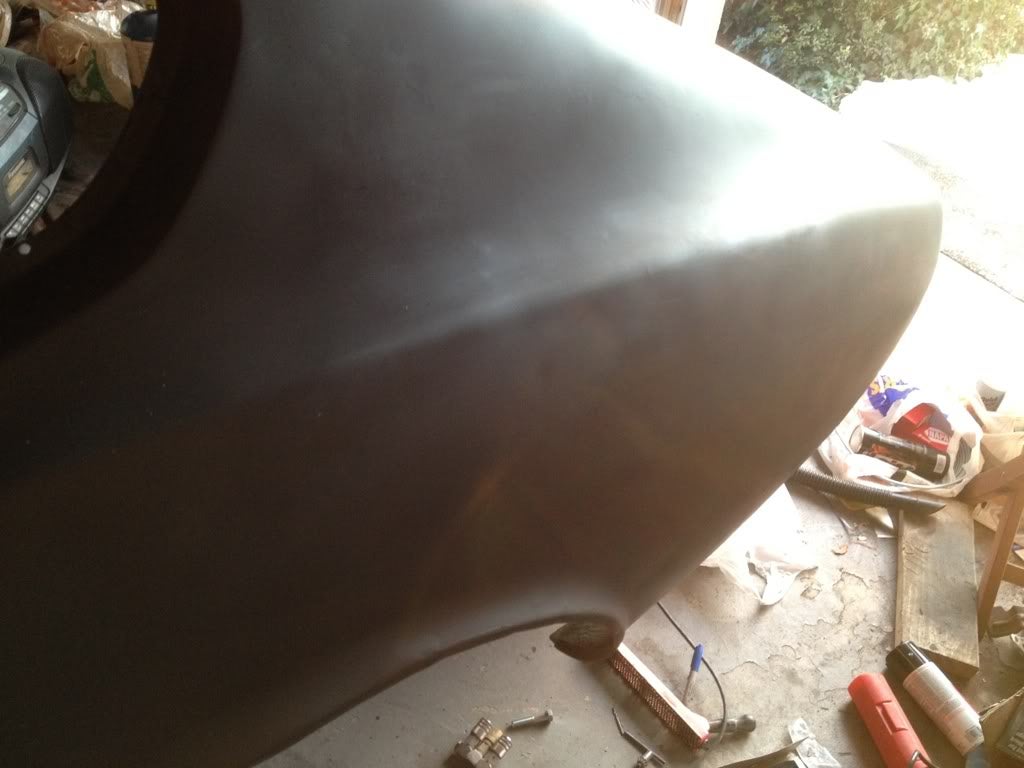
I had been saving newspapers and little booklets for about a week now in anticipation.
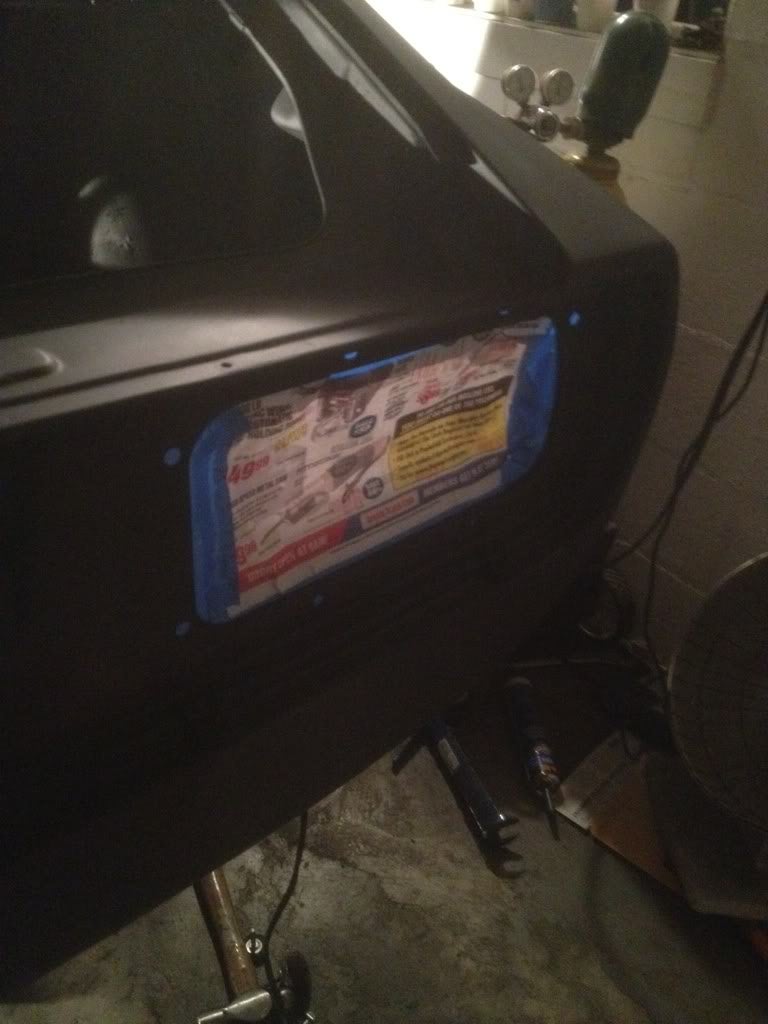
A bit of painters tape on the inside helped achieve a nice finish free from potential lifting paint.
The engine bay would get a nice coat of stealthy engine enamel to deal with the paint and possible oil/gas spills.
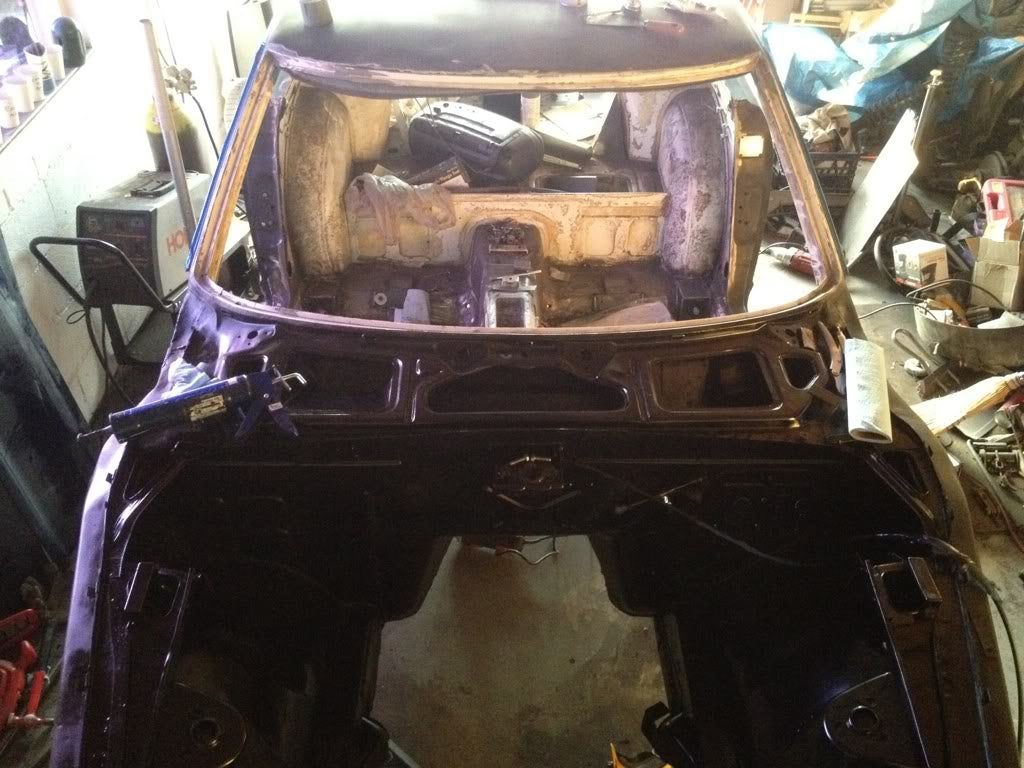
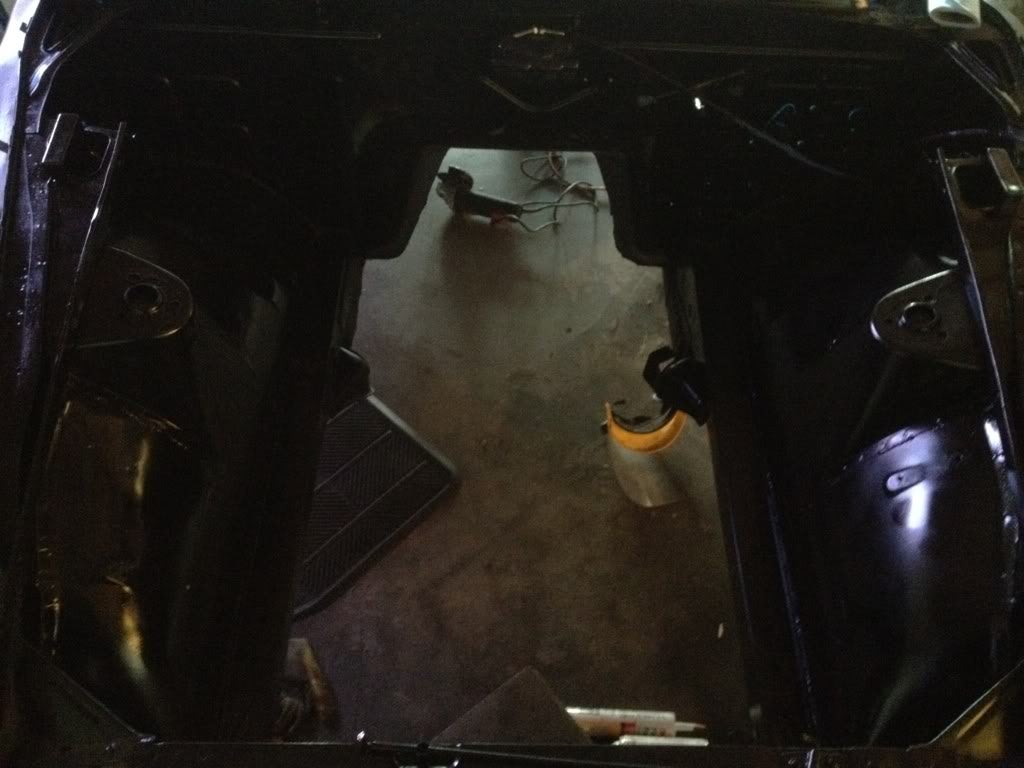
I knew the flat black primer would never last and decided to go ahead with the paint. Now the choice came down to color. I always had a vision for this car and I had found when I registered it the car had agreed as the original color was white (evident by lifting primer on the license plate as well as the DMV record) So the decision was easy, from black back to white :).
I cleaned and swept and went ahead with the paint.
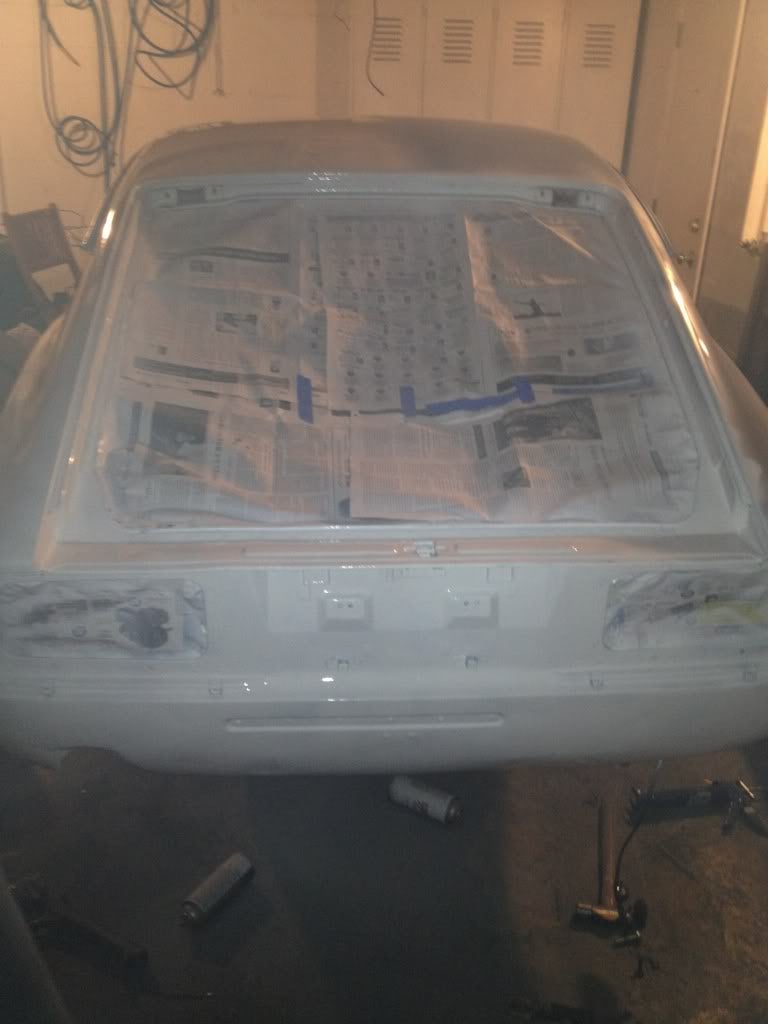
Now this was done with rattle cans, many will ask why I would spend all that time and then coat it with crummy paint. The answer is I plan on driving the car. I plan on leaning on it, I plan on doing lots of stuff that a nice paint job might make me think twice about doing. Doing this with rattle cans also means that a scratch is very easy to repair and if needed a whole color change is only a hundred dollars or so if needed, a respray would also be in the same ball park. The way I look at it is that this is a protective primer that will be removed if the time comes I want a nice paint job. It is definitely a 5-10 foot paint job at best. However it definitely was all one color which was a major point on my check list.
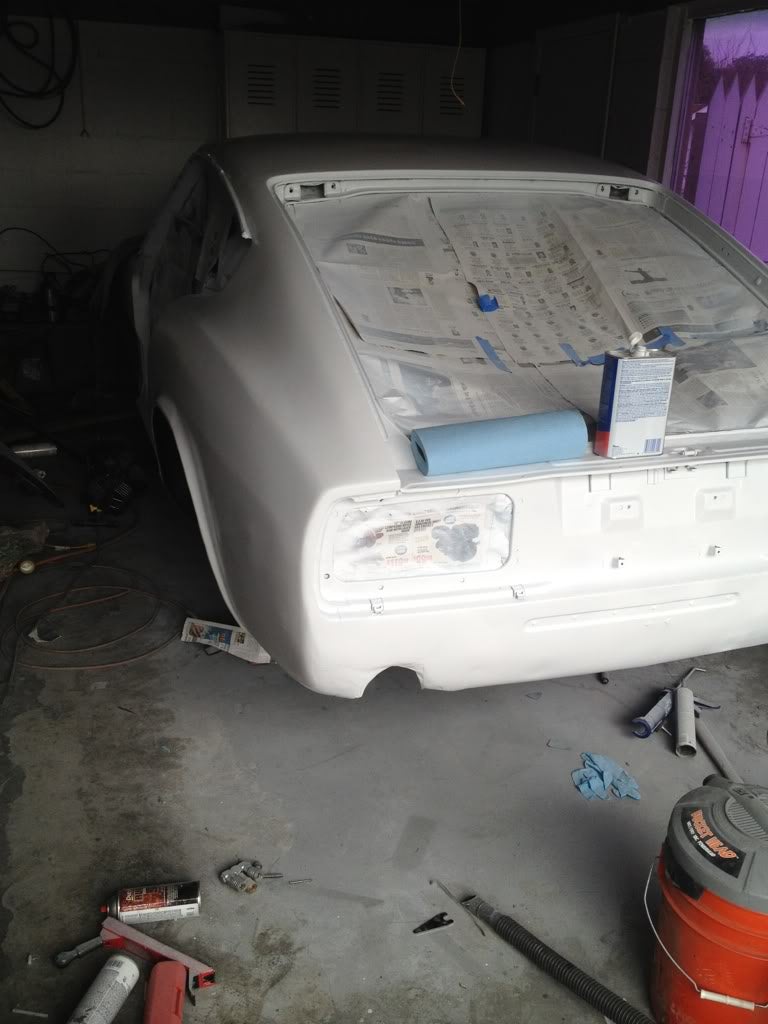
I left it to dry for a few days and went back. As evident, I missed quite a bit of body work in the back, but still I was absolutely stoked to see the car in one color.
After a couple days I unwrapped the car, once again another awesome moment only available to those building a project car. I would say even if you have your car professionally painted that you pay the guy to let you unwrap it. Not very many feelings like it. Almost like a huge christmas present.
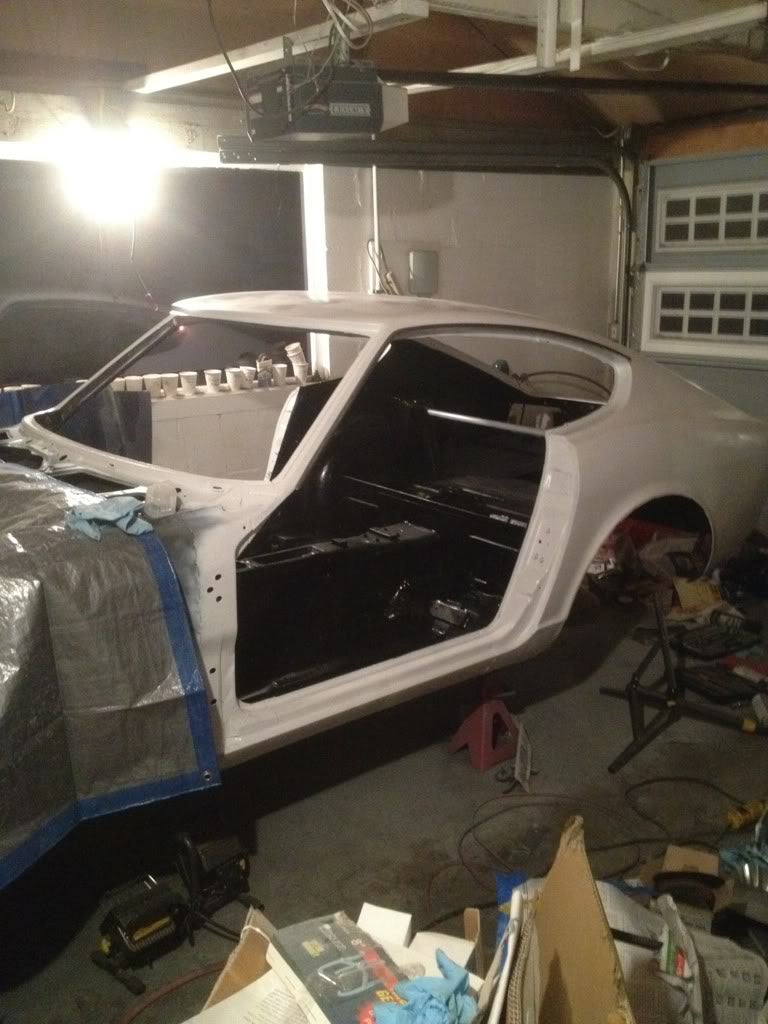
I knew it was not the wisest decision, and I knew I was going to knick my paint, but I couldnít wait and I inserted the painted roll bar and strut braces and voila quite the contrast.
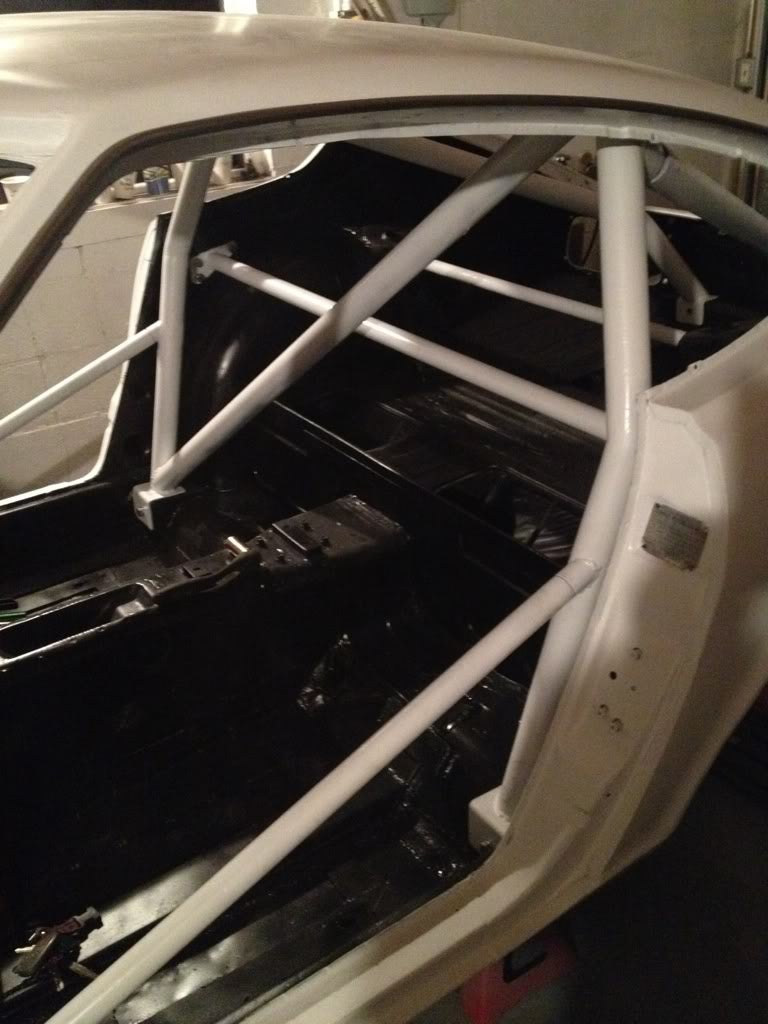
The fenders, doors, and hood would have to wait till they could be painted outside, but goodness moments like this is when all that seemingly pointless work on the chassis seems worthwhile.
Things I learned:
A magnet will hold a piece of metal flat while you tac it in place.
A good pair of metal shears can really make your life easy in making complicated shapes.
Guide coat is your friend. Use it on all the body filler to help ID low and high spots.
A variety of pieces of wood with different curvatures can really help smooth out the curves. I even used some pvc pipes cut into various curves to help with some awkward areas (surfline).
Buy more sand paper then you think you need, they do clog up. Emery cloth is also a good choice if you have a larger budget, quite a bit more robust and not as prone to tearing.
Everything shows up in the final work, and deep scratches or lazy spots will show. Take the extra time to do it if this is something that will bother you.
A decent rattle can paint job is surprisingly resistant.
Buy the little sprayer thing if you plan on painting a lot with rattle cans. It really makes it more comfortable.
Take your ID when you buy cans, there is an age limit thanks to all the graffiti ďartistsĒ
A respirator is a must, you only have two lungs and they only get worse as time goes on, keep them healthy and happy with a good respirator and good ventilation.
Costs:
60 - body filler and hardener
150 - primer and paint
10 - spray paint nozzle assistant
30 - various grades of sand paper
0 - news paper collected over a couple weeks
10 - rolls of painters tape
45 - 3m respirator with replacement cartridges
25 - large fan
20 - large disposable painters suit and shoe covers
35 - tarps and plastic sheet for artificial paint booth
Subtotal: 385
Total spent: 7000
!!! UNKNOWN CONTENT TYPE !!!
!!! UNKNOWN CONTENT TYPE !!!
 MonkeePuzzle
> StudyStudyStudy
04/24/2015 at 15:24 |
|
donít think I didnít notice that the previous owners crimes are referred to as ďbondoĒ, but your own work is ďbody fillerĒ
;)
 MonkeePuzzle
> StudyStudyStudy
04/24/2015 at 15:24 |
|
keep up the posts, Iím loving how your $500 is coming out
 MonkeePuzzle
> StudyStudyStudy
04/24/2015 at 15:31 |
|
Buy the little sprayer thing if you plan on painting a lot with rattle cans. It really makes it more comfortable.
100% concur with this. Your fingers will thank you. Actually your whole arm. If you have to hold down that little button all the way through who knows how many cans, your arm will be immobile
what I learned rattle canning car parts? after you build positive air pressure in your garage, do not allow children to leave the garage door open, even just a small amount, as paint will be carried EFFICIENTLY to many horizontal surfaces within your home.
 RamblinRover Luxury-Yacht
> StudyStudyStudy
04/24/2015 at 15:31 |
|
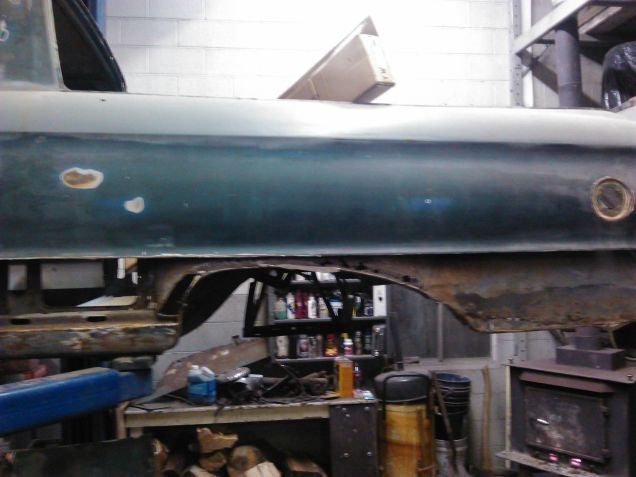
Since you showed us yours... This is off getting blasted as we speak - I have some large pieces to fab.
 uofime
> StudyStudyStudy
04/24/2015 at 15:59 |
|
These posts are great!
I was glad to see that you had completed the painting before that flooding you mentioned happened.
 B_dol
> StudyStudyStudy
04/24/2015 at 16:03 |
|
I wasnít sure what to expect leading up to this post, now I am stoked! Excellent progress sir.
 StudyStudyStudy
> MonkeePuzzle
04/24/2015 at 16:15 |
|
Caught me caught me, guilty as charged!
 StudyStudyStudy
> RamblinRover Luxury-Yacht
04/24/2015 at 16:16 |
|
Goodness, good luck sir
 StudyStudyStudy
> uofime
04/24/2015 at 16:19 |
|
Thanks!
Ah yes, sorry if that was misleading, flooding is current day. This is more of a recap of things a little more in the past. Weíll be catching up to current day in a week maybe two if I want to drag it out :)
 StudyStudyStudy
> B_dol
04/24/2015 at 16:26 |
|
Yea, I definitely bit off more then I could chew and definitely had moments where I wondered if I would ever start getting parts back together.
 Big Bubba Ray
> StudyStudyStudy
04/24/2015 at 19:40 |
|
Keep the updates coming, Iím enjoying reading them! Remind me, what welder are you using again? I too have bodywork to do on my 240 and Iím keeping my eyes peeled for a good welder for when body work time comes around.
 StudyStudyStudy
> Big Bubba Ray
04/24/2015 at 19:56 |
|
Thank you, will do my best!
I have a hobart handler 120-140 I donít quite recall the exact number I looked at it the other day, but Iíve already forgotten. It is a mig unit. If all else fails Lincoln sells quite a nice unit as well around the same price range 400-500. Not a terribly big fan of the action on their units, seems a little too earnest to me.
Hopefully your body is in better condition then mine was!
 Big Bubba Ray
> StudyStudyStudy
04/24/2015 at 20:03 |
|
Thanks for the info! From the pictures, yours looks a lot like mine does. Itís rusty but that doesnít scare me. I bought it as a long term project to learn body work and a few other things.
 StudyStudyStudy
> Big Bubba Ray
04/24/2015 at 20:27 |
|
Oh no, well if you know what you are getting into you are going to miles ahead of me with my back tracking and all. Hopefully these posts help you decide the direction you want to go in.
 Big Bubba Ray
> StudyStudyStudy
04/25/2015 at 00:17 |
|
Thereís a bit of rust, but compared to other Datsuns I saw in my area, this was the best one by far so I had to buy it. I donít know how to weld *yet* but Iím going to take a few classes at a local community college and do anything I can to learn.
People have told me to jump ship but I looked for this car for seven months and found the right one for me so Iím going to make it work! Good luck with yours and I look forward to more updates from you.