 "Jake Stumph Racing" (jakestumphracing)
10/23/2015 at 21:20 ē Filed to: BMW, Jakestumphracing, DIY, Garage
 1
1
 7
7
 "Jake Stumph Racing" (jakestumphracing)
10/23/2015 at 21:20 ē Filed to: BMW, Jakestumphracing, DIY, Garage |  1 1
|  7 7 |
Alright, so youíve learned all about
!!!error: Indecipherable SUB-paragraph formatting!!!
and
!!!error: Indecipherable SUB-paragraph formatting!!!
. Youíve also got your eye on those nice fat tires and
!!!error: Indecipherable SUB-paragraph formatting!!!
. Thatís all fine and dandy, until you realize that your beloved chariot is a narrowbody model and was never designed to fit more than a 215 section width front tire. That part is not so fine.
Well, it seems like weíre going to need a few things. First up is !!!error: Indecipherable SUB-paragraph formatting!!! , tilt those wheels inwards and the tire is more likely to clear the fender. Next thing to do is mount up your new wheel and tire combo, and get to measuring. What we care about is inner and outer clearance. How much room is there between the tire and the suspension, and between the tire and the fender?
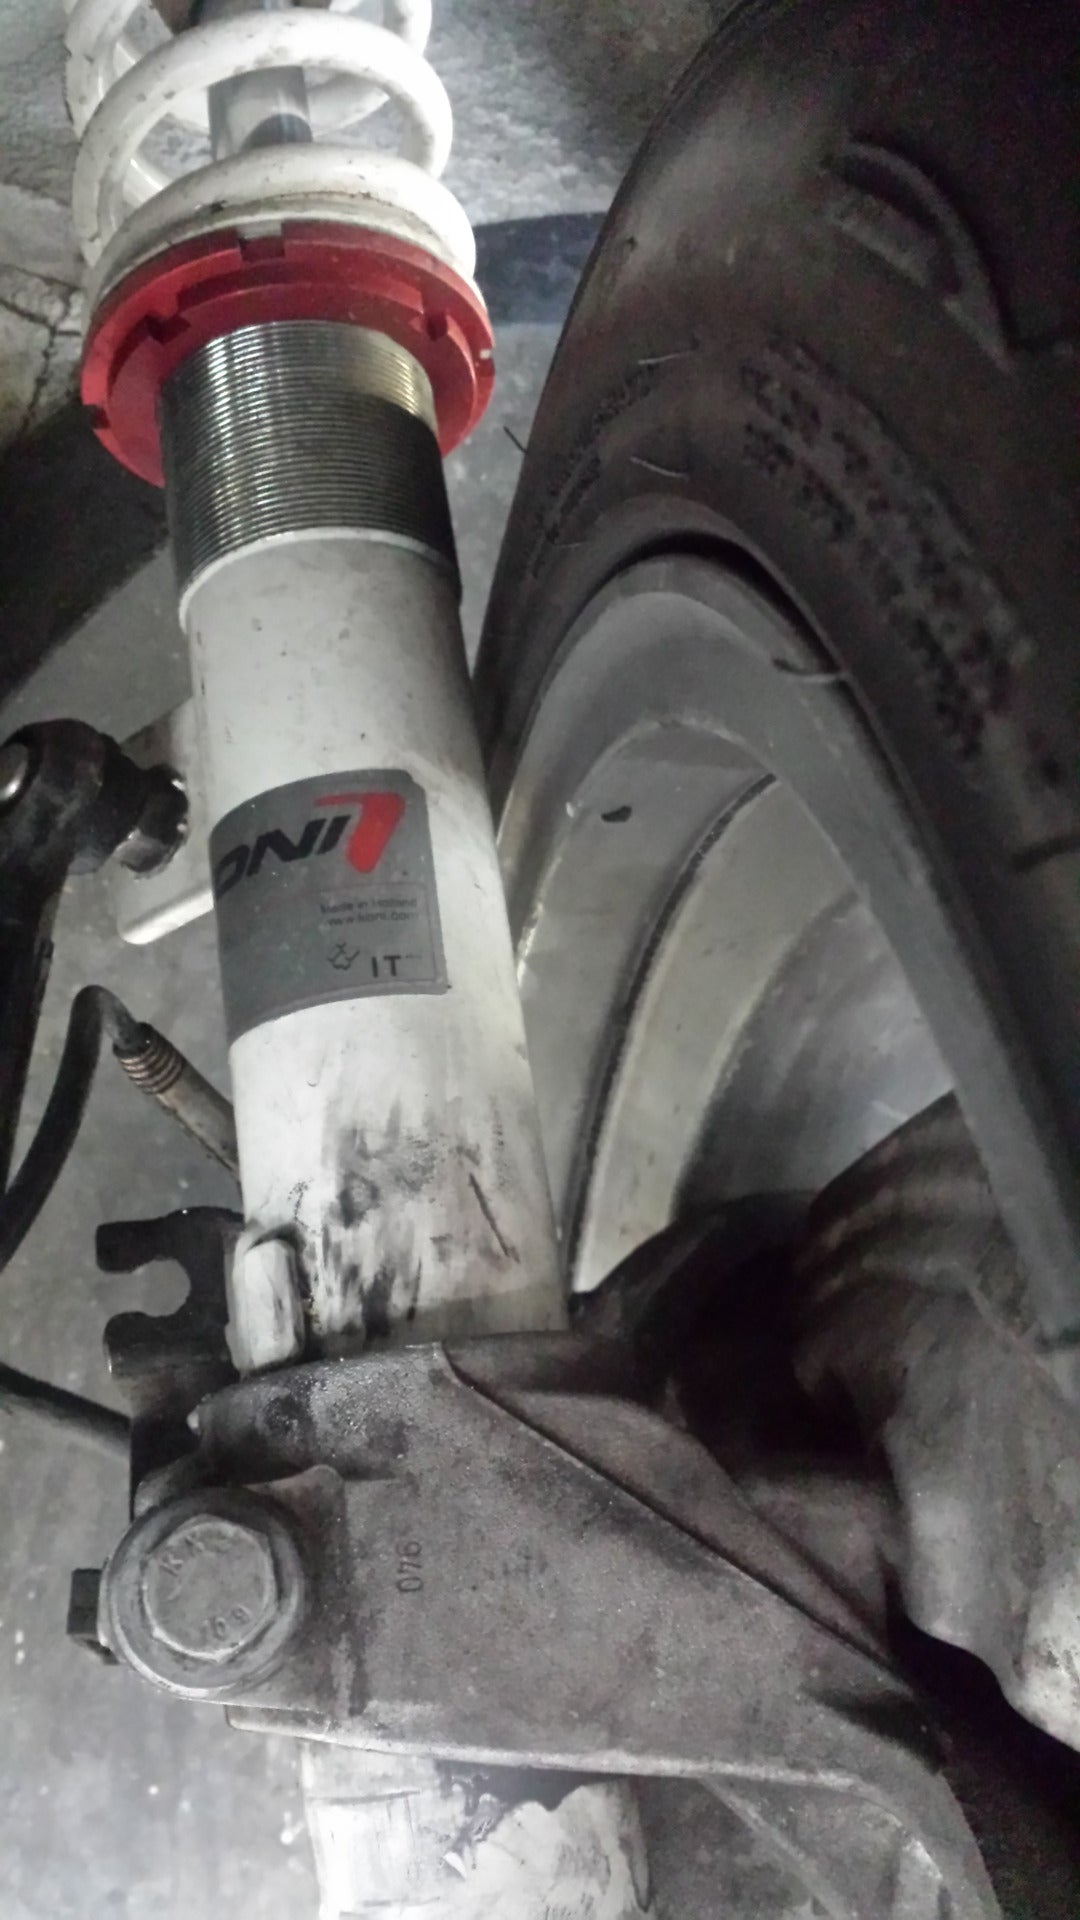
Not much. I can slide a few pieces of paper between the strut and the tire.
The strut isnít going anywhere, so from here, the only way forwards, is outwards. That means our fenders are going to need some careful manipulation to run the maximum amount of rubber without the dastardly detriment that is tire rub.
Looks like I have a date with Mrs. Eastwood.
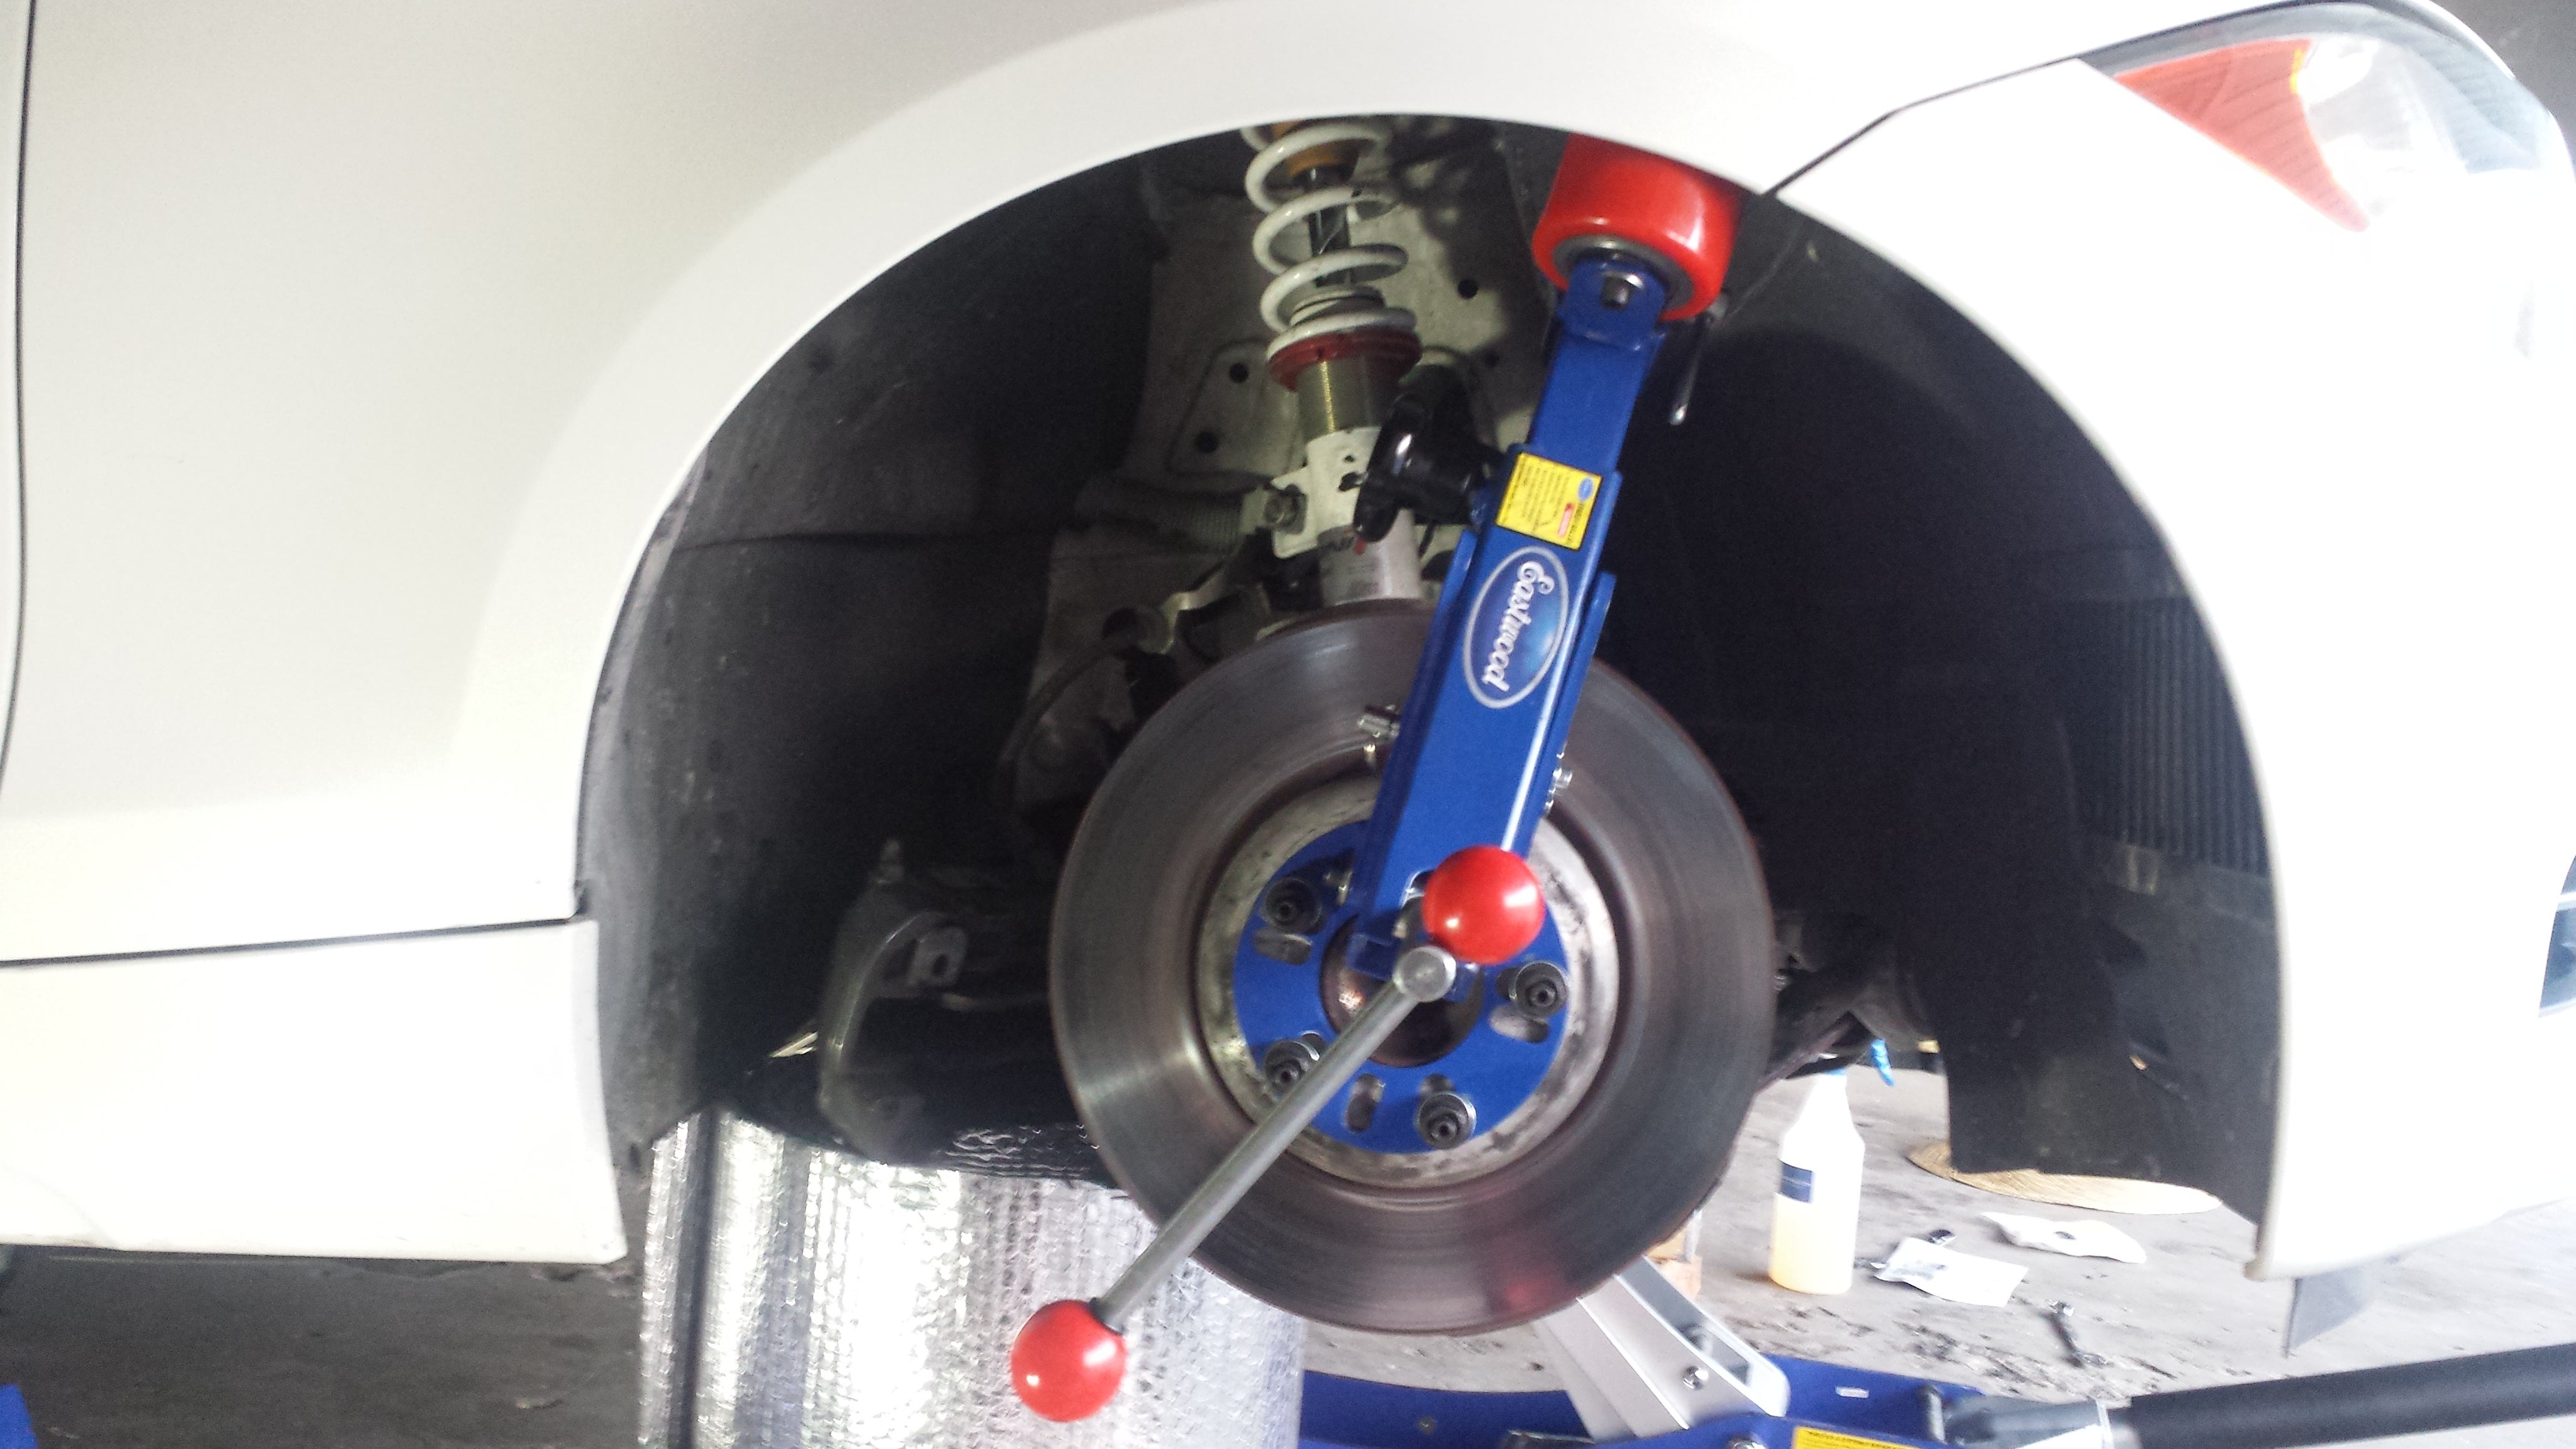
The Eastwood fender roller is the golden standard of the Stance Nation set. With this tool, the door is opened to destroying fenders and winning mad Internet cred.
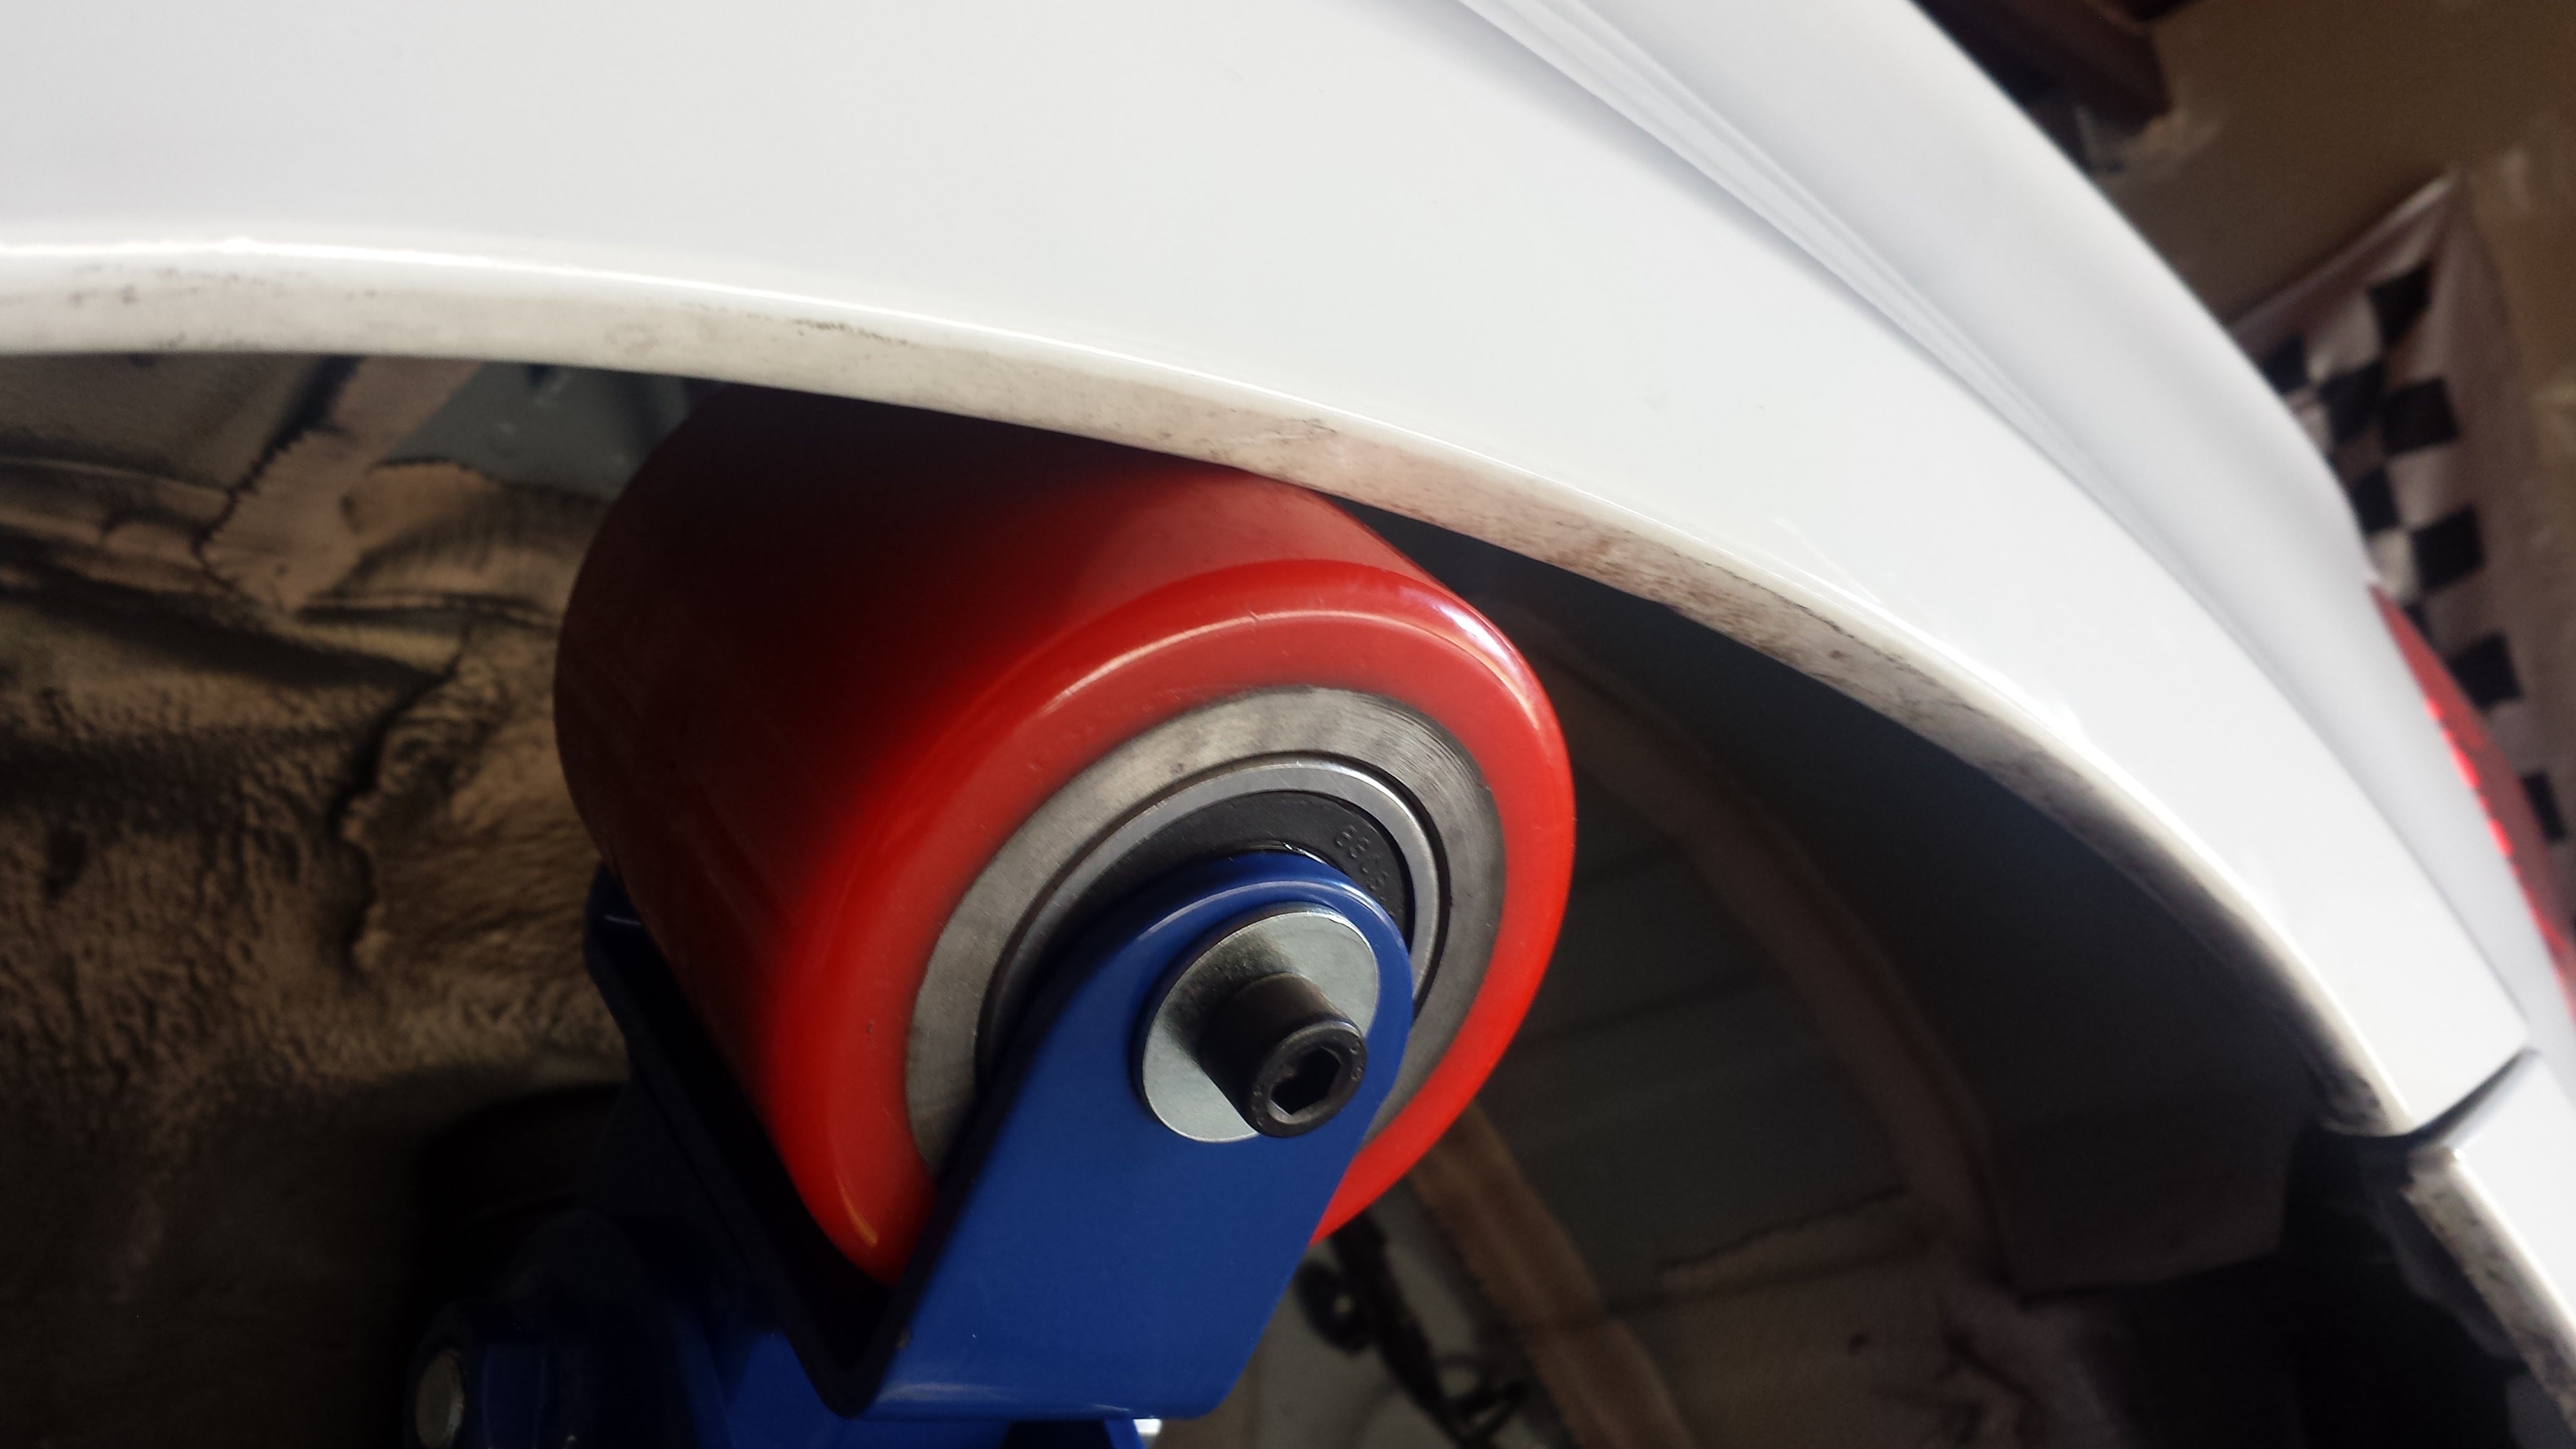
In all honesty, if youíve ever been to the track and seen how much rubber people are stuffing under their cars, youíve likely seen a car thatís been on the receiving end of some Eastwood working. Itís an ingenious little tool, consisting of an adjustable arm and a stiff urethane rolling/forming wheel that can be made to fit any vehicle. The tool mounts to hub and is secured by your lug nuts. From there, the arm of the tool has multiple points of adjustment to optimize rake, arm angle and roller wheel angle to completely reform the vehicleís fender to the userís needs.
What exactly is this tool reforming? Well, beyond the ability to physically reshape the fender itself (often referred to as a ďfender pullĒ), the most common source of rub is the inner ďlipĒ of the fender. A byproduct of the manufacturing process, the inside of the fender has an inner lip approximately 1/2Ē long that is used to strengthen the panel and increase conformity during itís manufacture.
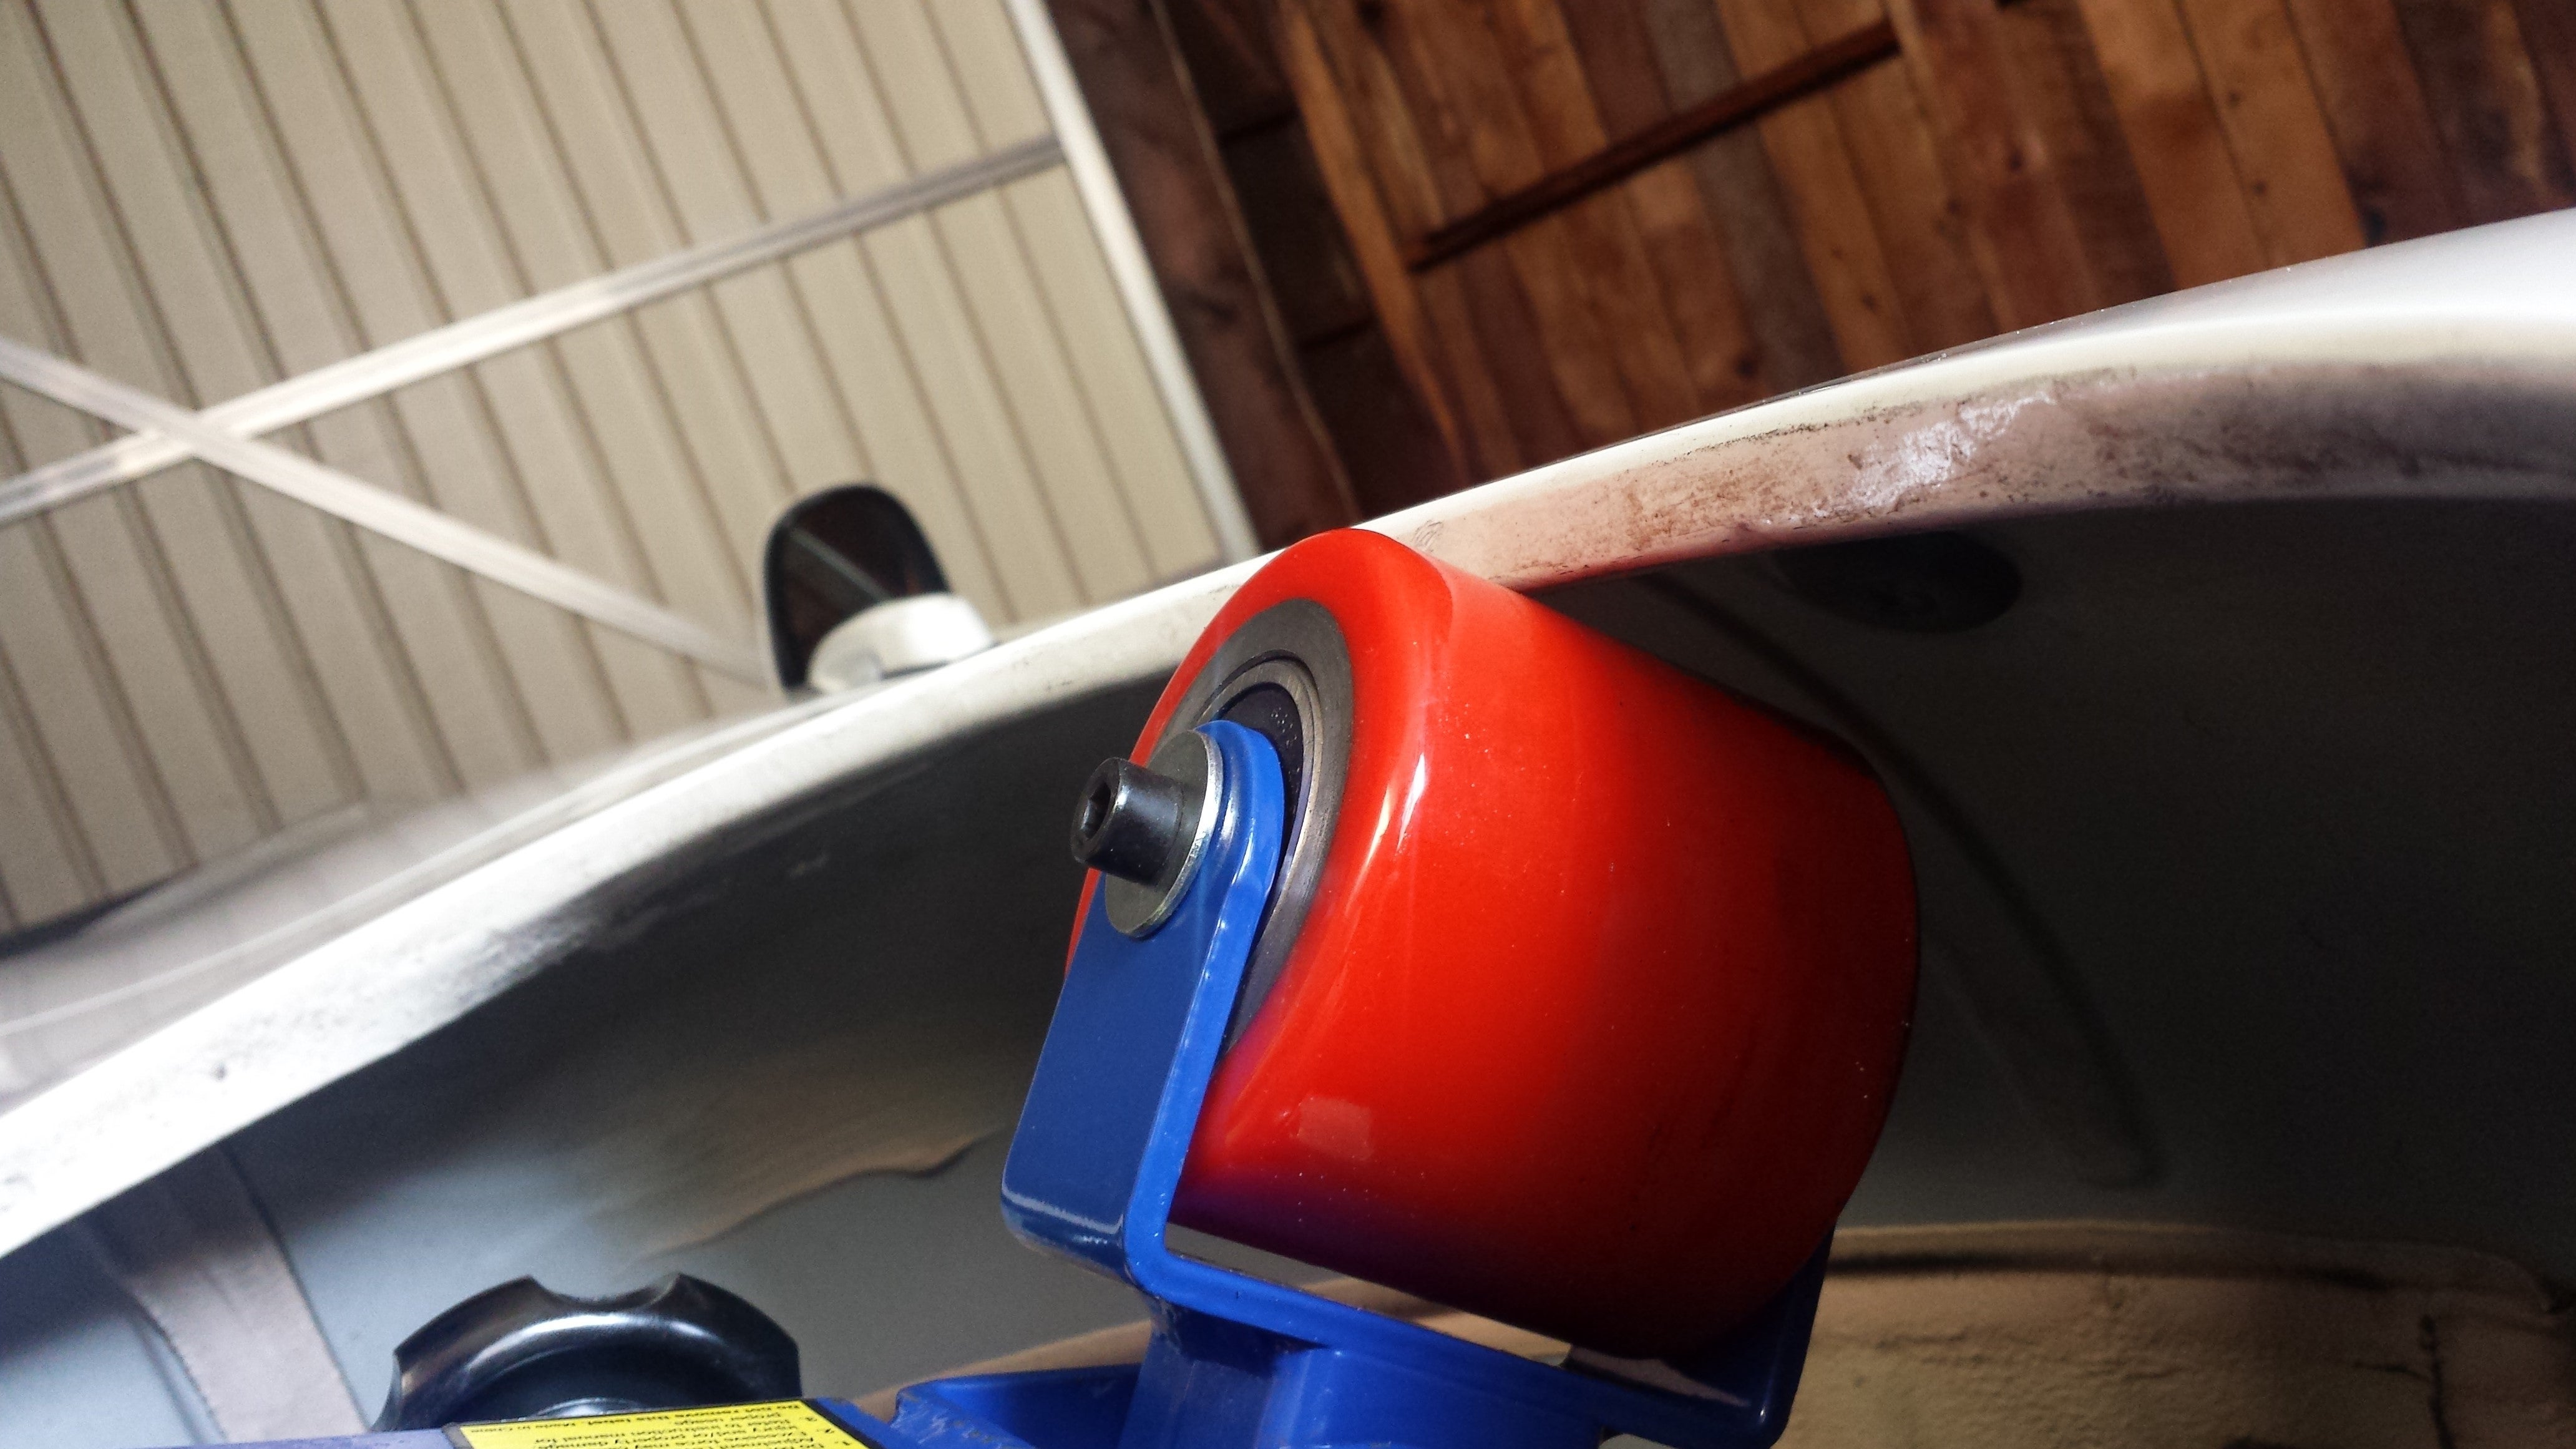
The front fenders were pretty painless. I made a few passes over them the radius of the lip, until the lip was pinched flush with the rest of the fenderís sheetmetal.
Eventually, I had the roller wheel completely vertical, ensuring that the fender lip was flush and the fender had a very mild pull.
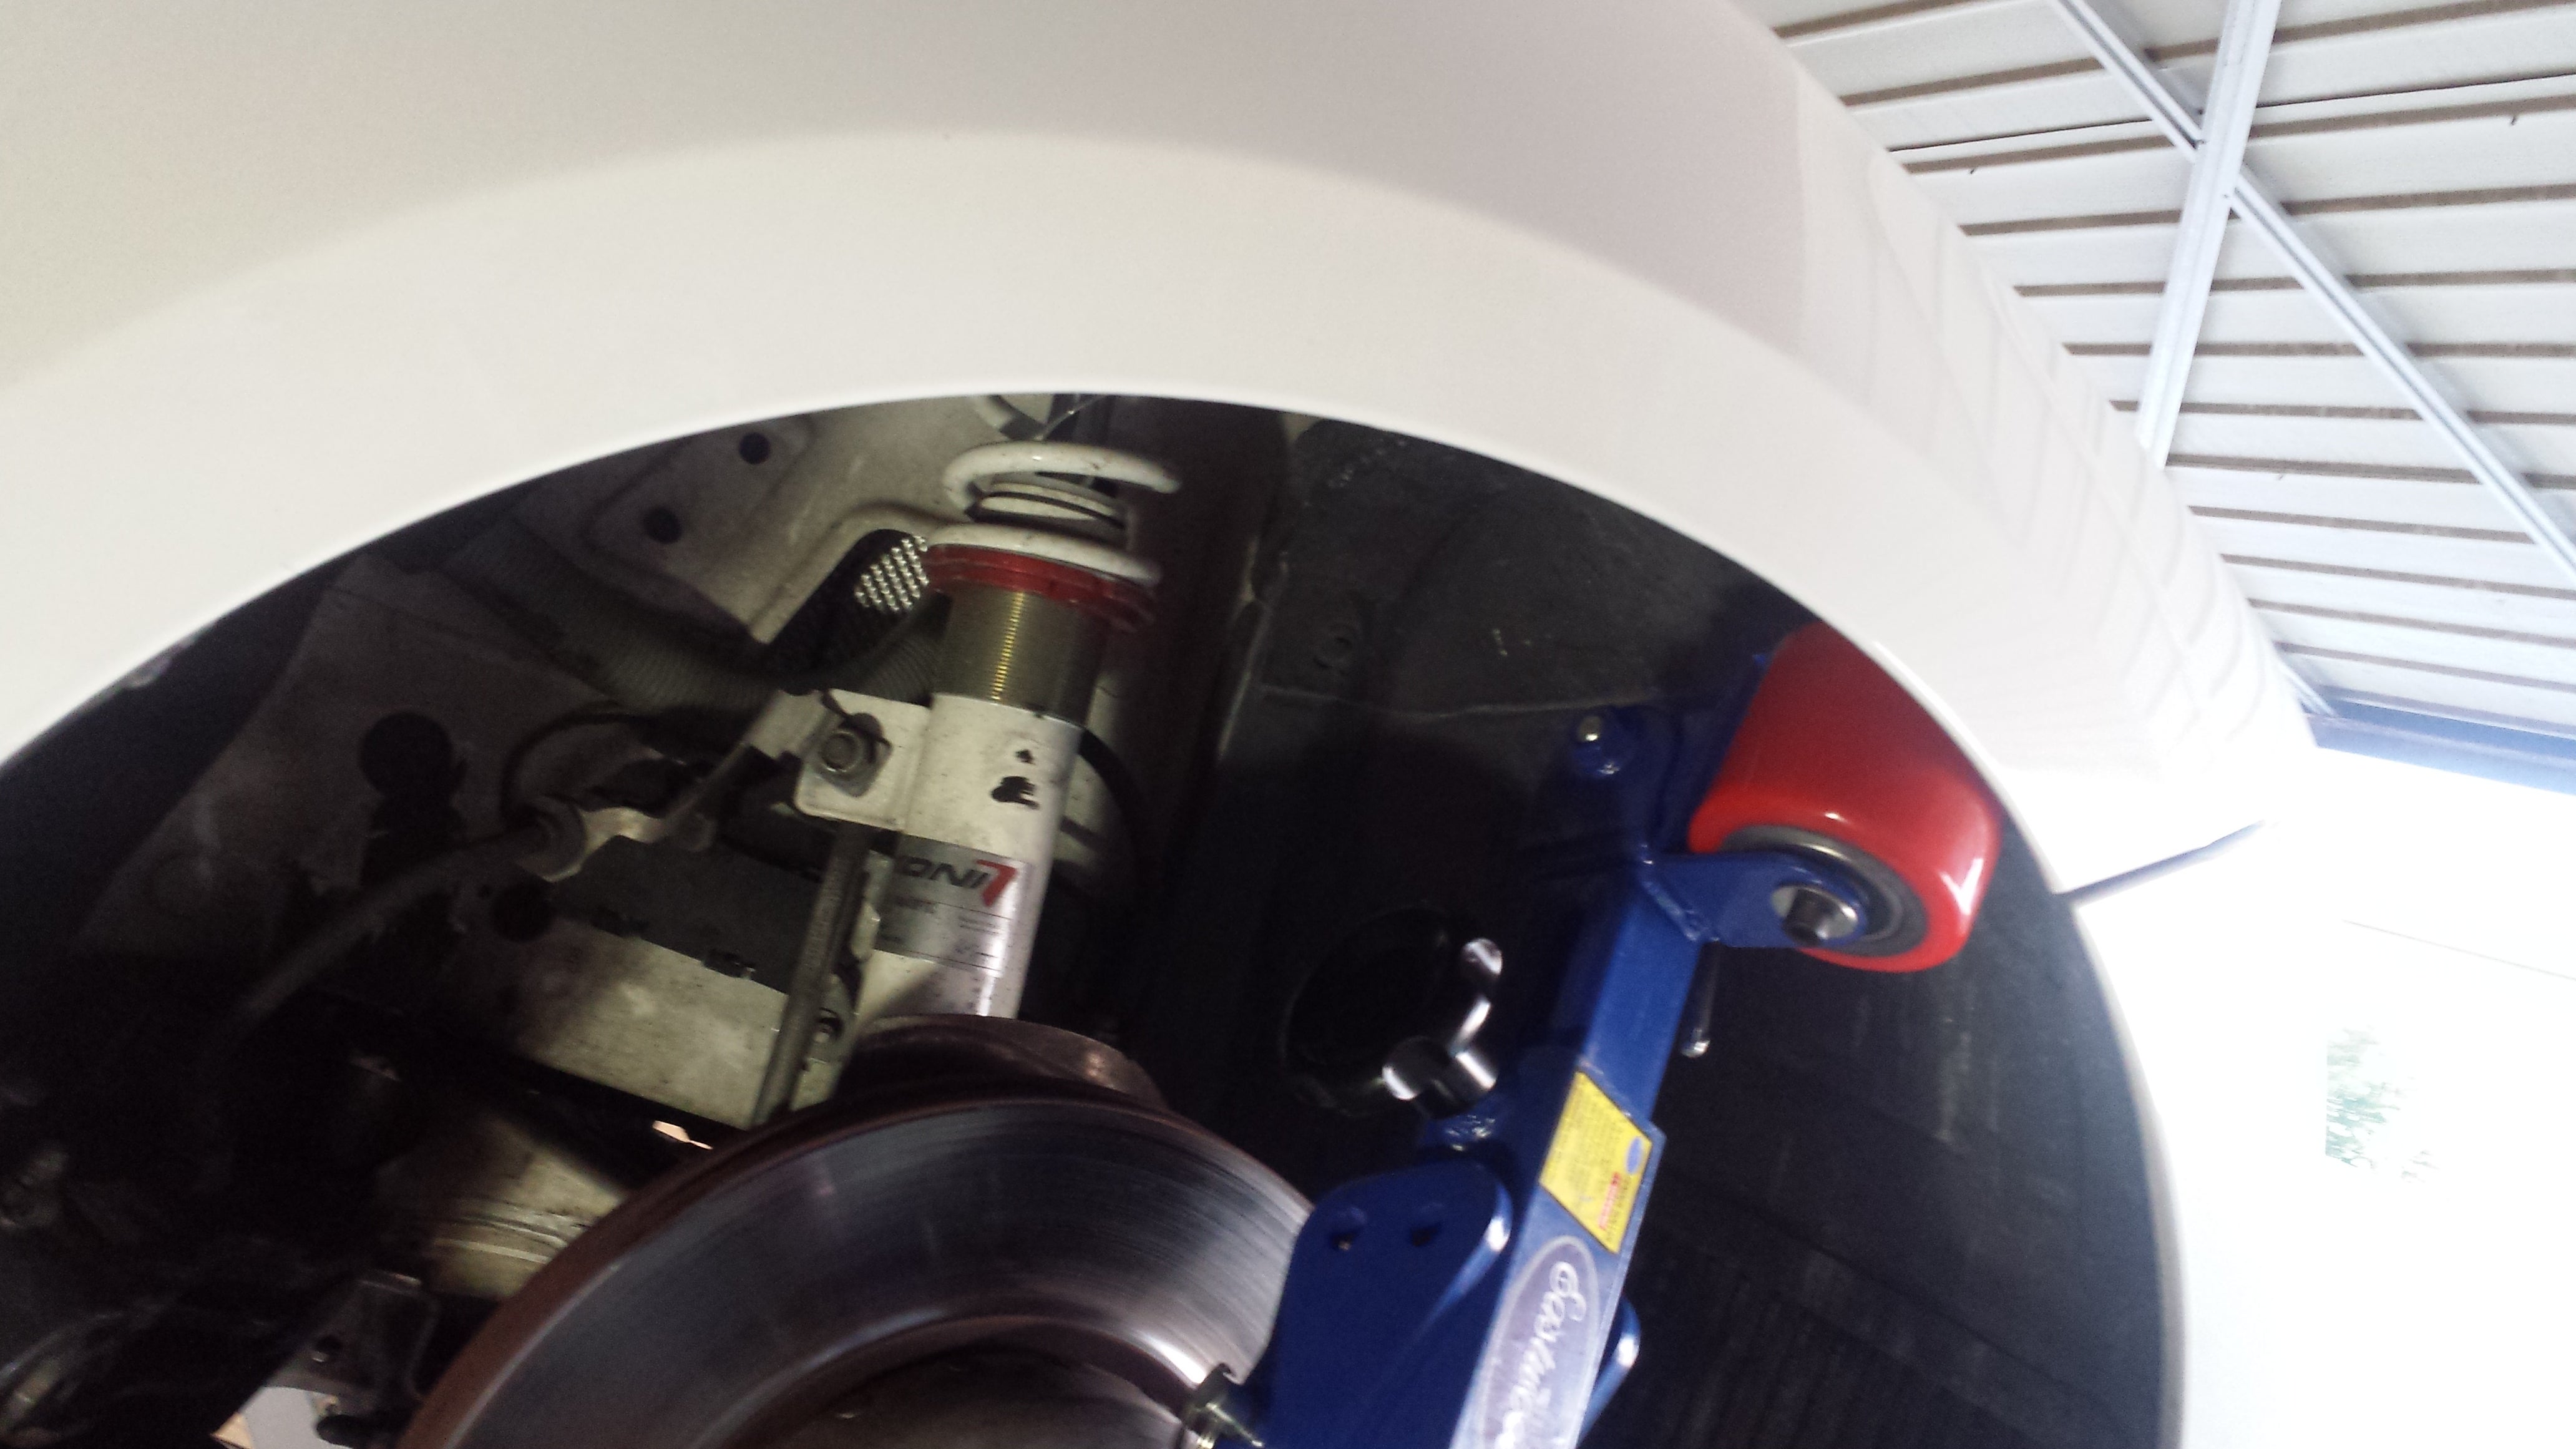
While I was working up front, I decided to adjust the fenders for that extra bit of clearance.
Fenders, as well as doors and indeed most body panels, have some amount of adjustment build into them to ensure good panel gaps and repairability in the case of an accident. This is a quick 2 minute trick to gain a hair of extra clearance with a completely reversible process.
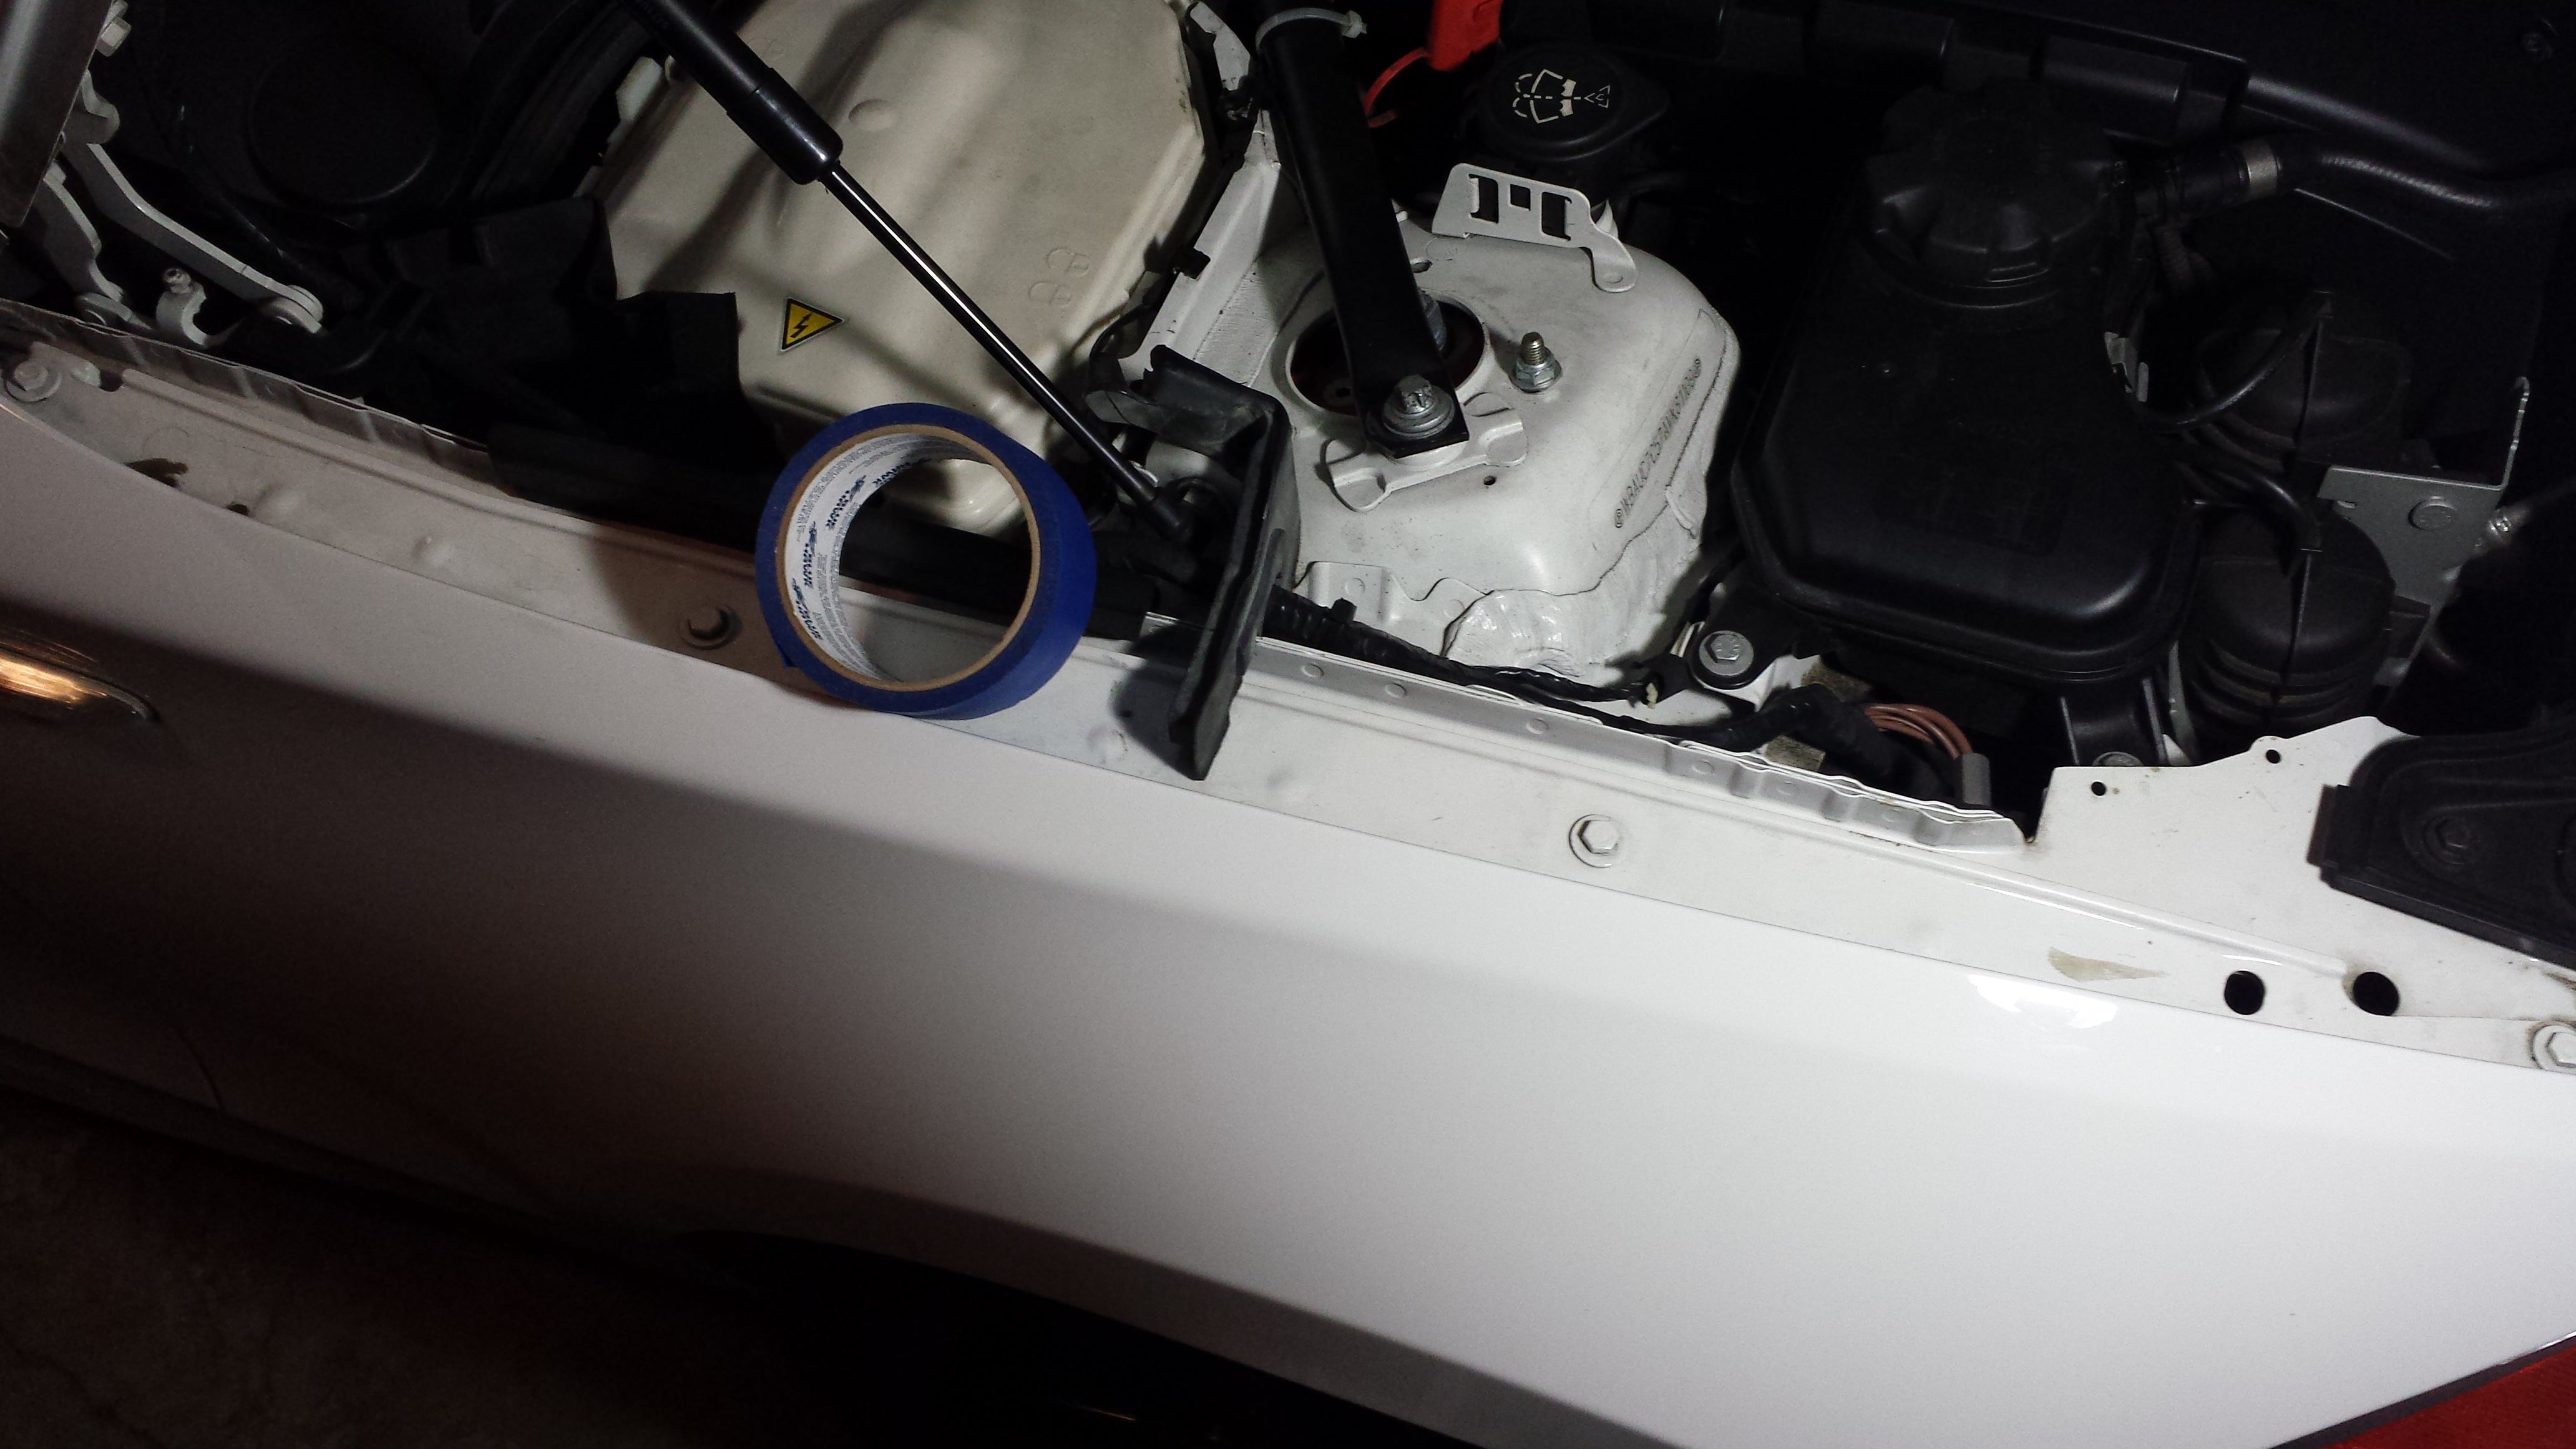
Pop the hood and look down the fenders. Most cars are designed exactly like this, with upper bolts mounting the fender to the apron/upper frame rail. Loosen those bolts and pull the fender out.

Here is what this does to the panel gaps:

And from tire-to-fender, how much clearance did we gain? Drumroll, please!

Just over an 1/8th of an inch. in a game where every millimeter counts, thatís huge for a two minute, fully reversible trick.
On my particular car, the driverís side fender about an extra 1/16Ē to give versus the passenger side. Unsure if this is manufacturing variance, but Iíll take what I can get.
With the front end fully sorted, it was time to move on to the back. Working on quarter panels is a tricky business. Unlike the front fenders, quarters are welded to the body of the car, so if you wreck them, youíre hosed. Compounding to the difficulty is that on modern BMWís the quarter panel lip is made more stiff with the use of panel bonding/hardener. If you try to roll the lip, it just blows out since the hardener is in between the lip and quarter panel sheetmetal.
What does all of this mean? It means itís time to bring out the Dremel and get to work. Yes, I spent about 6 hours carefully grinding all of the excess hardener from behind the quarter panels so that they could be worked on. Grinding the hardener off resulted in a lot of rubbery ďdustĒ in the garage.
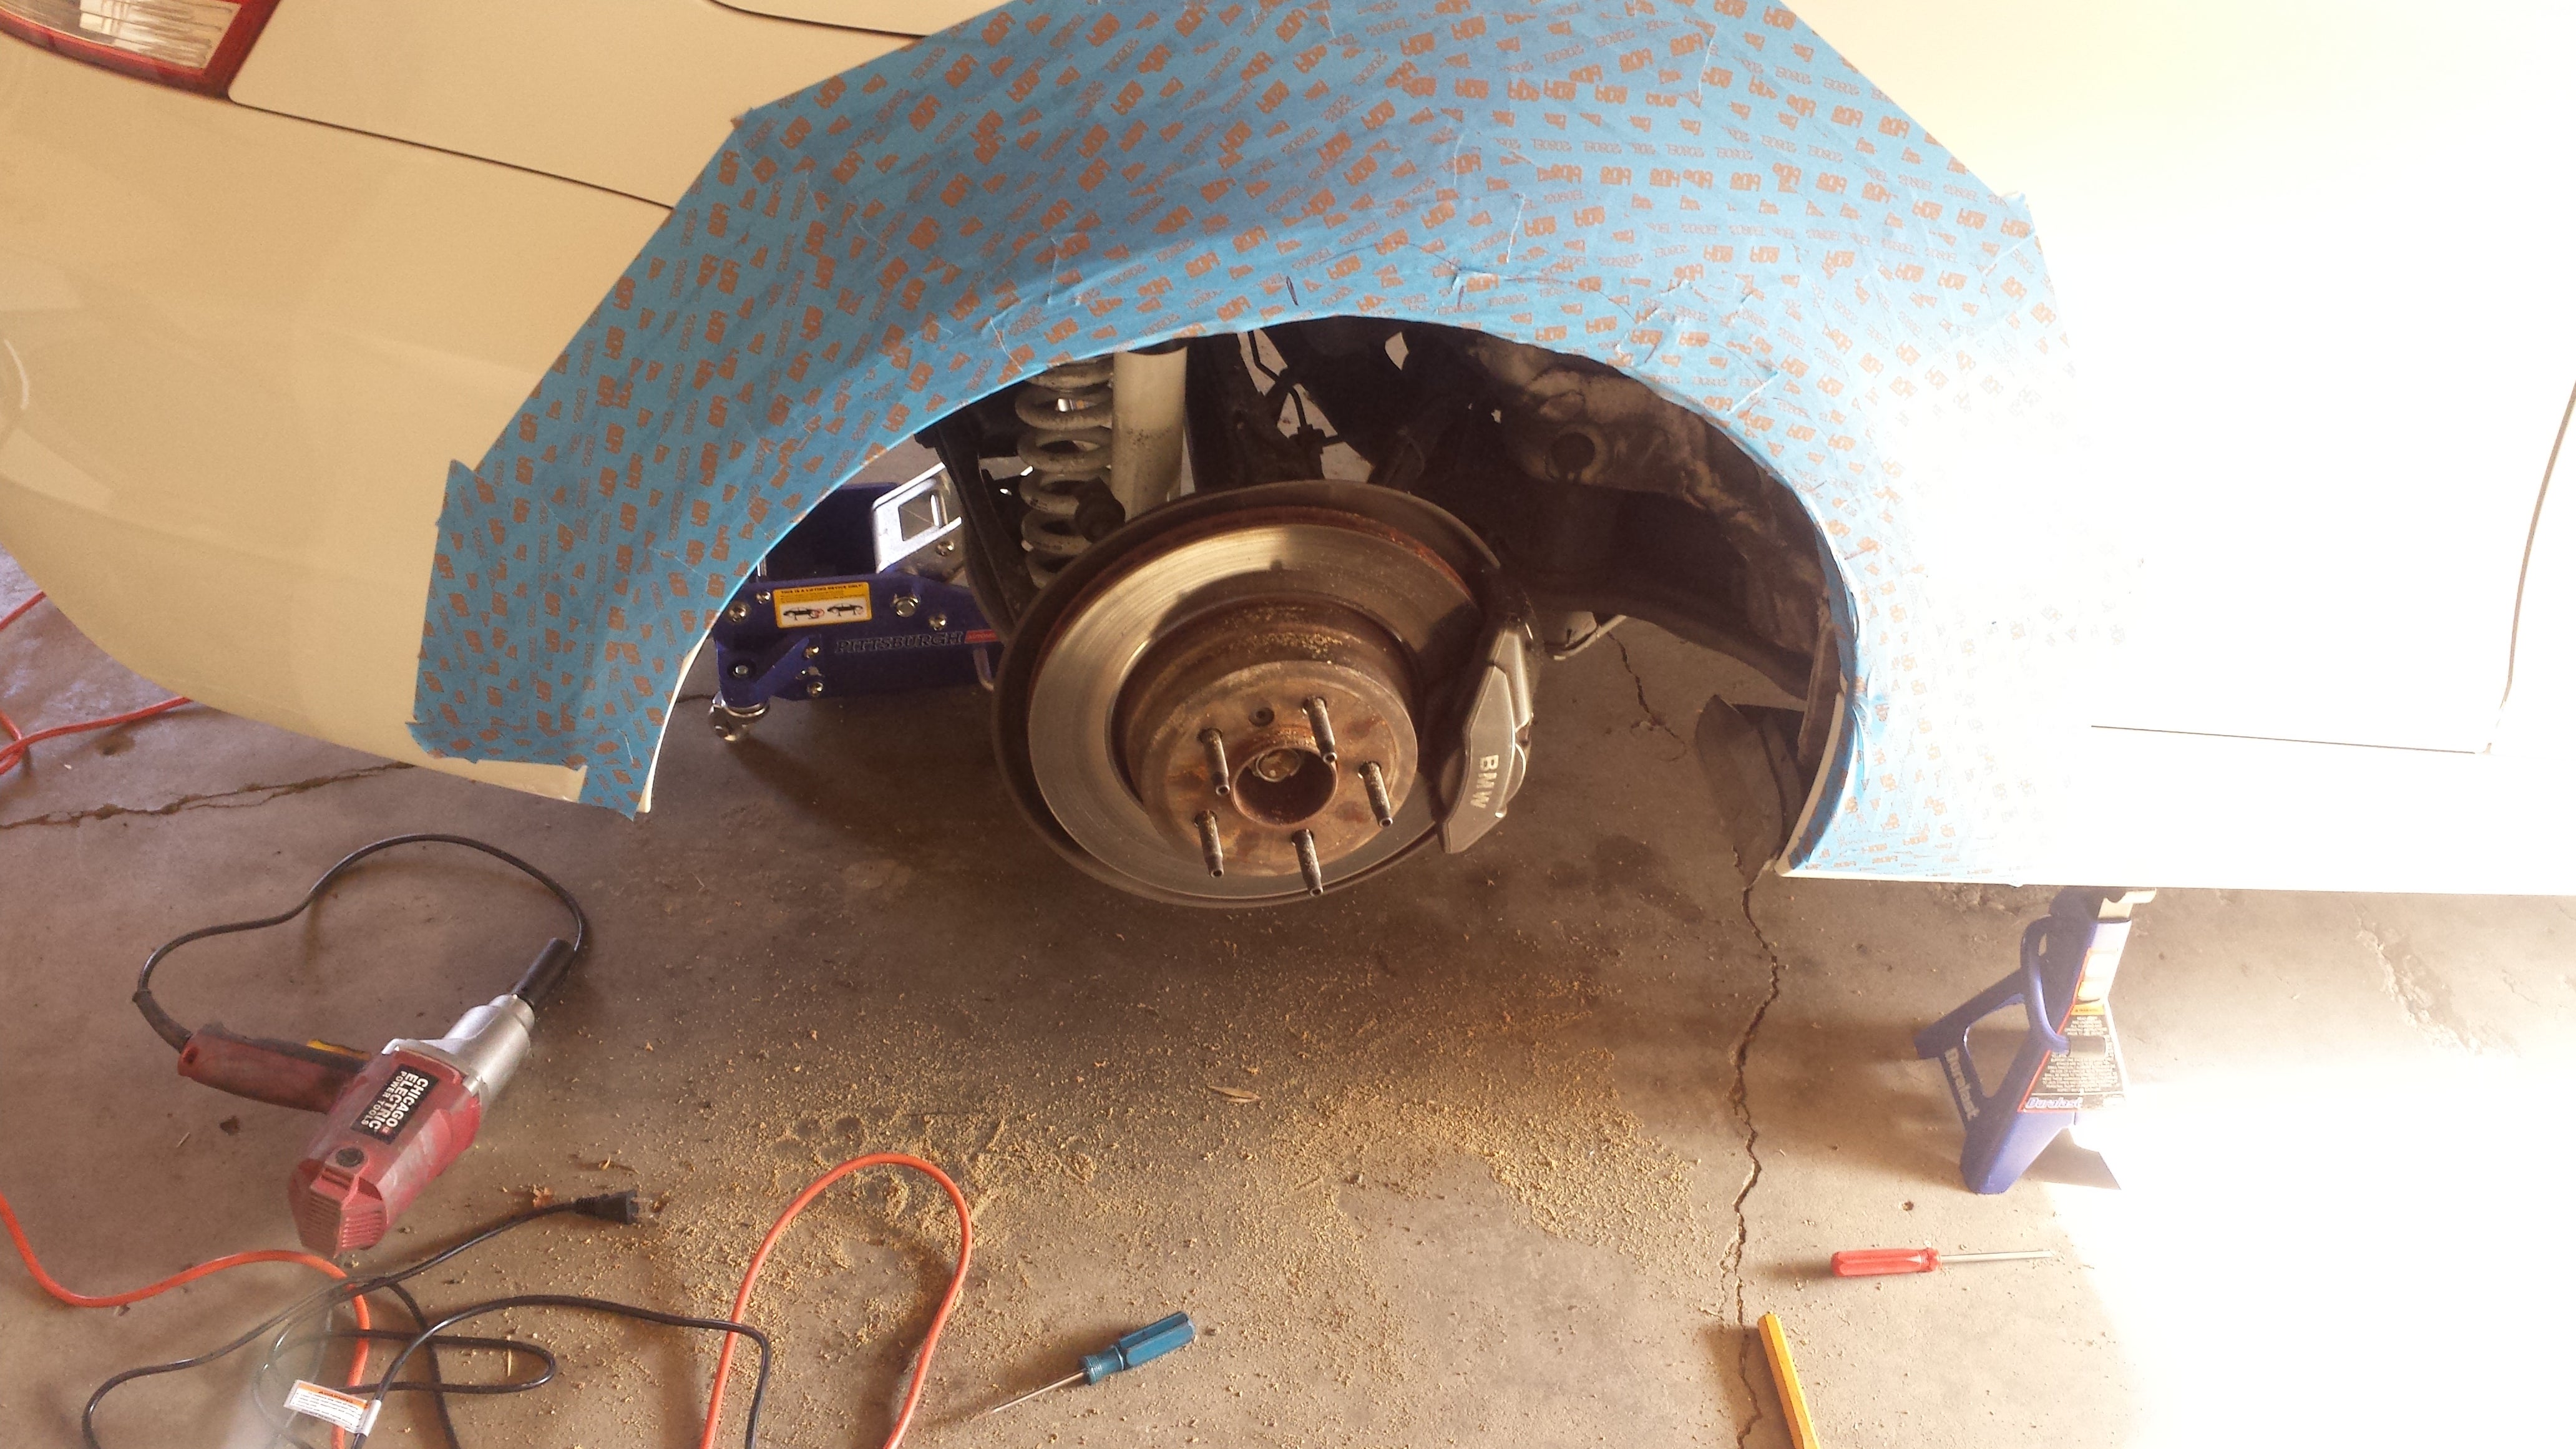
See all that lovely triple walled masking tape? I wish I thought of it before dropping the dremel on the quarter panel.
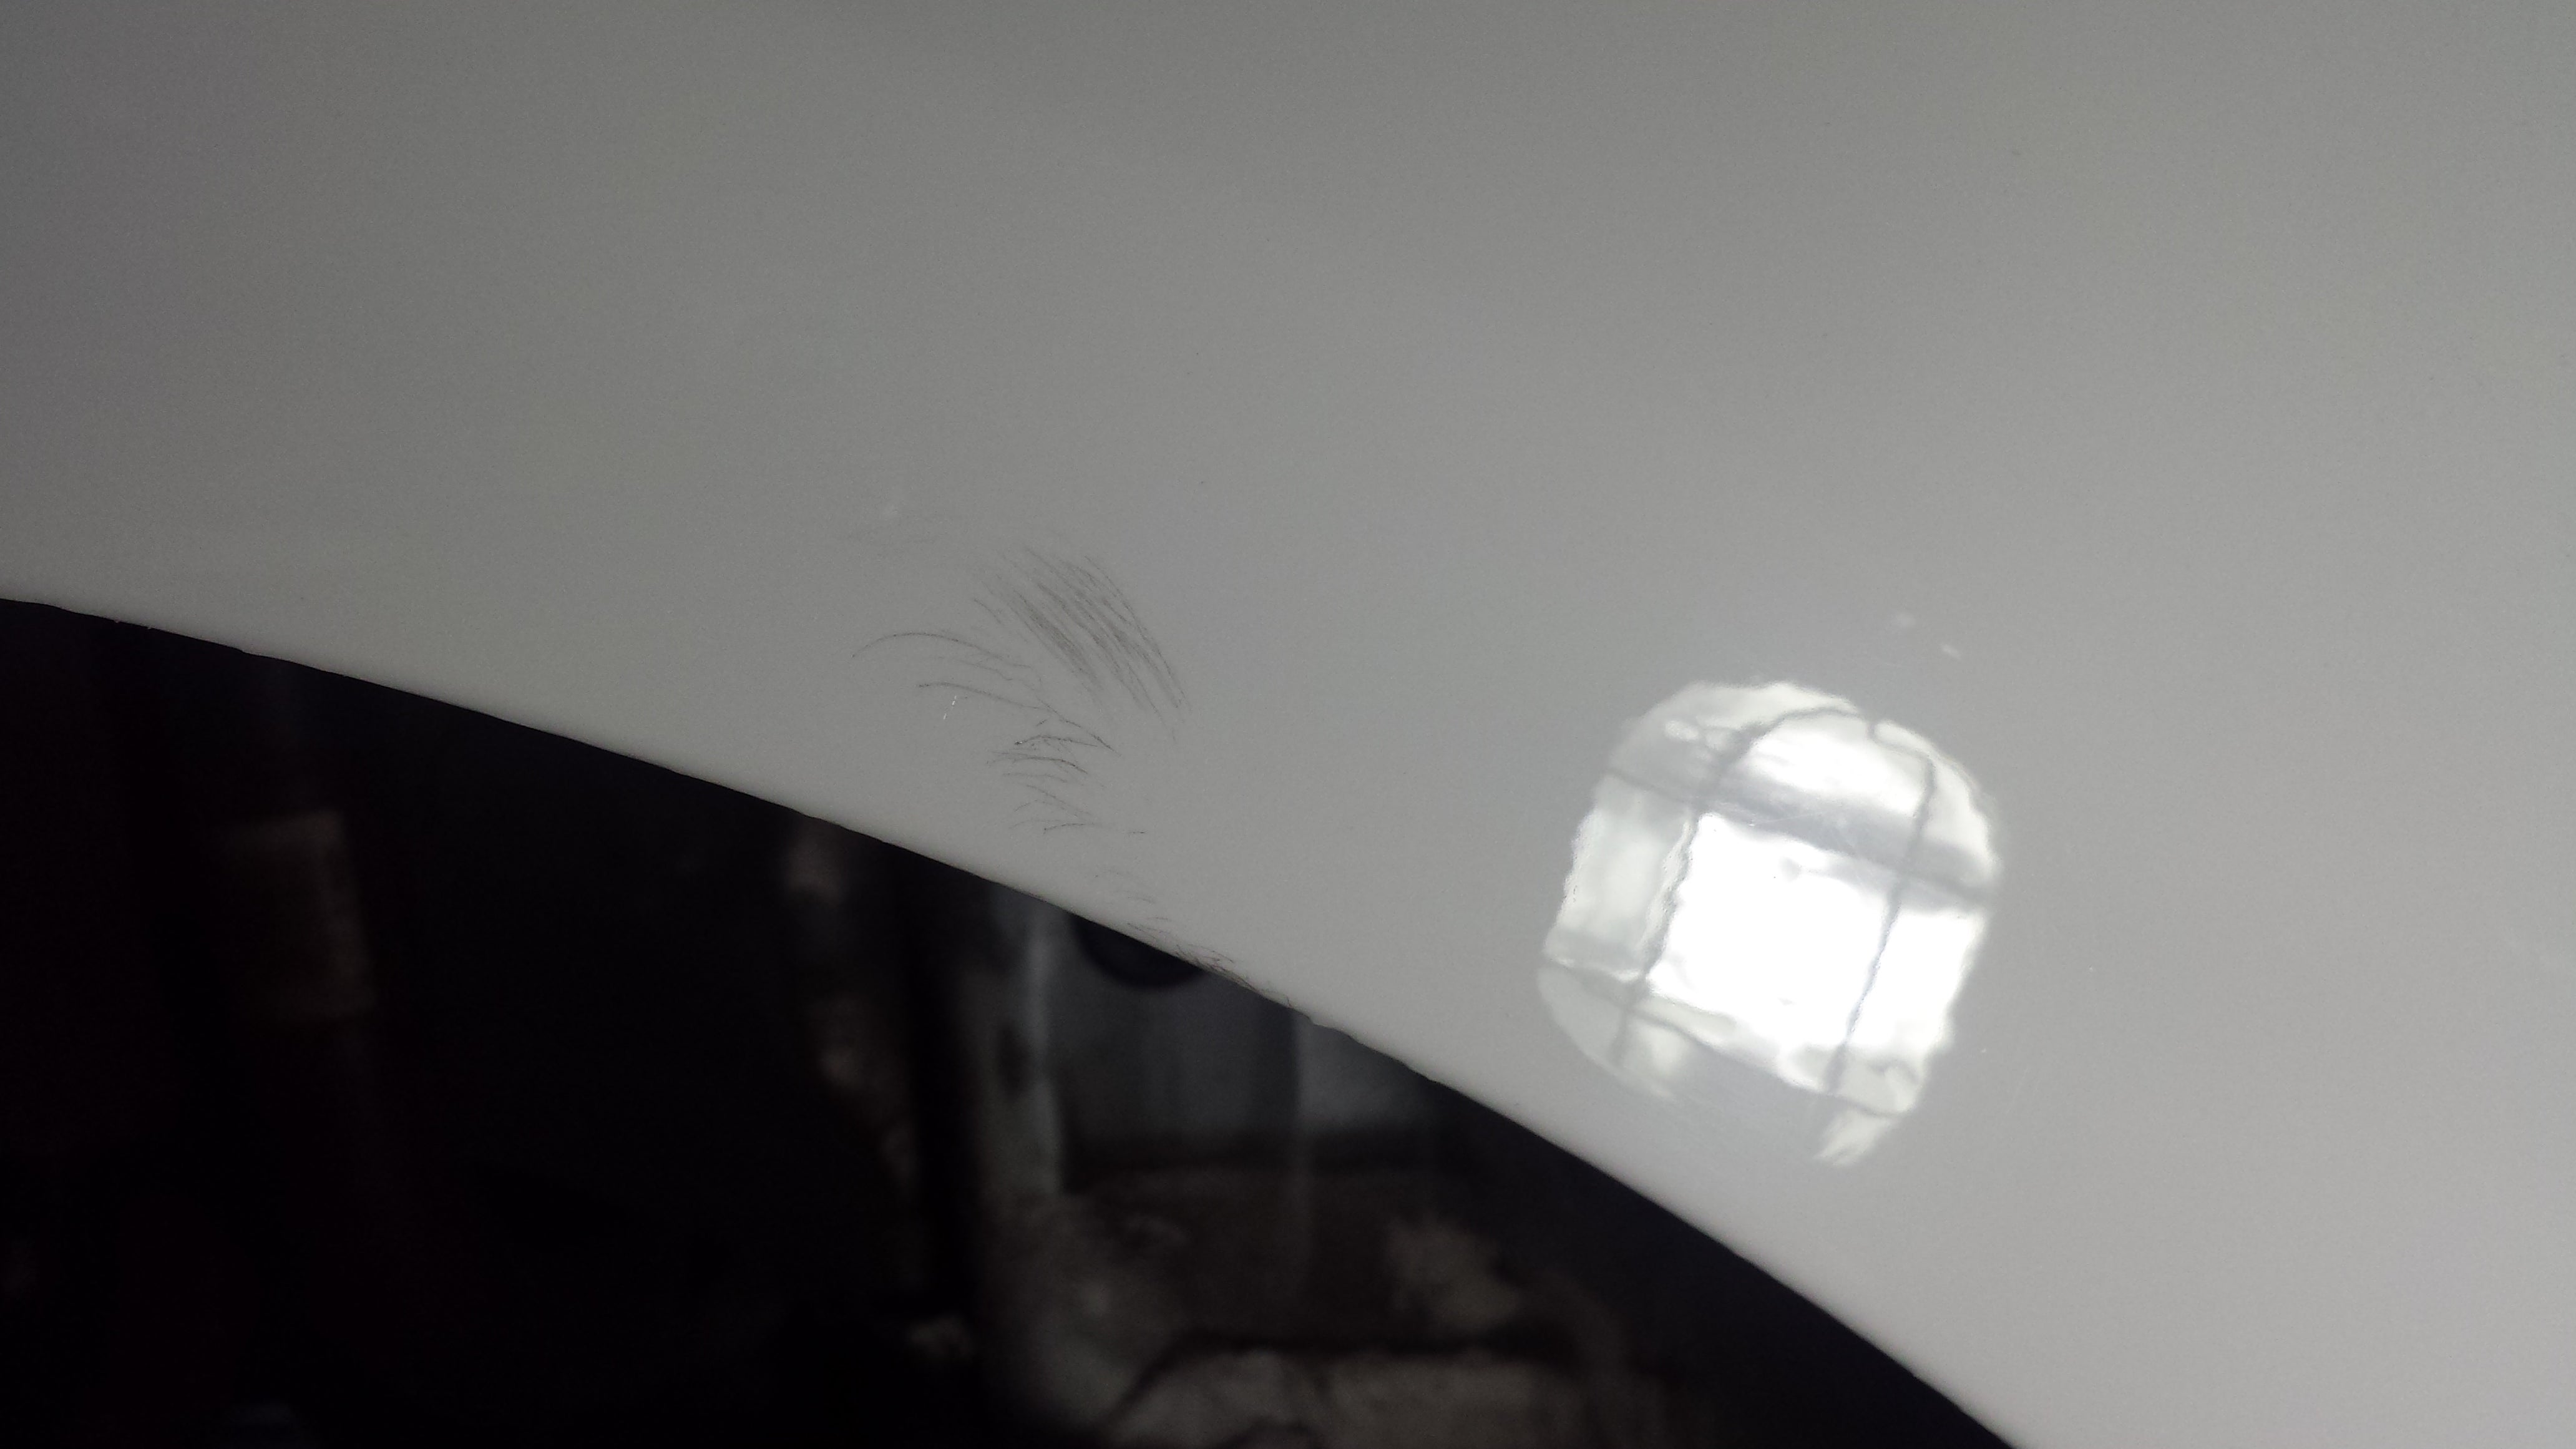
Such sad. After staring at it for about 10 minutes and contemplating ending my life, I moved on, resigned to my fate of a track car with a small scratch on it.
The lips on the quarter panels of this car are very thick, and cannot be rolled flat like most cars. Having rolled fenders before, I pushed it as far as I felt comfortable doing.
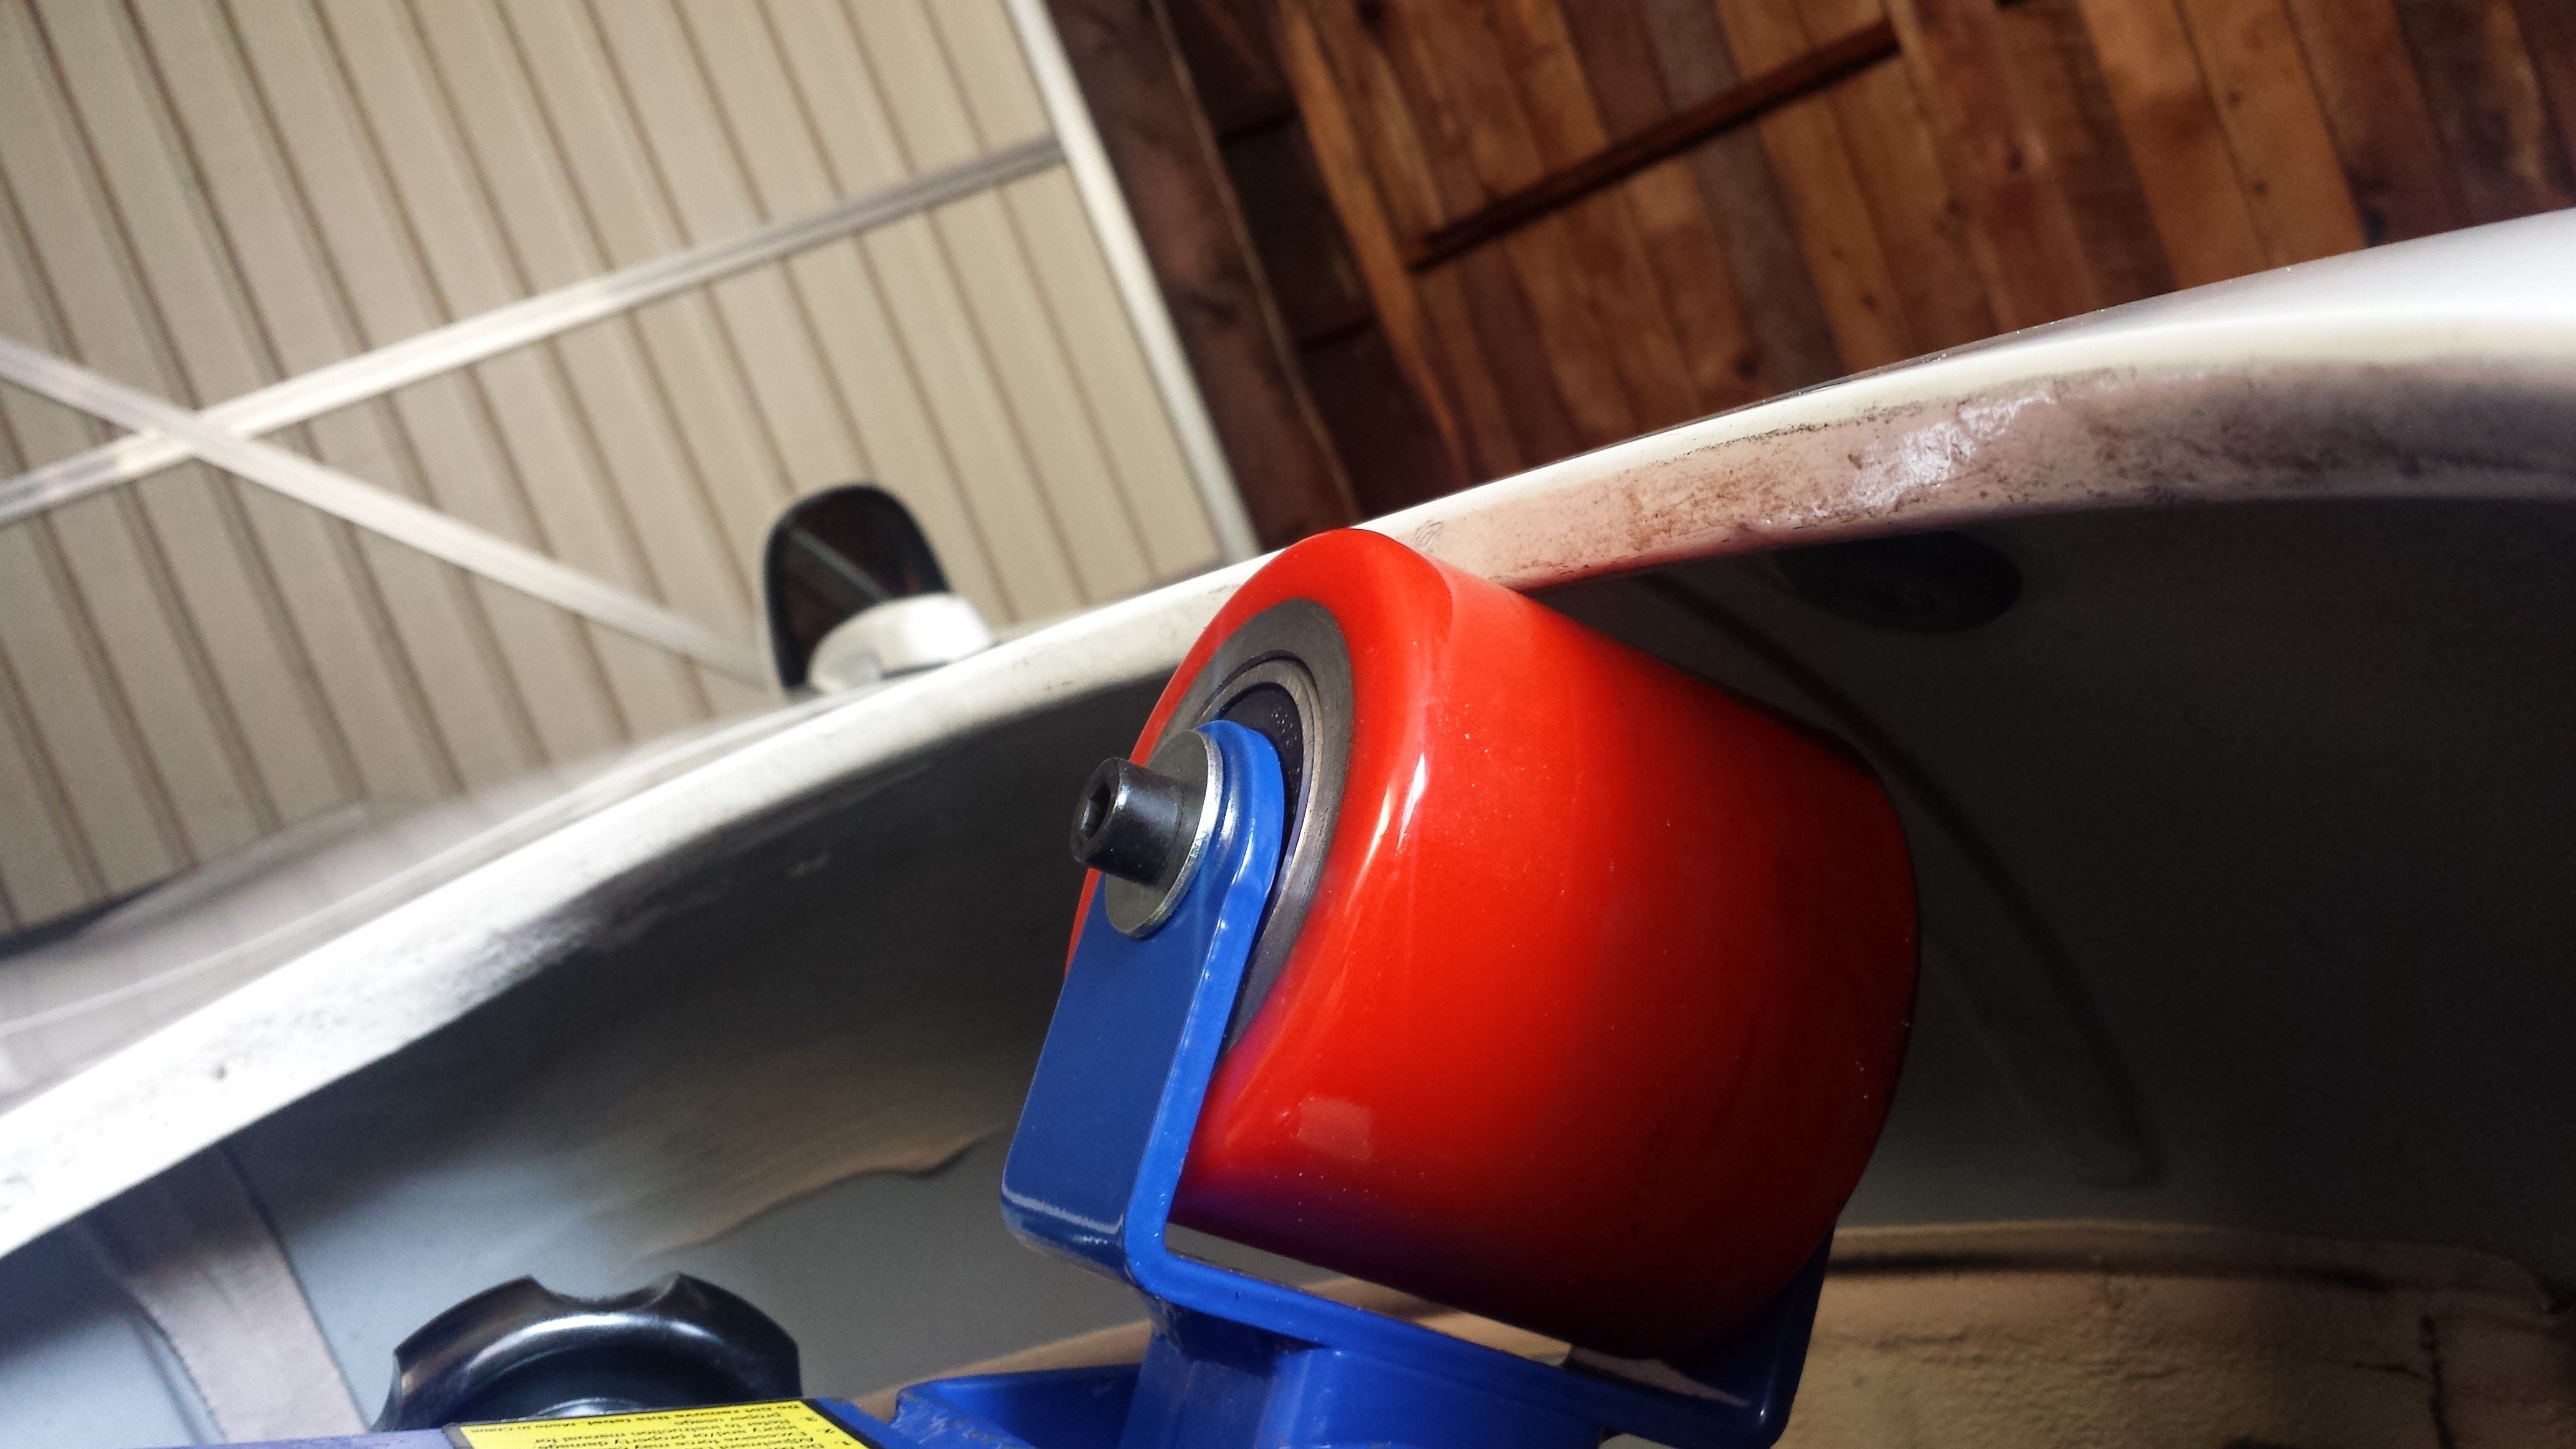
If you look to the far left, you can see how thick the lip is, and how much was able to be rolled without blowing the fender out.
Rolling fenders is pretty much a prerequisite when youíre trying to run as much tire as a 1M under the narrow body of the 135i. Stay tuned for more DIY, modifications and track days.
!!! UNKNOWN CONTENT TYPE !!!
Jake Stumph is a track day bro, and pro-am driver, best known for trying to make comfortable daily driverís into race cars. If you find his antics amusing, informative, or really anything else, !!!error: Indecipherable SUB-paragraph formatting!!! , where he posts track side commentary, pretty racecar pictures and the occasional rant and rave.
!!! UNKNOWN CONTENT TYPE !!!
 TheHondaBro
> Jake Stumph Racing
10/24/2015 at 01:47 |
|
I love the look of wide arches. It just canít look bad.
 Once_upon_a_pvt
> Jake Stumph Racing
10/24/2015 at 09:02 |
|
How wide were you able to go with a mild roll up front? I need new summers next season and was considering trying a 225 front on stock wheel on my 135i (although Iím worried about sidewall stiffness and wether its even amd advantage at that point).
Ive been shopping for new summer wheels but it would need to fit like 245s or more up there to be financially viable I think. For me at least.
Other wise ill just stuff as much on the 7.5in as itíll take without getting sloppy.
 Jake Stumph Racing
> Once_upon_a_pvt
10/24/2015 at 11:14 |
|
I ran the stock wheel setup for all of 2013 with 225/255 Dunlops. You can fit 225 on the stock 7.5Ē wheel no problem. If youíre stock suspension you shouldnít even need to work on the fenders at all.
In terms of whatís faster, itís a toss up IMO. I think the 225/255 felt a bit faster than 215/245, but itís not worlds apart. If you can, try a 225F, 245R. Itíll help the balance of the car.
Unsure about what you define as mild, but with -3* camber and the fender work, Iím running a 17x9 ET35 with a 255/40 Hankook RS3 up front. Hoping to find a way to go even more aggressive in the future, as the car is heavy (3200#) and needs all the tire it can get under the front end.
 Honesty
> Once_upon_a_pvt
10/24/2015 at 11:40 |
|
Iíve got 225 Dunlop Direzza star specs on my stock wheels and the only rubbing is at 100% full lock. Iím on the stock 135 suepension though. With a quality tire, 225s up front arenít that bad for most purposes.
 Once_upon_a_pvt
> Jake Stumph Racing
10/25/2015 at 06:08 |
|
Awesome it sounds like Iím going to stay at stock size until I can snag a set of good wheels then. Did you go with a camber plate to run -3? The pins were pulled on my struts so its at max camber on the stock set up but thats not close to -3 from what I remember.
Thanks for the reply!
 Jake Stumph Racing
> Once_upon_a_pvt
10/26/2015 at 10:21 |
|
Vorshlag plates and TC Kline coilovers.
Witg stock suspension and pins pulled, my car had -0.3* camber up front.
 Once_upon_a_pvt
> Jake Stumph Racing
10/27/2015 at 01:54 |
|
Nice thanks!