 "daender" (daender)
07/06/2014 at 20:36 • Filed to: diy, miata, shaving
 6
6
 1
1
 "daender" (daender)
07/06/2014 at 20:36 • Filed to: diy, miata, shaving |  6 6
|  1 1 |
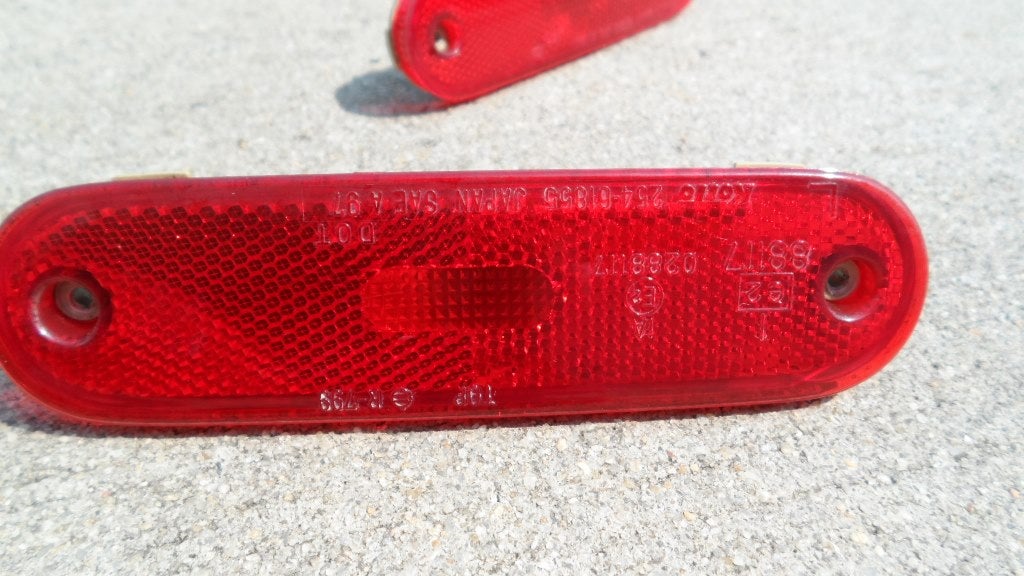
You want a clean-looking car, but then there's that silly raised letters and numbers on some of your lens that ruin everything. Ender's here with a semi-professional post to help you turn those ugly lens into an appealing touch on your car's appearance. This applies to most lens with raised letter but I'm using the Miata as a reference since this is a popular modification without any major drawbacks. Note: this might be illegal depending on what state you're in to remove the lettering.
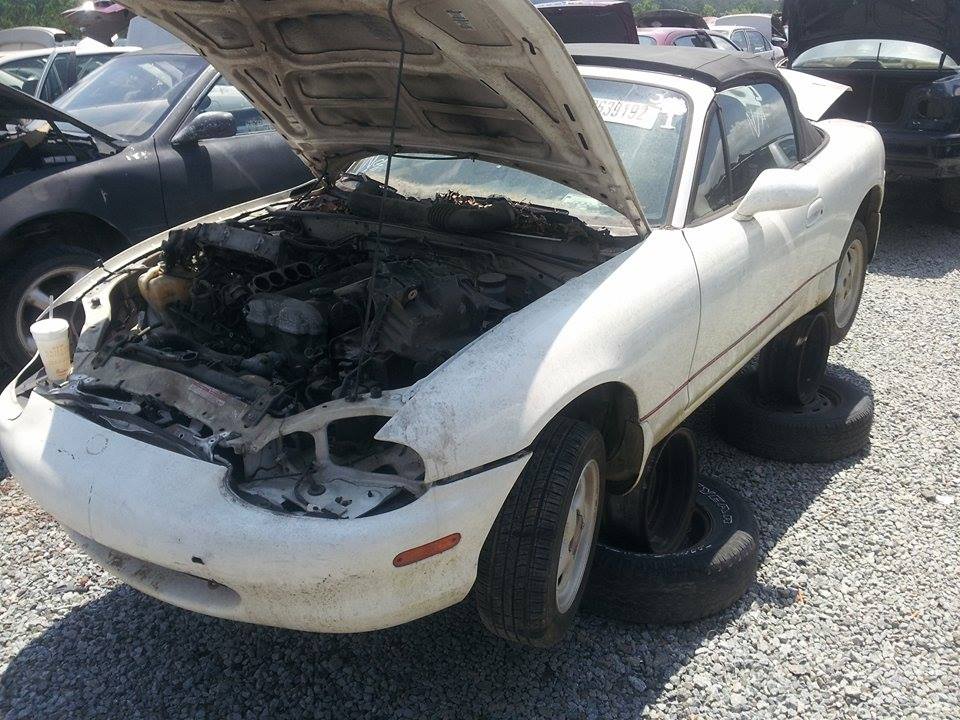
I found this lovely pair of rear reflector markers from a junkyard '99 NB for free, a quick wash later and they look brand-new! I was going to nab the fronts as well but the double-sided tape holding them in was a mess so I left them. I'm going to use these as test-samples for a shaving project using !!!error: Indecipherable SUB-paragraph formatting!!! as well some advice from !!!error: Indecipherable SUB-paragraph formatting!!! .
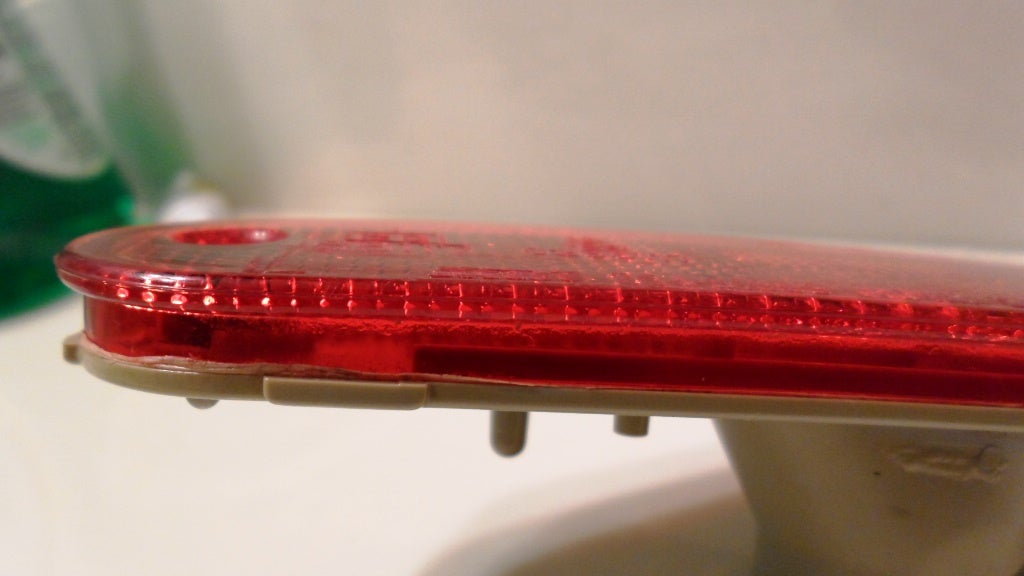
Using a Mill Bastard (legit name) file, slowly grind off most of the letter without gouging the surface of the lens. I found it best to have the file parallel with the lens' longer side to file down just about everything.
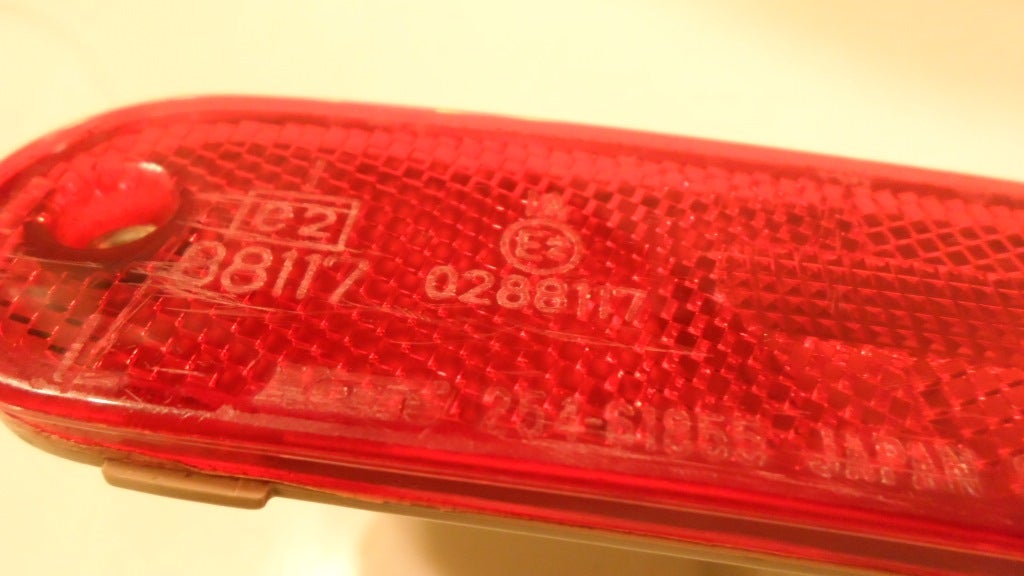
You can still see the remains of the raised lettering and whatnot but most of it is gone. I did put some light scores in the lens but those should be gone after sanding it. Estimated time to file them down: 15 minutes per lens with TV interruptions.
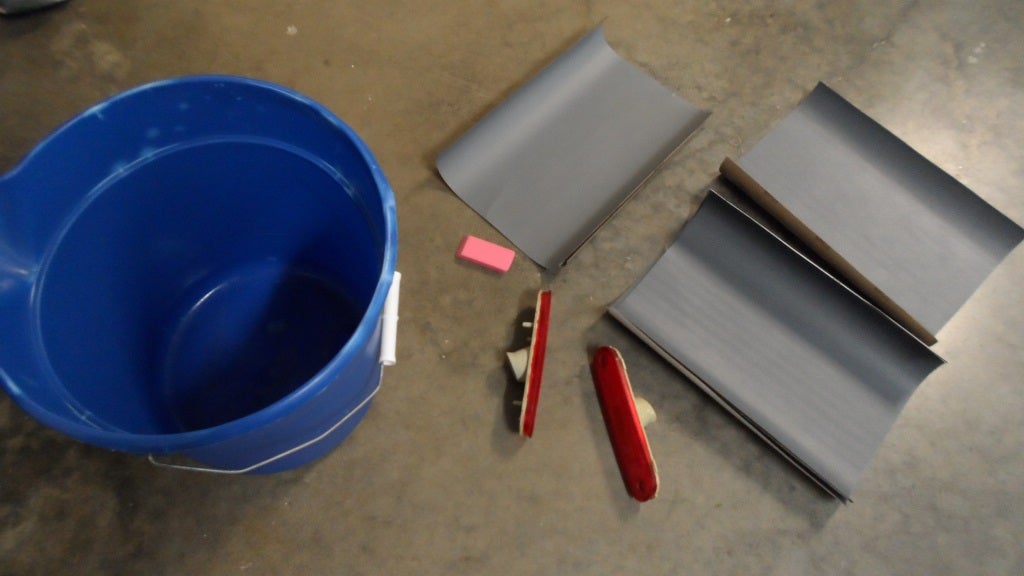
I acquired some 320, 400, and 600 sandpapers (I bought too many sheets, oops, you only need one of each really if you're going to do this to at least two pairs of markers AND the NA's taillights ) and one of those pink erasers. Total cost for sandpaper: $1 per sheet at a local hardware store and $1.75 for a 3-pack of erasers from Walmart.
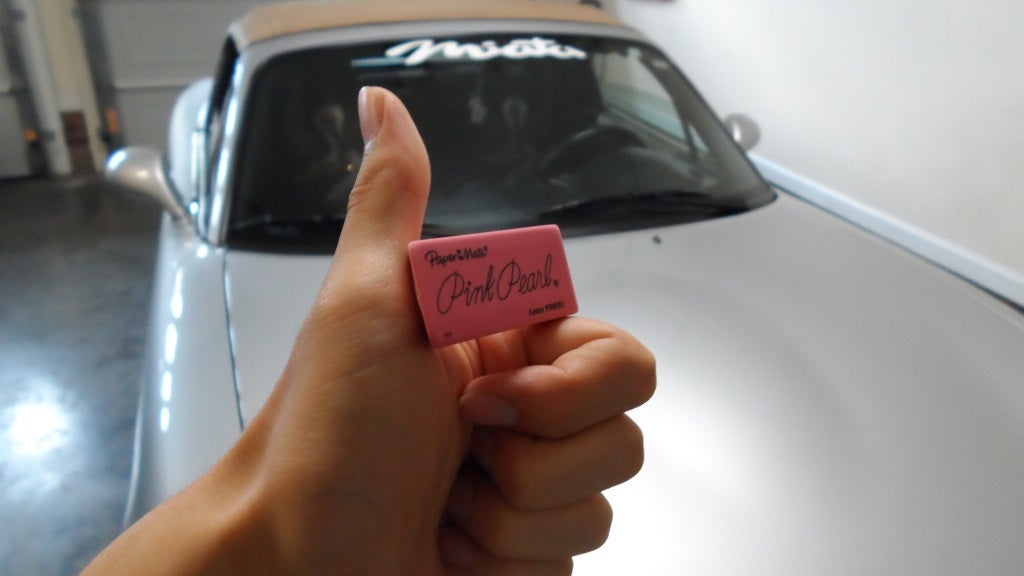
The VWVortex post mentioned using a bare finger while sanding might cause an uneven surface due to pressure points whereas an eraser will flex with the surface with a better distribution of force.
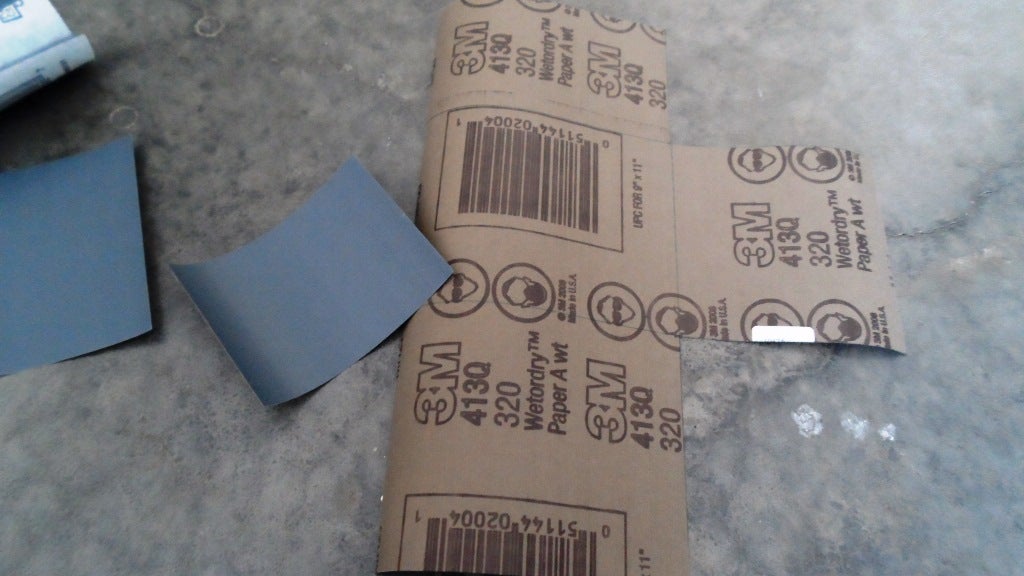
Next, cut up the sand paper into 4 by 4 inches squares...or whatever smaller size you feel comfortable using. Estimated time: 4 minutes because I'm fancy and used a ruler.
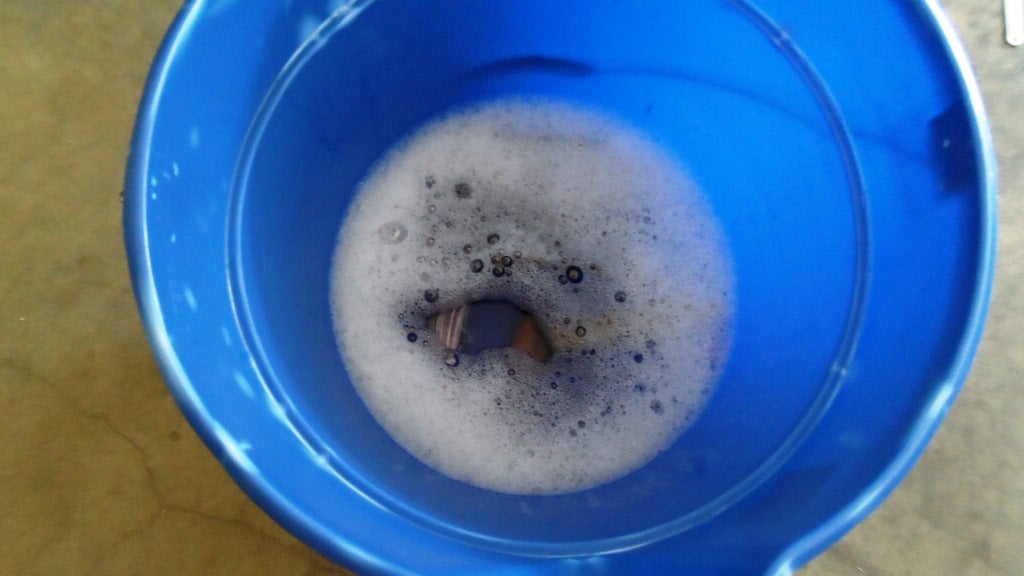
Now dump all the cut-up sandpaper into a bucket or bowl filled with warm water and two drops of dish soap to help loosen up the sand paper and provide better lubrication when sanding, respectively. Wait for at least 30 minutes for the paper to soak, feel free to leave them in there all night if you want.
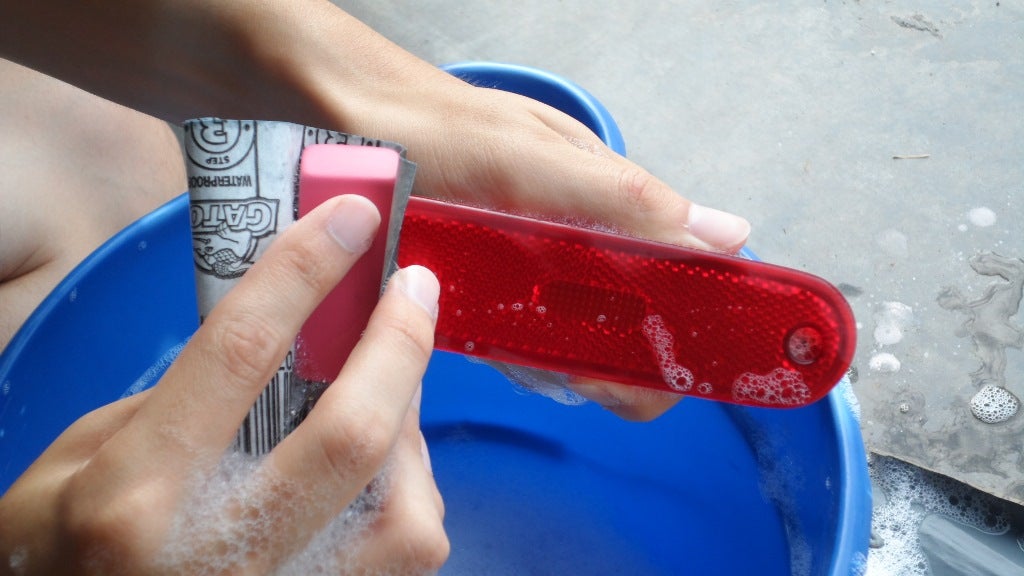
Finally, start sanding! Start with the 320 before progressing to the 400 and 600 grits. Go back and forth across the length of the lens about 4-5 times before dunking both the lens and paper in the soapy water. This helps clear the paper of the plastic remains and keep the wet in wet-sanding. It should only take about 5 minutes per surface to erase all the remains of the raised lettering and file marks; repeat the steps for each grit. Note the location of my index finger, I should technically be pressing down on the eraser with my entire finger but I was trying to just take off the lettering by applying force over that specific area. I think it would have worked better to apply even force.
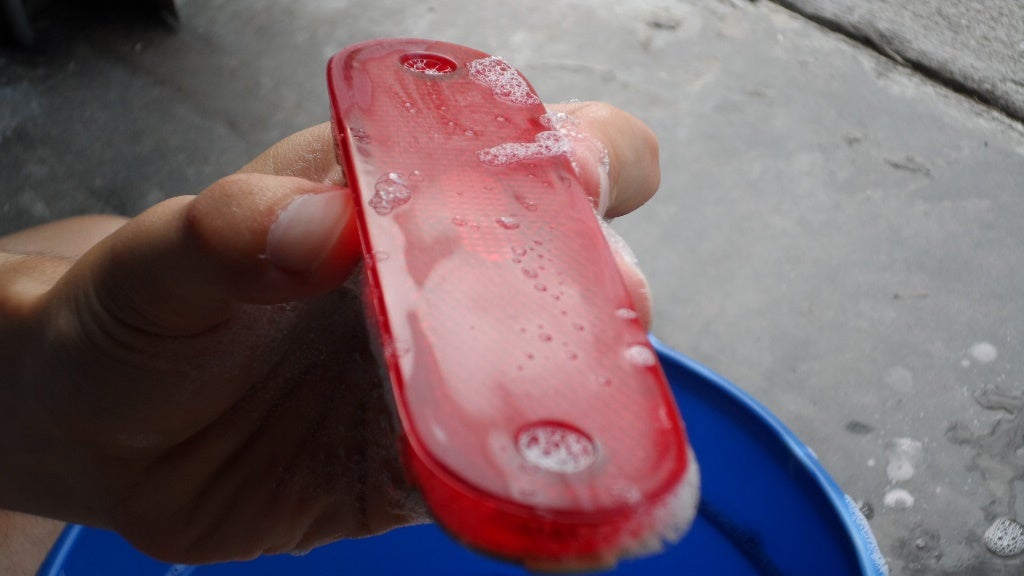
This is what it should look like after you tear through a millimeter of plastic and clear coat. It does look hazy after this but we still have two more steps left.
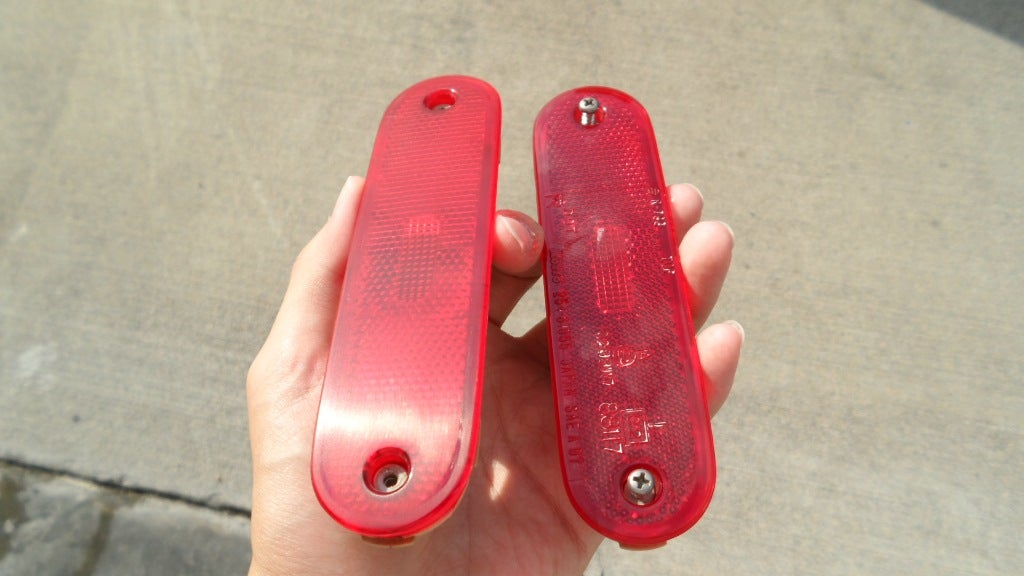
Take a microfiber cloth and use either headlight polish or car polish to wax the lens. This is the result, it's a bit clearer but still hazy in comparison to a stock unit. Let's fix that.
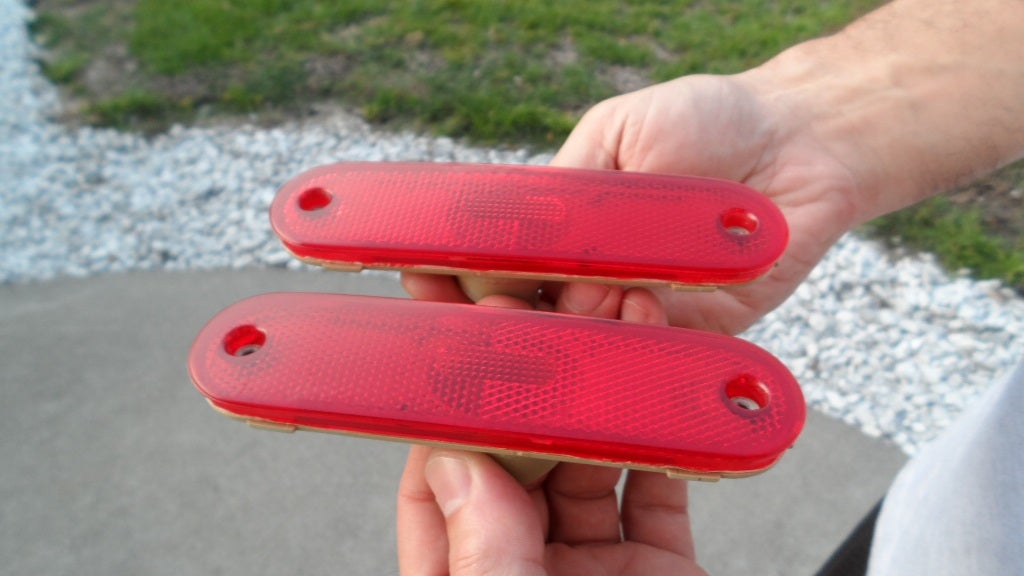
Using a can of clear coat (about $3.67 at Walmart), shoot a thin layer over the lens and let them sit for about 30 minutes to dry. Afterward, they look pretty as clear as the originals and will stay that way. If they don't, then shoot another thin layer of clear and that should do it.
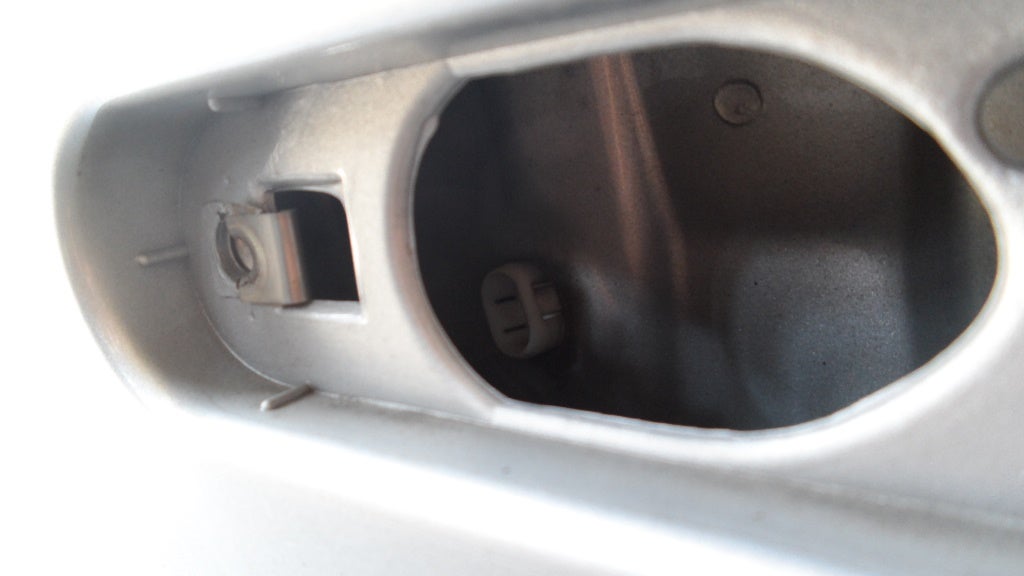
Using a Phillip's #1 screwdriver, remove the two screws holding in the marker. USDM Miata don't have the rear markers wired up ( however you can see exactly where the wiring would go to tie them in with the rear blinkers for EDM and JDM Miatas ) so removal should be pretty darn easy. There are threads on the Miata.net's faq and forum if you wish to incorporate the lighting.
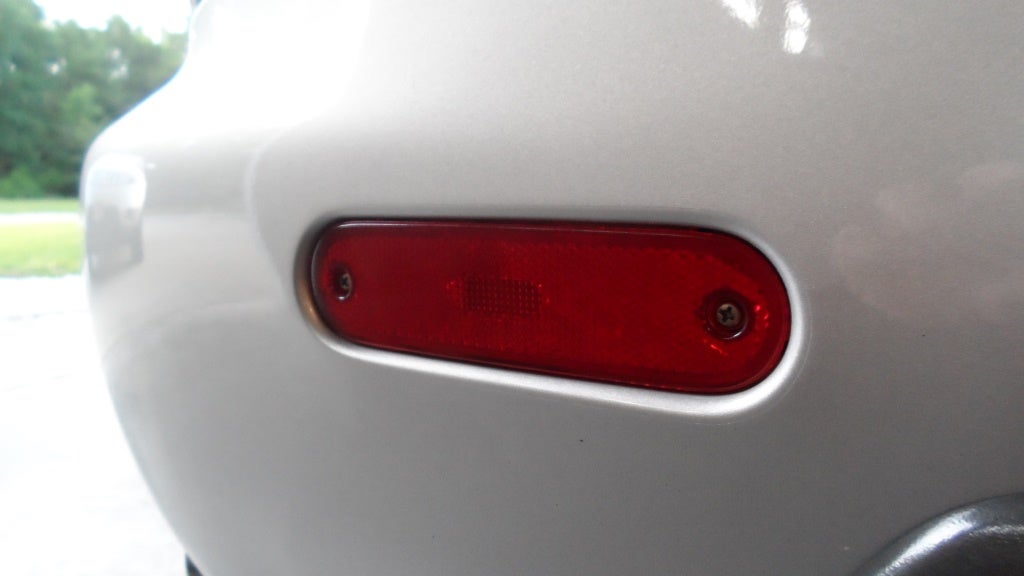
And done! Now my Miata has smooth side-rear reflectors! No more wax buildup on that ugly raised lettering and a cooler look!
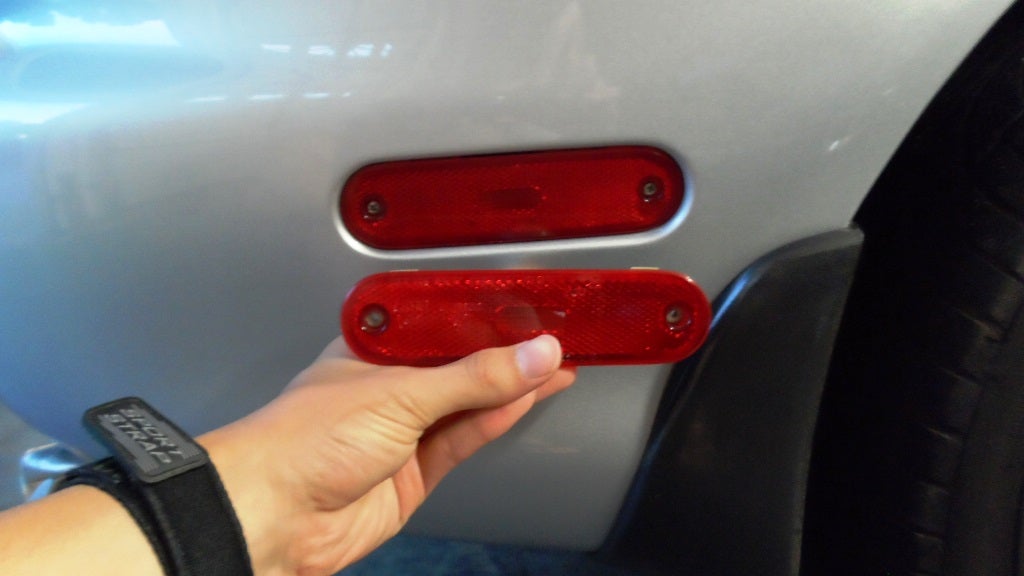
Total cost: one set of free Miata reflectors from Pull-A-Part, 3$ in sanding paper used (I have lots of leftovers now), 4$ for polish, and 4$ for clear-coat. So for about 11$, you can give your Miata or other car a cleaner look over a weekend and for the price of a six-pack of beer.
 LappingLuke
> daender
07/06/2014 at 20:45 |
|
Nice to see you're staying busy lol