 by "AestheticsInMotion" (aestheticsinmotion)
Published 12/10/2017 at 20:35
by "AestheticsInMotion" (aestheticsinmotion)
Published 12/10/2017 at 20:35
Tags: Pro Electrician
; Miatafications
; Miata
; Subwoofer
; Stereo
STARS: 9
My first foray into both car wiring and audio. There are a few issues I’m not exactly sure how to deal with but the amp, sub, crossovers, and passenger side tweeter are all mounted and wired up.
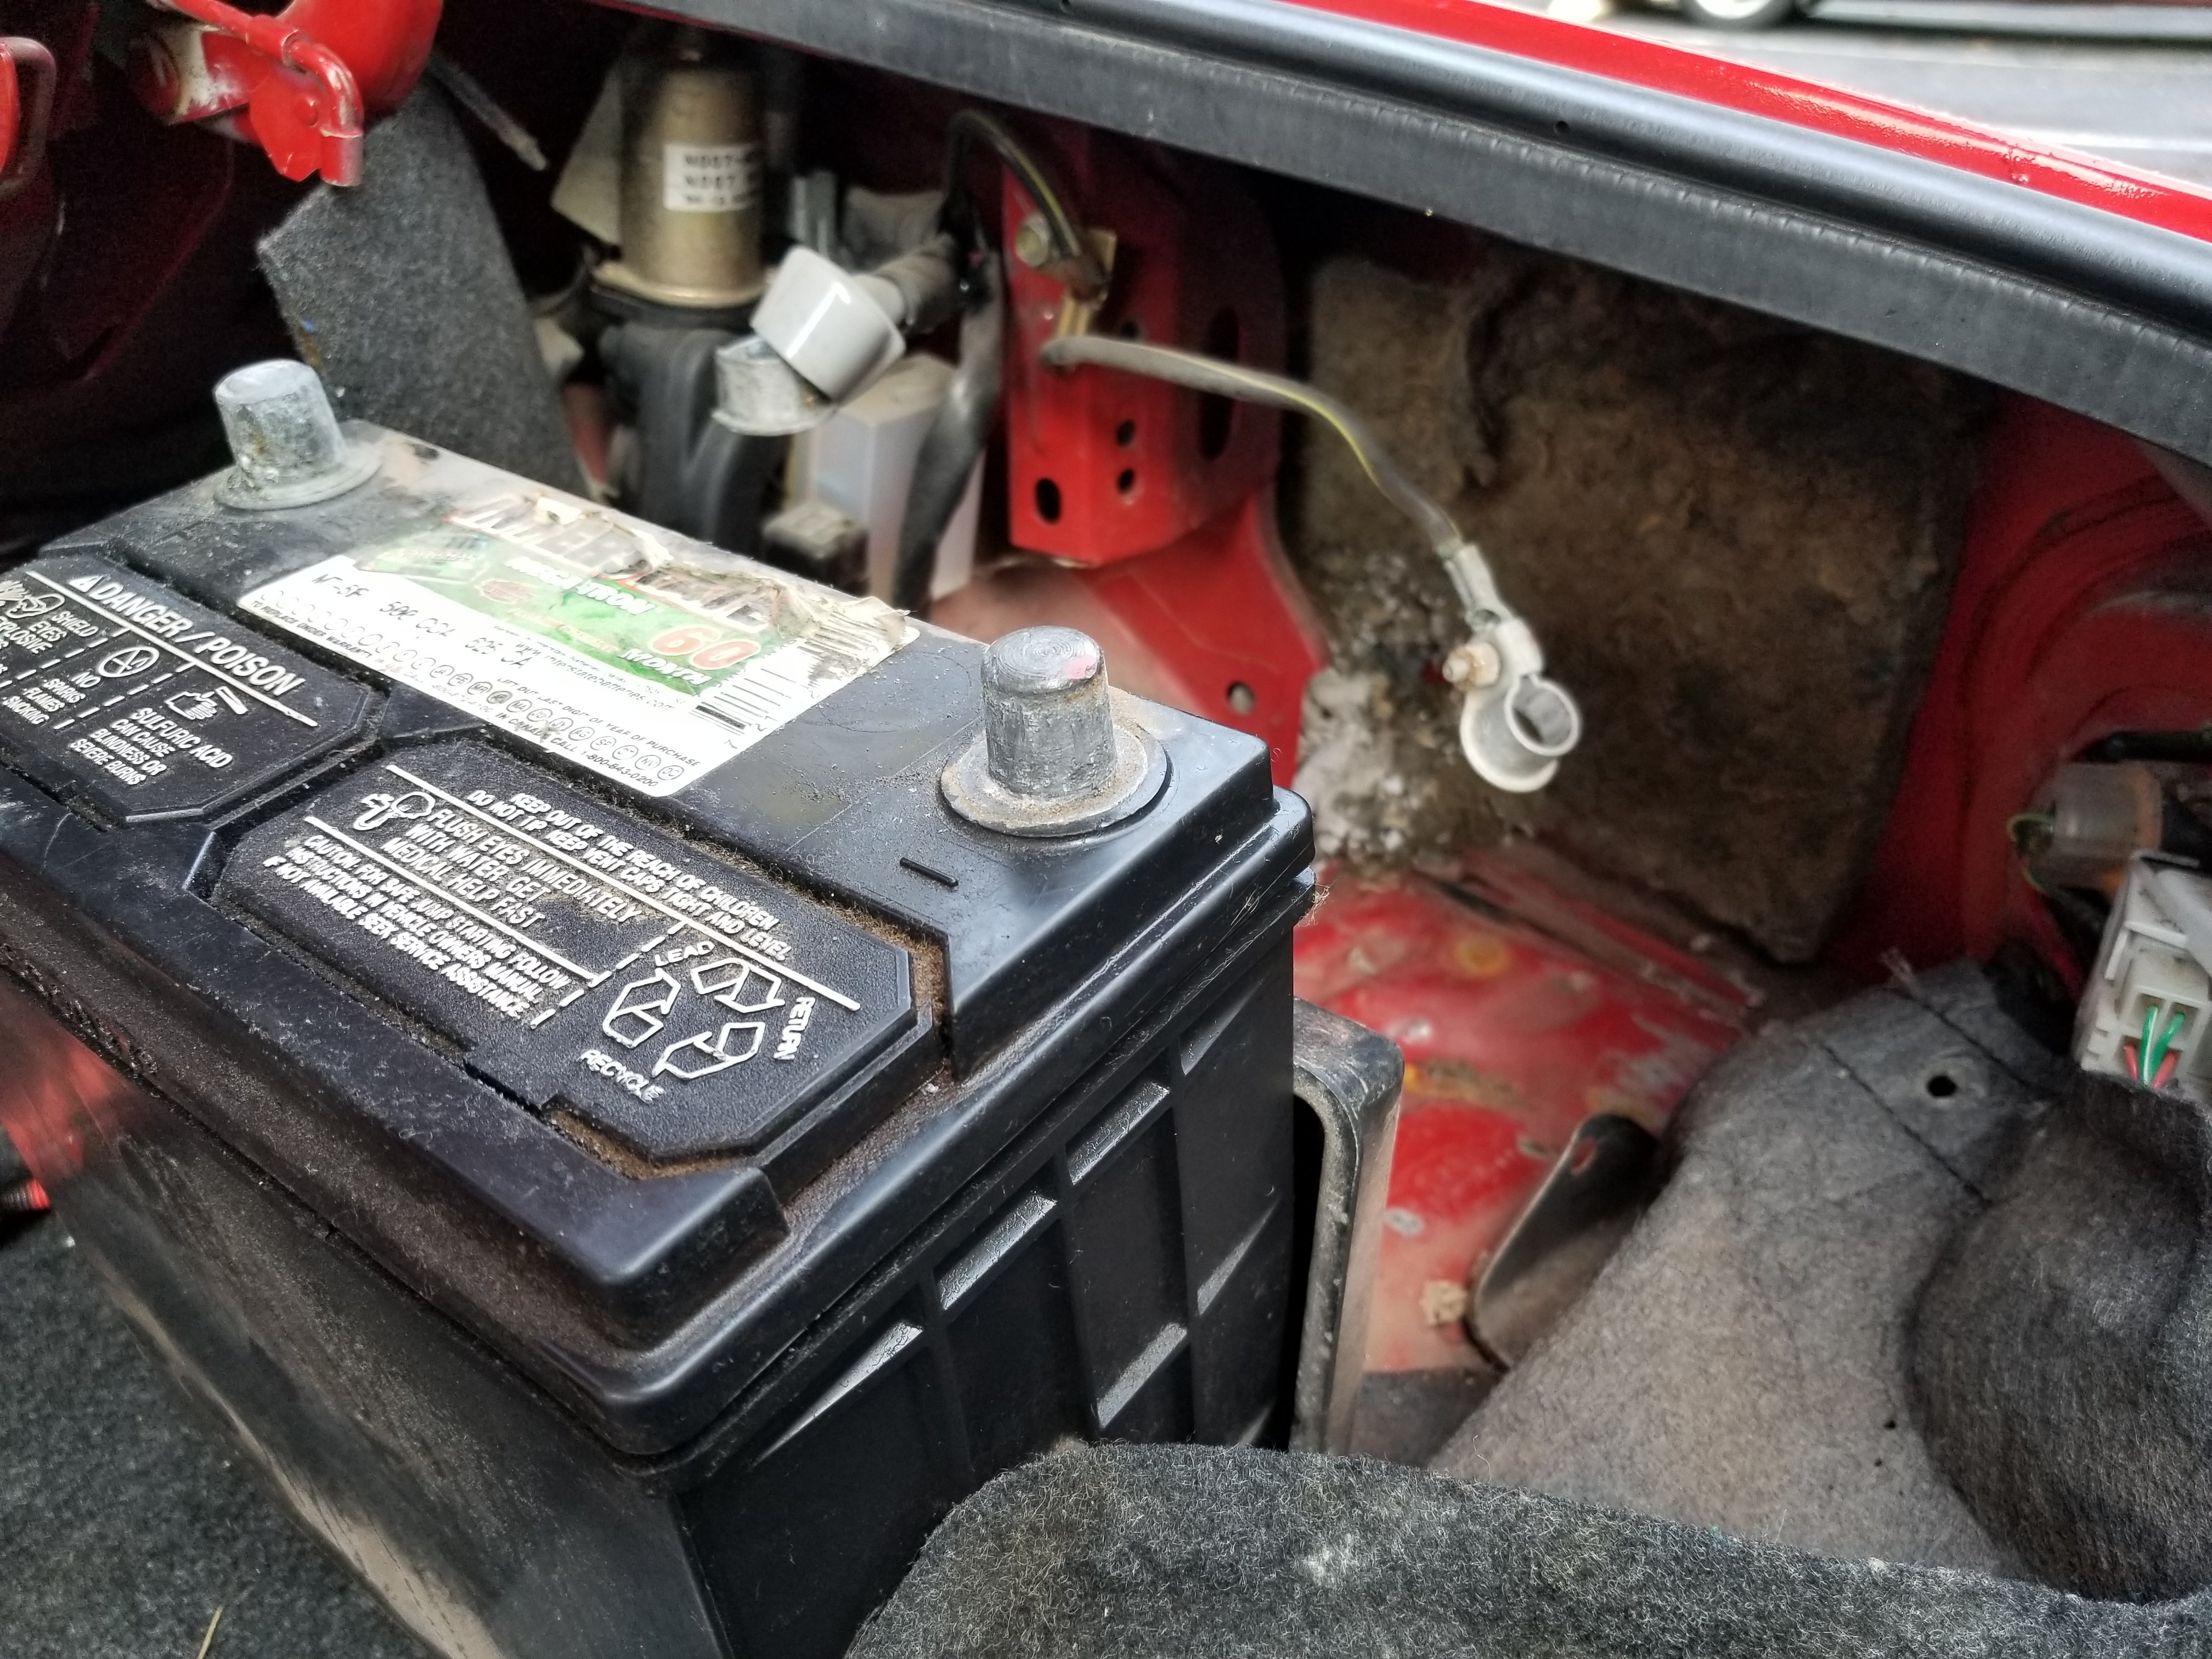
First step, I disconnected my battery and removed it from the car because I don’t trust the damn thing. I need a new battery tray and tie-down, along with a positive terminal cap thingy, and probably a battery too by now. Not to mention a deep clean behind the battery... The insulation is absolutely shredded. I’m filing this to “take care of it later” along with the rest of the ever-growing list.
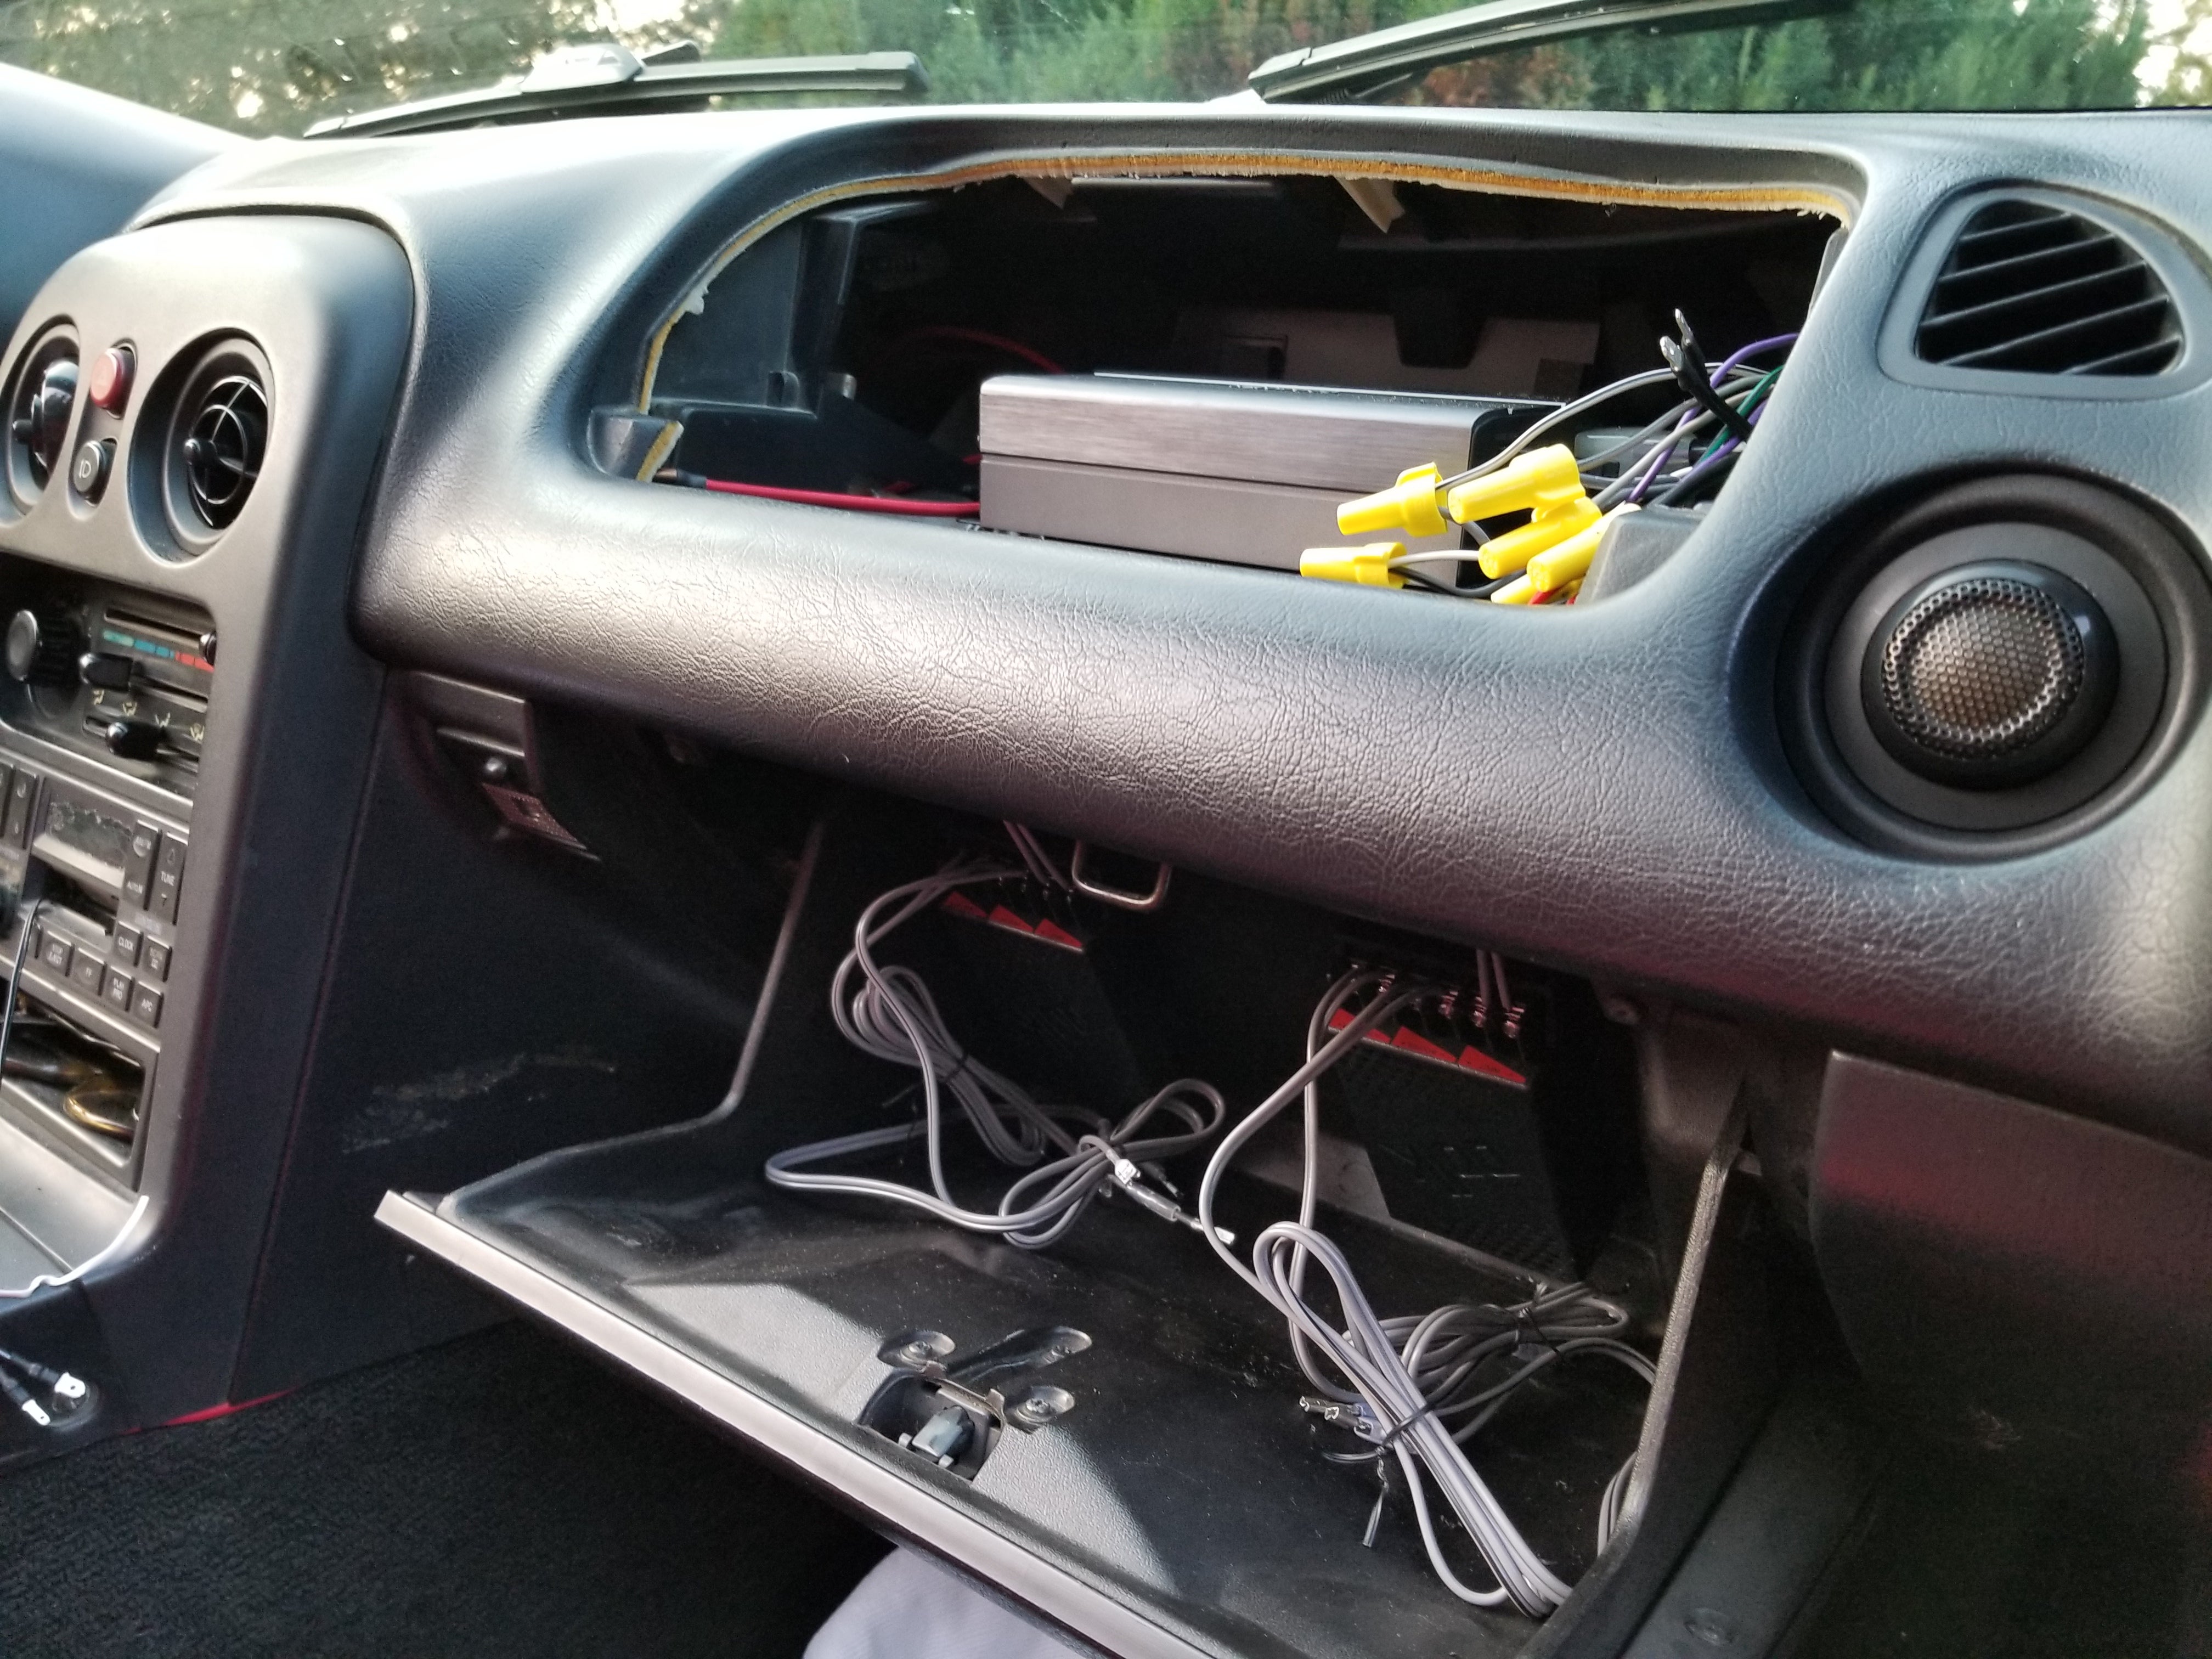
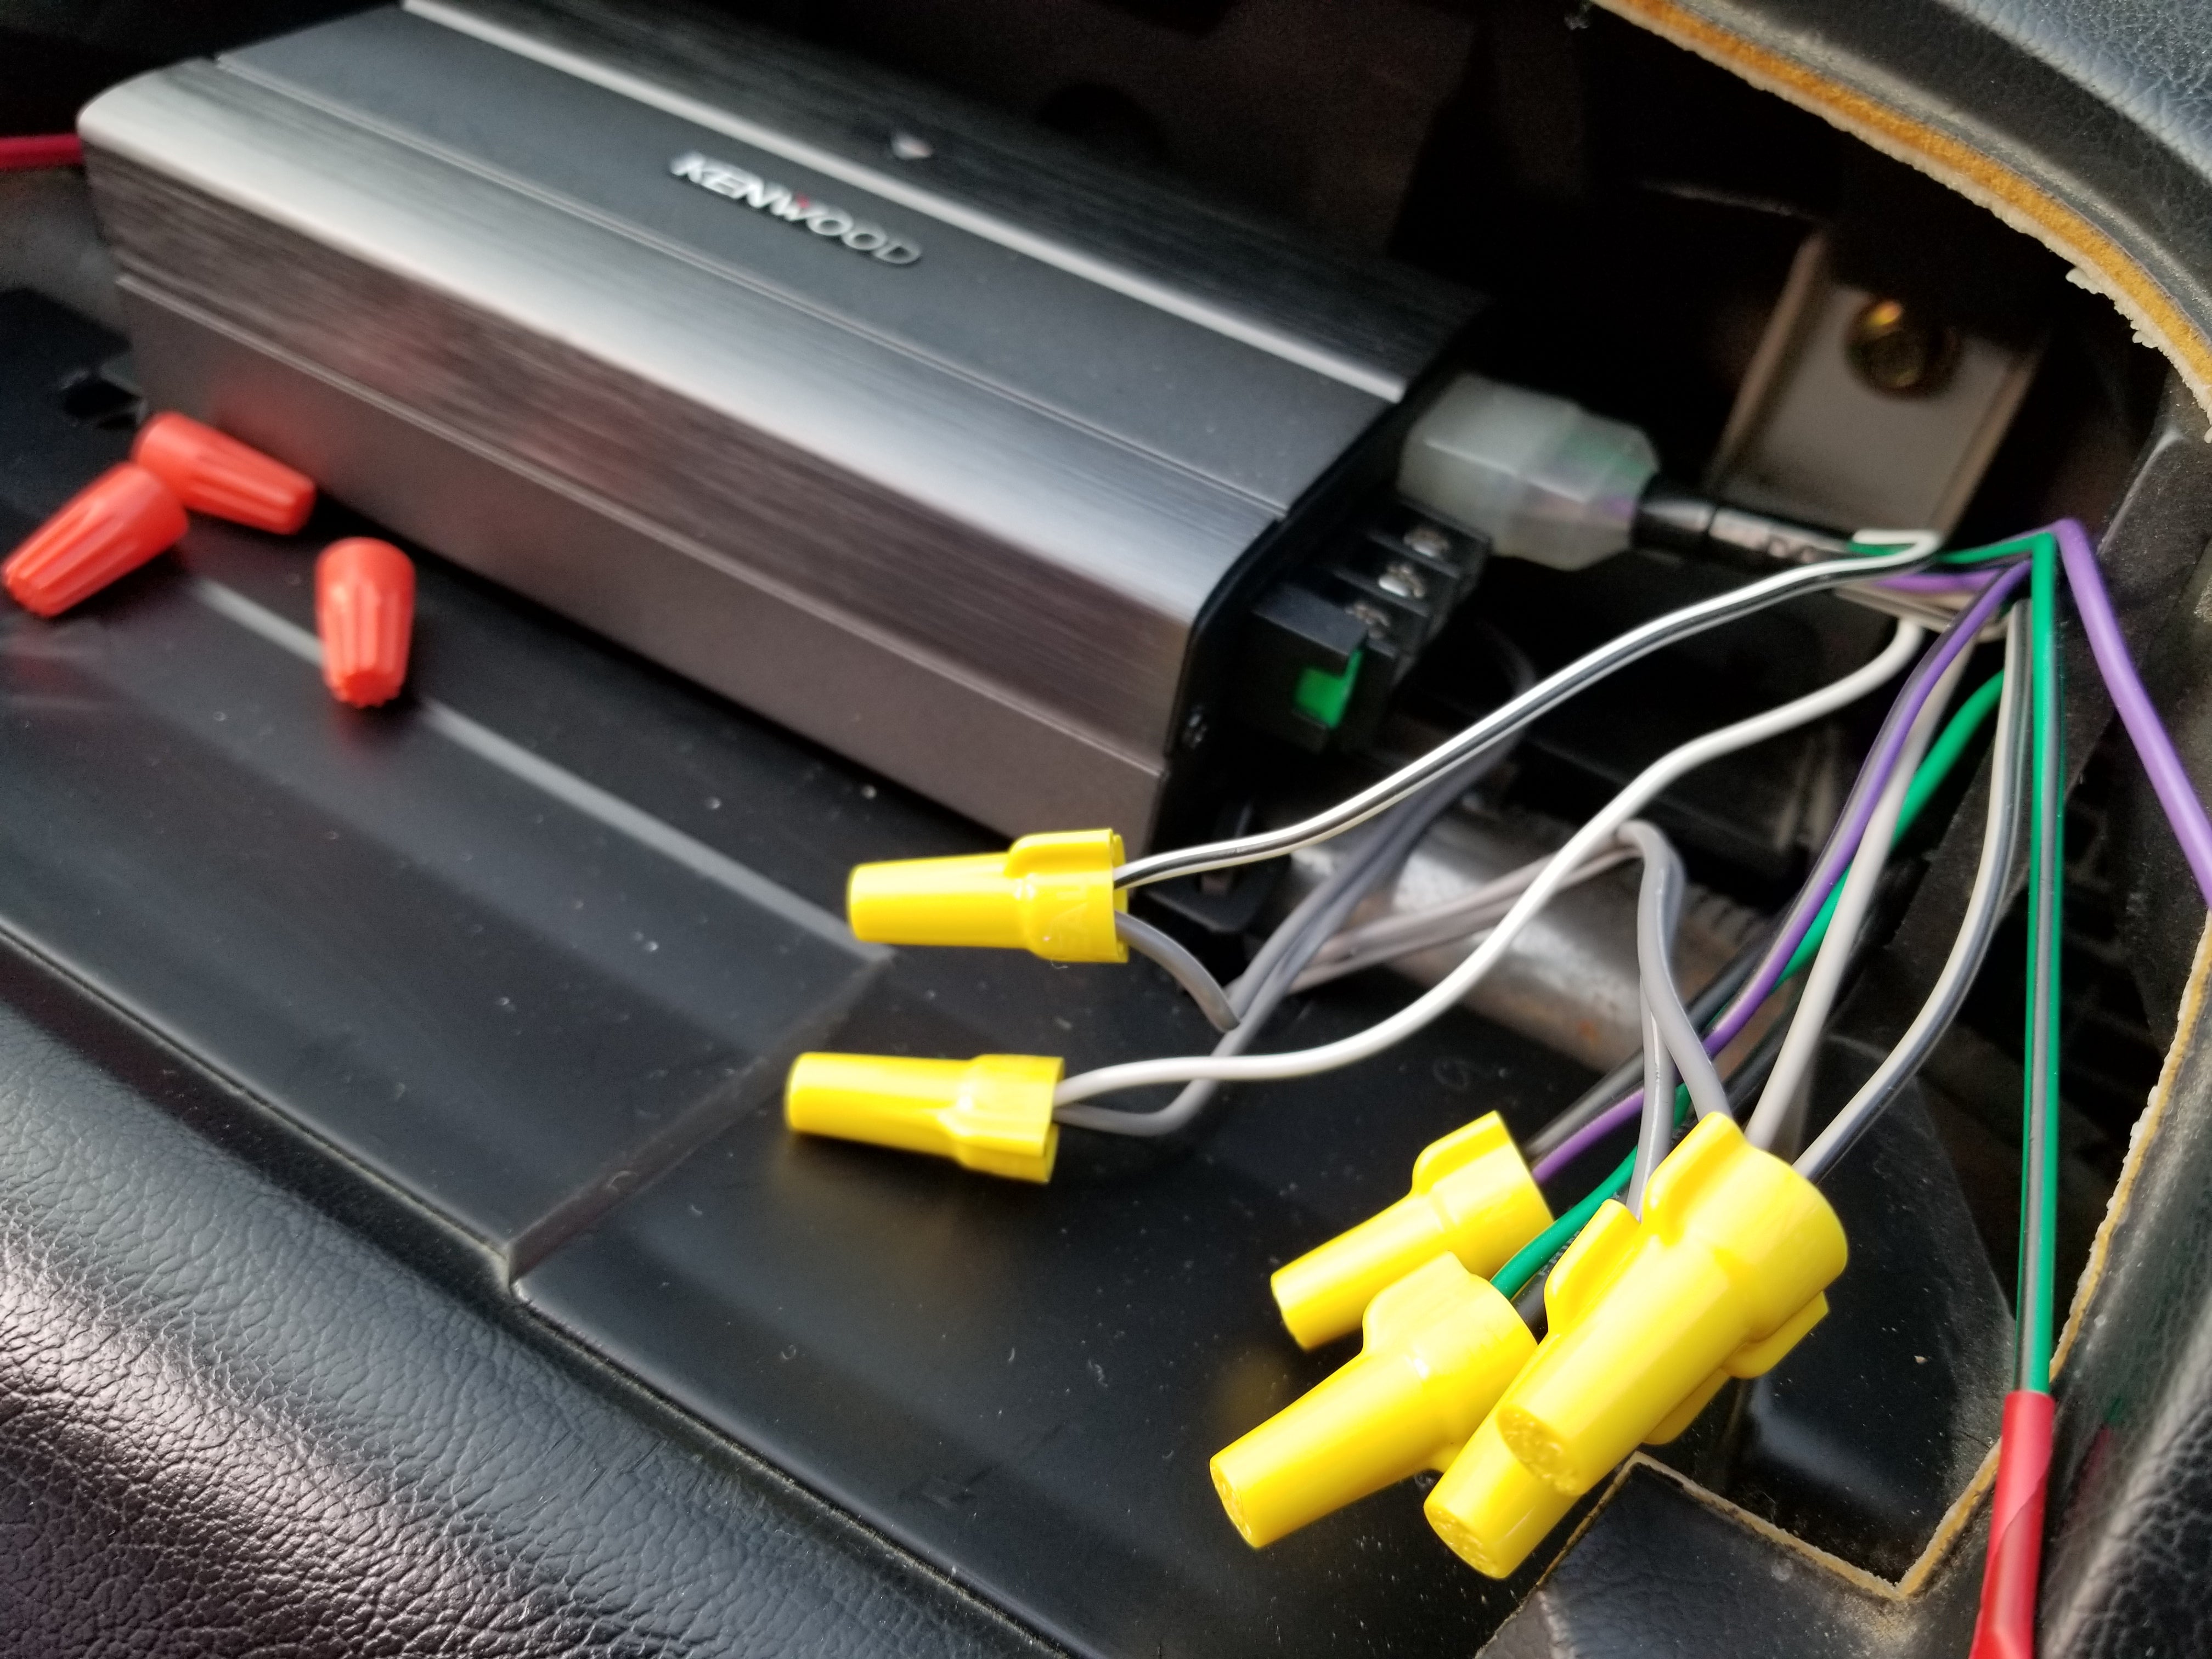
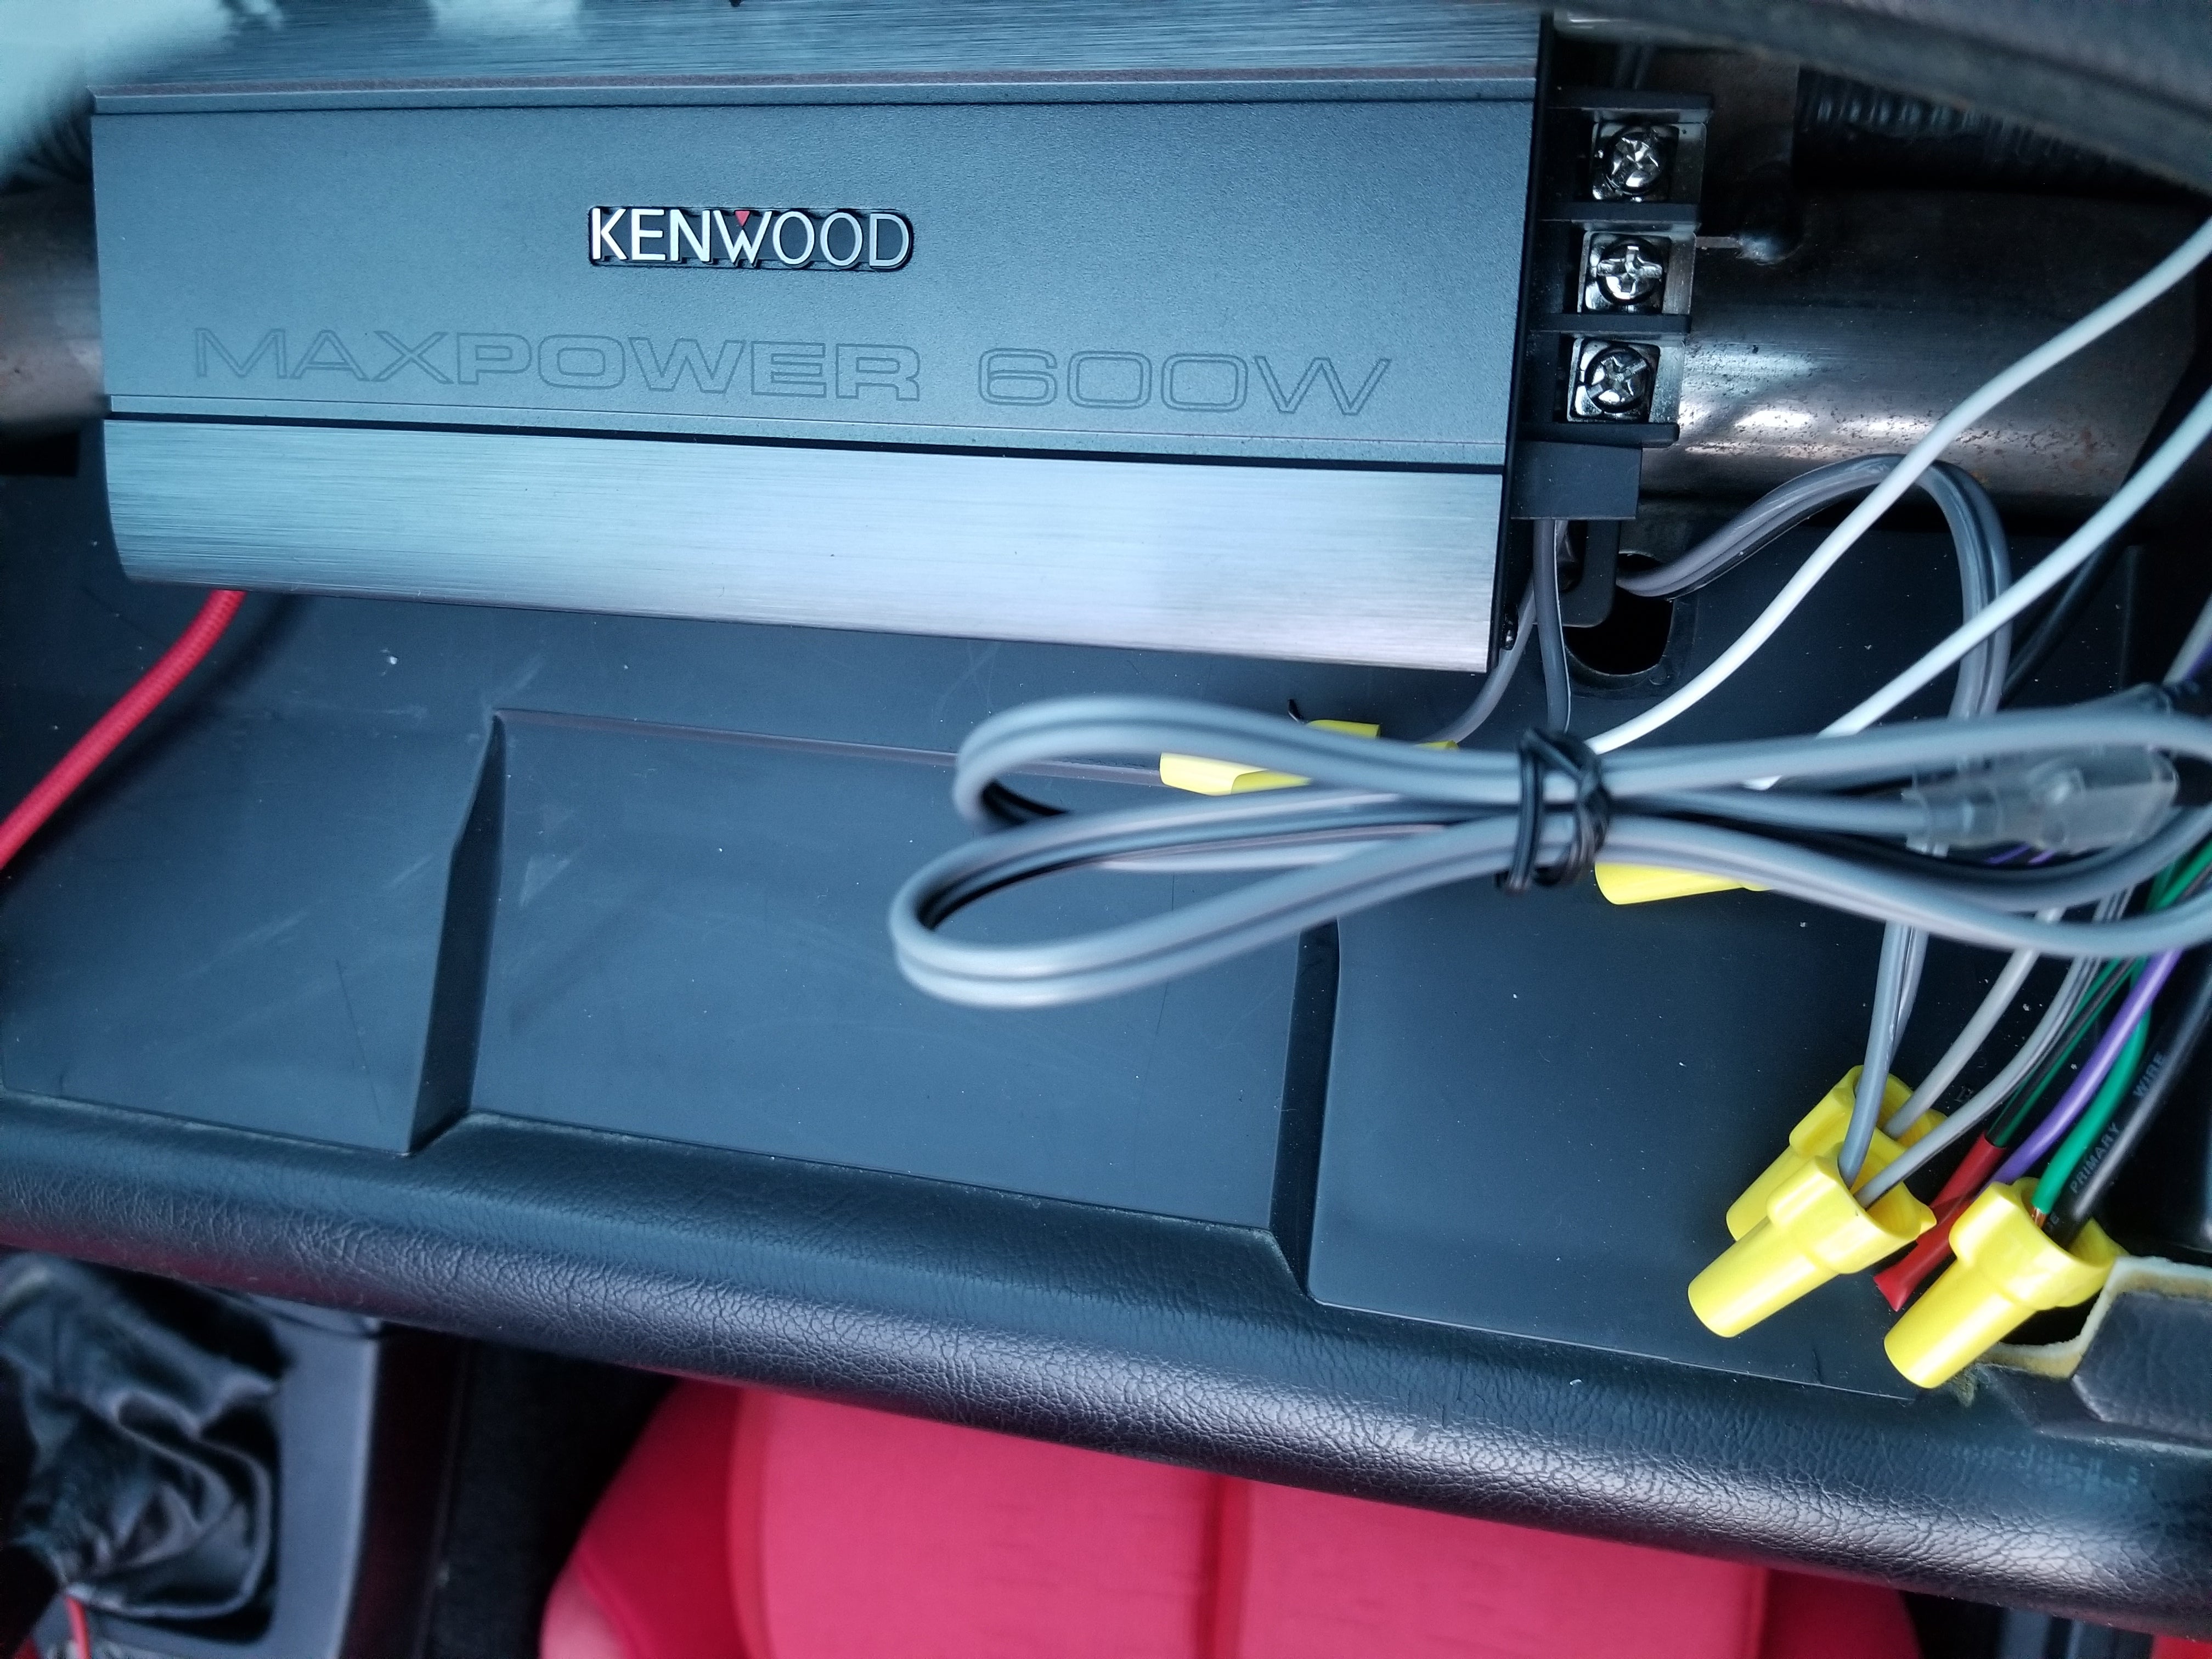
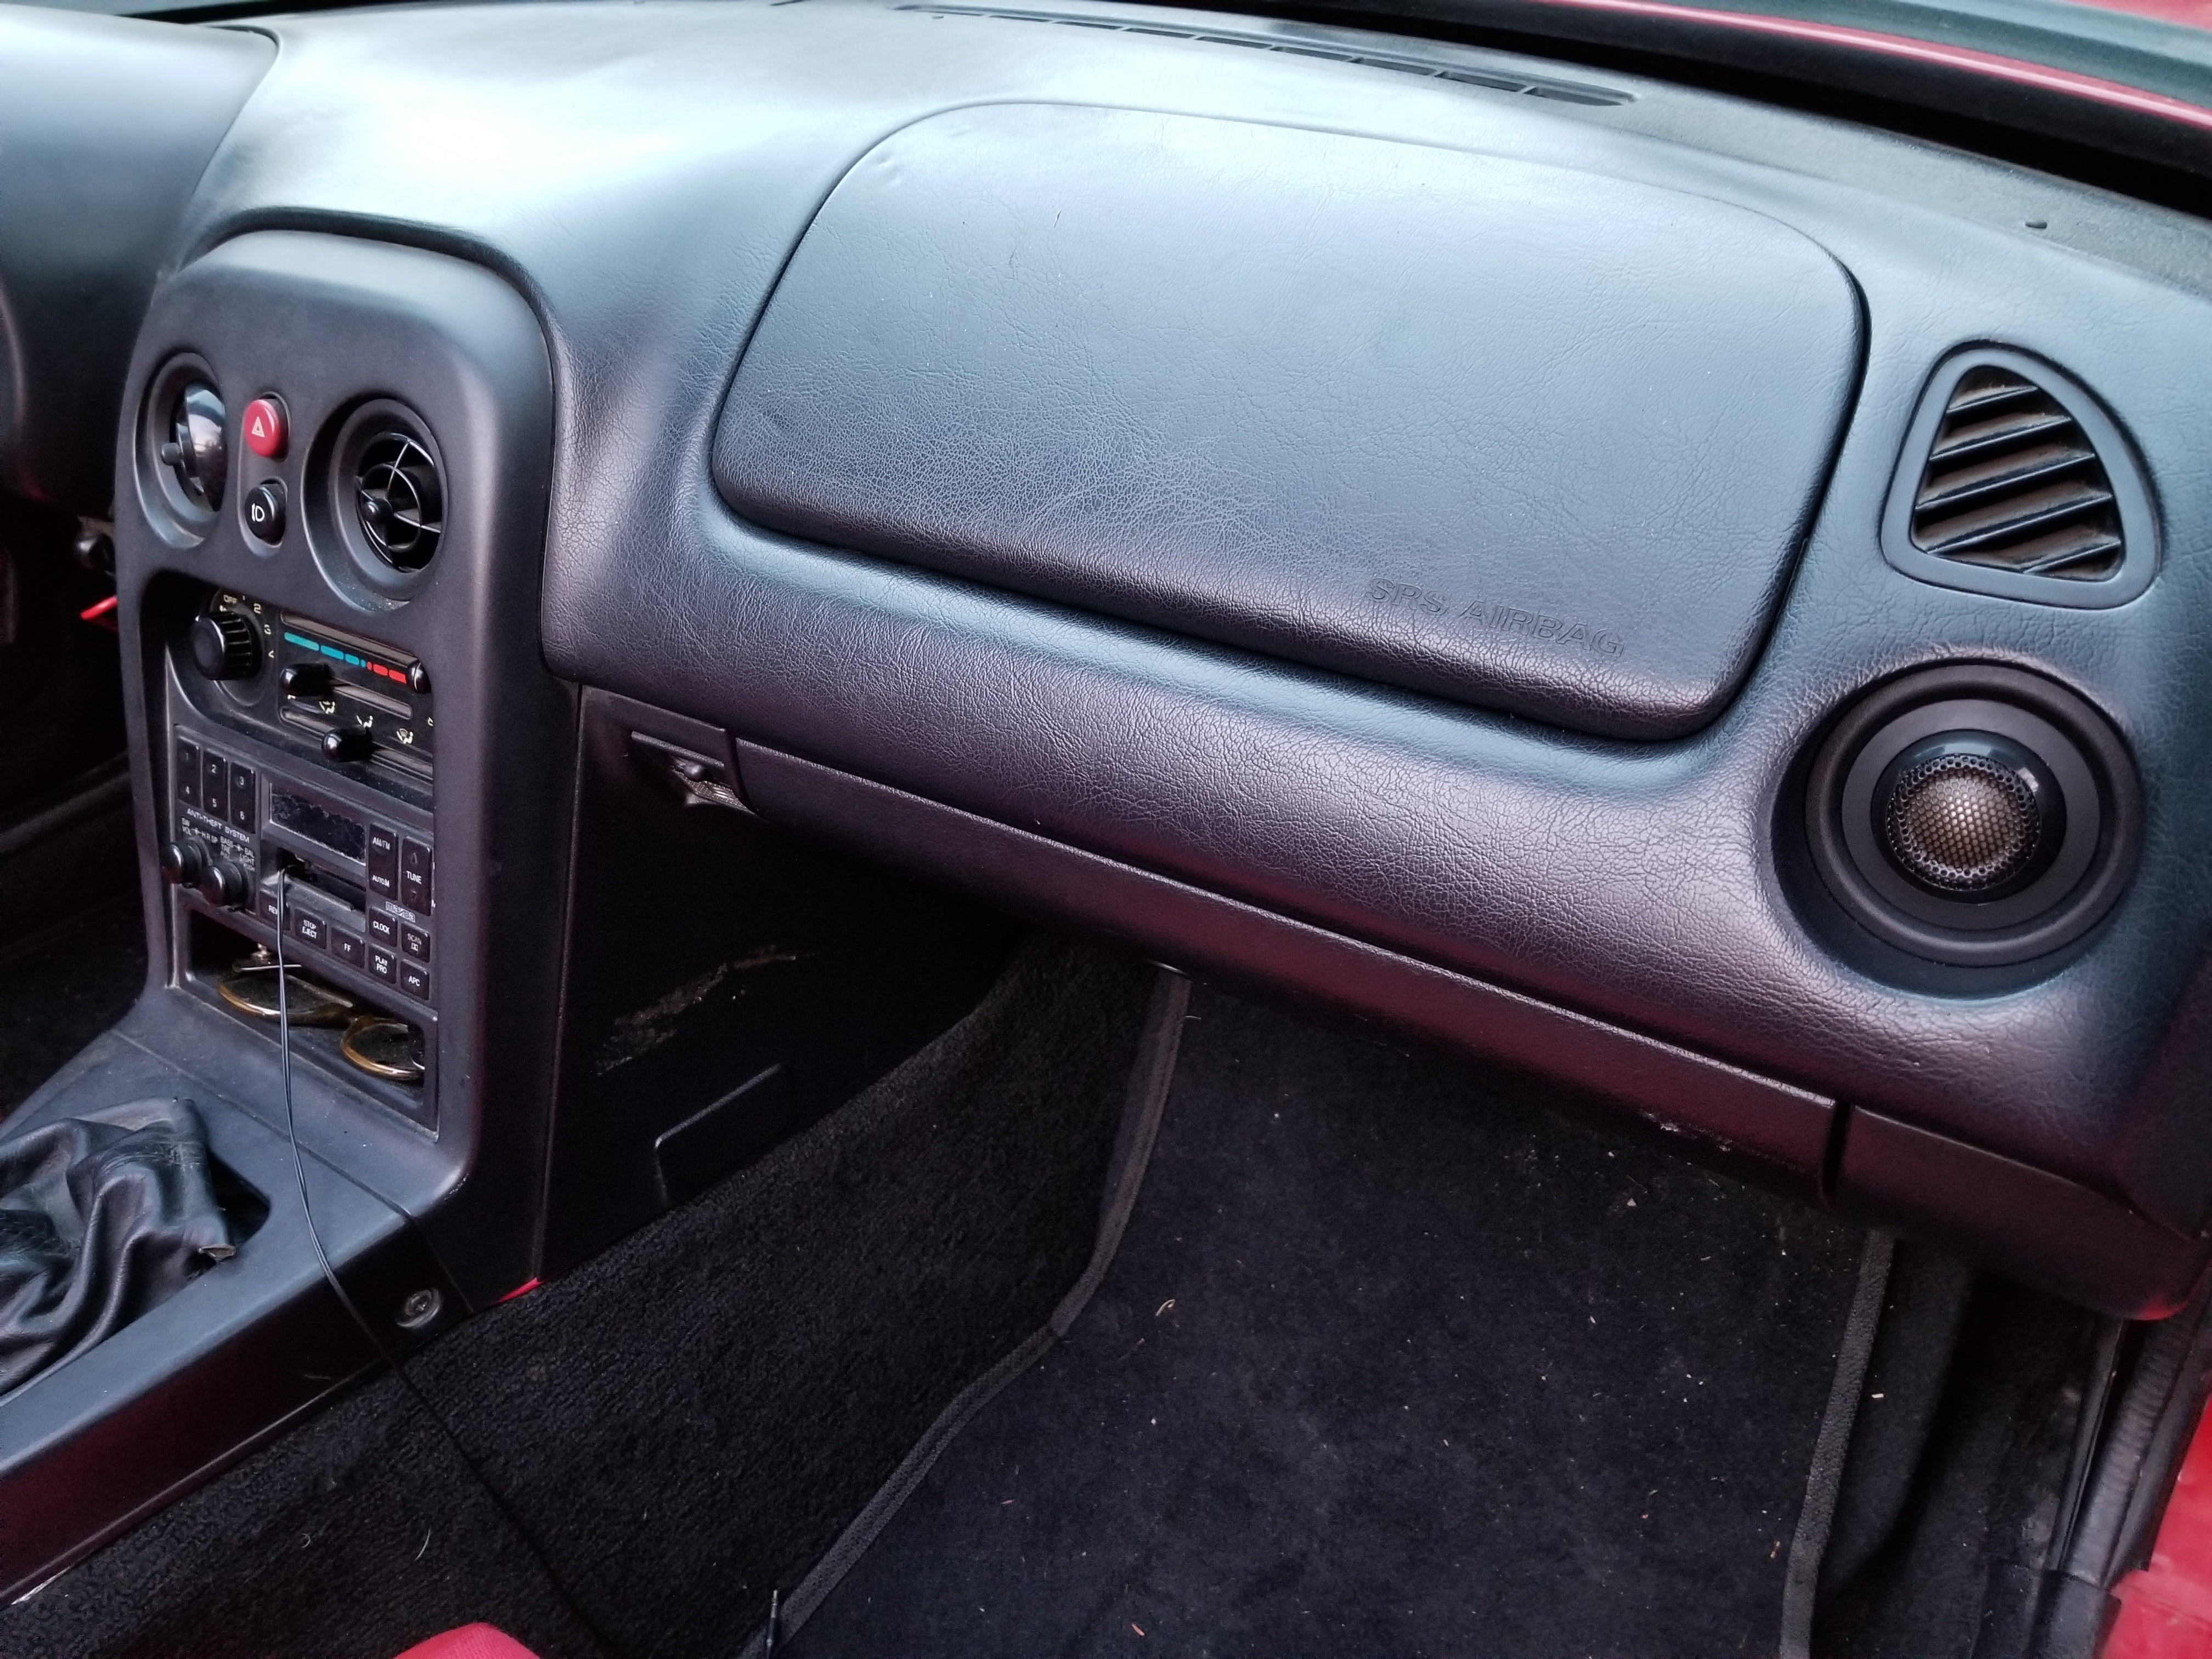
Amp was mounted exactly where I wanted it, in the passenger airbag cubby. I was planning to weld up a bracket, but zip ties held it in place with zero movement, so that’s good enough. Both sides are pretty accessible for the rest of the stereo install. And jo one will ever see this area anyways. Besides.... Uh... You guys. Don’t judge.
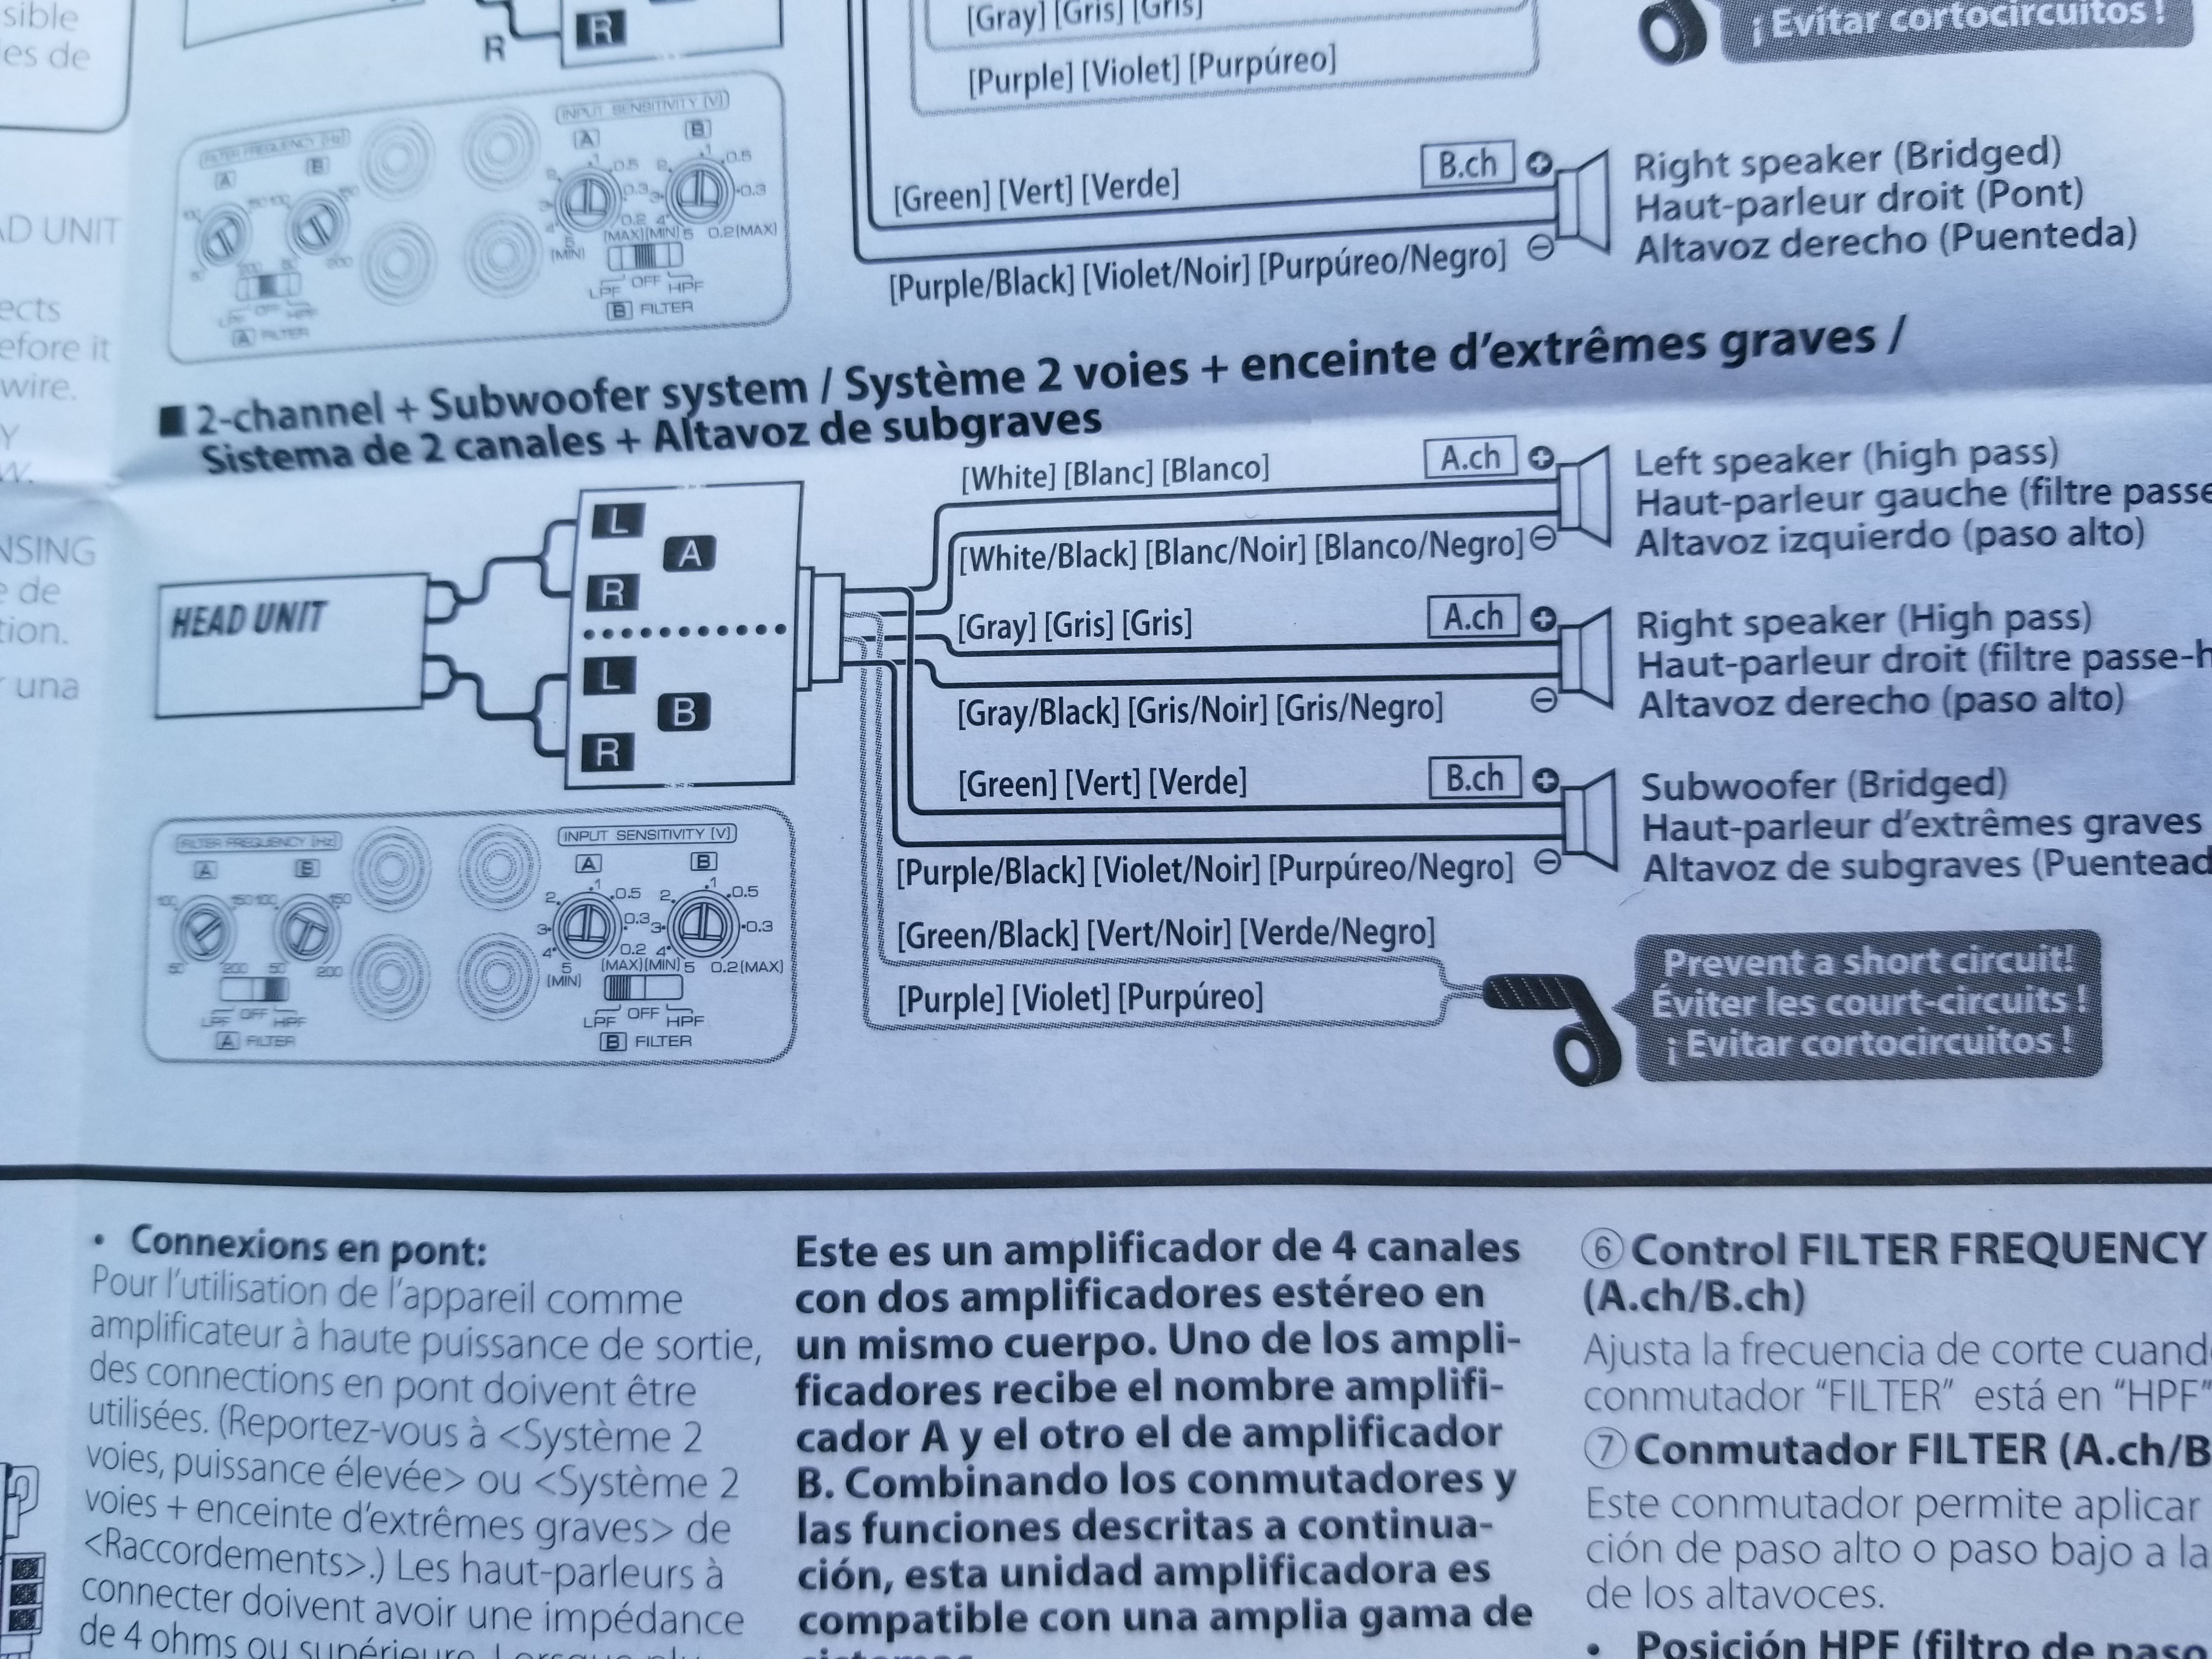
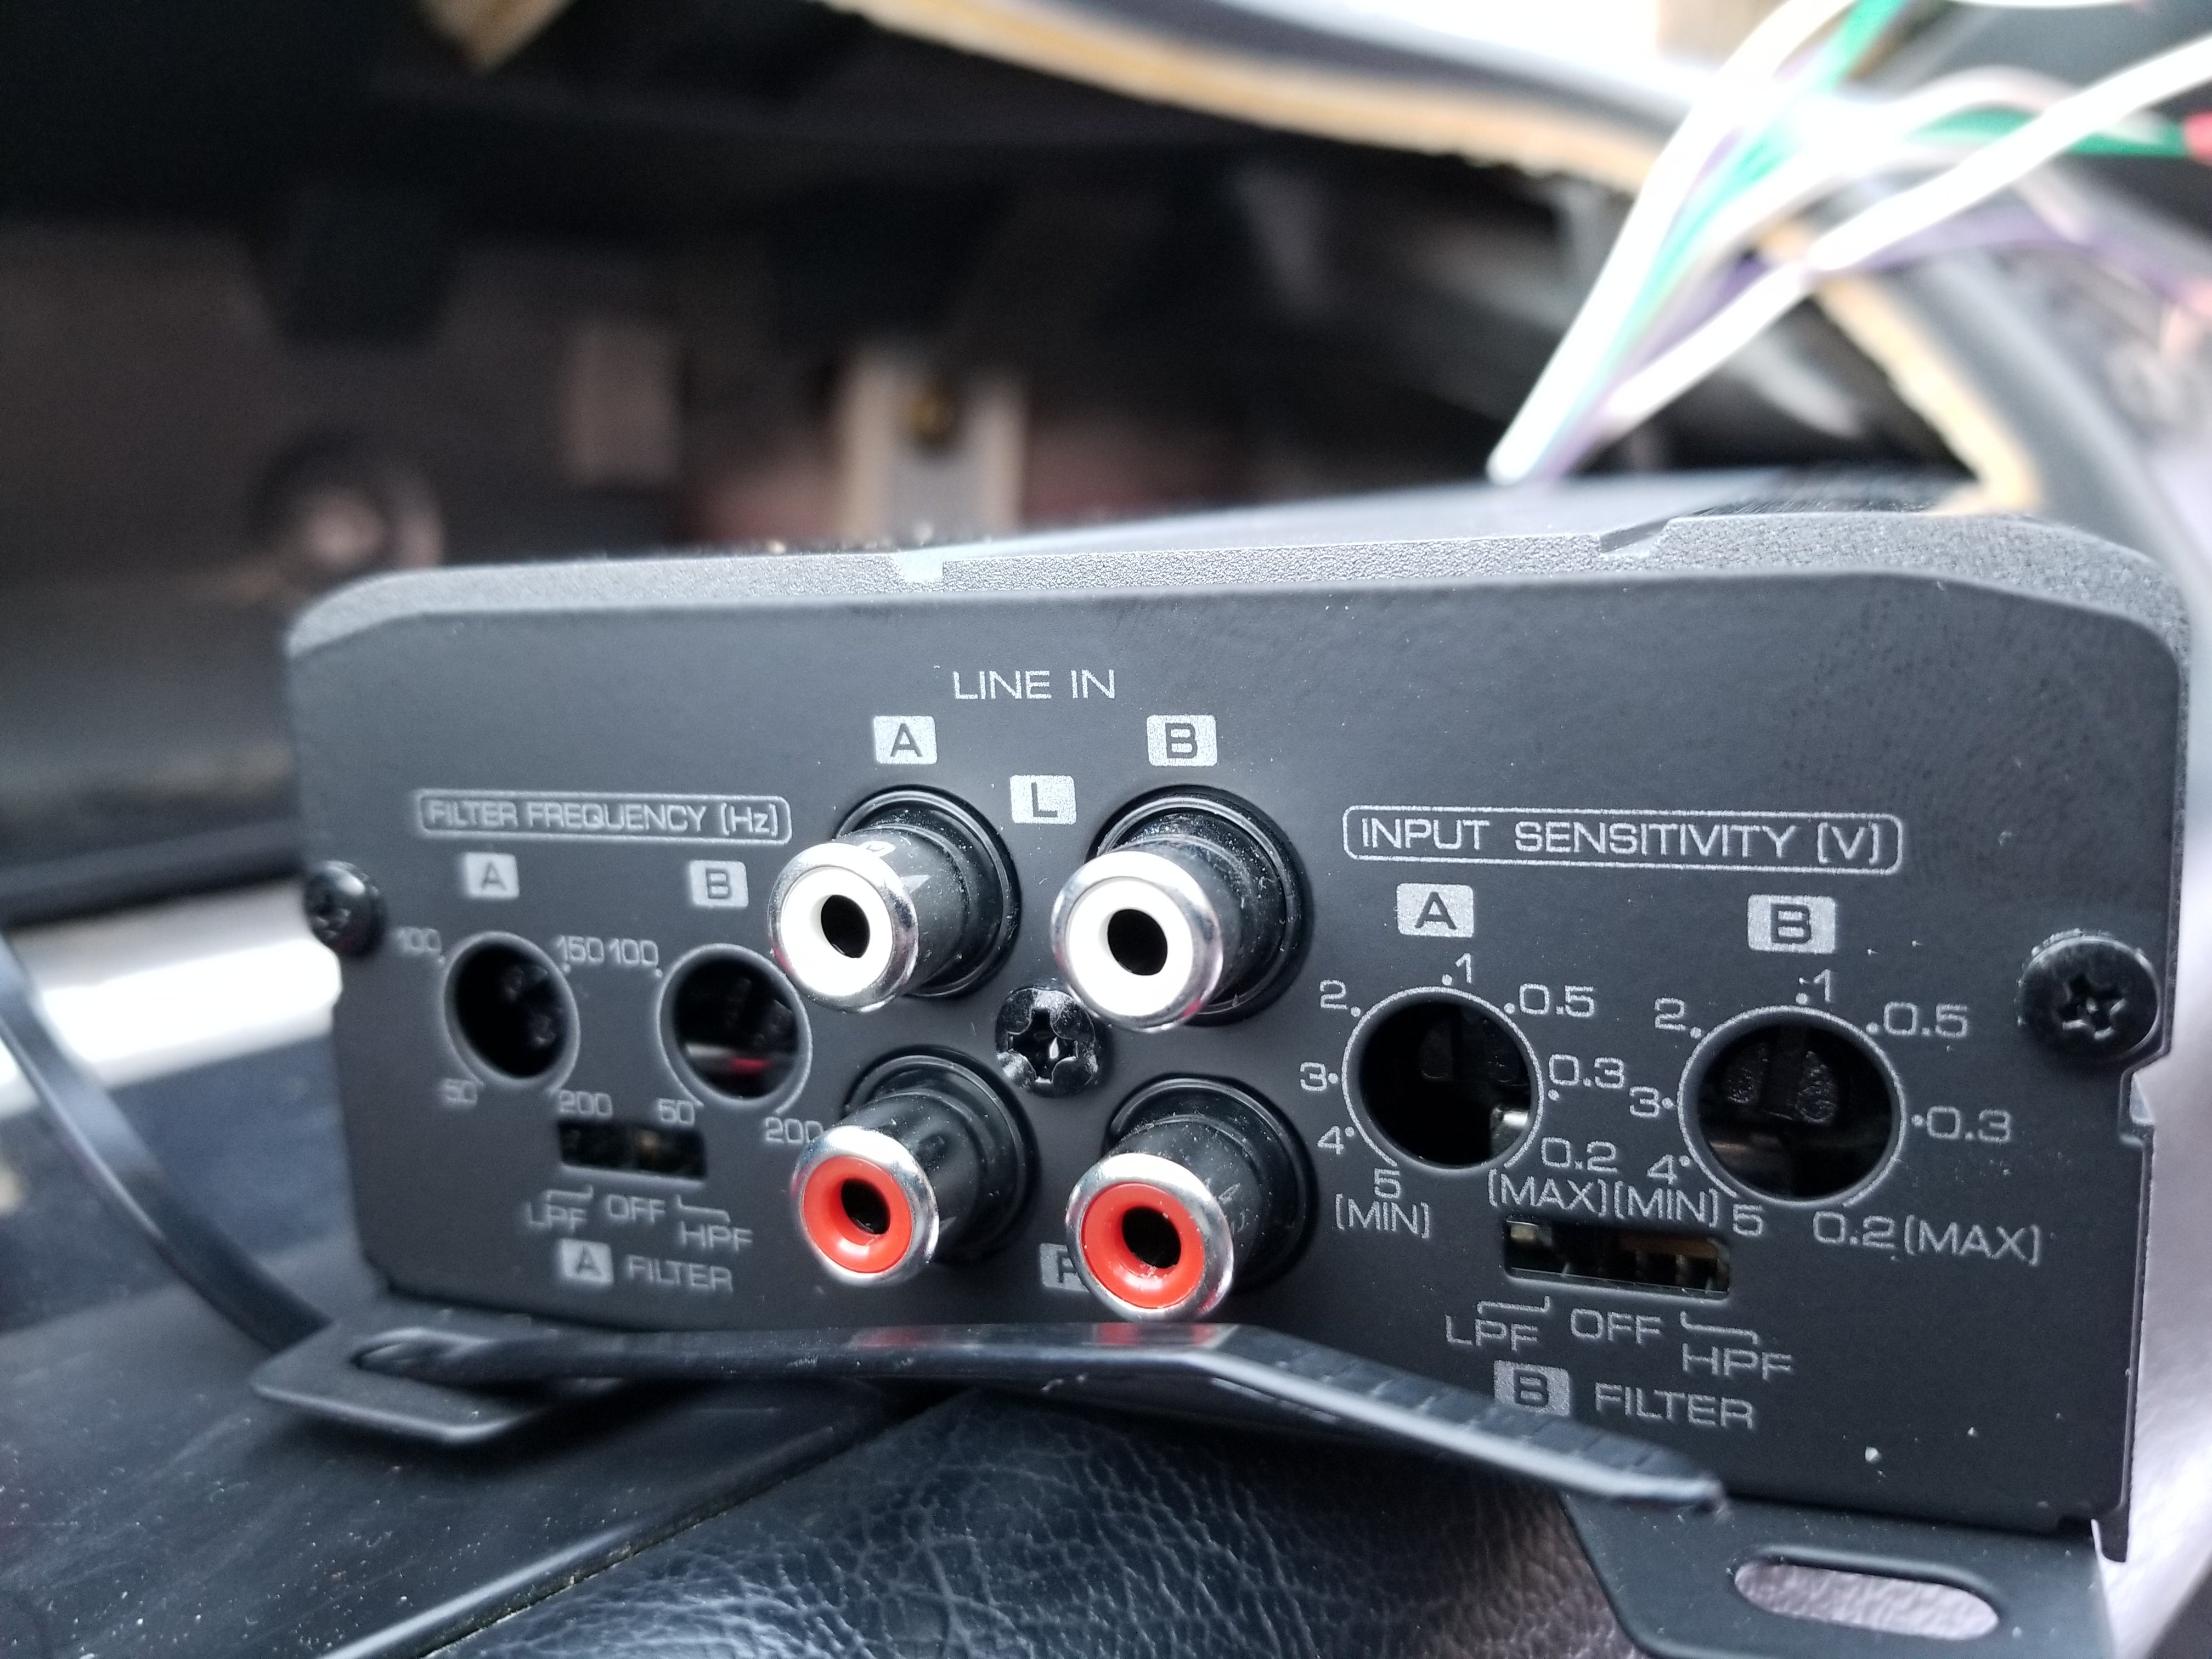
Oh and I was planning to do a separate left and right channel for the crossovers, and then bridge the last two channels for the sub. As such... I followed the diagram’s instructions for a “2-channel + subwoofer system” on filter frequency and input sensitivity because I have literally no idea what any of that means. Here’s hoping it’s set up correctly.
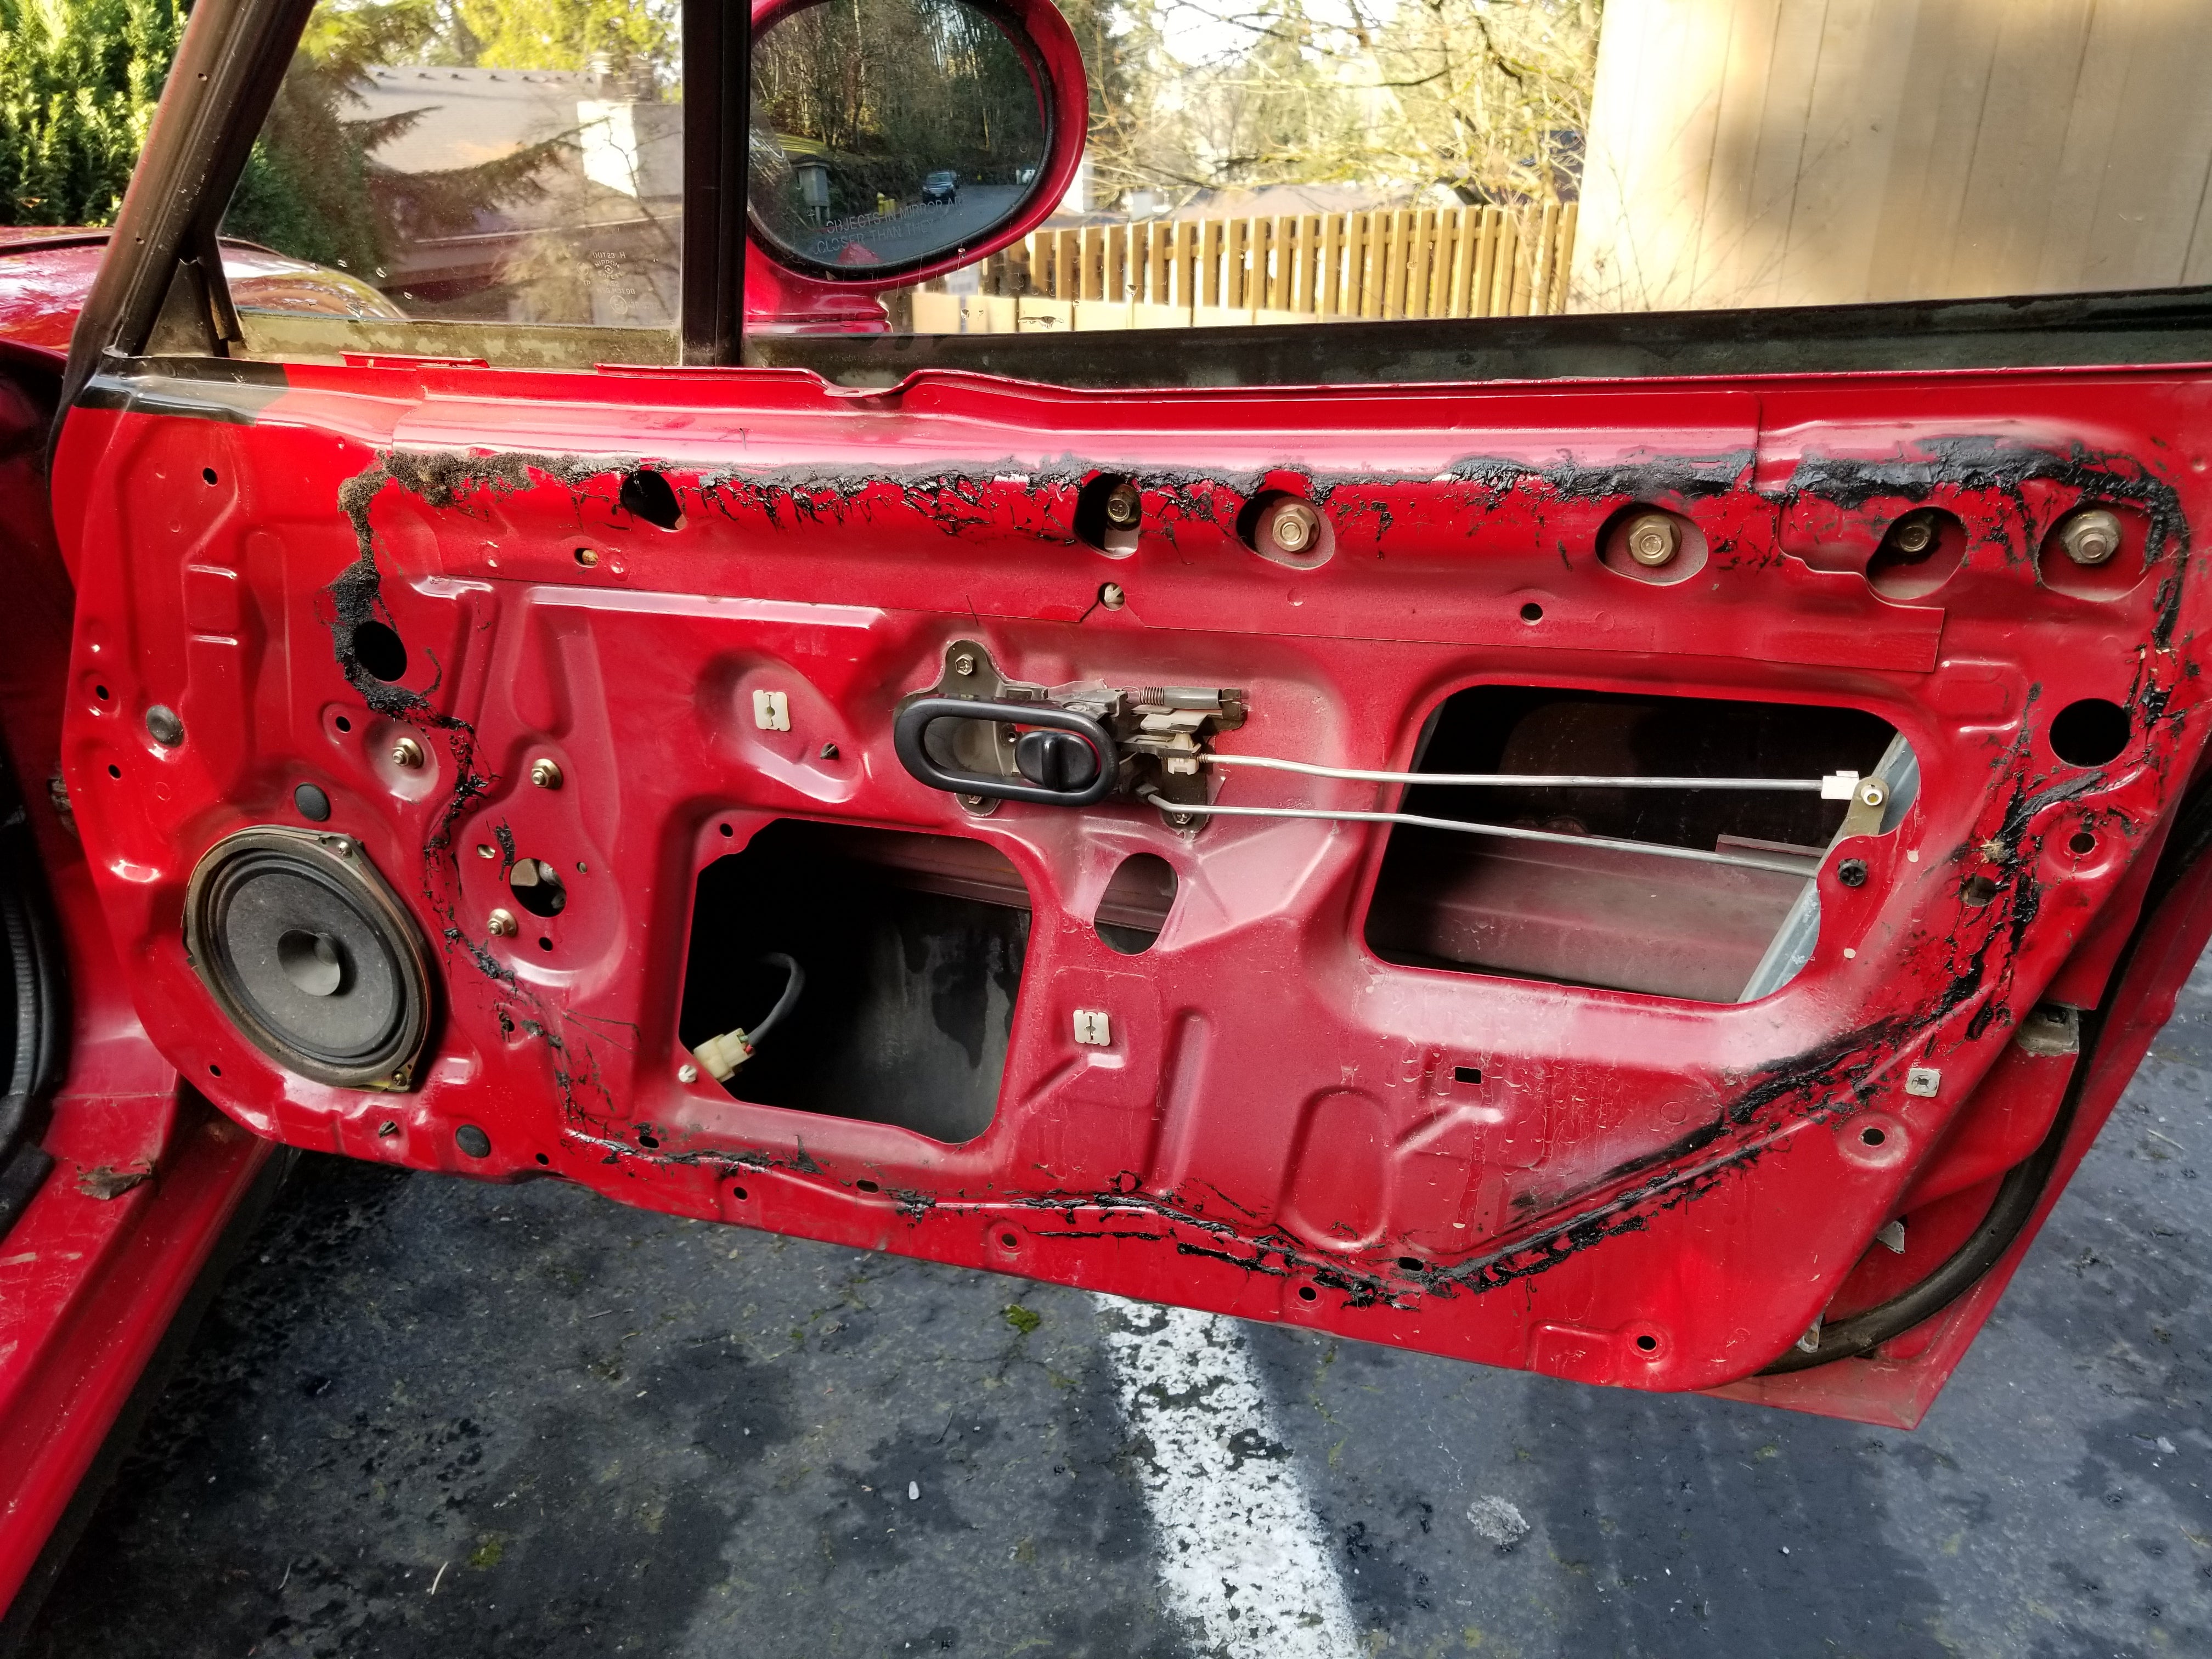
Next up was crossovers. I was originally going to mount them in the doors, but after seeing how much moisture was behind my door panel, I realized that that wouldn’t be wise. There wasn’t enough room to put them in the same cubby as the amp, which gave me one option left. Glove box. Not too thrilled to be taking up valuable storage space, but it is what it is.
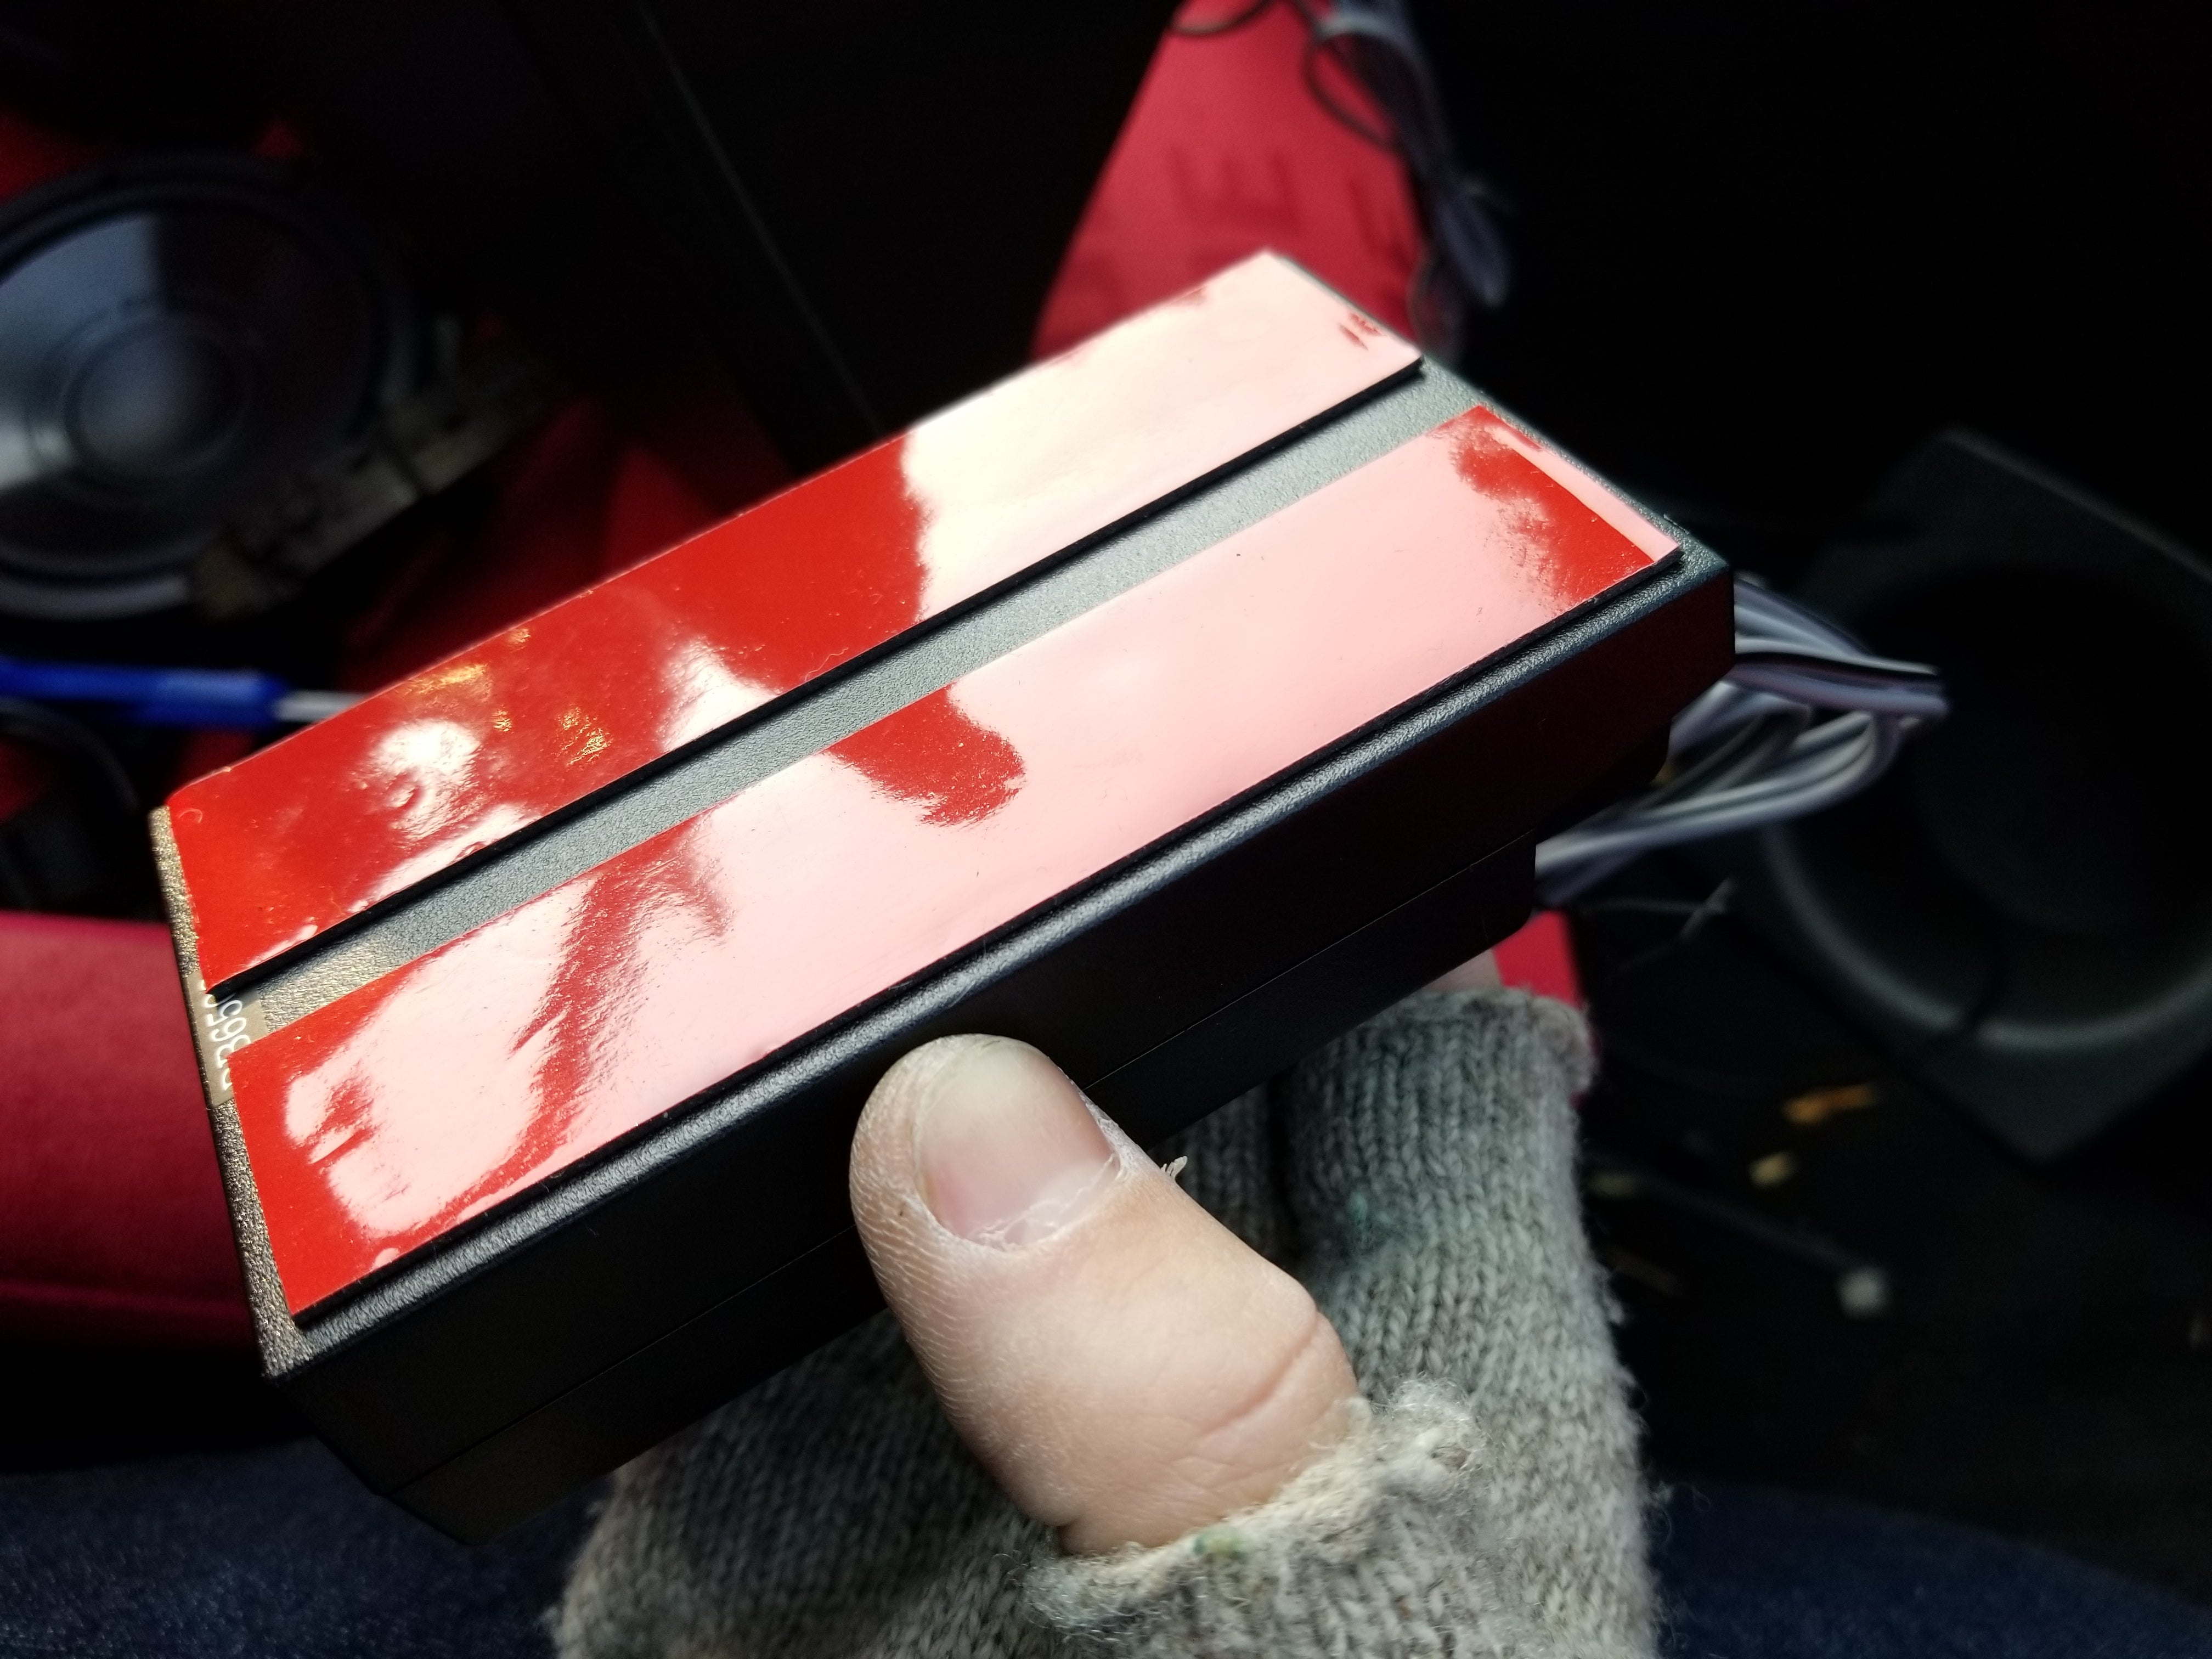
Some #20 tape did the job, with the crossovers both mounted to the underside of the top tray. Being in the glove box made wiring up to the amp a breeze, the crossovers are out of sight, and I can adjust them easily, so I guess this works out.
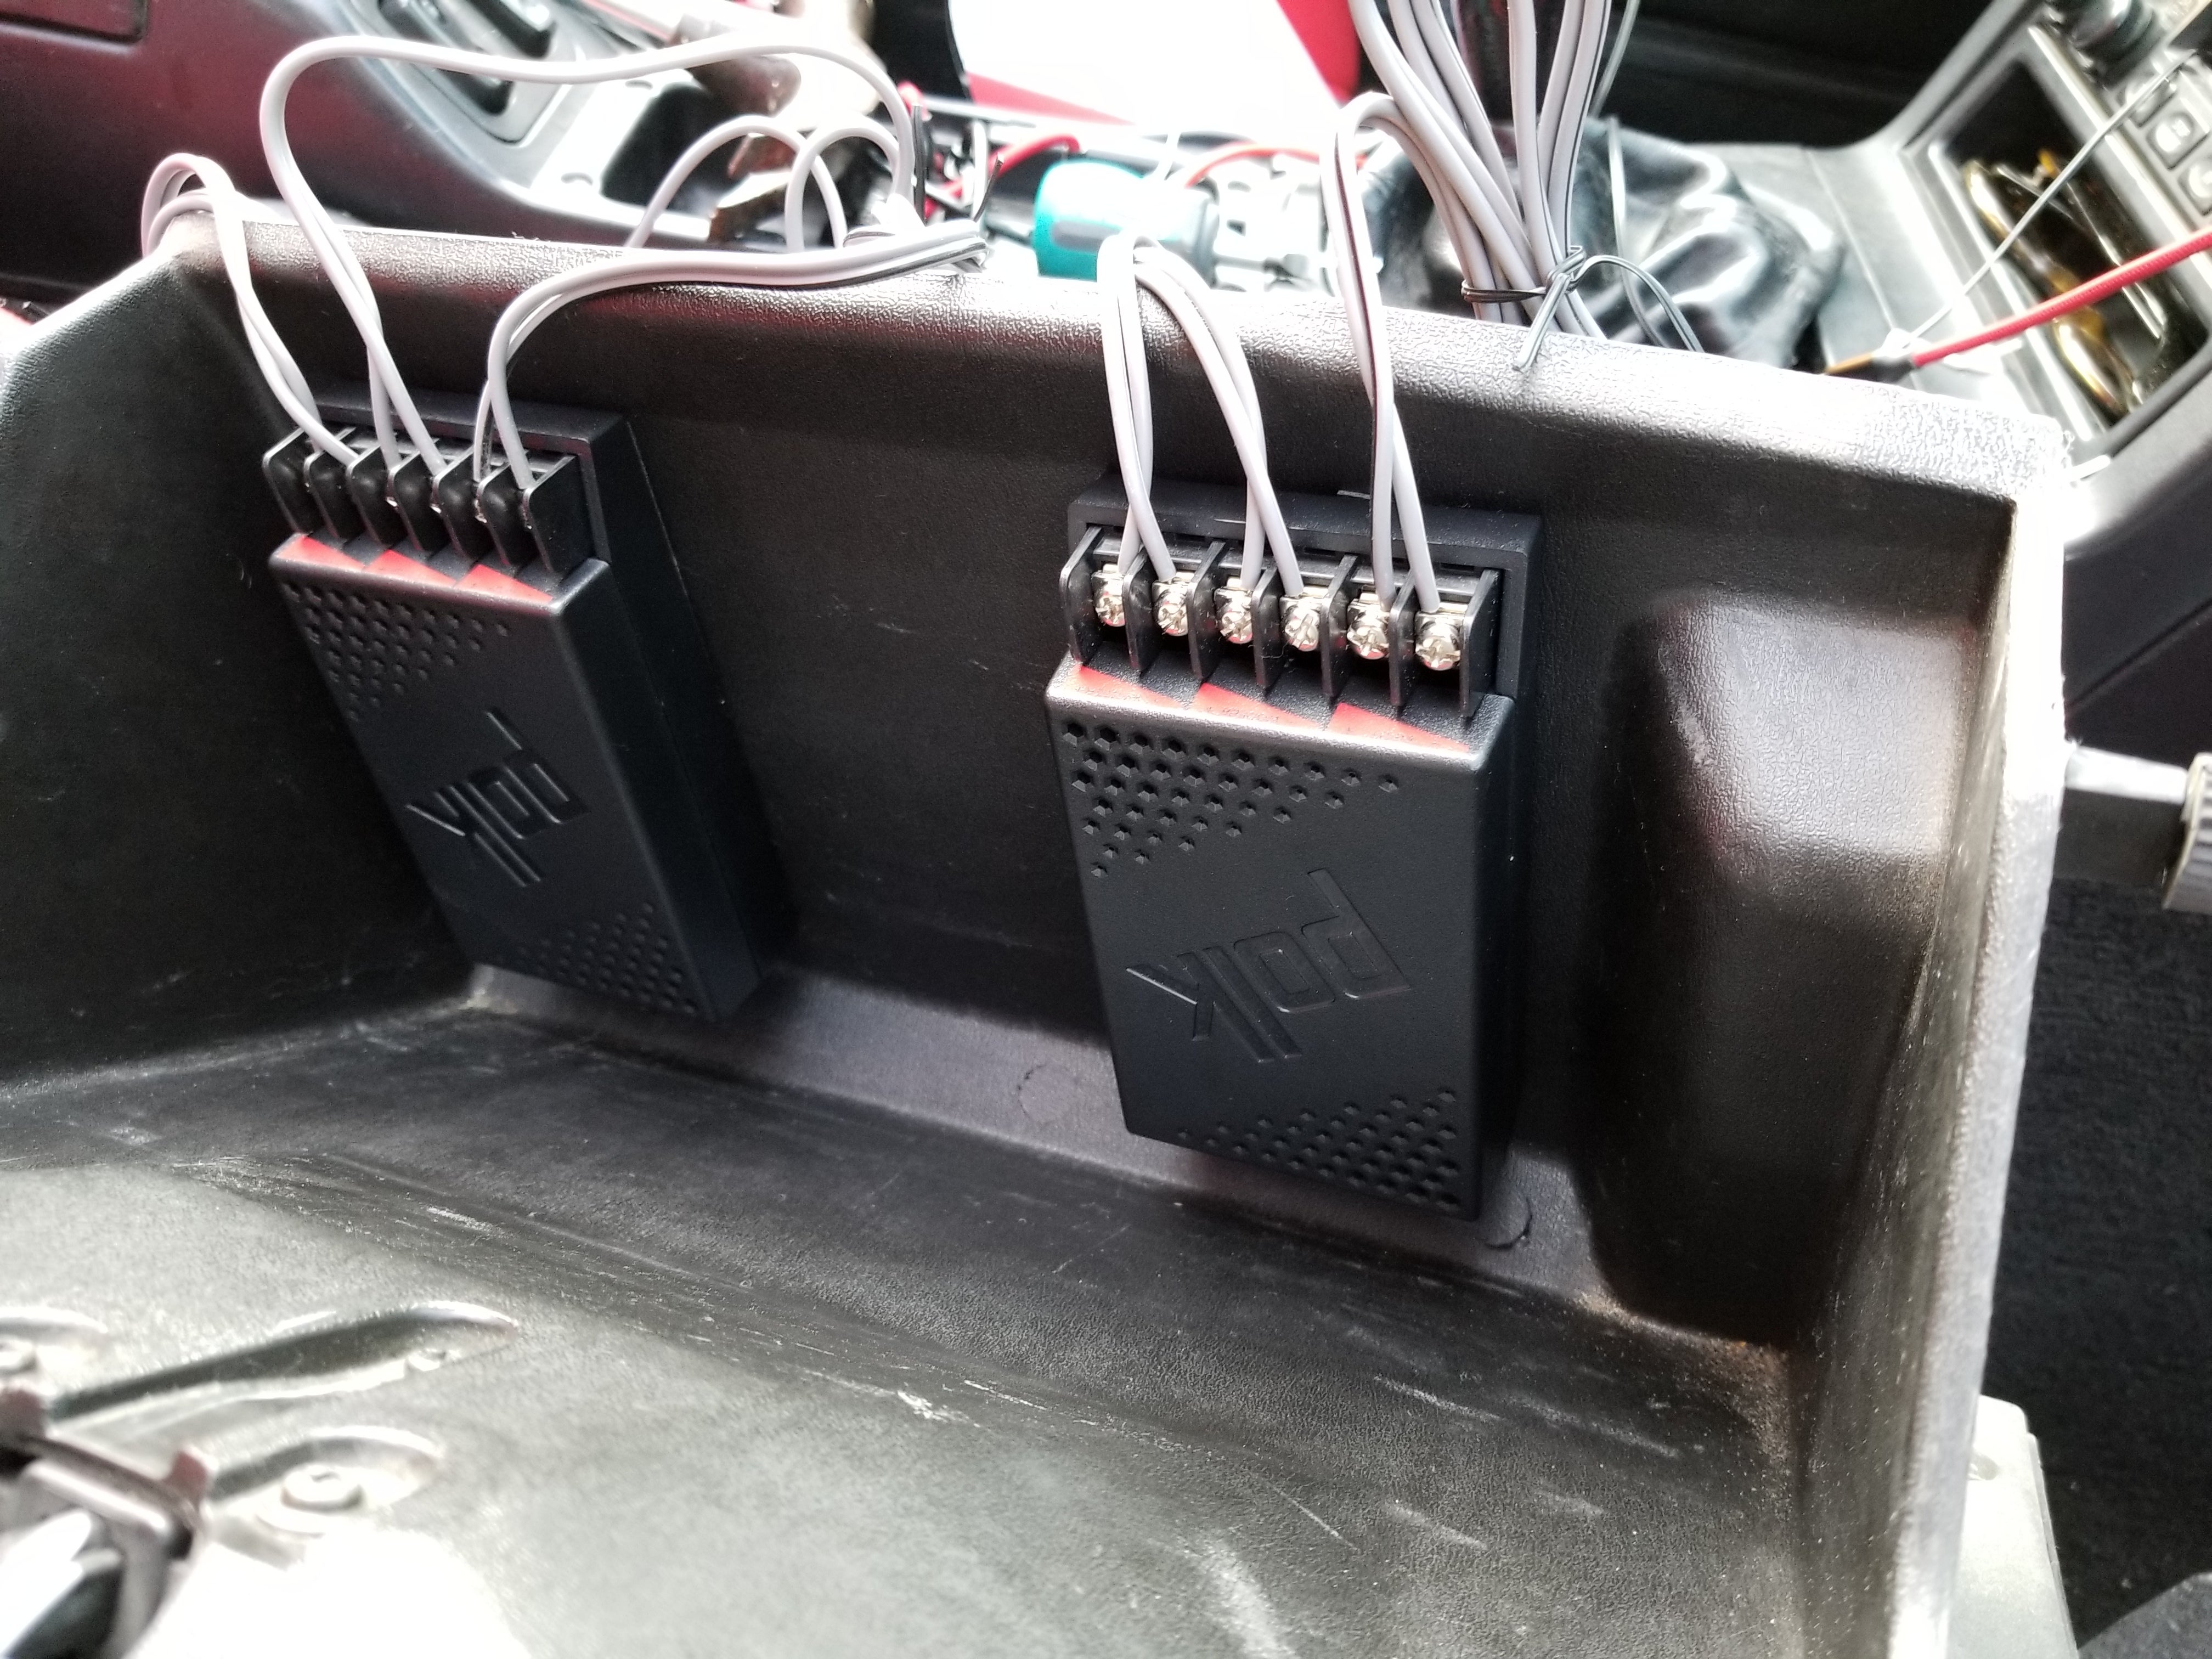
Each crossover has six posts. A positive and negative going to the midrange speaker, a positive and negative going to the tweeter, and a positive and negative going towards the amp. I hooked the crossovers up to the amp first, with the right crossover being the right front channel and the left crossover being the left front. This is temporary... I’m wire nutting all connections that aren’t a spade style, and once I have everything setup in the car, I’ll go back and connect things properly. Don’t worry AMGtech, I listen! With a bridged subwoofer, two wires will remain unused on the amp, so I taped them off. Is that the correct way to deal with unused wires or is there something better..?
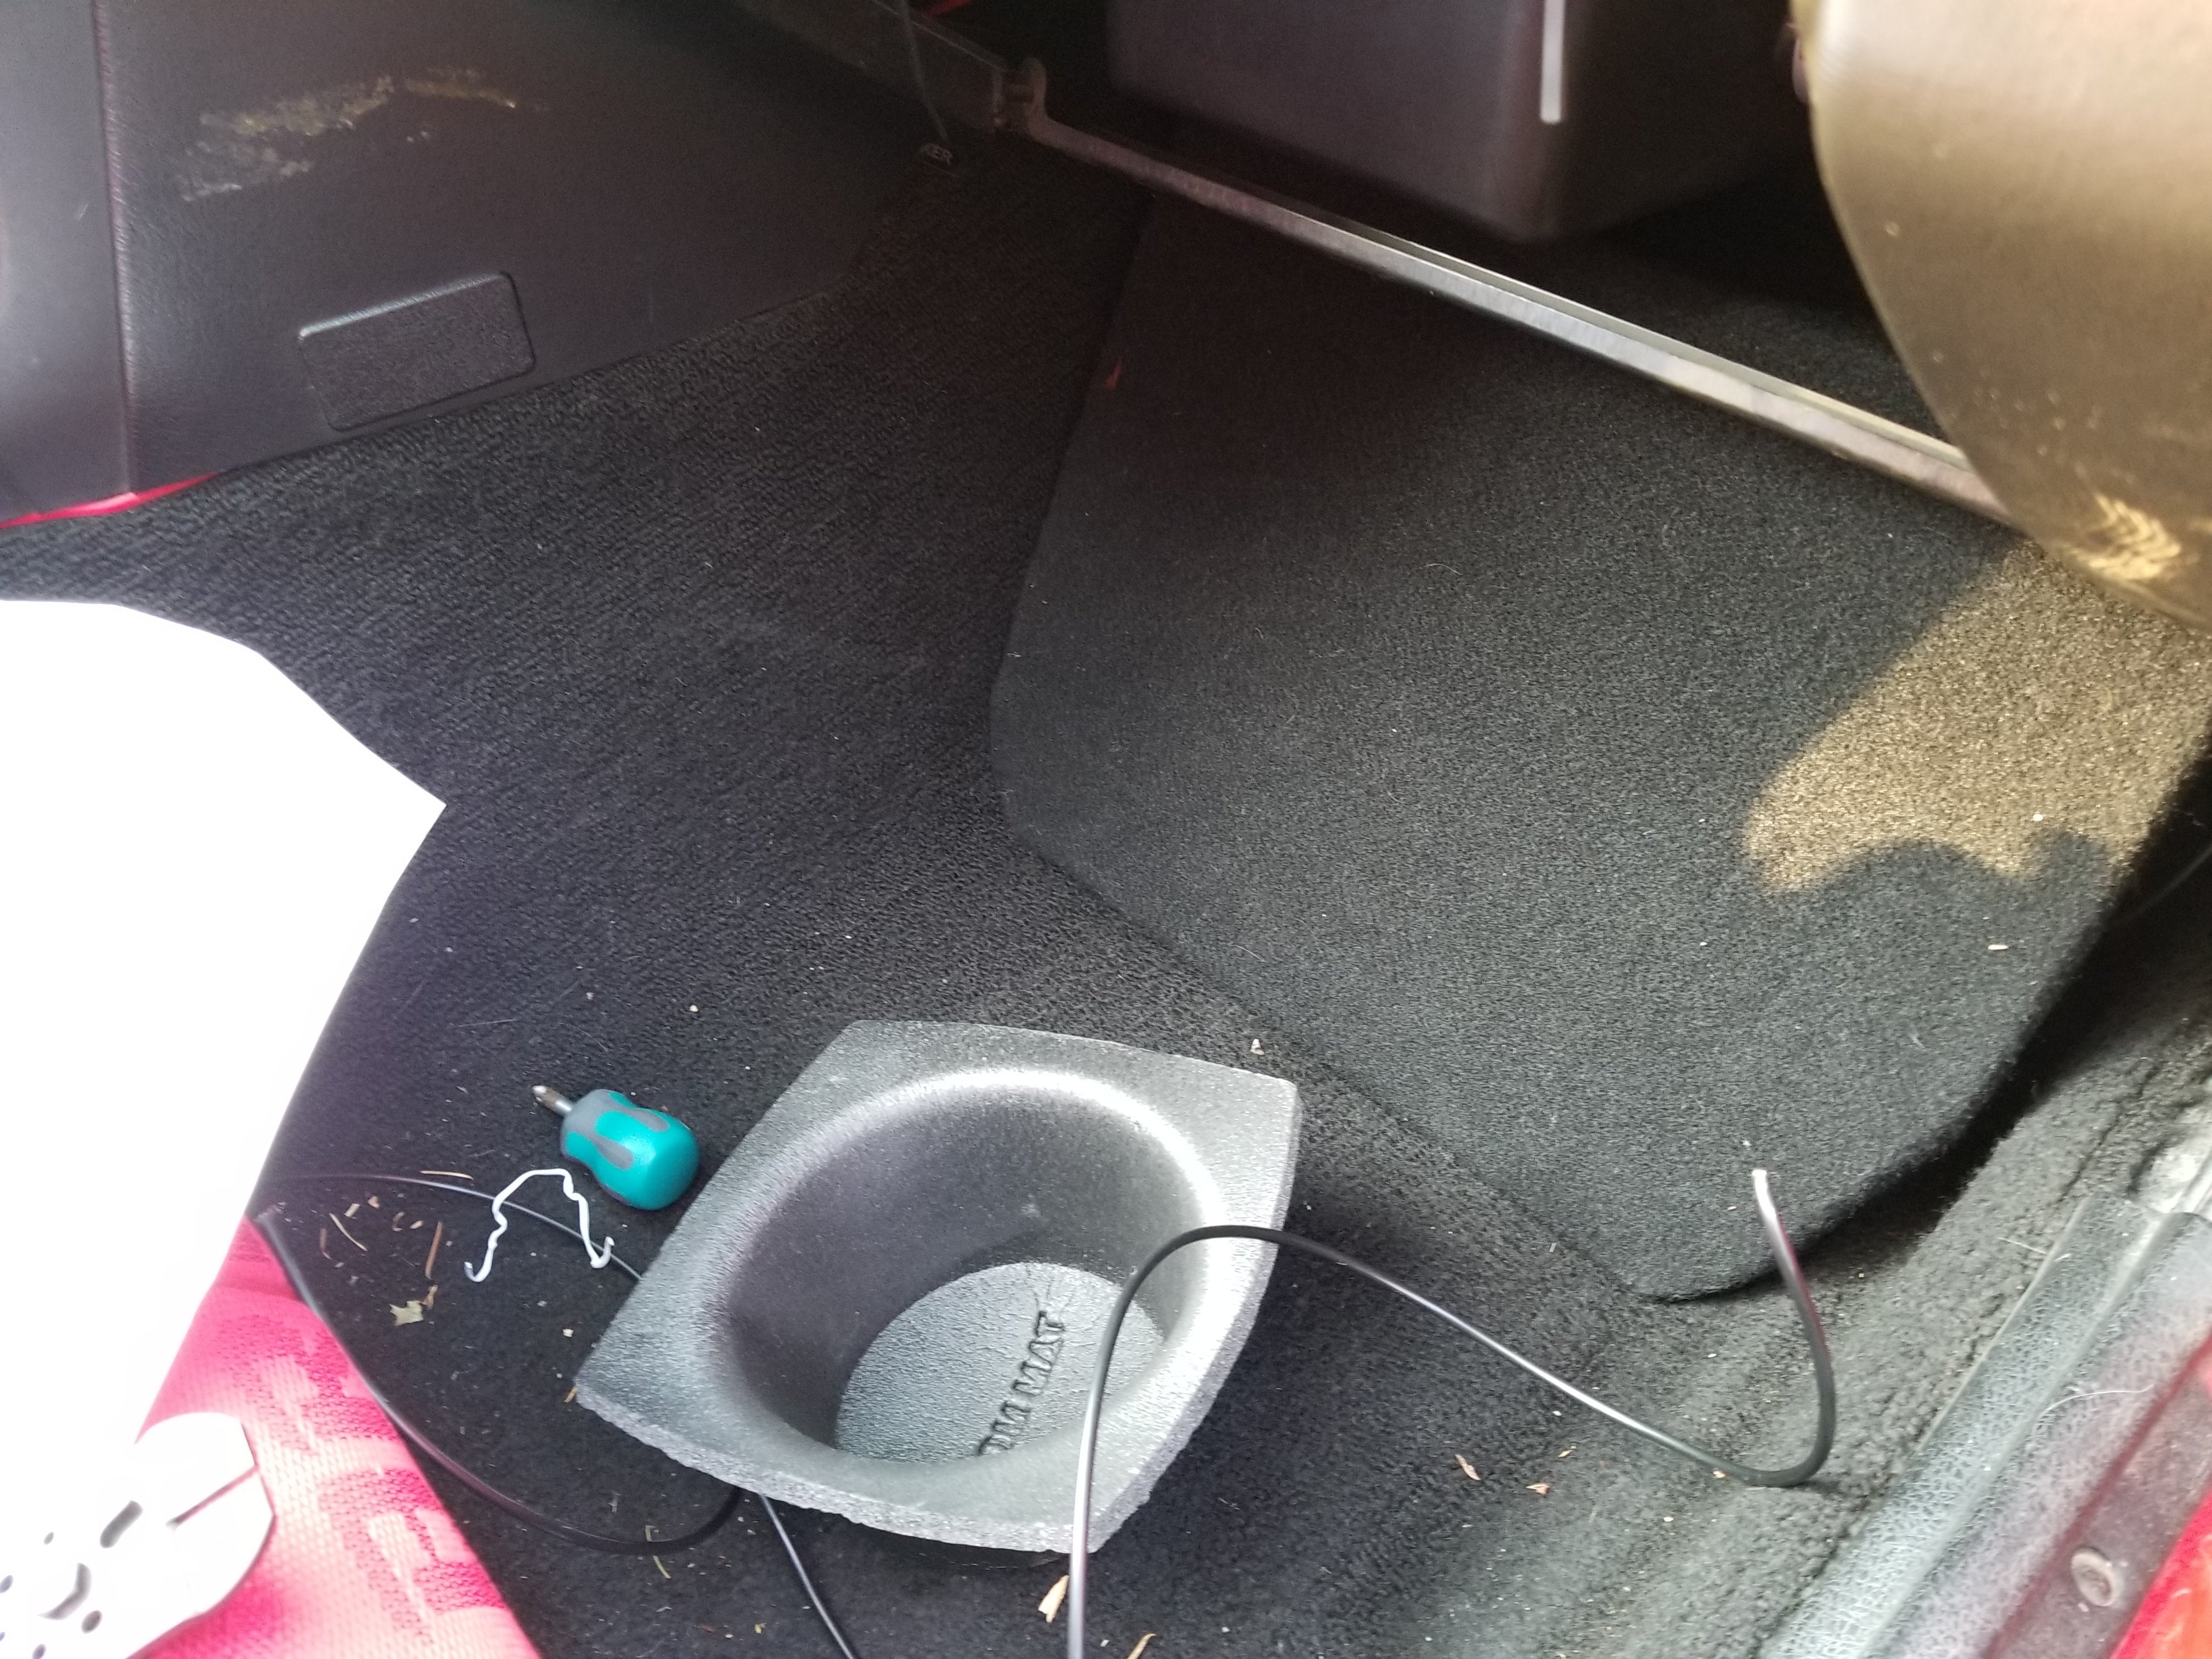
After that, I routed wires for the sub, shoved the sub enclosure into place and connected to the two rear channels. Boom, my sub and crossovers are hooked up, now I just need speakers mated to the crossovers.
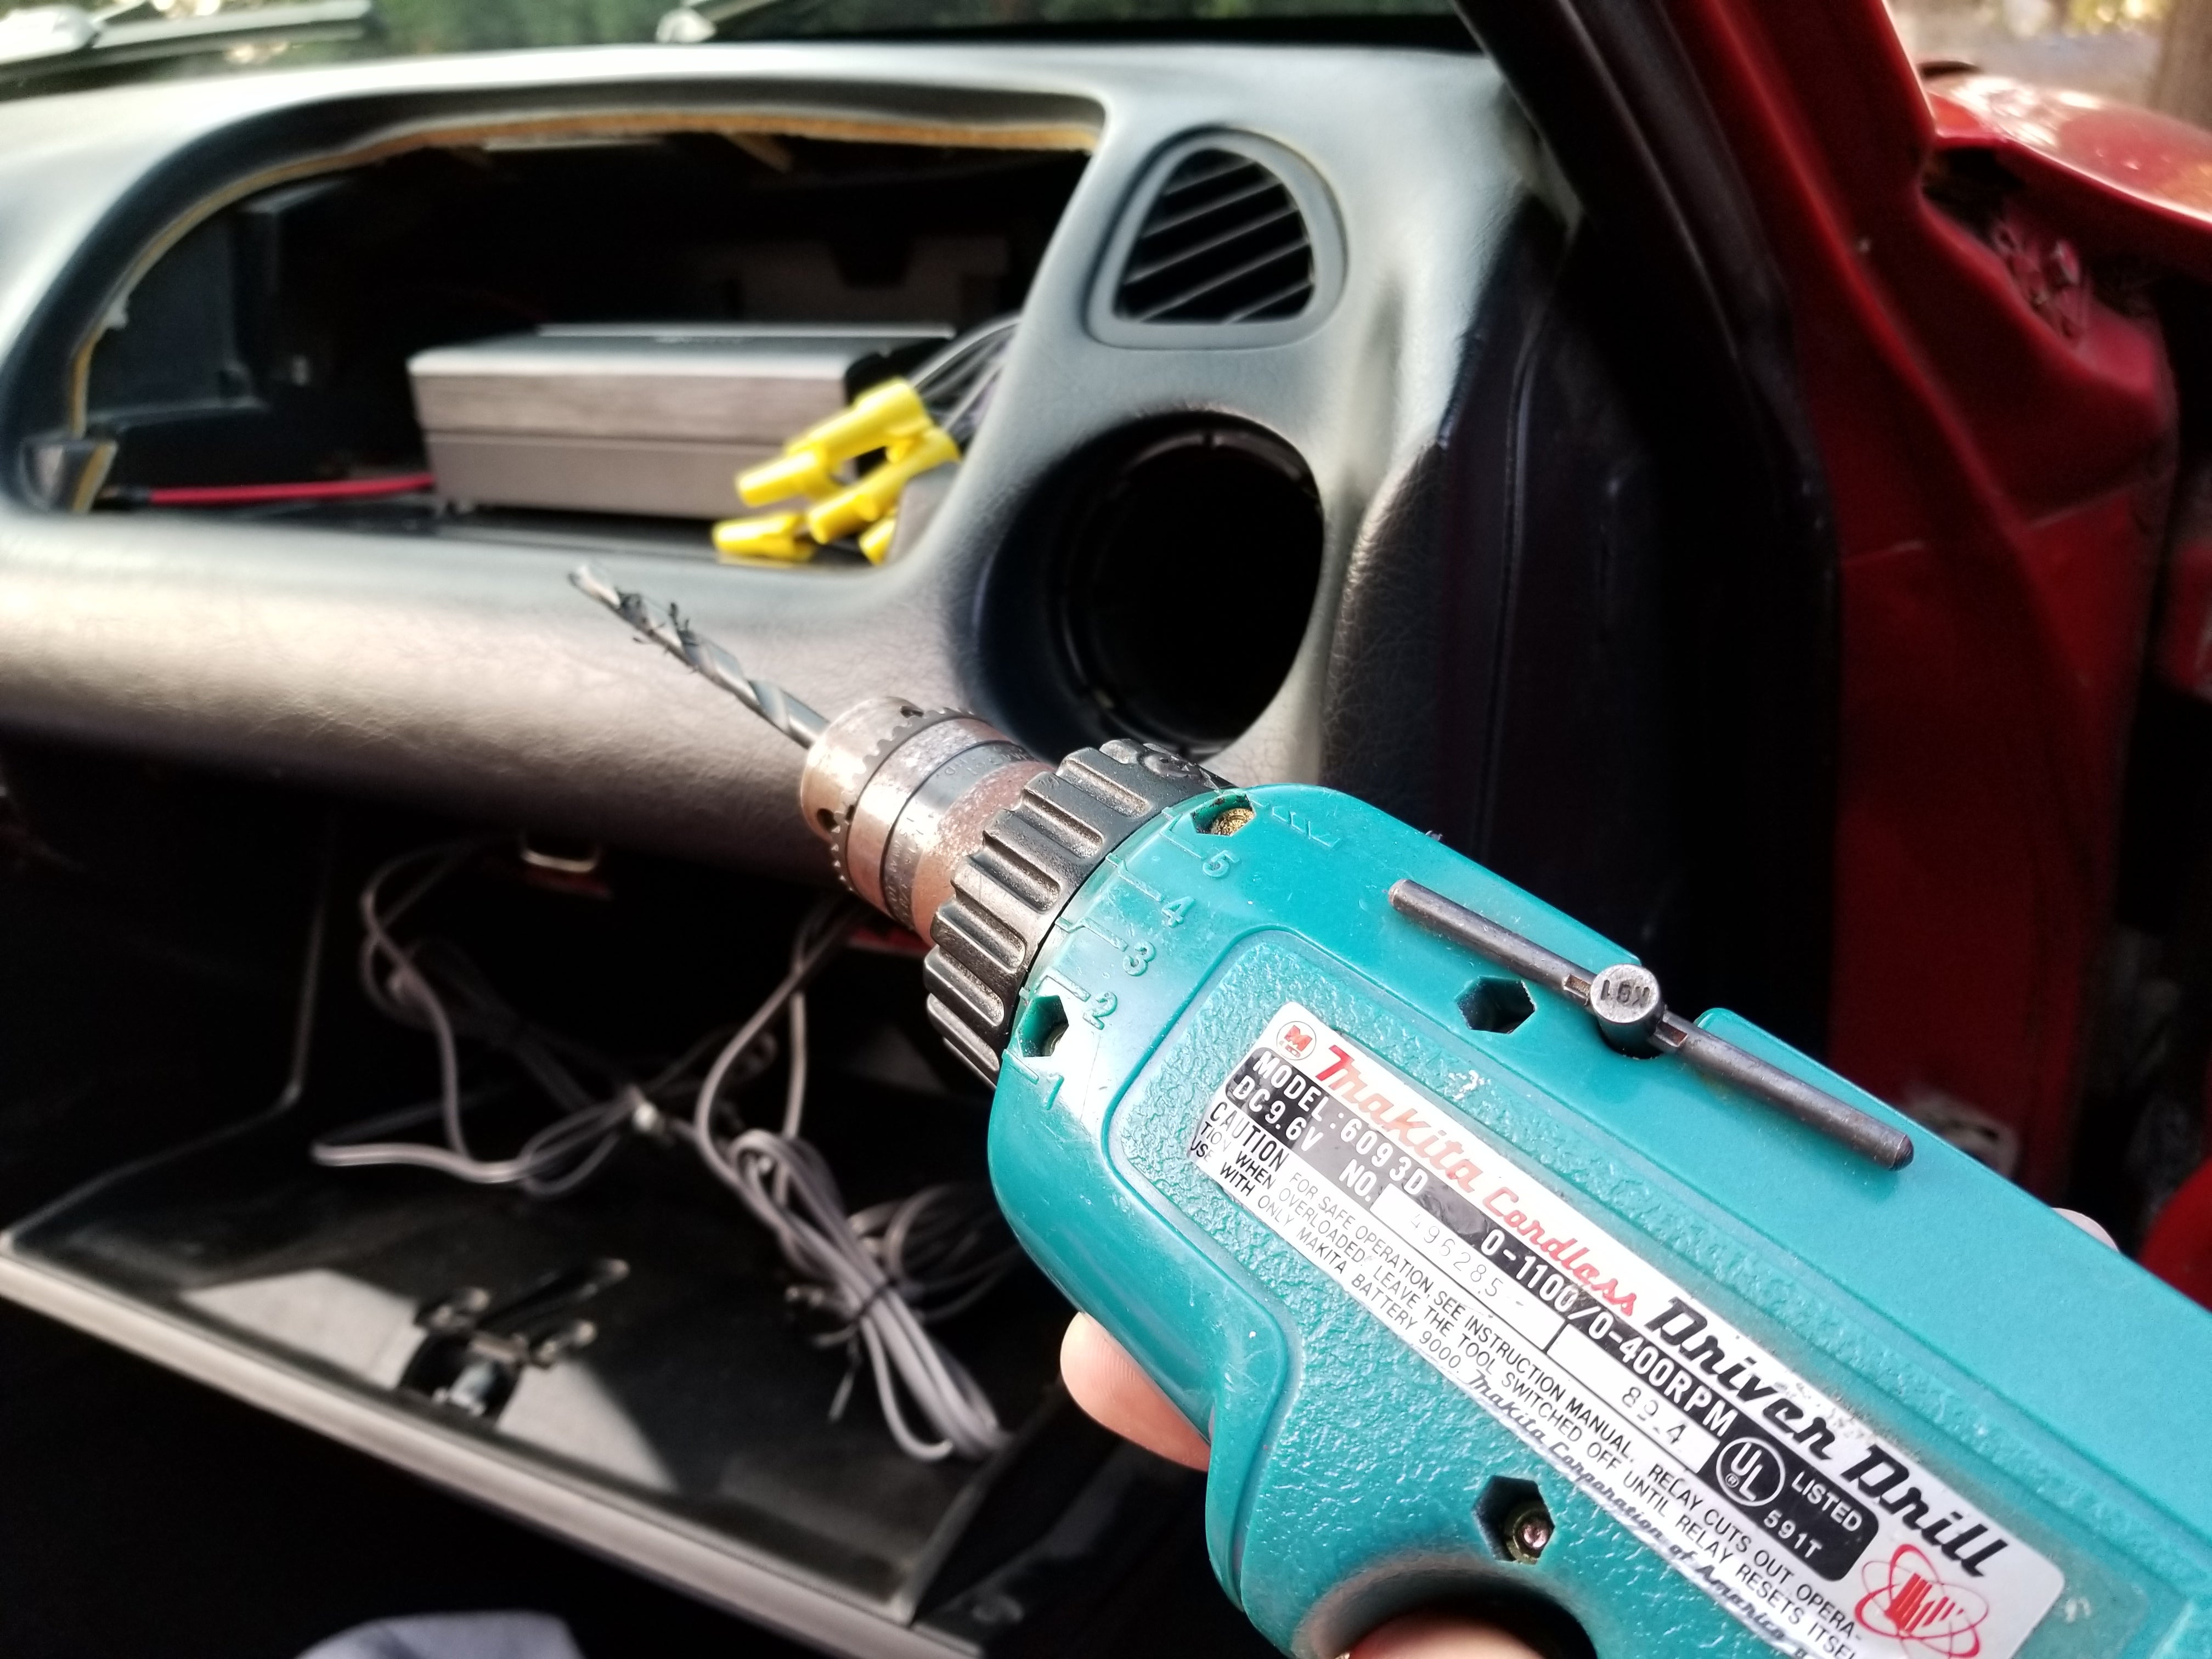
The midrange door speakers—which I was expecting to be the simplest part of the install—ended up being the most difficult. First off, I couldn’t figure out a way to mount them in the stock location. I don’t have anything capable of drilling through sheet metal at the moment, and my hammer & nail tactic didn’t work. EEven when I do manage to eventually get holes in the proper location, I’m not yet sure how I’ll line things up, between the speaker, door card, door metal, backing foam, and multiple mounting bracket options.
Second, I have no idea how I’m going to get the speaker wire from the crossovers routed through to the door. There’s so much difficult to remove crap in the way of the wire passover, and even if that was all gone, the short rubber tube between the door and the chassis is already stuffed full, and incredibly difficult to work with. I could remove the doors entirely, which would simplify the wire routing.... But on a scale of 1-10, my desire to remove my doors is at -8000. So I decided to skip the door speakers at the moment. I’ll revisit that problem later.
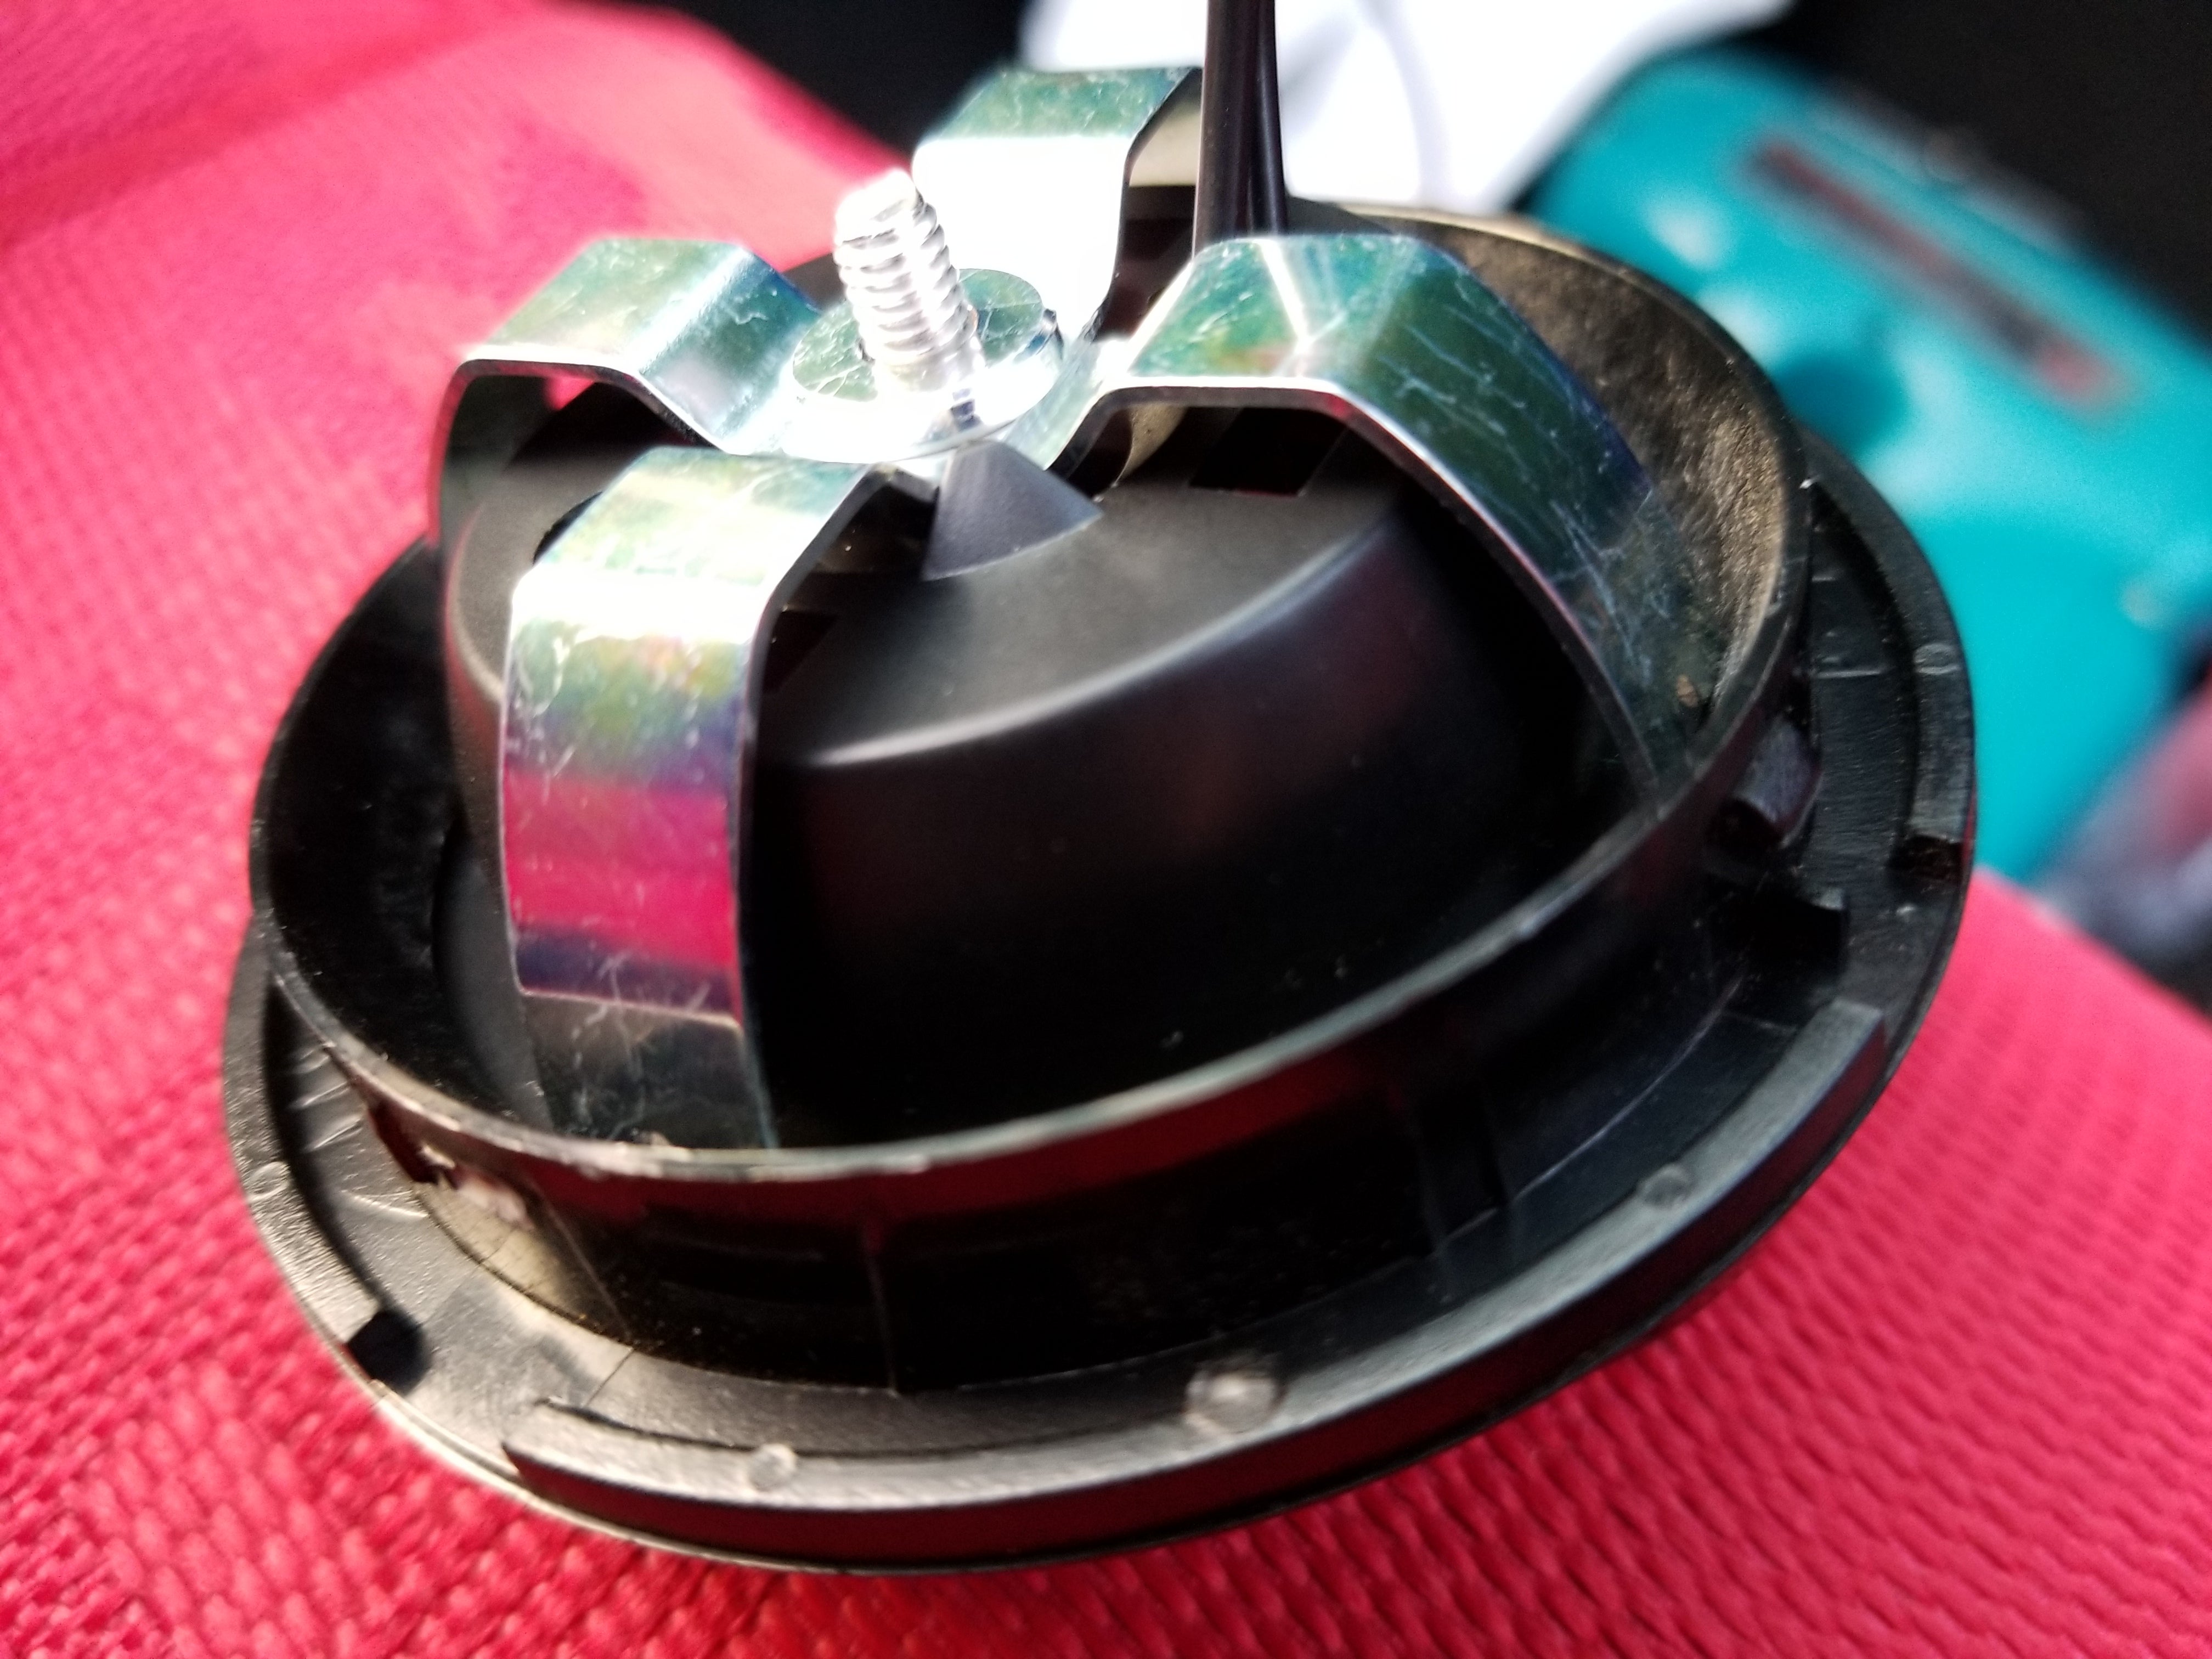
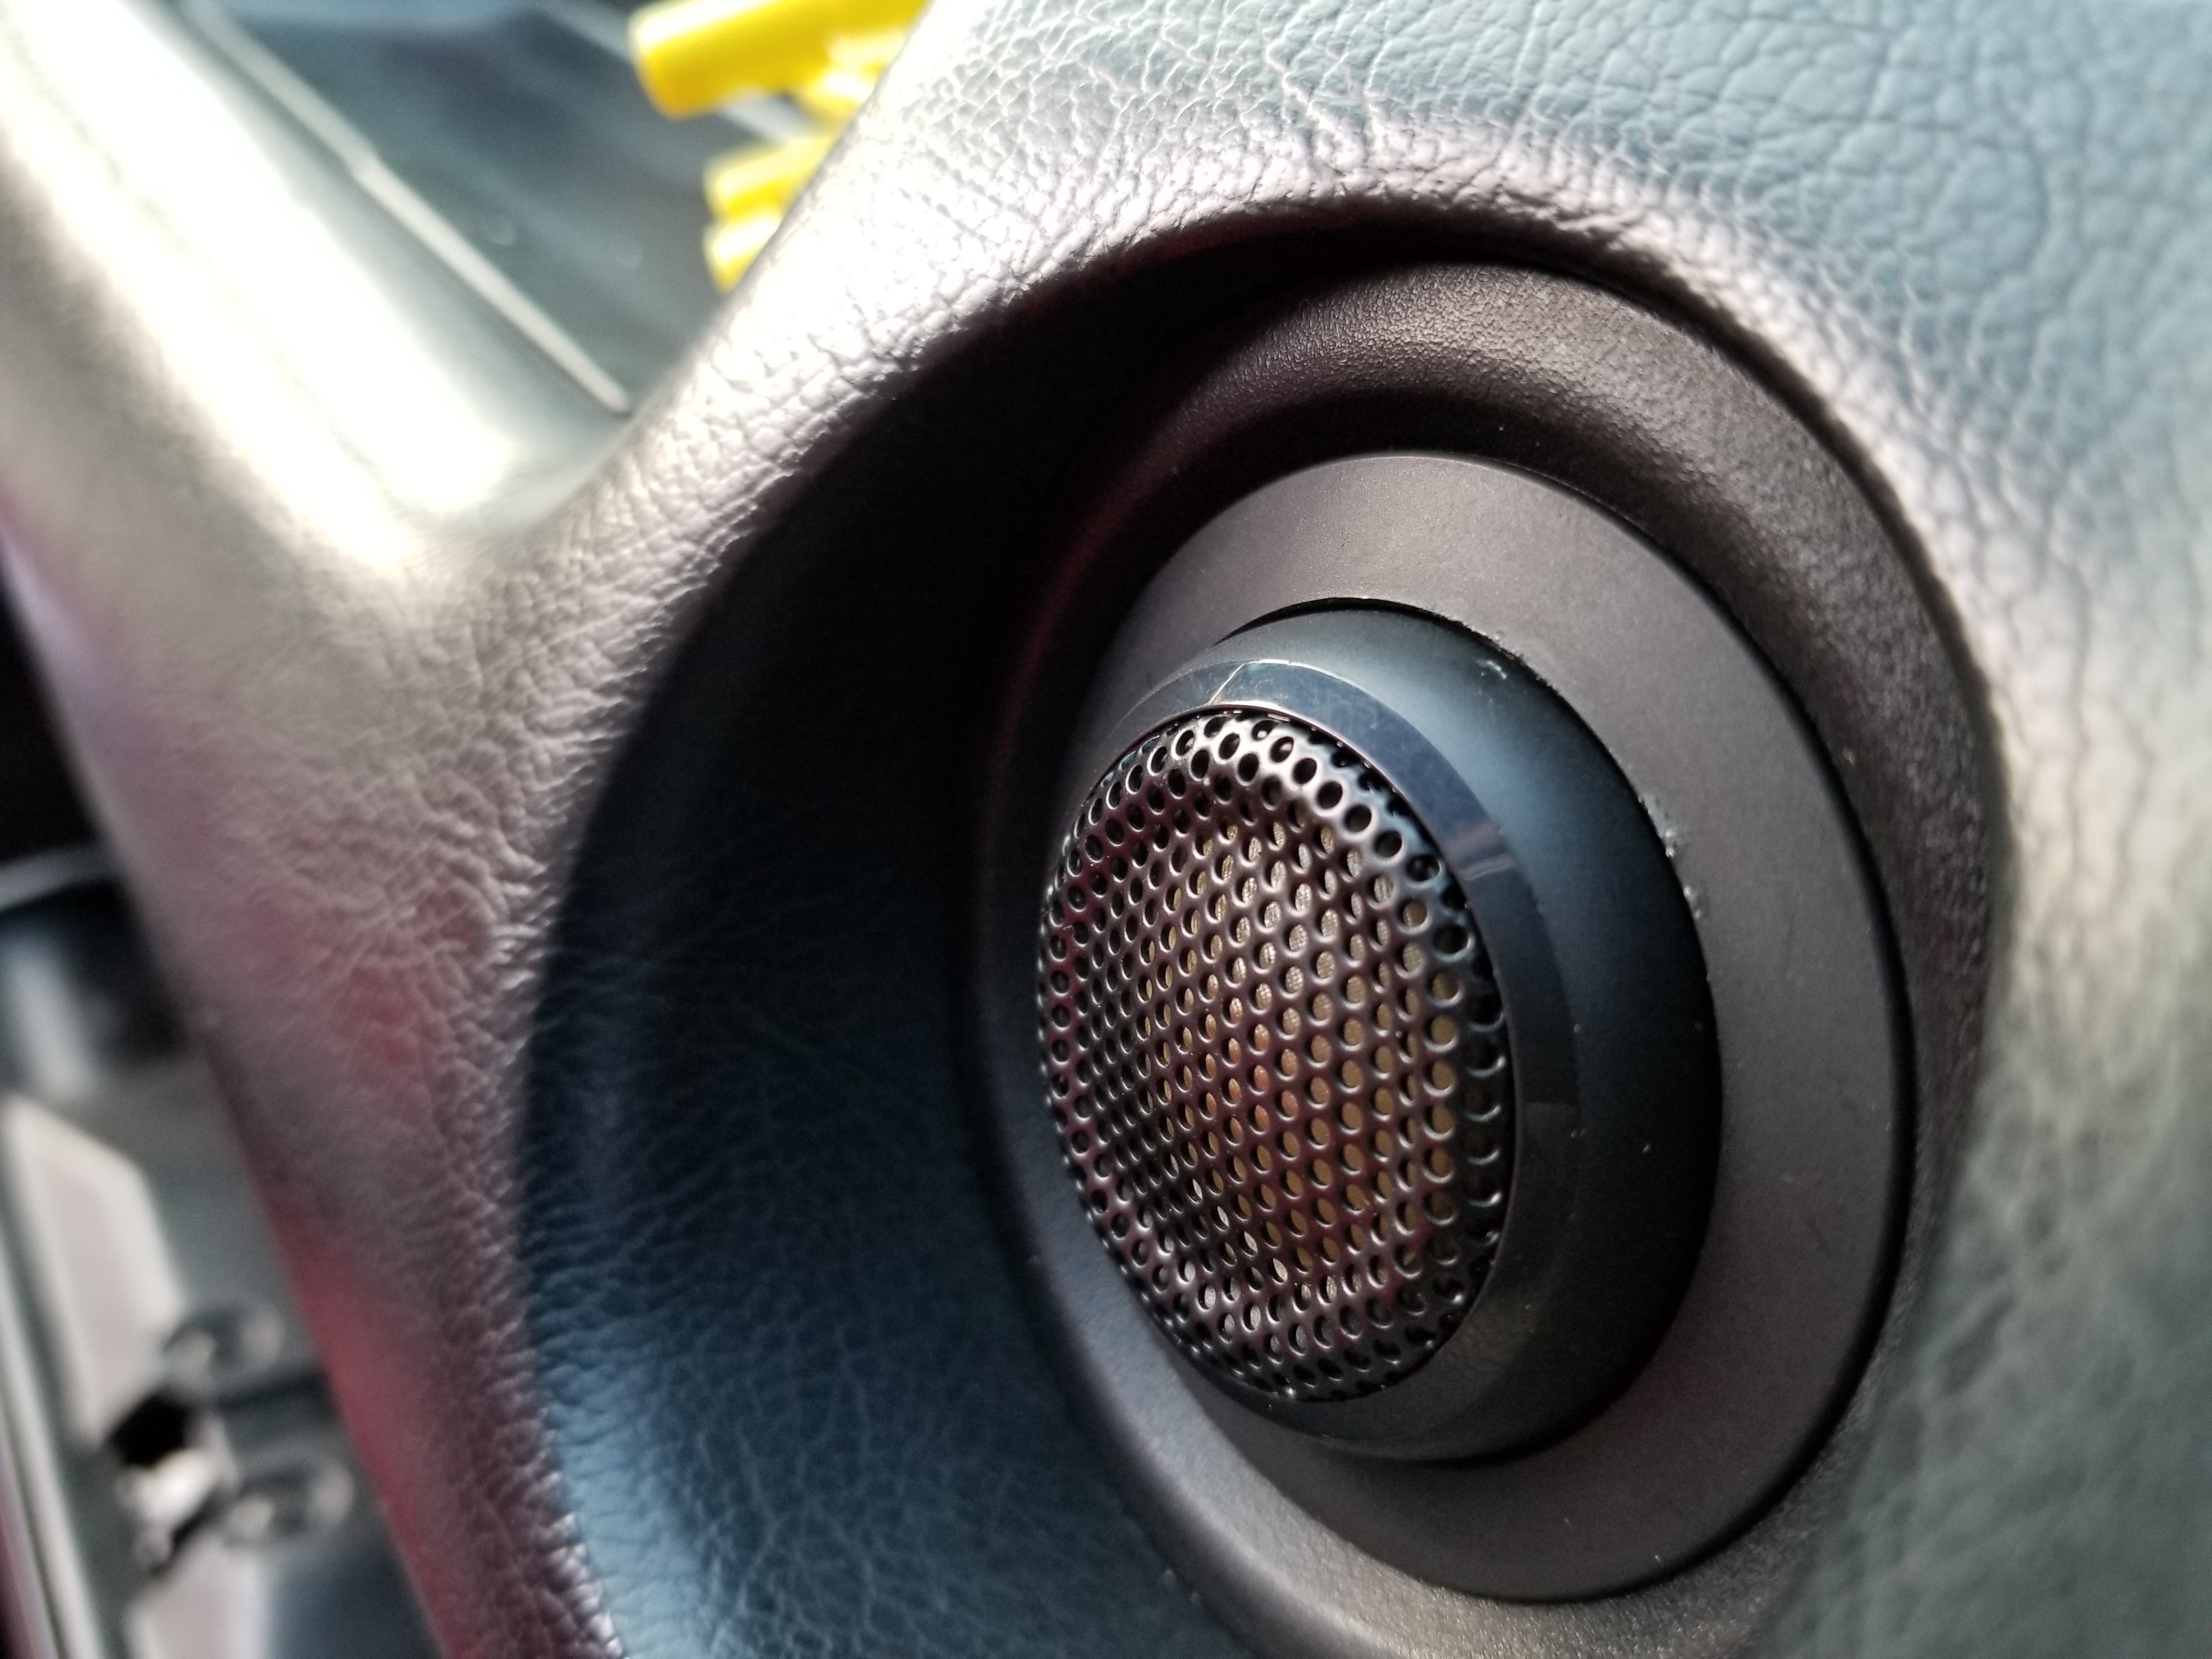
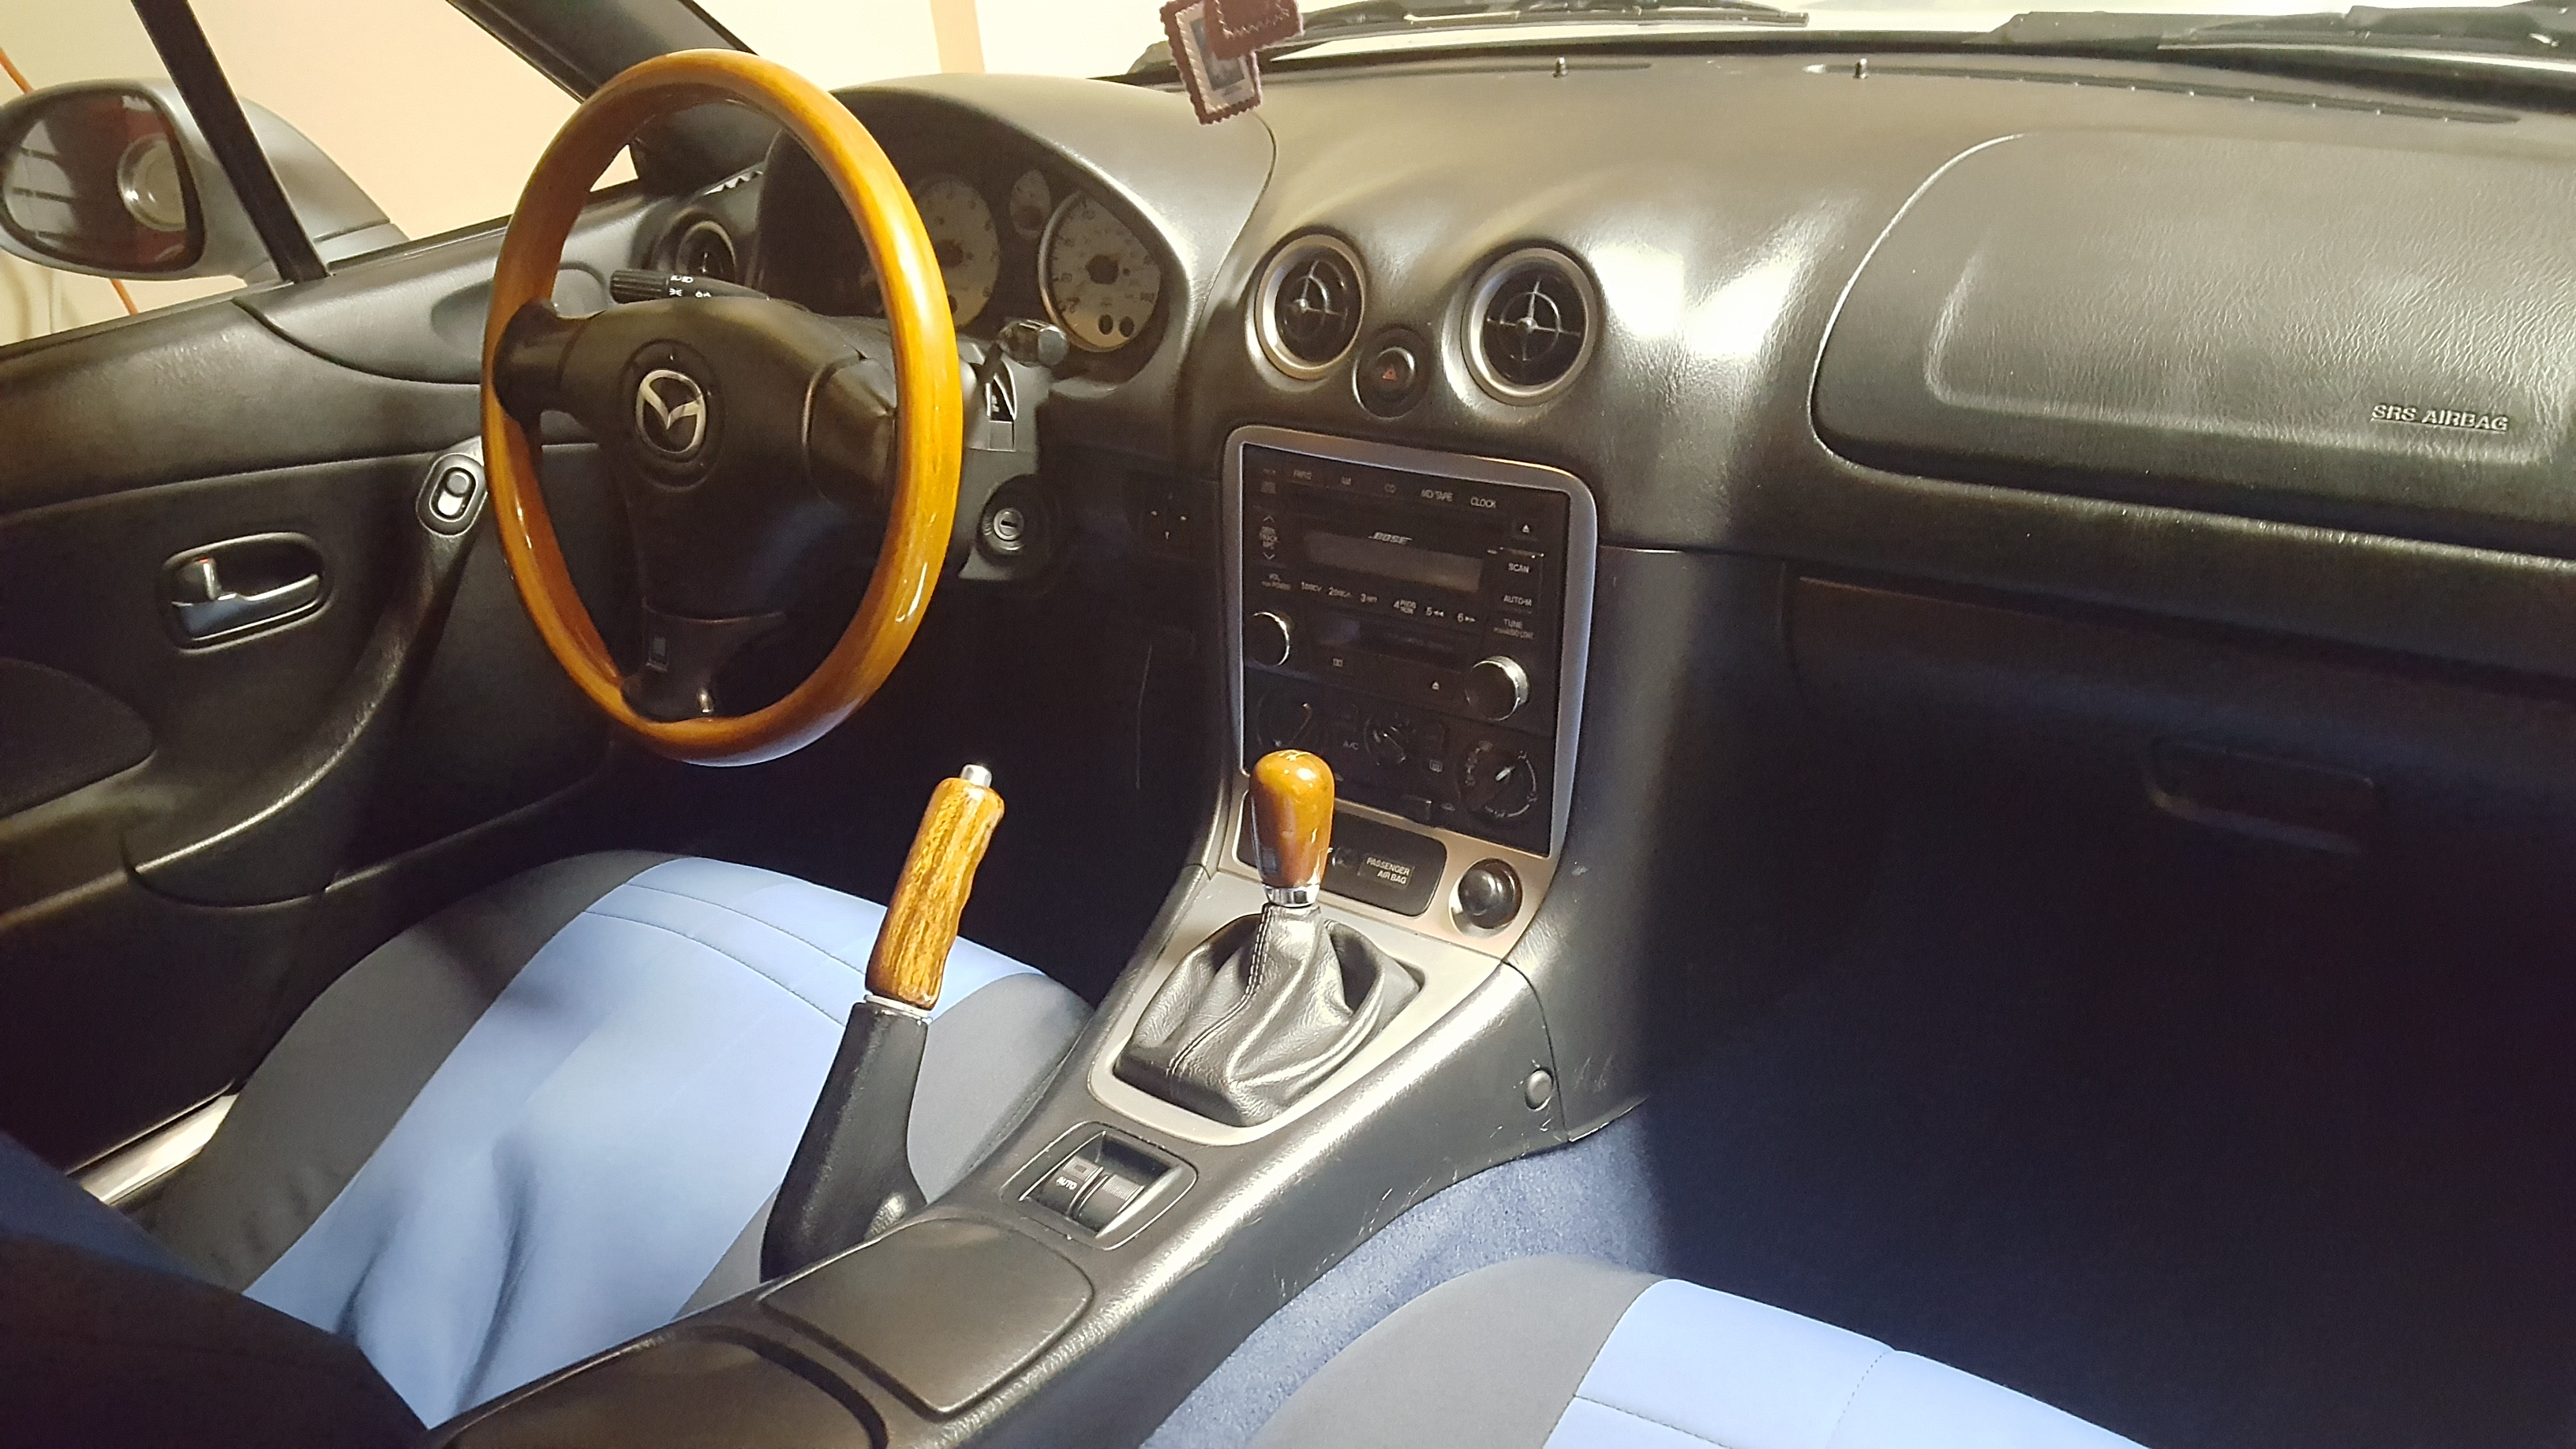
That left tweeters. The plan was to put them in the door cards near the top, but.... I’d still have the same problem with cutting a hole and getting wires routed from the door to the chassis. So...I looked at other options. From an audio standpoint, putting them in the A pillars at ear level, firing inwards would have been ideal. Unfortunately, no way to cut through the A pillar. They came with a stick on mount so you could stick them directly on a flat surface, like the dash, but I have some pride. I couldn’t live with myself if that’s the best I managed. And then it hit me. Maybe I could McGuyver a pressure-fit bracket out of the various included mounting pieces to get the tweeters in the outer-most heater vent holes! Long story short - it worked. Here, a picture is better than words.
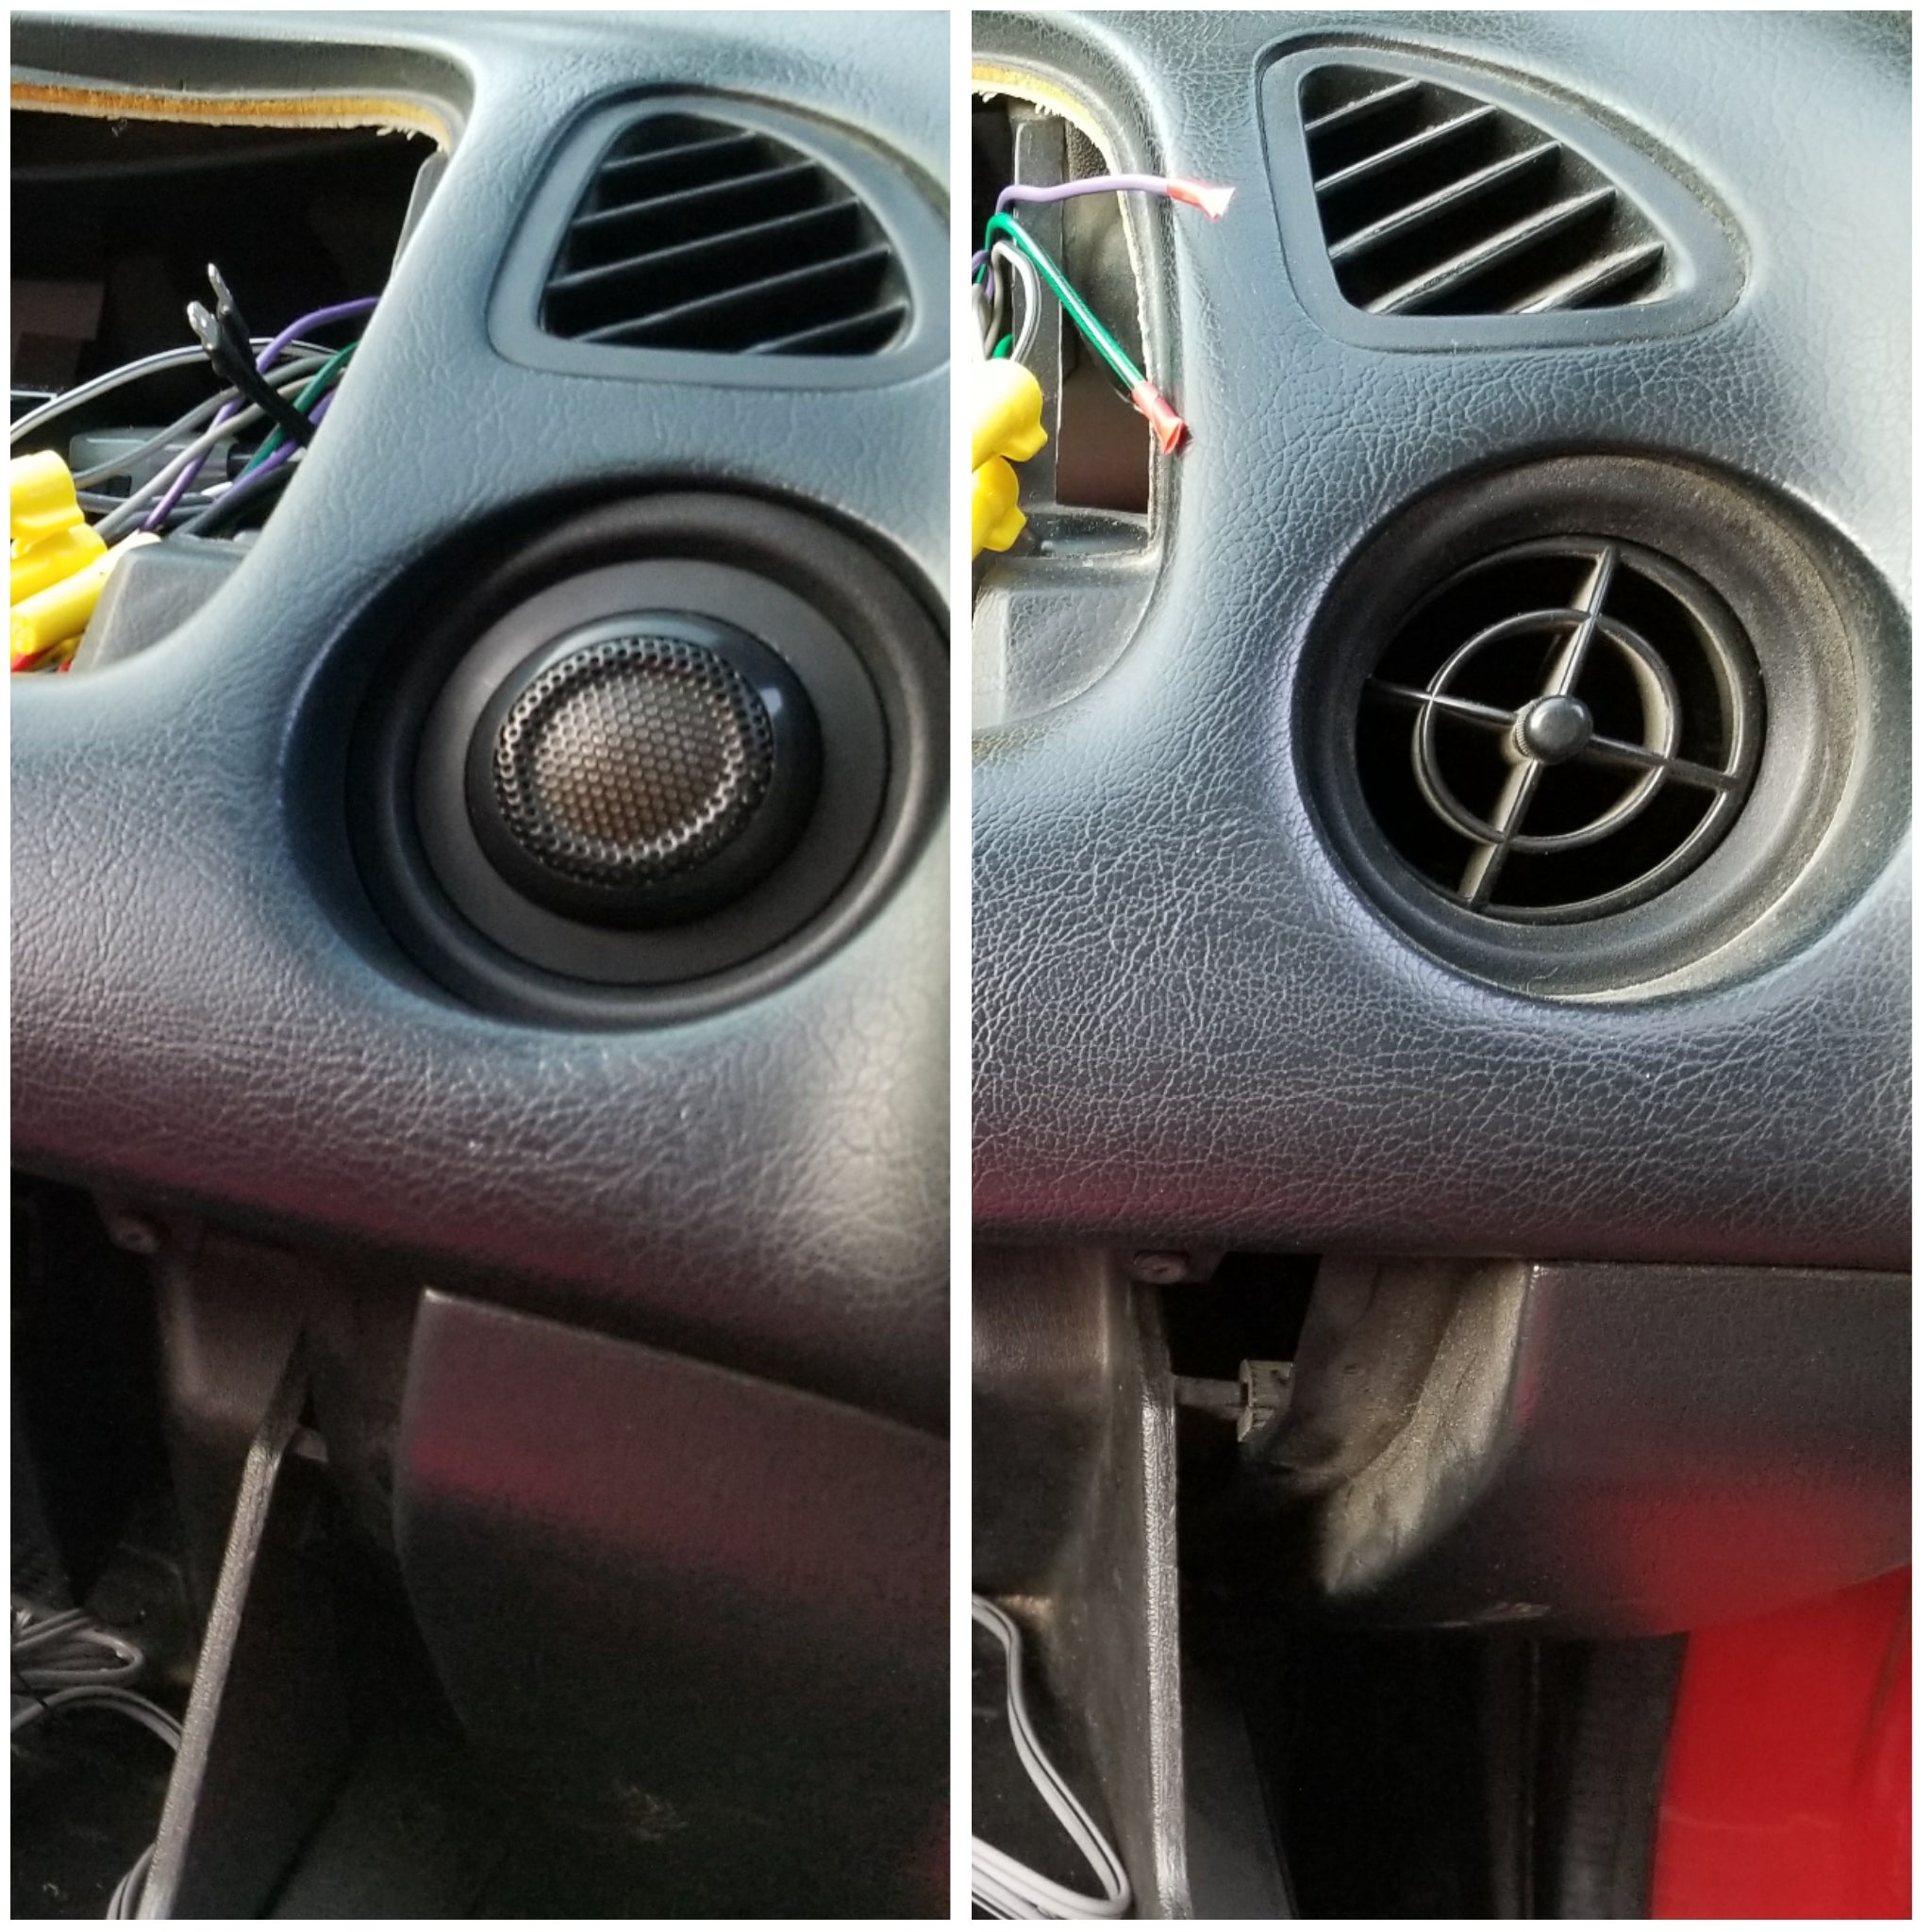
This was a lucky break. I only ever use defrost, so these vents are unimportant to me. Now I have an almost OEM looking tweeter placement and it’s even placed in an acoustically optimal position for a good soundstage. Not quite as good as the A pillar would have been, but much better than anywhere on the door cards.
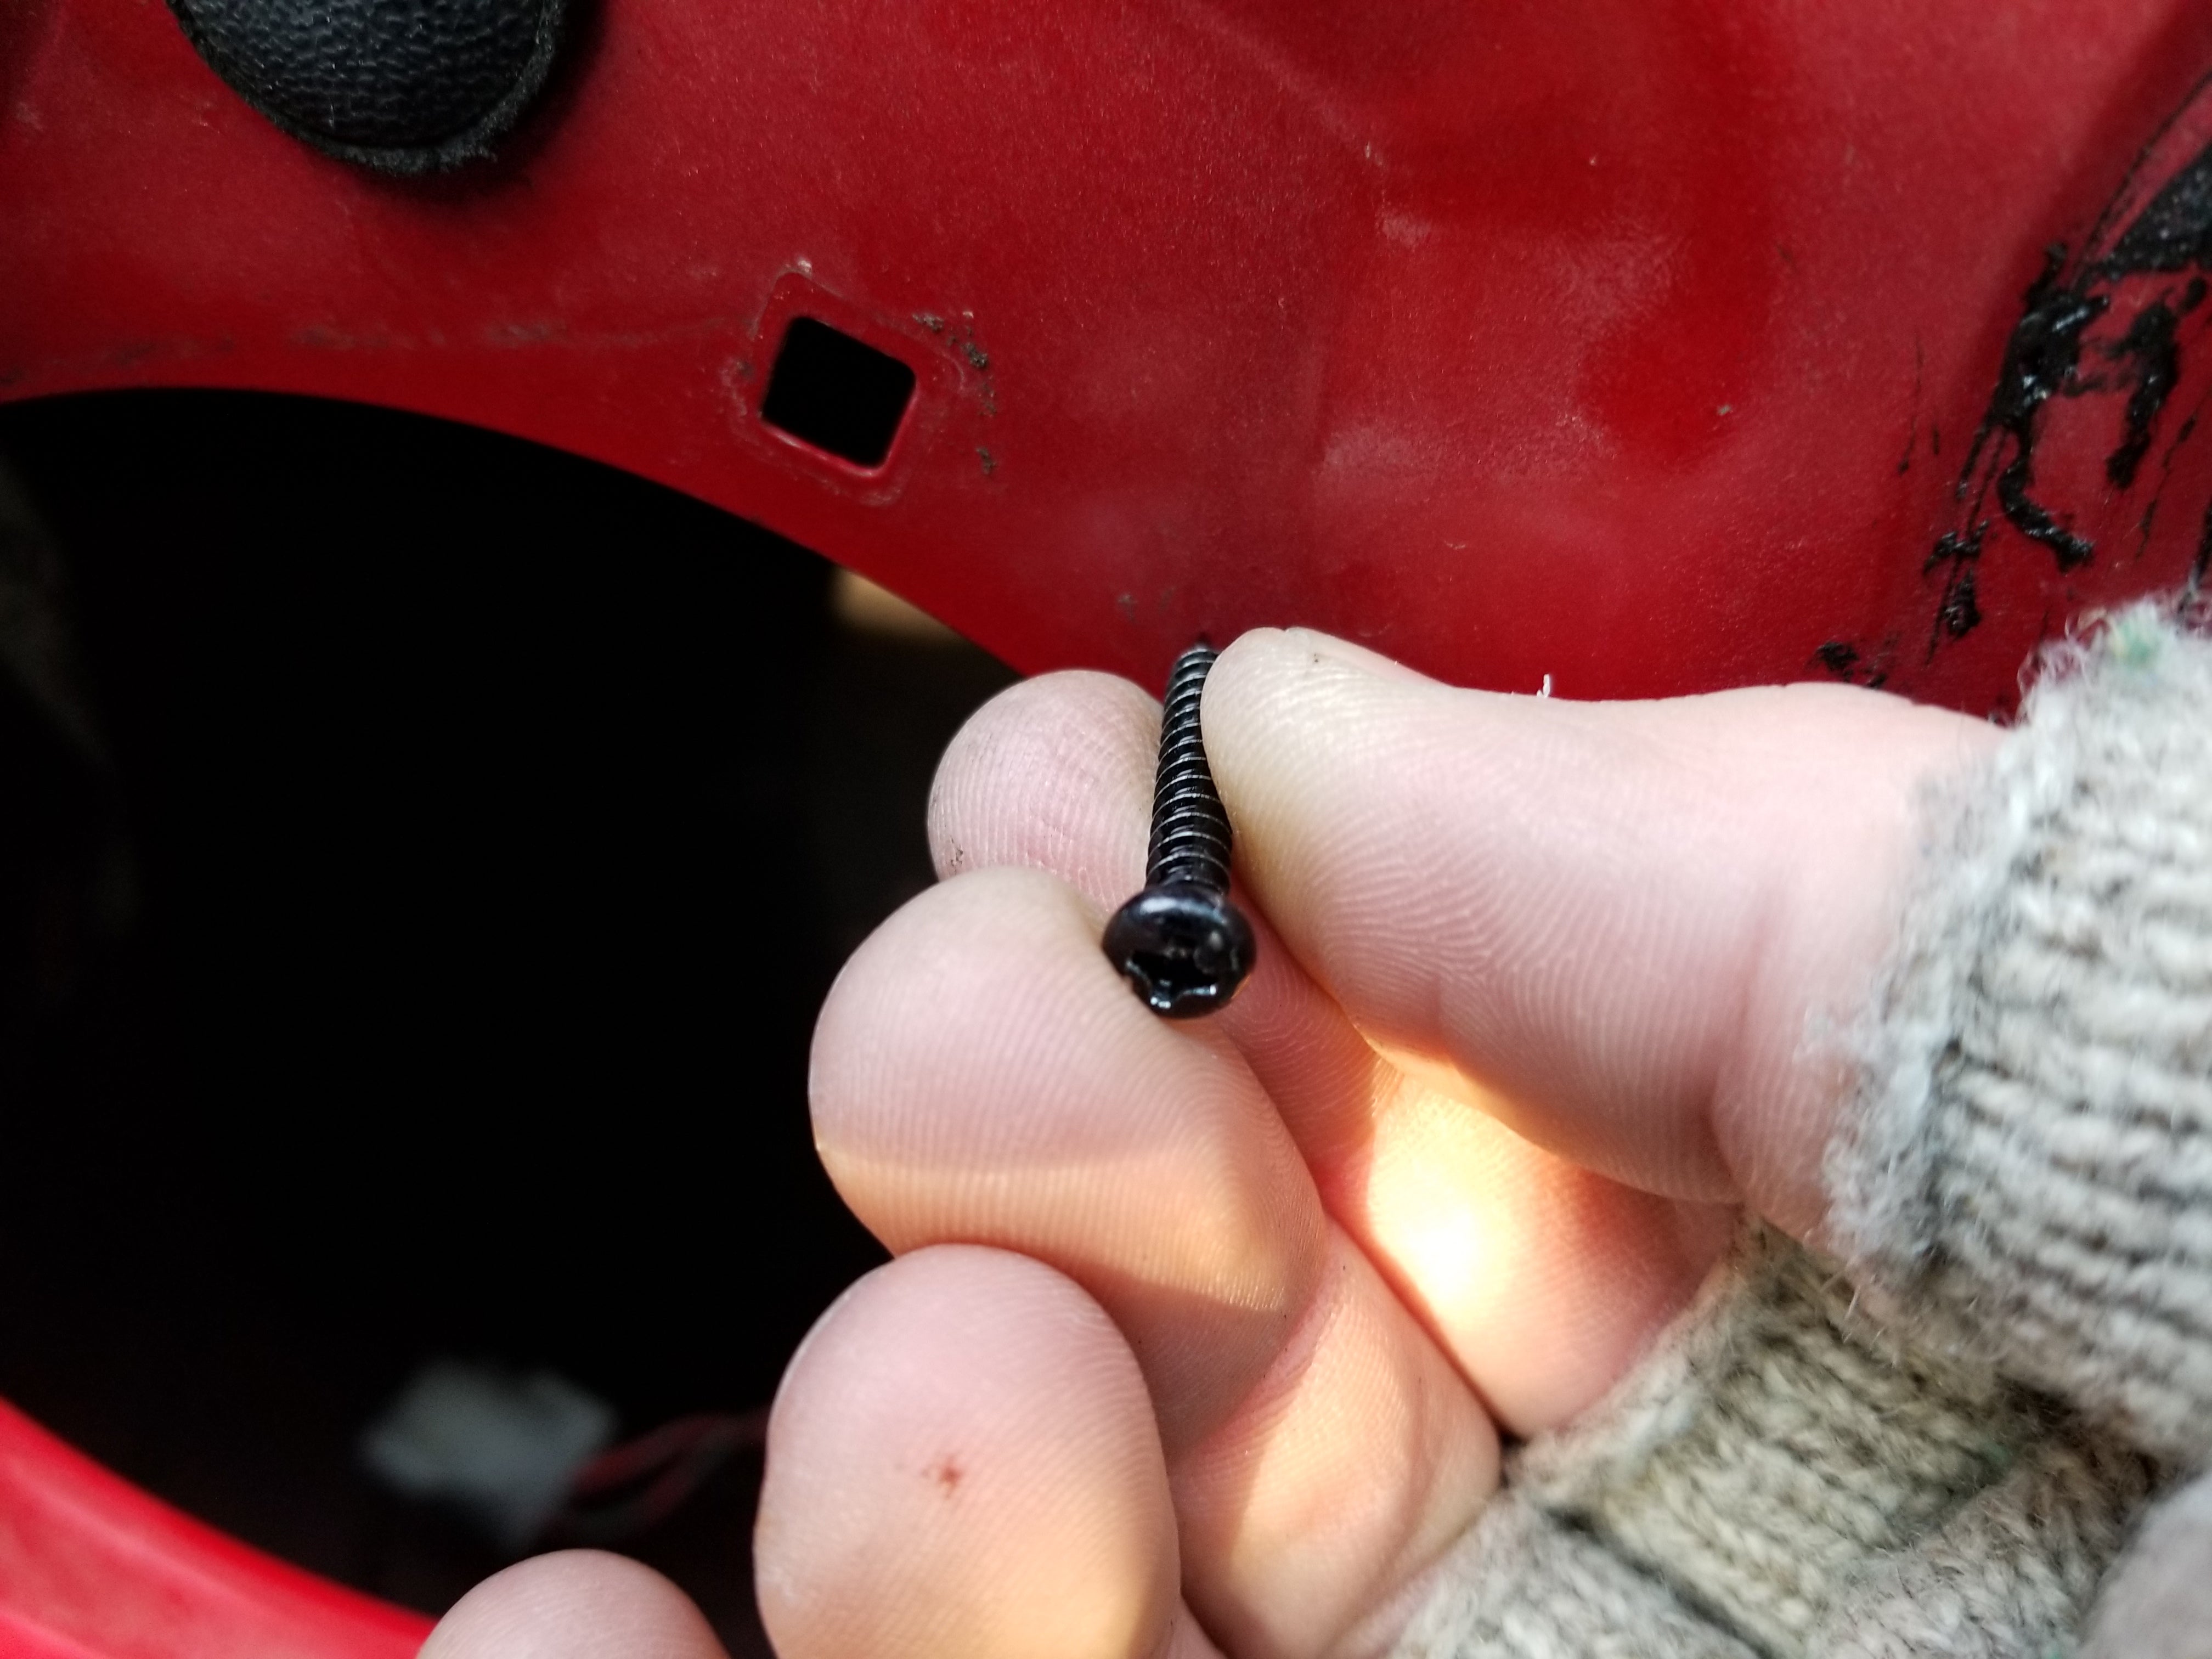
I drilled through the thin heater vent plastic with my ancient Makita, and routed the tweeter wires through. Hooked them up to the right-side crossover after double checking the pressure fit, and everything looked good.
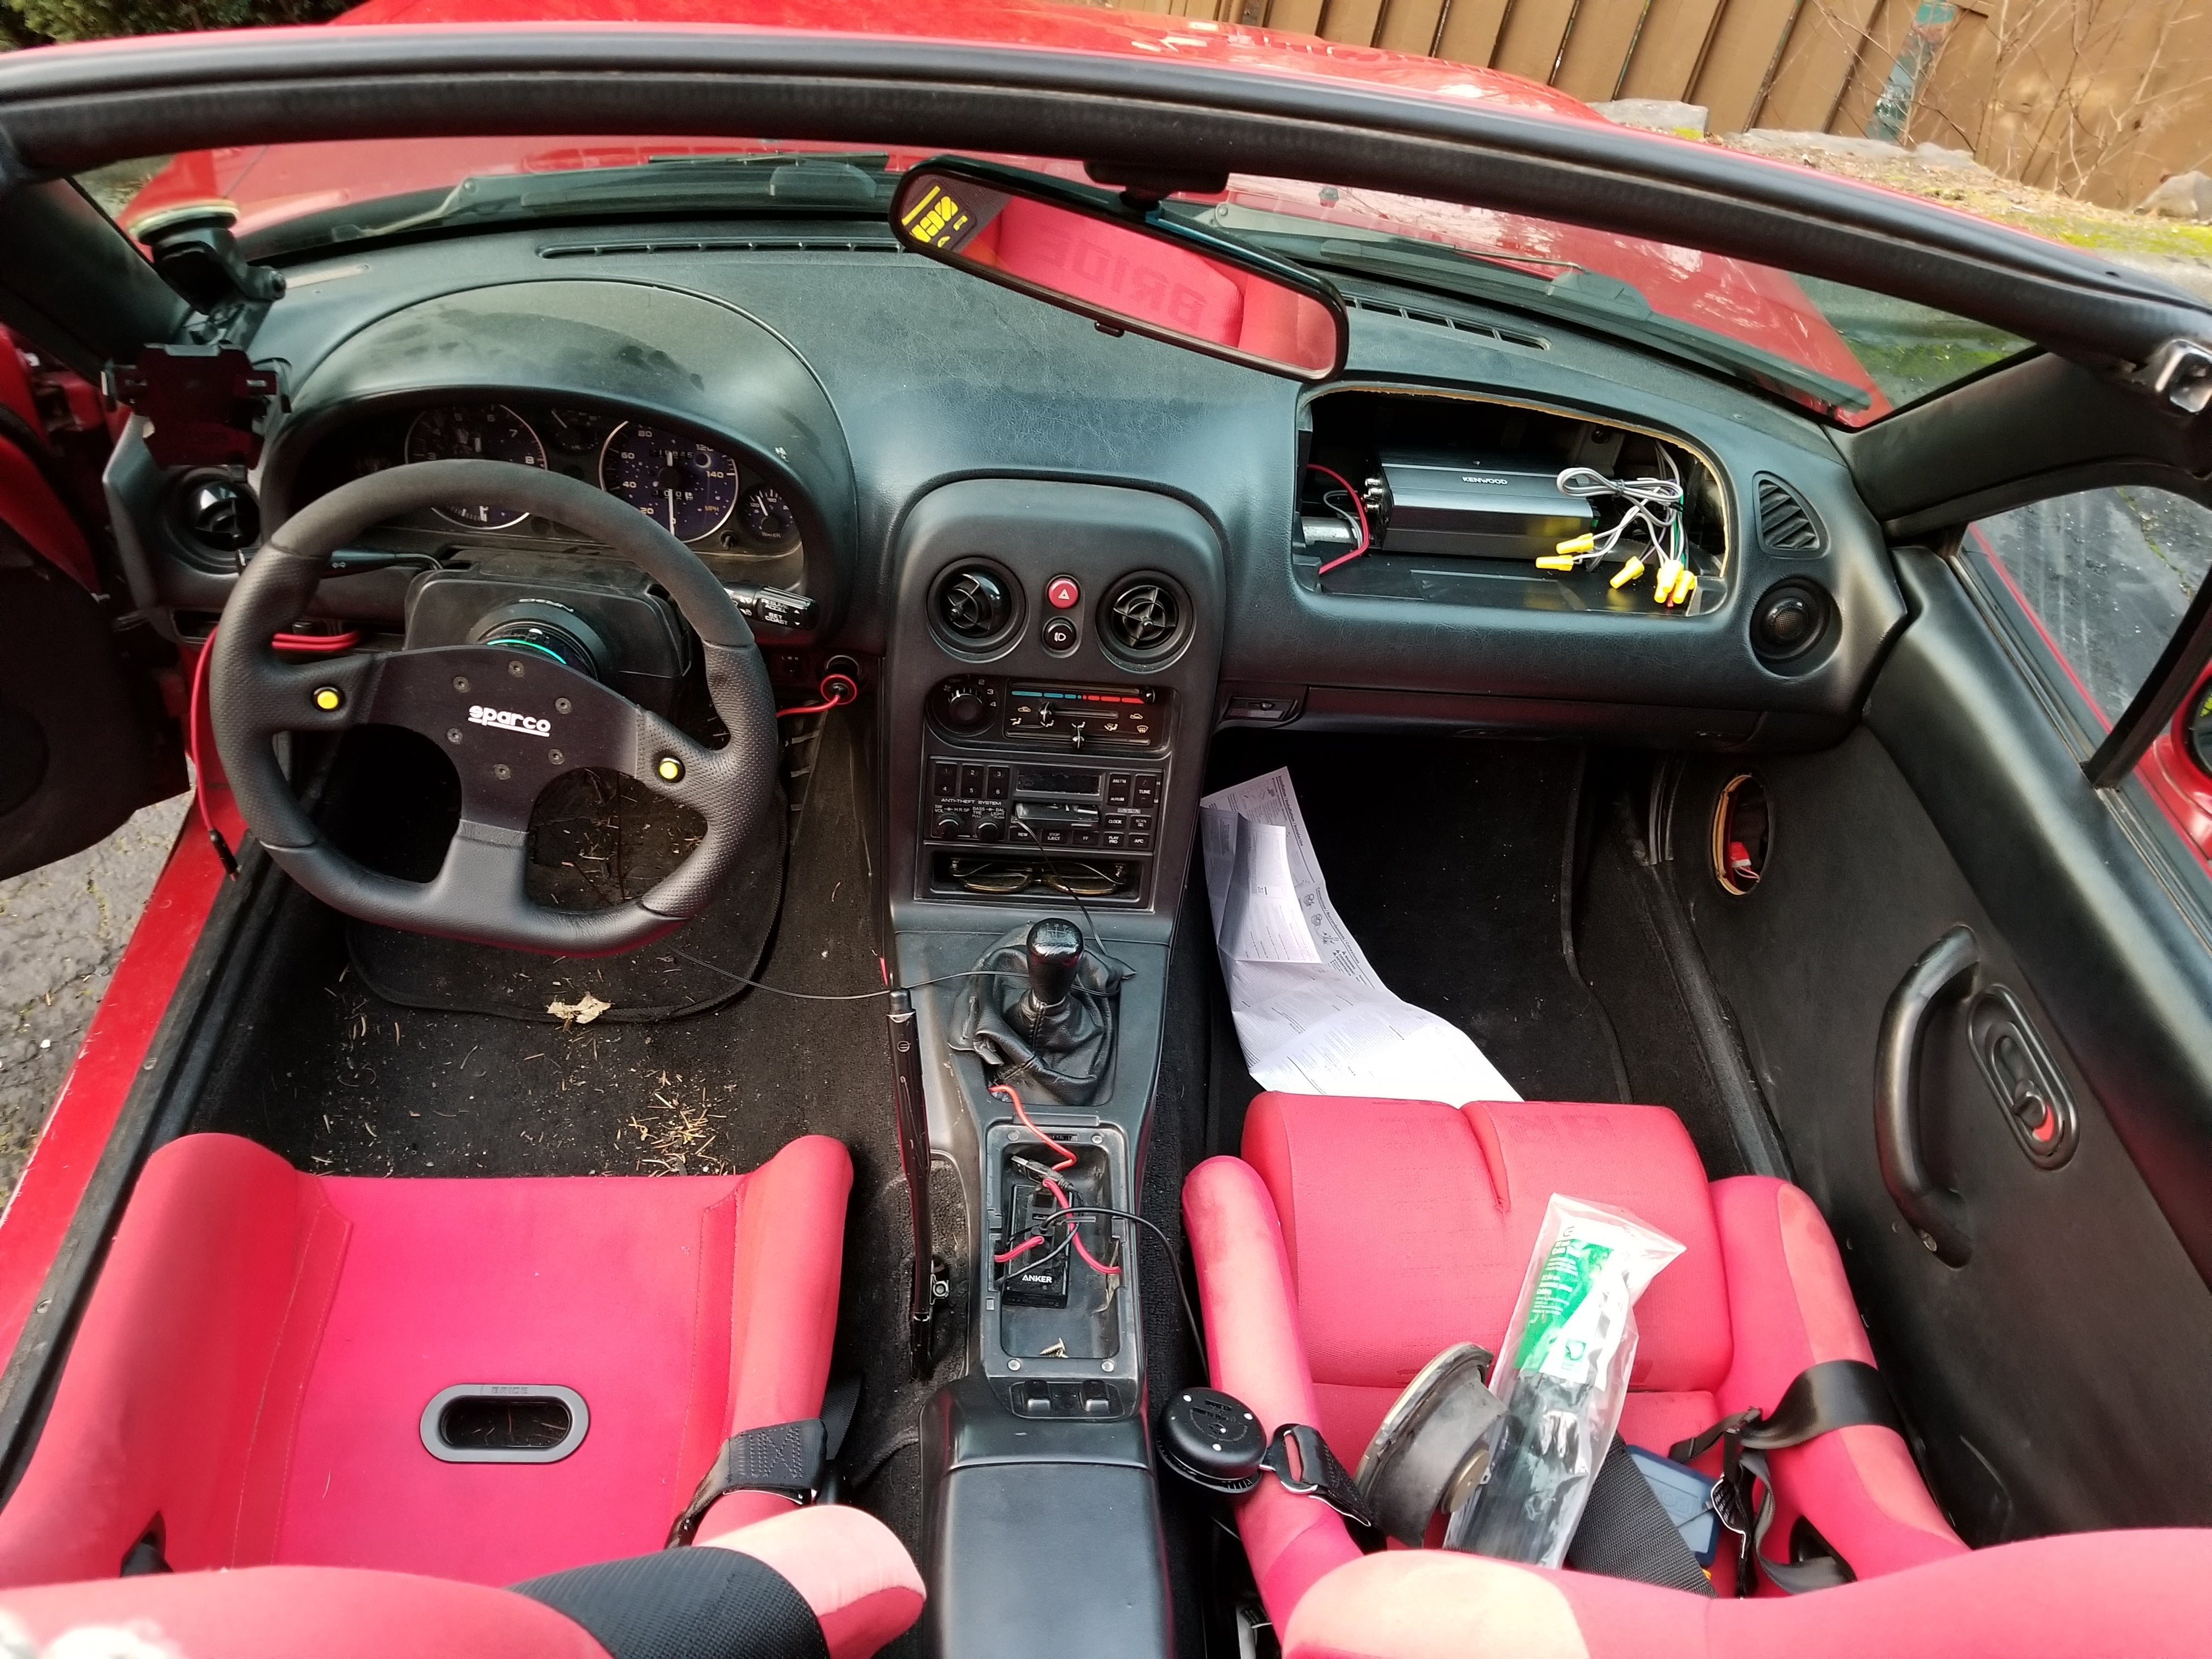
With temps dropping rapidly I decided to call it a day. The floor mat was placed over the sub, the airbag cover was put in place and I admired the day’s work. The only visible change was a tiny speaker in place of the passenger side eyeball vent. I put the battery back in and managed to start my car, which is how I judge a successful electrical job. Turned over no problem, and I drove home already thinking about the next step...
 "Nibby" (nibby68)
12/10/2017 at 20:51, STARS: 1
and all that could have been
"AestheticsInMotion" (aestheticsinmotion)
12/10/2017 at 20:57, STARS: 1
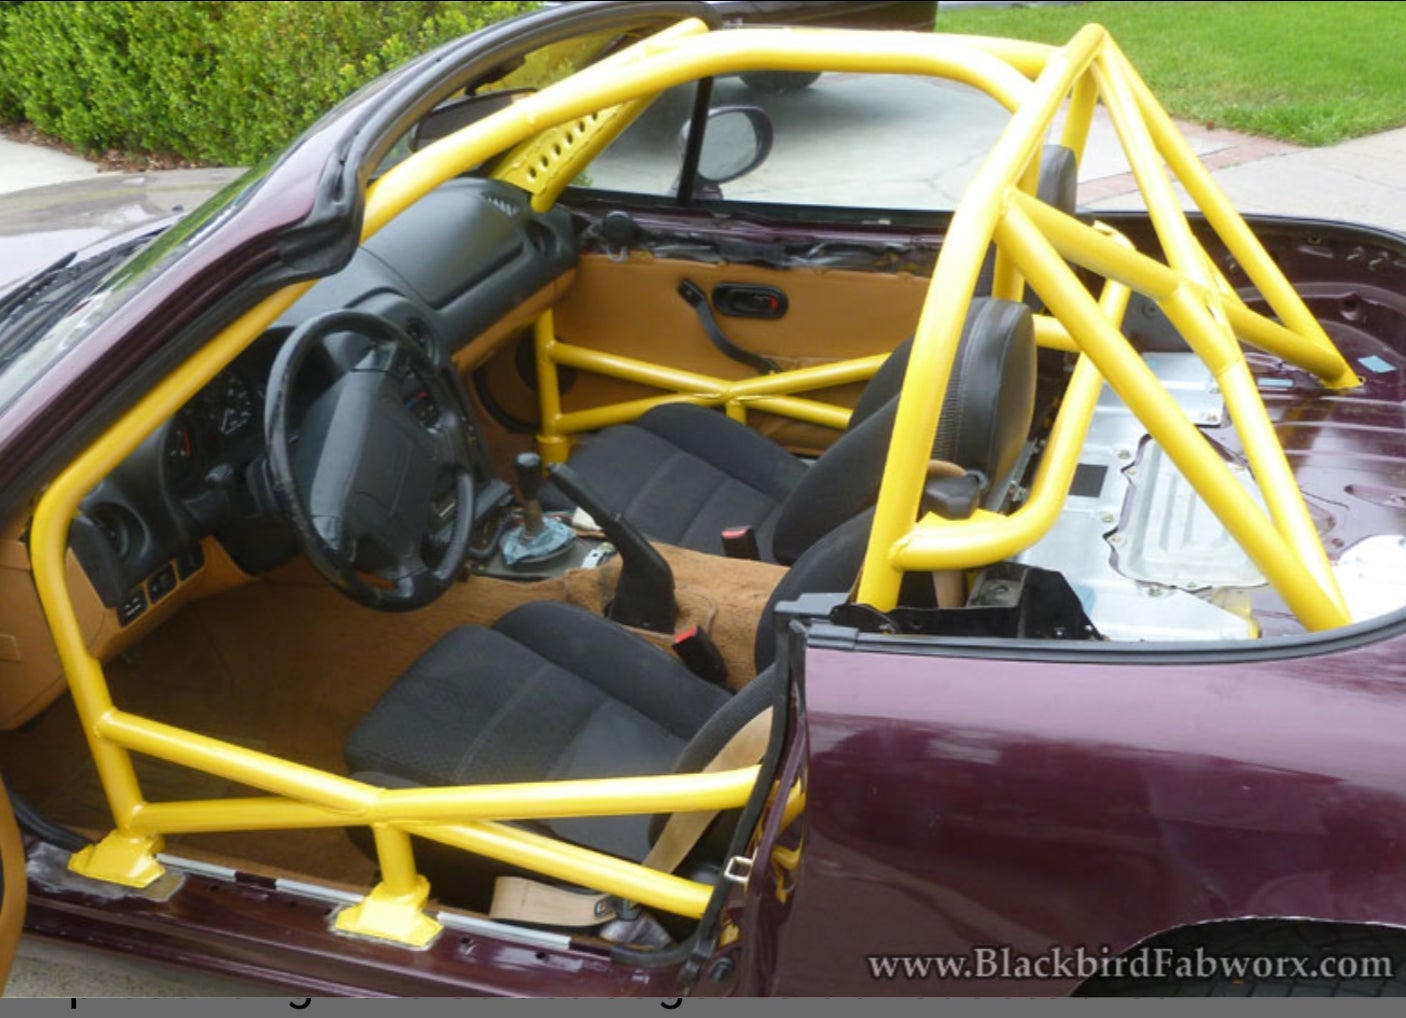
Unless I get hit by a classic Mini, I’m pretty much boned in the case of a collision regardless of what safety system I’ve got. Avoidance will have to be good enough! And possibly a well padded street-oriented cage at some point....
 "AMGtech - now with more recalls!" (amgtech)
12/10/2017 at 21:28, STARS: 2
Nice job. Tweeters look fantastic.
 "Wrong Wheel Drive (41%)" (rduncan5678)
12/10/2017 at 21:44, STARS: 1
Uhh make sure you set the heat to recirculation always then. If you leave it on outside air, those vents push air out pretty darn good all of the time. I can run the heat off and get pretty toasty just from the airflow. Don’t wanna cook your speakers!
And for door speaker wiring just run it outside of the door. I’ve just left the wiring to run outside the door card and into the dash. It looks dumb with the door open but when it’s shut the wiring goes away. It’s much easier than removing the door!
I like the airbag slot for amp storage though. Seems creative, not like those airbags would do anything useful anyways. For the crossovers, you could mount them on the other side of the glove box, like the back of the door so that you don’t impact glove box storage. There should be enough space to fit them and still shut it. That’s what i did with mine.
"AestheticsInMotion" (aestheticsinmotion)
12/10/2017 at 22:27, STARS: 0
Thanks! It feels strange to be putting this much work into the Miata, without making it quicker or lighter...
"AestheticsInMotion" (aestheticsinmotion)
12/10/2017 at 22:36, STARS: 0
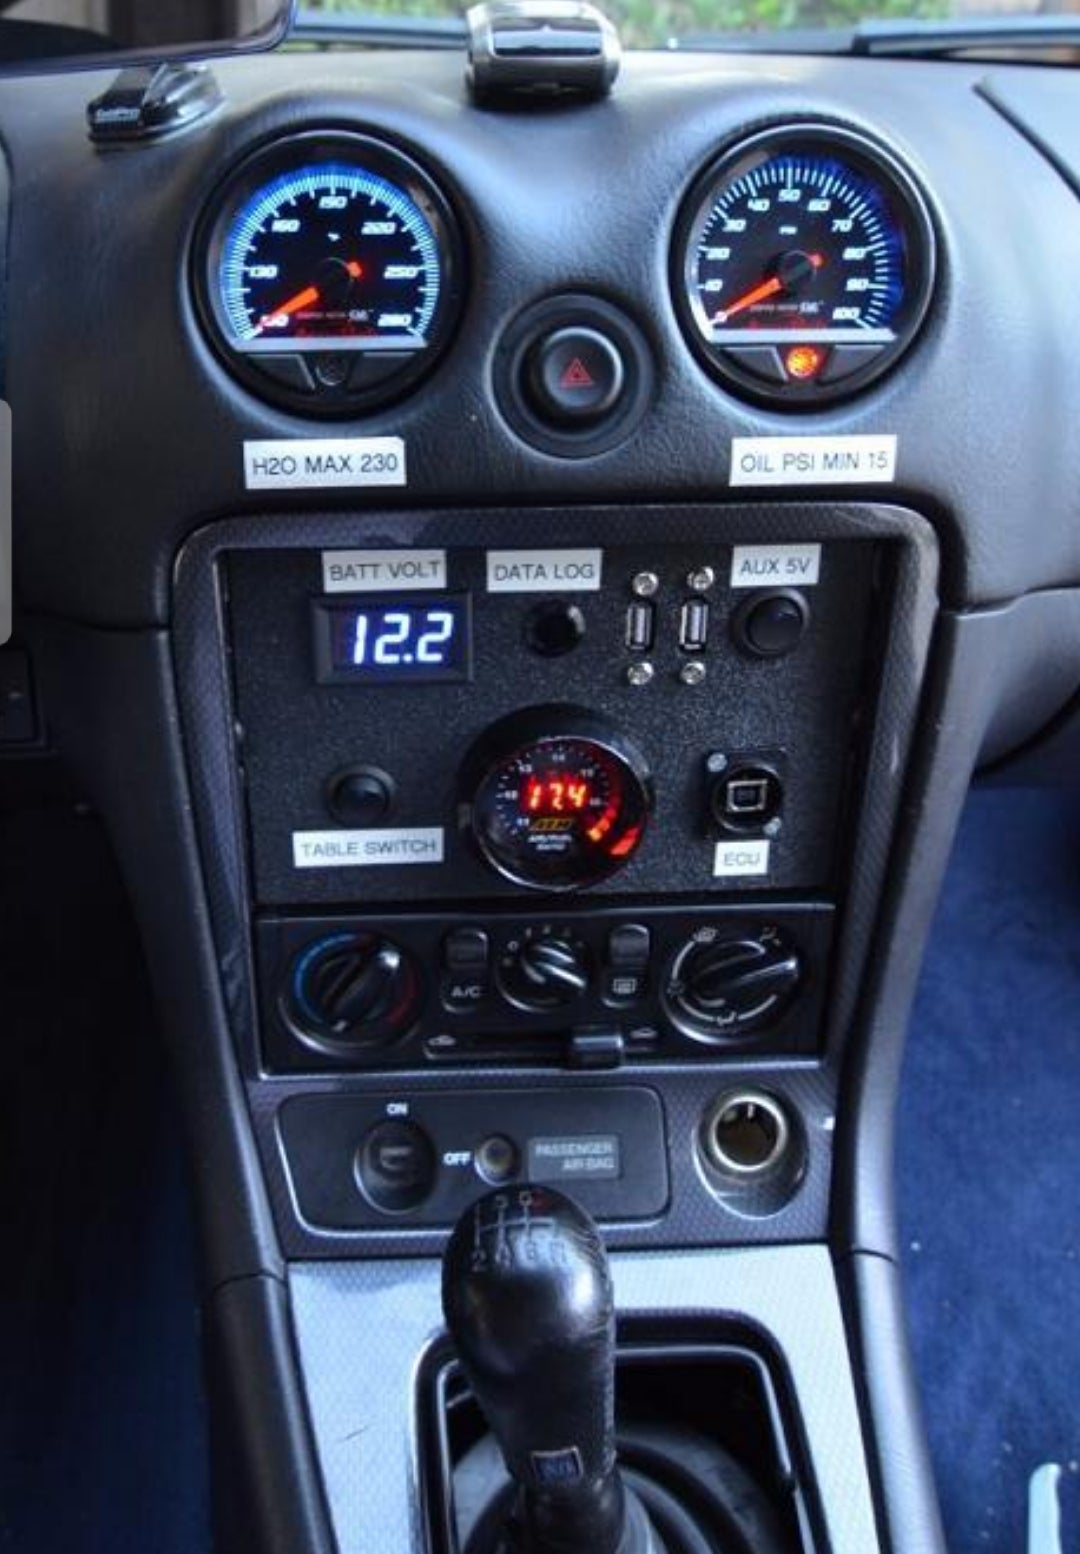
Good call. I may take the tweeter out and stuff some heat wrap a little ways down the tube for added protection. If blocking off heater vents improves my defrost, I will be so happy... the center two eyeball vents will soon be replaced with gauges too. Assuming the NA and NB holes are similar sizes........
Huh. That will probably end up being how I do the door speakers. Although that could cause problems when I eventually figure out a way to attach my carbonmiata steel door cards.
A local race shop is welding up a magnetic clasp so I can open and close the airbag cover. Secret storage compartment! And damn, I wish I’d tried mounting the crossovers the way you did. I just assumed they wouldn’t fit like that haha.
 "merged-5876237249235911857-hrw8uc" (merged-5876237249235911857-hrw8uc)
12/10/2017 at 23:03, STARS: 1
The doors already had speakers and wiring correct? Just find the wires after they enter the cabin and reconnect them to the crossovers. No new wires to run.
"Wrong Wheel Drive (41%)" (rduncan5678)
12/10/2017 at 23:13, STARS: 1
Well I only put one of the crossovers there. Wire wasn’t long enough to reach all the way to the drivers side anyways. So I put the other one crammed in next the fuse box. And for the steel door cards, you could just drill holes specifically for the wires to make it cleaner.
I don’t know how you get by without having the vents though, I definitely still use my heat here in Los Angeles. I don’t need it ever in the STi but going up in the mountains in the dark with the top down, I definitely want the heat going in the Miata.
"AestheticsInMotion" (aestheticsinmotion)
12/10/2017 at 23:17, STARS: 0
I’m definitely going to have to extend the wires from the drivers side equipment. That said the Polk speaker kit is awesome, I’m amazed at how much it came with! And honestly with the top up the defrost keeps me warm, with the top down.... Well. I dress warm haha
"AestheticsInMotion" (aestheticsinmotion)
12/10/2017 at 23:24, STARS: 0
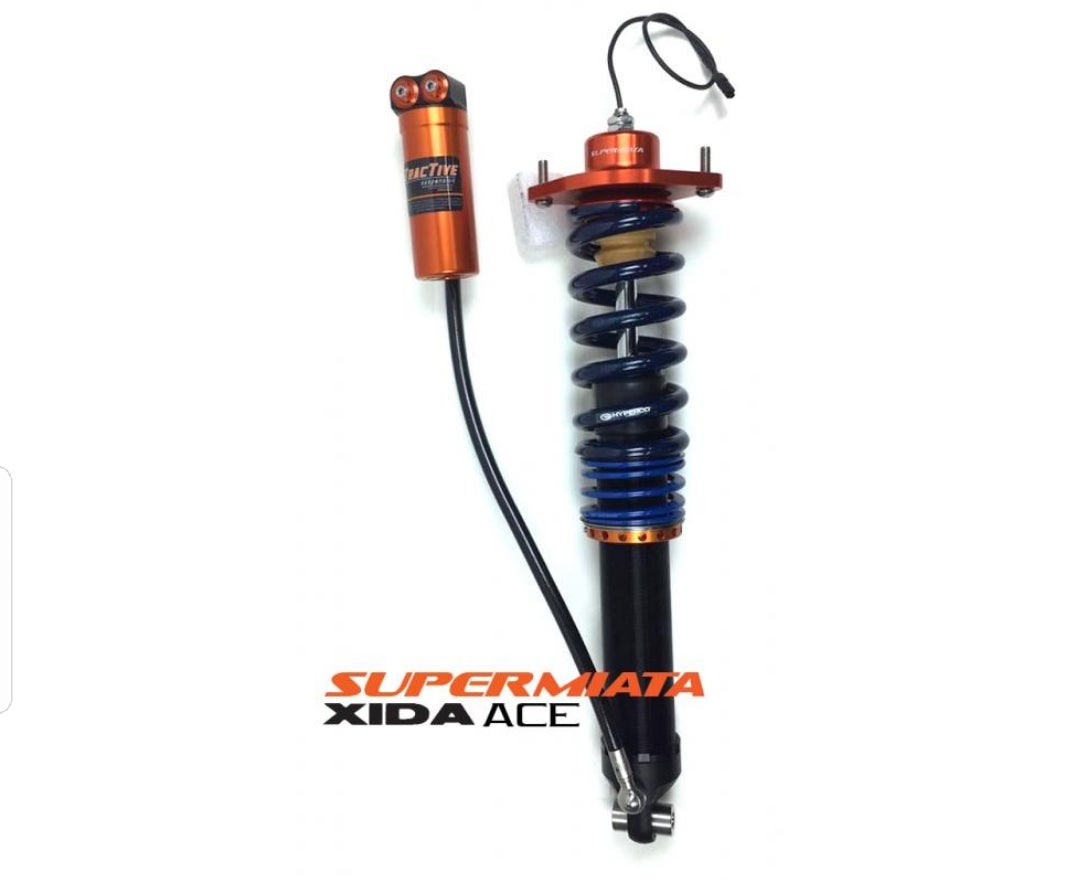
Not at all related, but have you seen these yet? Good lord... The price is mind-blowing but can you imagine? I’ve read through the full product thread below and some of the early buyers have hooked the shocks up to GPS and Tractive Control ECU’s for fully adjustable suspension like a better version of GM’s magnashocks... Crazy to see people developing this kind of thing for our cheap roadsters!
https://www.miataturbo.net/suspension-brakes-drivetrain-49/xida-xl-ace-93581/
http://949racing.com/Xida-ACE-coilover-miata.aspx
 "Junkrat aka Rick Sanchez: Fury Road Edition" (realasabass)
12/10/2017 at 23:31, STARS: 2
I wouldn’t use wire nuts, unless you are just using them for testing. Soldering is not the best idea in cars either. Might I suggest a connector that can stand up to extra abuse of living in the dash of a convertible. They are butt connectors made of heat shrink. They make a really clean install. If you plan on staying with the wire nuts at least put some tape on them.
"AestheticsInMotion" (aestheticsinmotion)
12/10/2017 at 23:44, STARS: 0
Don’t worry, the wire nuts are temporary! I don’t want to connect things permanently until I’ve had a chance to test and make sure I put everything together correctly. That said, thank you! I had no idea what to pick as a more permanent connection.
 "ITA97, now with more Jag @ opposite-lock.com" (ita97)
12/11/2017 at 00:36, STARS: 1
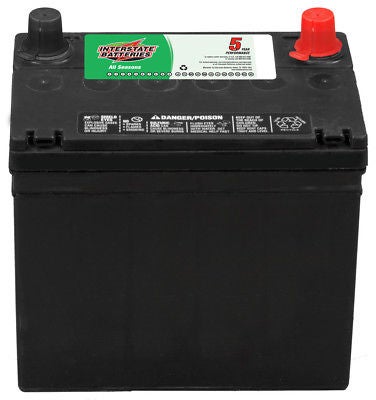
As an FYI for when you get around to the battery, Interstate actually makes a correct, NA/NB miata specific replacement battery. It both fits the factory location and tie down set up, and it is externally vented via the factory tubing to the wheel well like the OEM battery is. Using a conventional battery in Miata will end up with it venting gas into the trunk.
"Junkrat aka Rick Sanchez: Fury Road Edition" (realasabass)
12/11/2017 at 01:50, STARS: 1
Well you will want to get a good crimper as well.
I have a similar pair that work very well.
http://oppositelock.kinja.com/ares-electrical-crimper-mini-review-1788309392
"AMGtech - now with more recalls!" (amgtech)
12/11/2017 at 05:11, STARS: 0
Although you probably won’t notice a performance difference. But you will certainly appreciate better sound.
"Wrong Wheel Drive (41%)" (rduncan5678)
12/11/2017 at 09:41, STARS: 0
I know xidas are on my list of dream upgrades to give the Miata after I’m done paying for student loans and feel like I’m made out of money. But i hadn’t looked at the aces before, that idea seems crazy haha
"Wrong Wheel Drive (41%)" (rduncan5678)
12/11/2017 at 09:46, STARS: 0
The top goes up? I think I’ve put mine up once or twice since getting here to LA. And that was just for parking when there was some smoke in the area. It’s really frigging hard to latch the thing when it’s been down for that long though.
"AestheticsInMotion" (aestheticsinmotion)
12/11/2017 at 12:03, STARS: 0
Crimper added to shopping cart. I need to heat these after crimping correct? Any recommendations for a cheap heat gun?
 "NojustNo" (front24200)
12/11/2017 at 13:30, STARS: 1
1500 watt setting on hair dryer :)
 "ateamfan42" (ateamfan42)
12/11/2017 at 14:26, STARS: 1
As such... I followed the diagram’s instructions for a “2-channel +
subwoofer system” on filter frequency and input sensitivity because I
have literally no idea what any of that means. Here’s hoping it’s set up
correctly.
Filter frequency refers to the cutoff frequency for the built in crossover in the amplifier. Set the front channels to “high pass” and the cutoff somewhere around 100-200 Hz. This means only frequencies above that number will get sent to the components. Set the sub channels to “low pass” and the cutoff around the same value as above (sending only the low frequencies to the sub). You’ll want to adjust the crossover points a bit to get the right blend of sound.
Input sensitivity is about matching the amplifier input to the signal level of whatever you are using to drive it (the head unit). The idea is to get the amp/speakers to saturate (distort) at the same point the head unit saturates when everything is cranked all the way up. Start with the sensitivity all the way down. Turn up the volume on the head unit all the way (or until just before it distorts, whichever comes first). Then bring up the sensitivity until the speakers start to distort, and go no higher. If you find the fronts are overpowering the subs at this level, turn down the front sensitivity. If the subs are too much, turn the sub sensitivity down instead.
"AestheticsInMotion" (aestheticsinmotion)
12/11/2017 at 15:21, STARS: 1
Thank you for the info, I will be referring to this when I have everything wired up. I noticed that the speaker crossovers have an internal pin with three spots it can be placed in. Would that serve the same purpose as the amps filter frequency, but between the midrange and tweeter?
"ateamfan42" (ateamfan42)
12/11/2017 at 15:53, STARS: 0
I noticed that the speaker crossovers have an internal pin with three
spots it can be placed in. Would that serve the same purpose as the amps
filter frequency, but between the midrange and tweeter?
Is this internal pin labeled in any way? My first guess is that it is not a change in crossover frequency, as passive crossovers do not usually have an adjustable crossover point. It may be a setting to adjust the amplitude of the tweeter relative to the mid-range. Some passive crossovers can boost or cut the tweeter by 3 dB (or set flat). With tweeters firing right at you, the 3 dB cut might be the preferable setting.
"AestheticsInMotion" (aestheticsinmotion)
12/11/2017 at 19:39, STARS: 0
Ohhh good call. If a hair dryer will work in any car, it would be a Miata!
 "daender" (daender)
12/11/2017 at 21:28, STARS: 1
Having recently taken apart a NB dash to swap an all-black one in, you could probably find a way to 3D print or engineer a block-off plate so you can eliminate the tubes to the directional vents but keep the defog system intact.
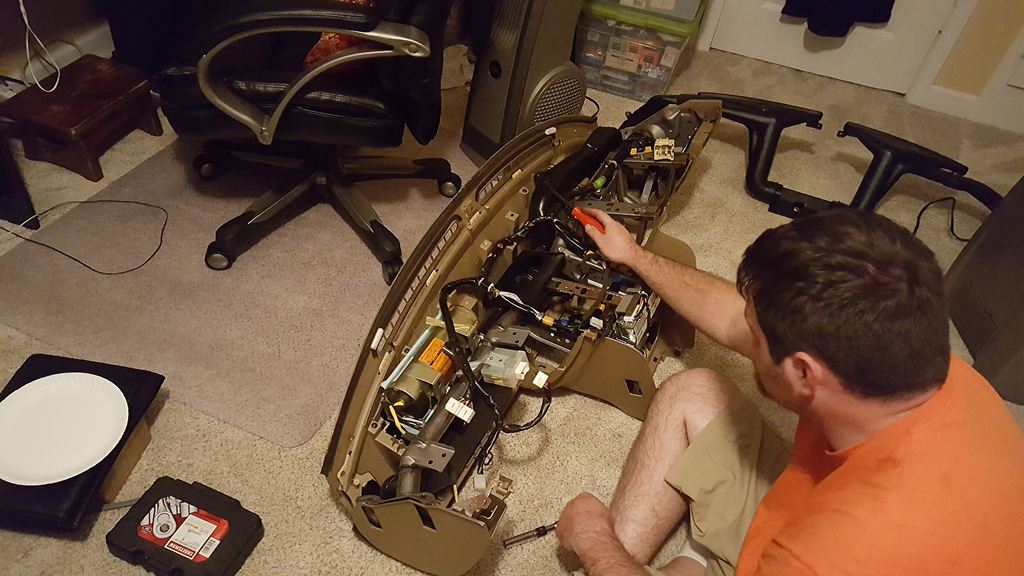
(Bestest Miata friend pictured helping me disassemble my original tan dash.)
"daender" (daender)
12/11/2017 at 21:29, STARS: 0
Yes, NB and NA eyeballs are the same size.
"AestheticsInMotion" (aestheticsinmotion)
12/11/2017 at 21:38, STARS: 0
I’m in desperate need of SOMETHING to help make little parts, mounting brackets, etc. Welding probably isn’t a great idea being in a condo, so maybe I’ll look for a decent 3d printer after the holidays.
That looks like a blast! I dream of one day swapping an na6 dash into mine. So flat. So lovely. I bet having the dash off like that gave you all sorts of good ideas
"MINIGTI" (76tr6)
12/11/2017 at 21:45, STARS: 0
For the door speakers, strongly recommended patching into the factory wiring.
"daender" (daender)
12/11/2017 at 21:55, STARS: 0
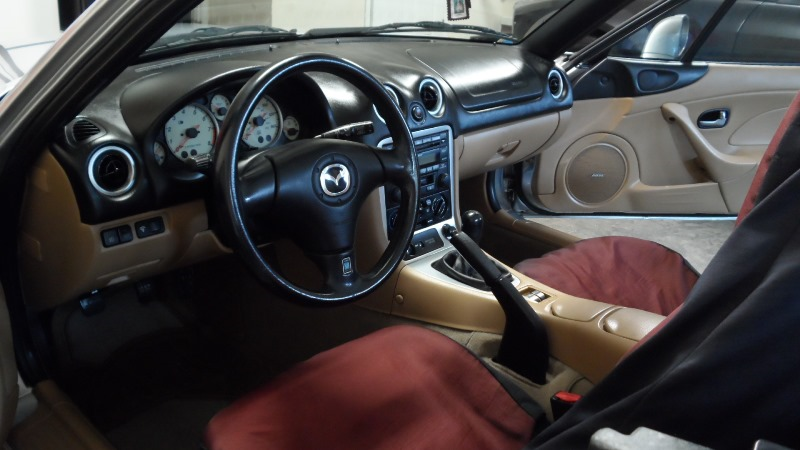
It was also a PITA since it meant removing the a-pillar and windshield panels (this applies to NBs, not sure about NAs). Totally worth it to replace my bland tan’n’black to all-black with blue 10AE carpet.
"Junkrat aka Rick Sanchez: Fury Road Edition" (realasabass)
12/11/2017 at 22:43, STARS: 0
Harbor Freight or Canadian Tire depending on where you are from. They are around 13 - 15 I think. Some hair dryers will get hot enough for normal shrink tubing, but the connectors above are a little thicker than normal shrink tubing. I’m not saying that it will work or not, but it’s worth a try if you have free access to a hair dryer.