 by "Urambo Tauro" (urambotauro)
Published 08/10/2017 at 23:00
by "Urambo Tauro" (urambotauro)
Published 08/10/2017 at 23:00
Tags: electronics
; circuitry
; pixie wrangling
; wrenching
STARS: 2
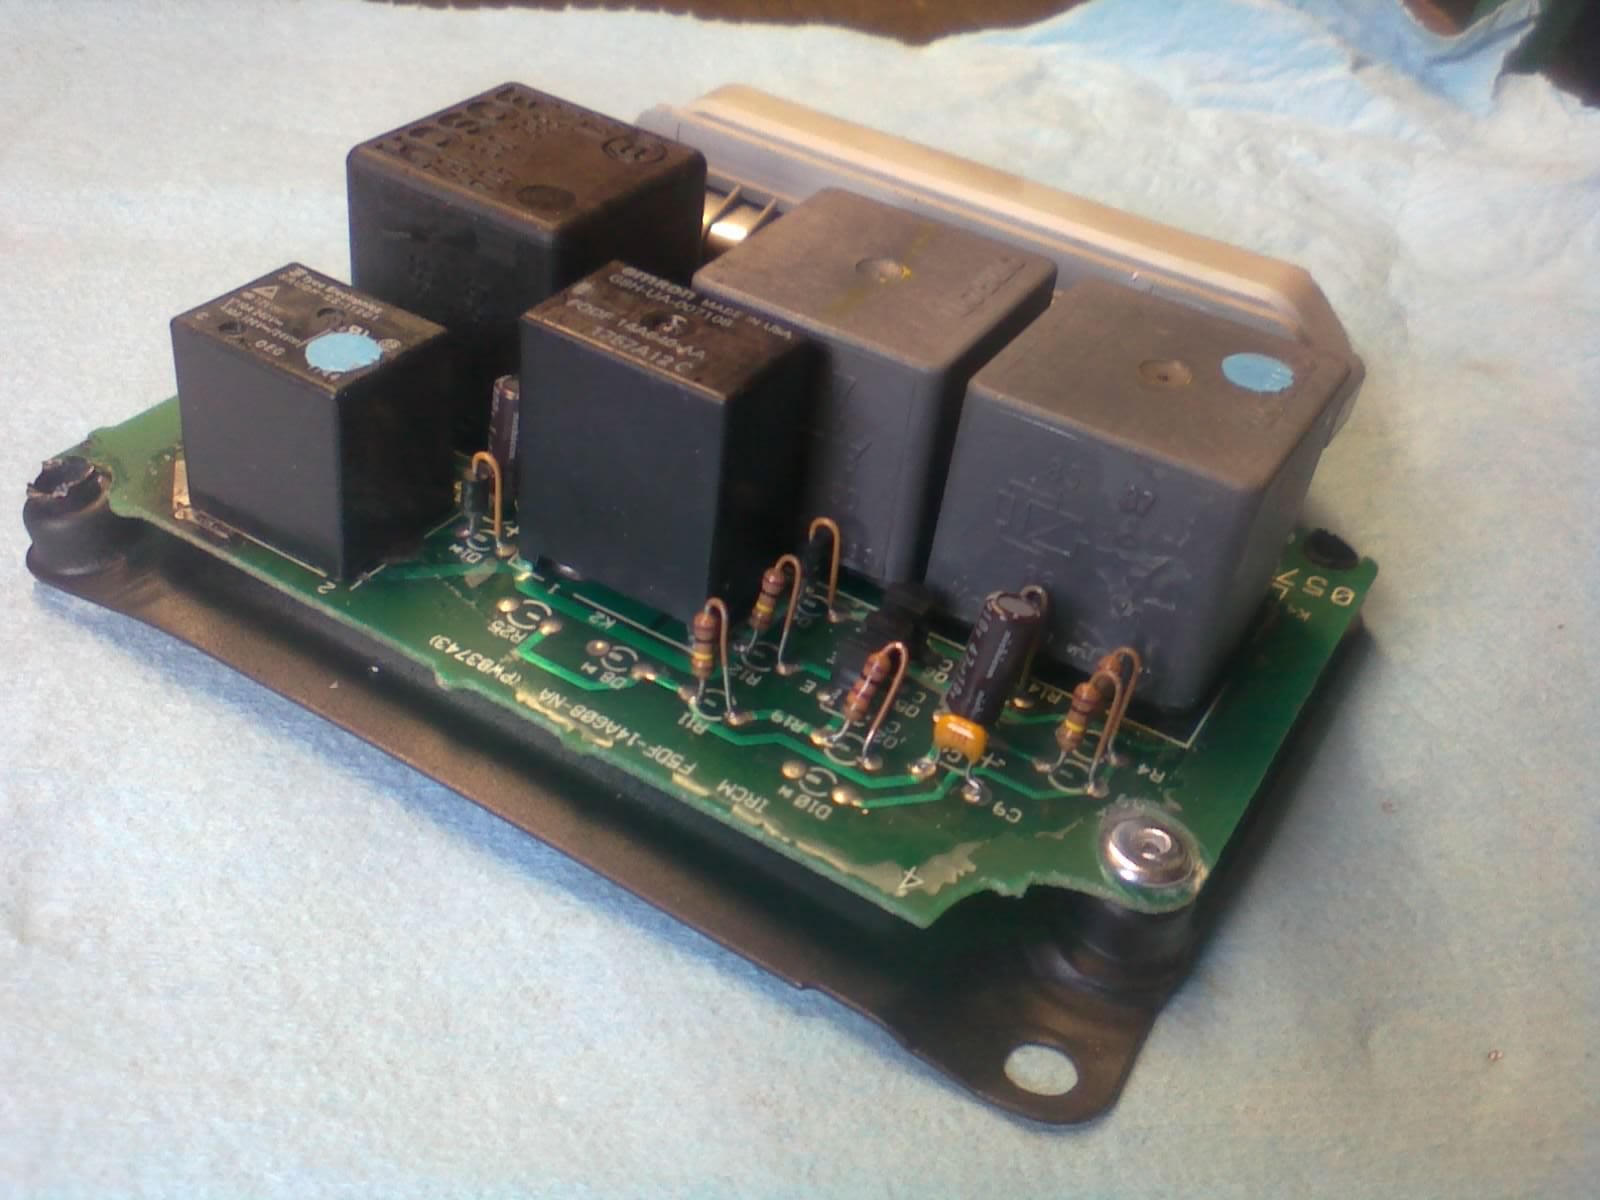
I picked up my new (reman) Constant Control Relay Module, and just had to take a look inside. It’s... different!
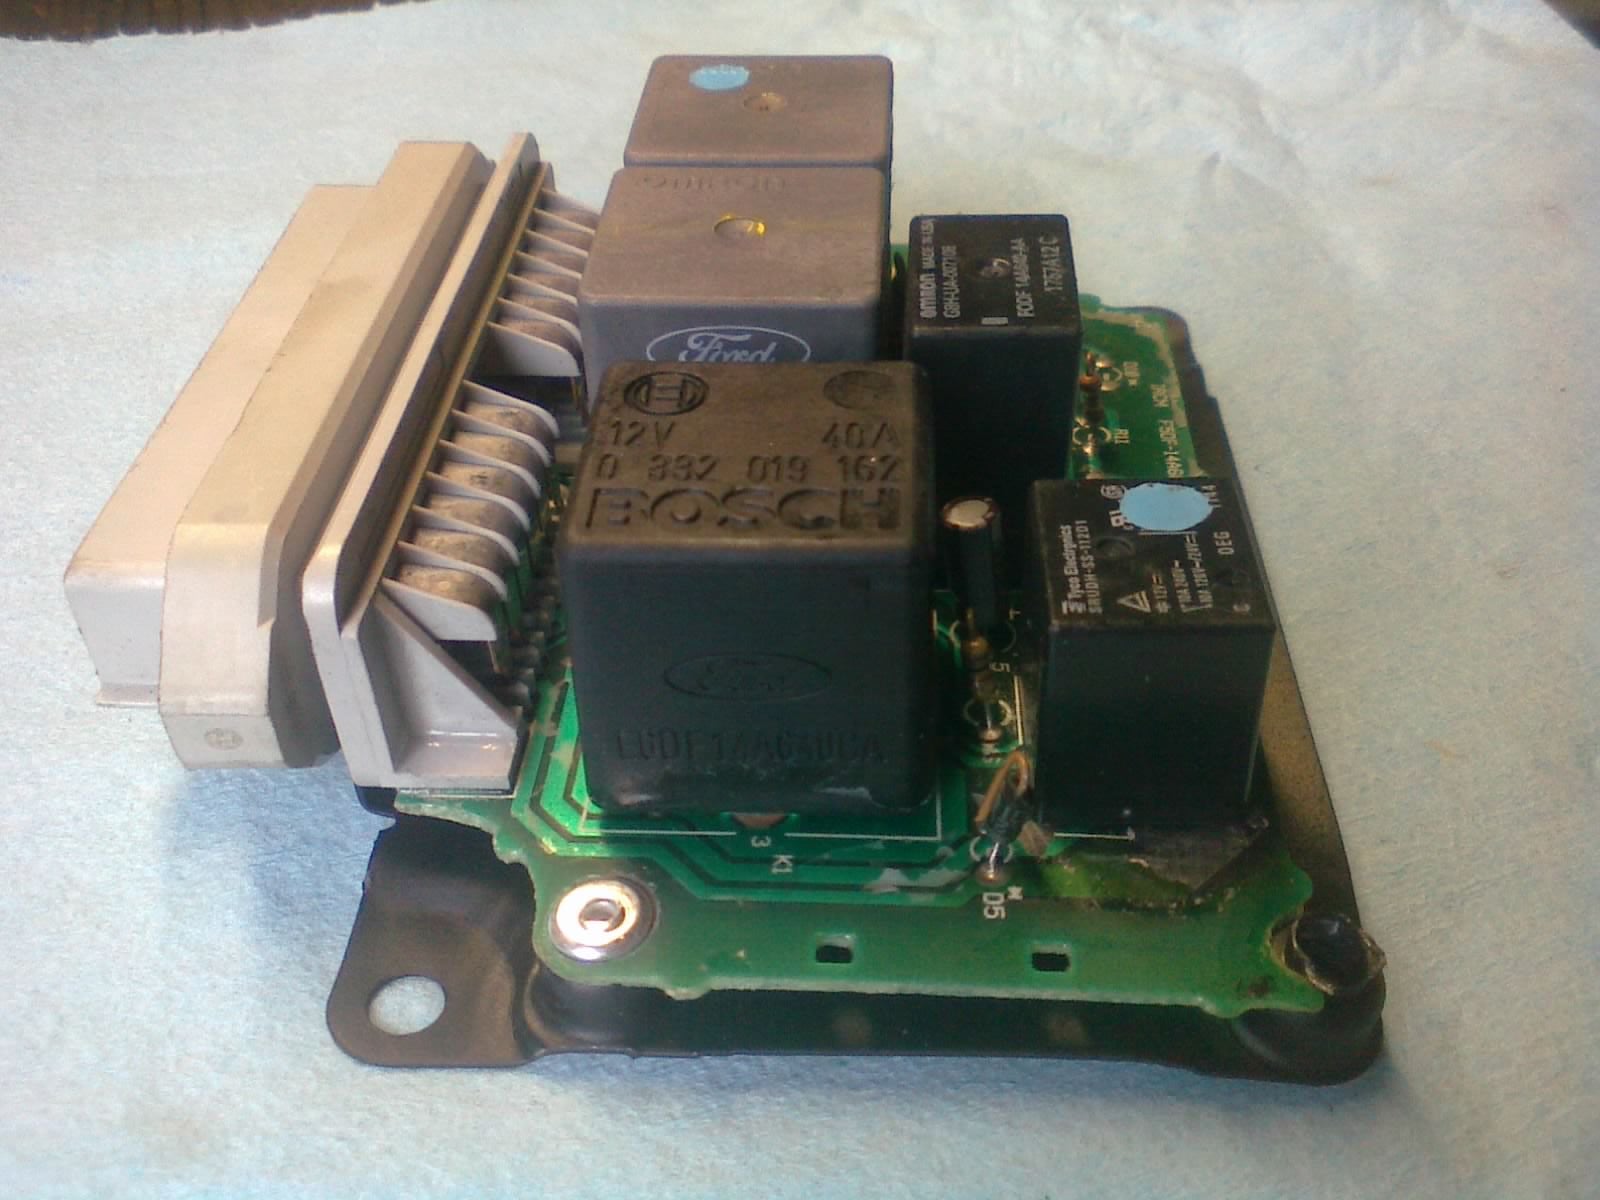
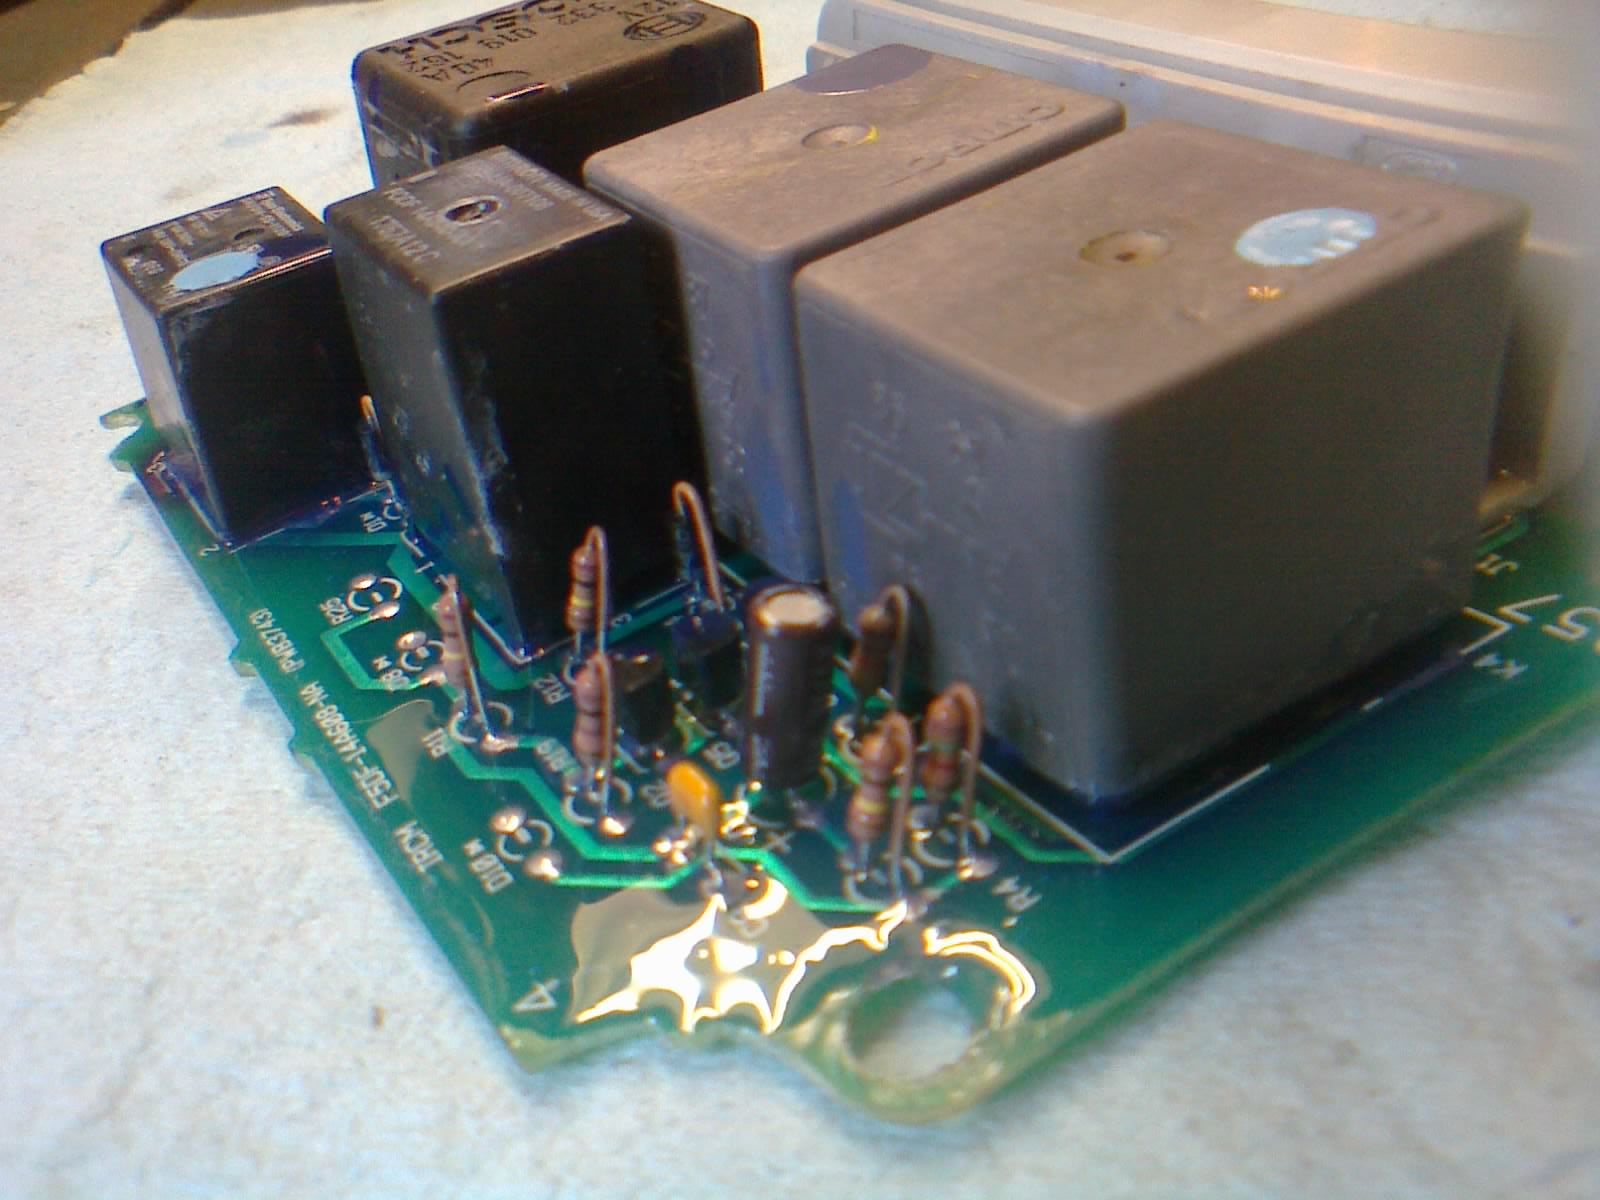
I drilled out the rivets, and sure enough: this looks very much like the updated version that I’ve seen in pictures. It even has the relay in the corner that I was expecting to see when I first opened mine up. No MOSFET, and a lot fewer resistors & stuff, too.
The board itself bears the Ford number F5DF-14A608-NA, indicating that it may have come out of a Taurus or something before being traded in as a core. Sadly, it’s missing quite a lot of its original conformal coating. There’s a disturbing amount of dry, unprotected circuitry here. Maybe that’s why the remanufacturer only put a one-year warranty on it. (BTW, my original one lasted over two decades.)
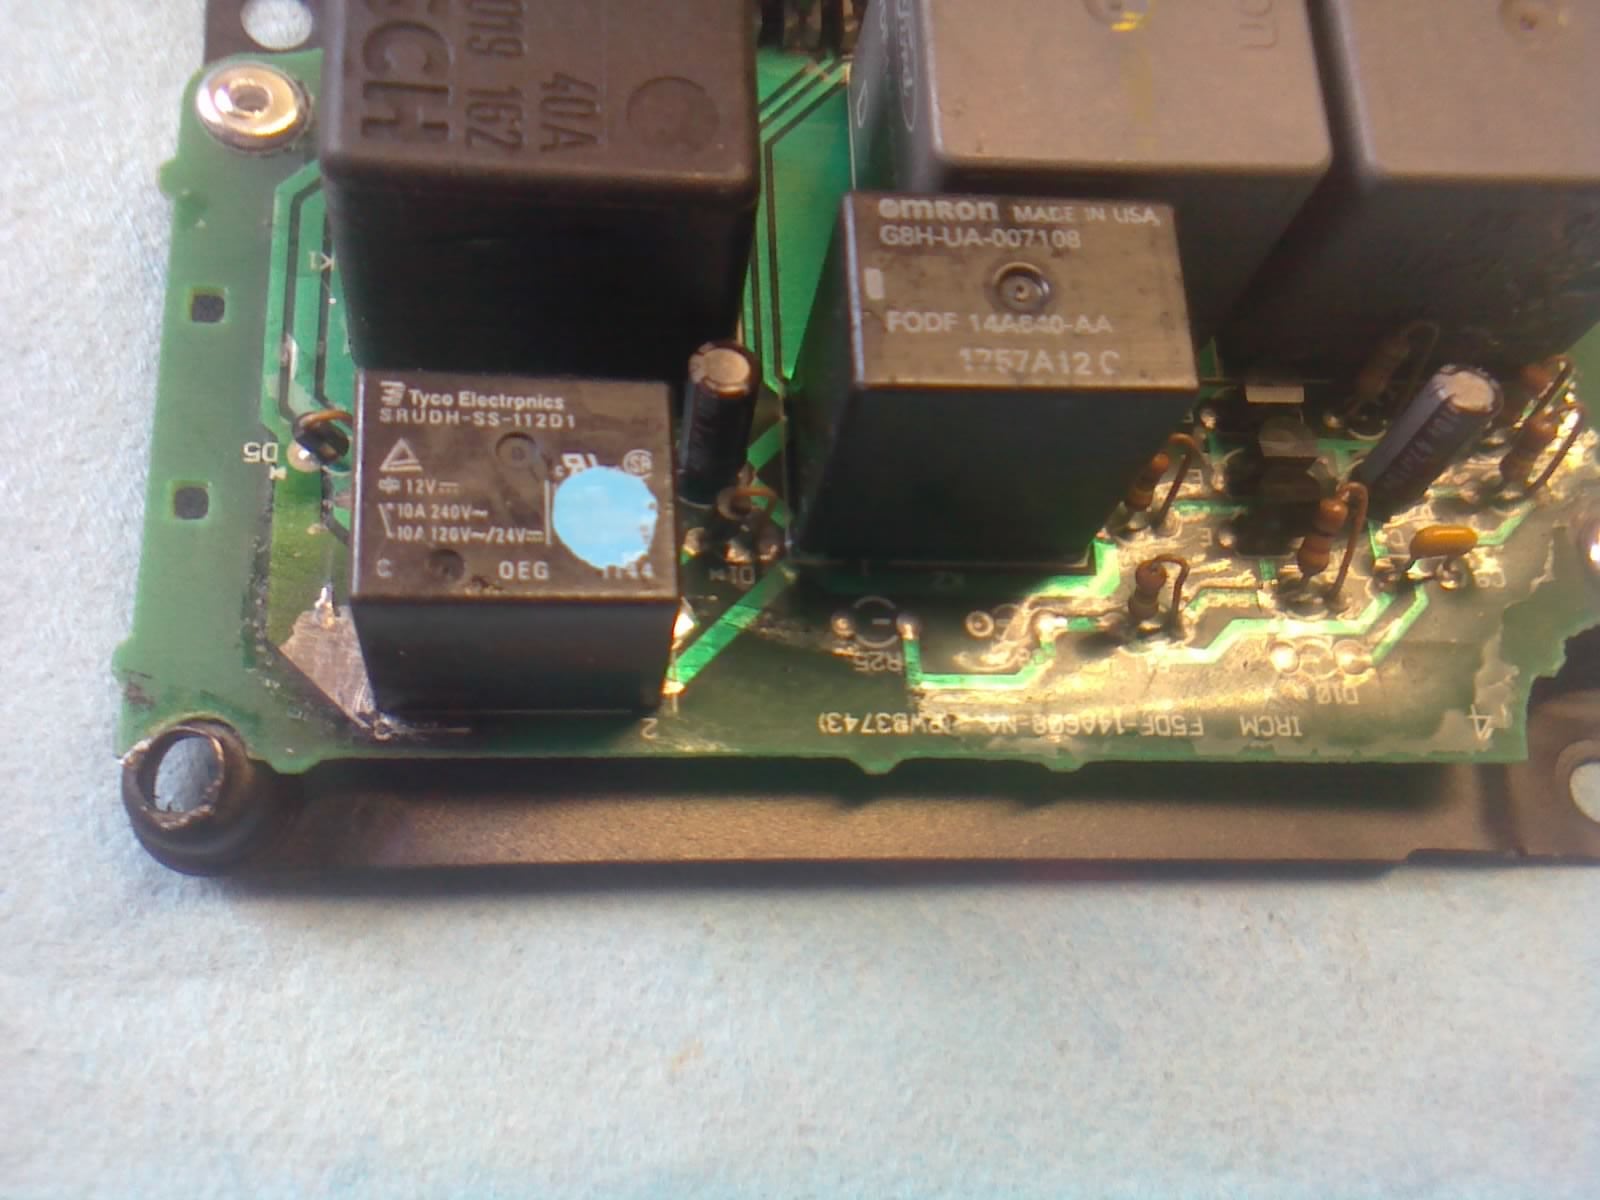
It’s kind of a mess on the back/bottom side, much uglier than my old board. There’s solder everywhere, but there are no signs of it bridging circuits that shouldn’t be bridged. Looks like they just wanted to reinforce the traces a bit. Maybe they do care about longevity after all...
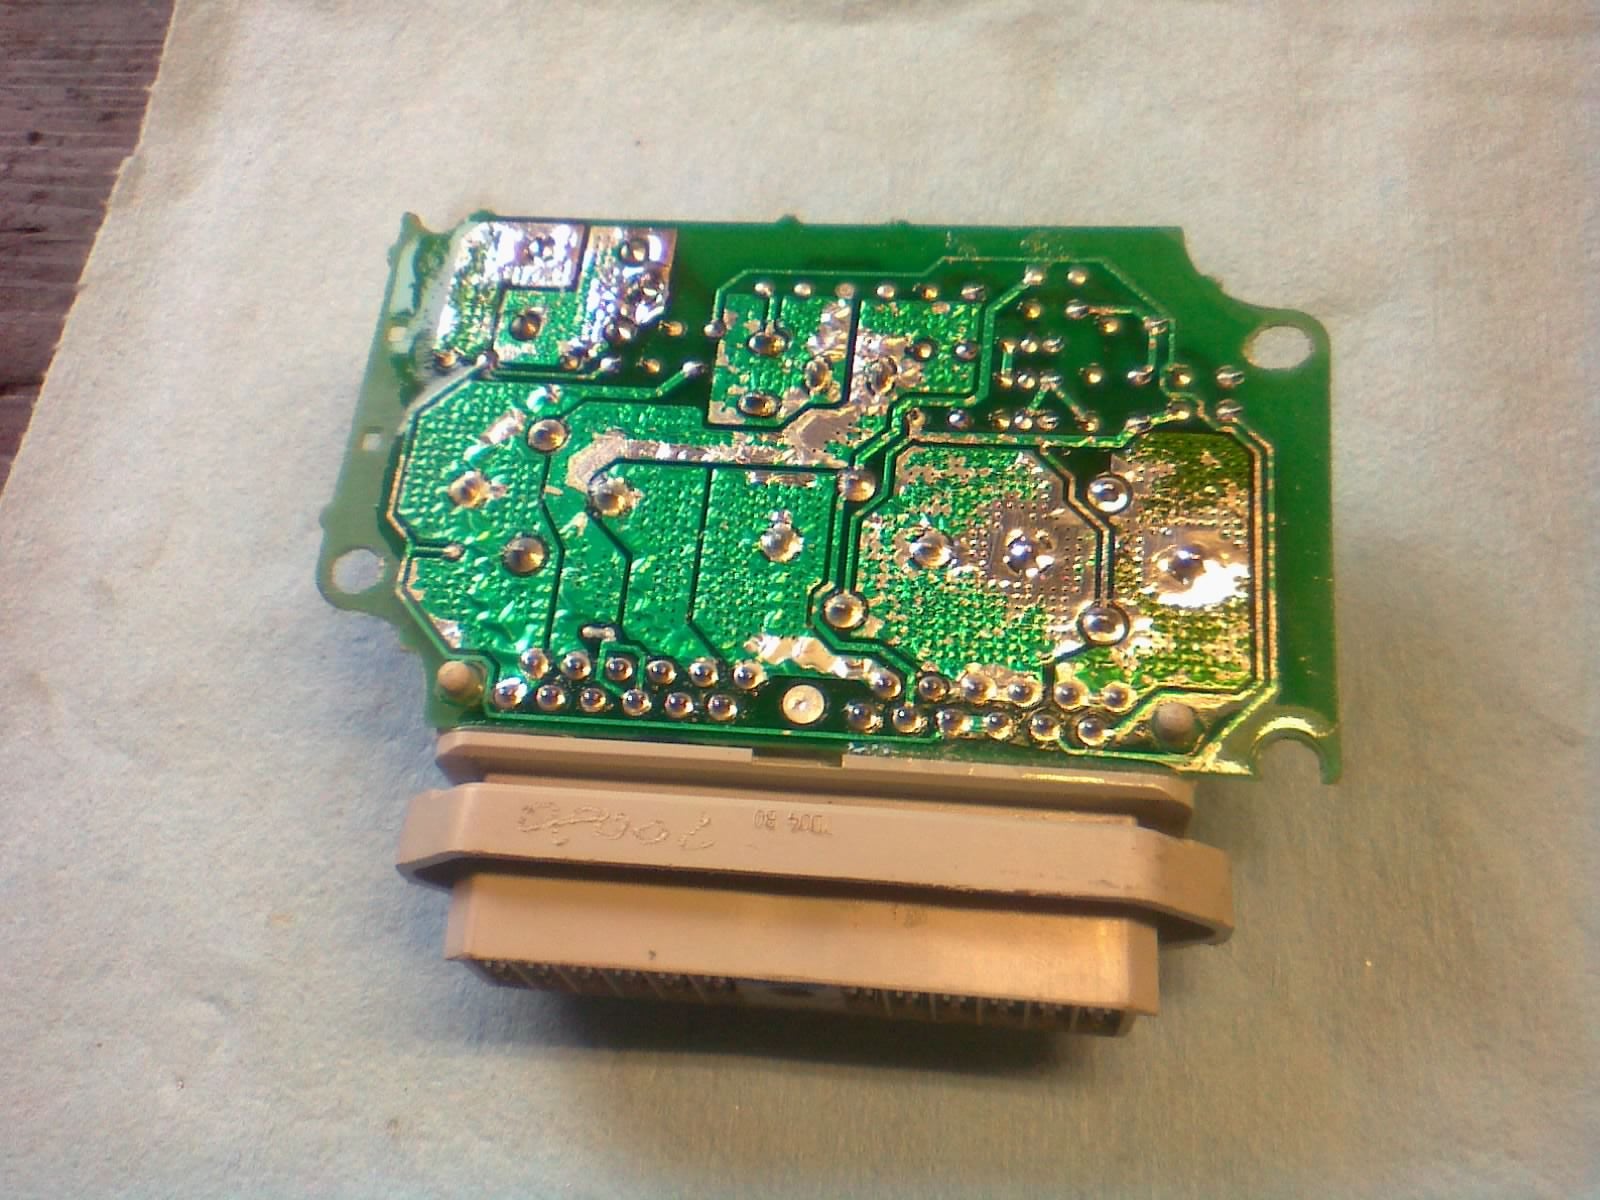
The mounting holes are slightly enlarged, too, as if someone’s drill bit started walking during rivet removal. Good thing the drill bit didn’t stray too close to any of the circuits.
Before putting it back together, I removed the loose edges of peeling conformal coating, cleaned the surface, and applied some fresh coating. Like the OEM stuff, it’s silicone-based, not an epoxy. I figure the flexibility is probably important to guard against vibrations.
As soon as I applied the coating, it suddenly hit me: I should’ve plugged it in first, to test it. Whoops. Well, it should work. I mean, they must have tested it, right? I waited for it to dry, then finally managed to confirm operation. It works!
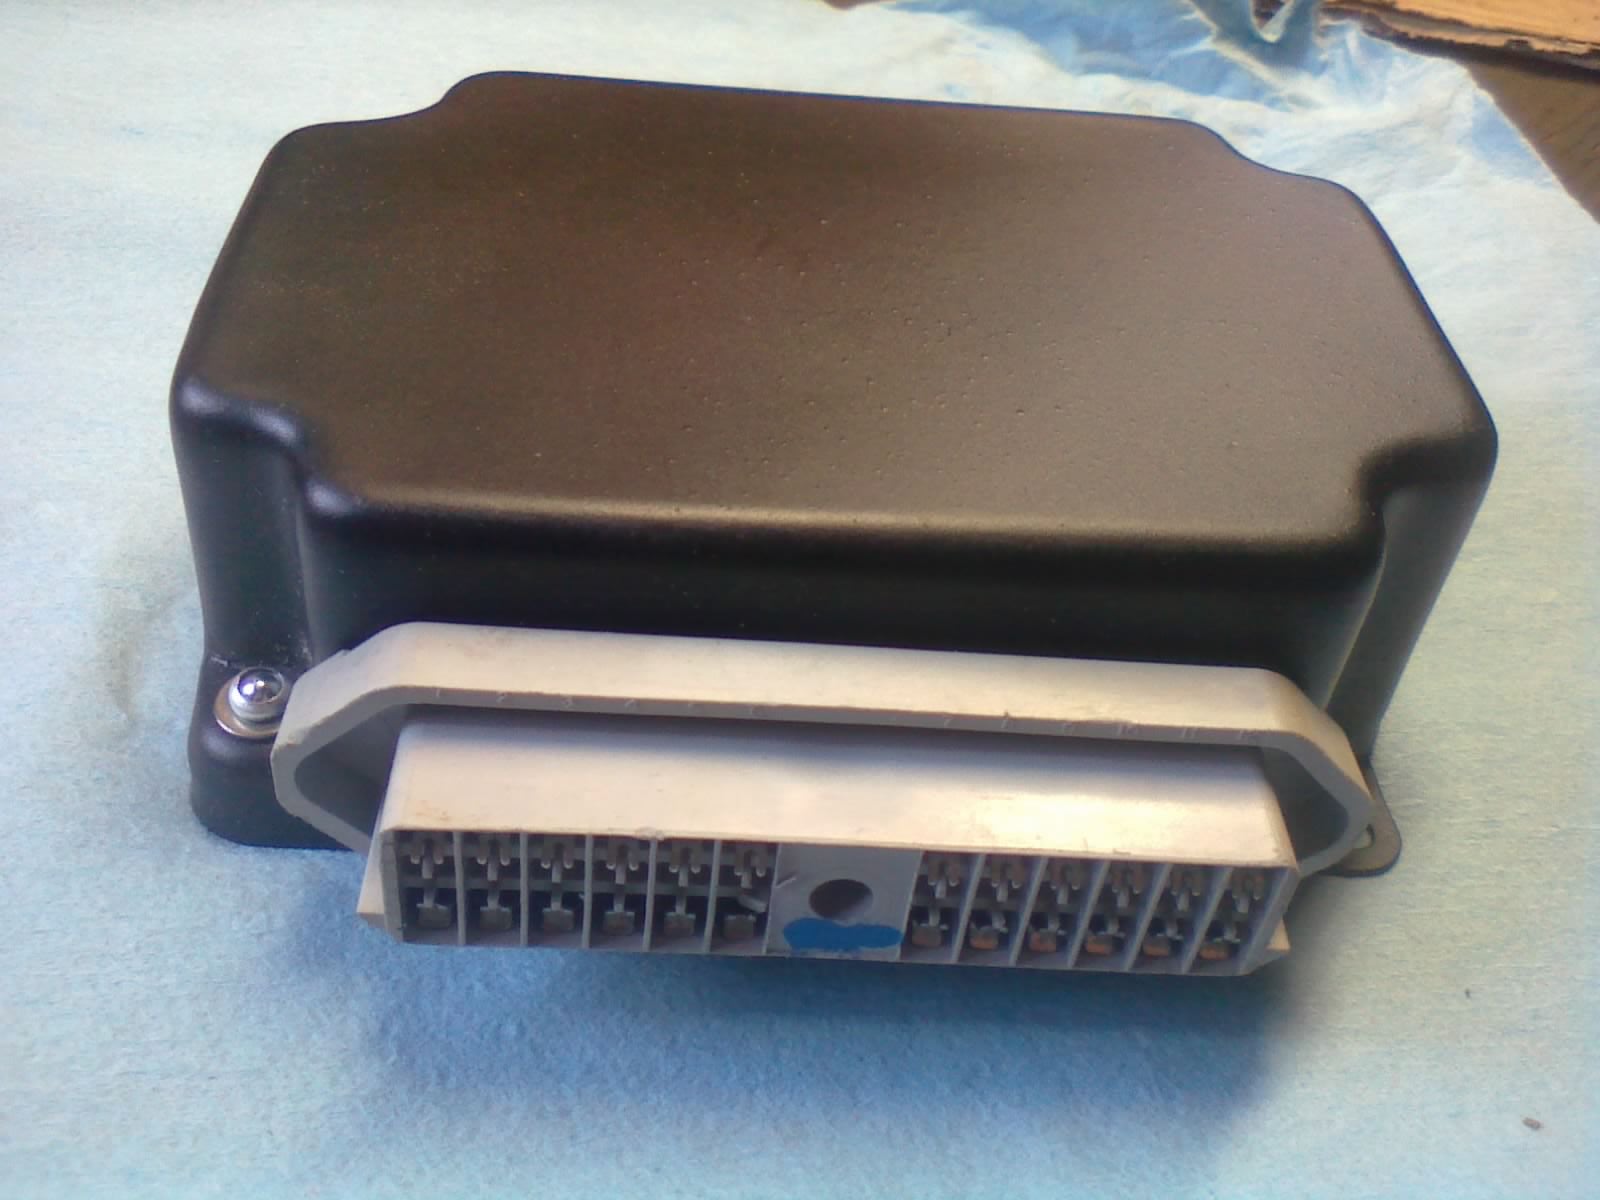
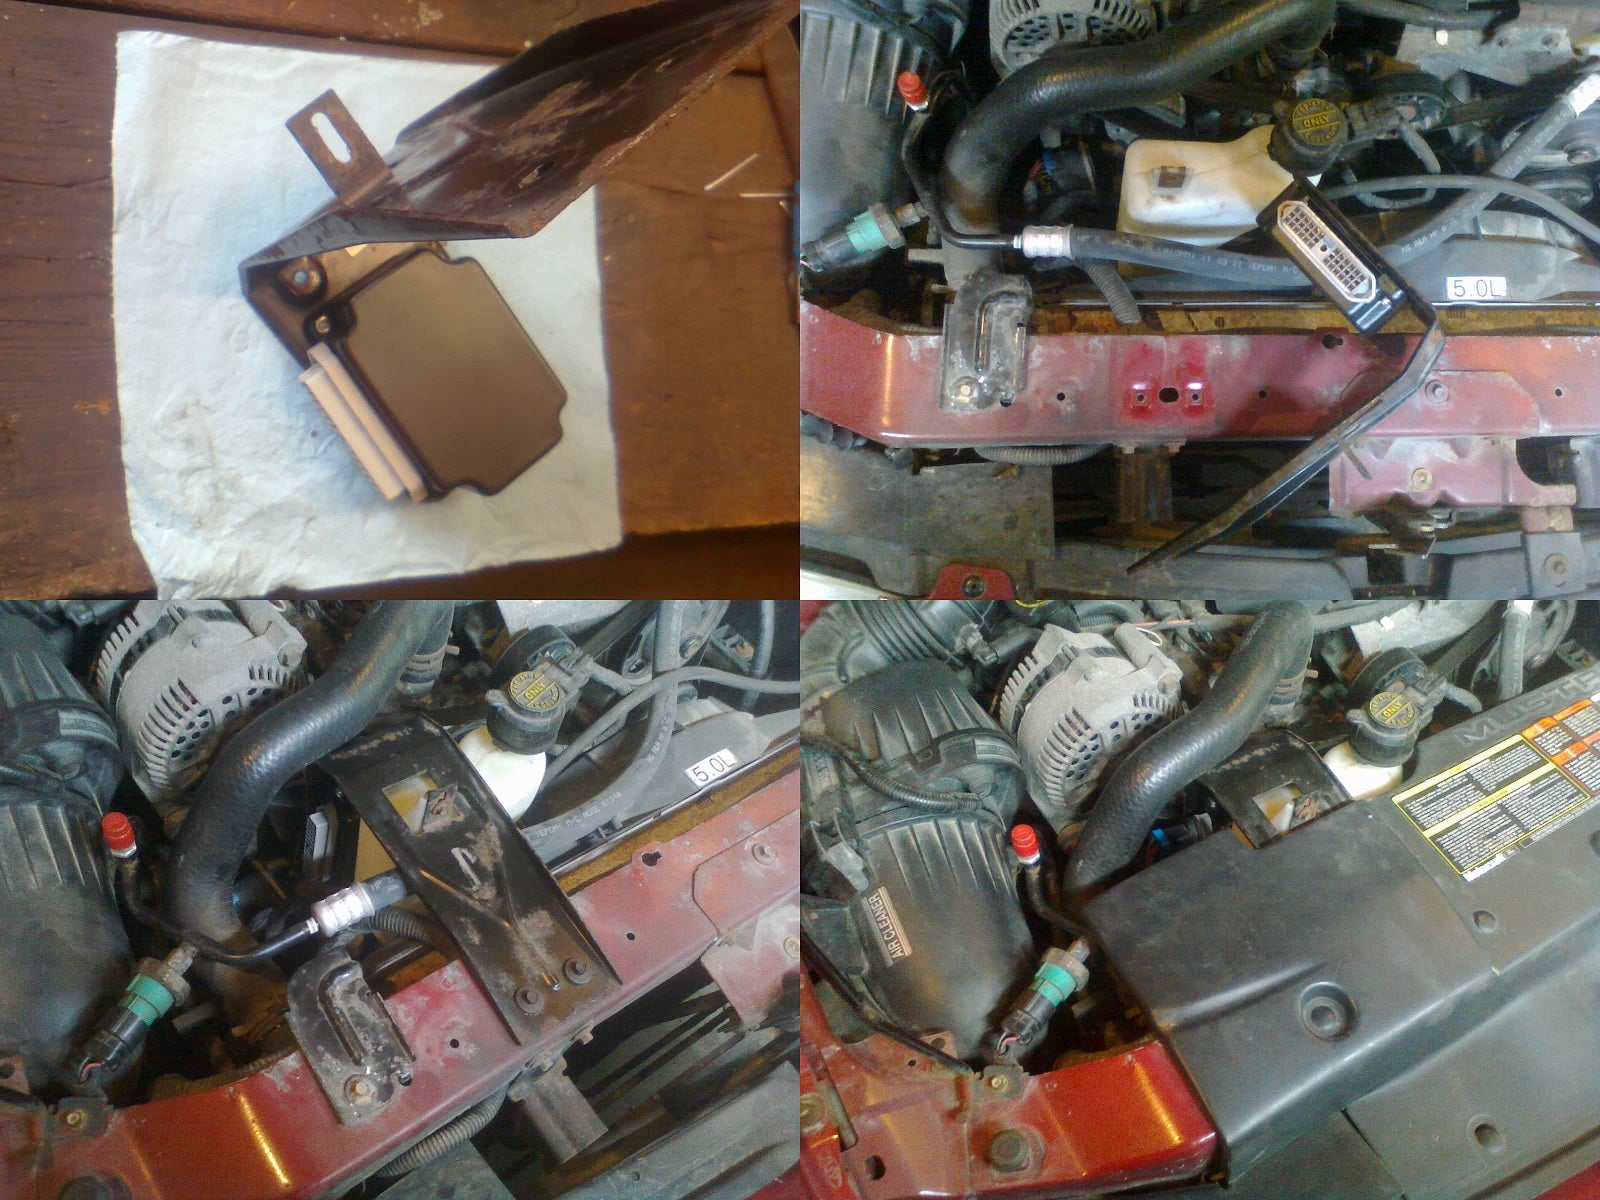
The board looks a lot better now with the fresh coating on. And I feel better about installing it, too. After all, this module goes in-between the radiator and the engine, right alongside the coolant recovery tank. (In later models, they moved the CCRM location to behind the fender & splash shield.)
So I continued reassembly, riveting the board back onto its base, and riveting the cover back on.
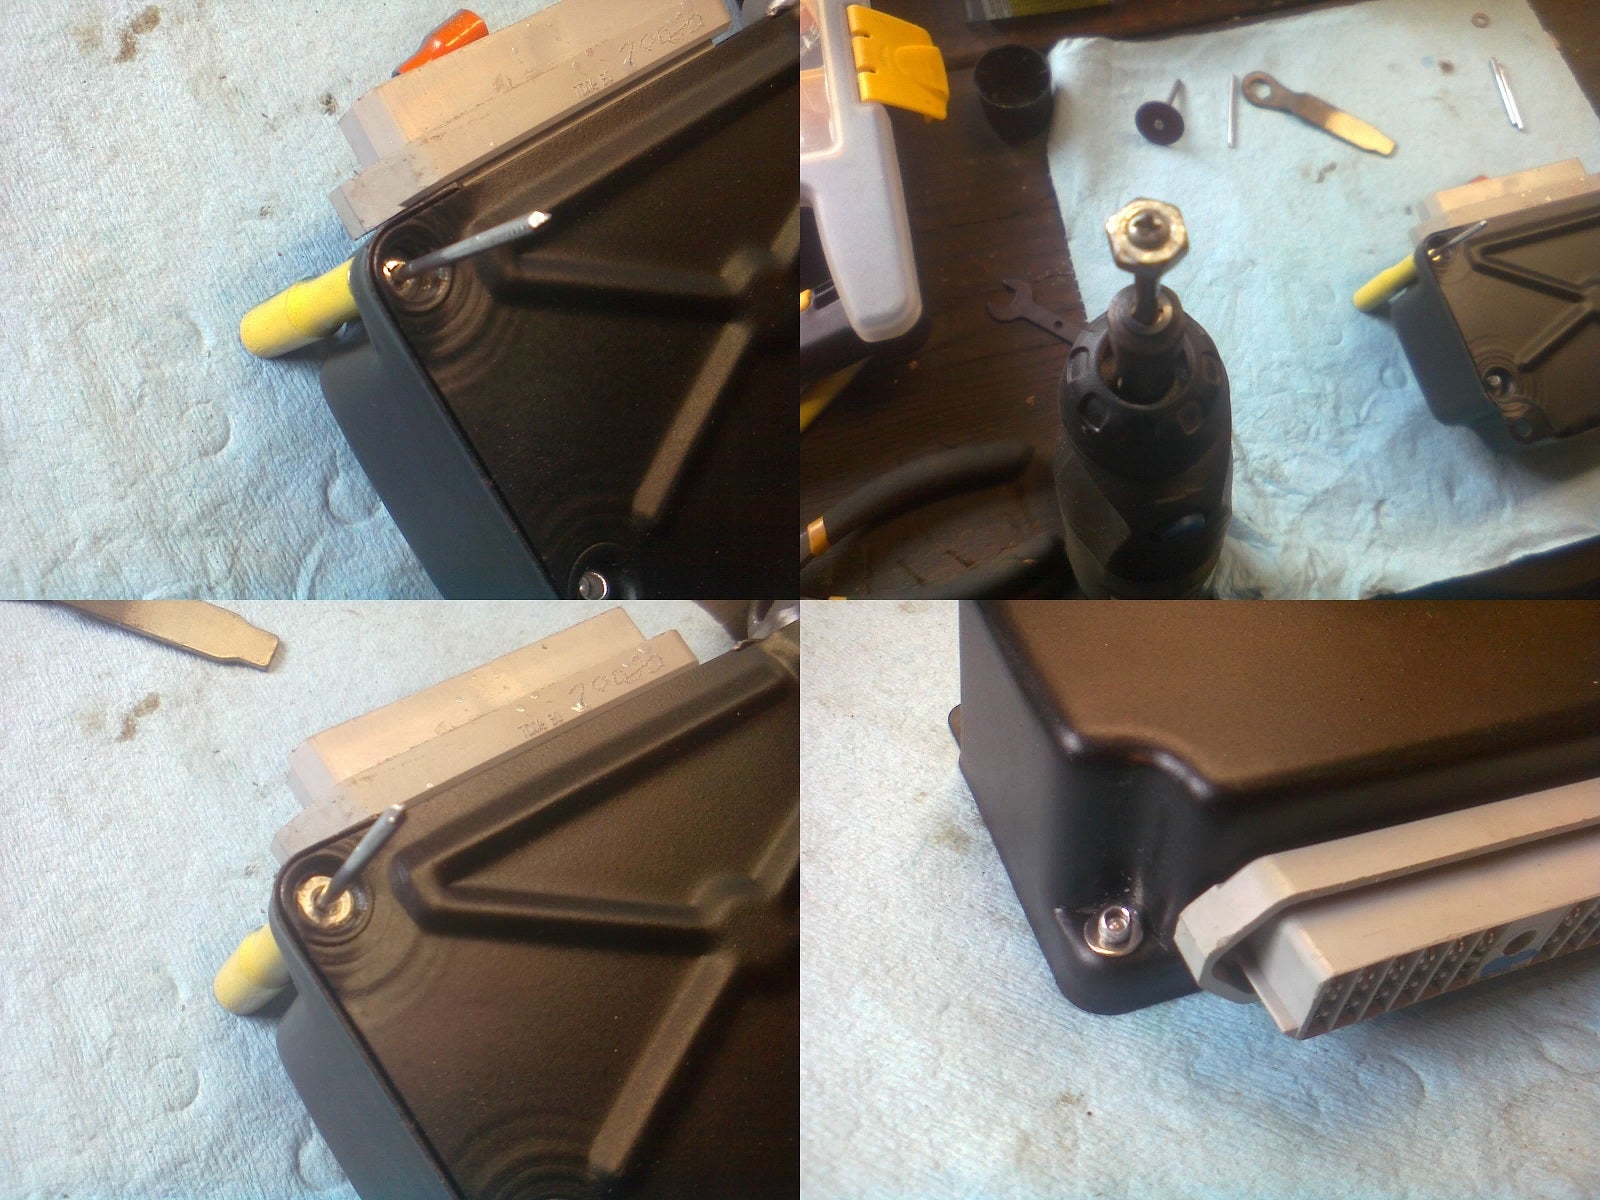
I had to get creative with the cover rivets, though. The heads of the rives go into these recessed pockets, which are too deep for my riveter to reach. So I made a spacer (a small socket was too tall) by taking a small nut, locking it in my Dremel’s mandrel, and spinning it against a file to grind it down until it would fit inside the pocket. Then I slipped the nut over the stem of the rivet so that my rivet gun could brace against the rivet head while pulling the stem.
Here’s some pics of the final installation process:
Not only does this fix my AC, but maybe it’ll sort of “reset the clock” on how soon my old CCRM’s other circuits would fail. Remember, this thing houses relays for the cooling fan, the PCM, and even the fuel pump. *crosses fingers*
 "kevin" (bronco5)
05/14/2018 at 12:58, STARS: 0
I cannot wait until you sell that car or it ends up in the junk yard. I will then search the internet for someone commenting on someone’s “half-assed” attempt to rivet the used CCRM and hypothesis about their motivations and intent. Why did you just “have to” open it up? Because you are a suspicious person looking for anyone and any thing that might attempt to take from you. Guess what that tells someone like me....it tells me that you are one who constantly looks for ways to take advantage of people.