 by "HammerheadFistpunch" (hammerheadfistpunch)
Published 06/27/2017 at 12:50
by "HammerheadFistpunch" (hammerheadfistpunch)
Published 06/27/2017 at 12:50
No Tags
STARS: 1
Partial success.
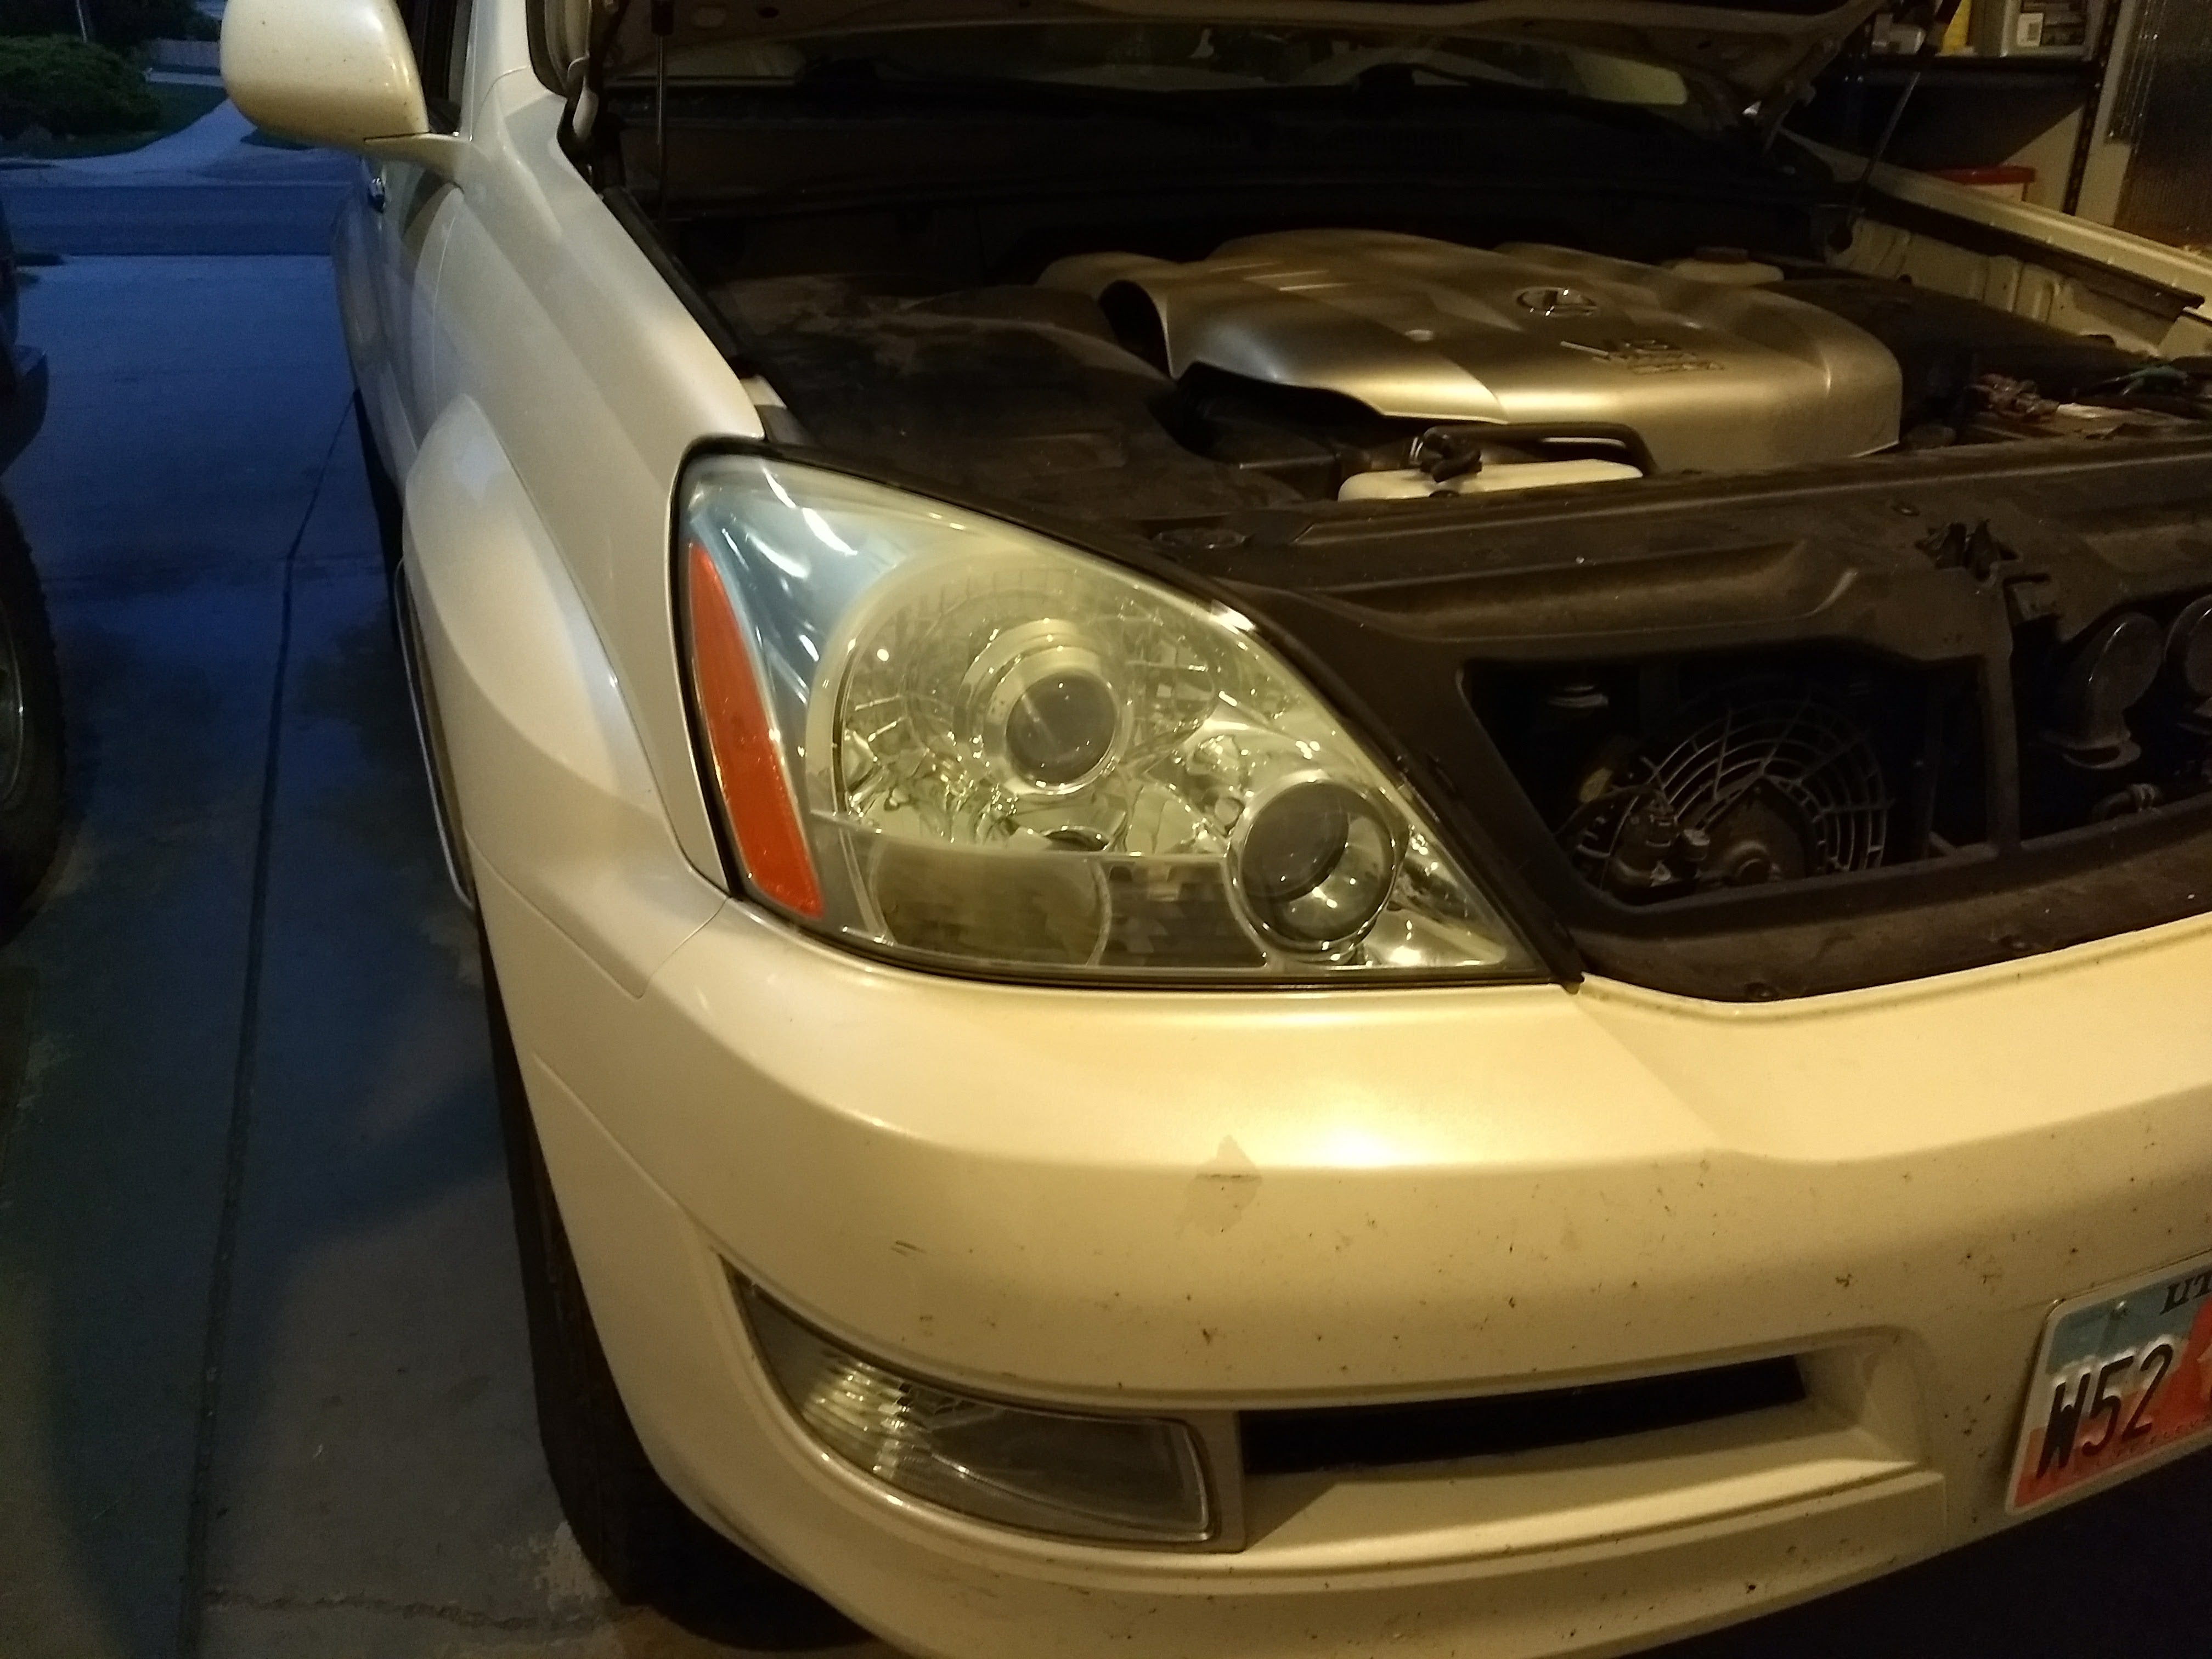
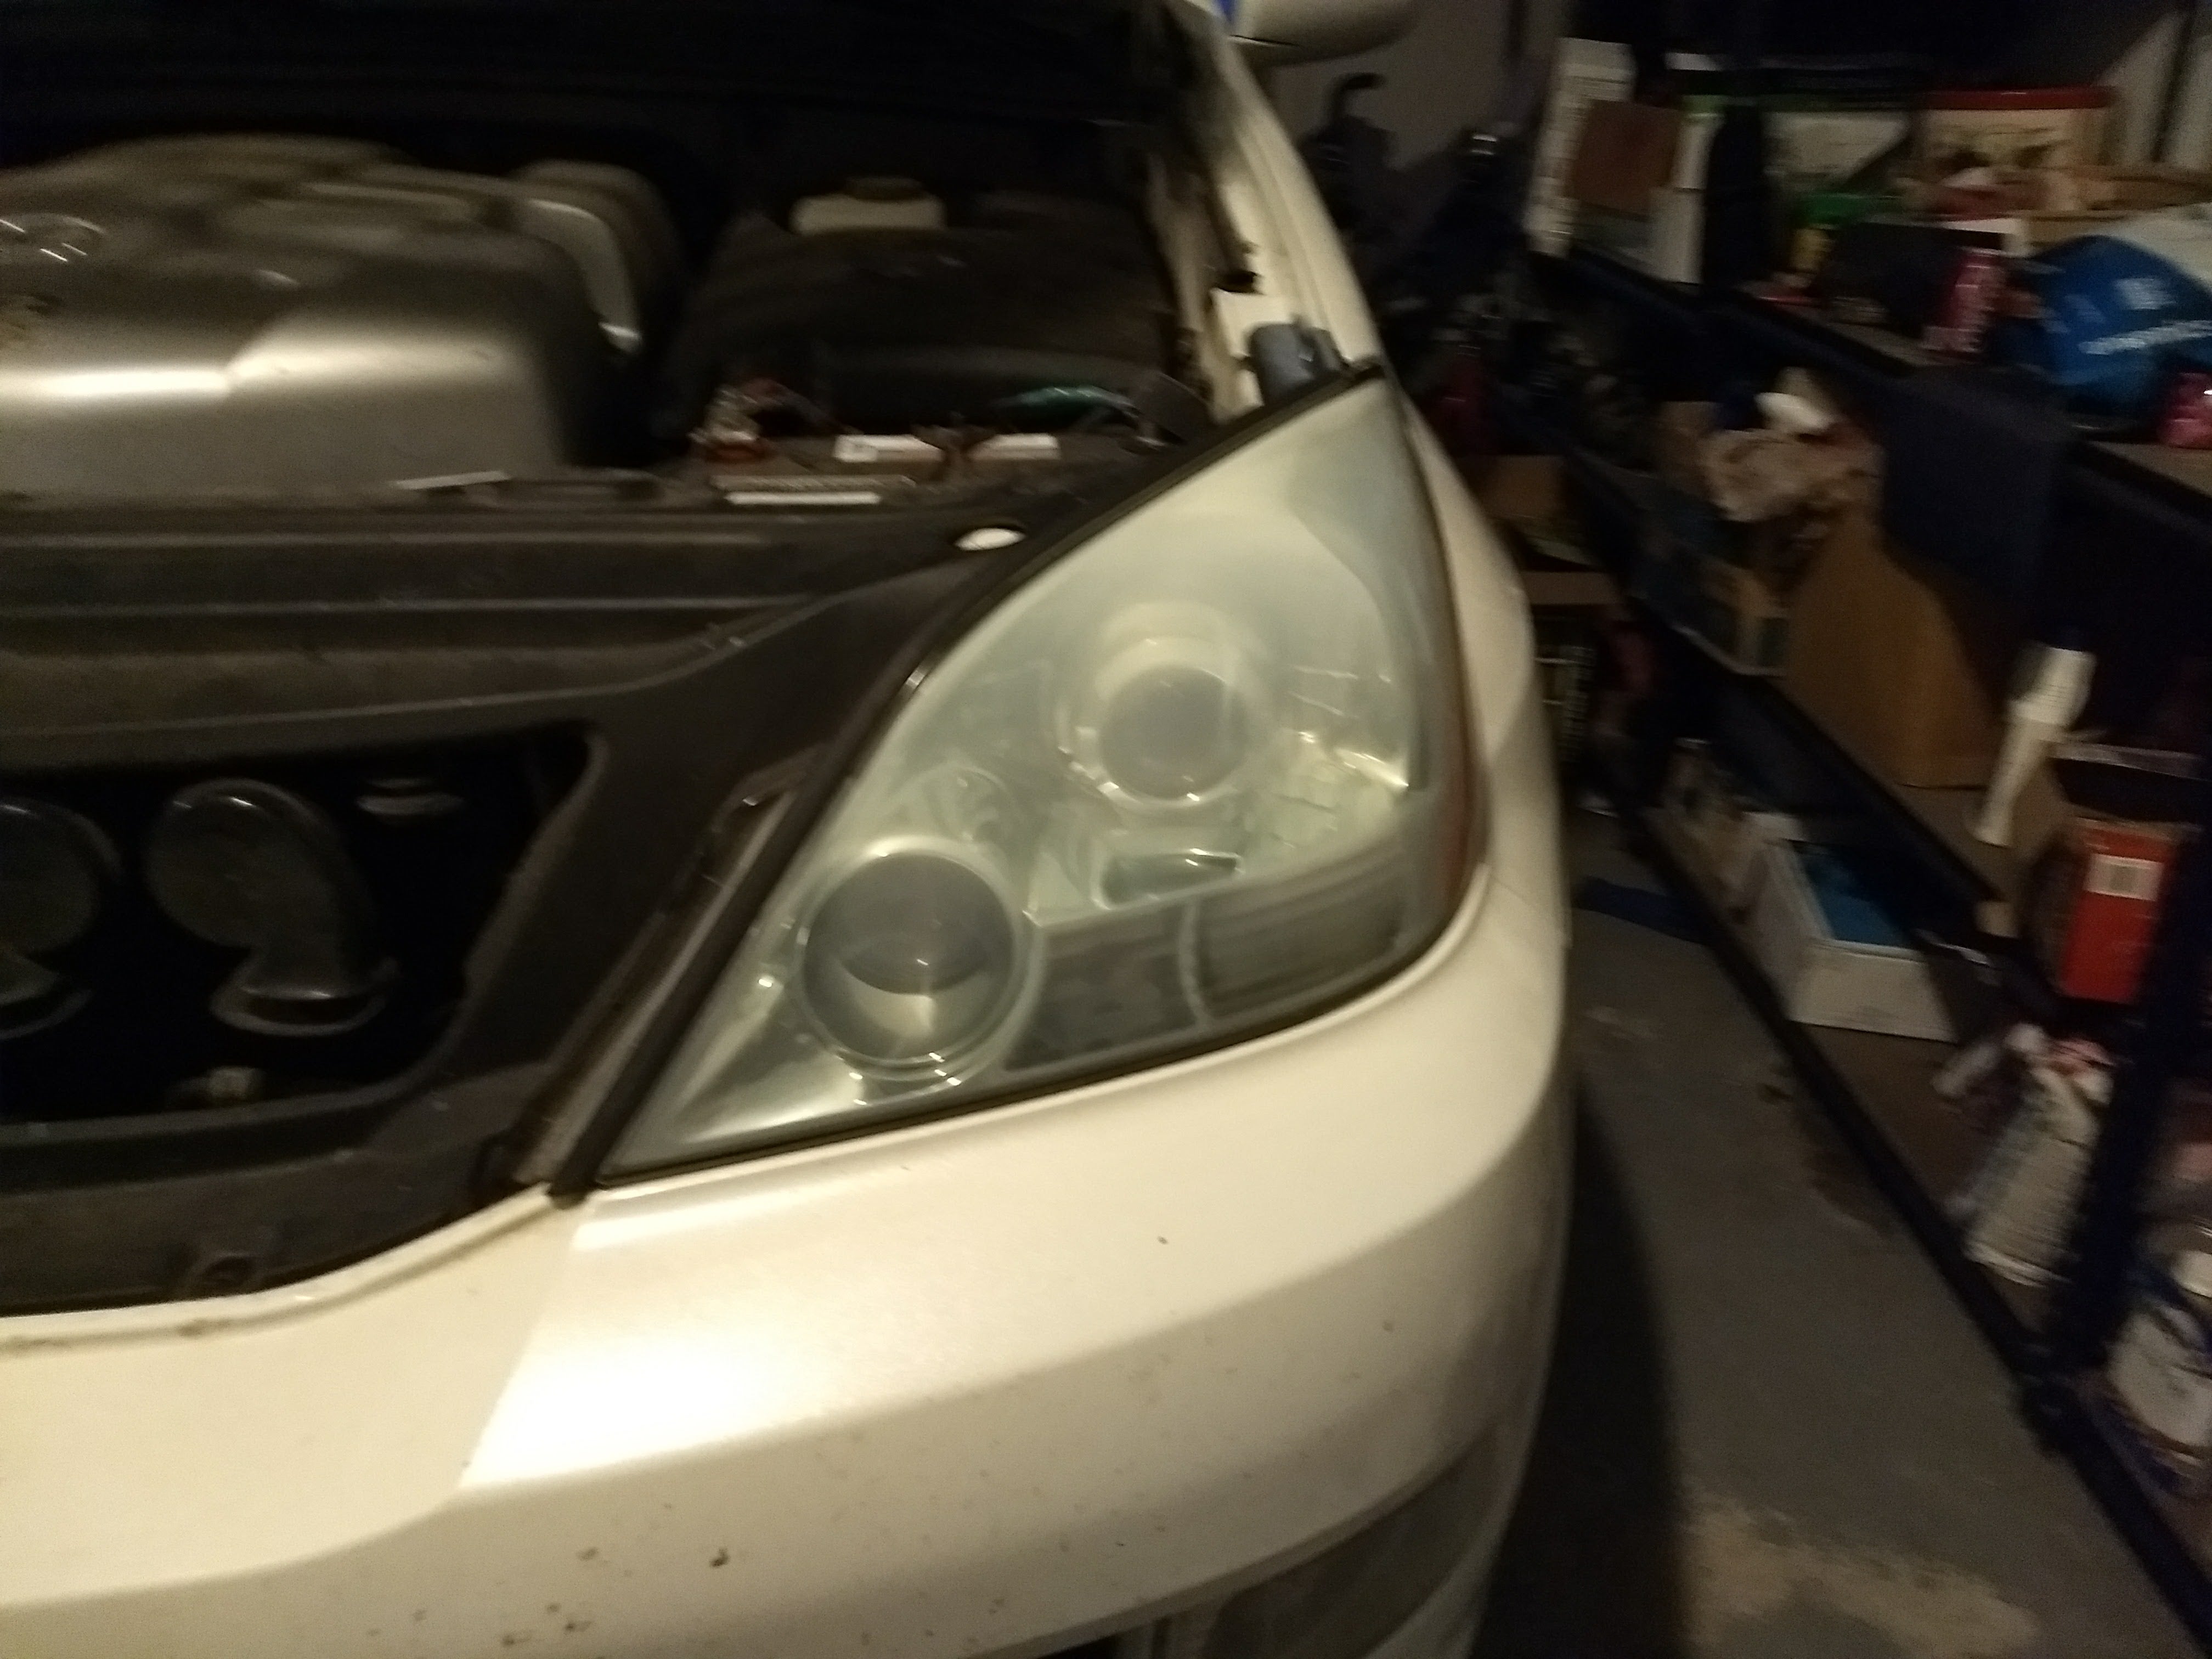
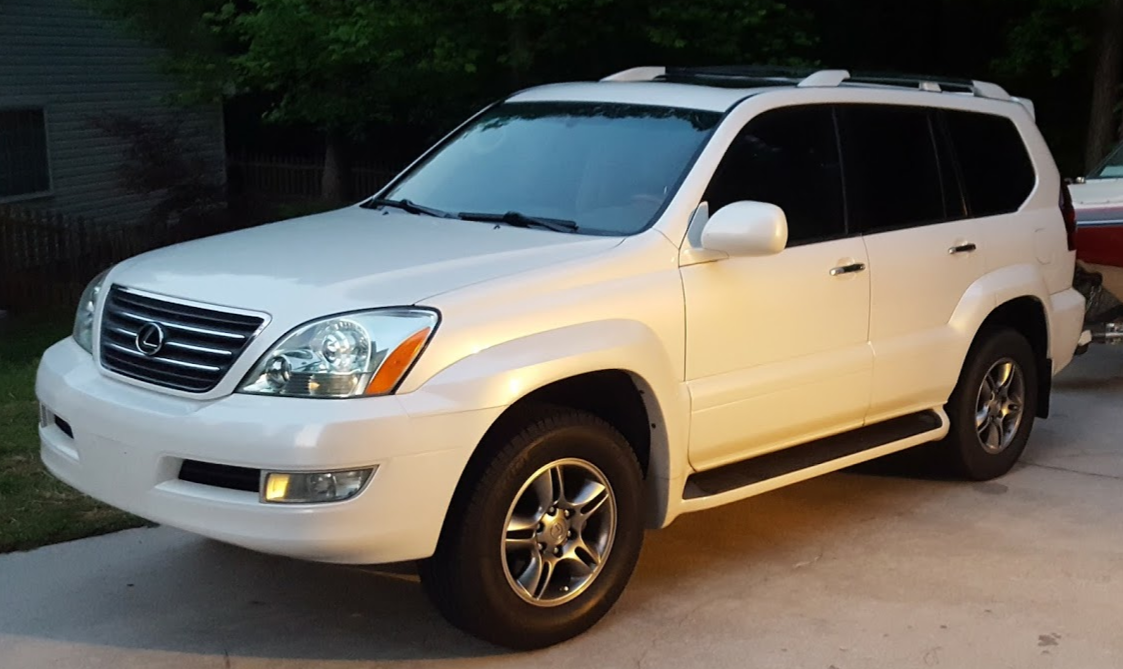
Spent 1.5 Jim Croce greatest hits last night sanding and polishing the lenses on the GX to some limited success. The passenger side lens looked much better but the drivers side seemed to be bad mostly inside the lens.
Oh well, worth a shot.
 "deprecated account" (savethei4s)
06/27/2017 at 13:04, STARS: 0
How long have you had your GX for??? I’m planning on converting mine to HIDs sometime this week after I do the same thing.
"HammerheadFistpunch" (hammerheadfistpunch)
06/27/2017 at 13:07, STARS: 0
A little over a month now. Its my wifes car as a replacement for her sportwagen TDI. were it me I wouldn’t do HIDs:
Expensive bulbs, High UV corrosion, and light output that is...maybe 35% better? If it were me I would just buy some auxiliary DOT legal lights.
"deprecated account" (savethei4s)
06/27/2017 at 13:12, STARS: 0
Ah, cool.
Really? I’m getting a kit (ballasts and 4300K bulbs) off xenondepot for $125 after a discount. I did plenty of research on clublexus and some other forums and heard nothing bad about them. And light output is a lot better than 35% more I’m sure... or at least pictures make it look a lot brighter.
"HammerheadFistpunch" (hammerheadfistpunch)
06/27/2017 at 13:21, STARS: 1
Maybe its just my lenses but I don’t consider the light output to be...sorry...night and day.
I mean its better than my cruiser but people complain about how bad the lights on the cruiser are (I think they are fine). I wont stop you from converting but I’ve haven’t seen a lot of success in converting to aftermarket bulb types. either the kit is crap, or there are tertiary effects of the conversion that are undesirable all for a light system that wasn’t designed in concert with the reflector you have.
Thats just my 2 cents though.
if it were me I would either put a full light bar in the grill and use it on dark quiet roads (thats pretty much the only time I use it out but out here there are a LOT of empty roads late at night.)
Or get something DOT approved like some driving lights or a small DOT bar
https://www.racesportinc.com/E-Shop/p/7782/dot-approved-125-combo-light-bar-72w4680lm
 "RallyWrench" (rndlitebmw)
06/27/2017 at 13:22, STARS: 0
What grits and/or compound are you using? I start at 1200 paper, work up to 2000, then use polishing compound. Might want to look into Weathertech’s 3M protective film, they’re precut and are supposed to inhibit UV damage.
"HammerheadFistpunch" (hammerheadfistpunch)
06/27/2017 at 13:24, STARS: 0
1000/3000
The kit came with UV protectant so I think I should be good to go there.
The kit also came with PlastX which I suspect is a mild cutting agent, I also used Meguiars ultimate compound and ultimate polish.
"deprecated account" (savethei4s)
06/27/2017 at 13:26, STARS: 0
I don’t have the money or electrical know how to do that light bar, so that’s out for the time being. I’ve only heard good things about this kit, and I’m only doing low beams (so no need to worry about reflectors since lows are projectors) as I don’t want to be that guy . The kit is literally plug and play, so not much can go wrong with installation. The only warning I’ve heard is not to leave your lights on automatic.
"HammerheadFistpunch" (hammerheadfistpunch)
06/27/2017 at 13:30, STARS: 0
Well I hope it works out for you. Sounds like a decent bang for the buck. If you do decide to add in extra lights let me know and I can help, its surprisingly easy.
 "Klaus Schmoll" (klausschmoll)
06/27/2017 at 13:32, STARS: 0
They often look brighter because they emit light in a different colour. When sitting in traffic in my Honda, I had a shadow of my own car in front of me. The lights of the other cars around me seemed so much better (perfect lenses, expensive bulbs). My stepdad who does lighting as part of his job explained the light colour thing to me.
"deprecated account" (savethei4s)
06/27/2017 at 13:34, STARS: 0
Thanks man. I’ll probably make a post on here with the results once I’m done.
"deprecated account" (savethei4s)
06/27/2017 at 13:43, STARS: 0
I’ve worked a lot with lights in a theater setting, and that (perhaps illusion of) brightness is just the hue or (more accurately) color temperature of the bulb. I looked at side by side pictures where the two color temperatures weren’t that far off and it still looked like a huge difference. Probably a lot of other factors like lenses as well, but the difference seems fairly significant. The ones I’m getting are 4300K which is pretty much pure white. Anyway, I’ll probably post about it once I’m done, so we shall see!
 "Michael" (mhanczyc)
06/27/2017 at 13:56, STARS: 0
I’ve got mine retrofitted with TheRetrofitSource D2S 4.0 kit. Output is amazeballs.
"deprecated account" (savethei4s)
06/27/2017 at 14:04, STARS: 1
On a GX470? And how much? The kit I’m looking at (2 H11 bulbs with ballasts) is $125 with a discount.
"Klaus Schmoll" (klausschmoll)
06/27/2017 at 14:09, STARS: 1
Yep, colour temperature, that’s the correct term. I couldn’t remember it.
"Michael" (mhanczyc)
06/27/2017 at 14:30, STARS: 1
I opened up the lights, tore out the stock H11 projector and built a plate to mount an aftermarket projector. The kit was $320 from theRetrofitSource.
50W ballast, 4300K bulbs, HD relay kit, D2S projectors (so high and low beam in one projector)
The re-based HID bulbs on H11 bases will get you about 75% of the output of this kit, at less than half the cost.
OEM H11 Halogen left, Low beam HID retro right:
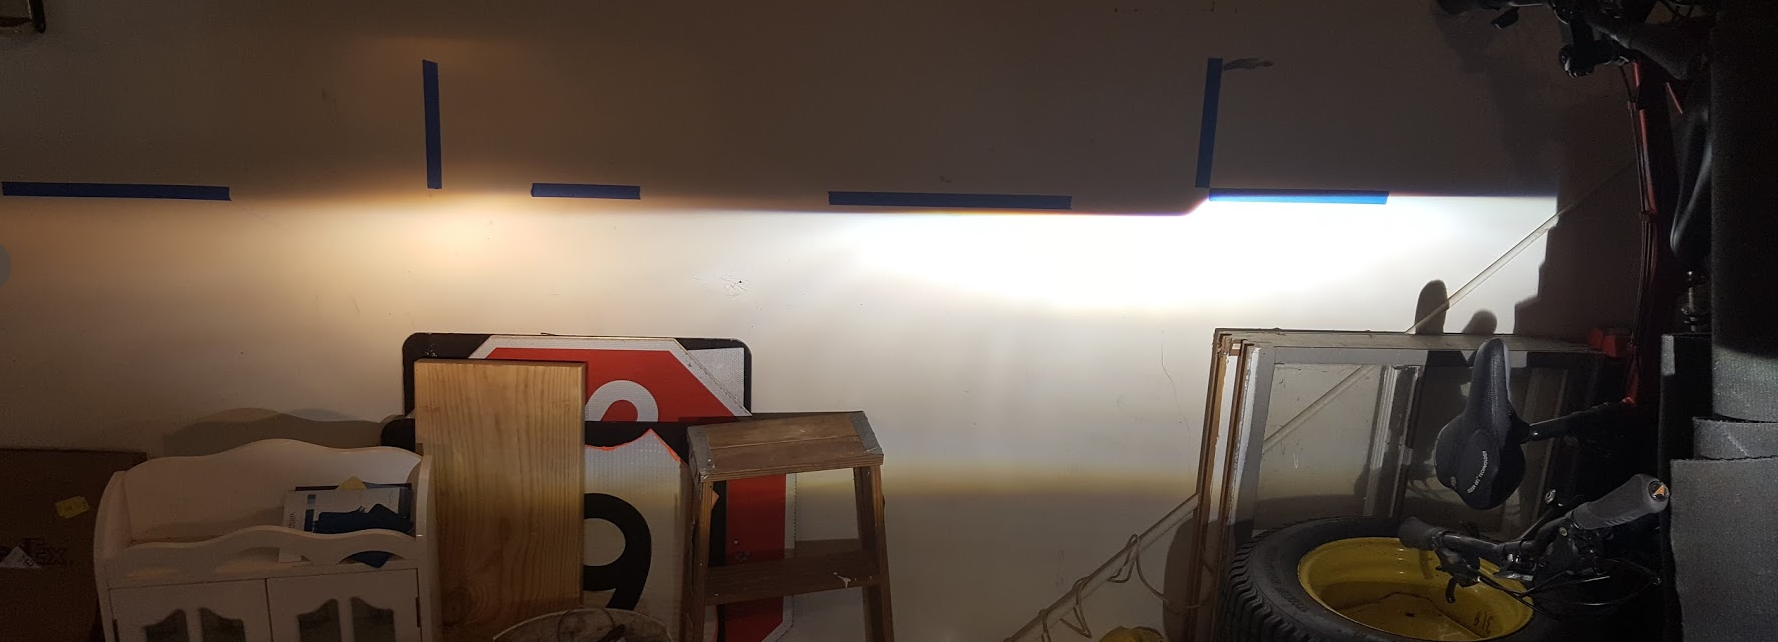
OEM High and Low left, Philips HIR halogen high beam plus HID high/low right:
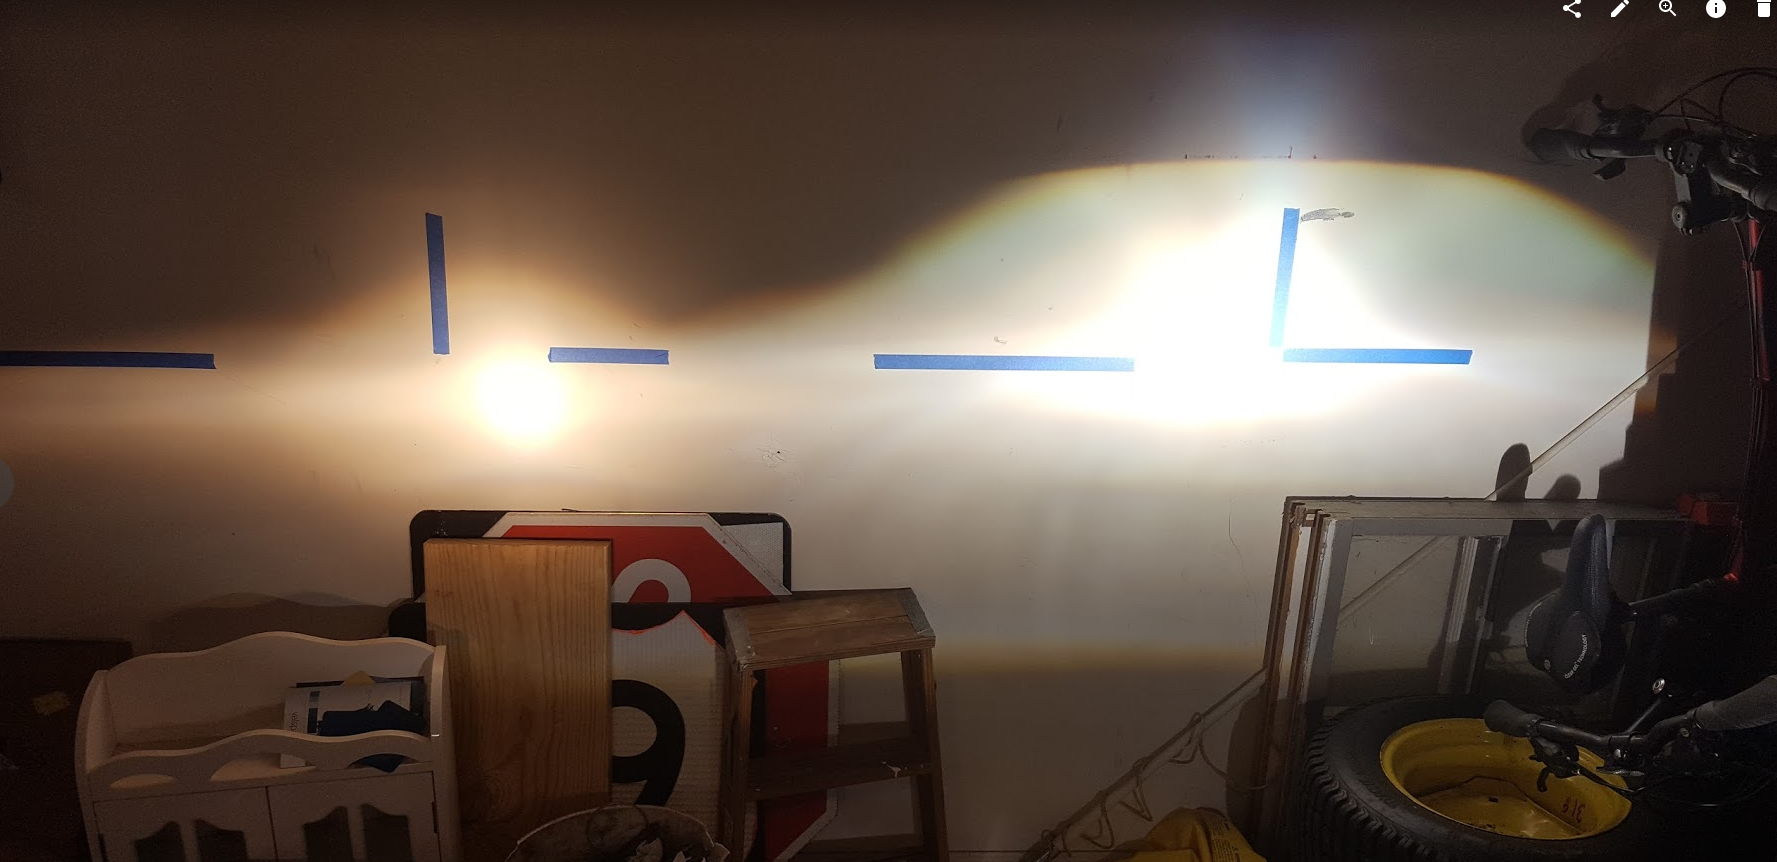
This was NOT plug-and-play. Significant cutting/making/dremeling required
And yes, this was on my 2008 GX470:
"Michael" (mhanczyc)
06/27/2017 at 14:36, STARS: 0
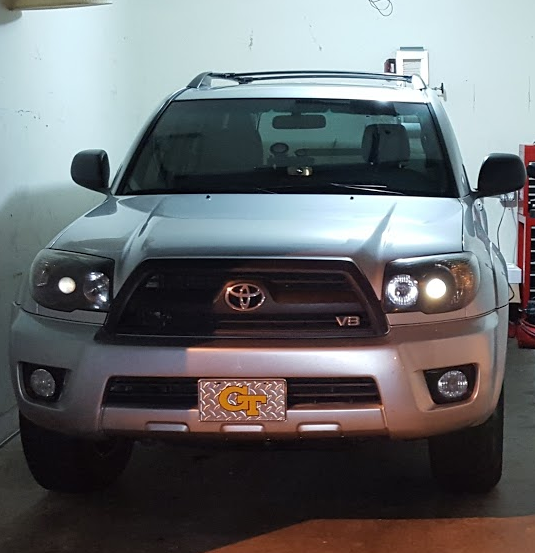
If I ever have to go back in there, I’m spraying the housing black instead of chrome, like I had on my 4th gen 4Runner:
"deprecated account" (savethei4s)
06/27/2017 at 14:36, STARS: 1
yeah, I really don’t feel comfortable tearing the headlights open, so it looks like it’s gonna be the plug and play kit. Looks like you did a great job though.
"deprecated account" (savethei4s)
06/27/2017 at 14:39, STARS: 1
Ok also, another question. I saw the tape on the wall; did you have to mess with focus points or anything?
"Michael" (mhanczyc)
06/27/2017 at 14:40, STARS: 1
You’ll be happy with it. The XenonDepot with Phillips bulbs is what started me off with the 4runner (uses a similar, but different H11 projector)
I just got addicted.
Bend your “squirrel finder” tabs to reduce glare per this thread:
http://www.toyota-4runner.org/4th-gen-t4rs/29458-hid-project-write-up-detail-pics.html
You should not have to open the housing to reach them, if you have long enough fingers ;)
"Michael" (mhanczyc)
06/27/2017 at 14:41, STARS: 1
Since I was removing and fabricating new projector mounts, I marked on the wall where the OEM lights lined up, and didn’t move the truck until I had the new lights pointed at exactly the same spot. Just saved some headache.
You should not have to adjust yours at all.
"deprecated account" (savethei4s)
06/27/2017 at 14:41, STARS: 1
Thanks for the tip! Will probably post an update once it’s done.
"Michael" (mhanczyc)
06/27/2017 at 14:43, STARS: 1
Definitely do! Good luck.
 "Wrong Wheel Drive (41%)" (rduncan5678)
06/27/2017 at 15:06, STARS: 0
I finally got around to baking one of my headlights to reseal it. I took it off the car, baked in the oven at 200 deg F for 20 minutes, pulled it apart, cleaned everything up, reassembled, and covered the whole thing in RTV. No more fish bowl!
Now I just gotta do the other light and work on polishing properly!
"HammerheadFistpunch" (hammerheadfistpunch)
06/27/2017 at 15:07, STARS: 0
if I feel like it, this will be my next step.
"Wrong Wheel Drive (41%)" (rduncan5678)
06/27/2017 at 15:11, STARS: 0
Plastx works wonders, I love that stuff. Wet sanding with 1000/2000/3000/5000 (maybe include a 500/800 also if it needs it) followed by a nice buff with a DA attachment and Plastx. Then a UV protectant application.
"Wrong Wheel Drive (41%)" (rduncan5678)
06/27/2017 at 15:13, STARS: 0
Don’t try polishing the inside of the lense if you do. That turned out poorer than I expected. But otherwise its just nice to not have the thing filled with water anymore.
 "Berang" (berang)
06/27/2017 at 18:38, STARS: 0
I did this with the ‘97 Lexus, just using brasso and paper towels. It took about 20 minutes for each lenses but turned out well, although the passenger side never completely cleared up. Lights worked worlds better though.