 by "StudyStudyStudy" (jesterjin)
Published 05/03/2017 at 14:20
by "StudyStudyStudy" (jesterjin)
Published 05/03/2017 at 14:20
No Tags
STARS: 9
Started off with a fairly big save in my book.
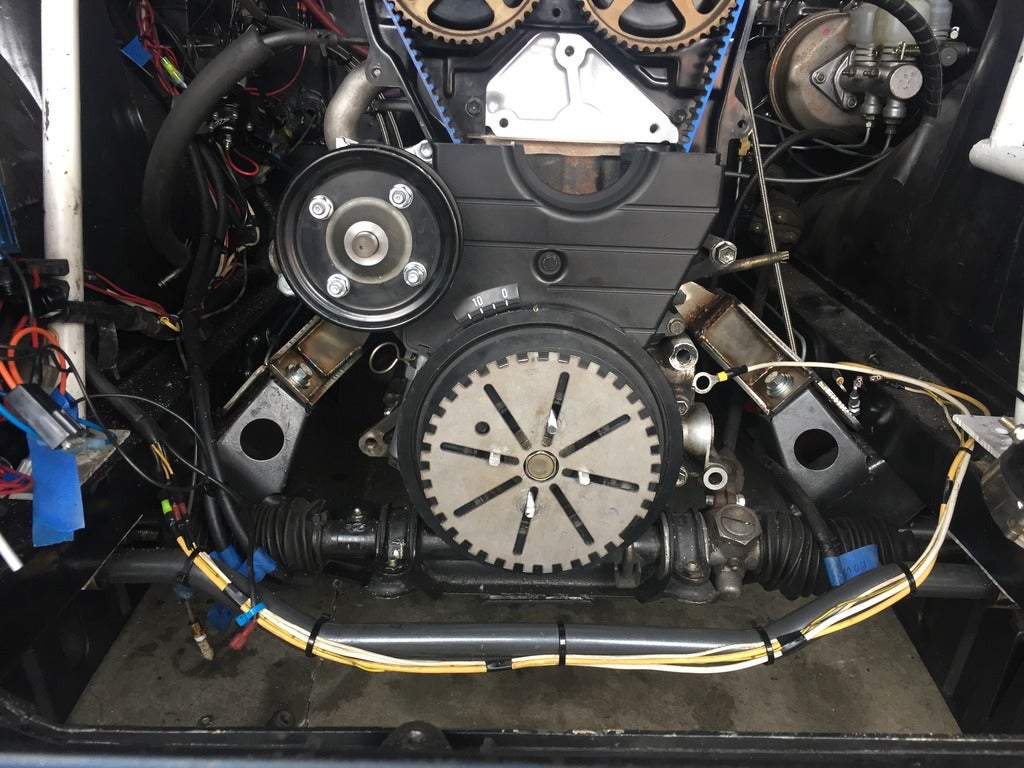
With the timing marks lined up, the crank pulley was indicating 10 atdc. I figured without the tensioner released it might just be leading the slack a bit. It kept nagging at me though so I went online and found this nice diagram.
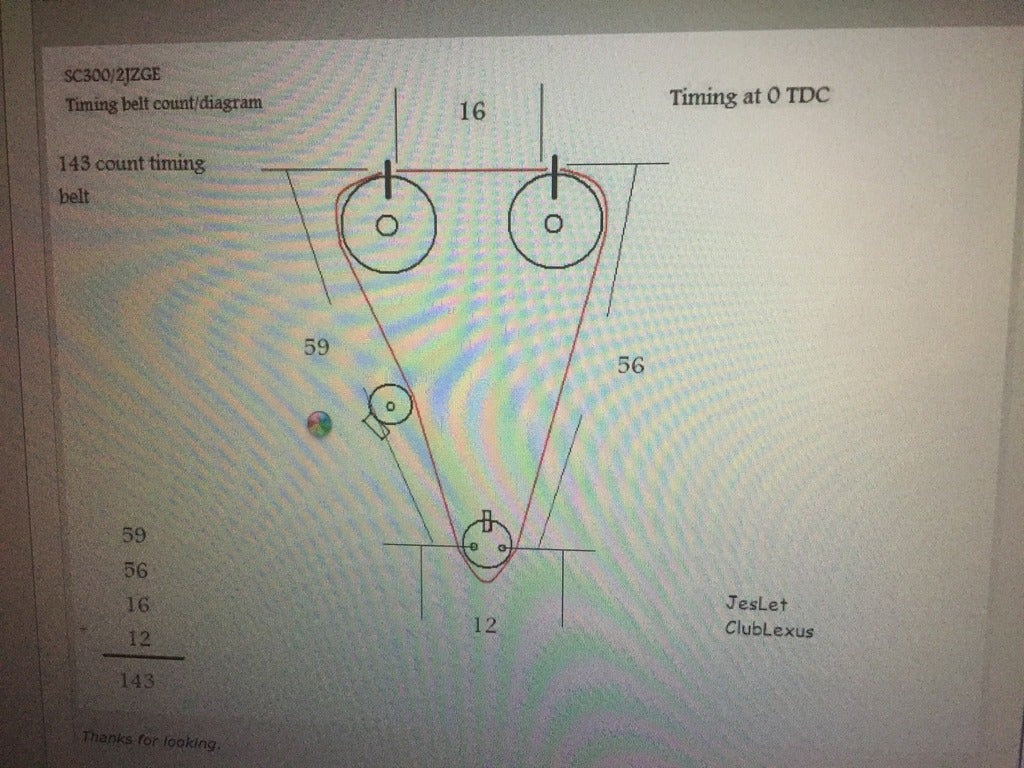
Went back and counted the belt...
I was off by a tooth!
I had lined up the mark as noted.
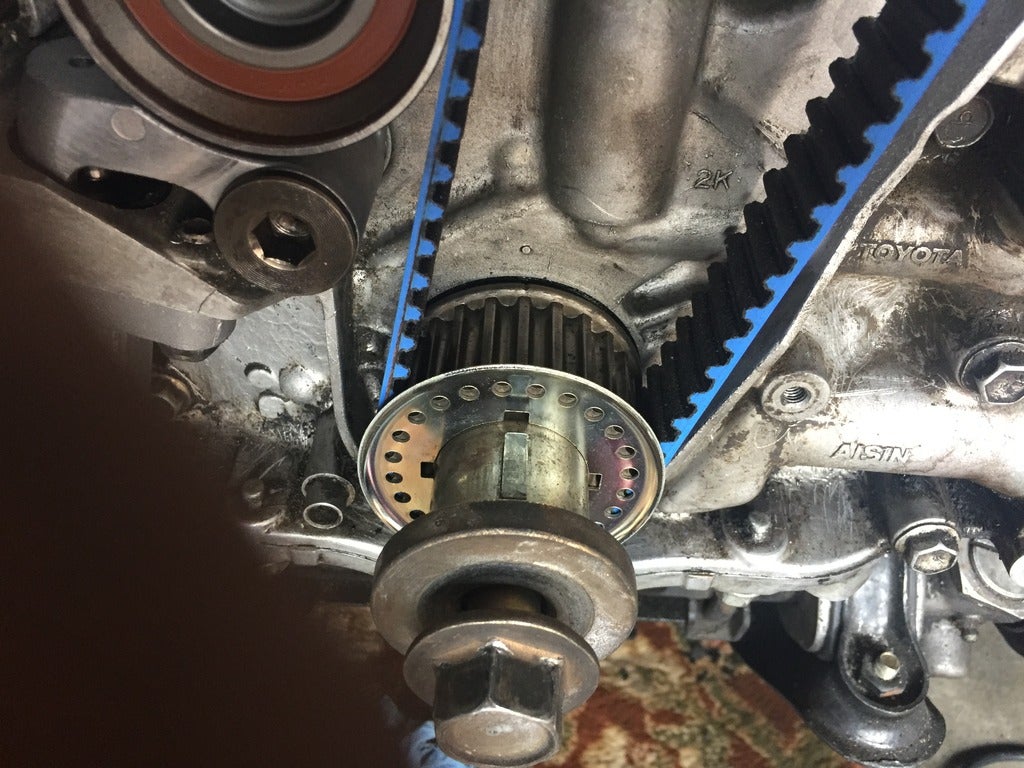
(Note the little notch and the V groove)
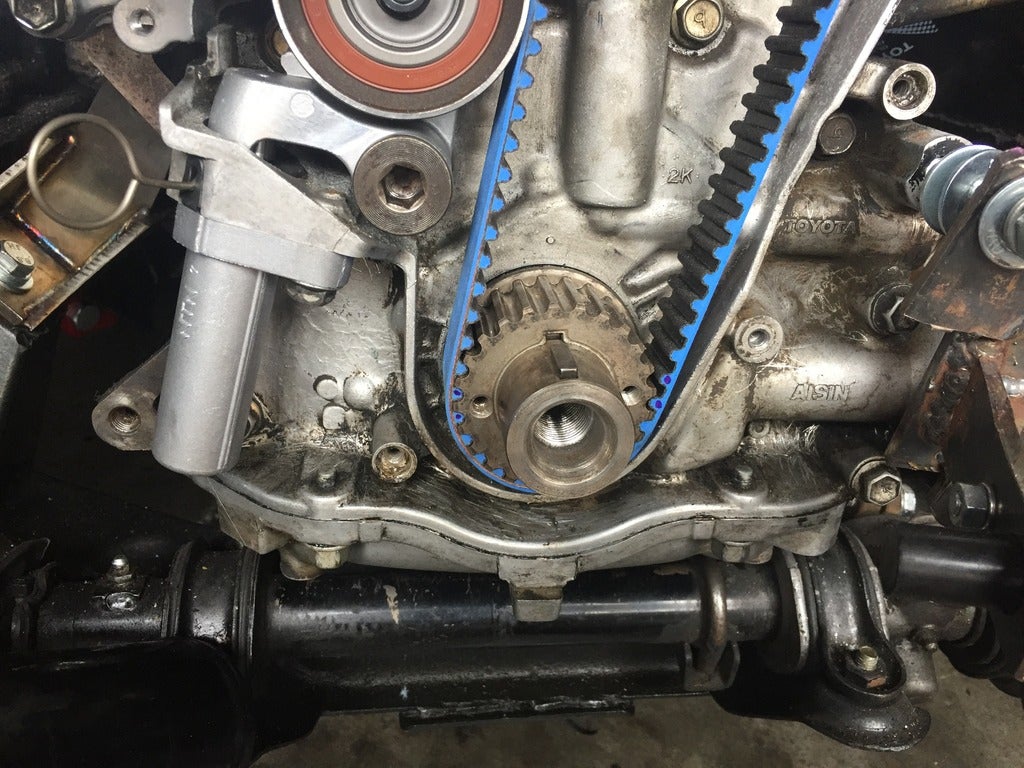
This time I counted the teeth and added marks to some reference points.
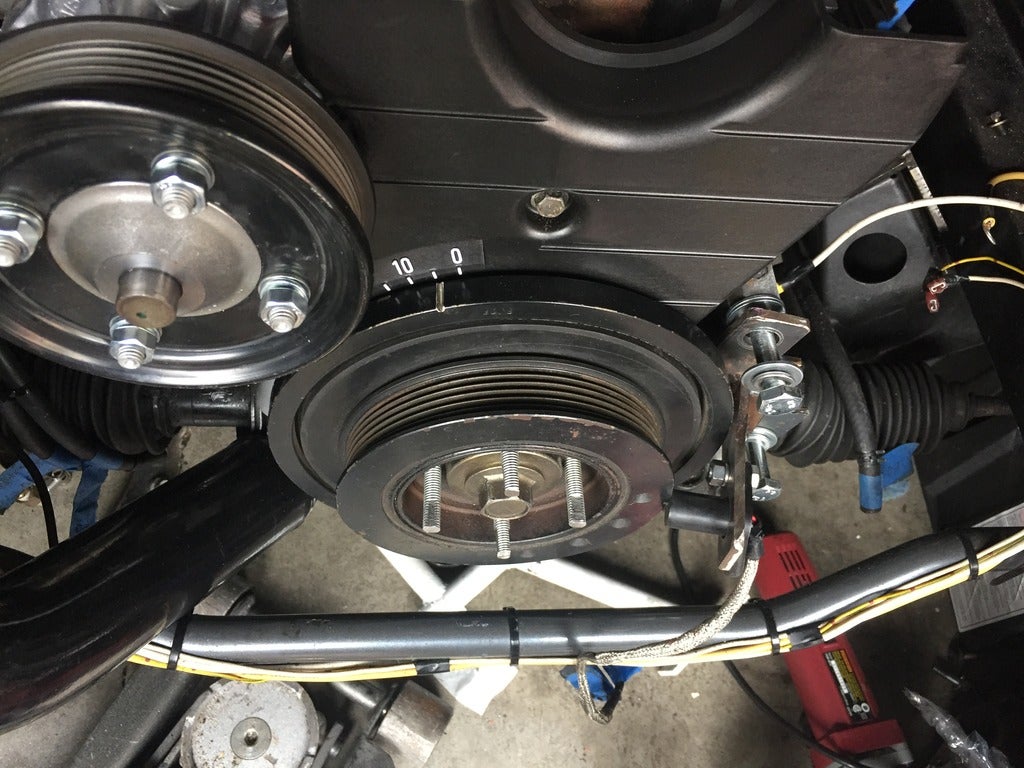
Much better, and definitely a load off my mind.
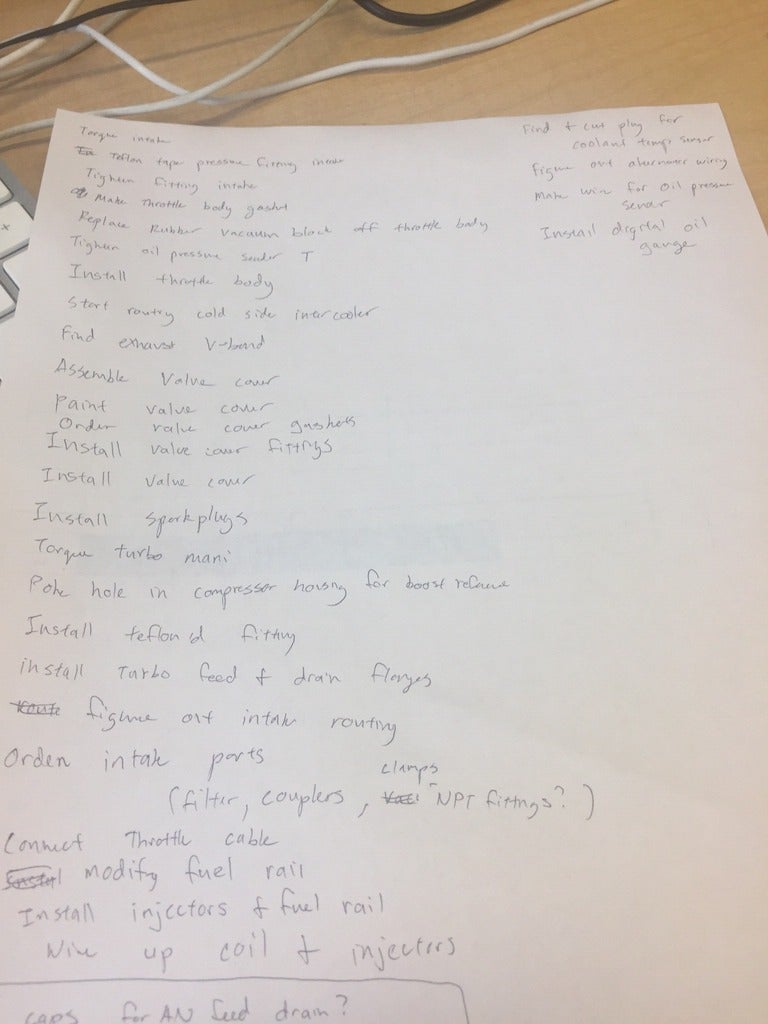
Strange, just when you think you are getting close to finishing your mind kind of comes back and remembers all the things still left to do.
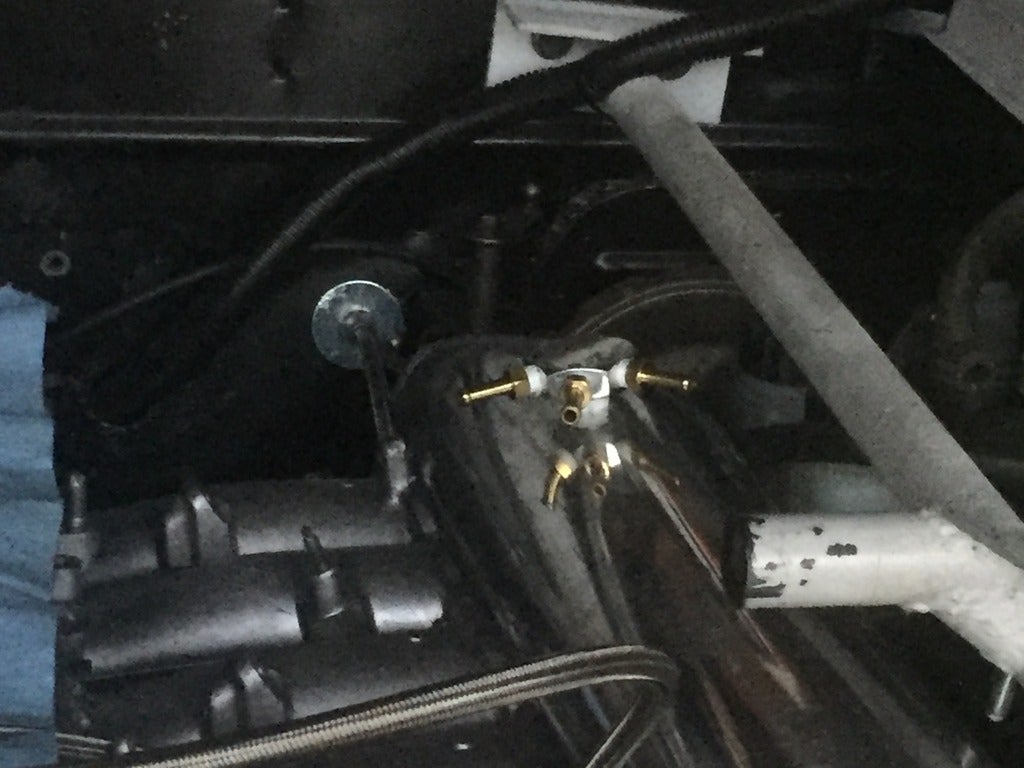
Started off with some of the easy stuff. I added the pressure fittings to the manifold with teflon tape. Now I have my reference sources for things like the rising rate fuel pressure regulator, vacuum booster, ECU, and the blow off valve. I think the brass fittings look pretty snazzy to boot!
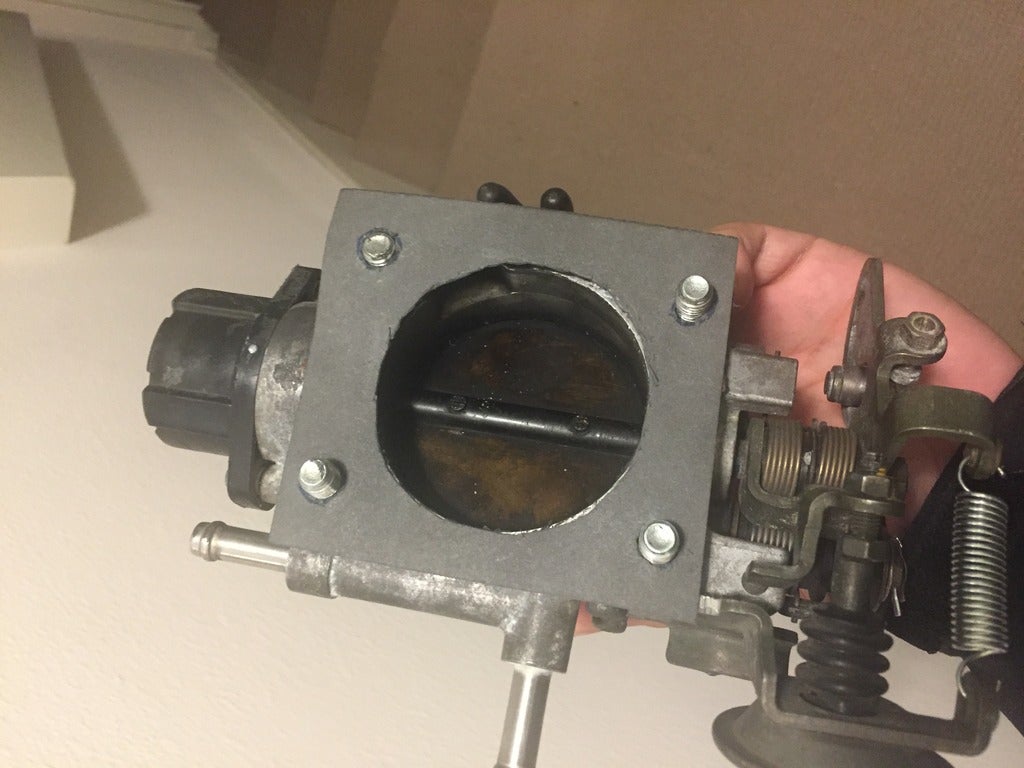
The 7m apparently has a problem with not being able to find a correct throttle body gasket. I made my old one, but tore it taking it off the old manifold, so I got to work with a pair of scissors and a knife and whipped up a new one with some gasket paper. I know you can use silicone, but there are gaps on the flange on the throttle body gasket so I wanted some more surface area.
Then I tightened the tee for the oil pressure sender. Part of me has reservations as I have heard the value you see is artificial when you tee off of it to feed the turbo, but better then nothing.
Plan is to implement a few redundancies/idiot lights. I’m thinking low oil pressure light and maybe even getting fancy and building a circuit to shut off the engine if the oil pressure drops below a certain threshold, alas future plans.
Then tightening up the turbo manifold and installing the nuts for the hotside of the turbo.
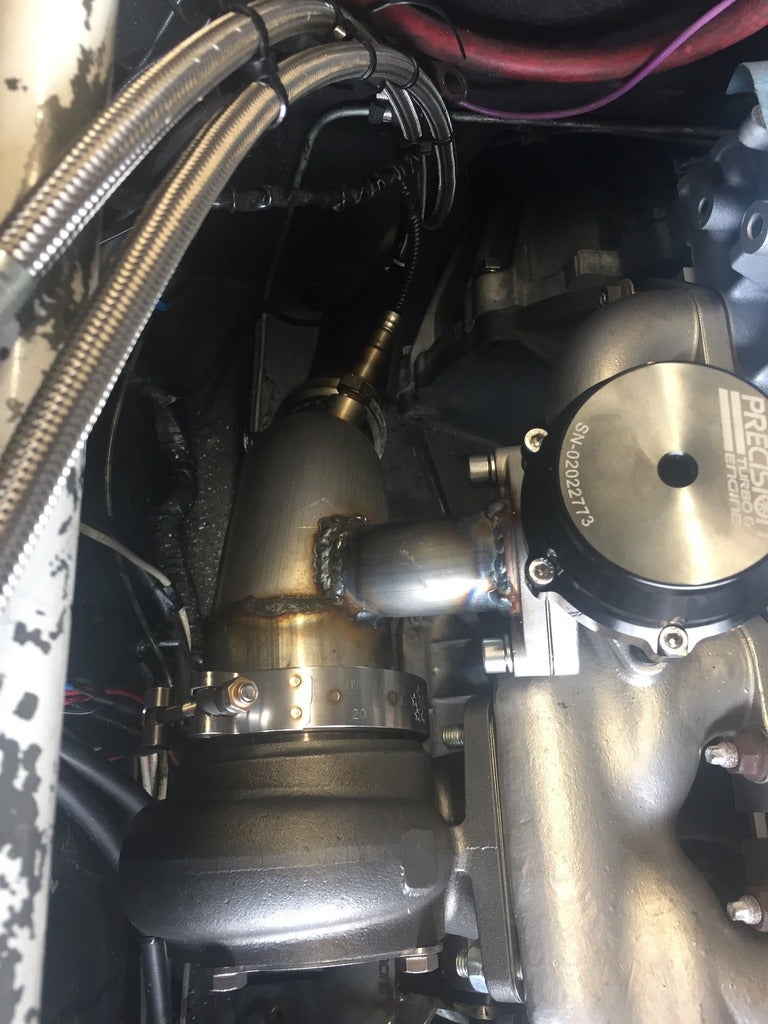
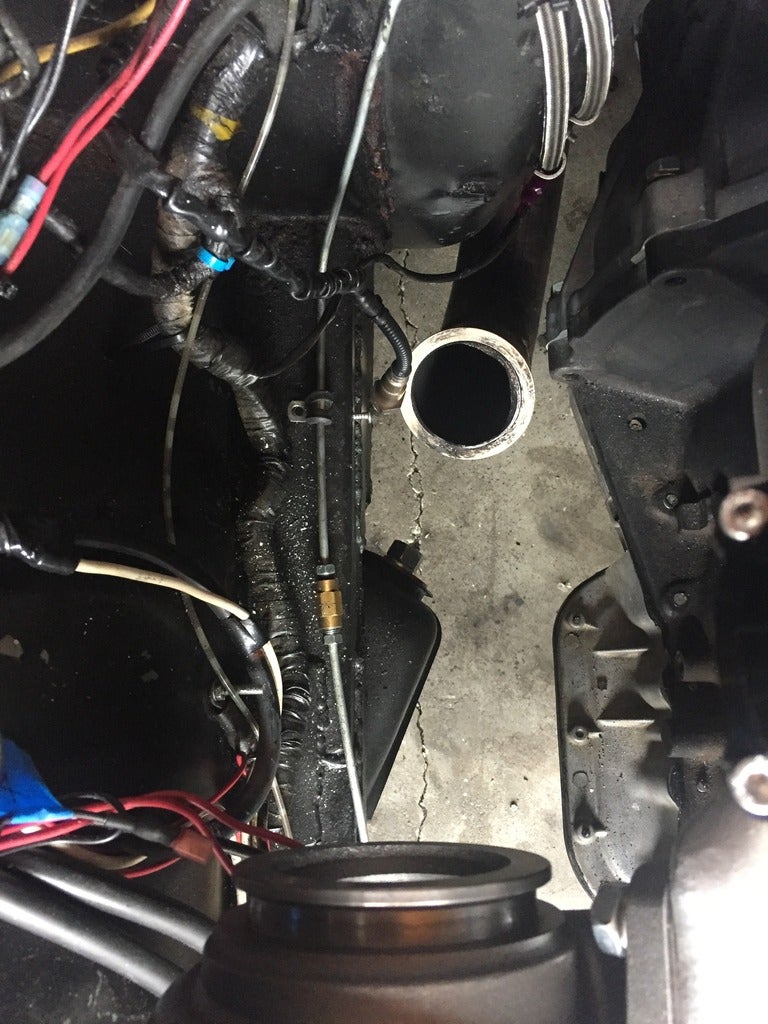
The dump pipe unfortunately was running pretty close to the frame rail. If it had been a from scratch fabrication I have room to route it differently, but connecting to my previous exhaust made things a bit tight. When I redid the brake lines many moons ago there really was no concern for this side as the exhaust and intake was on the driver side. Fortunately I had opted for CuNiFer lines which were and are still very easily bent. I undid the P-clamps and pulled the line onto the top of the frame rail. Give the exhaust a bit more room and definitely don’t have to worry about the brakes boiling before I have to use them. A friend also offered the advice of slipping some hardcore heat protection like a spark plug protector.
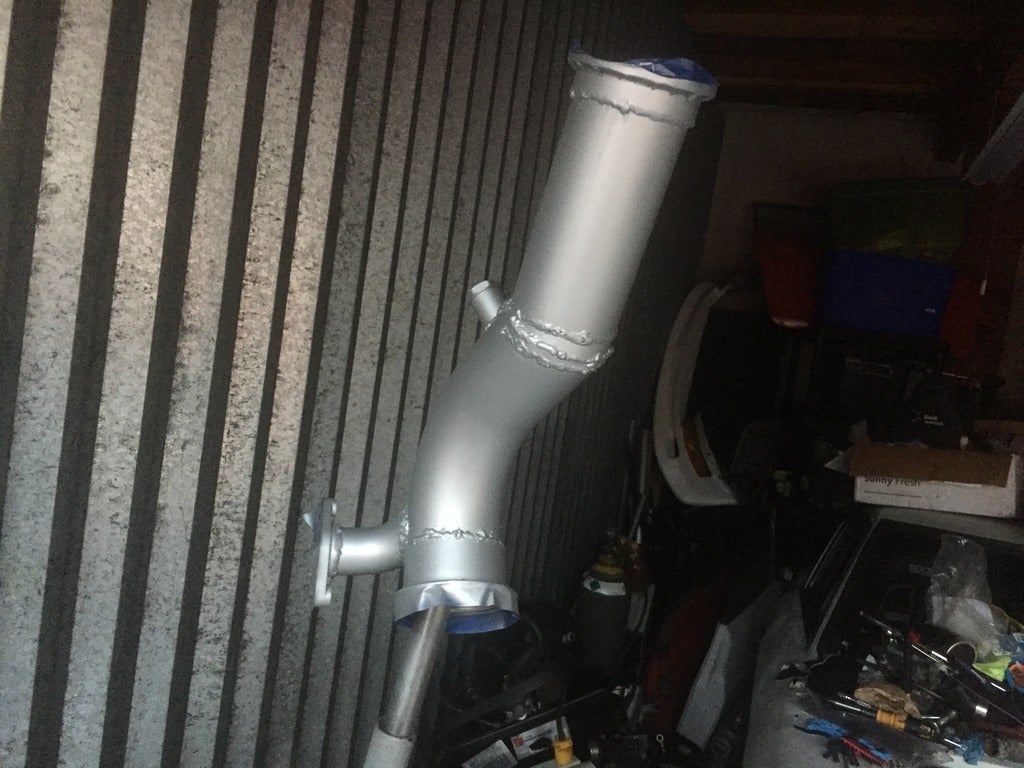
Then I went back to the exhaust. Once again, not much room to play with made welding it awkward, so I was sure I missed a bit here and there. Using a strong flash light I probed my welds and found the spots I missed. I marked all of them and then filled them in to make sure I wasn’t leaking exhaust.
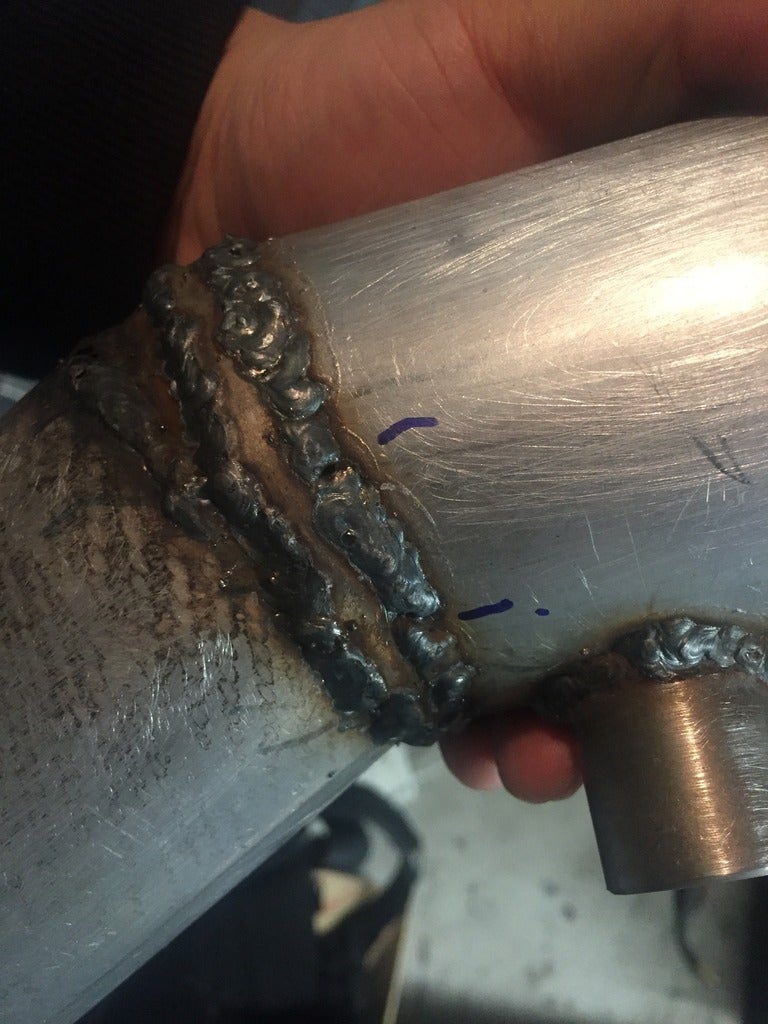
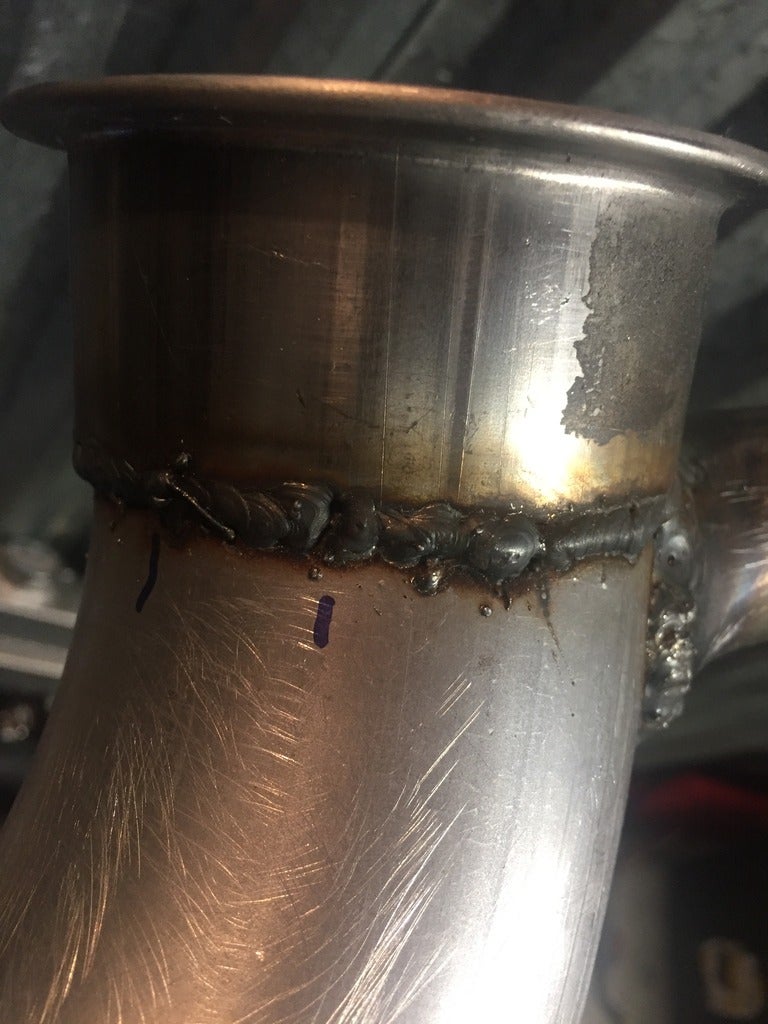
^those were done with one hand, squatting, with the other hand holding the piece, I swear I can weld so much better with a chair and a table!
Having watched Turbo Tom’s videos and really liking his aesthetics, never was much for shiny parts if I could avoid it, but dirty burnt parts really detract from the car. I went out and bought some high heat silver paint. I had used something similar in the past for my headers, but I was younger and more impatient back then, plus it was a cheaper ceramic paint from the hardware store instead of actual header paint I think. I rubbed the exhaust down with some sand paper and took the effort to scrape off the glue from the sticker on the v-band flange. Then wiped it down with ethanol and let it evaporate. I coated the exhaust and boy did that clean things up. Also having learned I made sure to tape up the ports and mating surfaces to prevent any mishap from paint shrinkage.
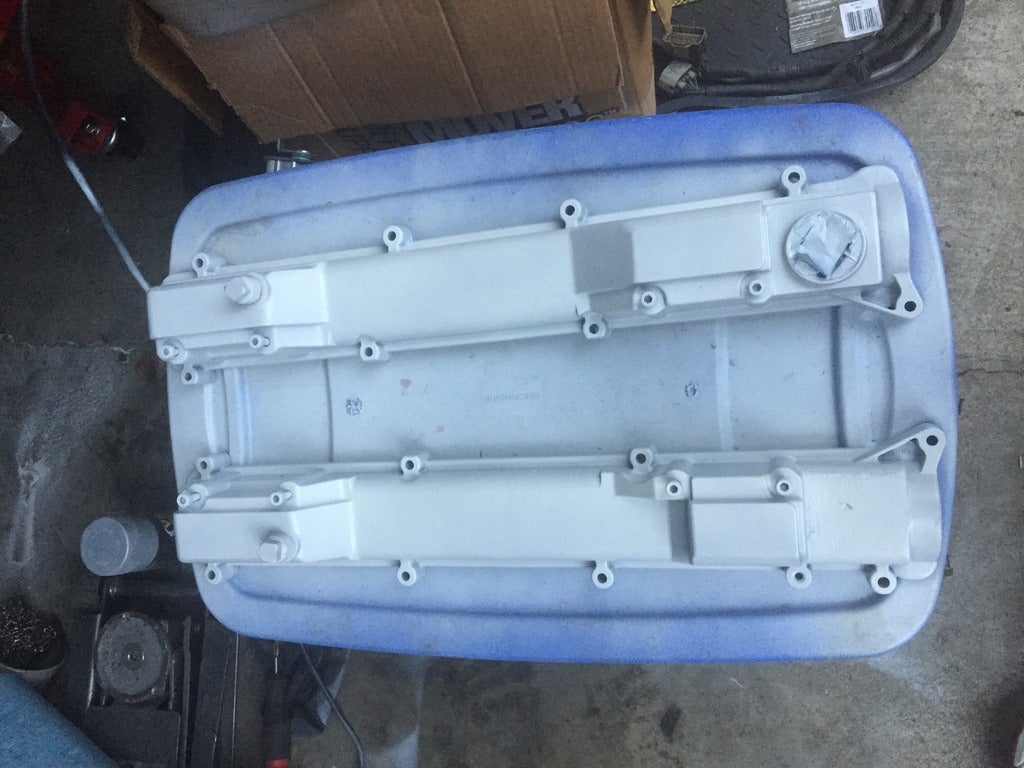
Finally started to get work done on the valve covers as well, installed the baffle plates with RTV and the screws with red loctite, really don’t want those to fall into the valve train. Then wiped it down and threw on some engine enamel. I’m a little hesitant on the white as I’ve heard it can age poorly, but I plan on throwing on a couple more coats followed by a clear and am hopeful it will hold, the silver on the block held pretty nice on the 7m so I’m hopeful here.
Then my friend stopped by with our collective intercooler pipe/coupler pool. I needed a few longer couplers and probably will have to tweak the hot side of the boost pipe as the turbo sits in a different spot
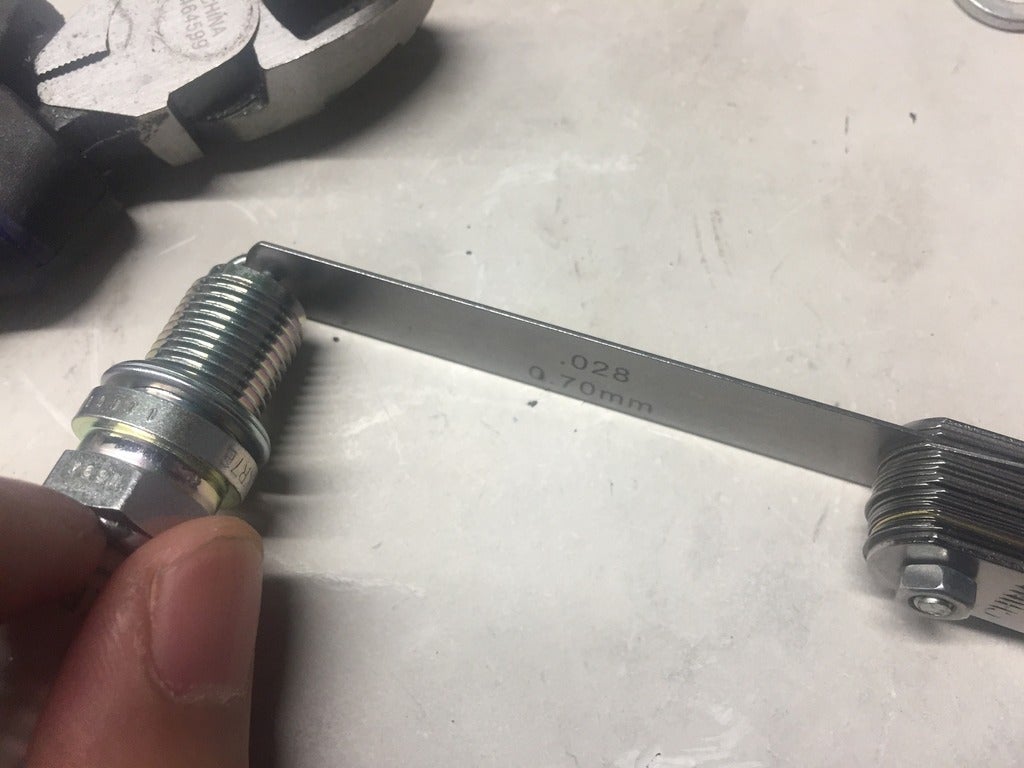
Then onto the spark plugs. These are NGK BLR7E. Terribly affordable at about $2 a pop and are a colder plug then stock if I’m not mistaken, people run these around the 5-600 horsepower level pretty regularly. I figured at that price it would be worth it to just pay a set to plug the holes and maybe start the engine on before shopping around for a serious plug later. According to the internet these come gapped at 0.035 thousands of an inch, but better to run them at 0.03 to 0.028 to prevent spark blowout at higher boost levels. An old mechanic showed me a neat trick which is just tapping the plug against concrete very gently to get it to move. Better then prying or hammering the tip.
Still lots of stuff to do, including another order for some intake parts and valve cover gaskets. Then to harvest some plugs and such from the wiring harness to wire up the alternator and coolant sensor. List is definitely getting shorter though and parts are definitely getting fewer and more things are coming off the shelf and the ground.
Lessons learned:
Double check your work. When working on engine timing use several references. Your car will never run right or as right as it can if you mess that up.
Do an intercooler pipe pool if you have friends with boosted cars. Basically you pool all the intercooler parts. Whenever someone needs a couple pieces they basically take the box. If it gets low then they go out and buy a universal pipe kit and fill it back up, I tend to buy U bends and cut them in half to get the right angle so a nice 90 always goes back into the box. The last person to use it stores the box. You really rarely need to dip back into it, so it is out of the way (unless you are the last person to use it).
It really is the little things that will hold you up
Money spent:
Gasket paper - 7
Fittings -60
Feeler gauge - 7
Spark plugs - 12
Spray paint - 30
Subtotal - 116
Total spent - 28686
!!! UNKNOWN CONTENT TYPE !!!
 "arl" (arl1968)
05/03/2017 at 15:36, STARS: 0
You’re doing a bang-up job there.
Here’s my long punch list of things I can’t find time to get done on my car (which is why I could never own a project car).
1. Wash car
2. Get oil change
3. Switch out summer tires
4. Fill washer fluid
5. Vacuum out dog hair
6. Enjoy car on a drive other than going back and forth to work.
"StudyStudyStudy" (jesterjin)
05/03/2017 at 15:55, STARS: 1
Thanks!
I don’t think we are that far off.
1. I don’t think I have ever washed this car
2. I think I have now had more engine swaps then oil changes.
I follow someone else’s approach spend about 1-1.5 hours sessions in a day working on the project. You stay interested and you don’t get burned out. Also kind of helps you keep pace with expectations. I’m kind of not in an ideal situation so spending time kind of forgetting about things and working and thinking about something else is really therapeutic.