 by "uofime-2" (uofime-2)
Published 04/24/2017 at 10:26
by "uofime-2" (uofime-2)
Published 04/24/2017 at 10:26
No Tags
STARS: 1
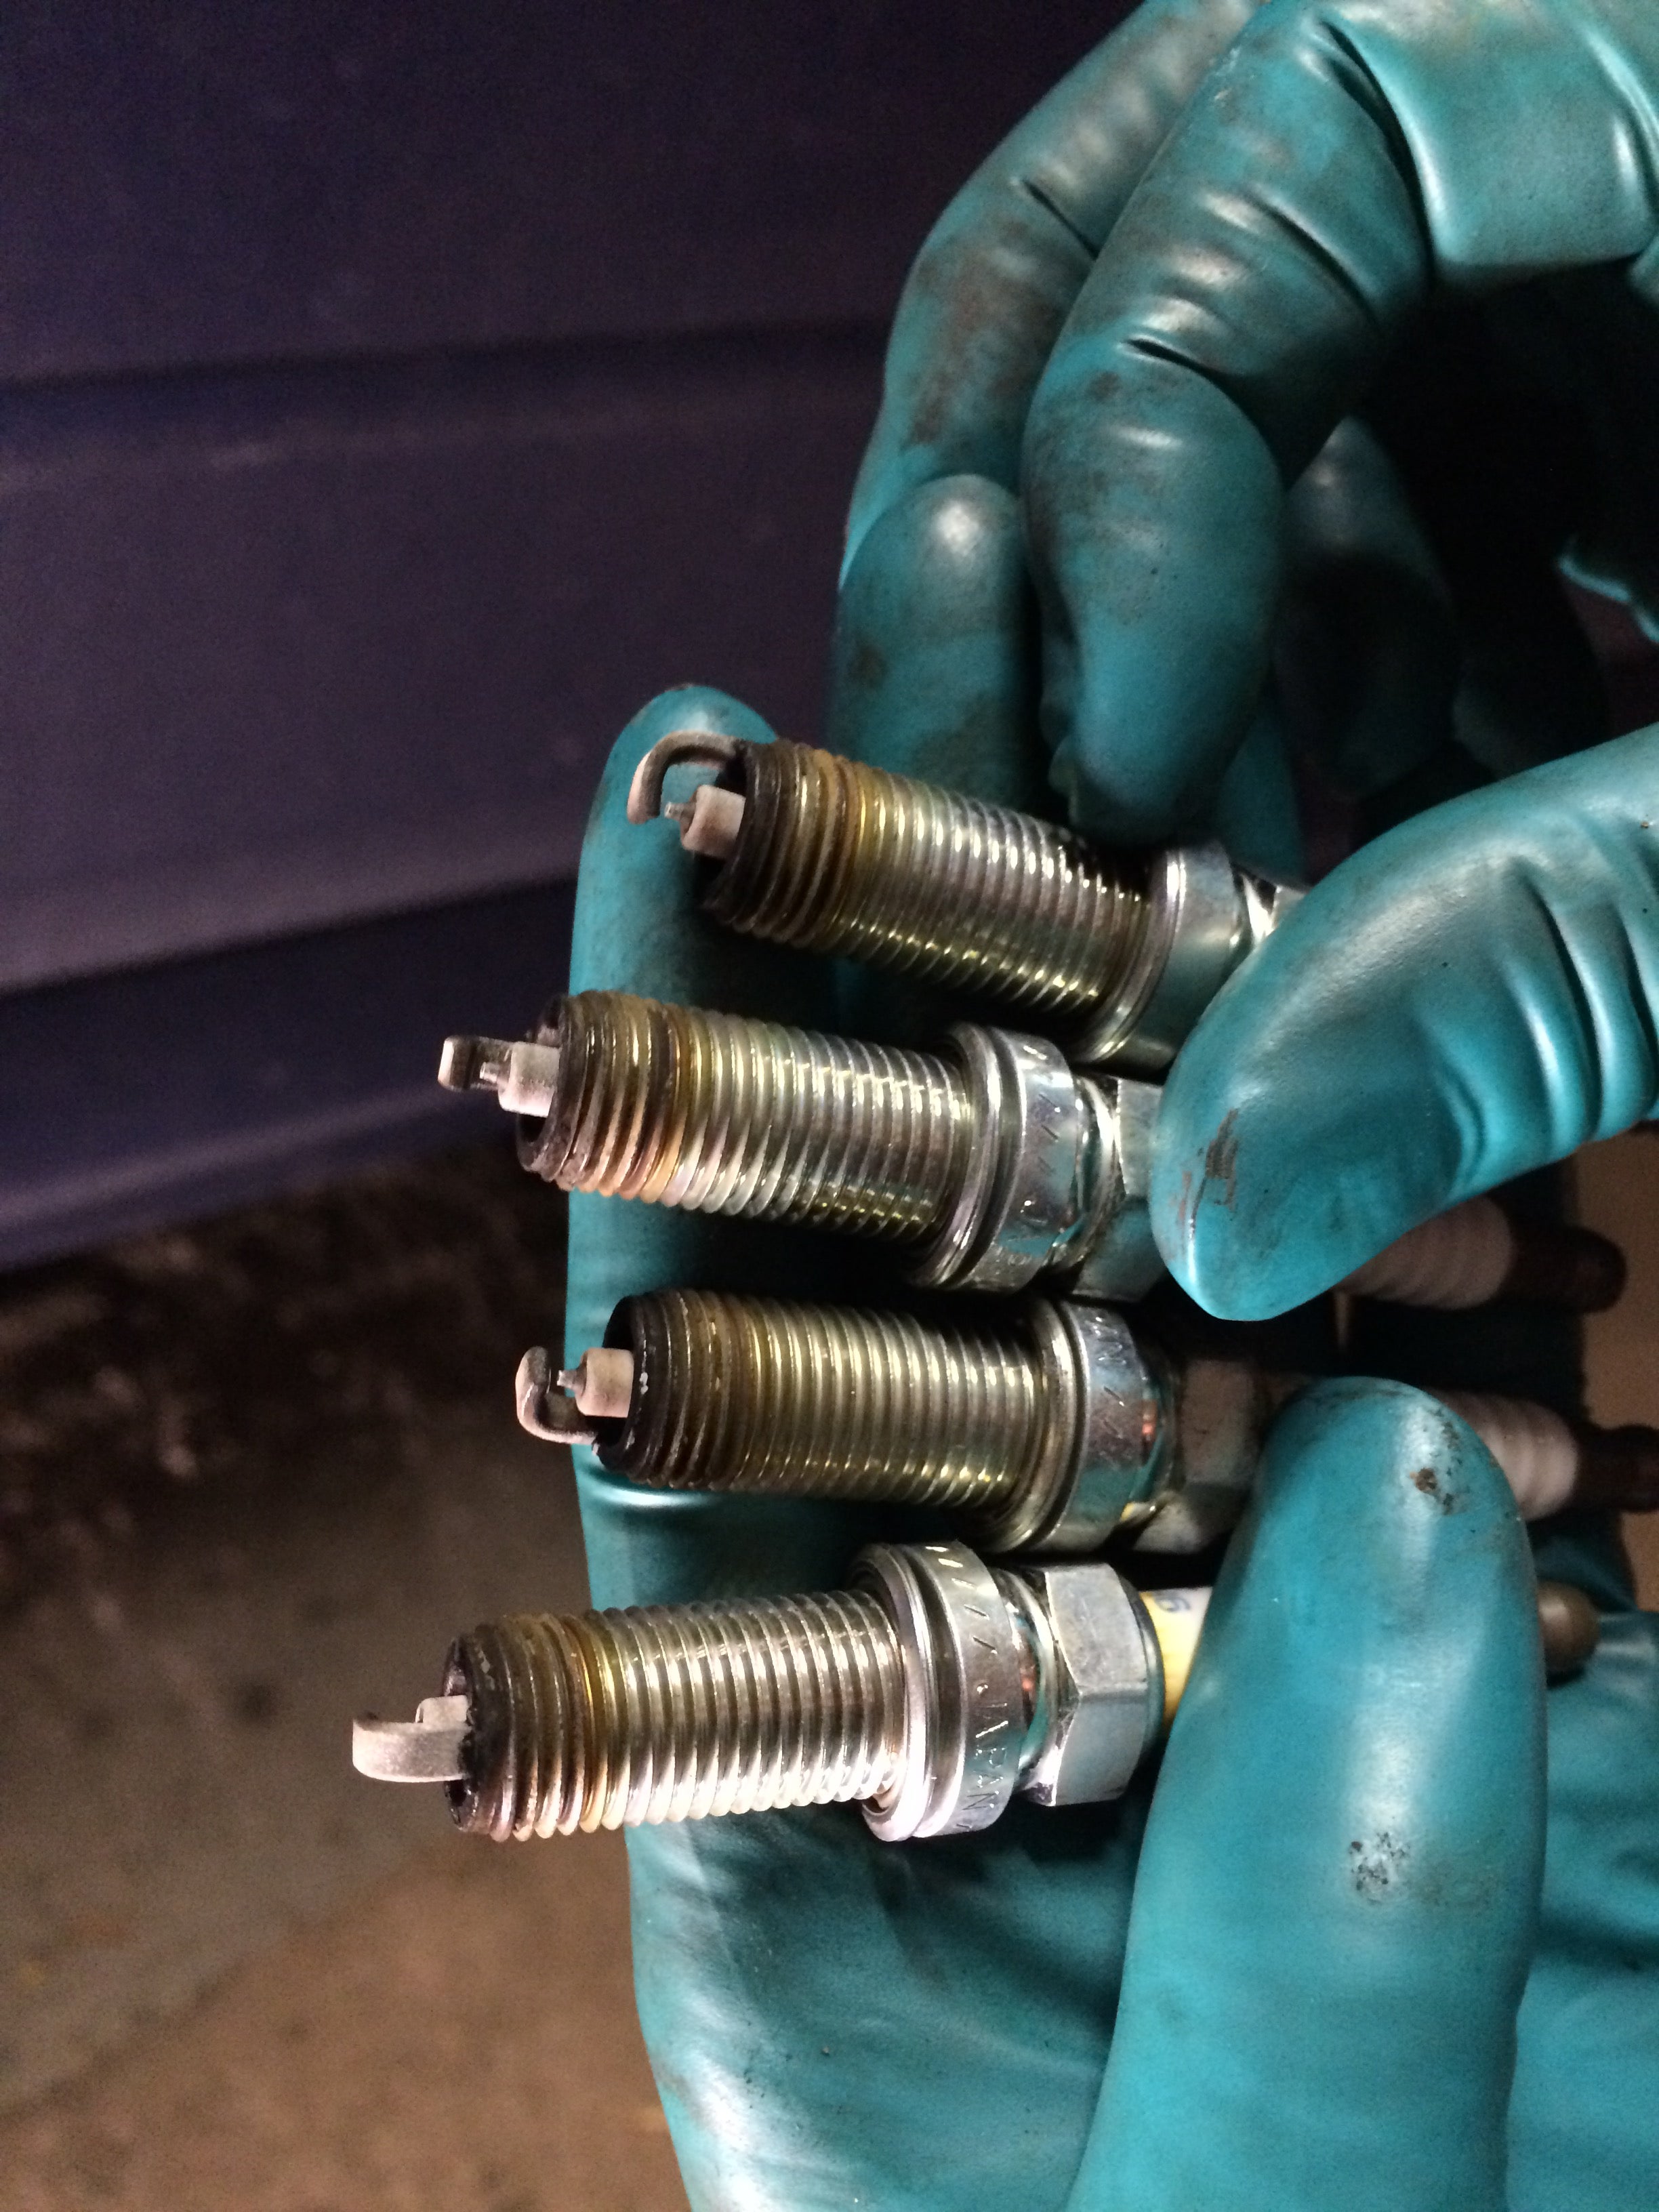
Completed the most feared task of auto maintenance known to man for a boxer engine over the weekend. That’s right I changed my spark plugs. Yes you have to remove the air box, the battery and have a good variety of extensions (short ones!), but no it is not that big of a deal.
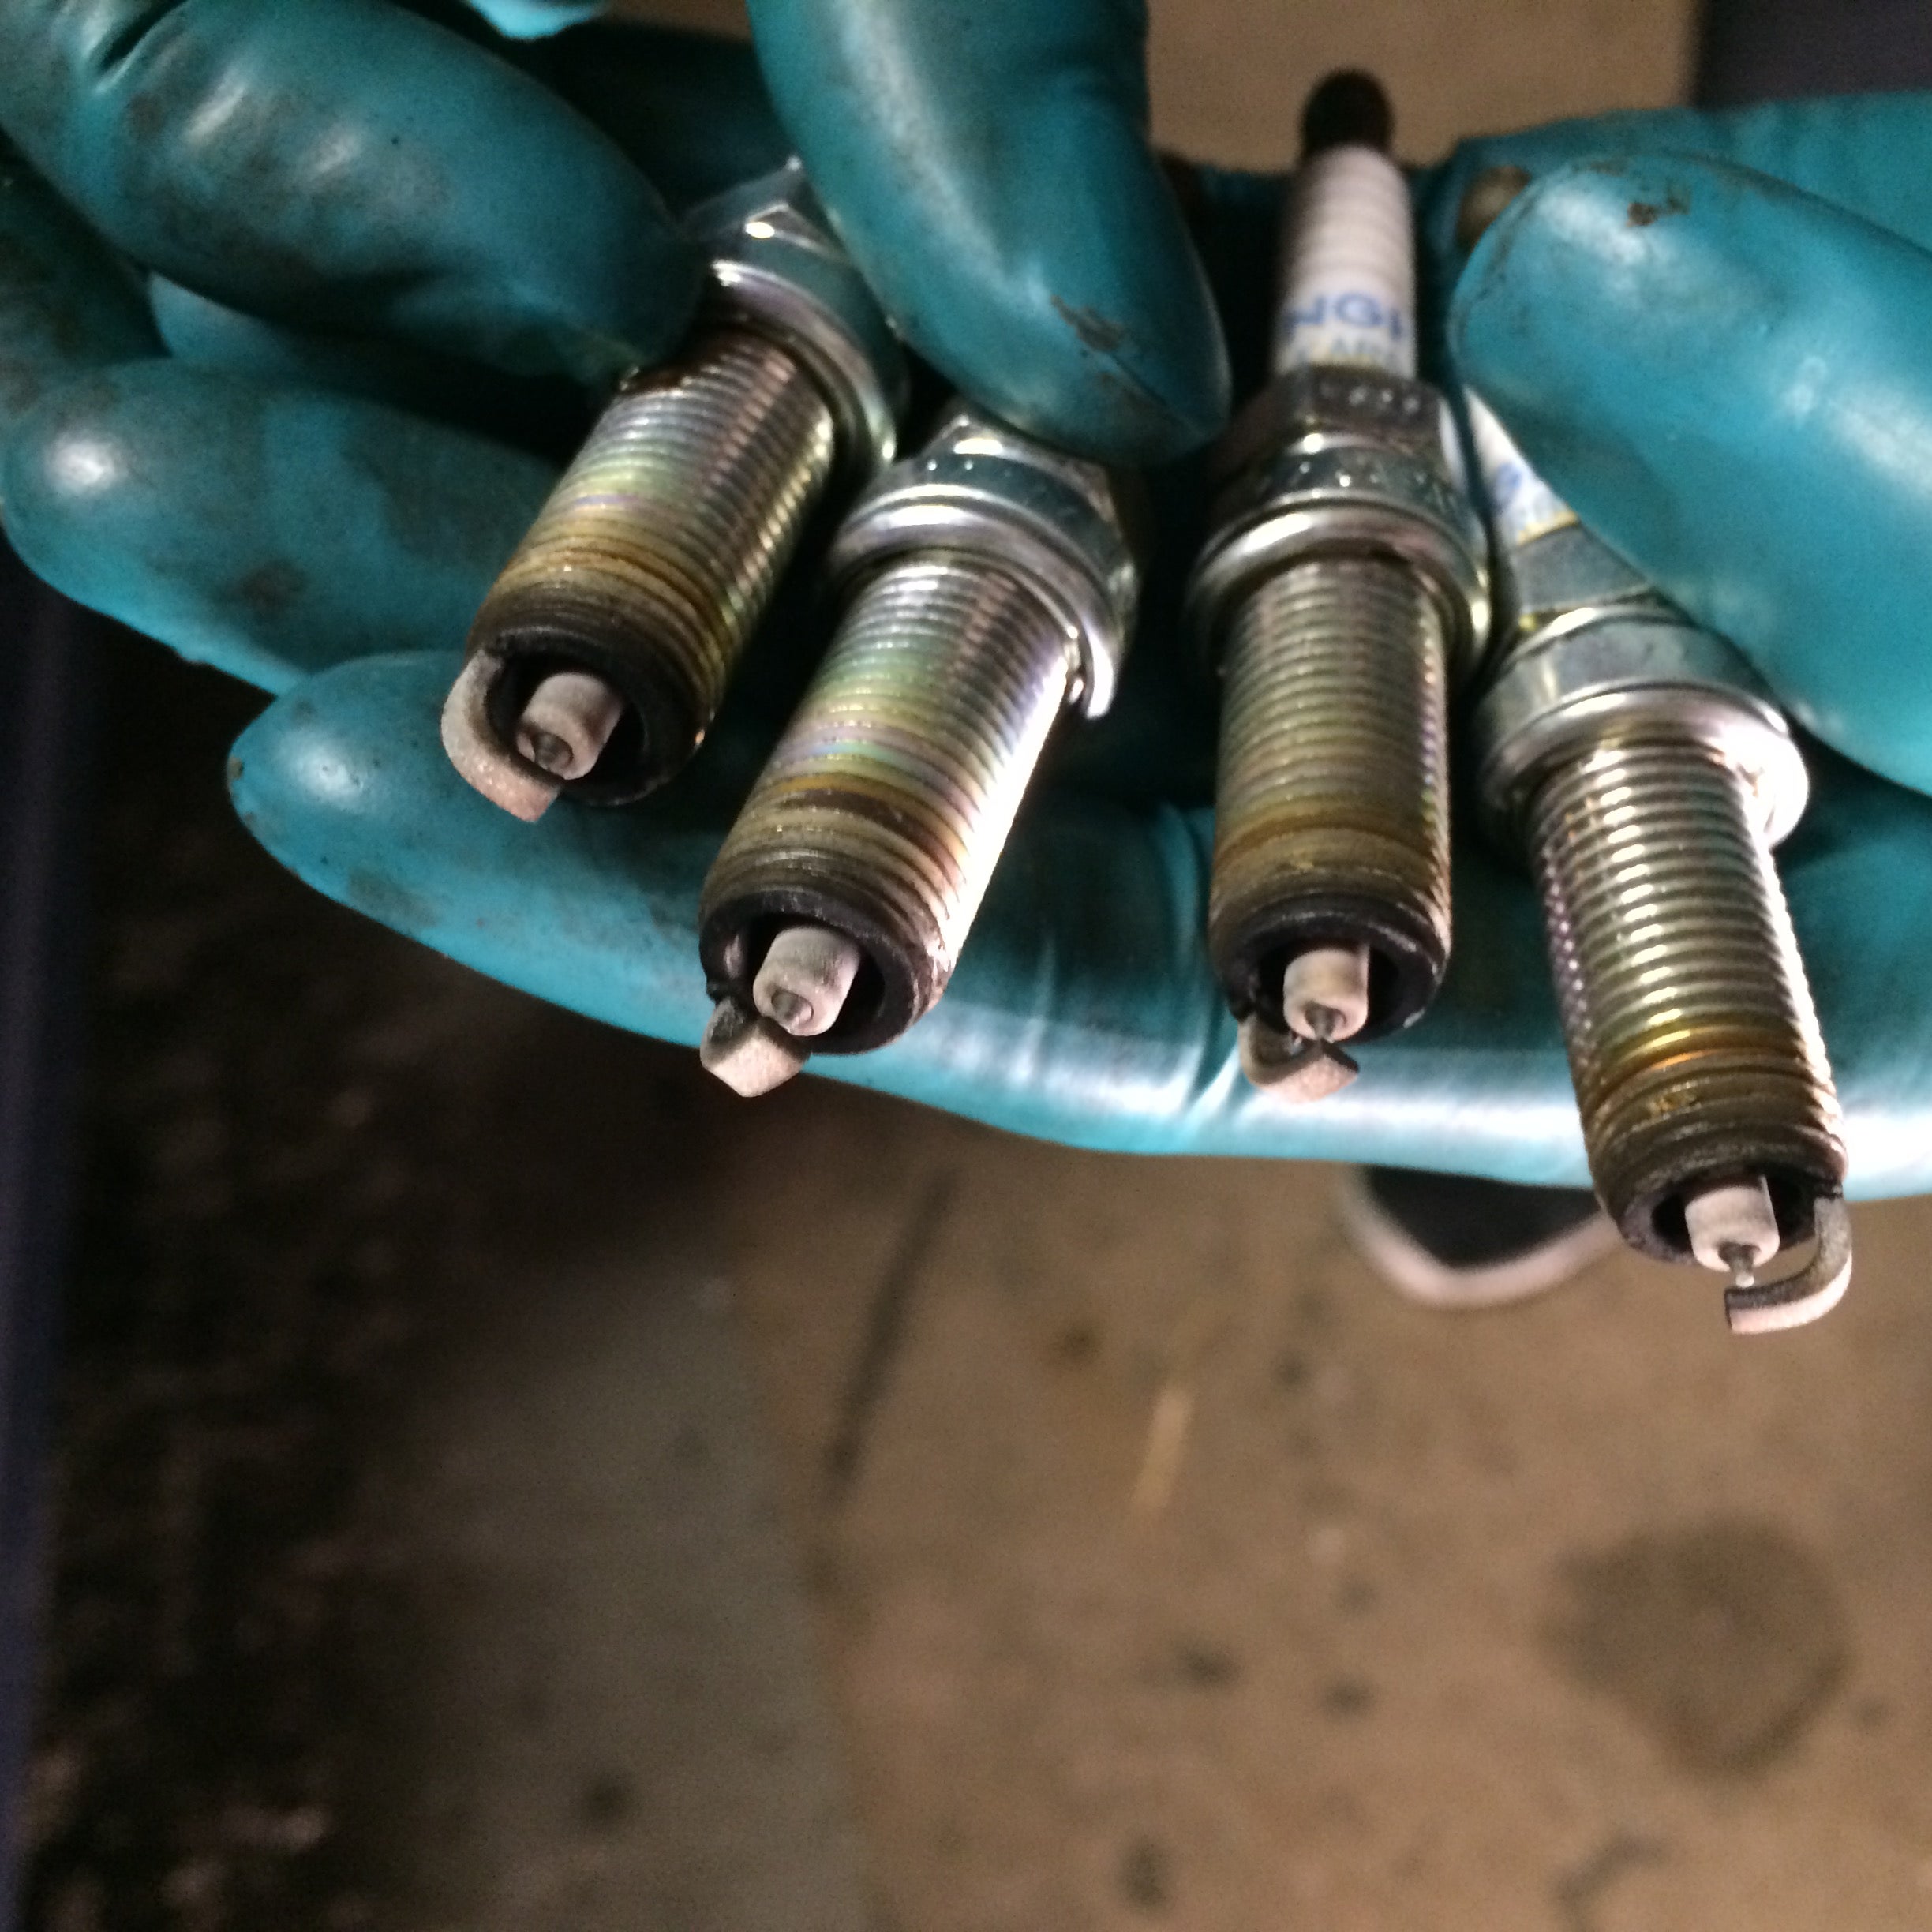
After 30k miles consisting of 10k stock, 10k on a stage 1 OTS, 3k on a stage 2 OTS and 6K protuned and driving that included gobs of boring daily stuff plus 3 track days, 5 autoX’s and 4 ice races the plugs turned out to be perfectly fine. That is of course great news and I’m still happy I replaced them so I have fresh ones going into this year’s season of track and autoX driving.
Also finally got the time to install the o ffset strut tops that have been hanging out in my trunk for a couple of months now. They were way more of a pain than I thought they’d be. To swap them you have to pull the struts and compress the springs. To do that I picked up a lovely single action spring compressor that is supposed to grab the springs in 4 points at once and use one lead screw to pull it all together. Great idea right, much less sketch than the two piece ones!? Yea except the WRX has such stubby springs that compressor can’t actually get a hold of them, there is seriously about 1 fully open coil, the other two are “compressed” half coils. So that meant I needed to go to the nearest auto parts store and buy those cheesy ones I was hoping to avoid. Thank goodness I was working with friends so 15 minutes and 50 bucks later I was the proud owner of a set. Even those were a pain, but nothing a little persuasion from a medium sized dead blow hammer couldn’t solve.
I marked the position of the bottom spring and perch but for some dumb reason not the top perch which also wanted to interfere with the spring compressor screw a bit. Used the pass through ratchet in conjunction with an allen key socket and a second ratchet to get the strut nut off without spinning the damper shaft and ruining the seals (which is a common thing people do installing lowering springs on these cars). Found the conical washer between he upper perch and strut top which had a lovely layer of rust on it. I’d had a weird clunking/popping noise in my struts over the winter so this whole time I was trying to figure out what that might have been. That looked like a potential issue so I cleaned that up and put some axle grease one before reinstalling the new offset strut top.
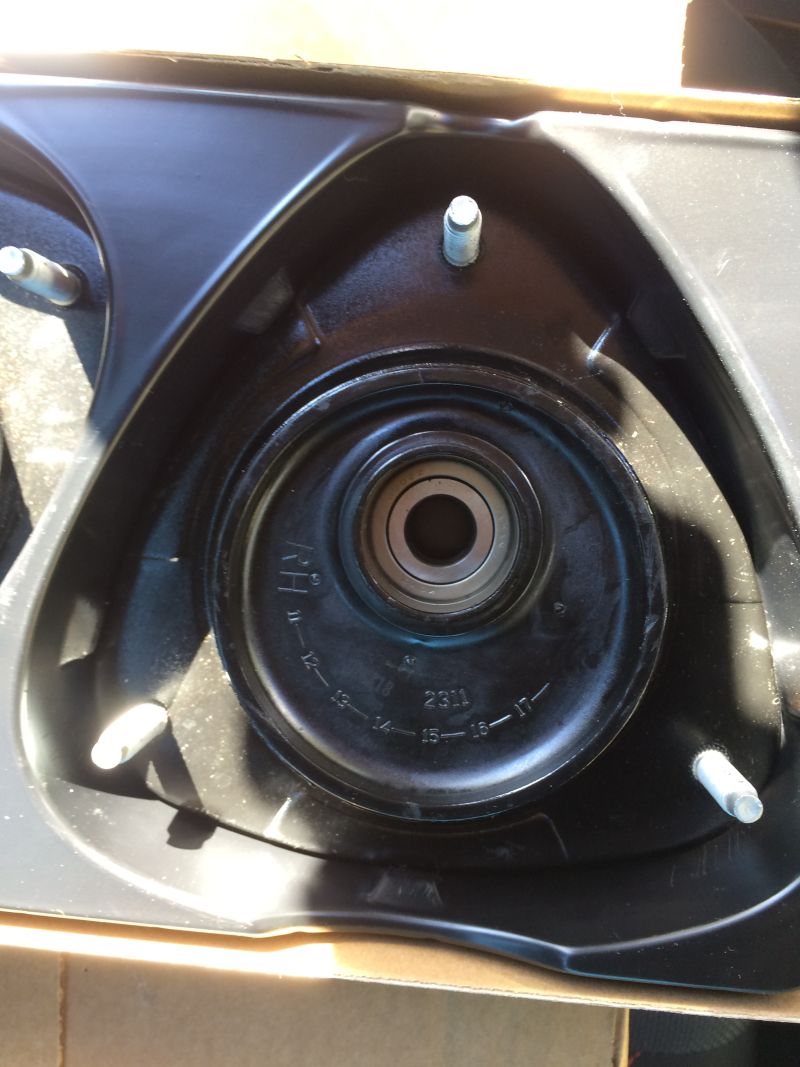
At this point I tried to figure out how the perch was supposed to be clocked, the part has the bottom surface at an angle with respect to the central axis to deal with the fact that the top of the spring doesn’t really want to be flat. You can sort of see how its is meant to be lined up and I compared to the other strut that I had not yet disassembled so I did the best I could and honked the strut nut back down then pulled off the spring compressors (which thank god were actually pretty nice, with sturdy cast ends that didn’t wobble or flex at all that’s a good thing because this was not an easy on-off procedure a lot if fiddling around making sure things were aligned)
Marked the second one top and bottom, got it compressed, removed the nut and got a good look at how this was all supposed to be. This one’s conical washer was also rusty but actually did have a little grease on it, so it was cleaned up and re greased as well. This time I was more careful with the compressor to try to avoid interference with the perches and I was able to see that the perch and washer are meant to fit down over the main diameter of the damper shaft (which of course makes total sense) so for this one I was able to cleanly line all those up when I put the strut top on and tightened the strut nut down. It was clear that I really needed to take the other one back apart to ensure that it was also all aligned correctly. At this point I’m an expert at this so that got done quickly and I was finally ready to reinstall. Jammed the new tops home, lining the offsets up towards the middle and back for max camber and caster (which was the whole point of doing this) I set the cams on the bottom to the old alignment marks I’d painted on last year when installing the secondary camber bolts and used a tape measure to check that toe was close enough to drive around on for a couple days to re settle the springs and get time to go to an alignment shop.
 "You can tell a Finn but you can't tell him much" (youcantellafinn)
04/24/2017 at 11:22, STARS: 0
Outside of starting the new plugs completely by feel since you’re not able to stick your head down in there and see what’s going on it isn’t that bad changing plugs on a Subaru. Not as easy as my old Jeep 4.0L was, and definitely more time consuming, but not bad.
I did learn a very valuable lesson though. Don’t back out the old plugs until you wedge the wrench between the backed out sparkplug and the inner fender. I did that and it took probably 10 minutes to get the ratchet reversed so I could run the plug back in a little and change extensions.
"uofime-2" (uofime-2)
04/24/2017 at 12:13, STARS: 0
Oh yeah, its a dance particularly on the back ones. Gotta stick the socket in then assemble the extension with the socket in the hole, get it loose, remove extension, remove socket hopefully with plug then reverse to reinstall. I was too lazy to move my ECU so one was even tighter than it needed to be and I needed to use an oddball 1.5" long extension.