 by "uofime-2" (uofime-2)
Published 04/03/2017 at 11:01
by "uofime-2" (uofime-2)
Published 04/03/2017 at 11:01
No Tags
STARS: 3
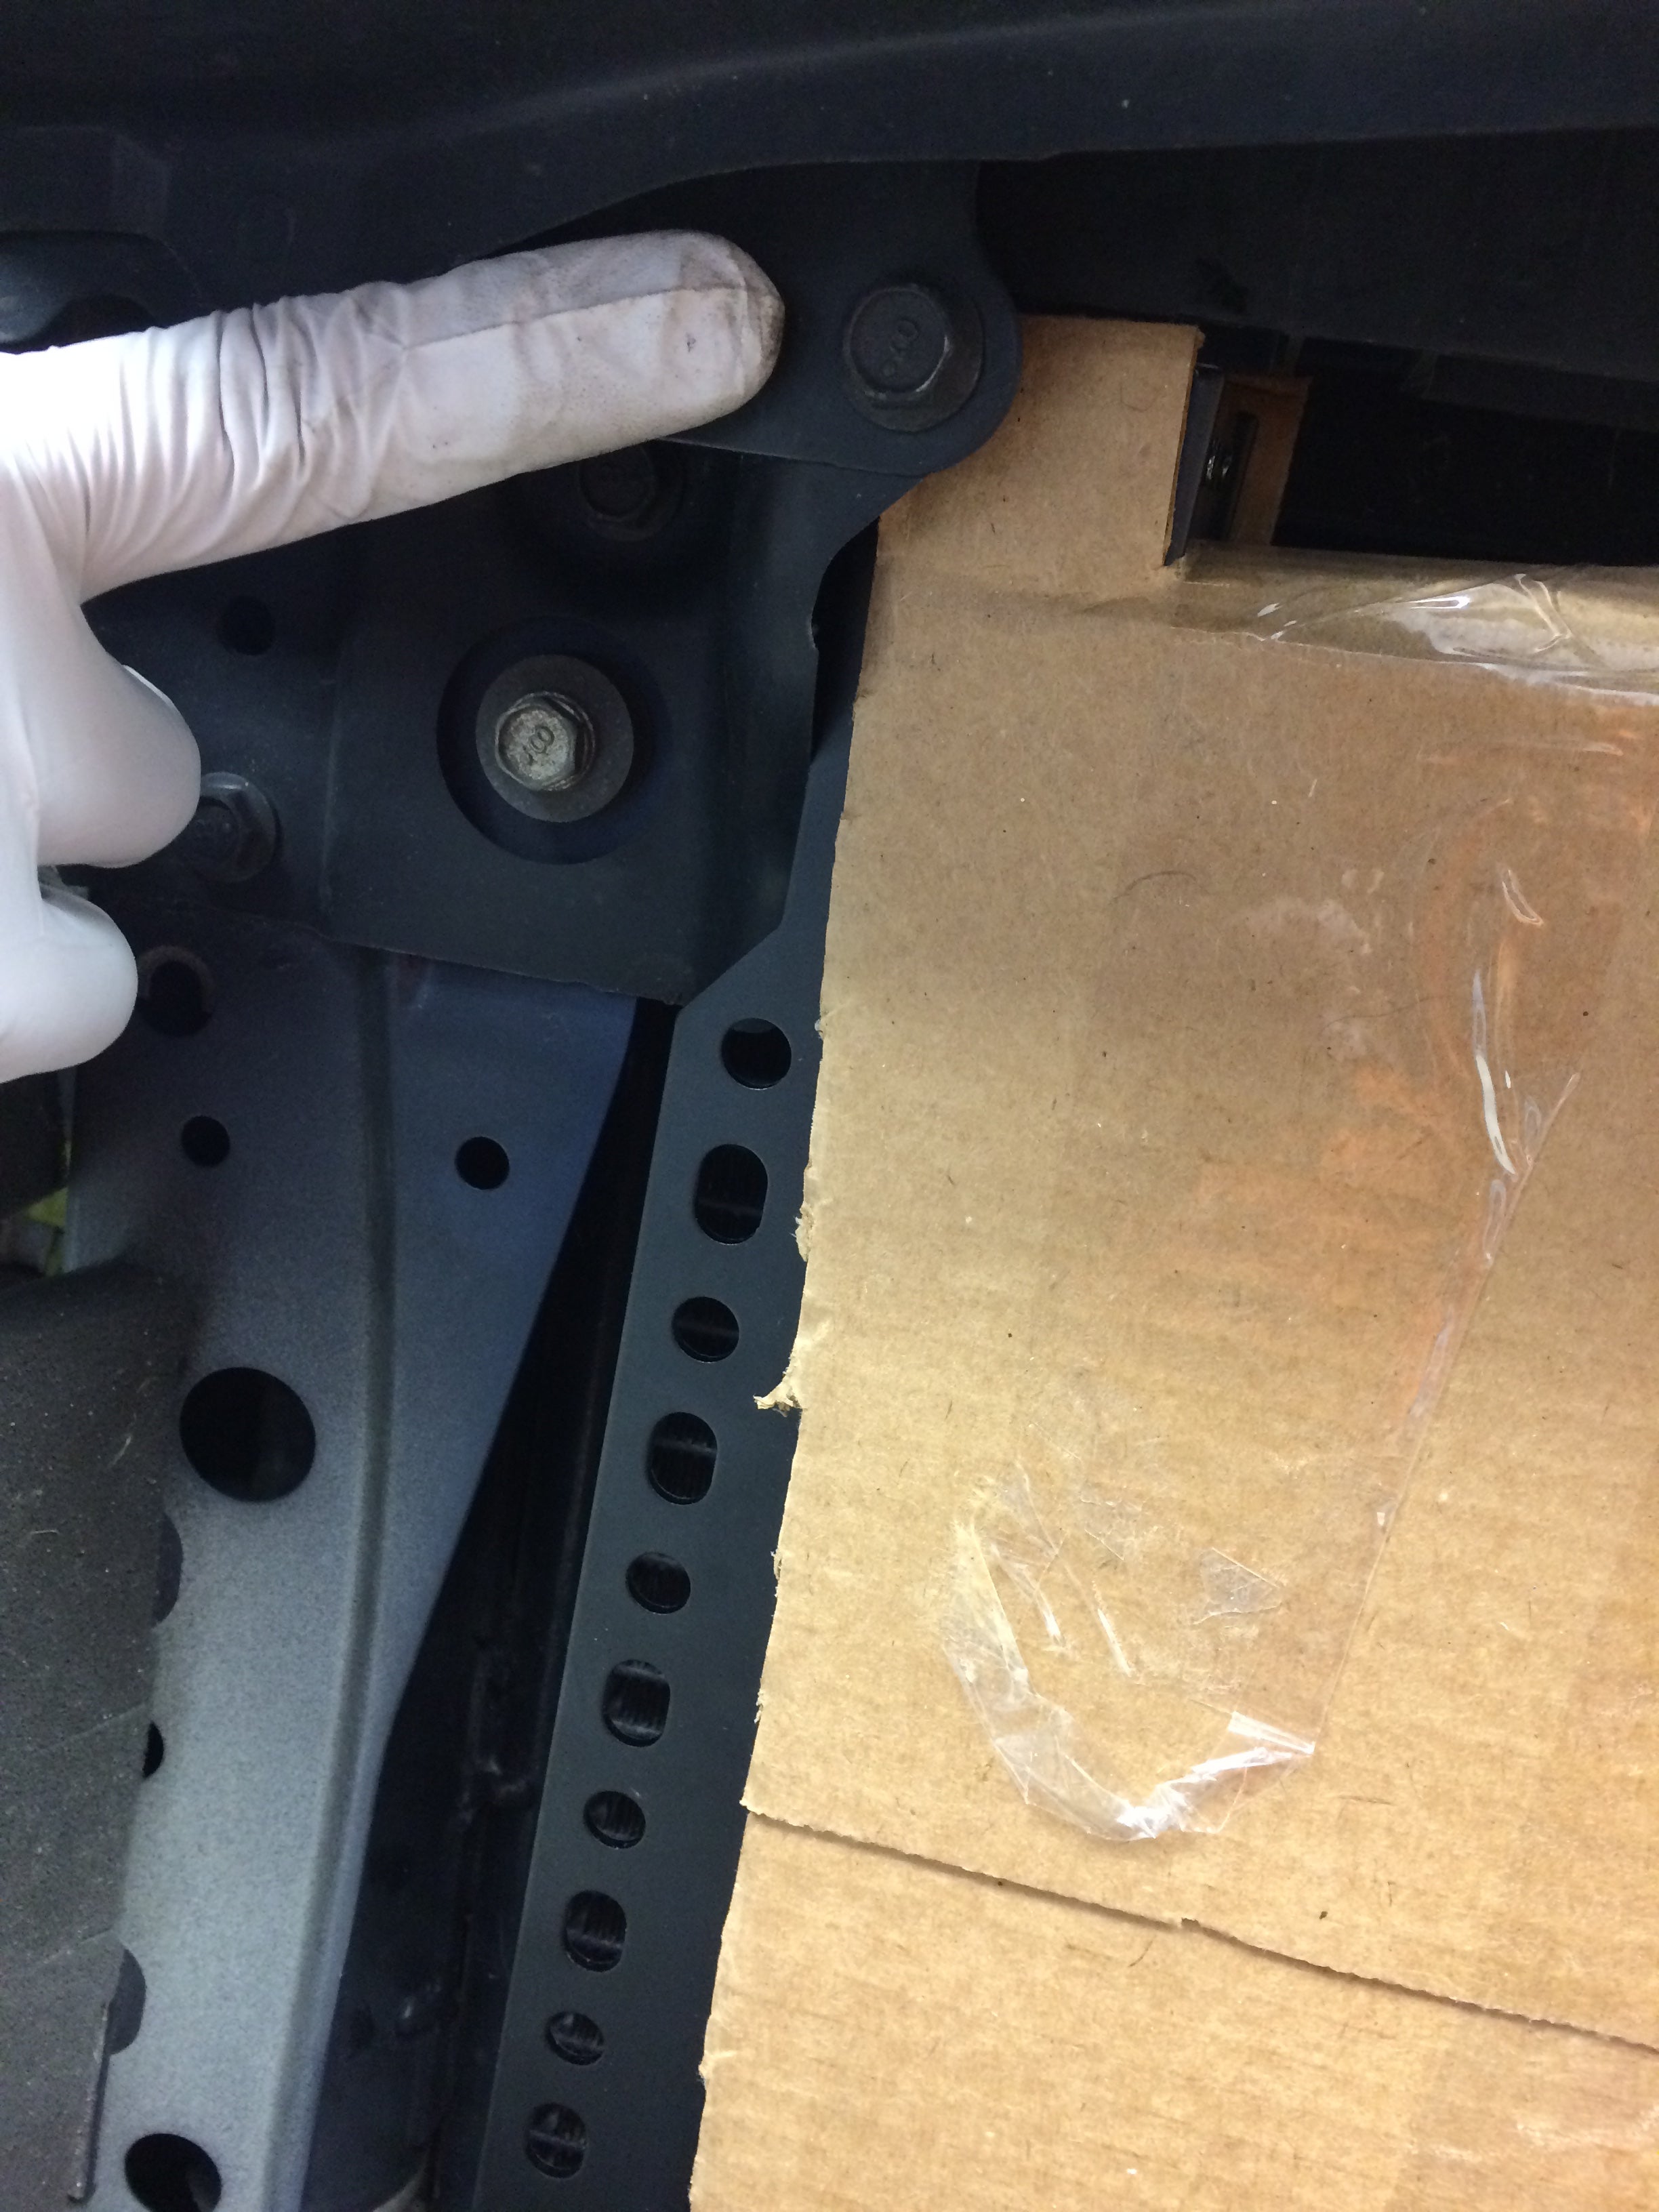
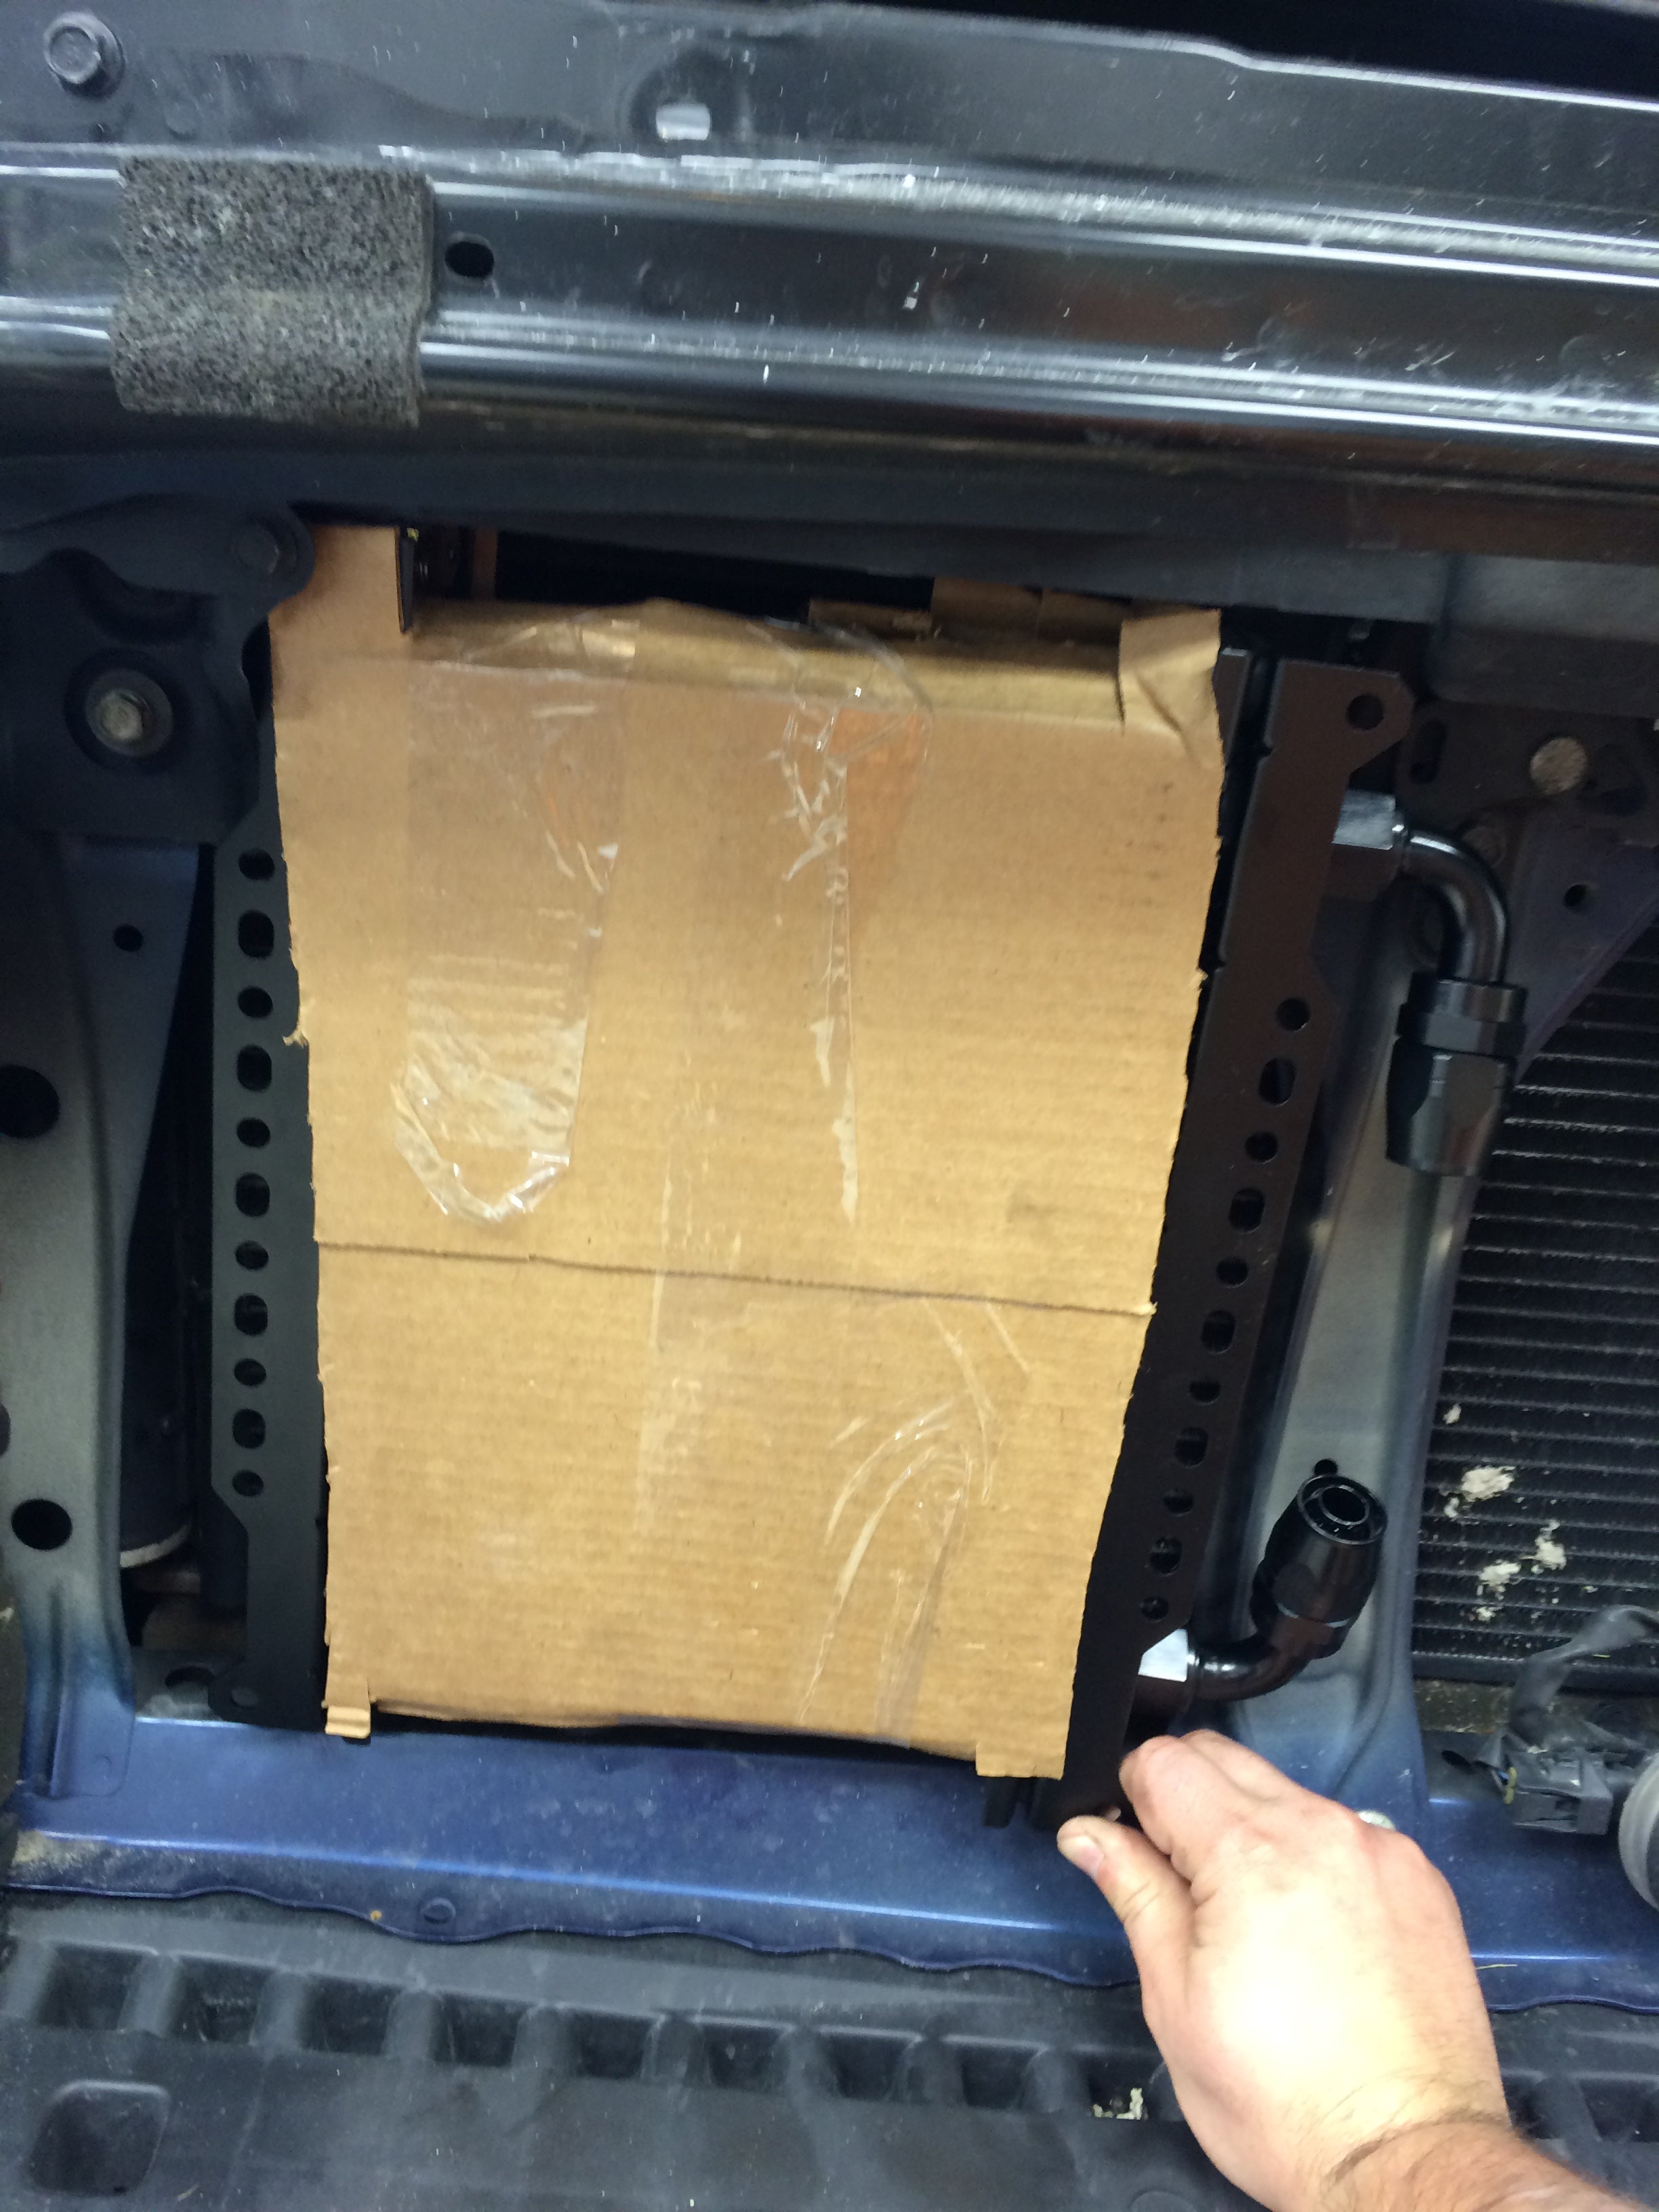
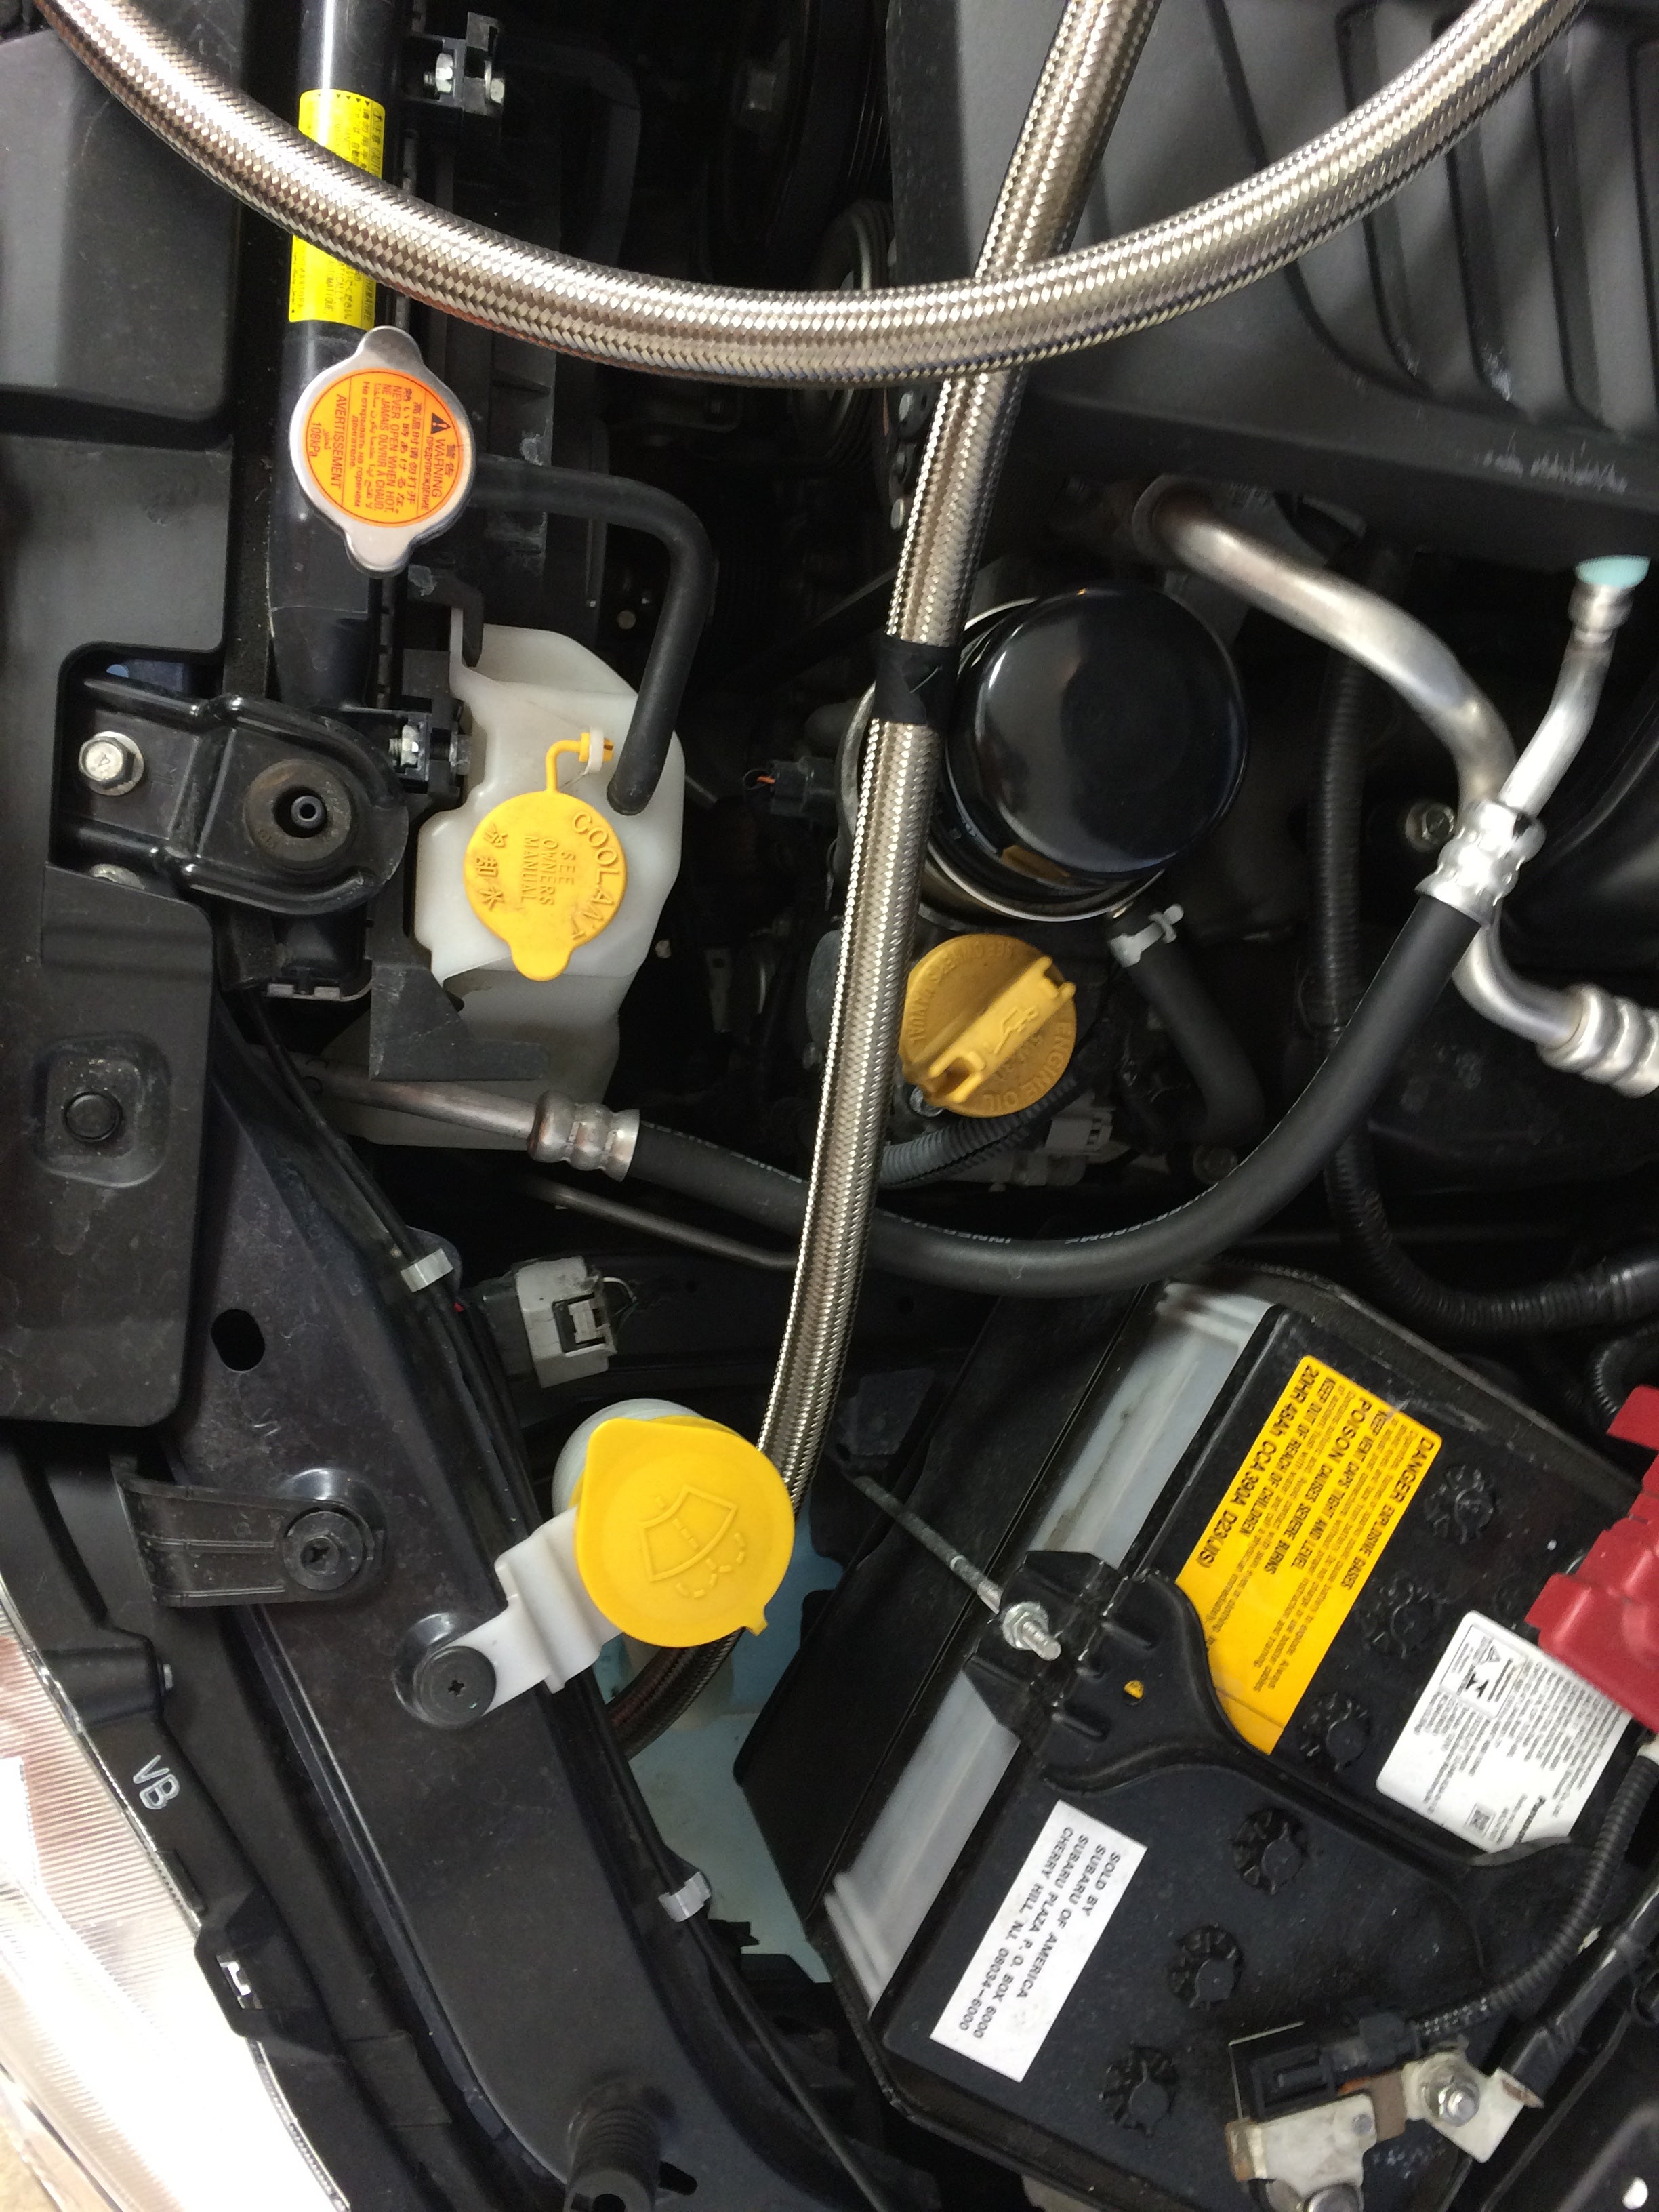
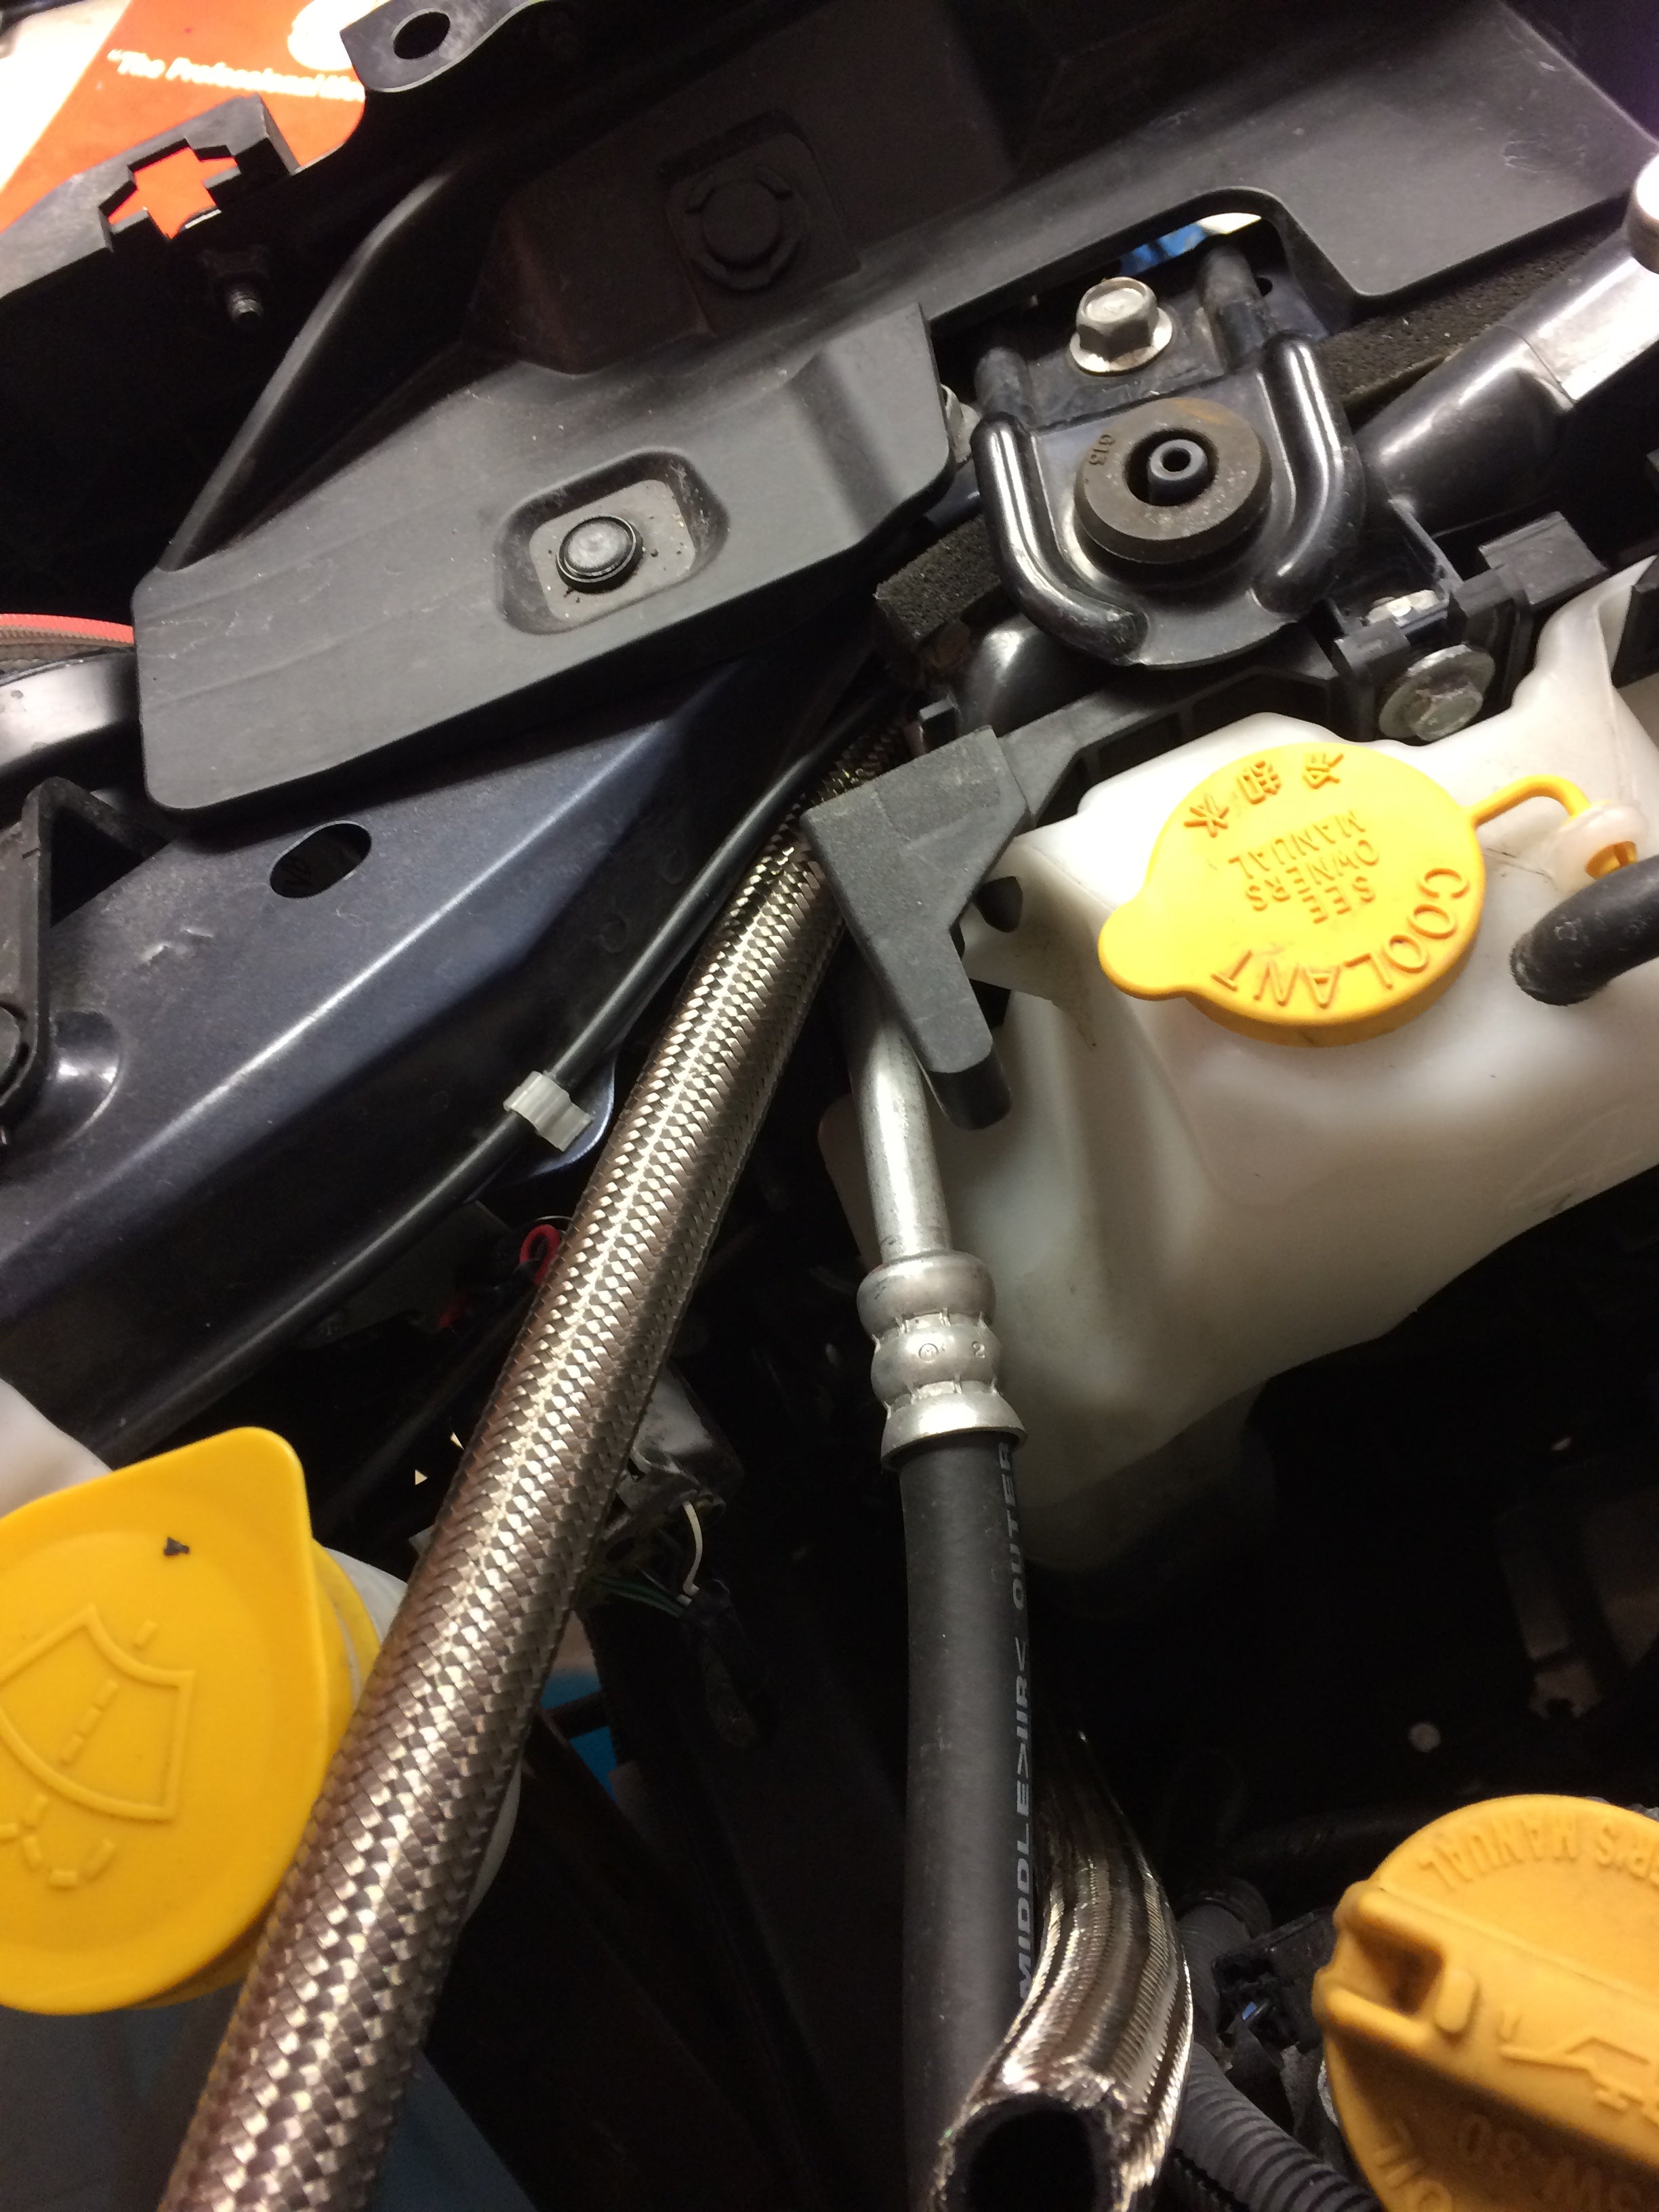
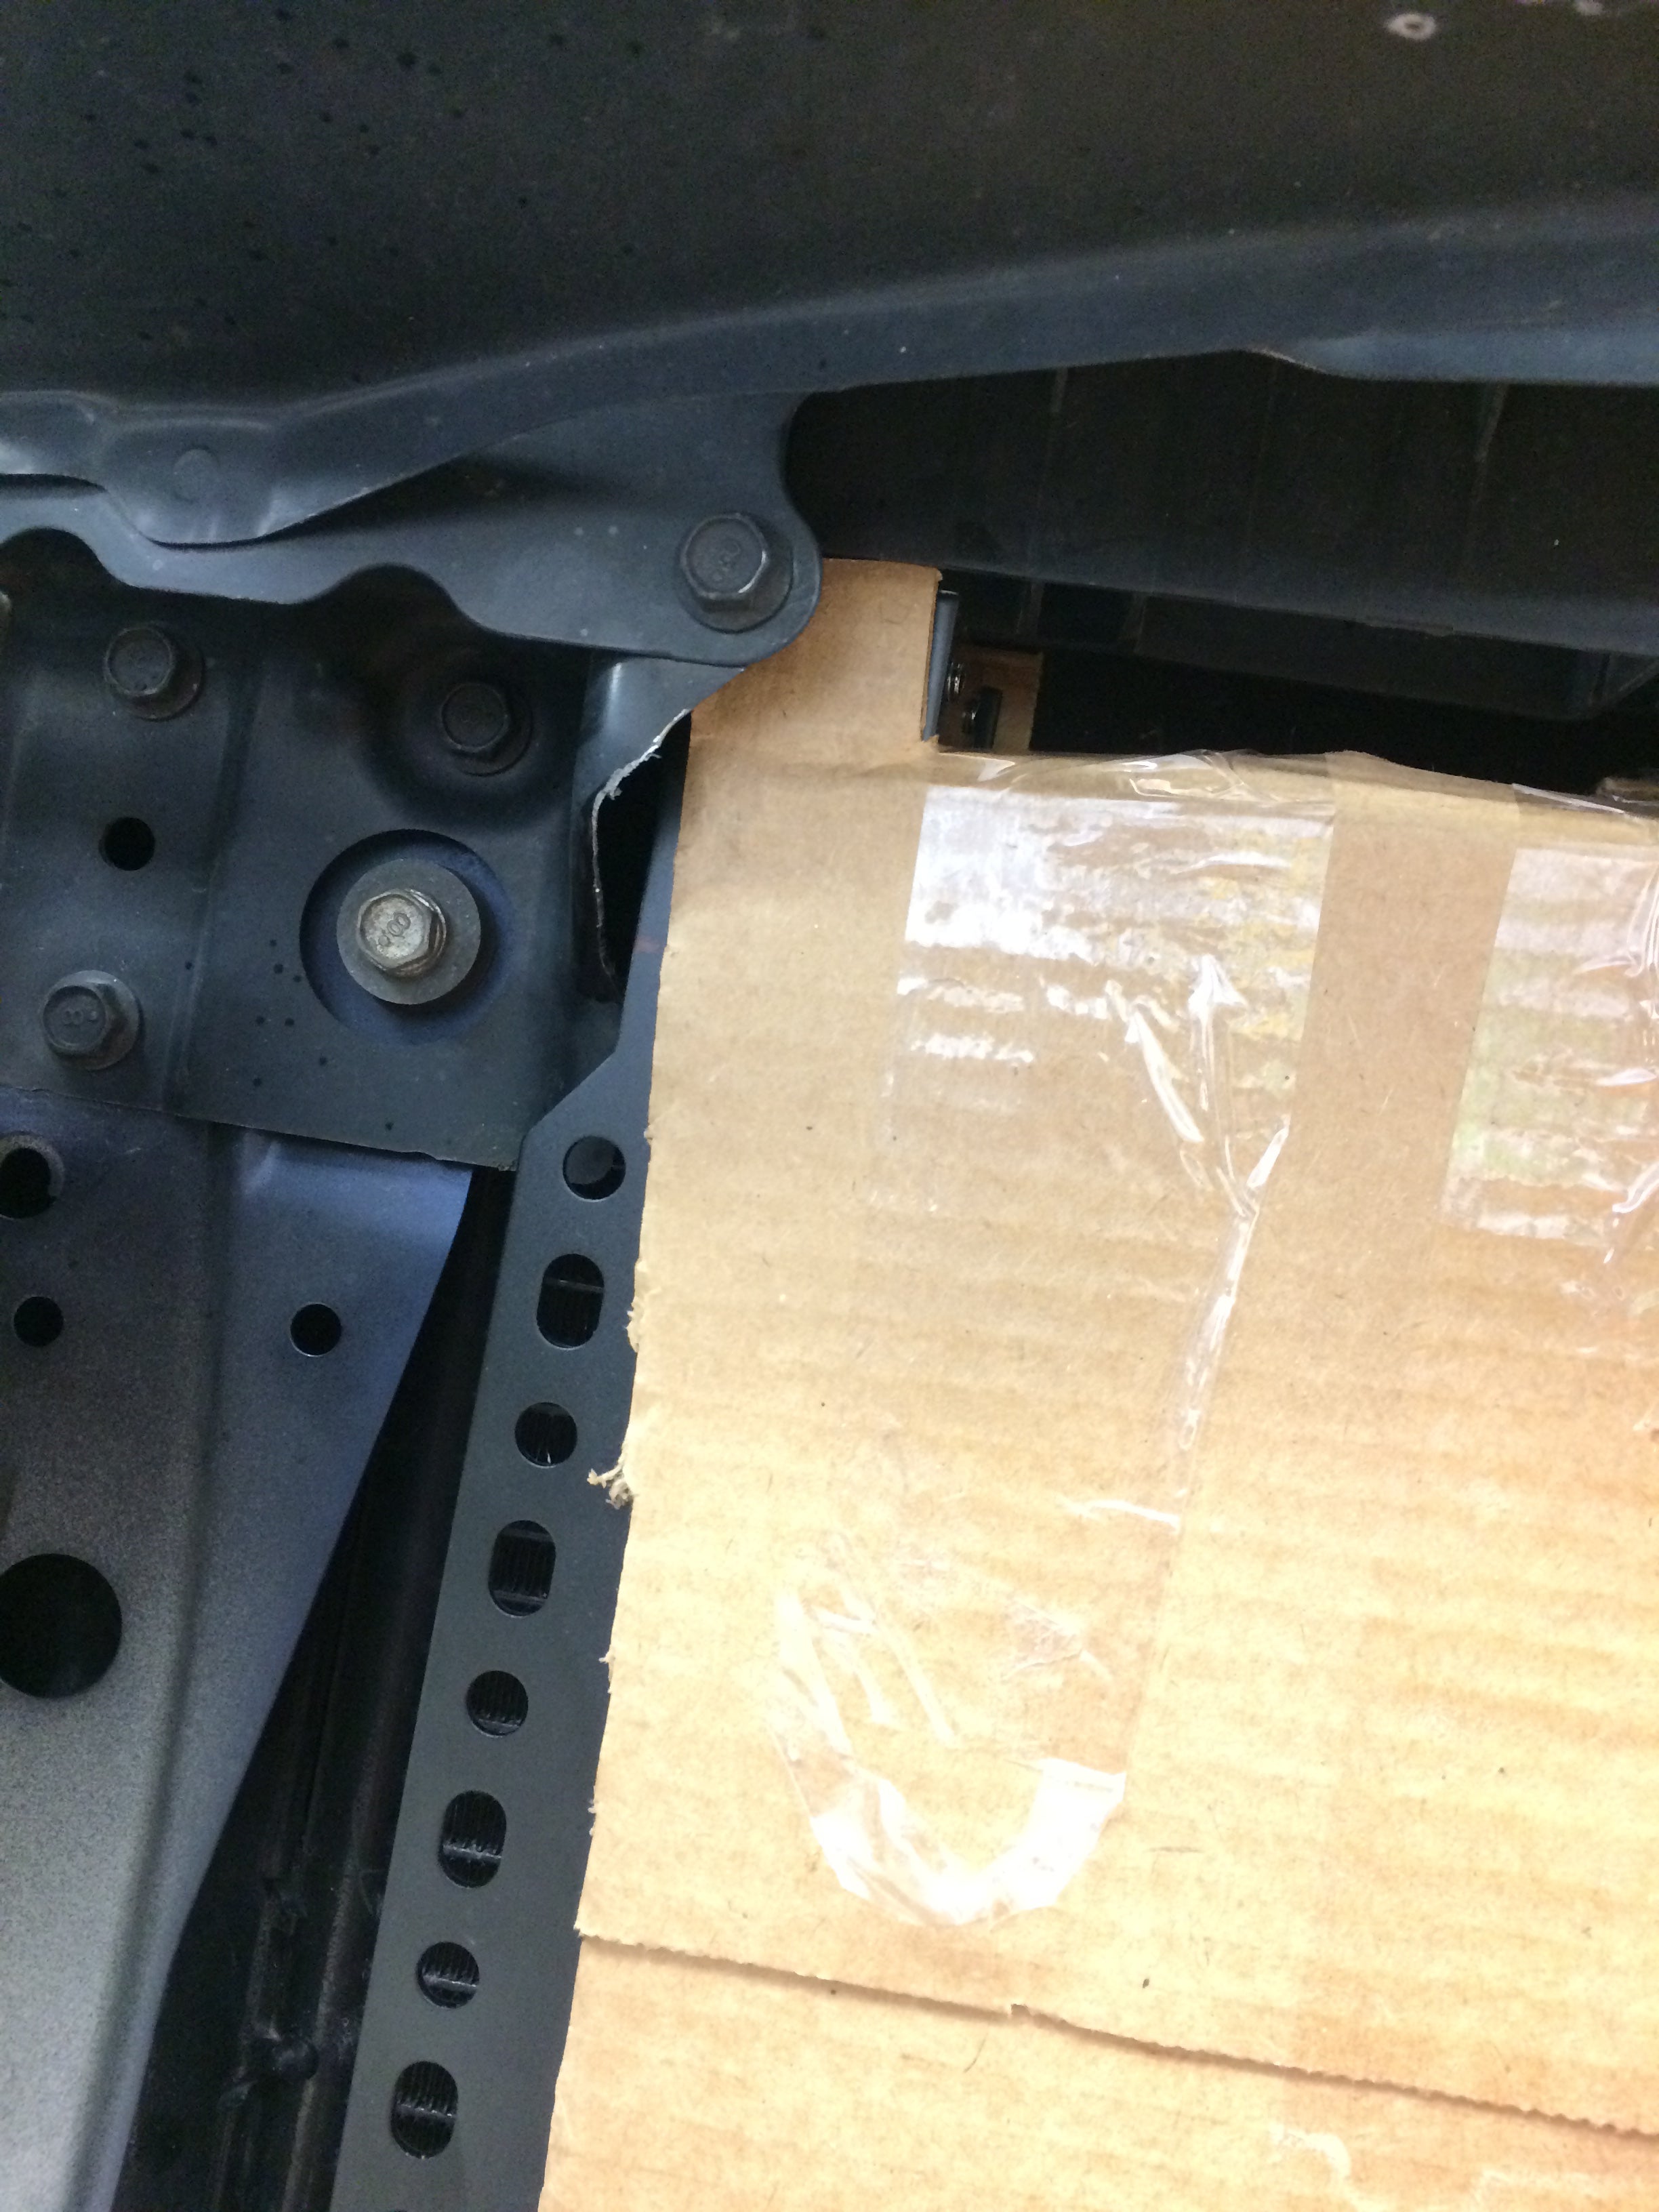
With most of my parts in hand it was time to begin figuring out how exactly they are going to fit on the car. I didn’t (entirely) go ordering parts blindly, I had made templates out of cardboard to make sure that the core would fit and a user on NASIOC had confirmed that the sandwich plate I was using would fit with only small modifications. However, as with most things the devil is in the details. My plan this weekend was just to get in there and figure out what all was needed to make it happen, that way I didn’t go off buying a bunch of hardware and other raw materials that are totally unnecessary or not even possible to use (though I did some of that anyway). Without further delay, on to the pictures!
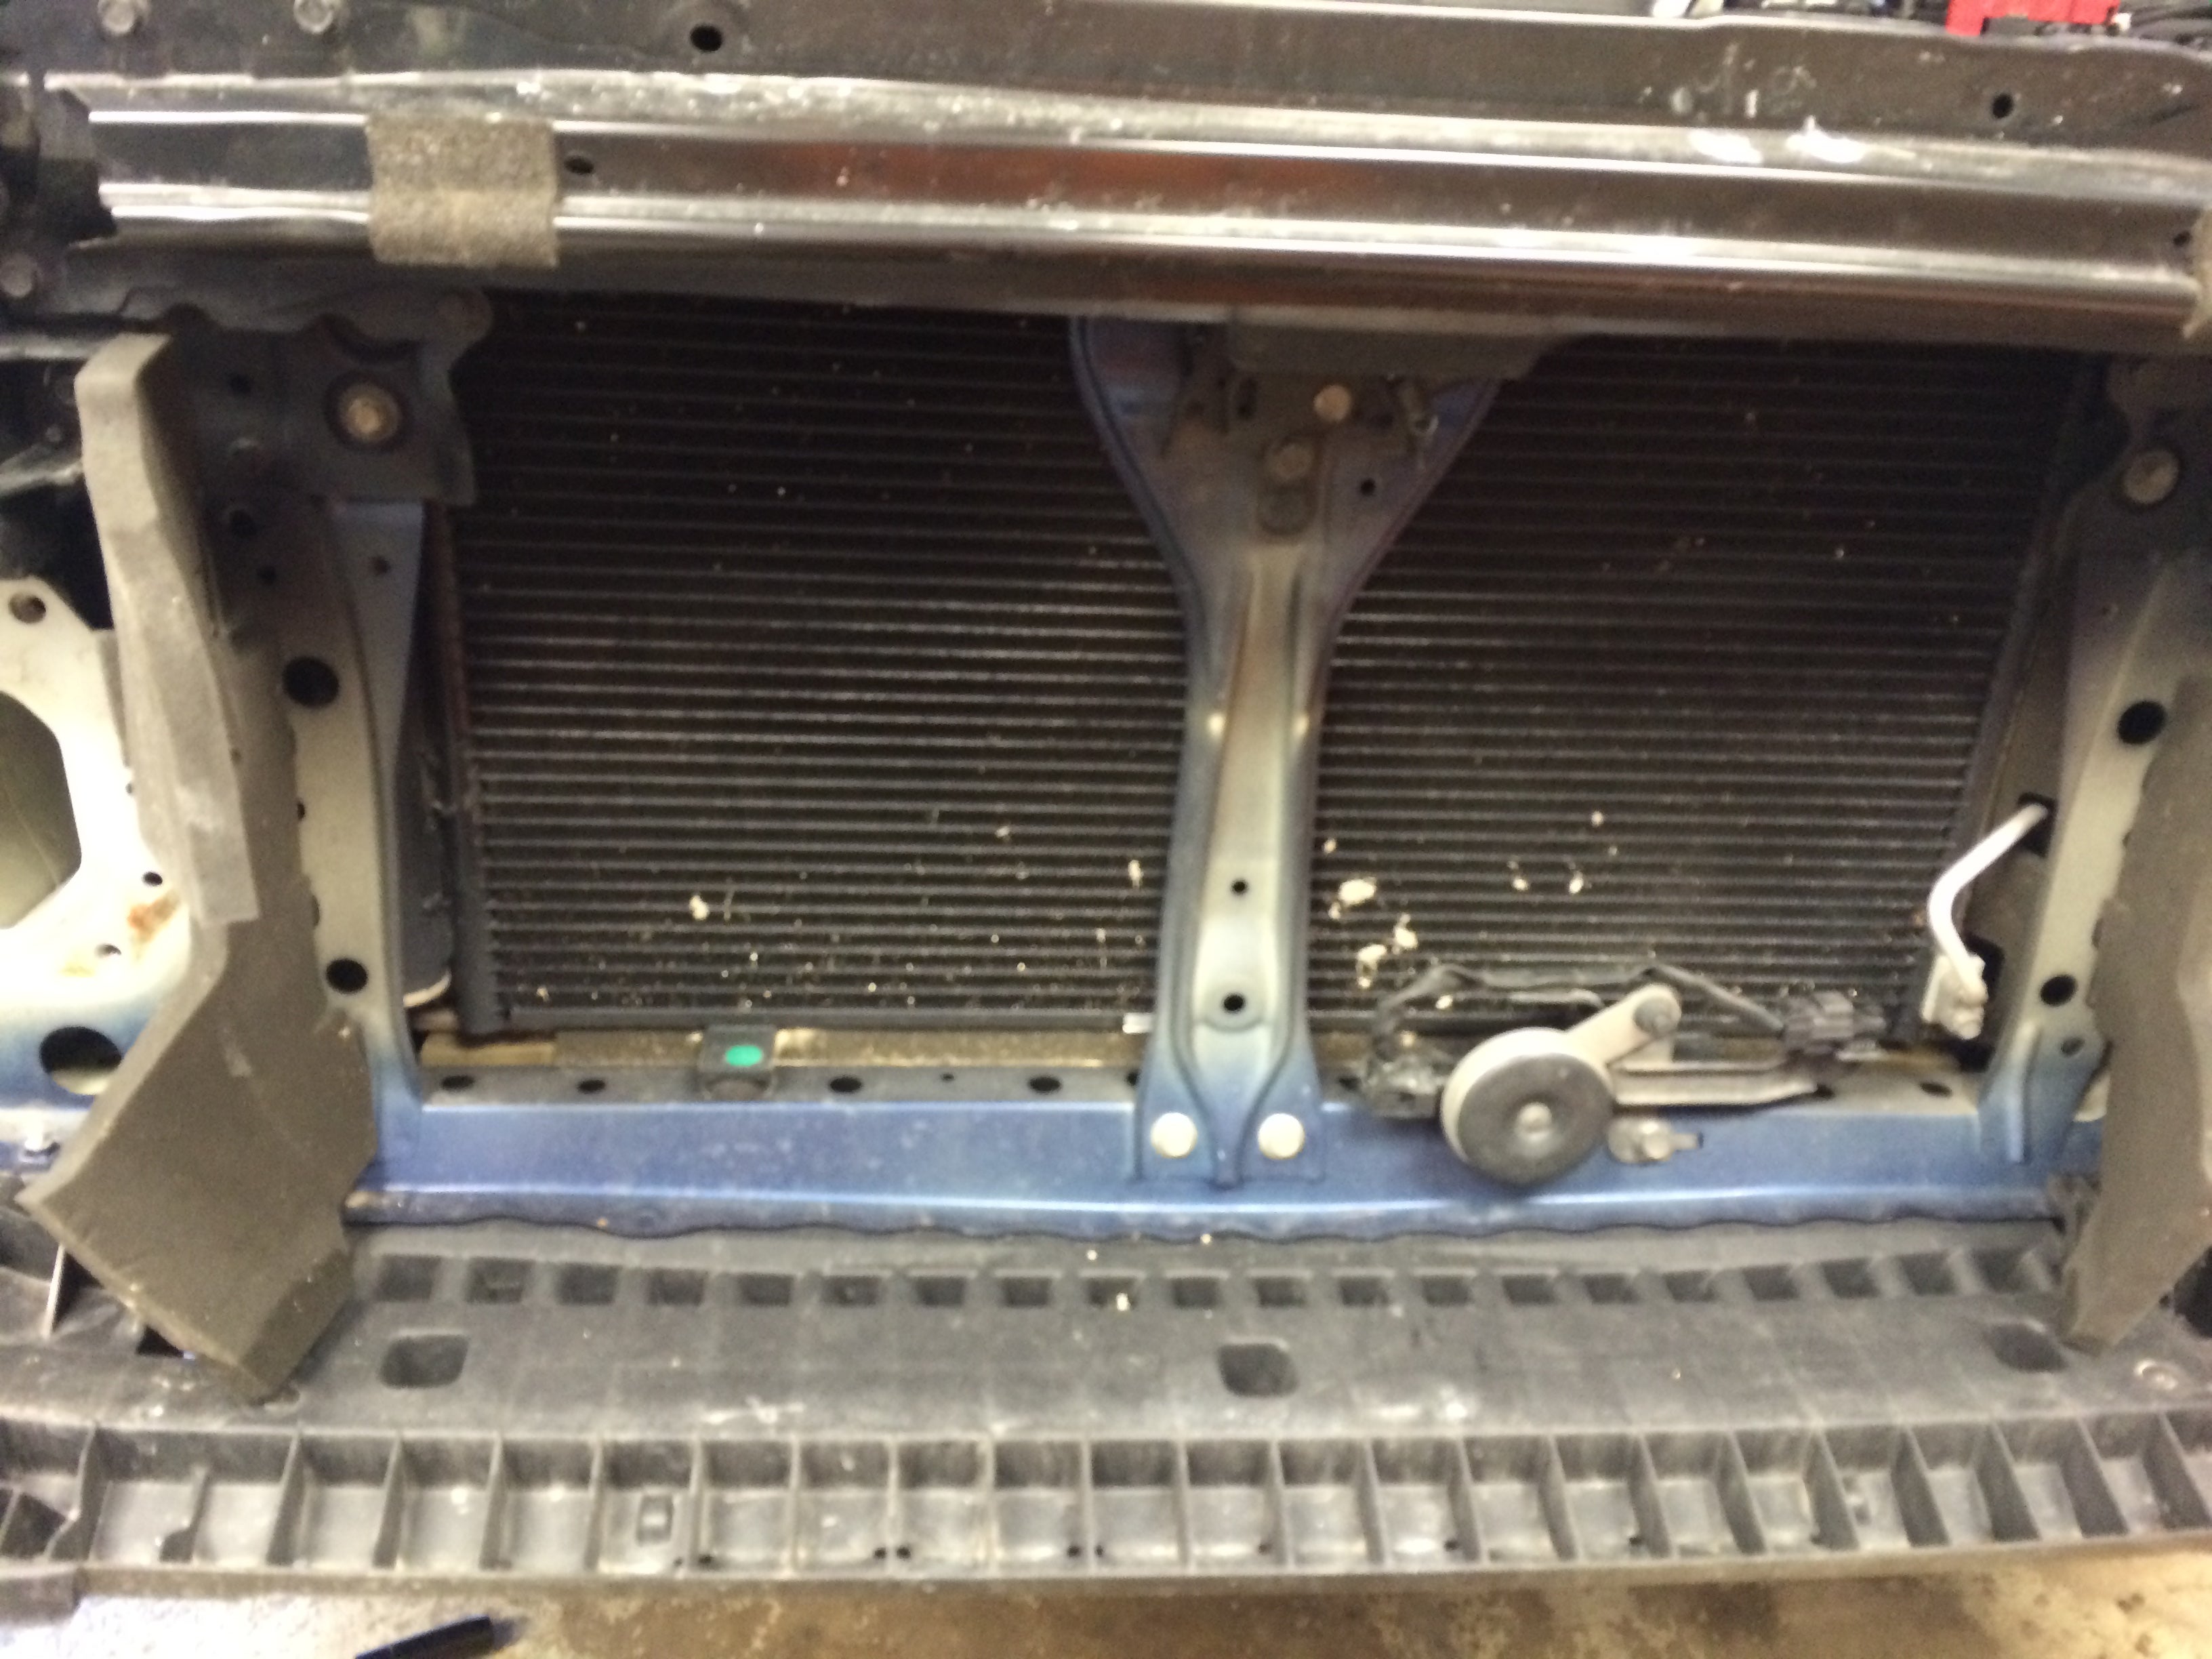
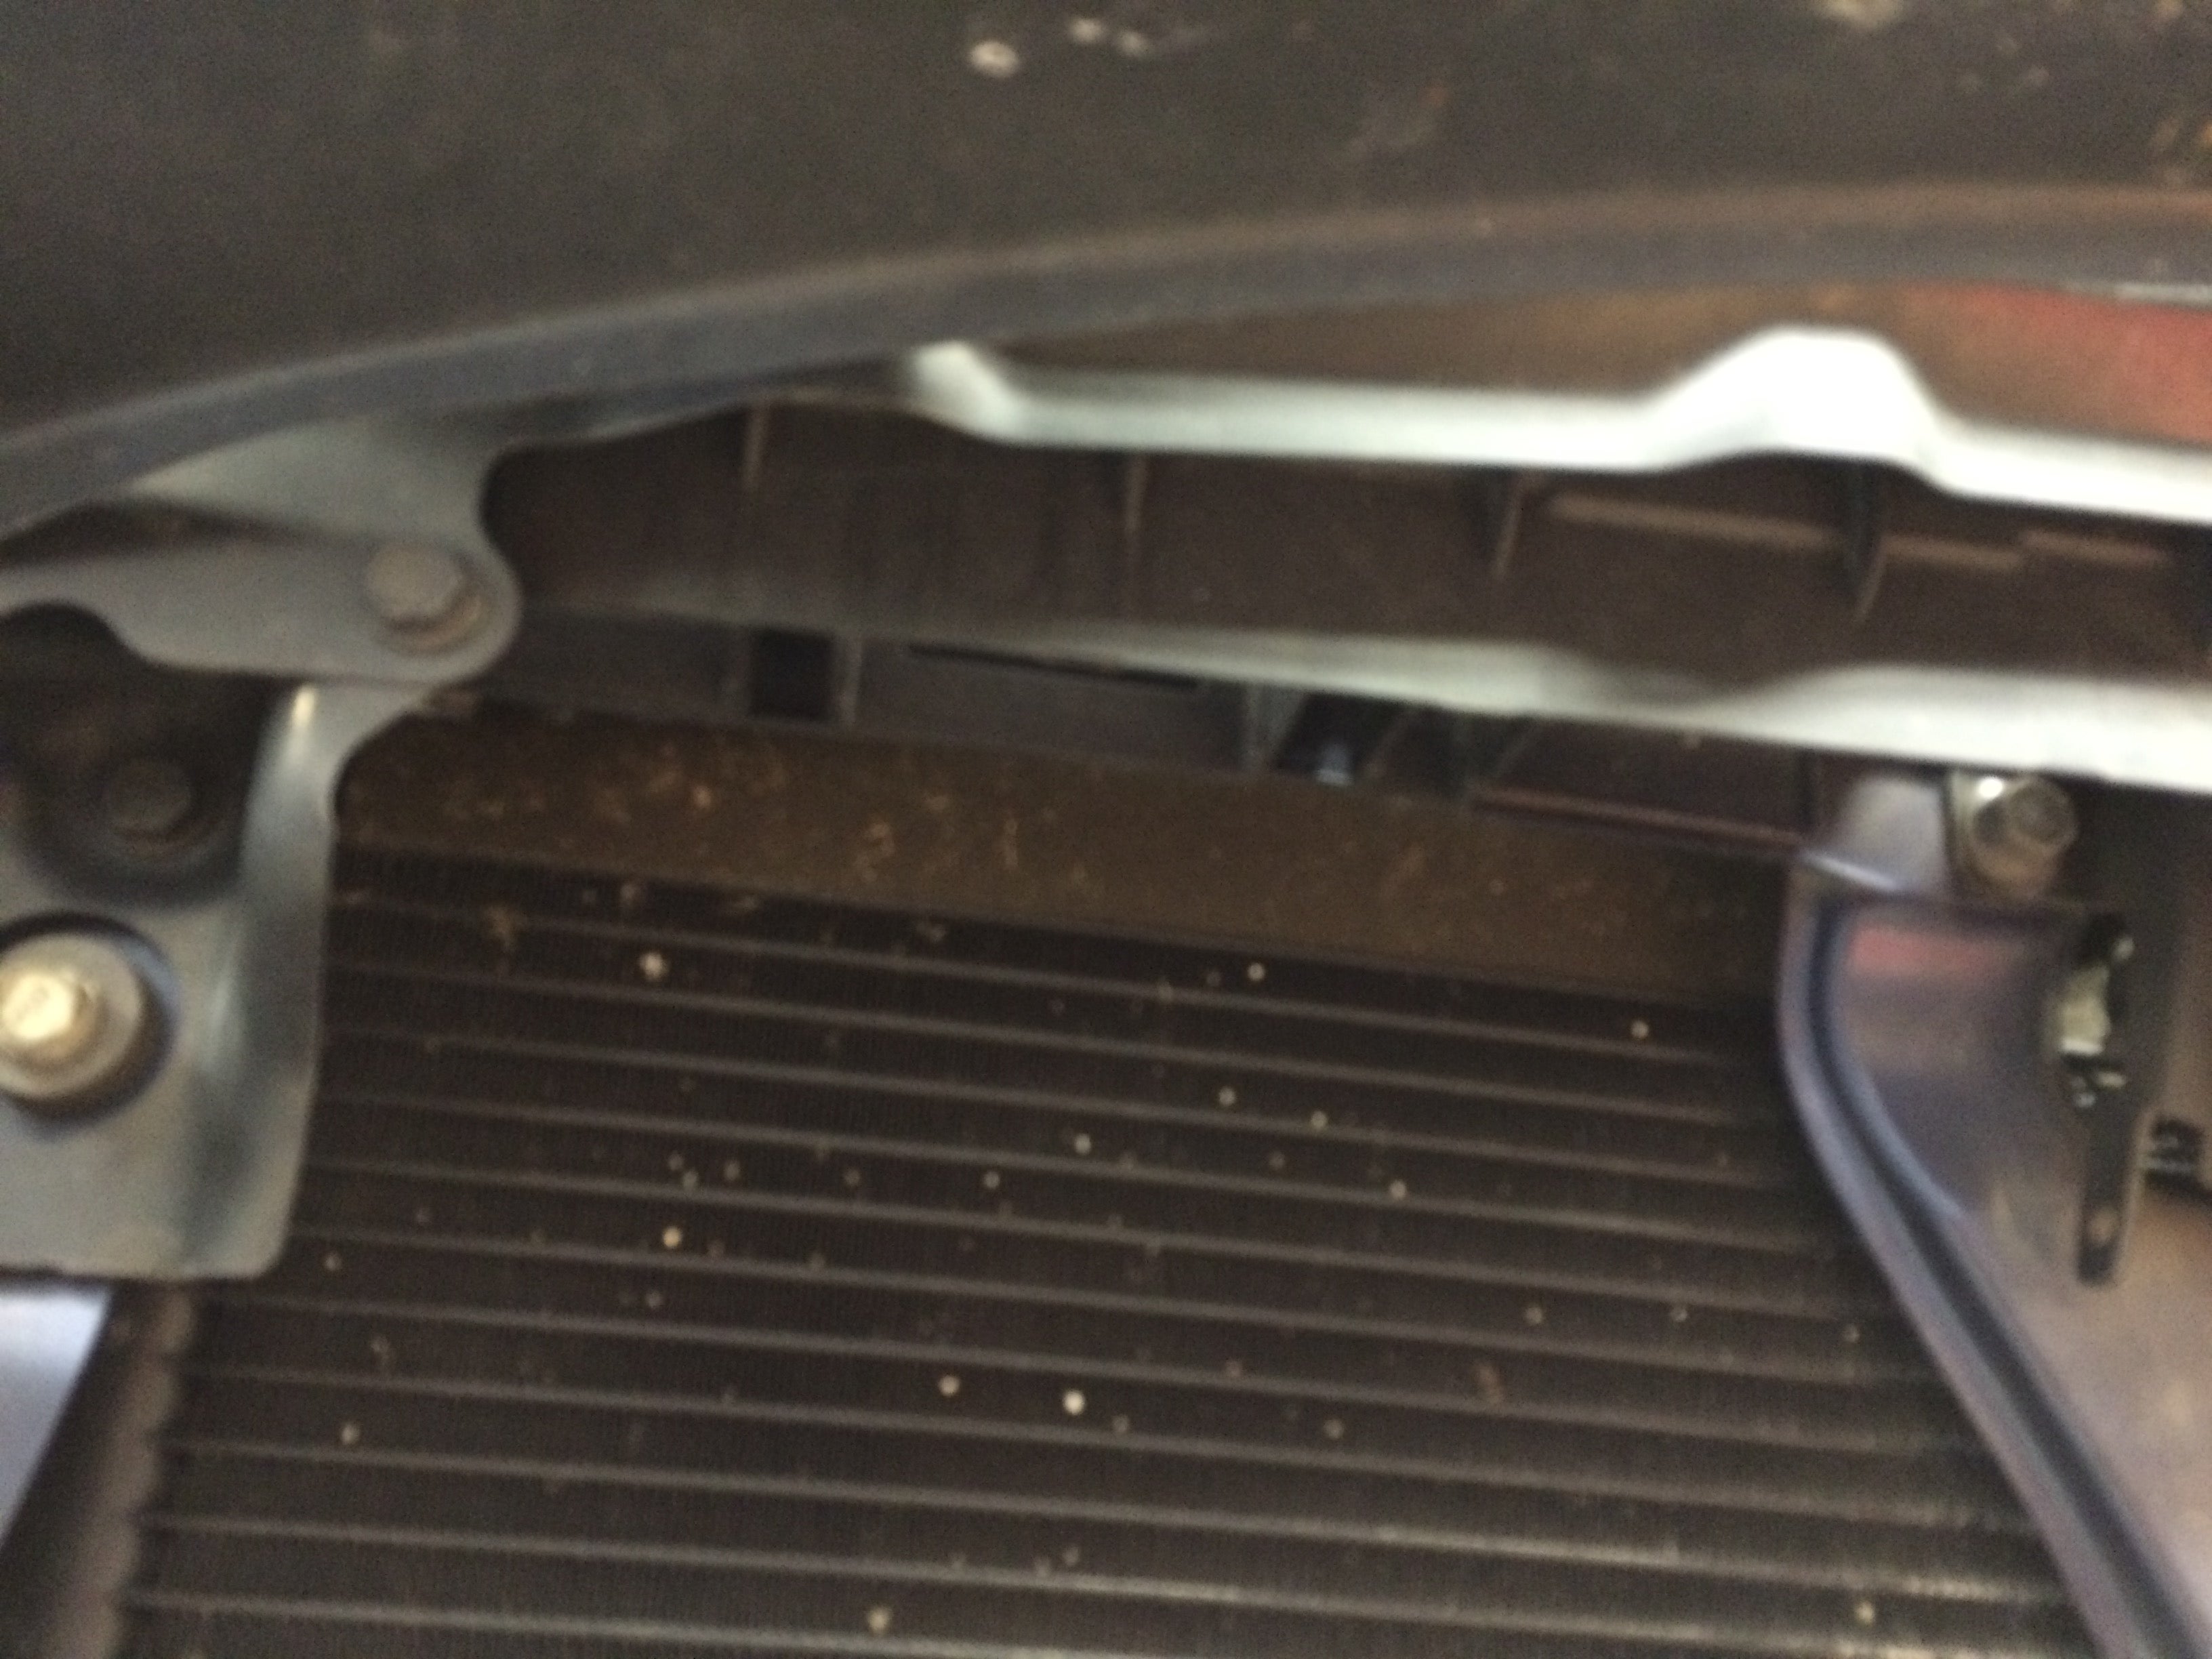
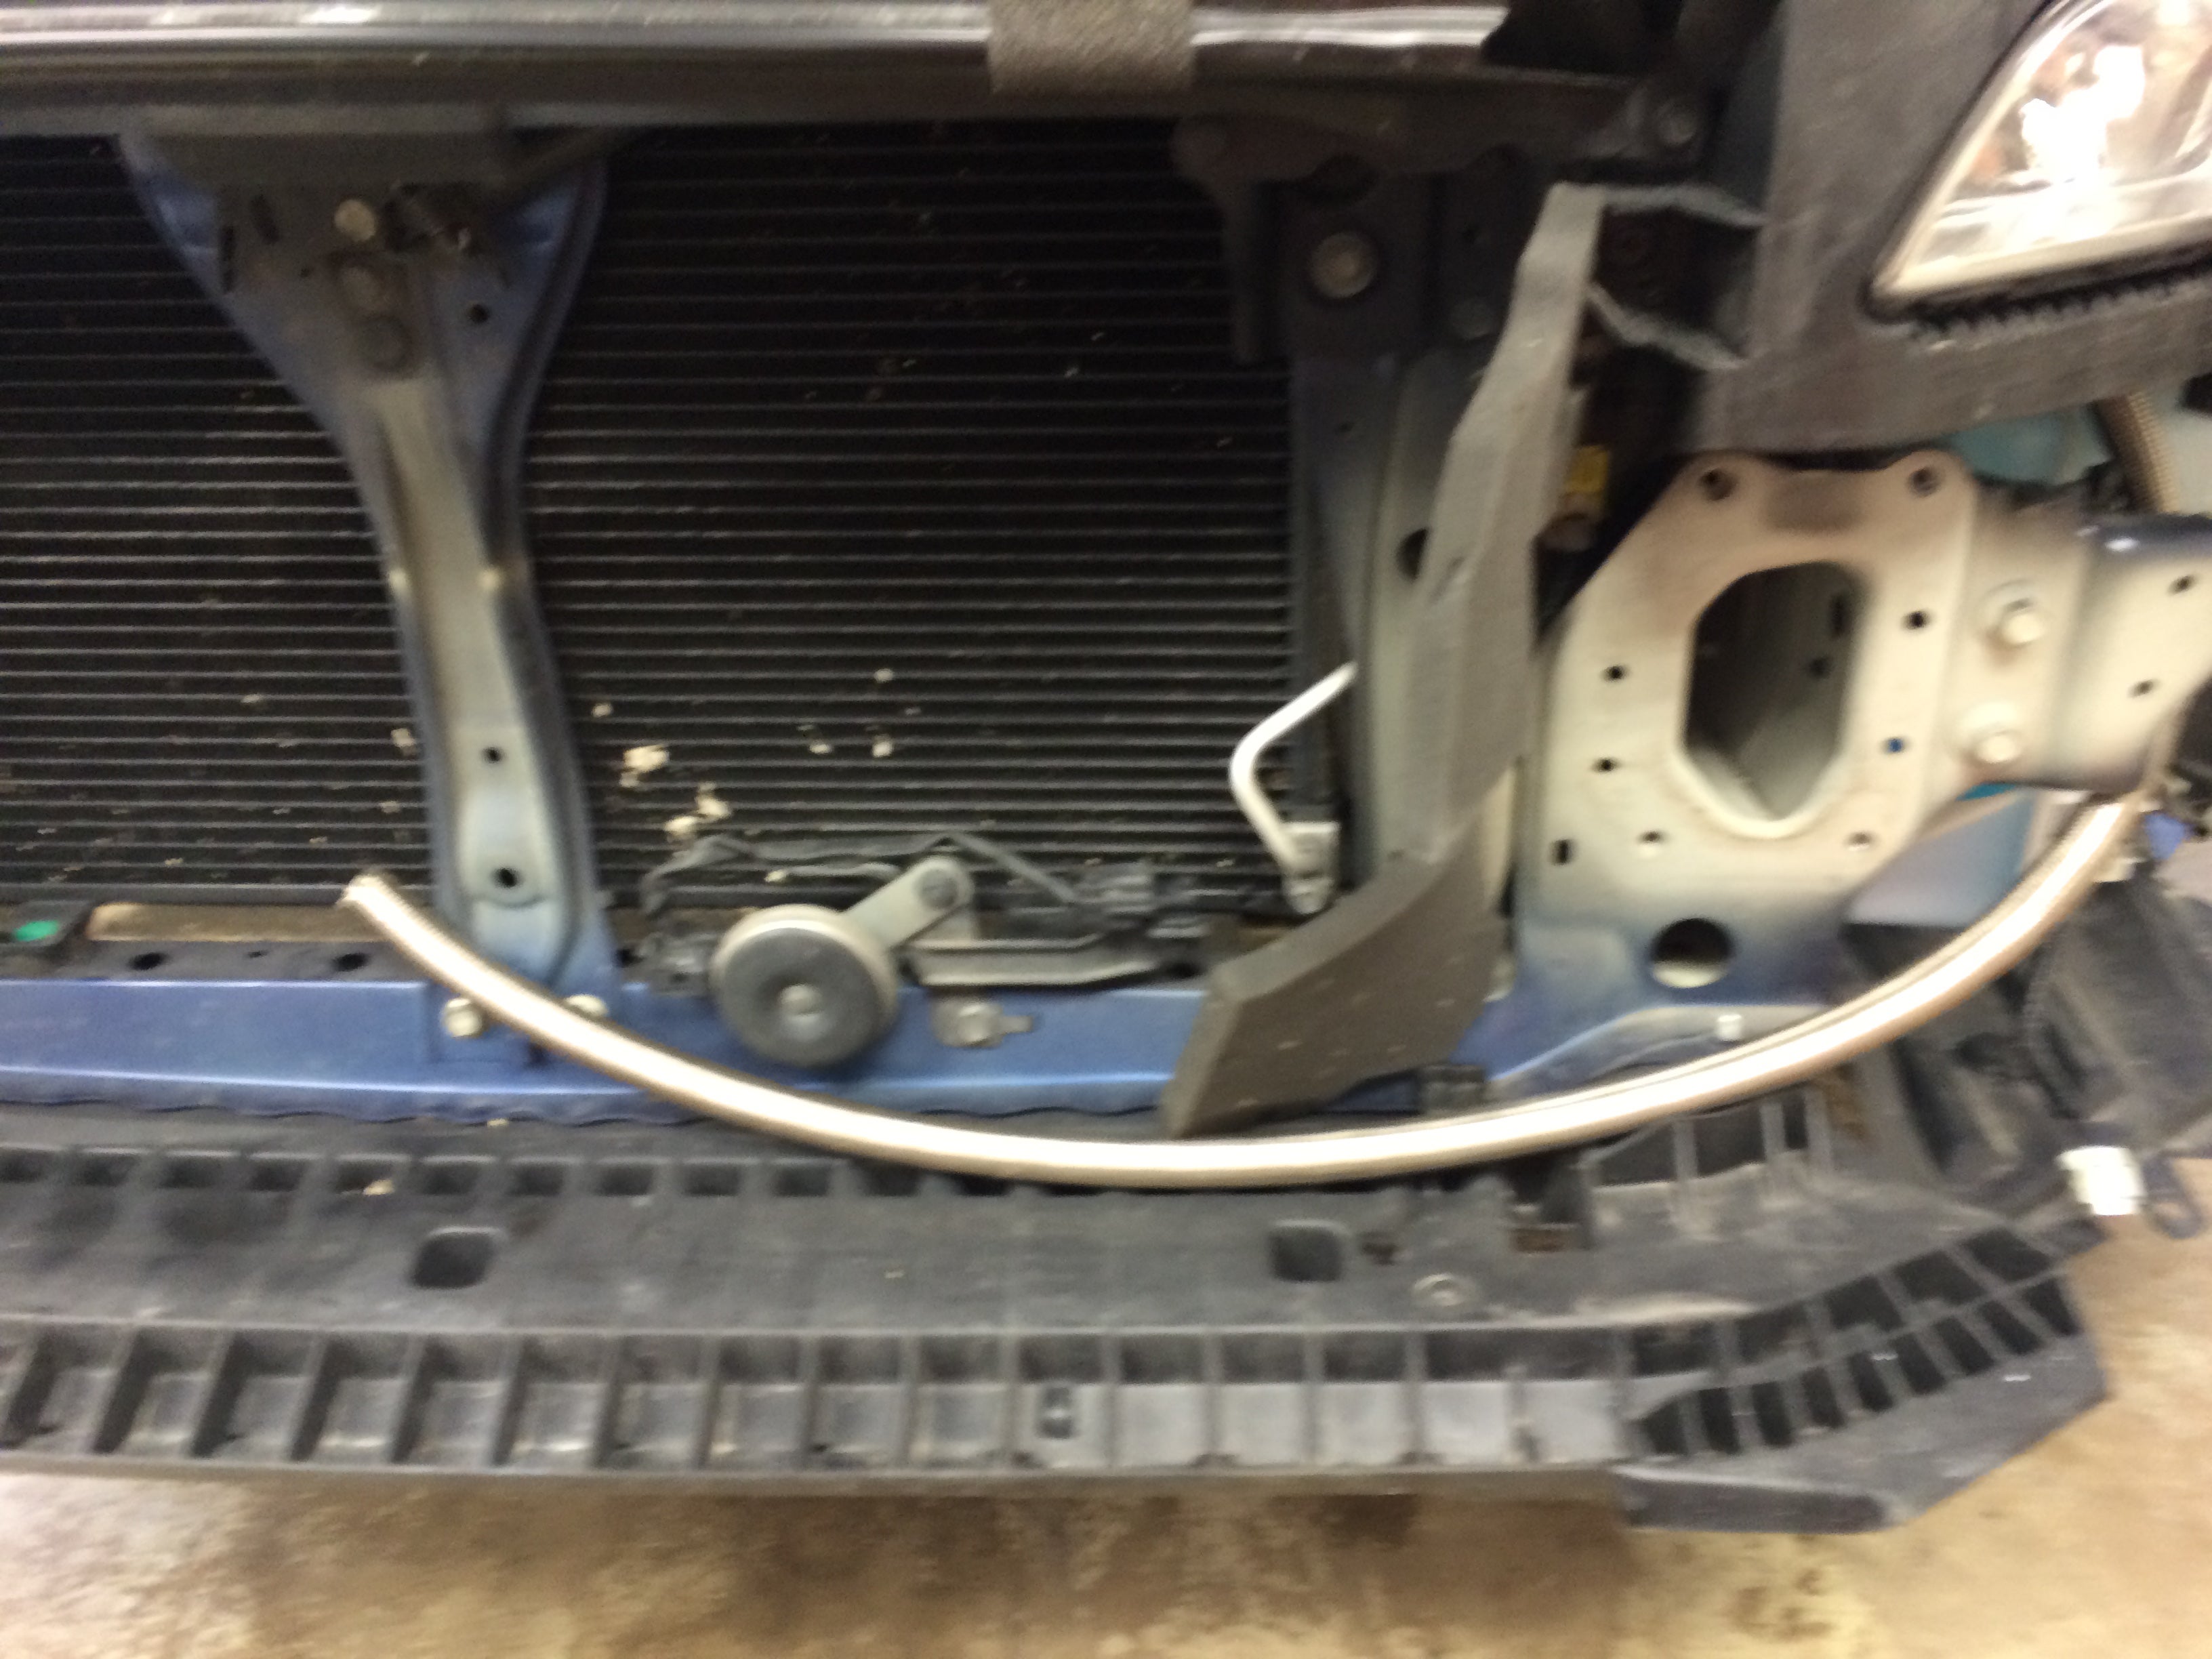
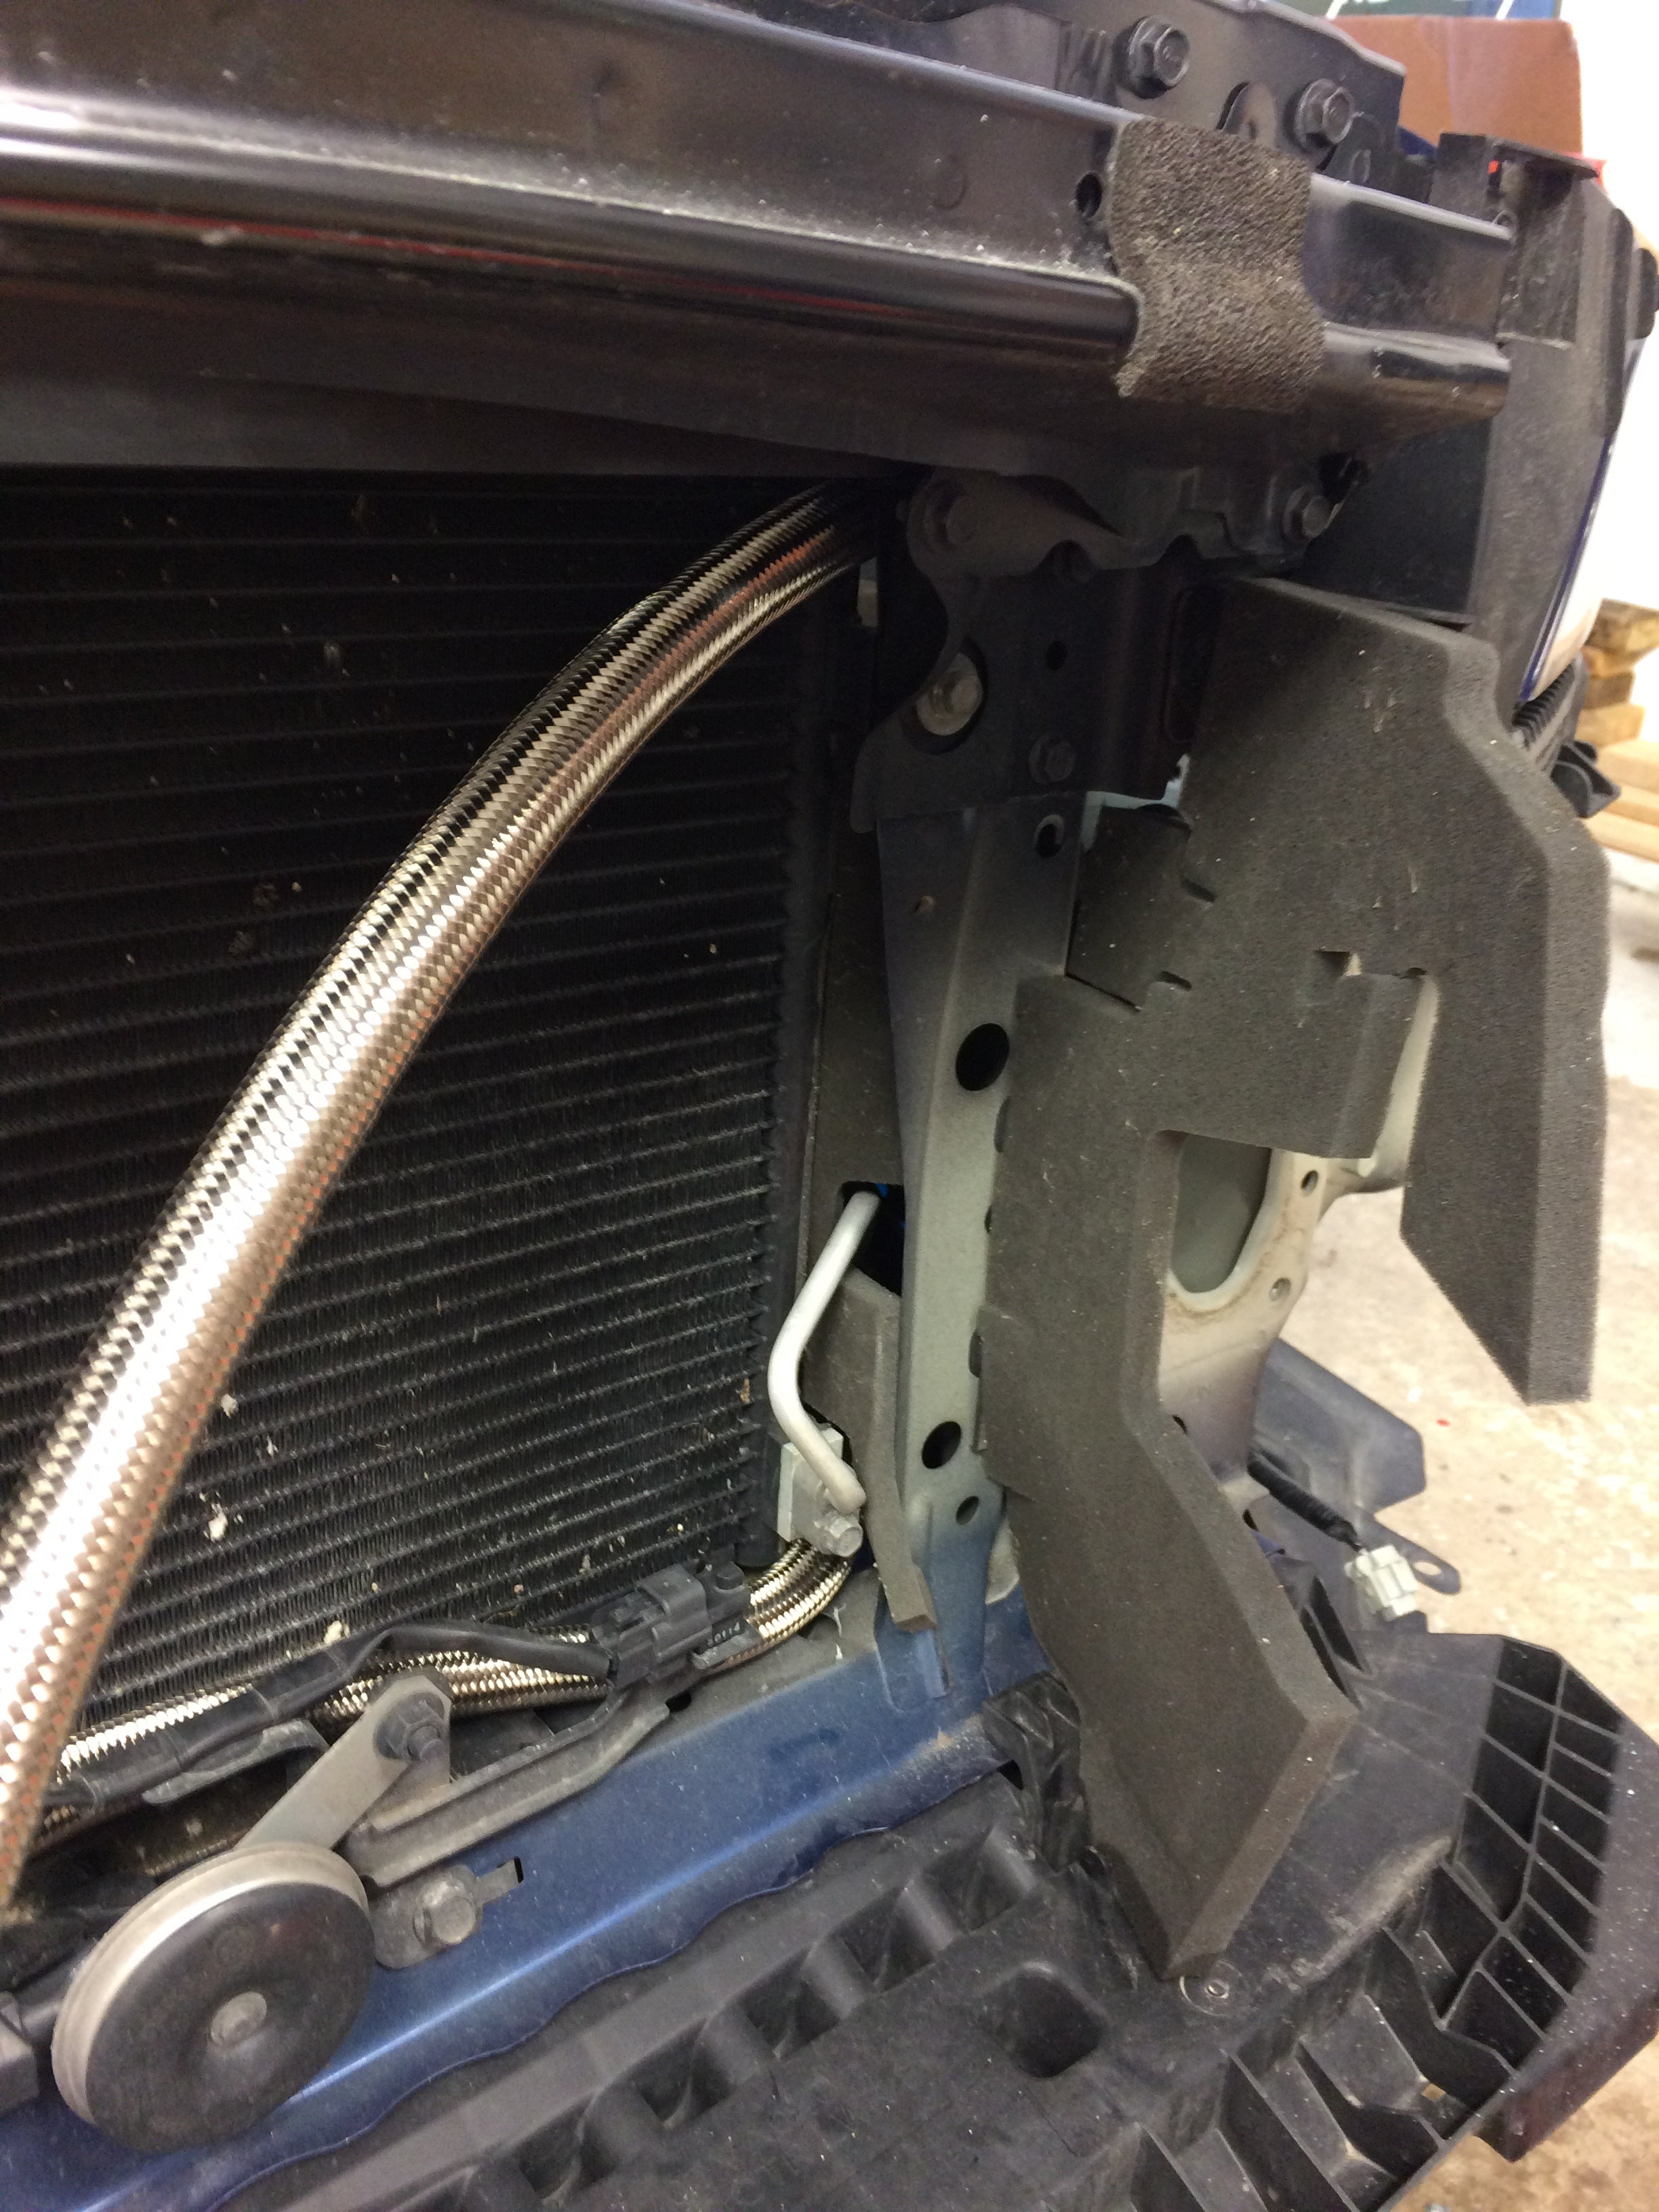
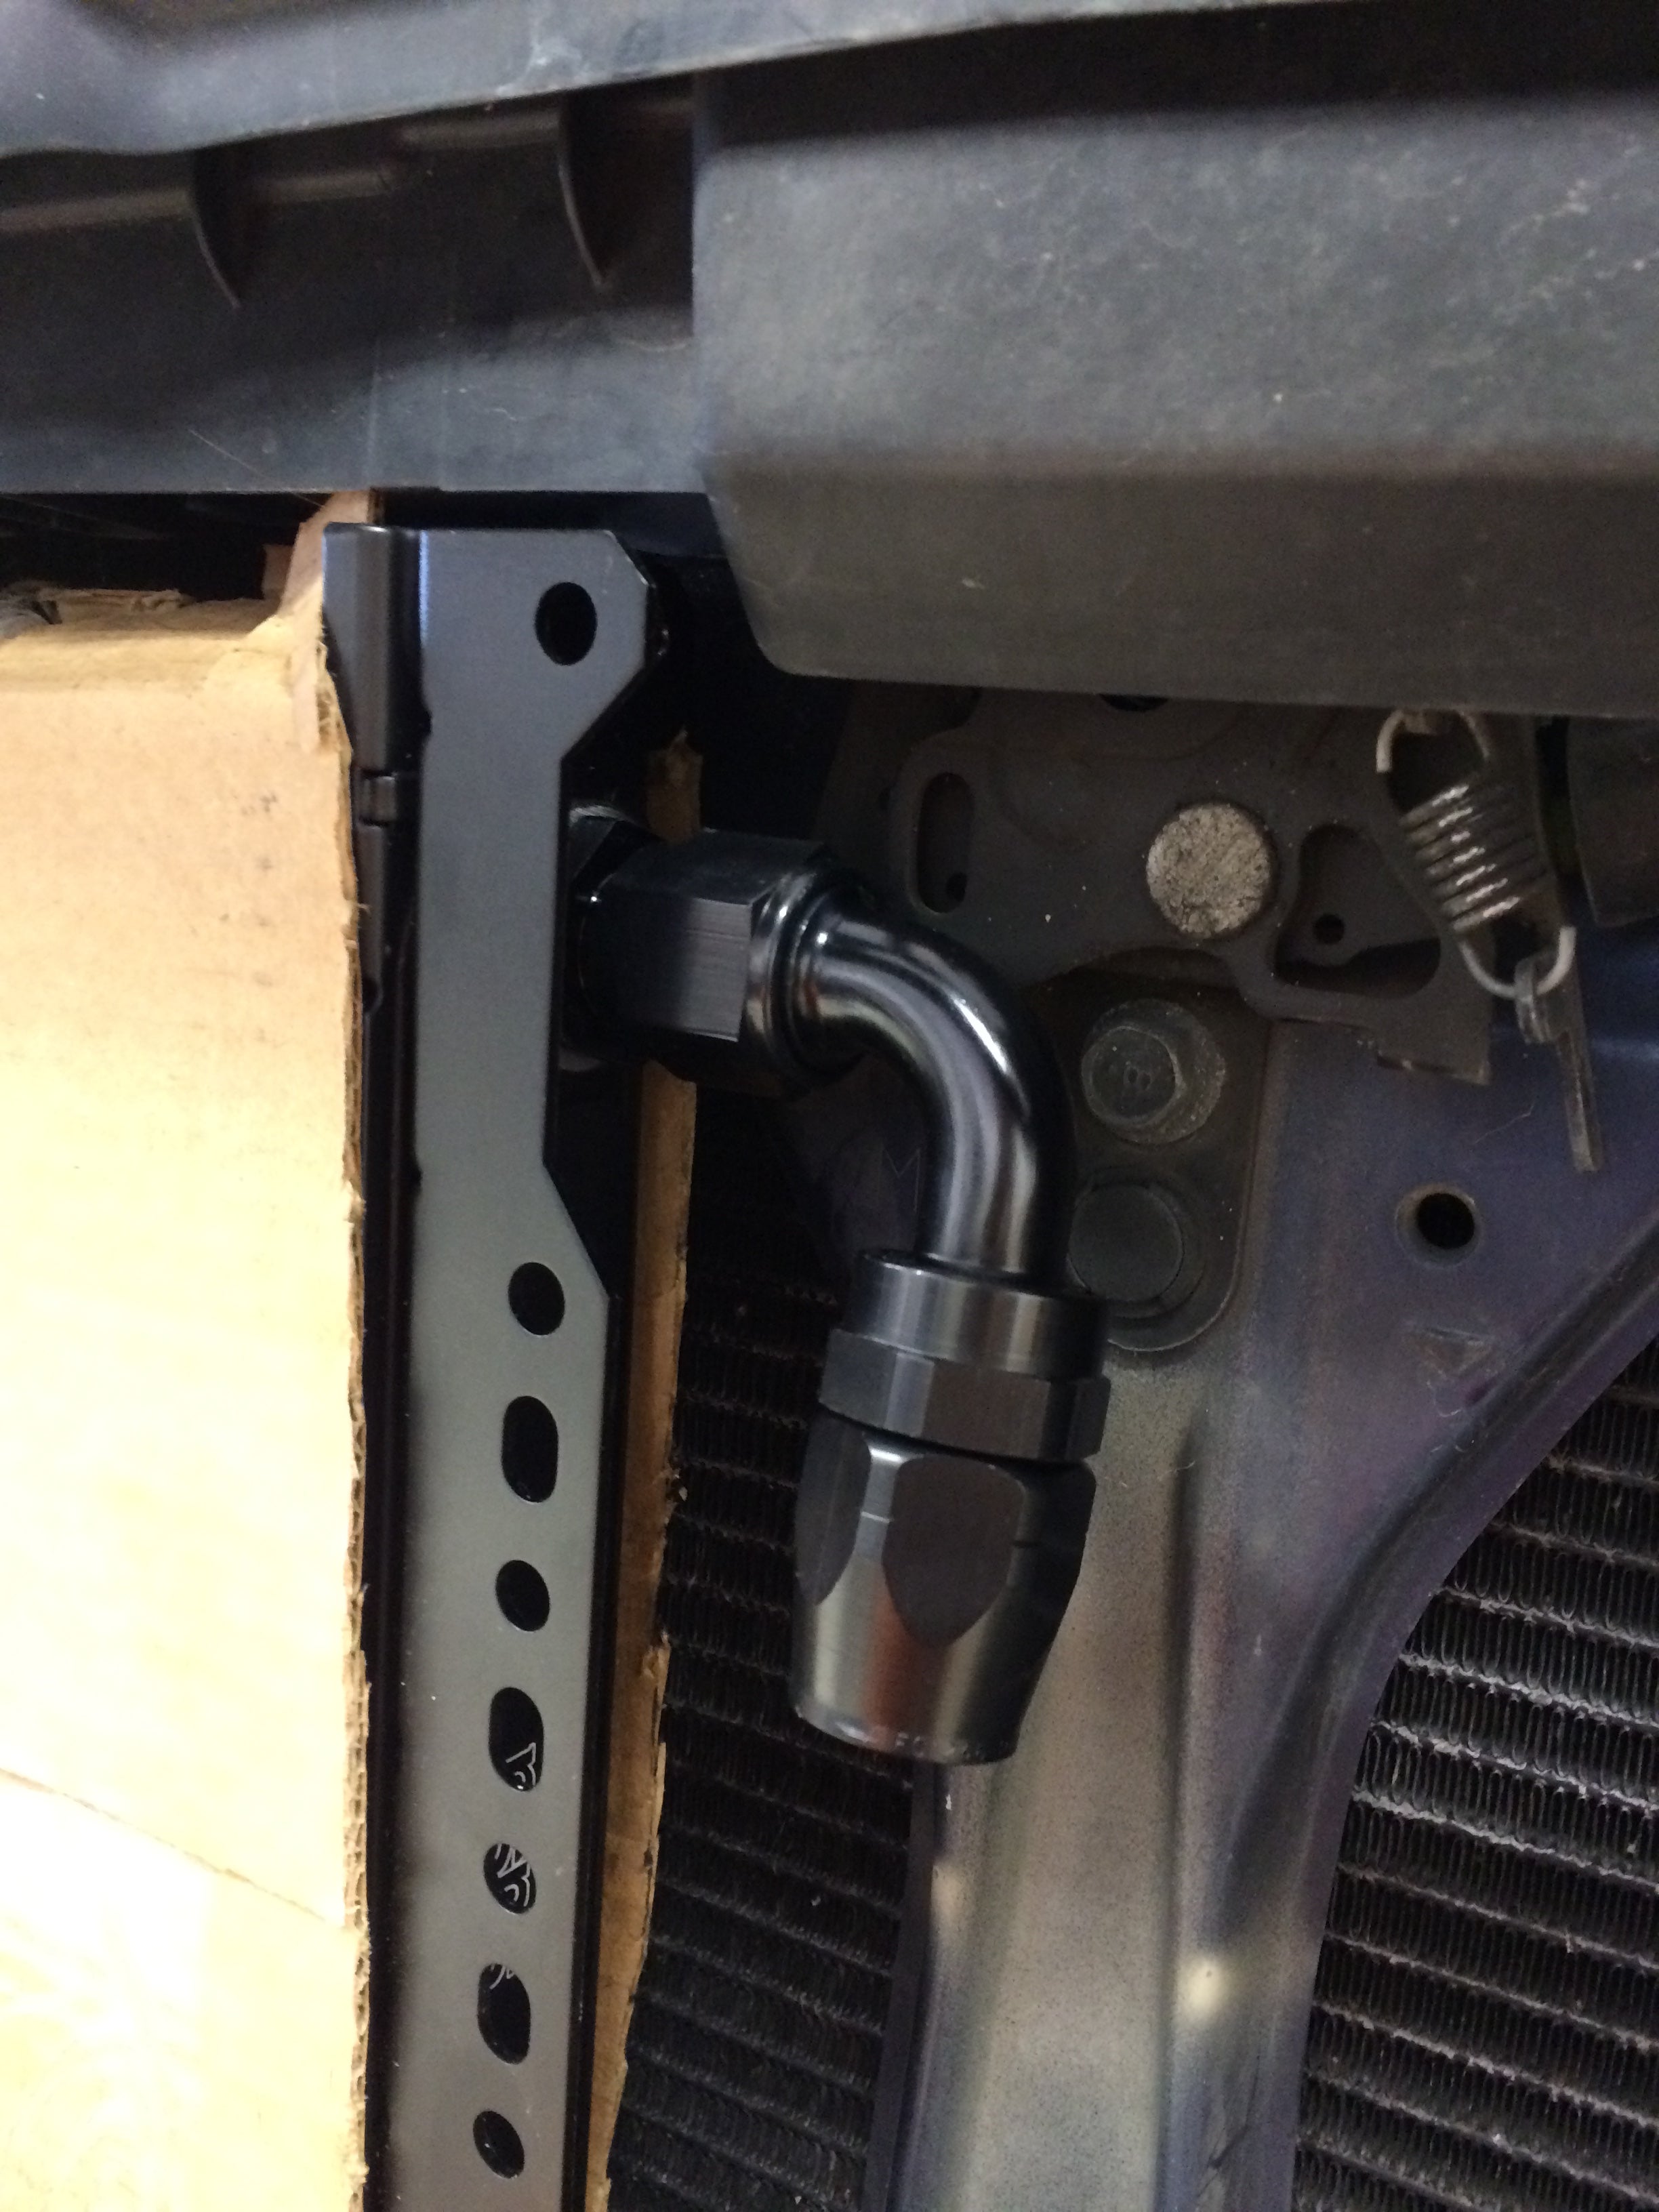
Had to remove the crash bar to get the core in, it isn’t going to interfere with anything once its all mounted

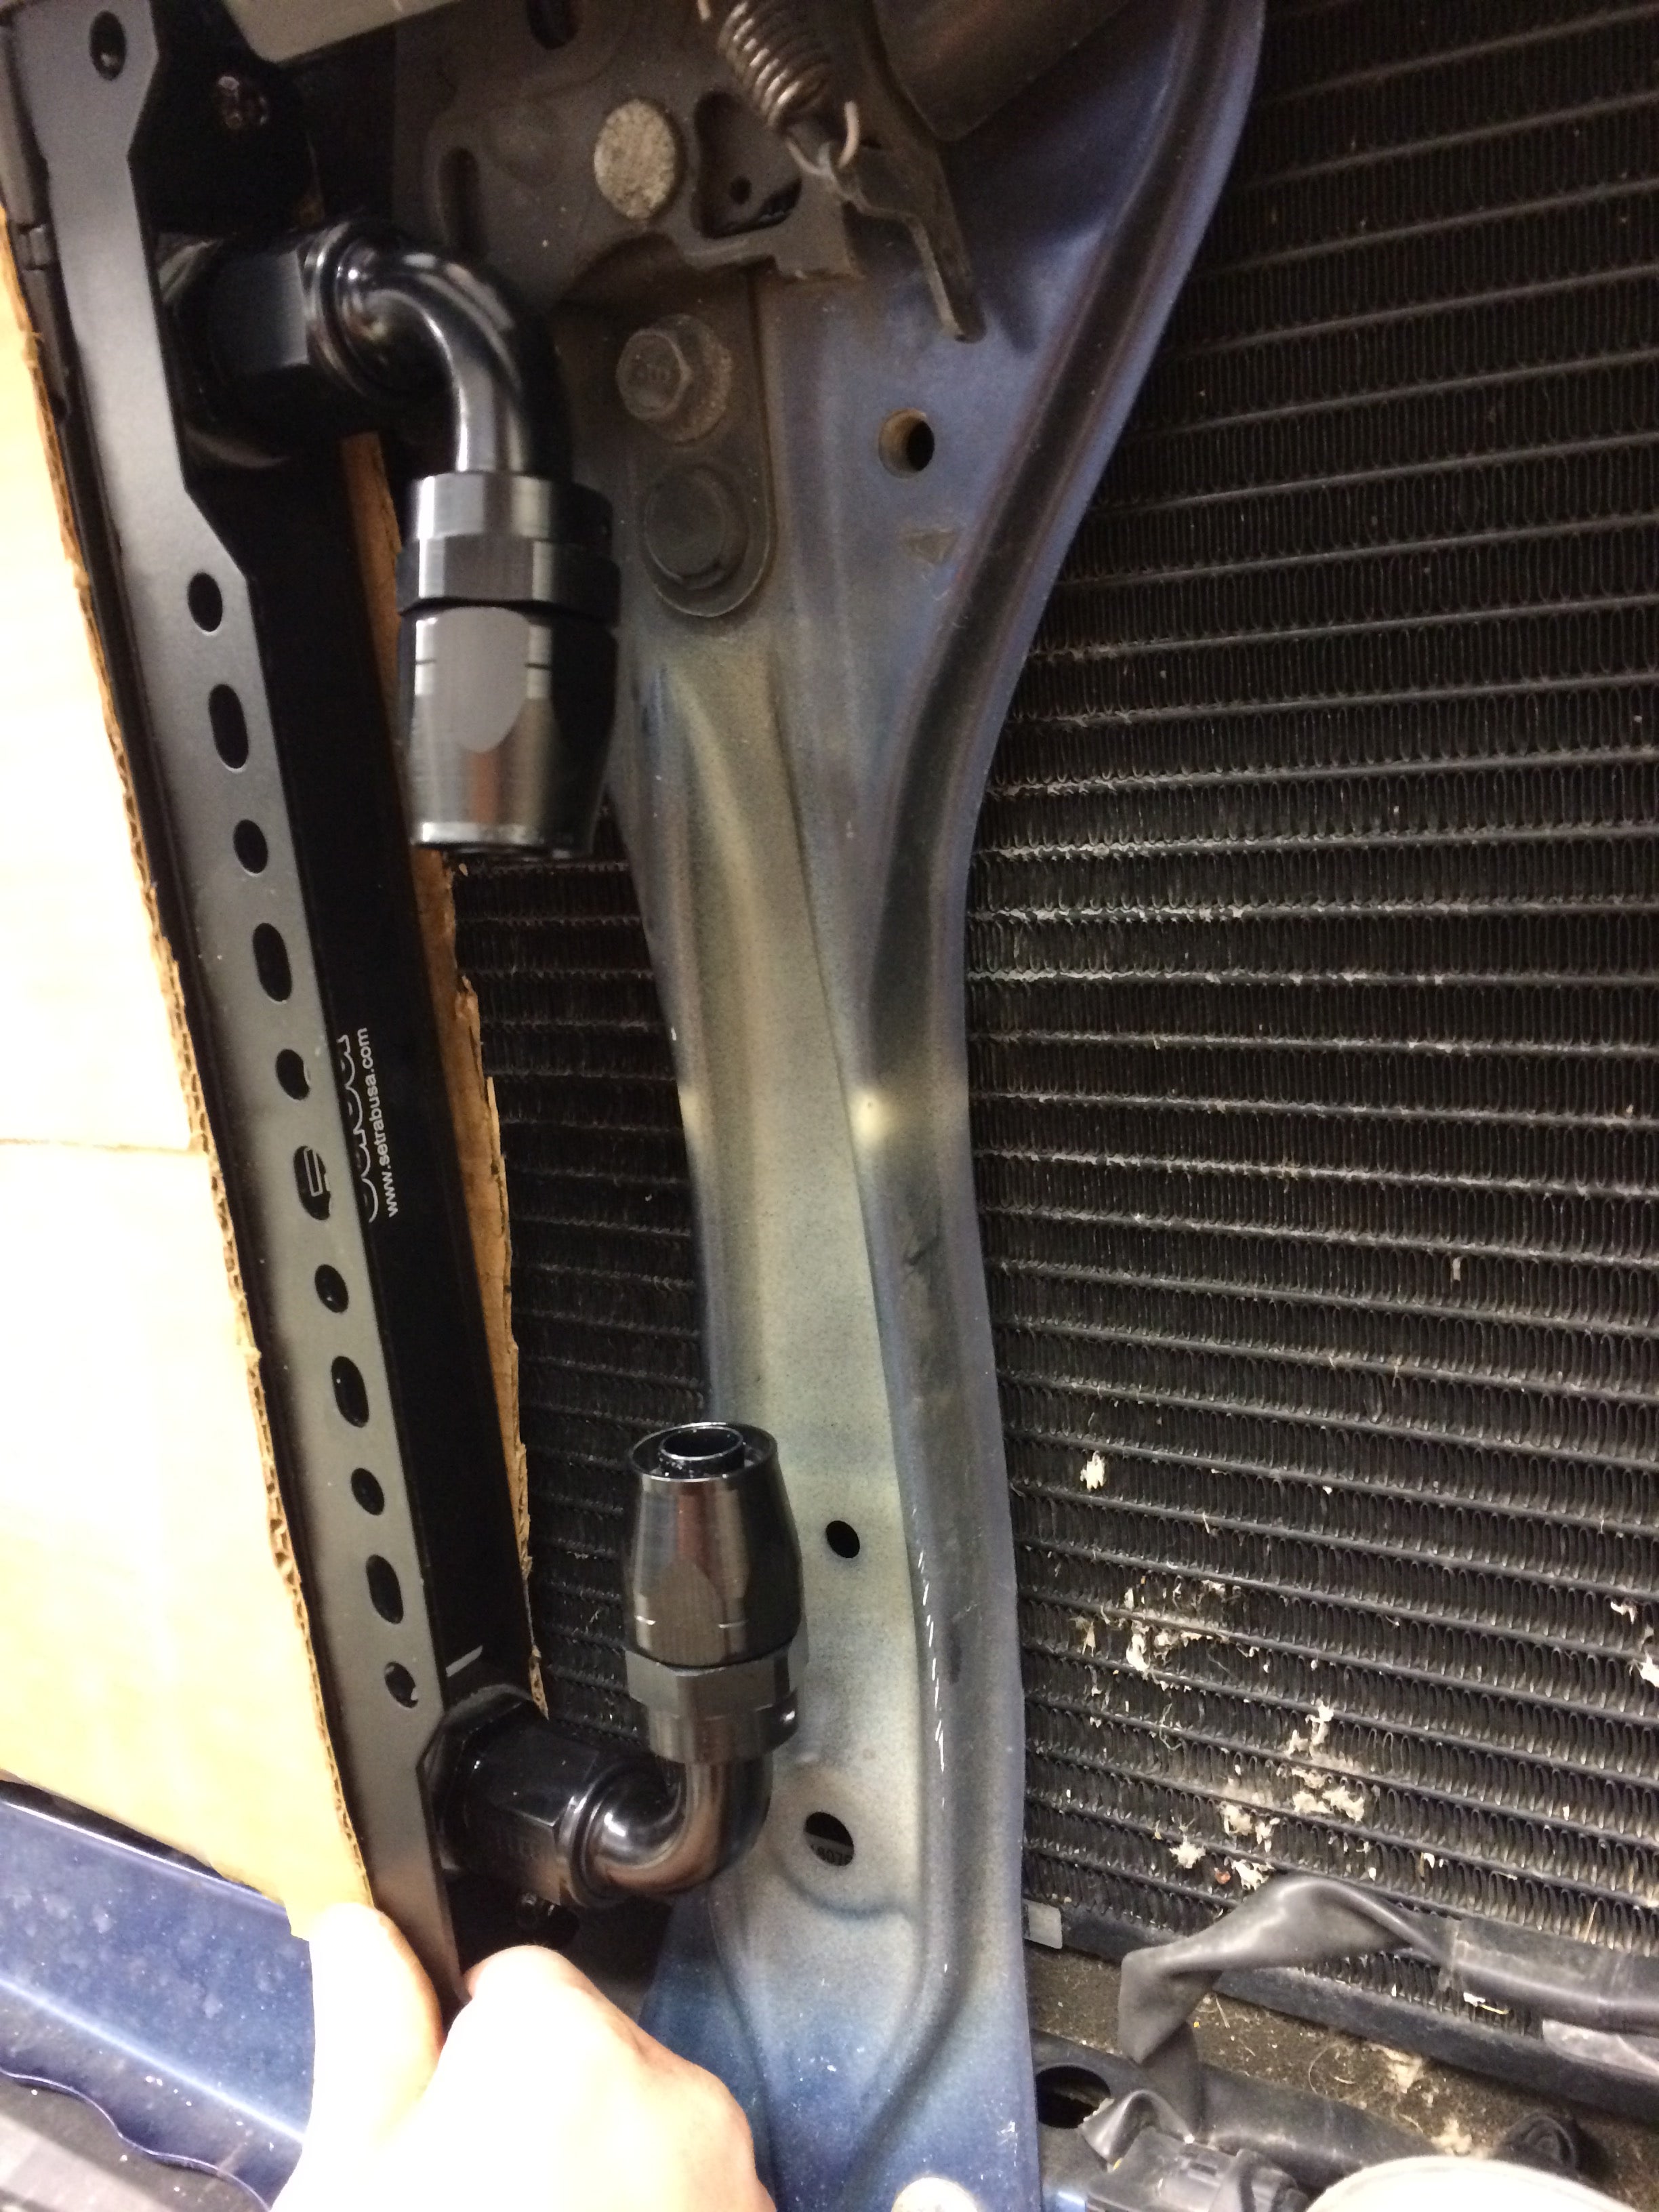
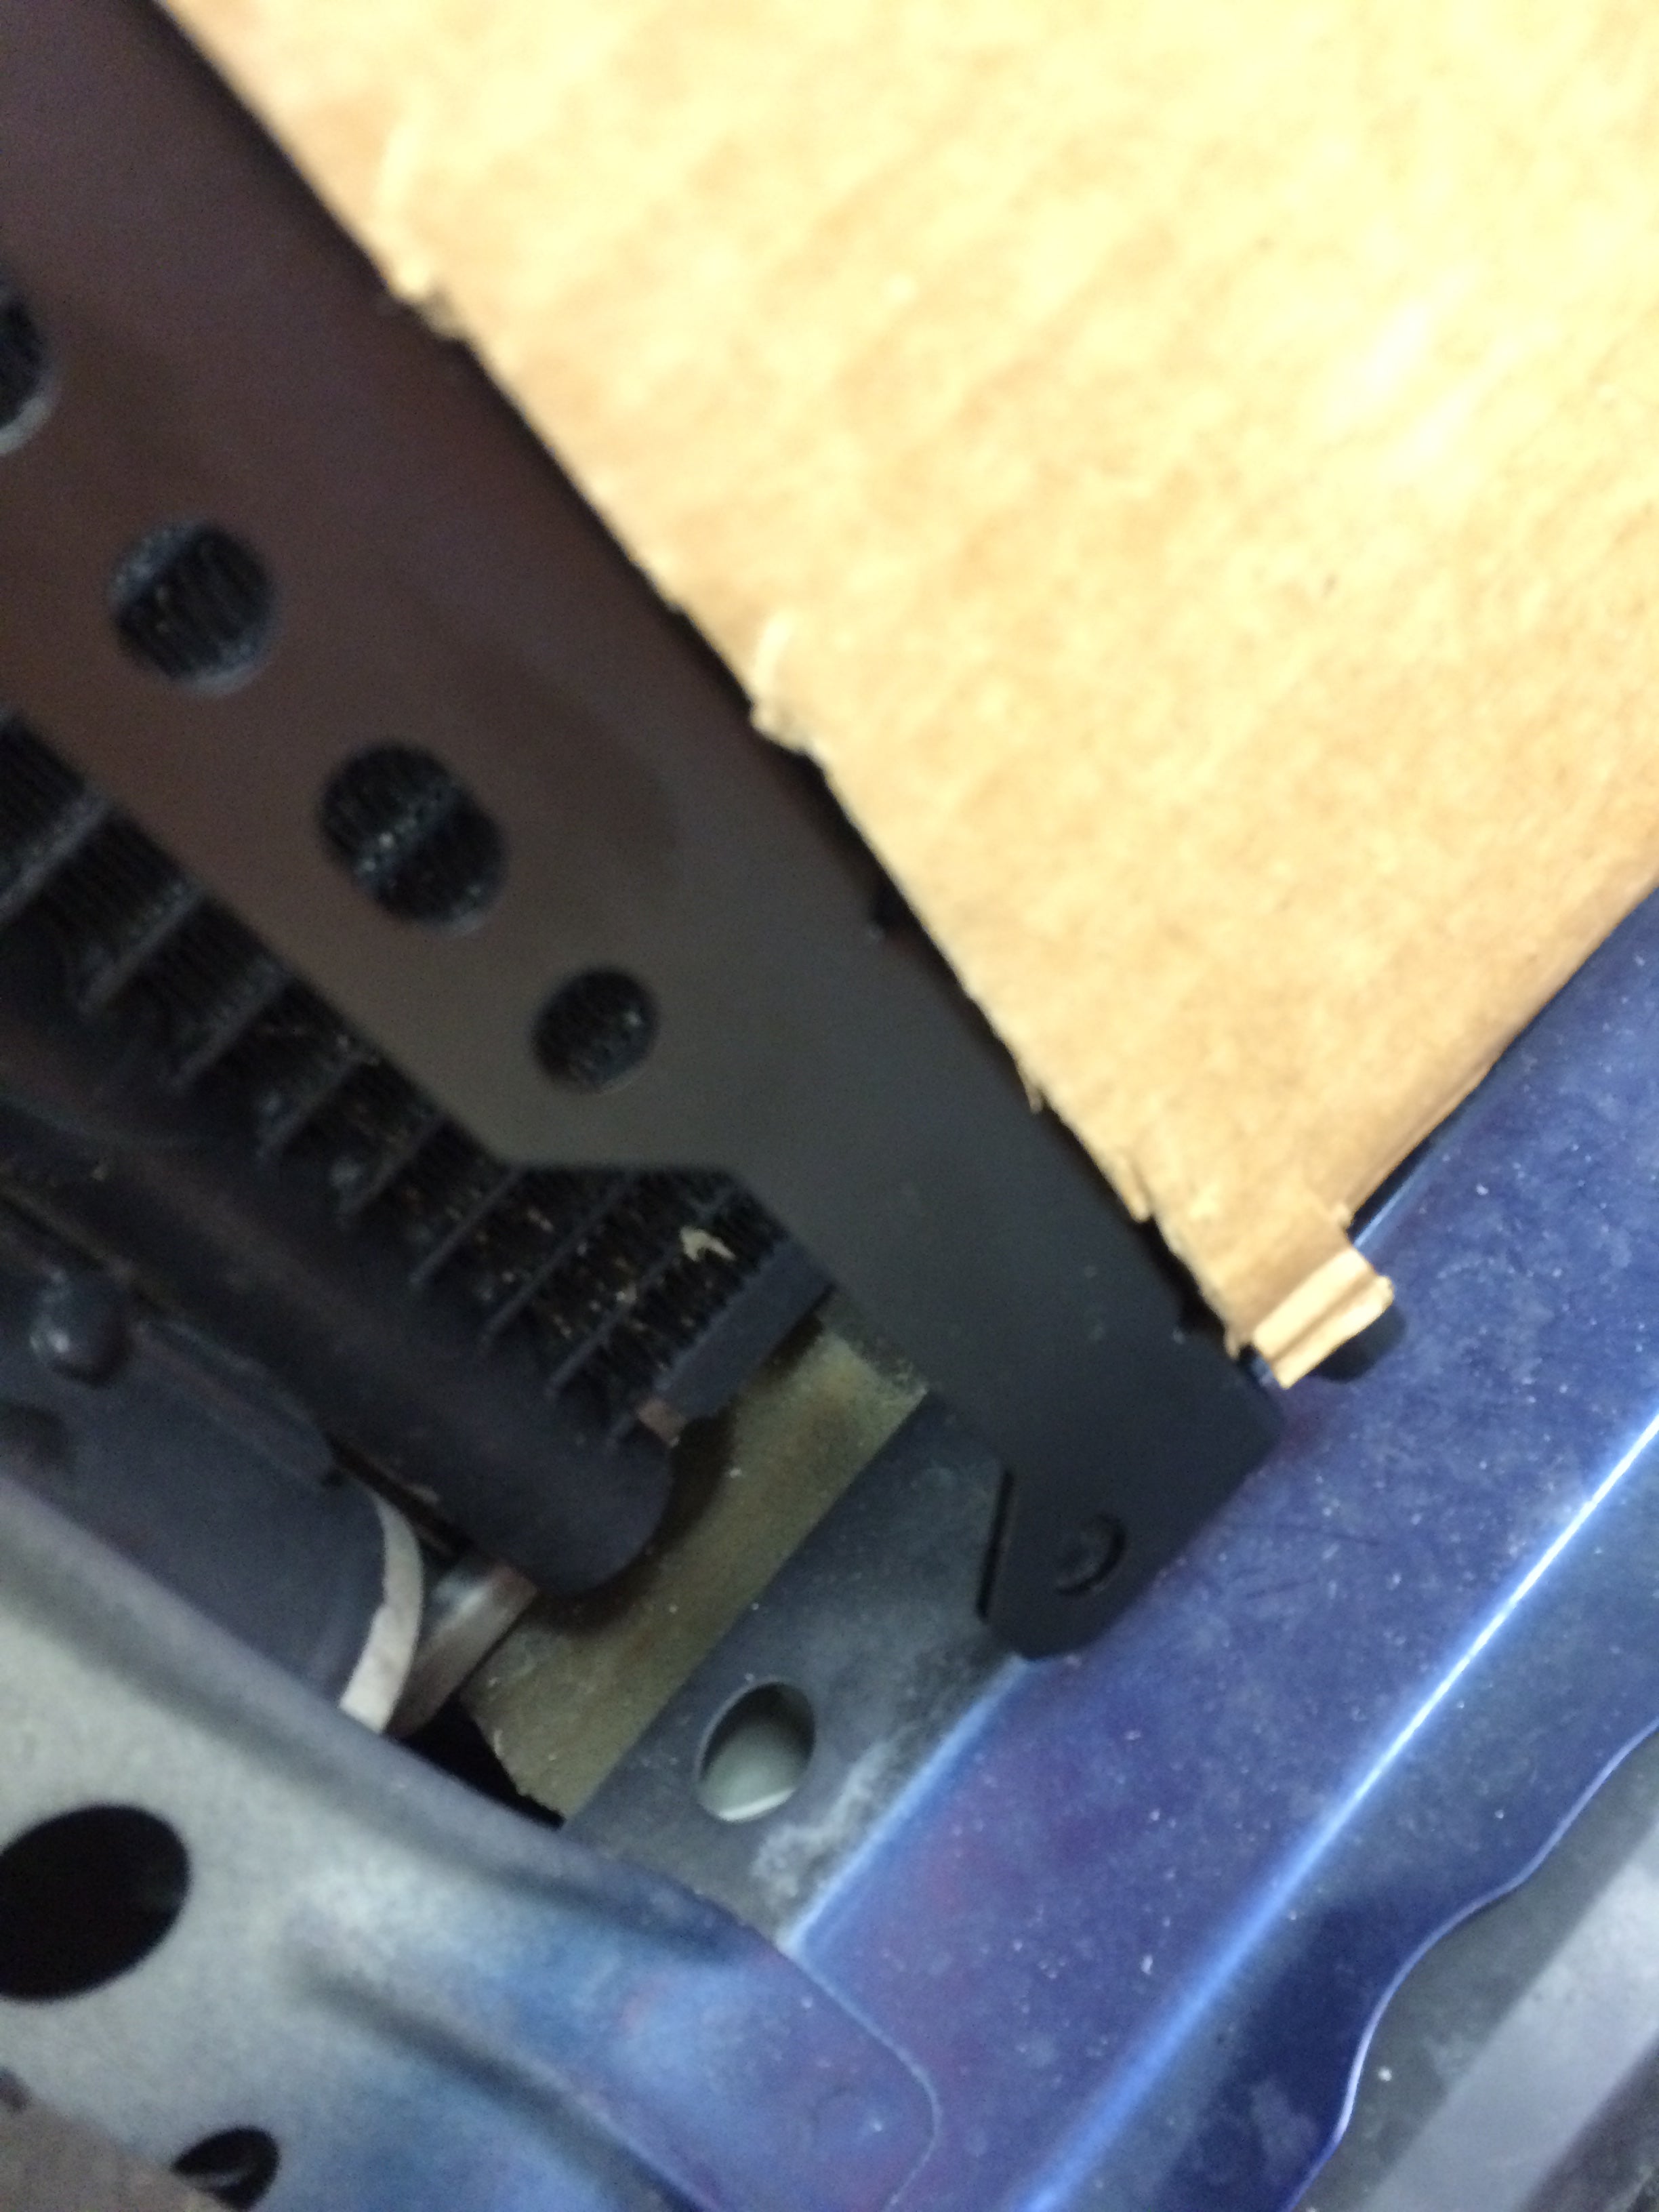
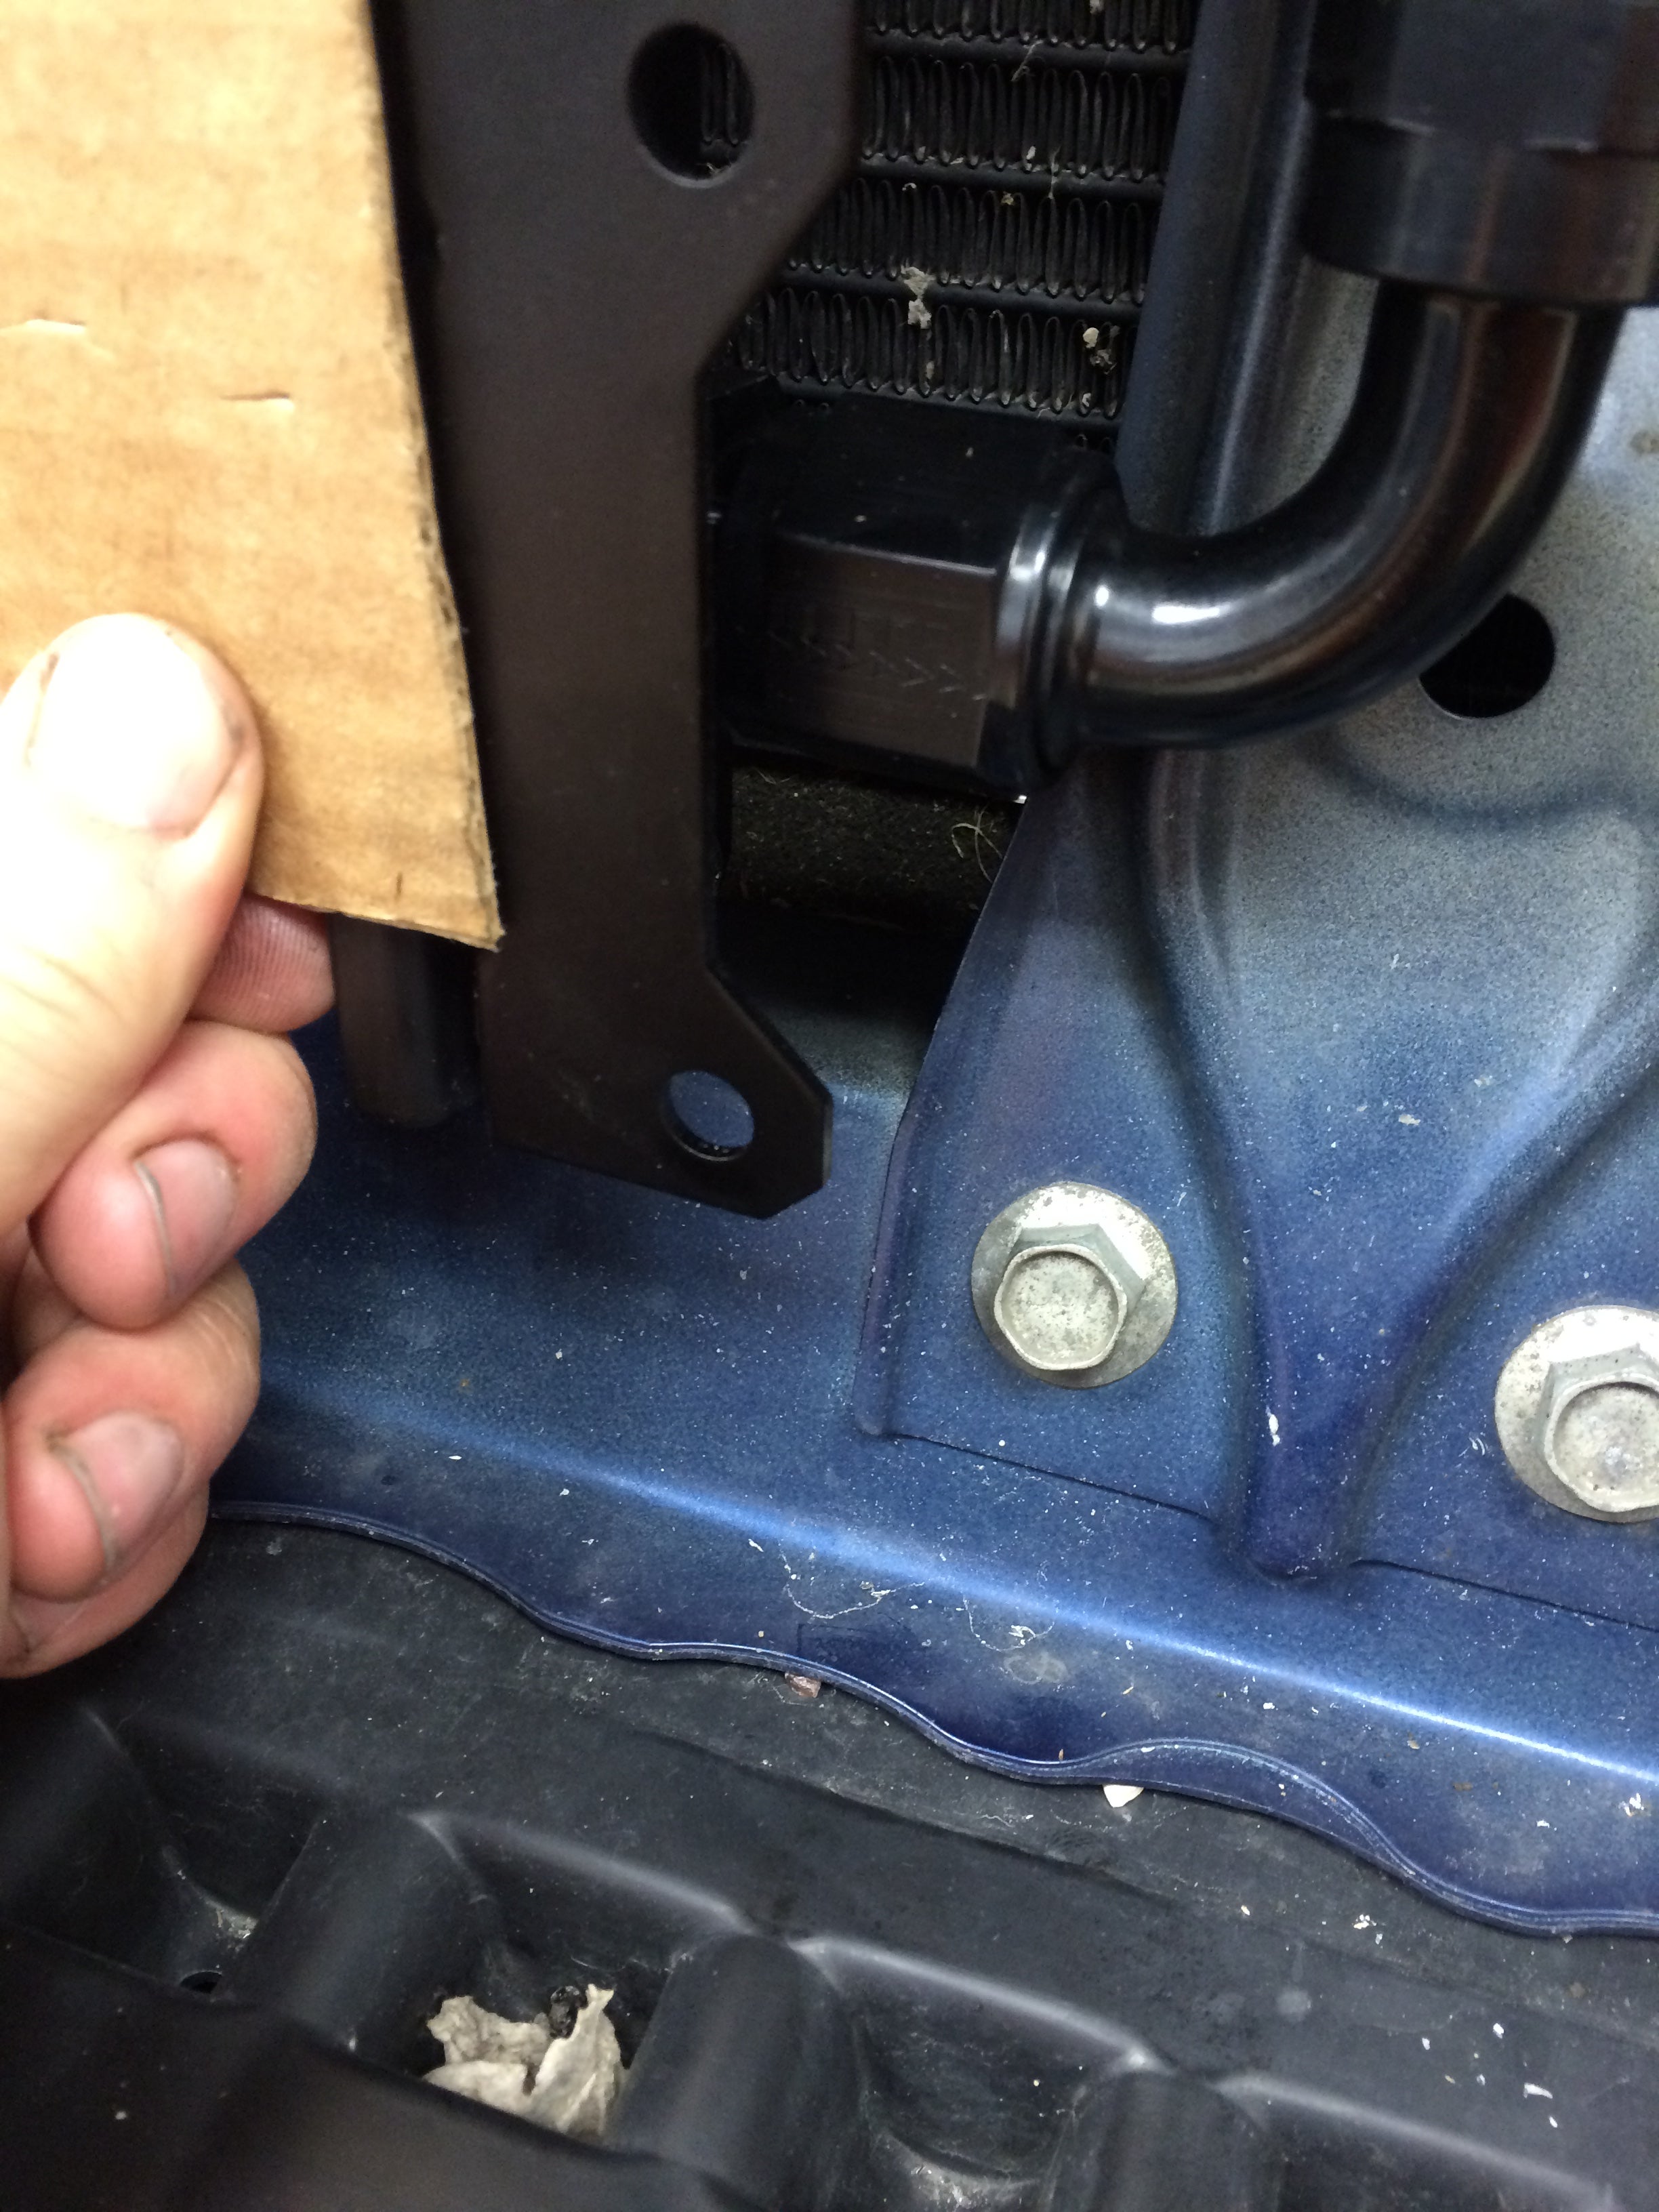
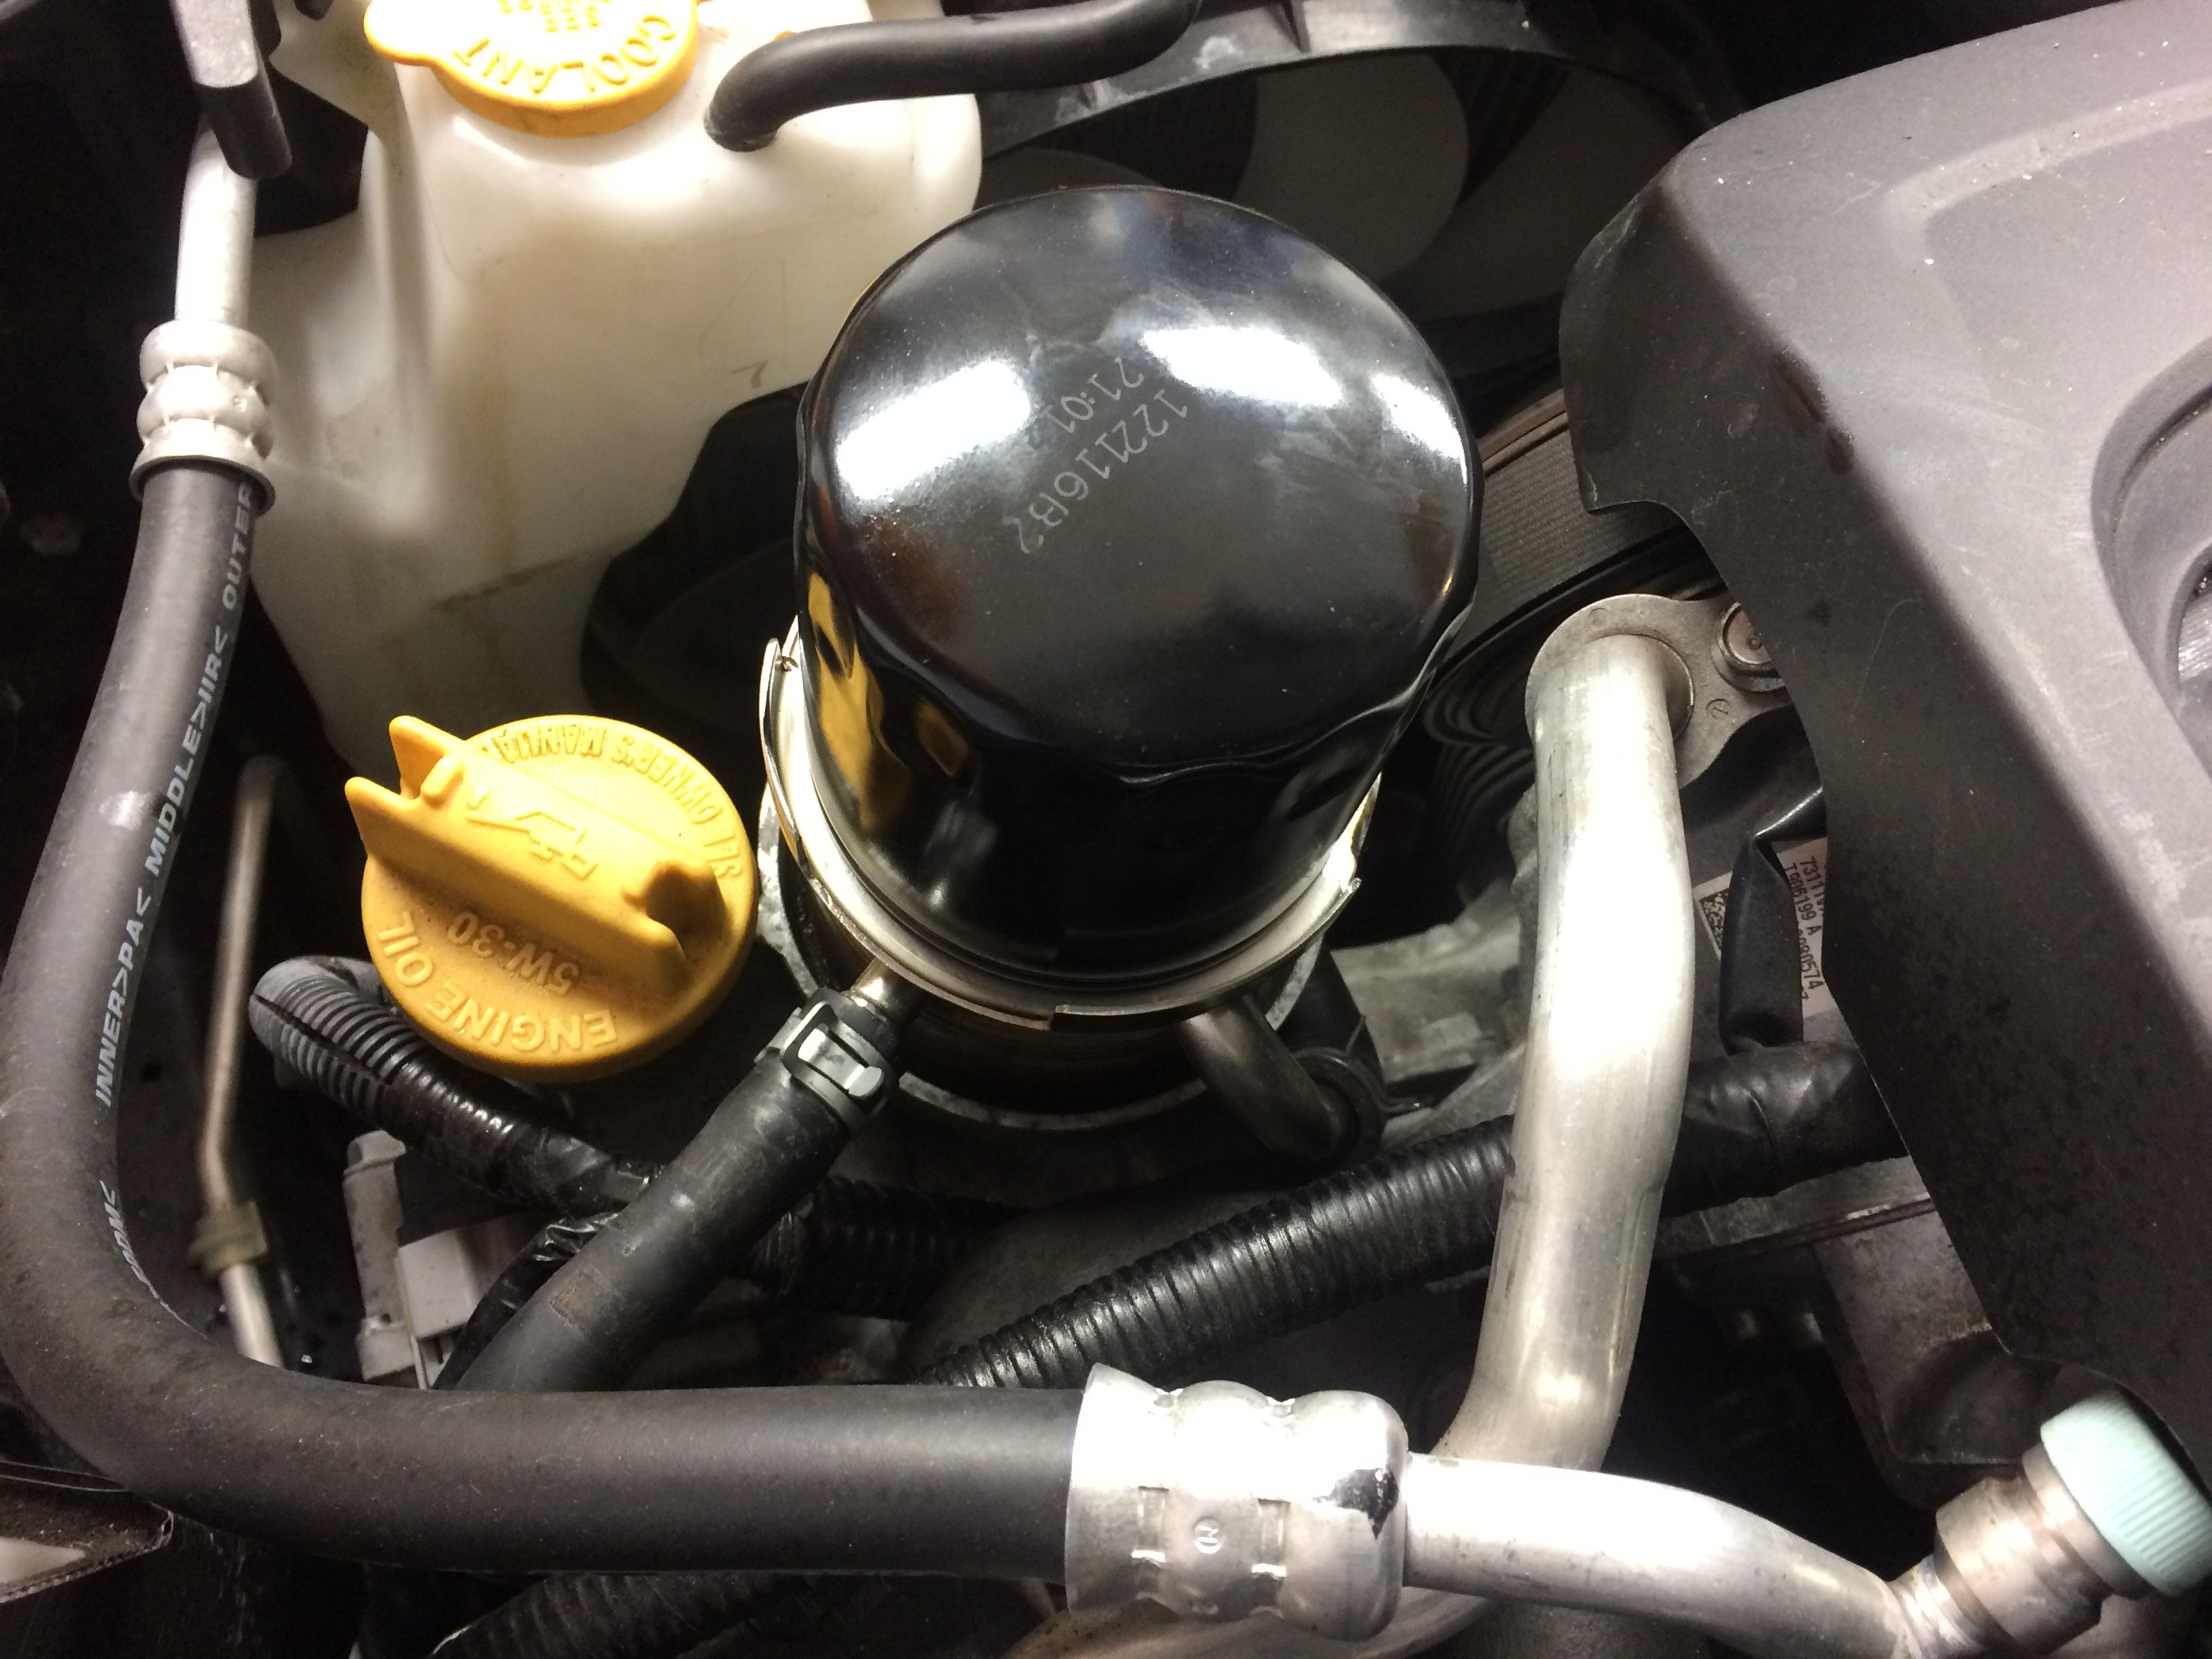
From the forum post I knew the stock heat exchanger would need trimmed, but that was a bit of an understatement. Subaru gives you a nice little lip on here to keep oil from dripping everywhere when you pull the filter off, but unfortunately that massively interferes with the sandwich plate that wants to hang off in the front for the fittings and at the back for the thermostat housing. I had to pull the whole exchanger, attempt to mask it off, then go at it with a zip wheel to clearance the lip in the necessary places. It probably would have been easier to just cut the whole lip off, but for some reason that didn’t occur to me at the time. After the cutting I blasted the crap out of it with brakleen to remove all the metal shavings then dumped cheap oil through it to get rid of any brakleen or missed shavings before reinstalling it on the car. That was a pain, but now I have a clear path forward for how all of this should fit and what parts I need to buy to make that happen!