 by "Urambo Tauro" (urambotauro)
Published 04/03/2017 at 18:00
by "Urambo Tauro" (urambotauro)
Published 04/03/2017 at 18:00
Tags: 41TE
; Automatic Transmission
; Rebuild
; Blog
STARS: 4
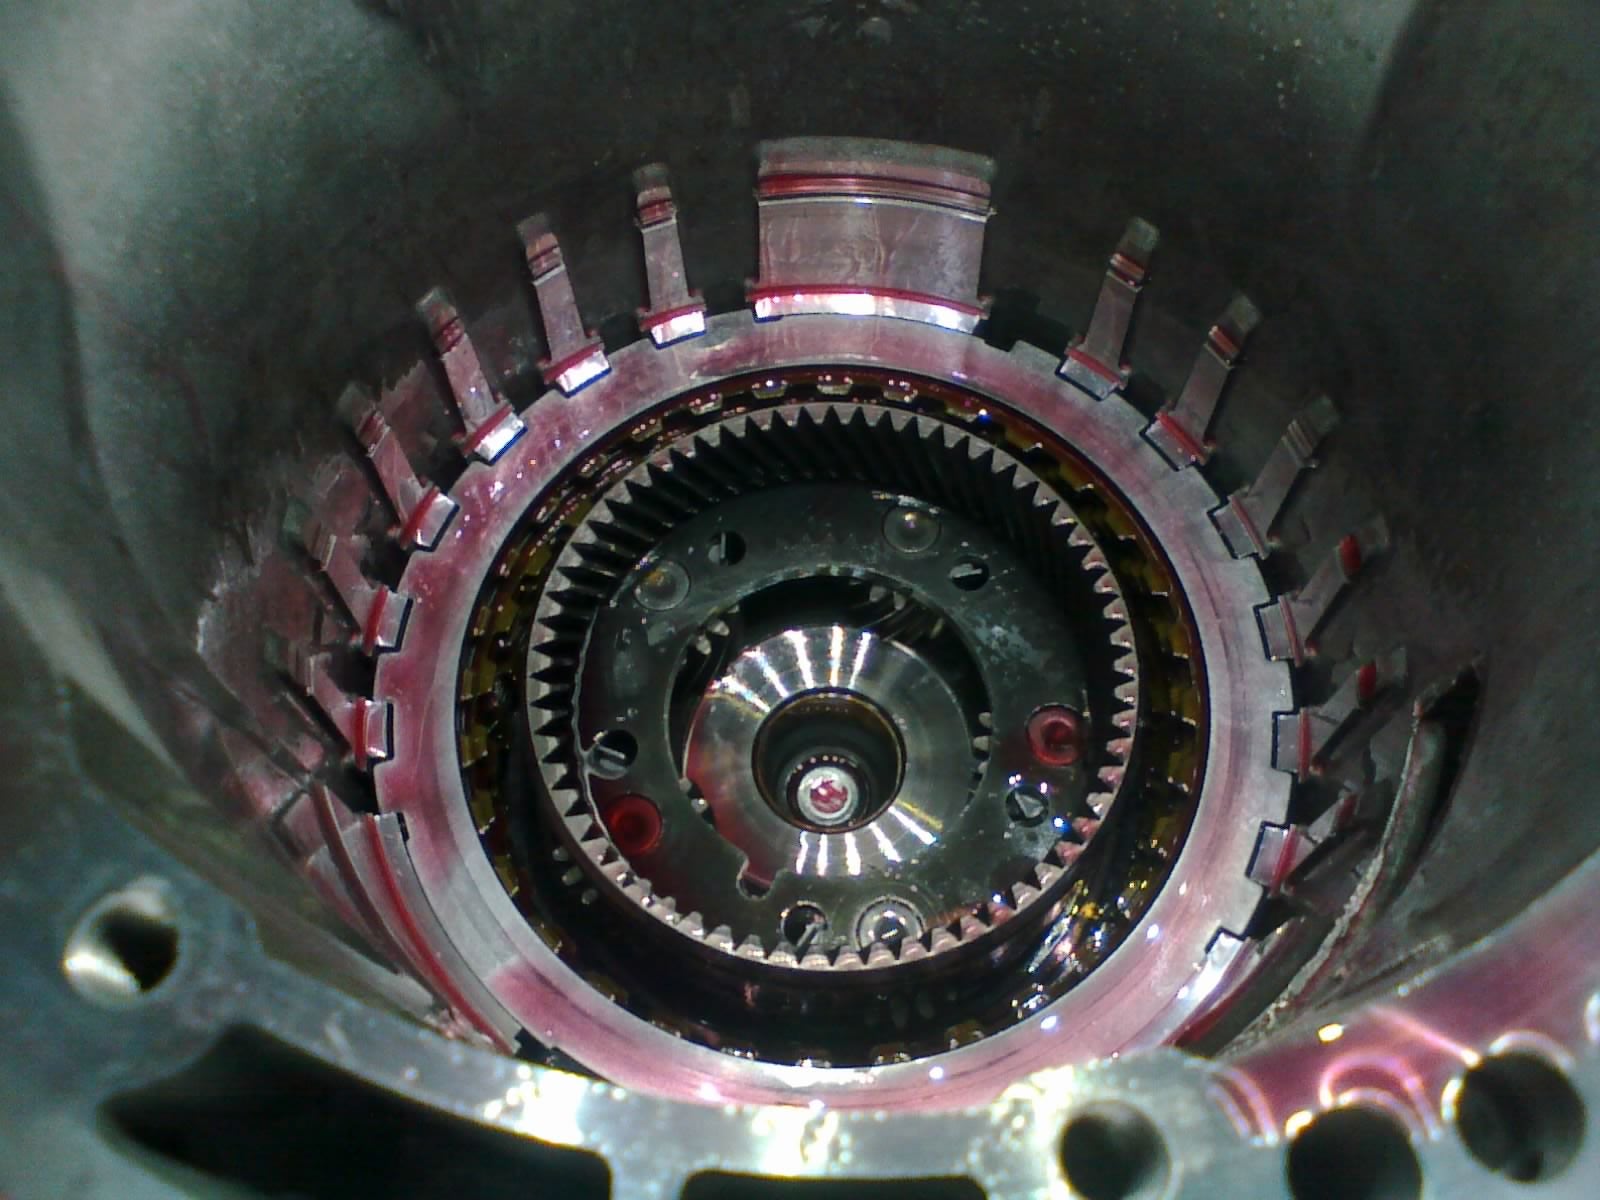
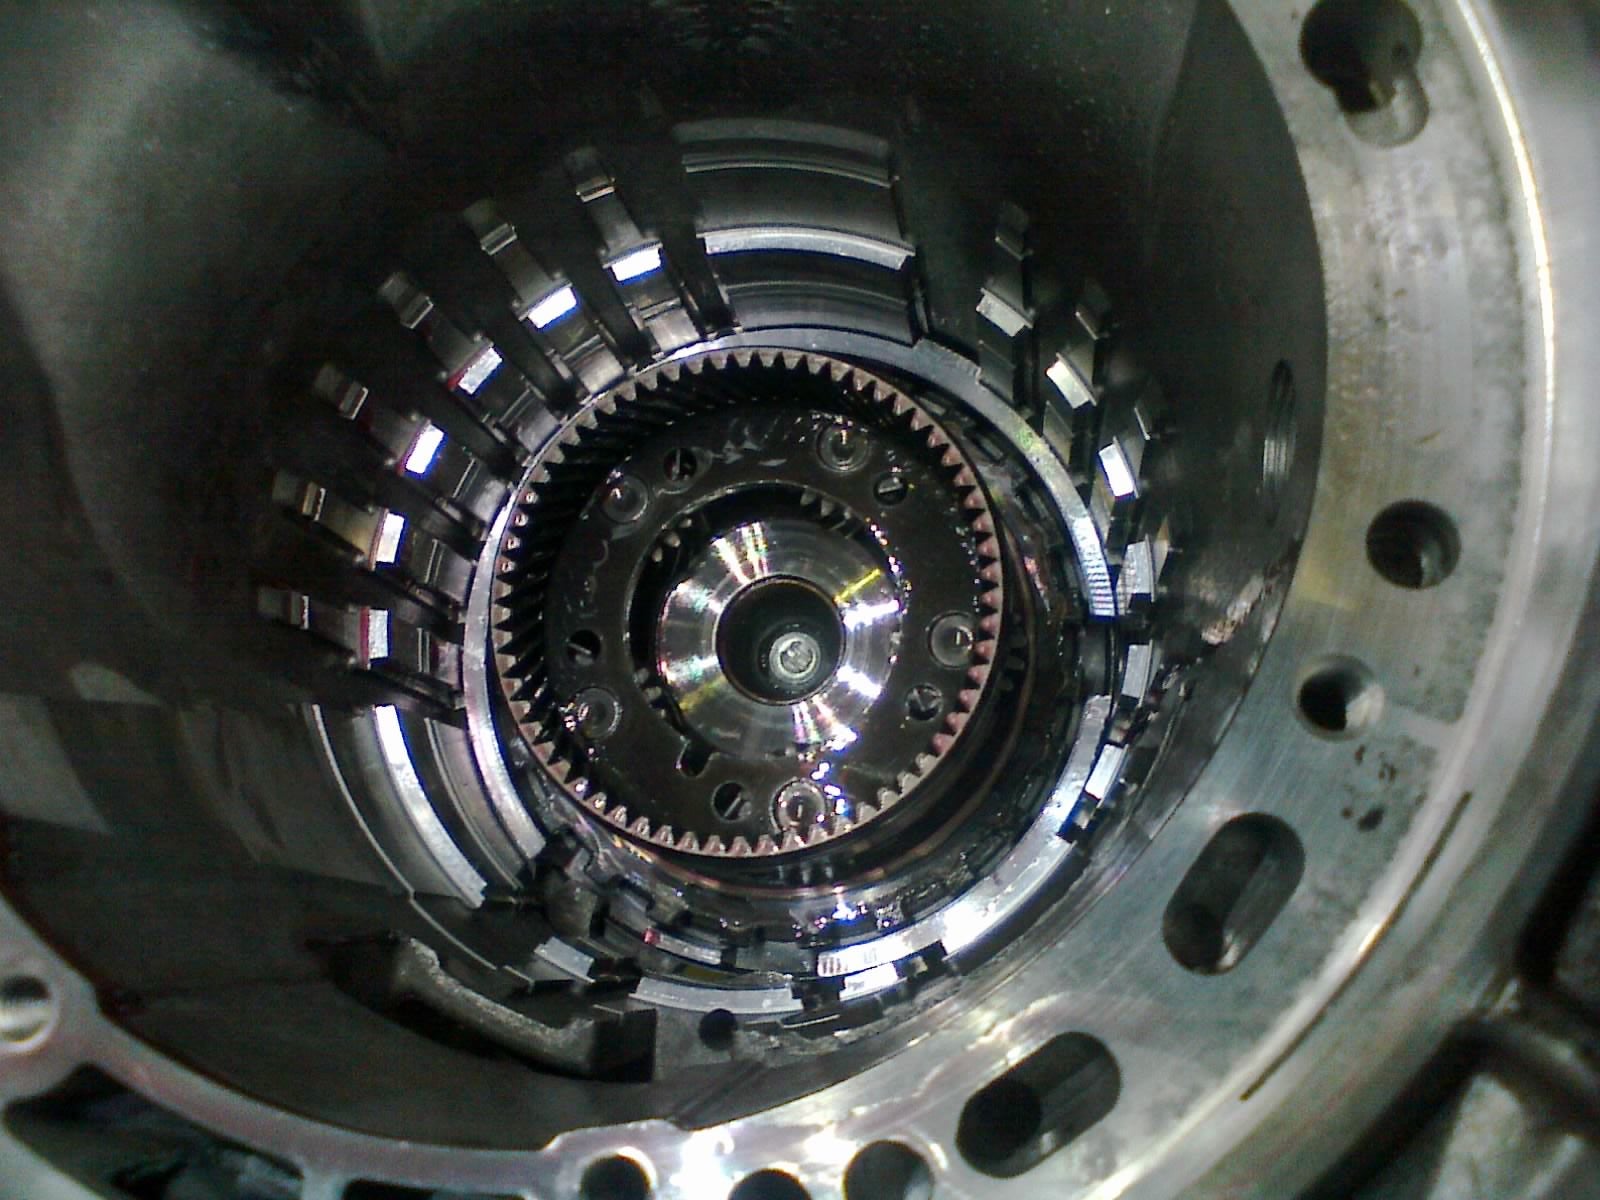
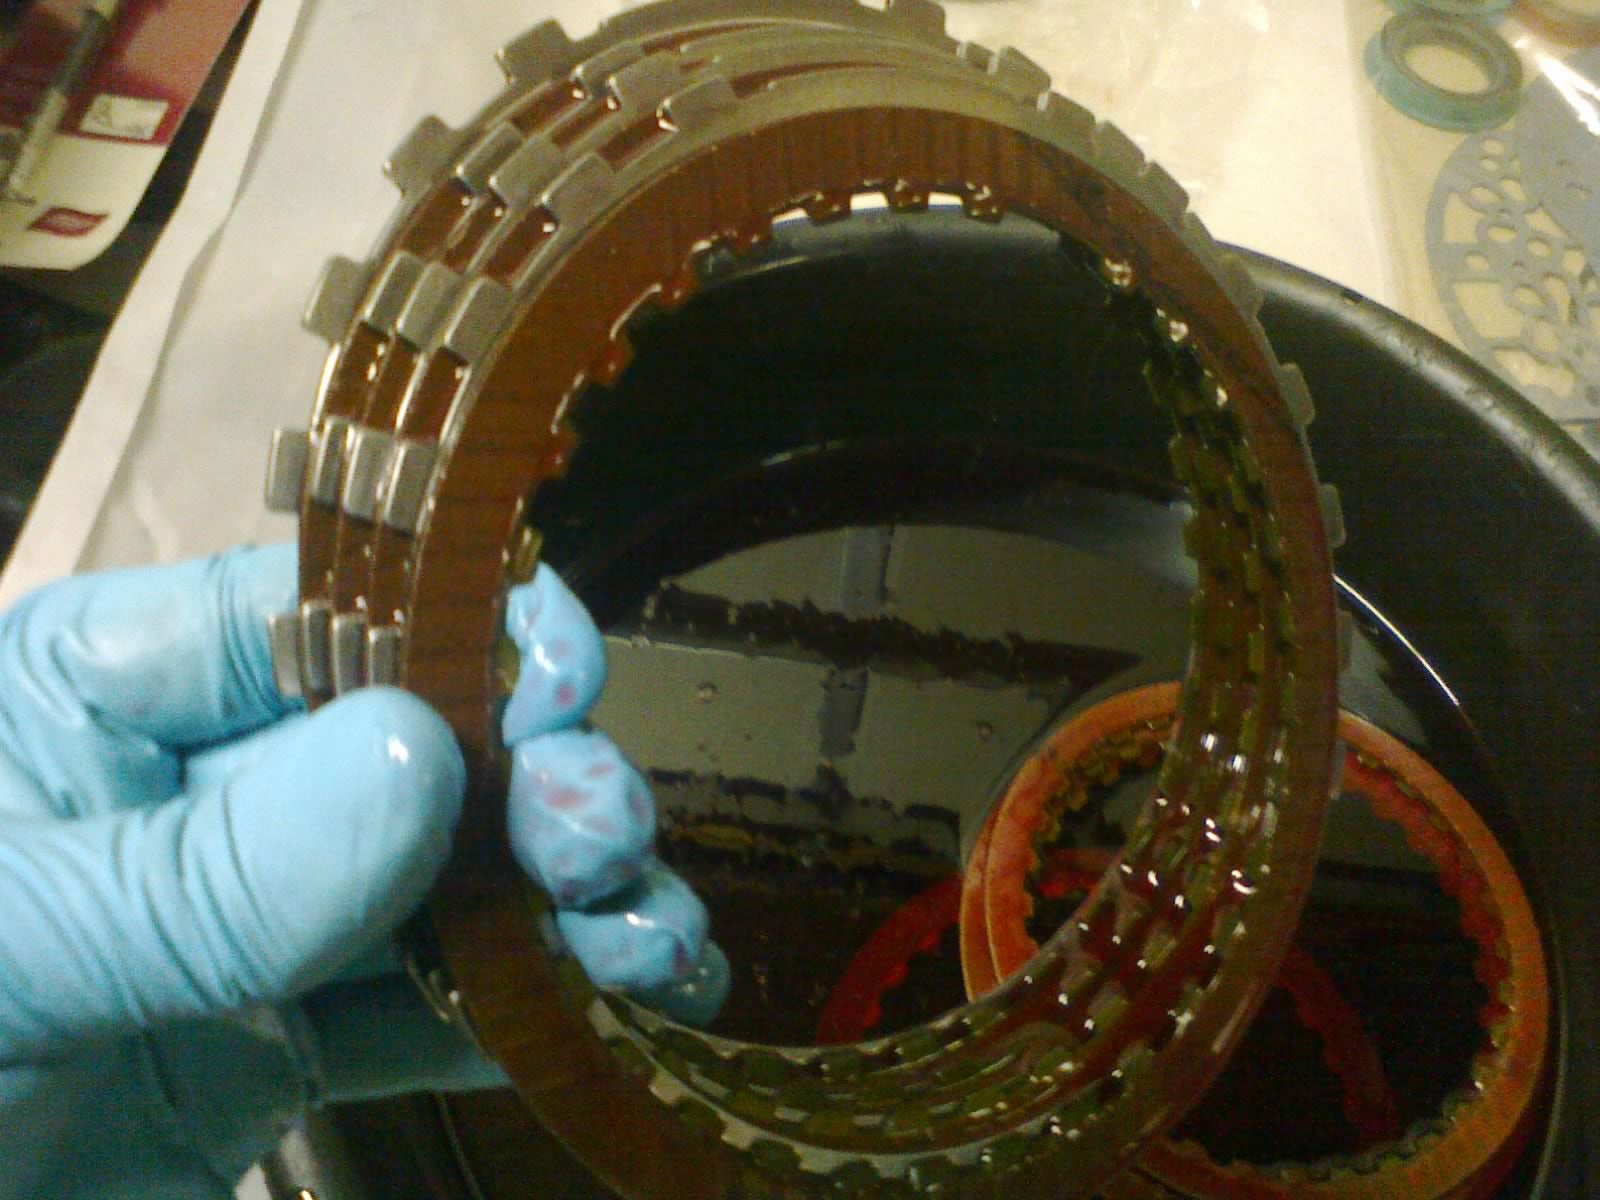
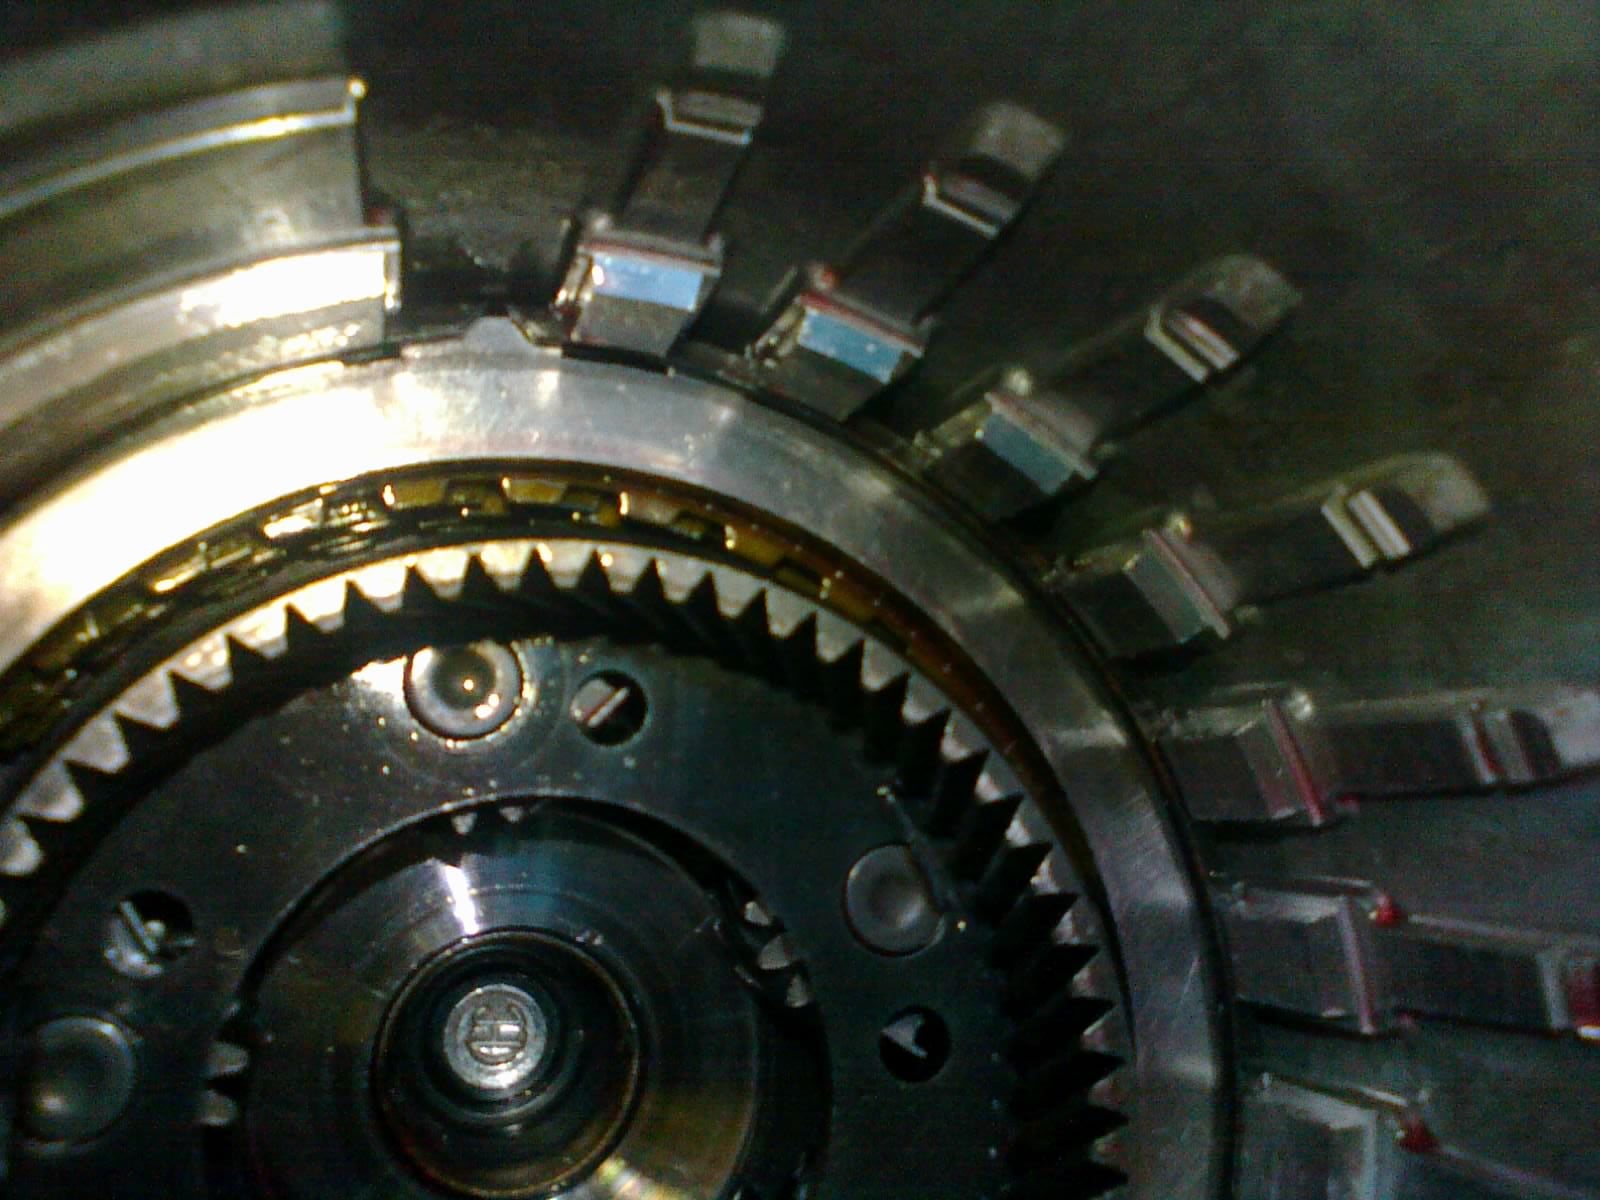
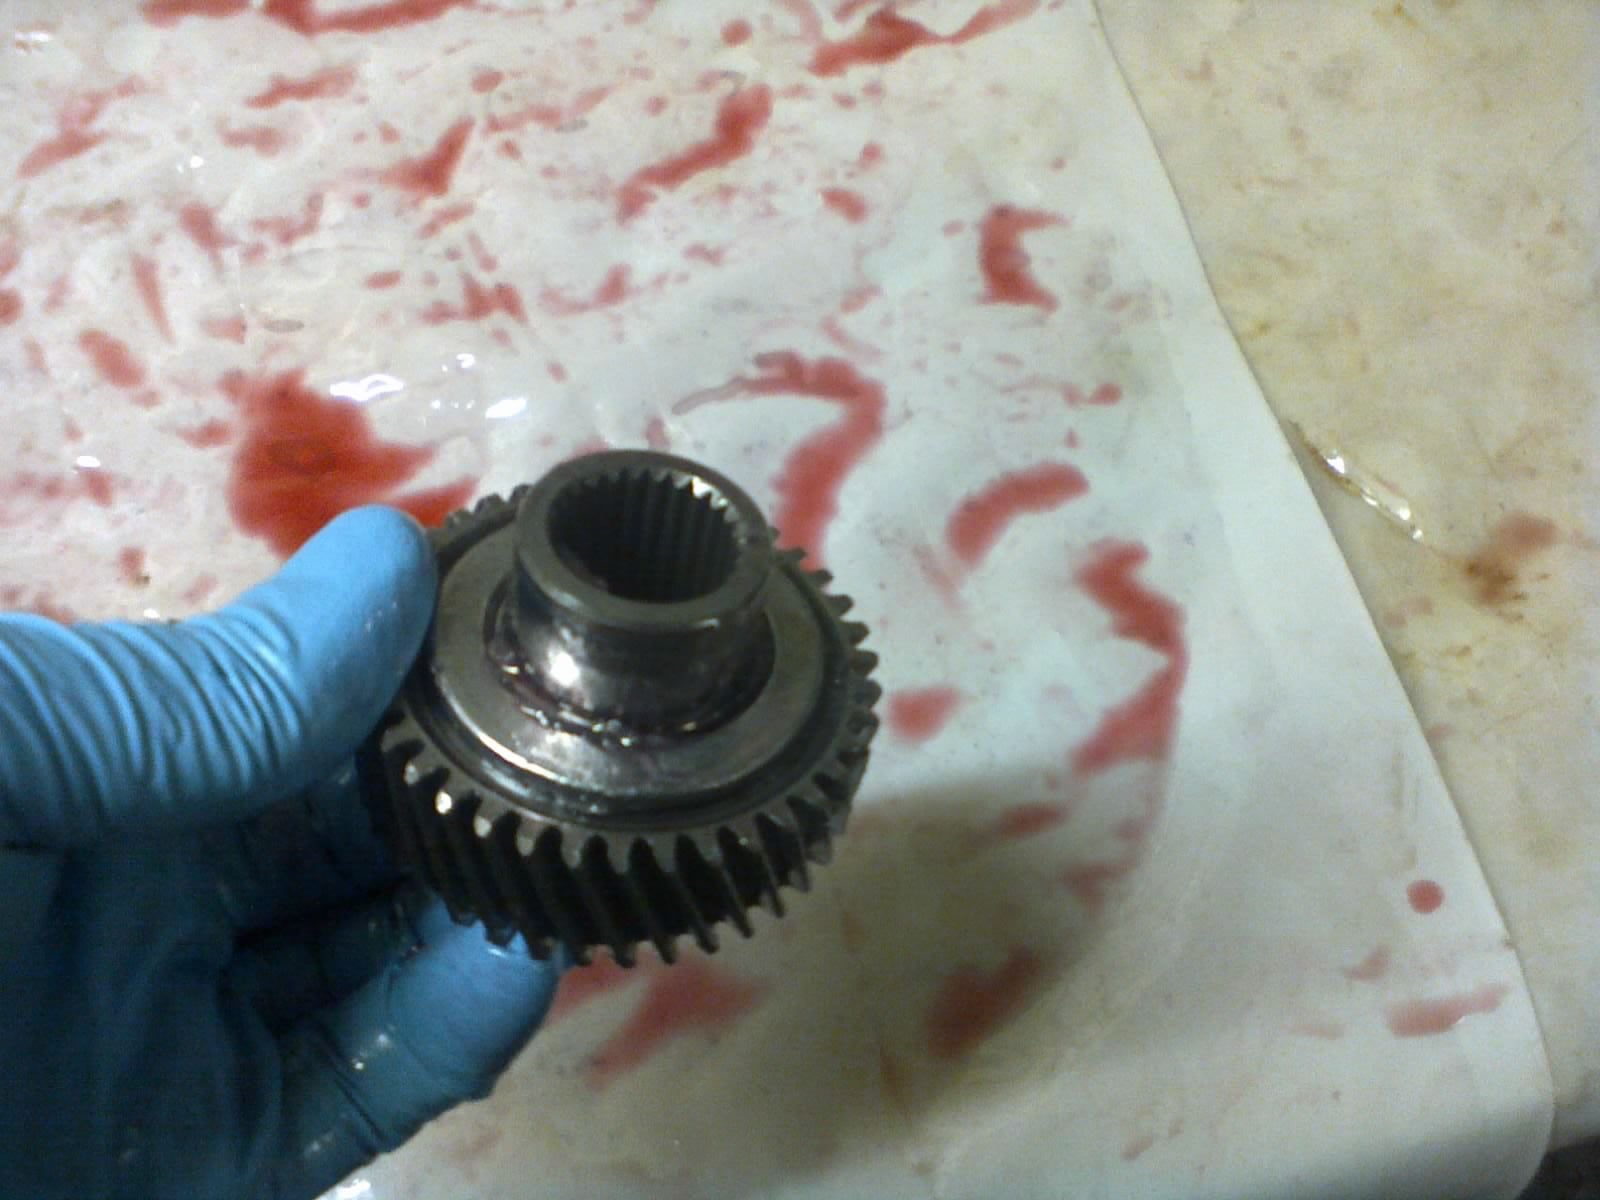
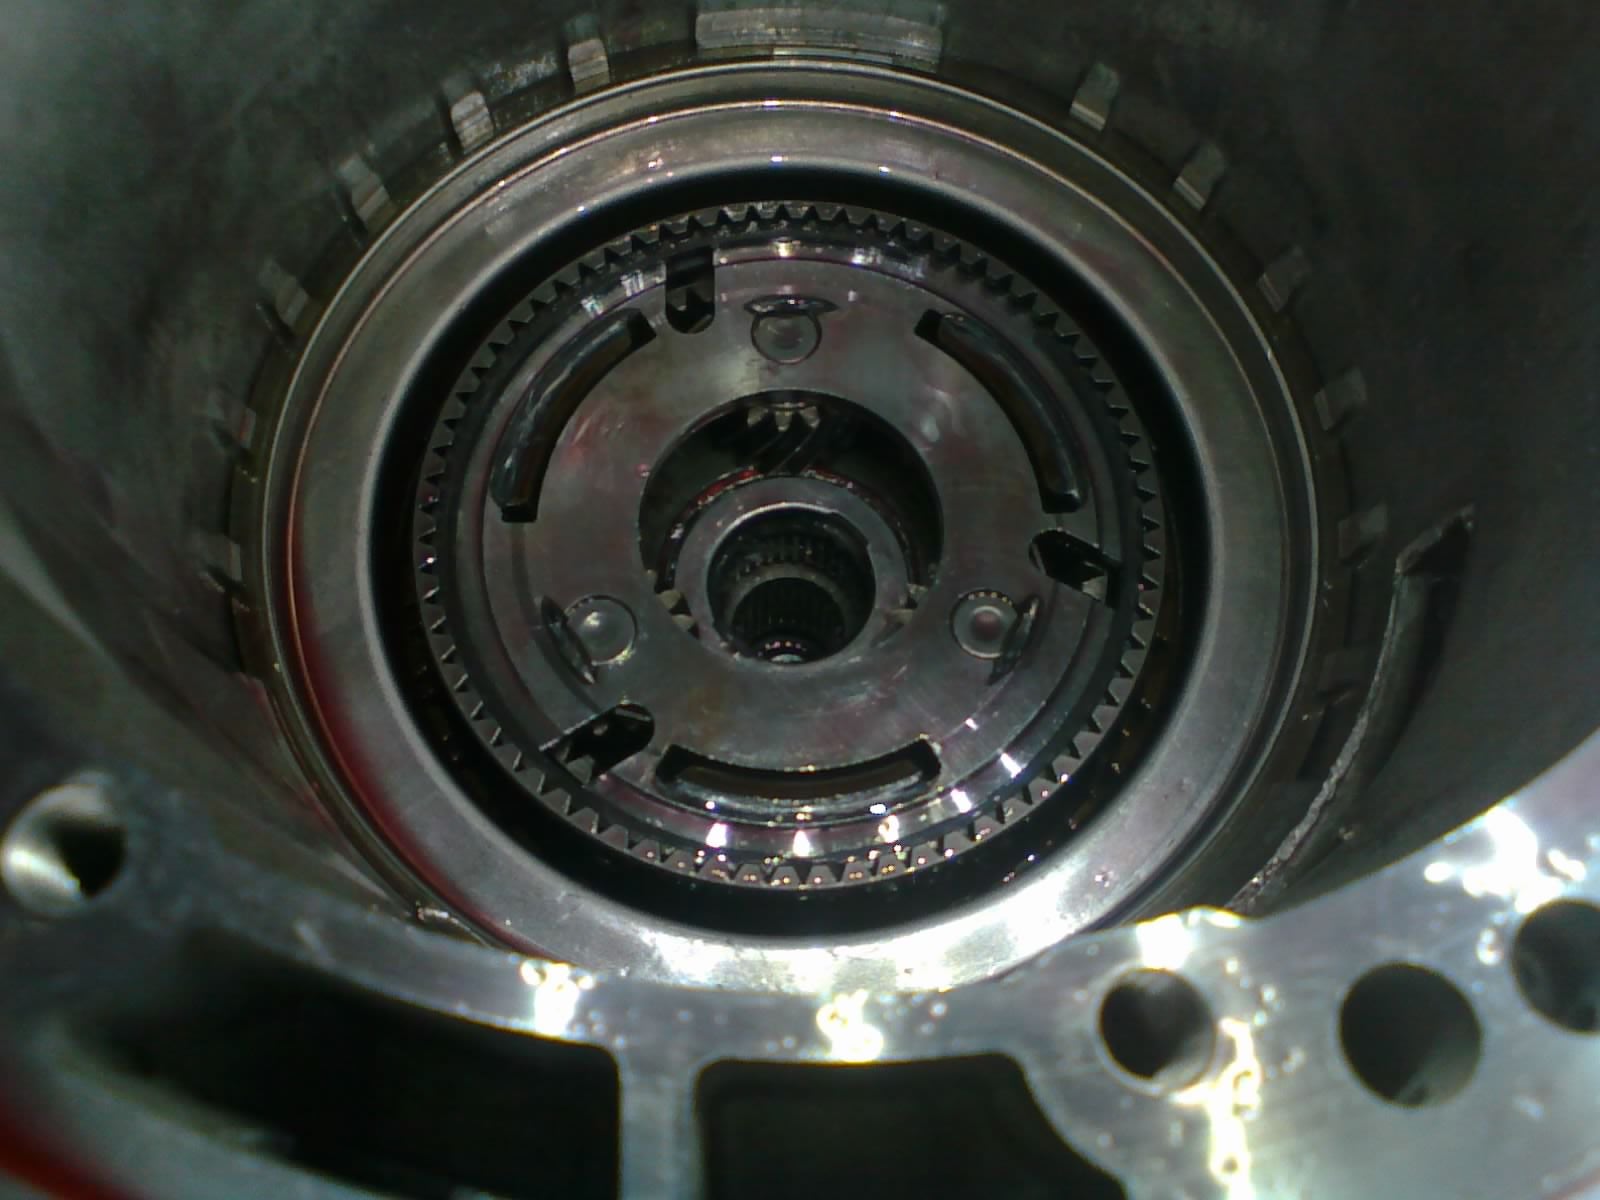
Now that the rear planetary carrier is installed, we can start building up the core of the transmission. Let’s start stacking clutches!
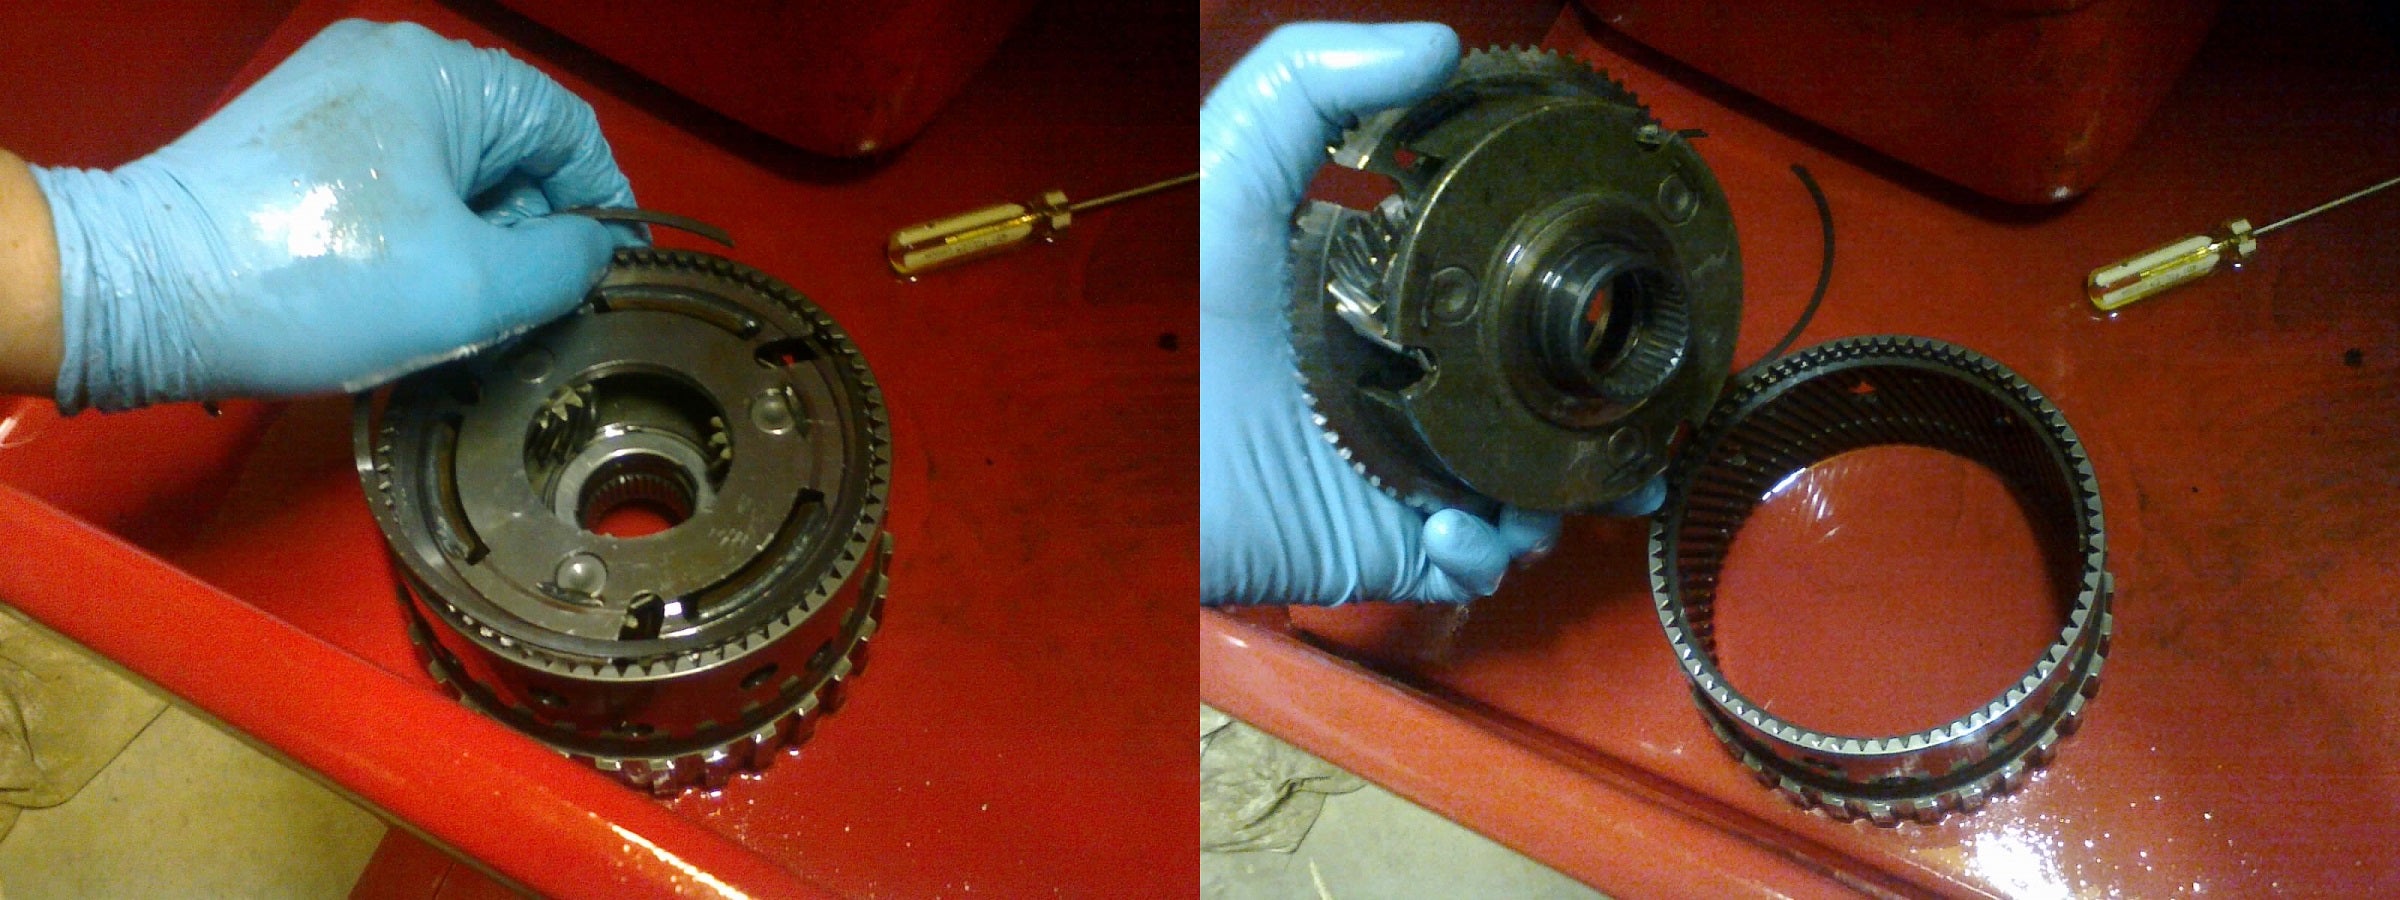
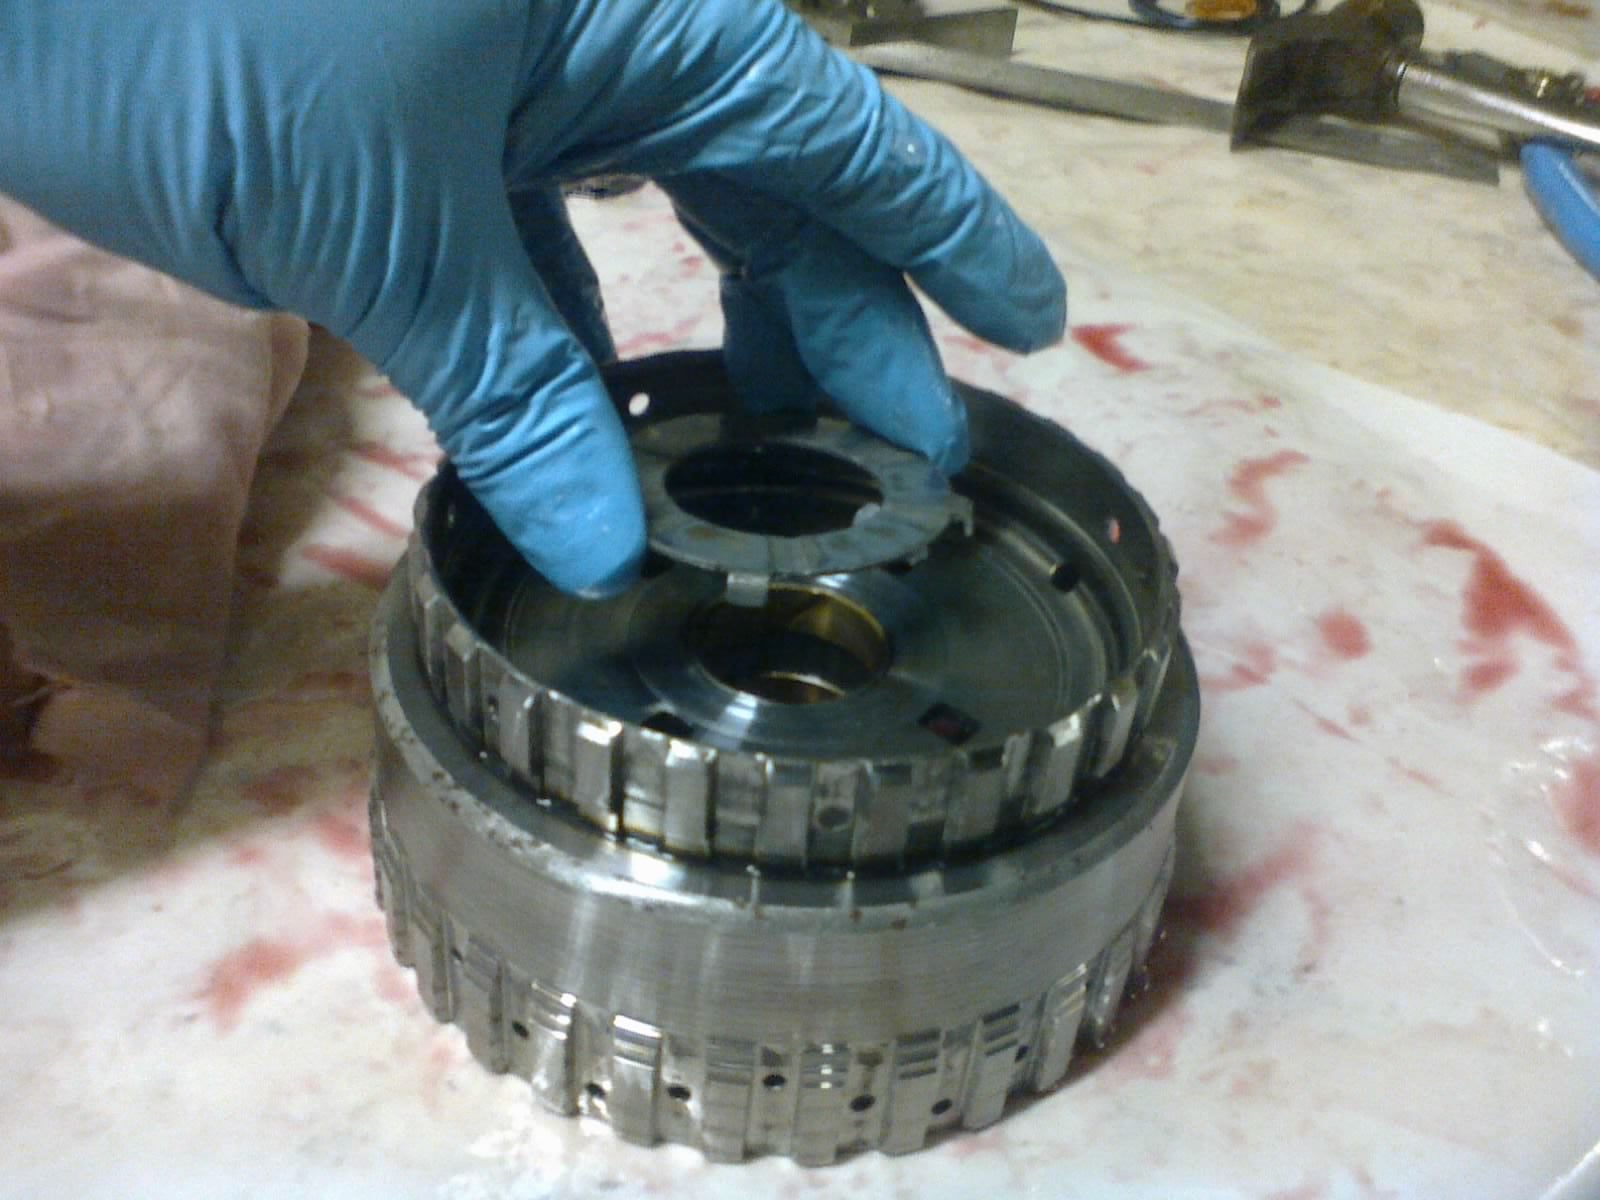
These two snap-rings hold the pressure plate in place. When it receives fluid pressure, the low/reverse piston underneath this clutch-pack will press upward against the pressure plate, clamping the frictions and steels together in between, locking the front planetary carrier to the case.
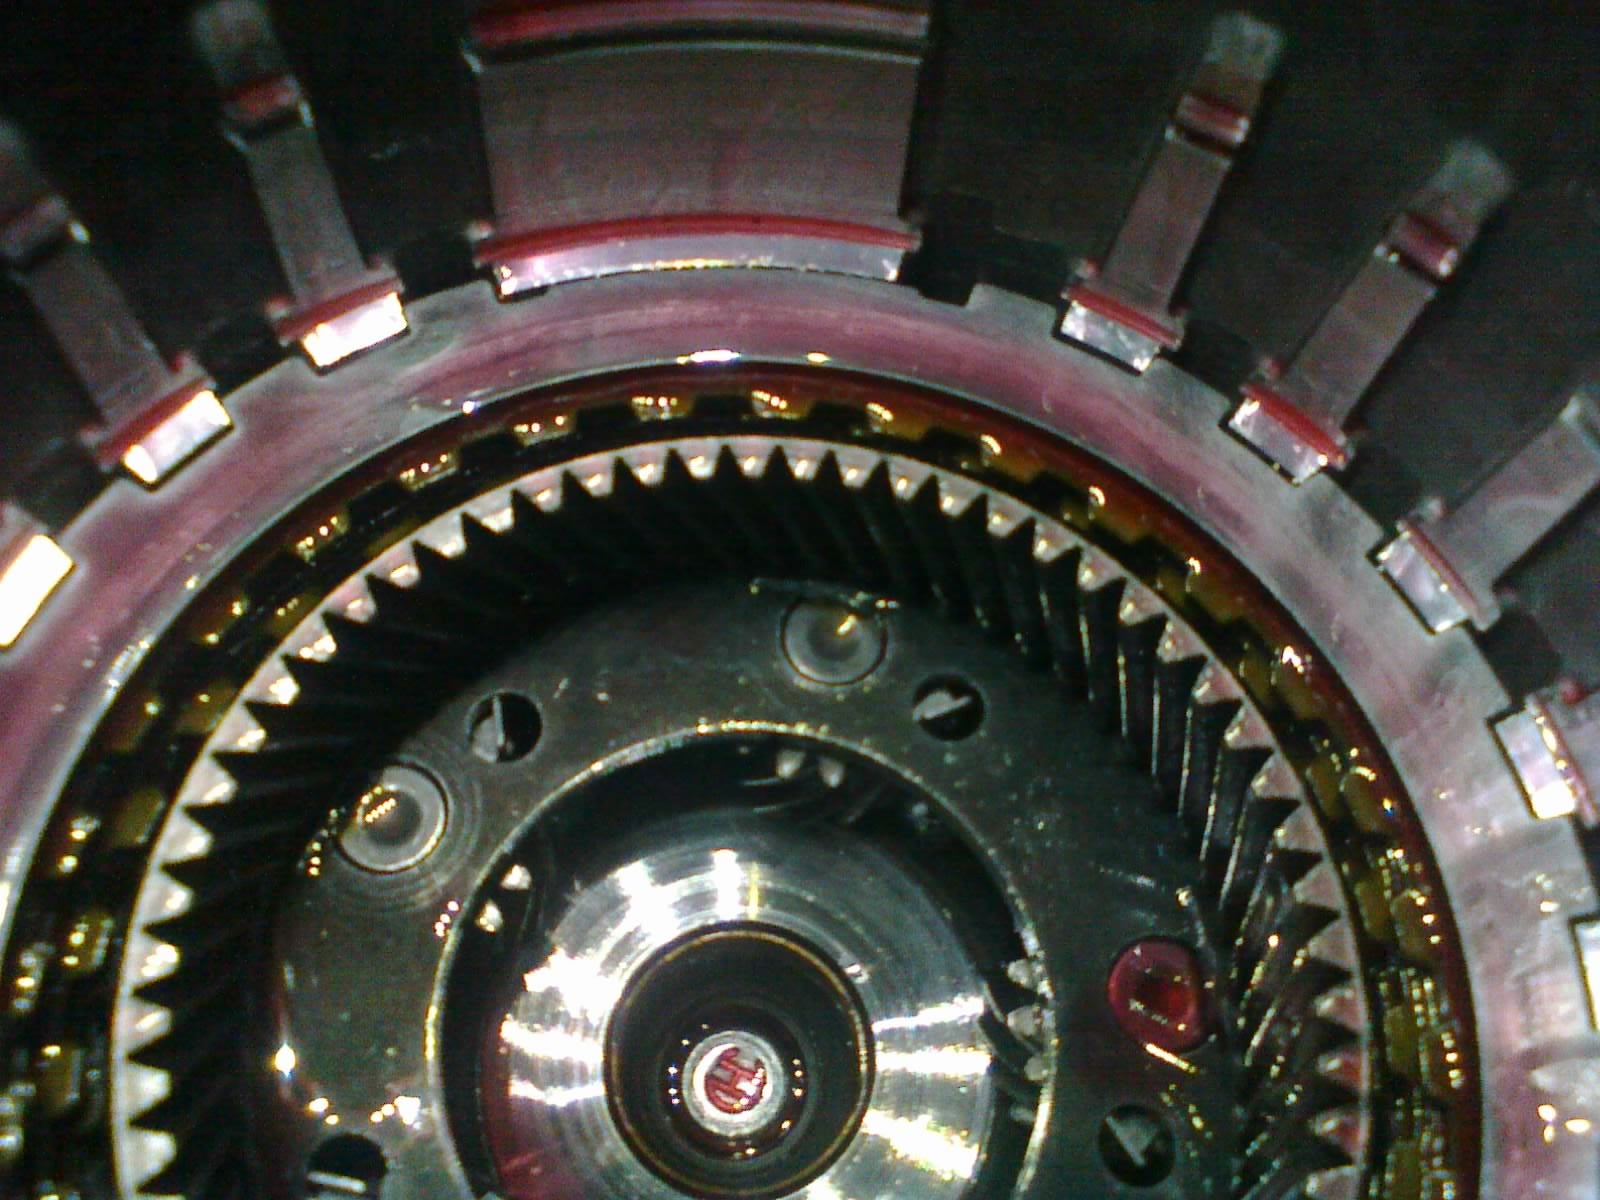
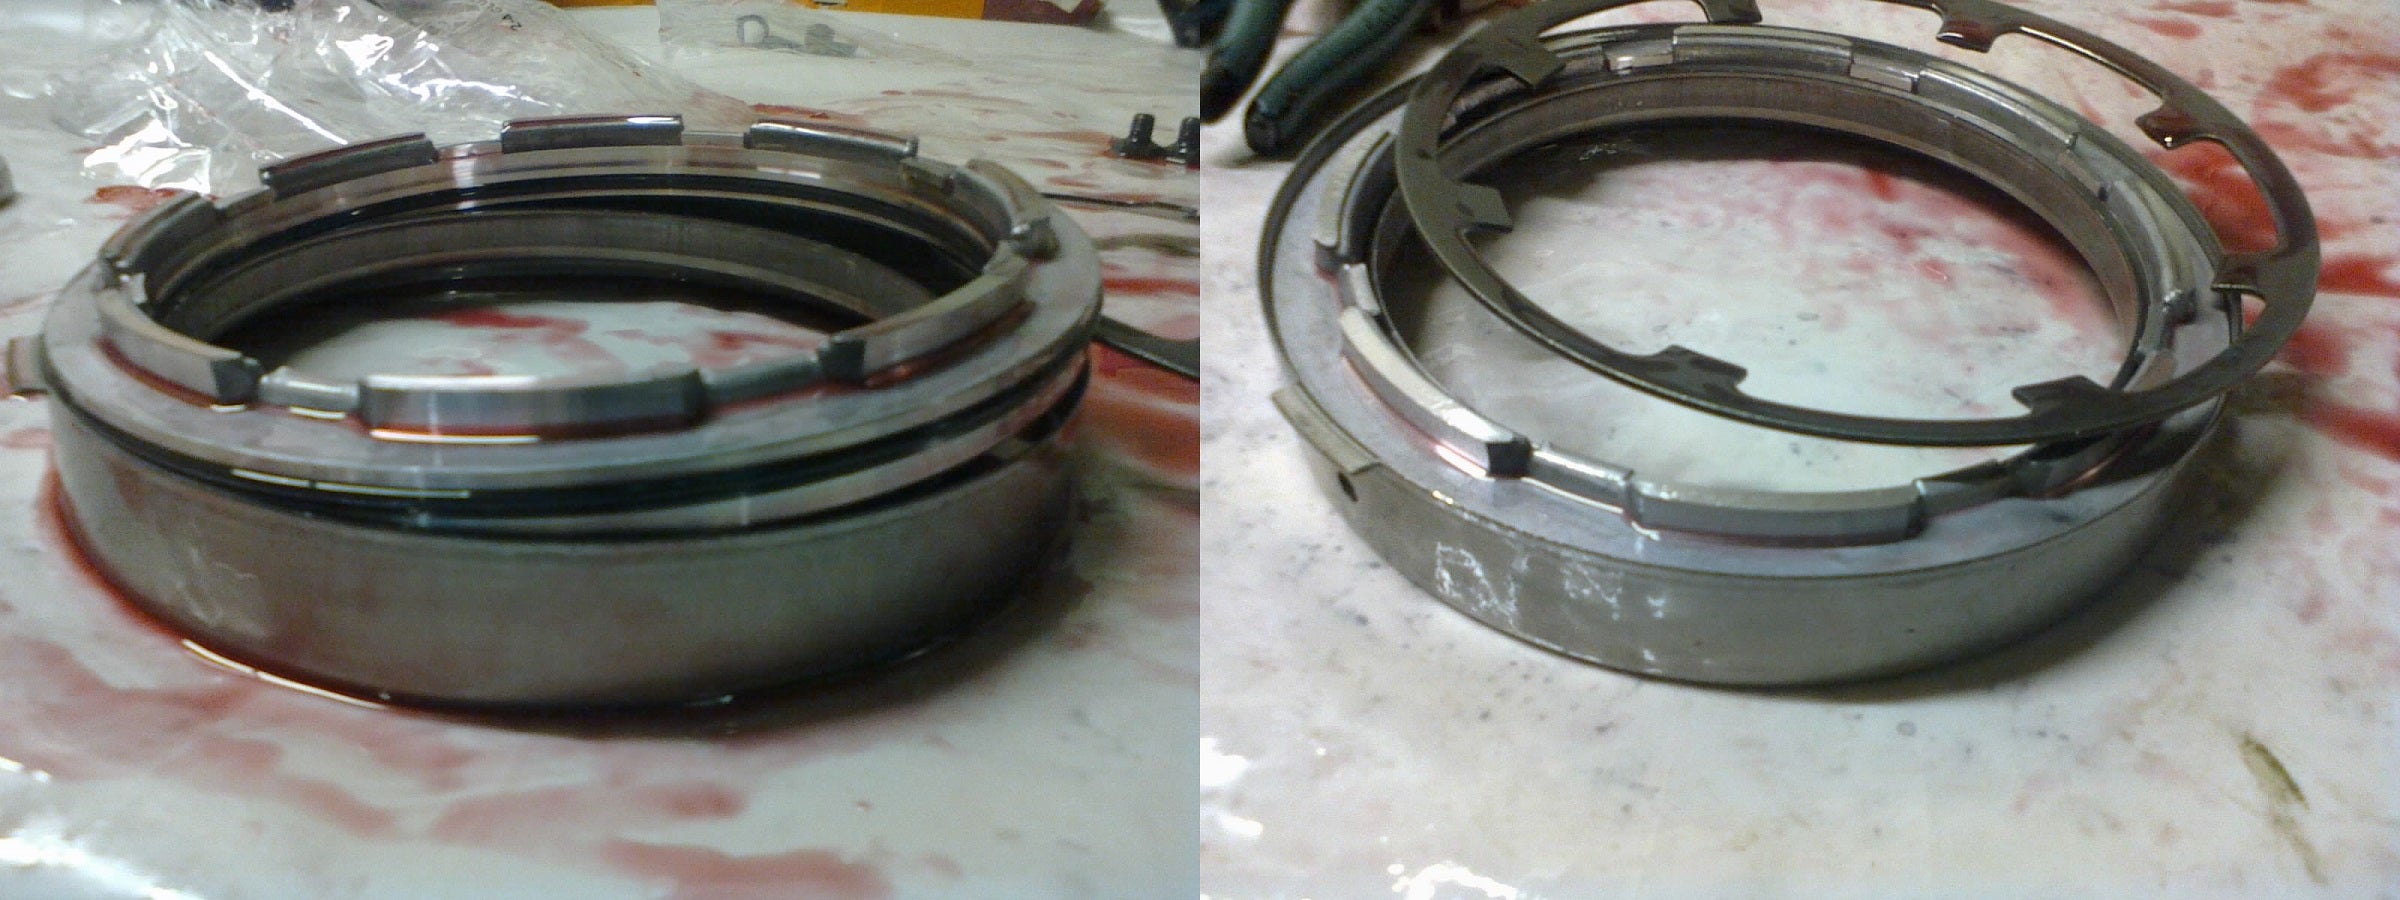
So between those two clutch-packs is the pressure plate, which stays stationary. The low/reverse piston presses its clutch against the pressure plate from below, and the 2-4 piston pushes from up top.
(Eh, “top” and “bottom” are relative terms here. I have this transmission mounted on a stand with the bellhousing facing up. But once it’s back in the vehicle, these are going to be sideways motions.)

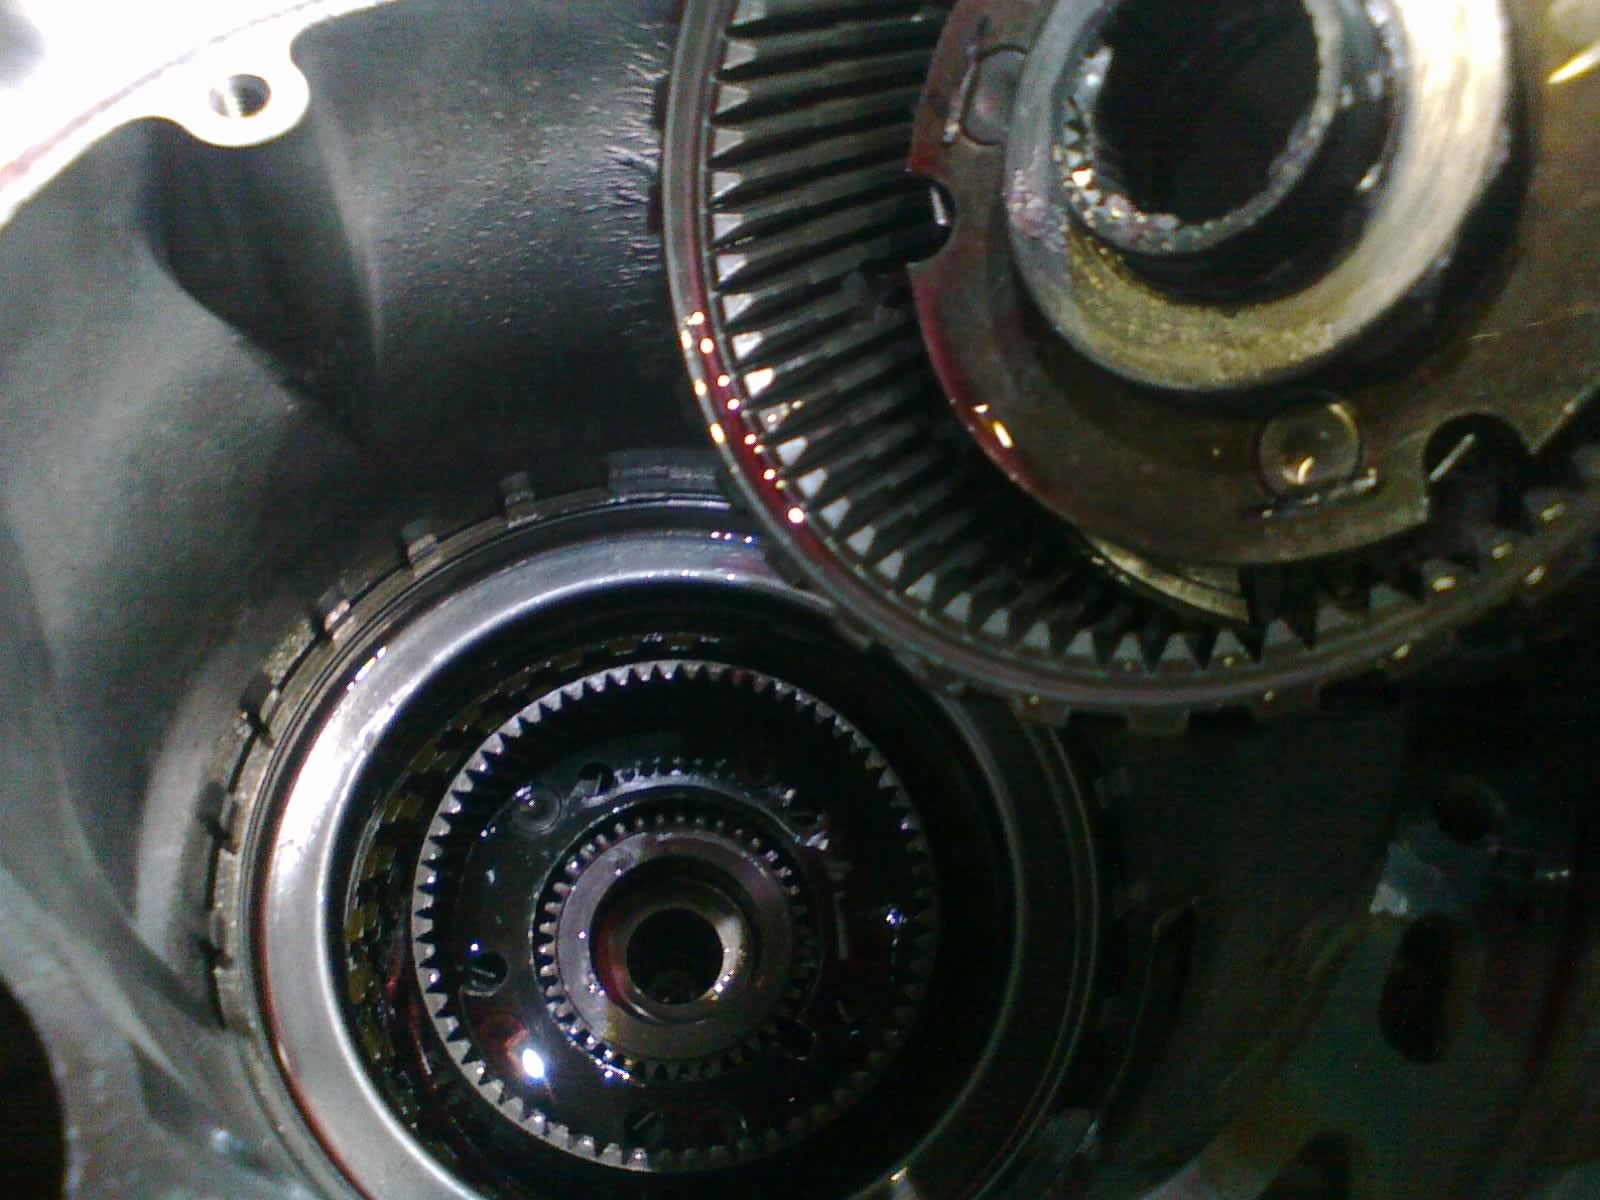
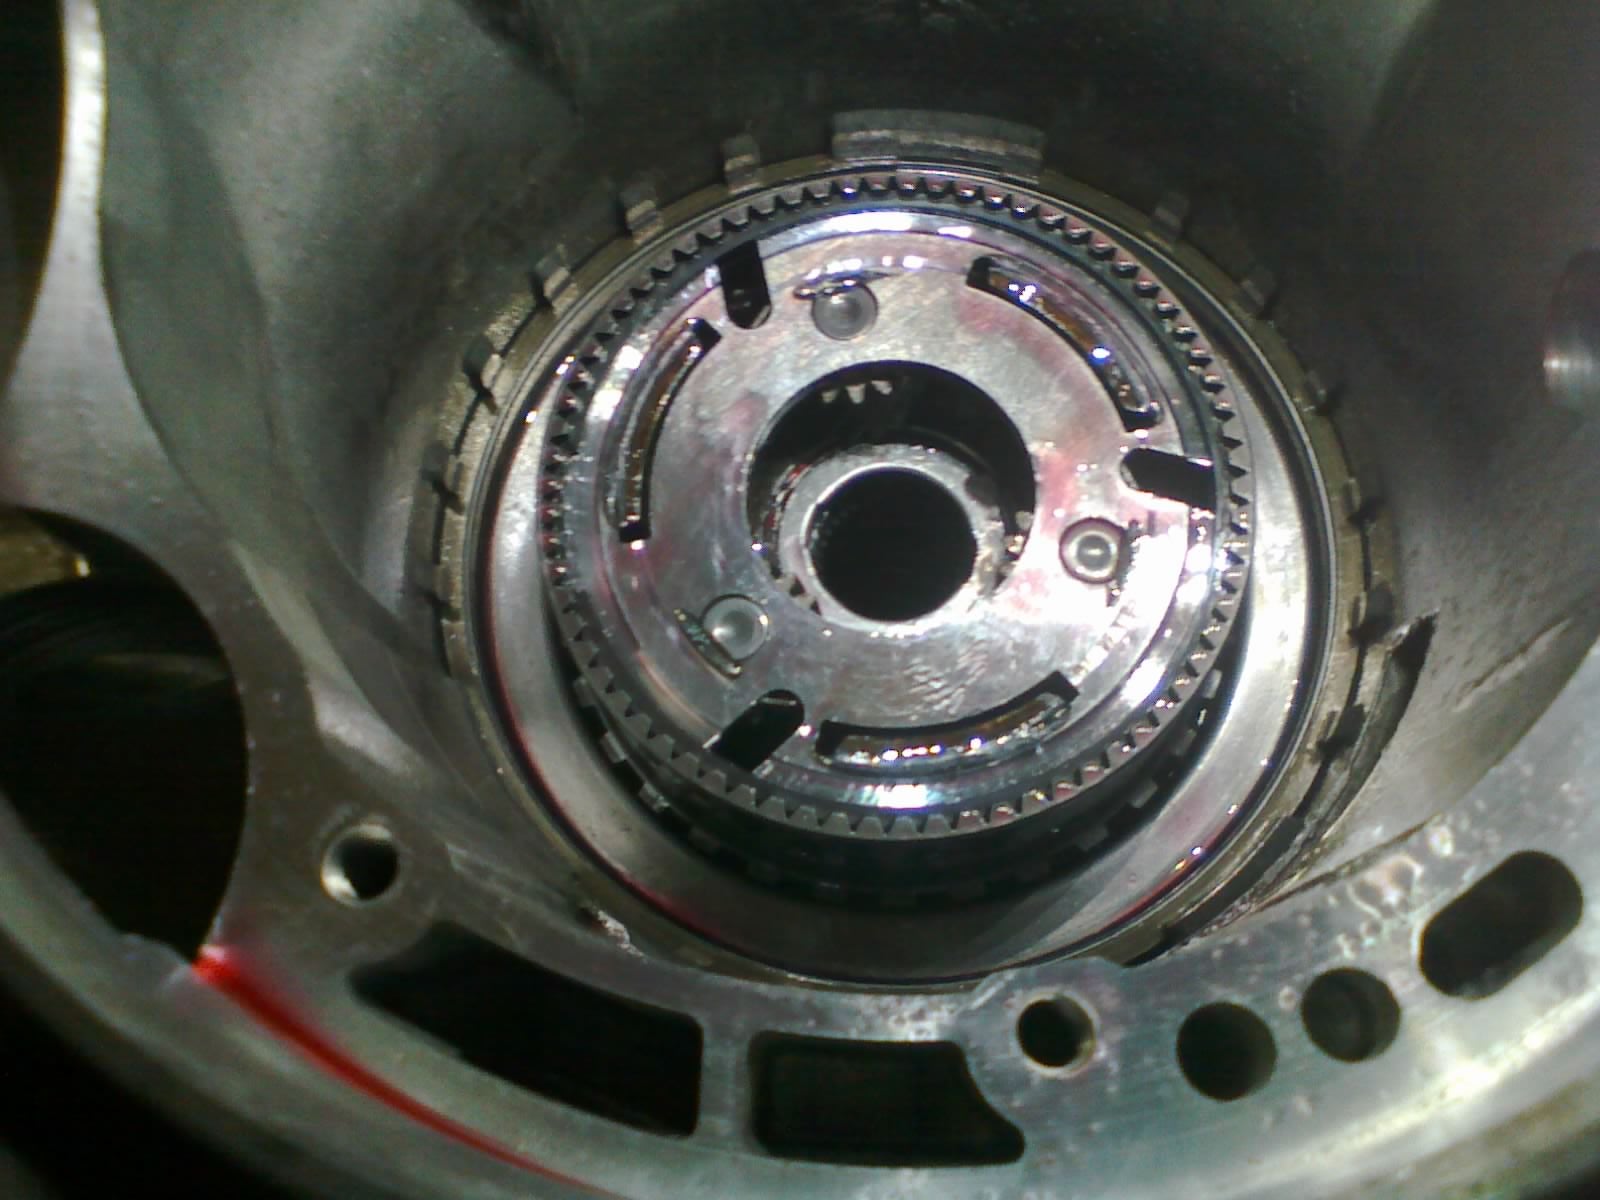
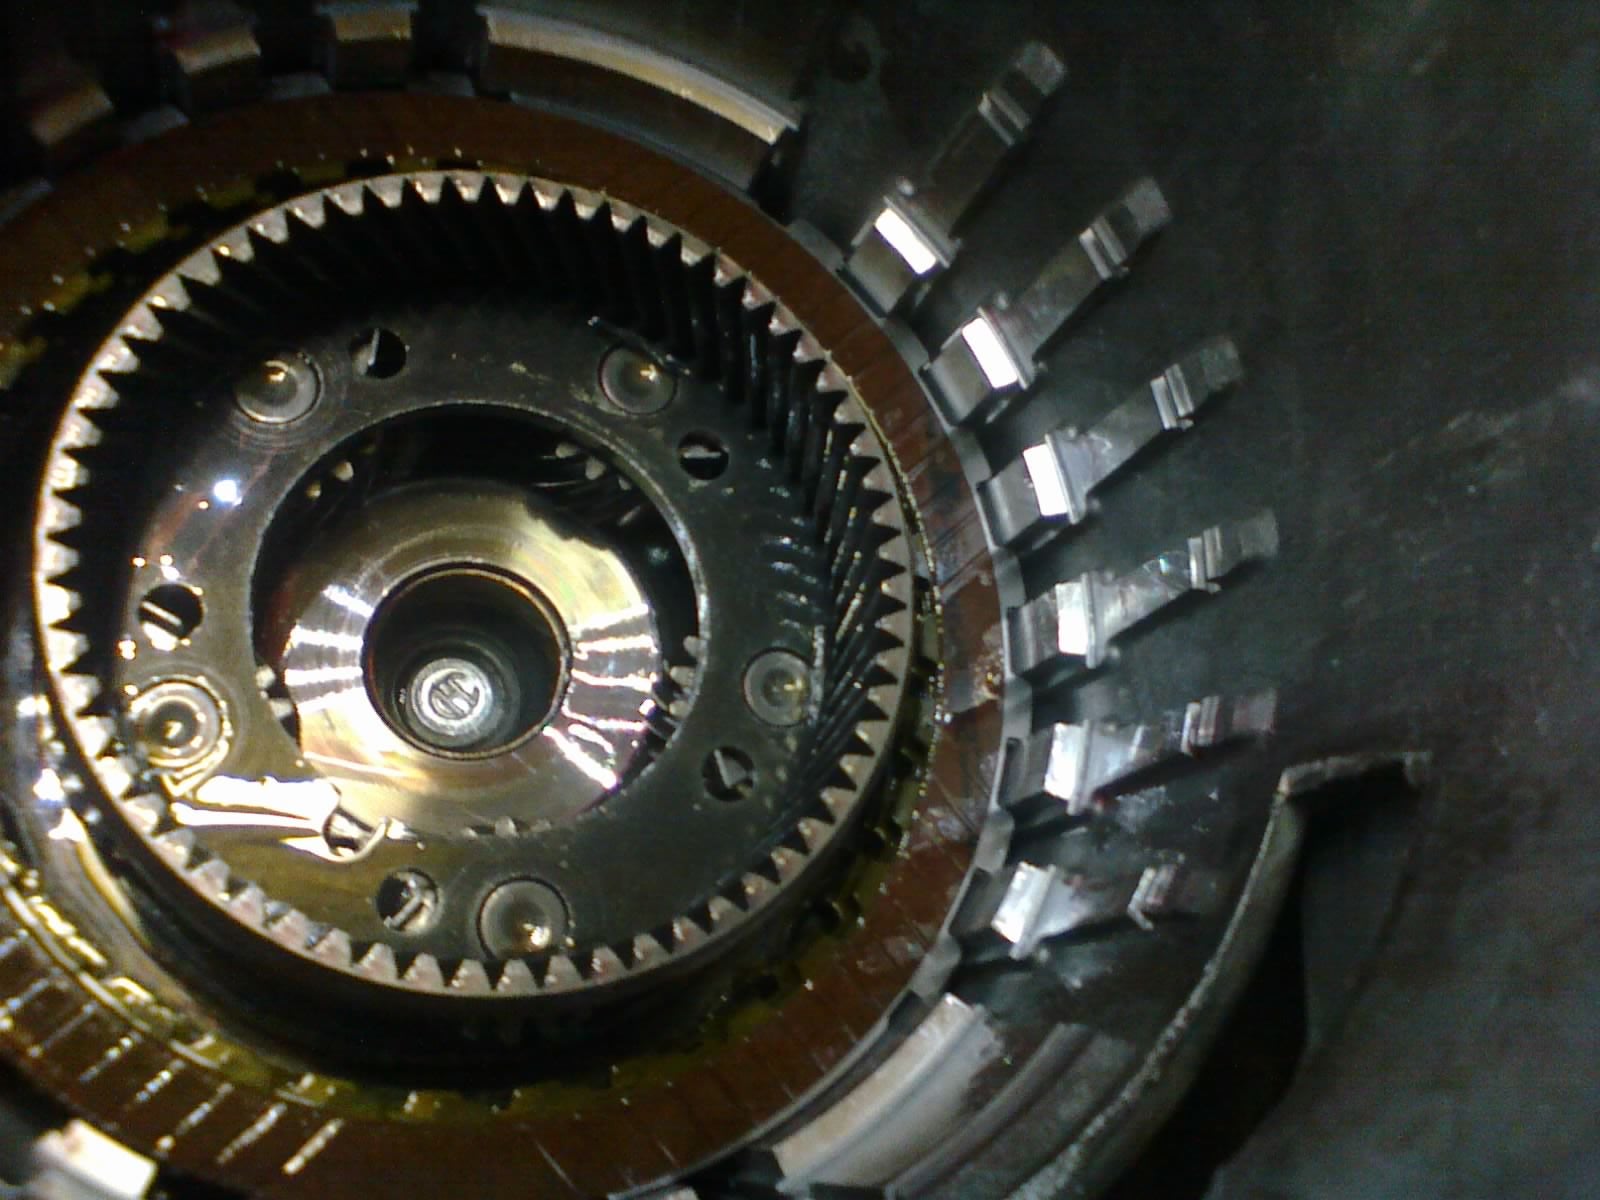
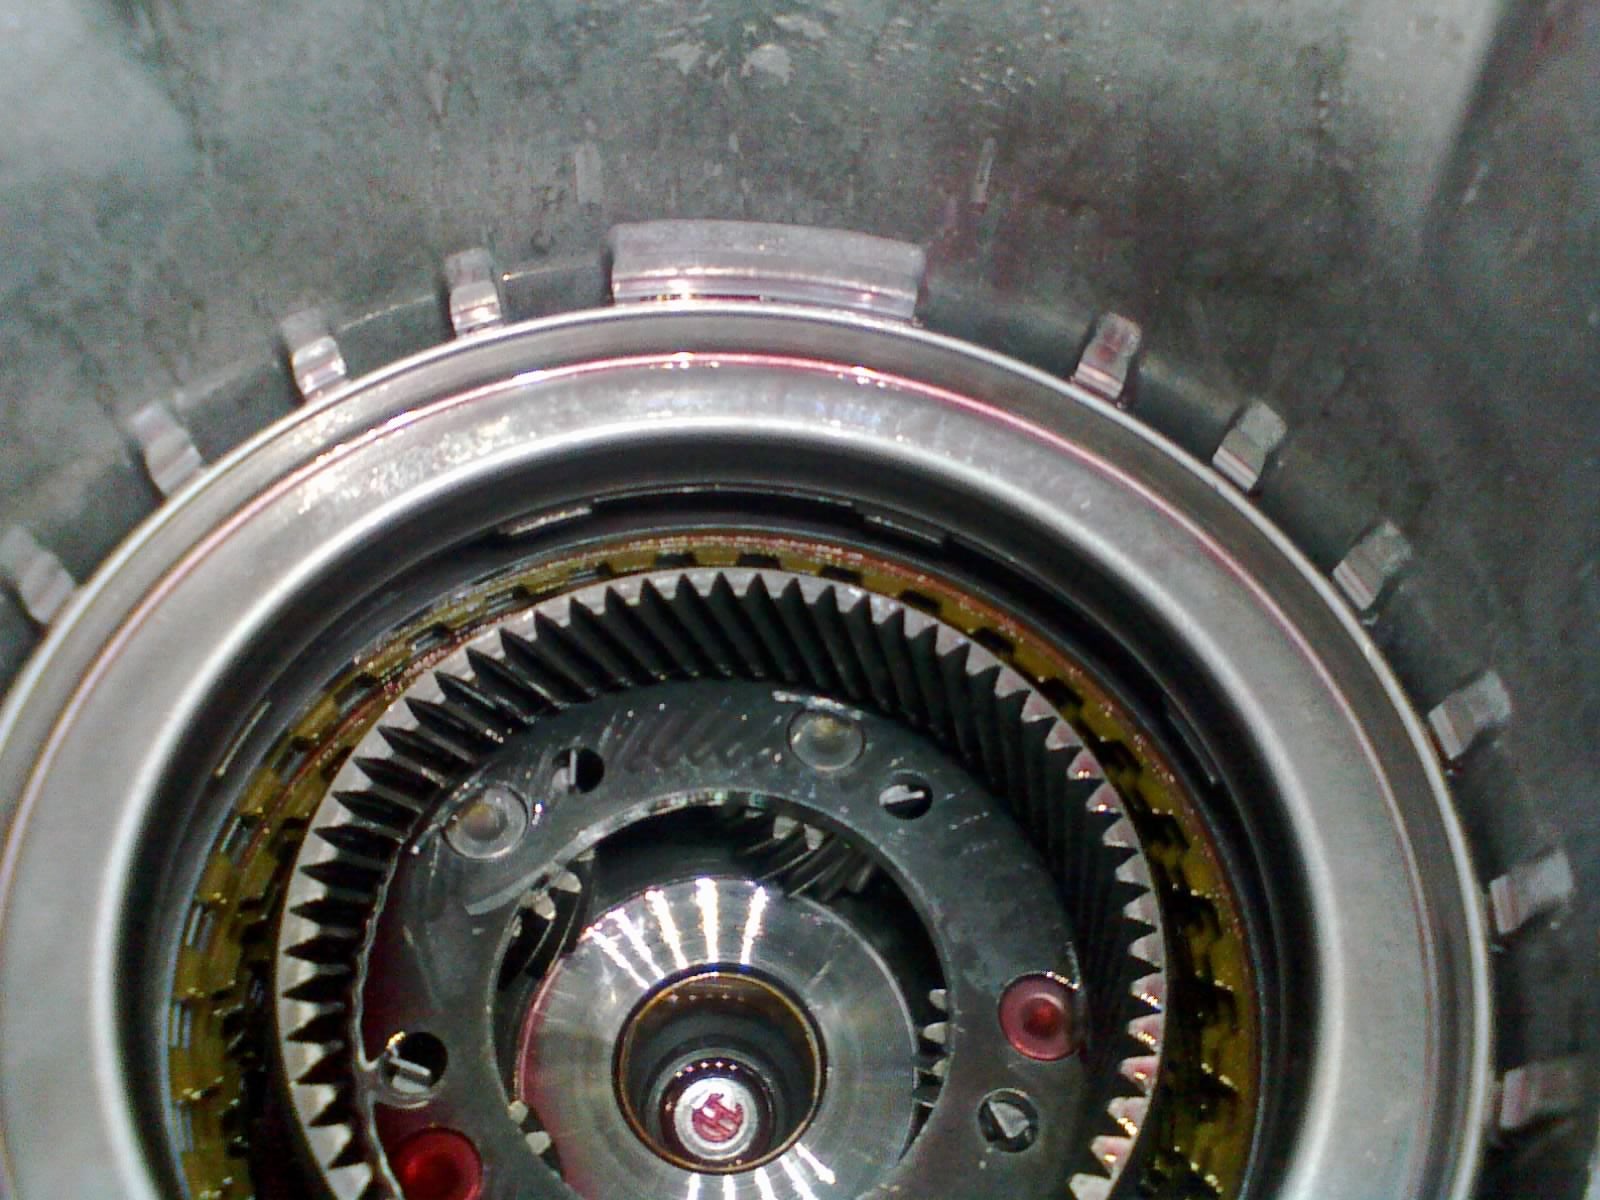
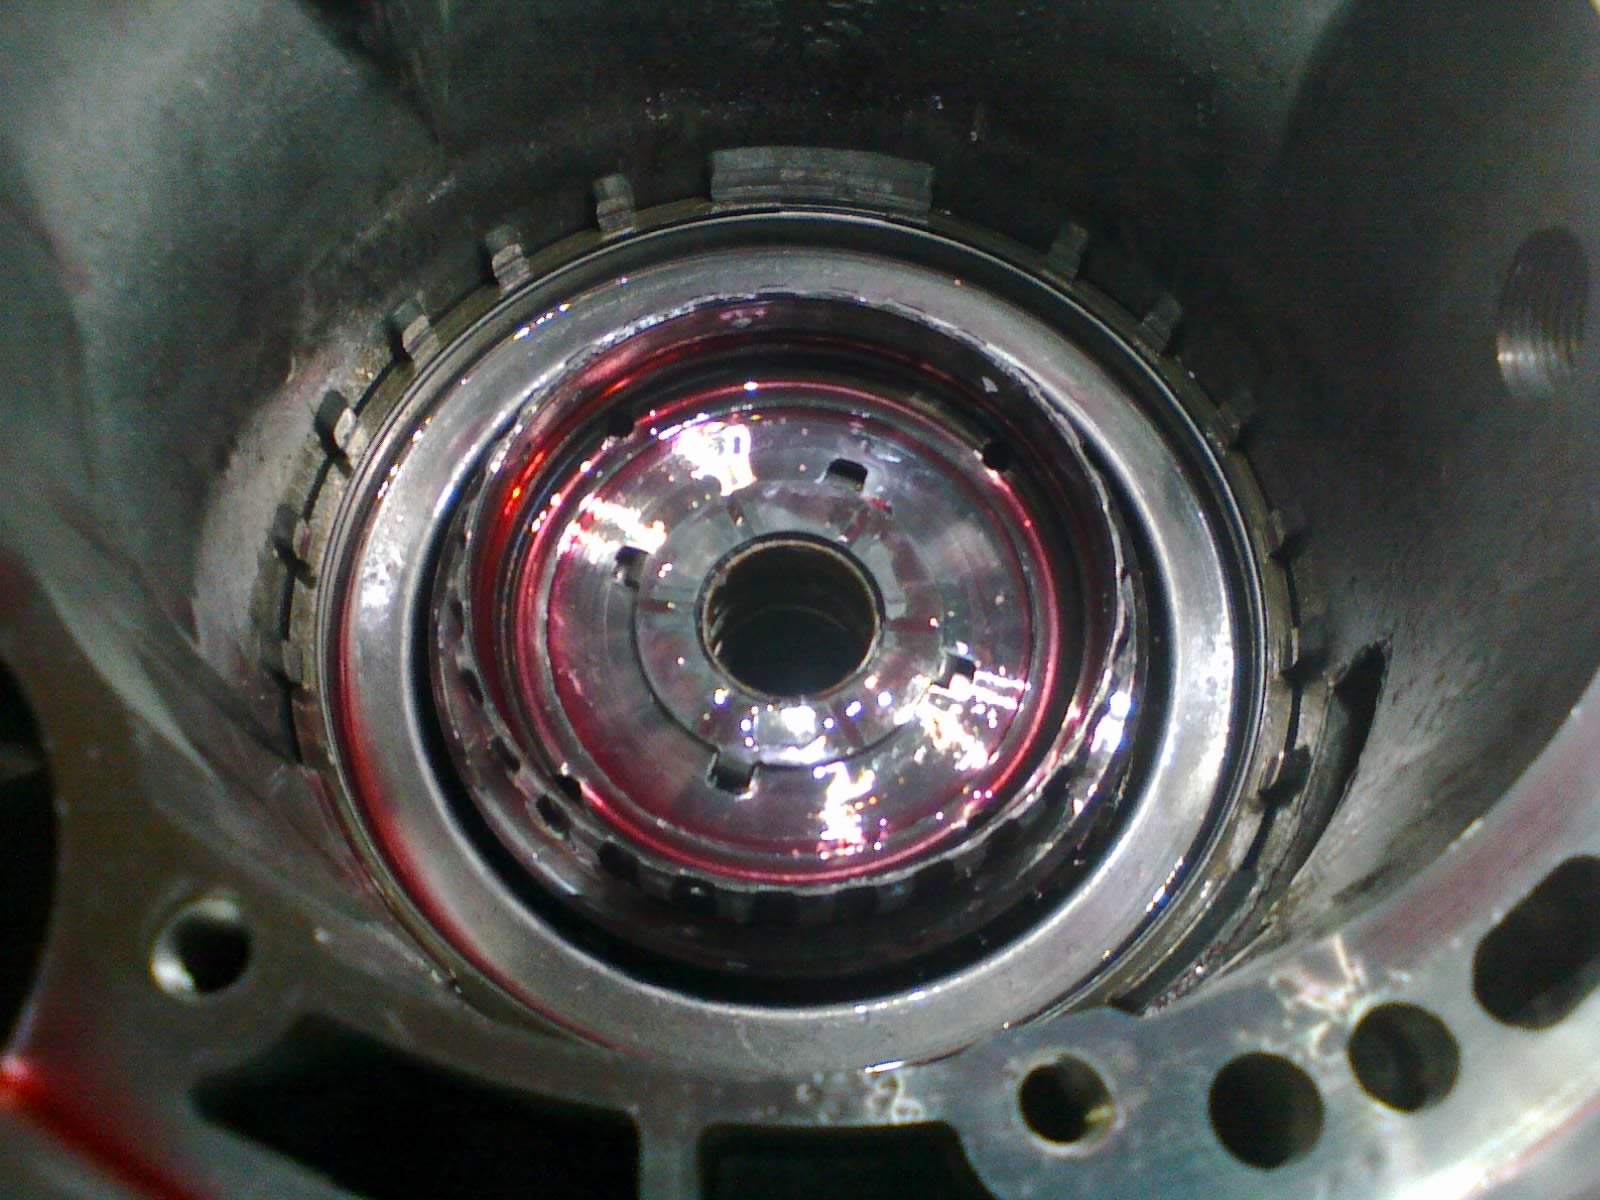
The front planetary’s teeth are at the bottom (or rear, I guess I should say), and they must pass by the 2-4 clutch and engage with the L/R clutch. So we wiggle the planetary back and forth to line up the teeth and work it deeper into the case.
Next: the input drum! 41TE Assembly, Pt. III
 "Noah - Now with more boost." (antriebverliebt)
04/03/2017 at 18:39, STARS: 1
Wild! I’ve actually never looked at pix of transmission guts before. That looks SO scary haha
"Urambo Tauro" (urambotauro)
04/03/2017 at 19:36, STARS: 1
That’s why these posts are coming in bite-sized pieces! The whole thing would be just too overwhelming, I think.