 by "DipodomysDeserti" (dipodomysdeserti)
Published 02/19/2017 at 19:43
by "DipodomysDeserti" (dipodomysdeserti)
Published 02/19/2017 at 19:43
No Tags
STARS: 1
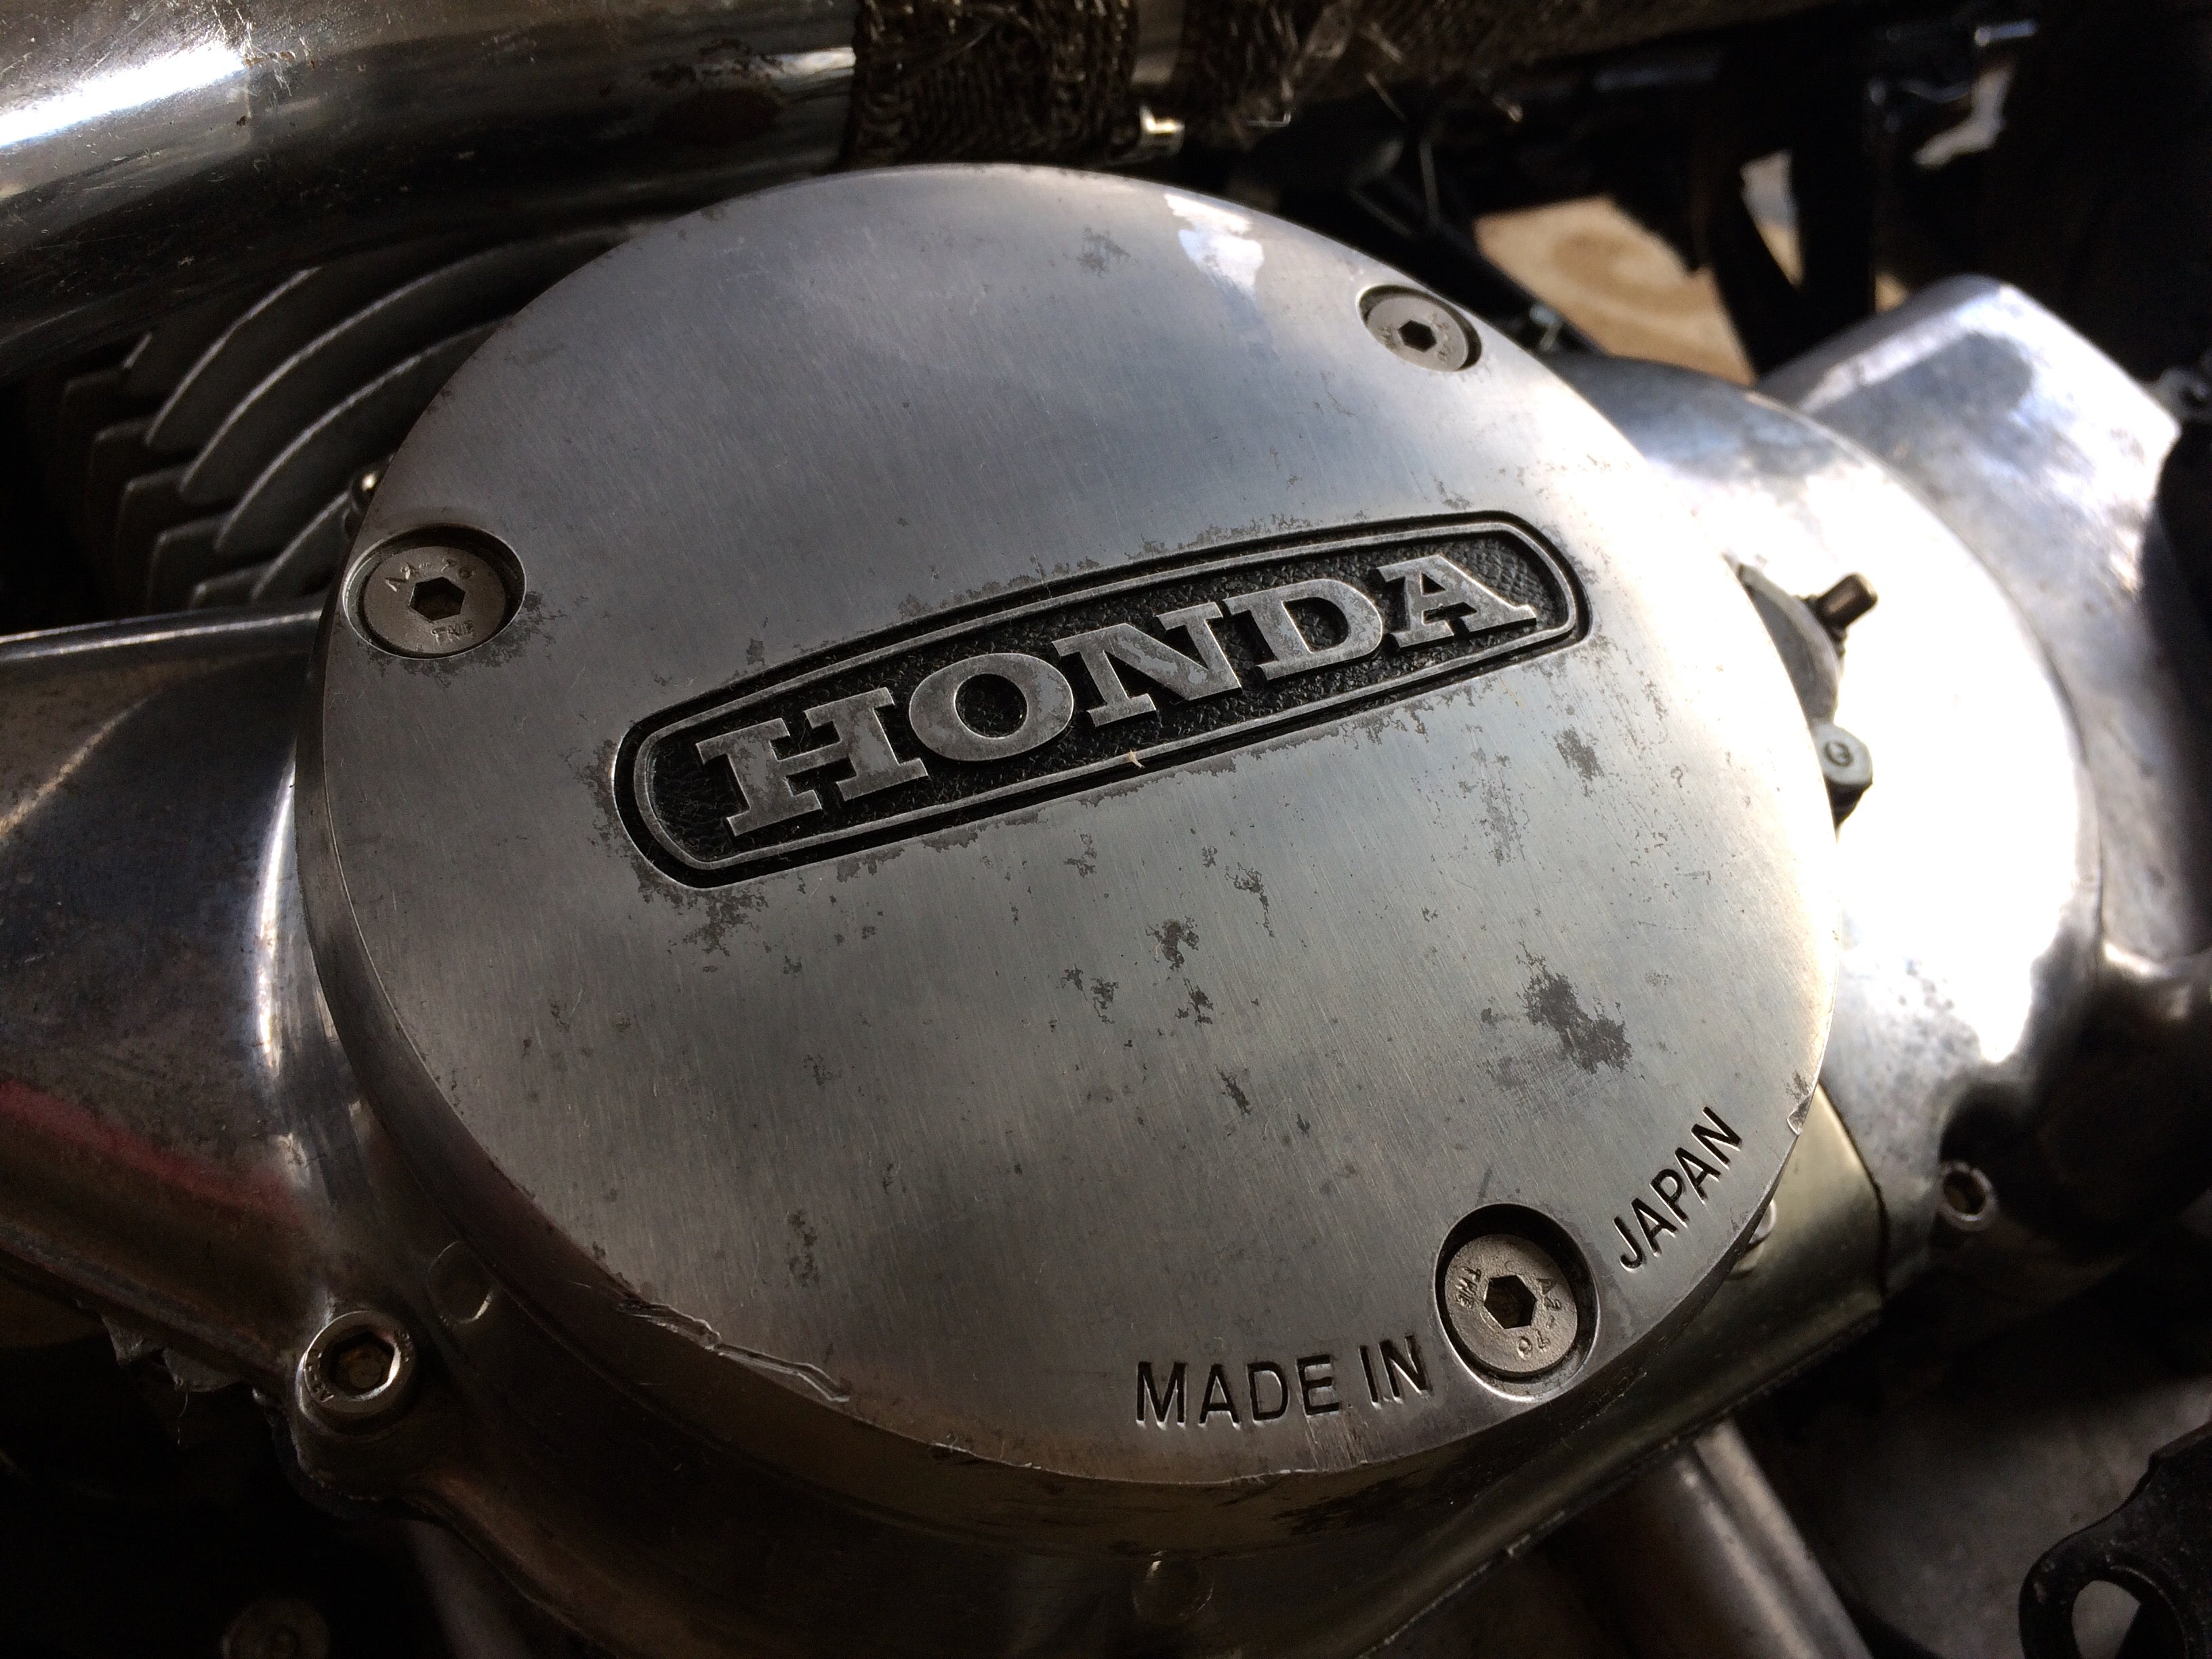
I replaced some more engine gaskets on the CL450 today. It went smoothly. The engine isn’t leaking, but I ordered a gasket set and hex head screws to replace all the JIS screws and have been slowly swapping them in.
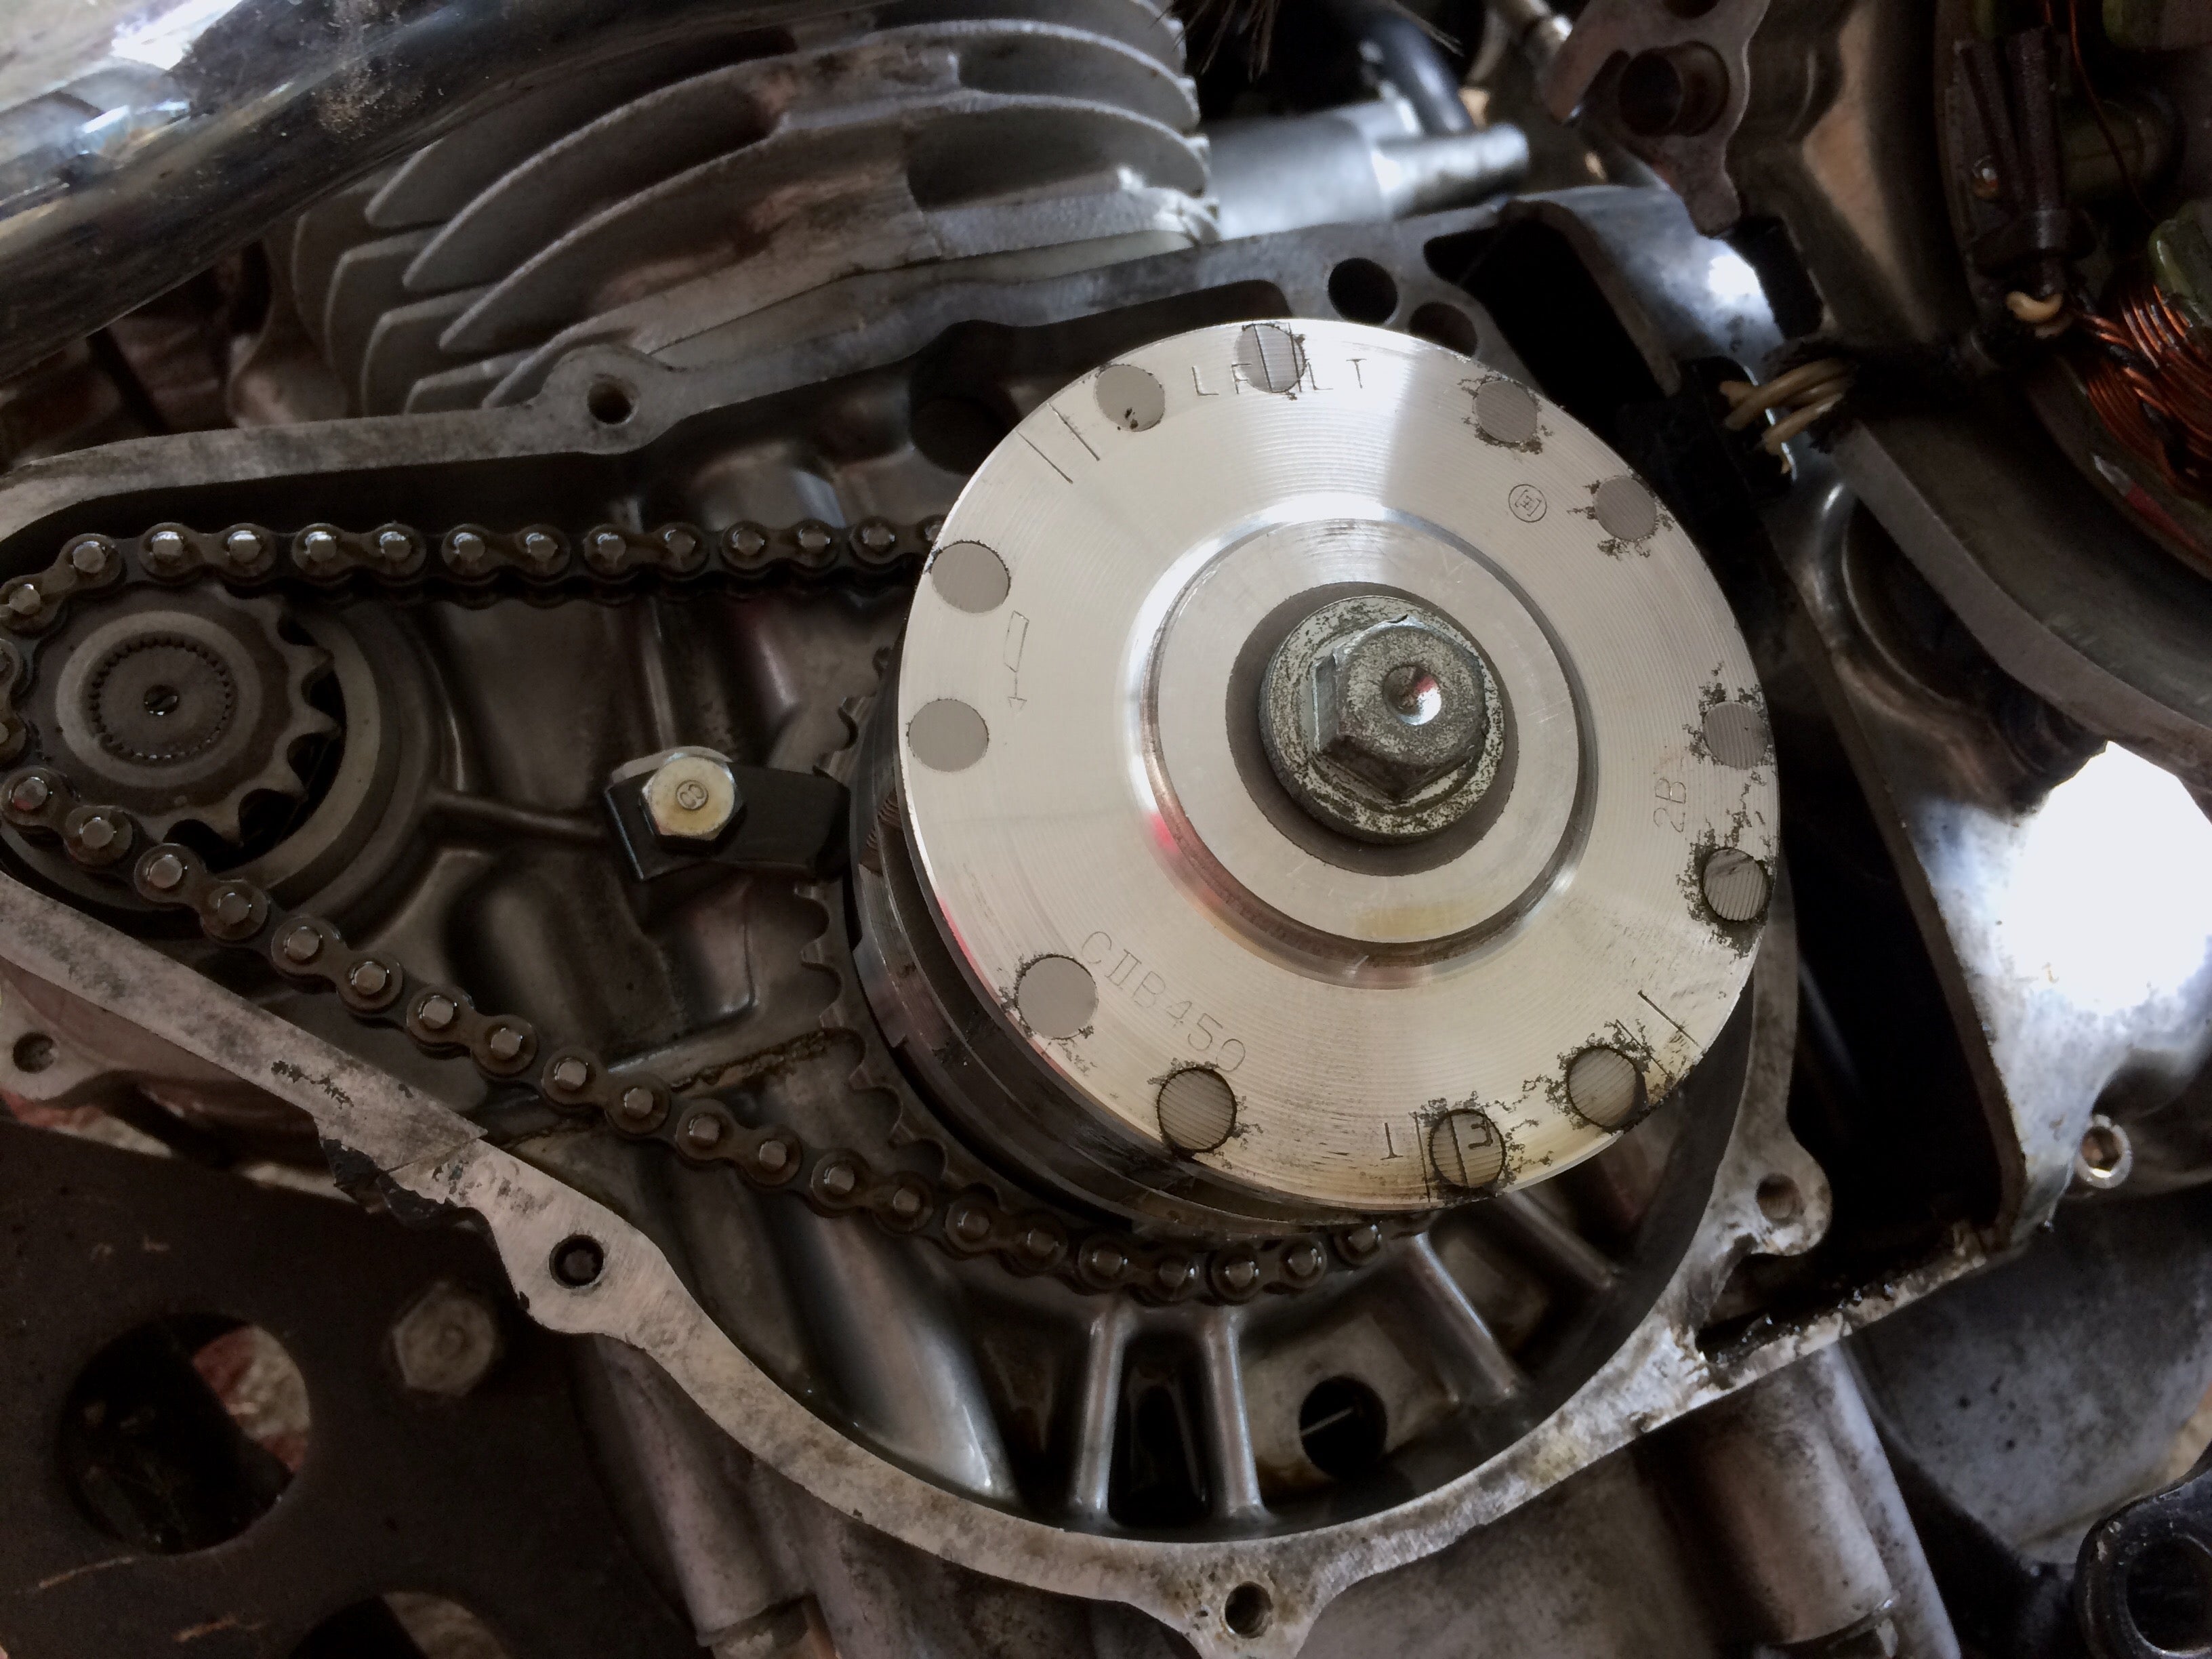
The inside of the case was very clean considering the bike will be fort-five years old next month. I find it cool to think how the last person to see this was a Japanese guy in 1972. Anyone know any tips to polishing up magnesium? I want to see if I can even out the finish on the engine covers.
 "jminer" (jminer)
02/19/2017 at 19:55, STARS: 1
Just to warn you, if these old Hondas aren’t leaking, don’t mess with the gaskets. Myself and many others have cracked one open to either fix a seep or just because and found it leaking far more when done.
I’ve also seen people who can buff those cast aluminum casings to a chrome finish. I’m not patient enough to do so though. I’ll clean the gunk off and smooth out rough spots with some steel wool, but that’s all the further I will go.
Good luck with the project though!
"DipodomysDeserti" (dipodomysdeserti)
02/19/2017 at 21:12, STARS: 0
Yeah, I was weary to crack open a non leaking Honda, but I had to pull the engine cover off the other side a few months ago for a repair. I had to replace all the screws on the other side with the hex heads, and having hex heads on one side amd JIS screws on the other was bothering me. I used three bond on the other side and it has been leak free for about six months. Hopefully this side will be the same. Fingers crossed.
The CB450 uses magnesium engine covers rather than aluminum ones. I’m not sure if they’ll polish up the same way as aluminum. I was using really fine steel wool to no avail. I might have to go a little coarser.
 "Pickup_man" (zekeh)
02/20/2017 at 09:46, STARS: 0
I’ve polished out covers like that before, it’s a lot of work. Start with coarse sandpaper to get the deep pits out, then keep using finer and finer paper, up to 1500 or 2000 grit. I think I did mine in four sanding stages, 300, 600, 1500, 2000, this is all wet sanding, using dish soap as a lubricant. Once all the pits and scratches are gone and everything is smooth break out the aluminum/mag polish and go to town. I found the polishing went much faster with a Dremel and a buffing pad, and a bench grinder with a buffing pad works well too for larger pieces.
Here’s what I wound up with, the bottom half is before, and the top half is after, which honestly could be polished up even more.
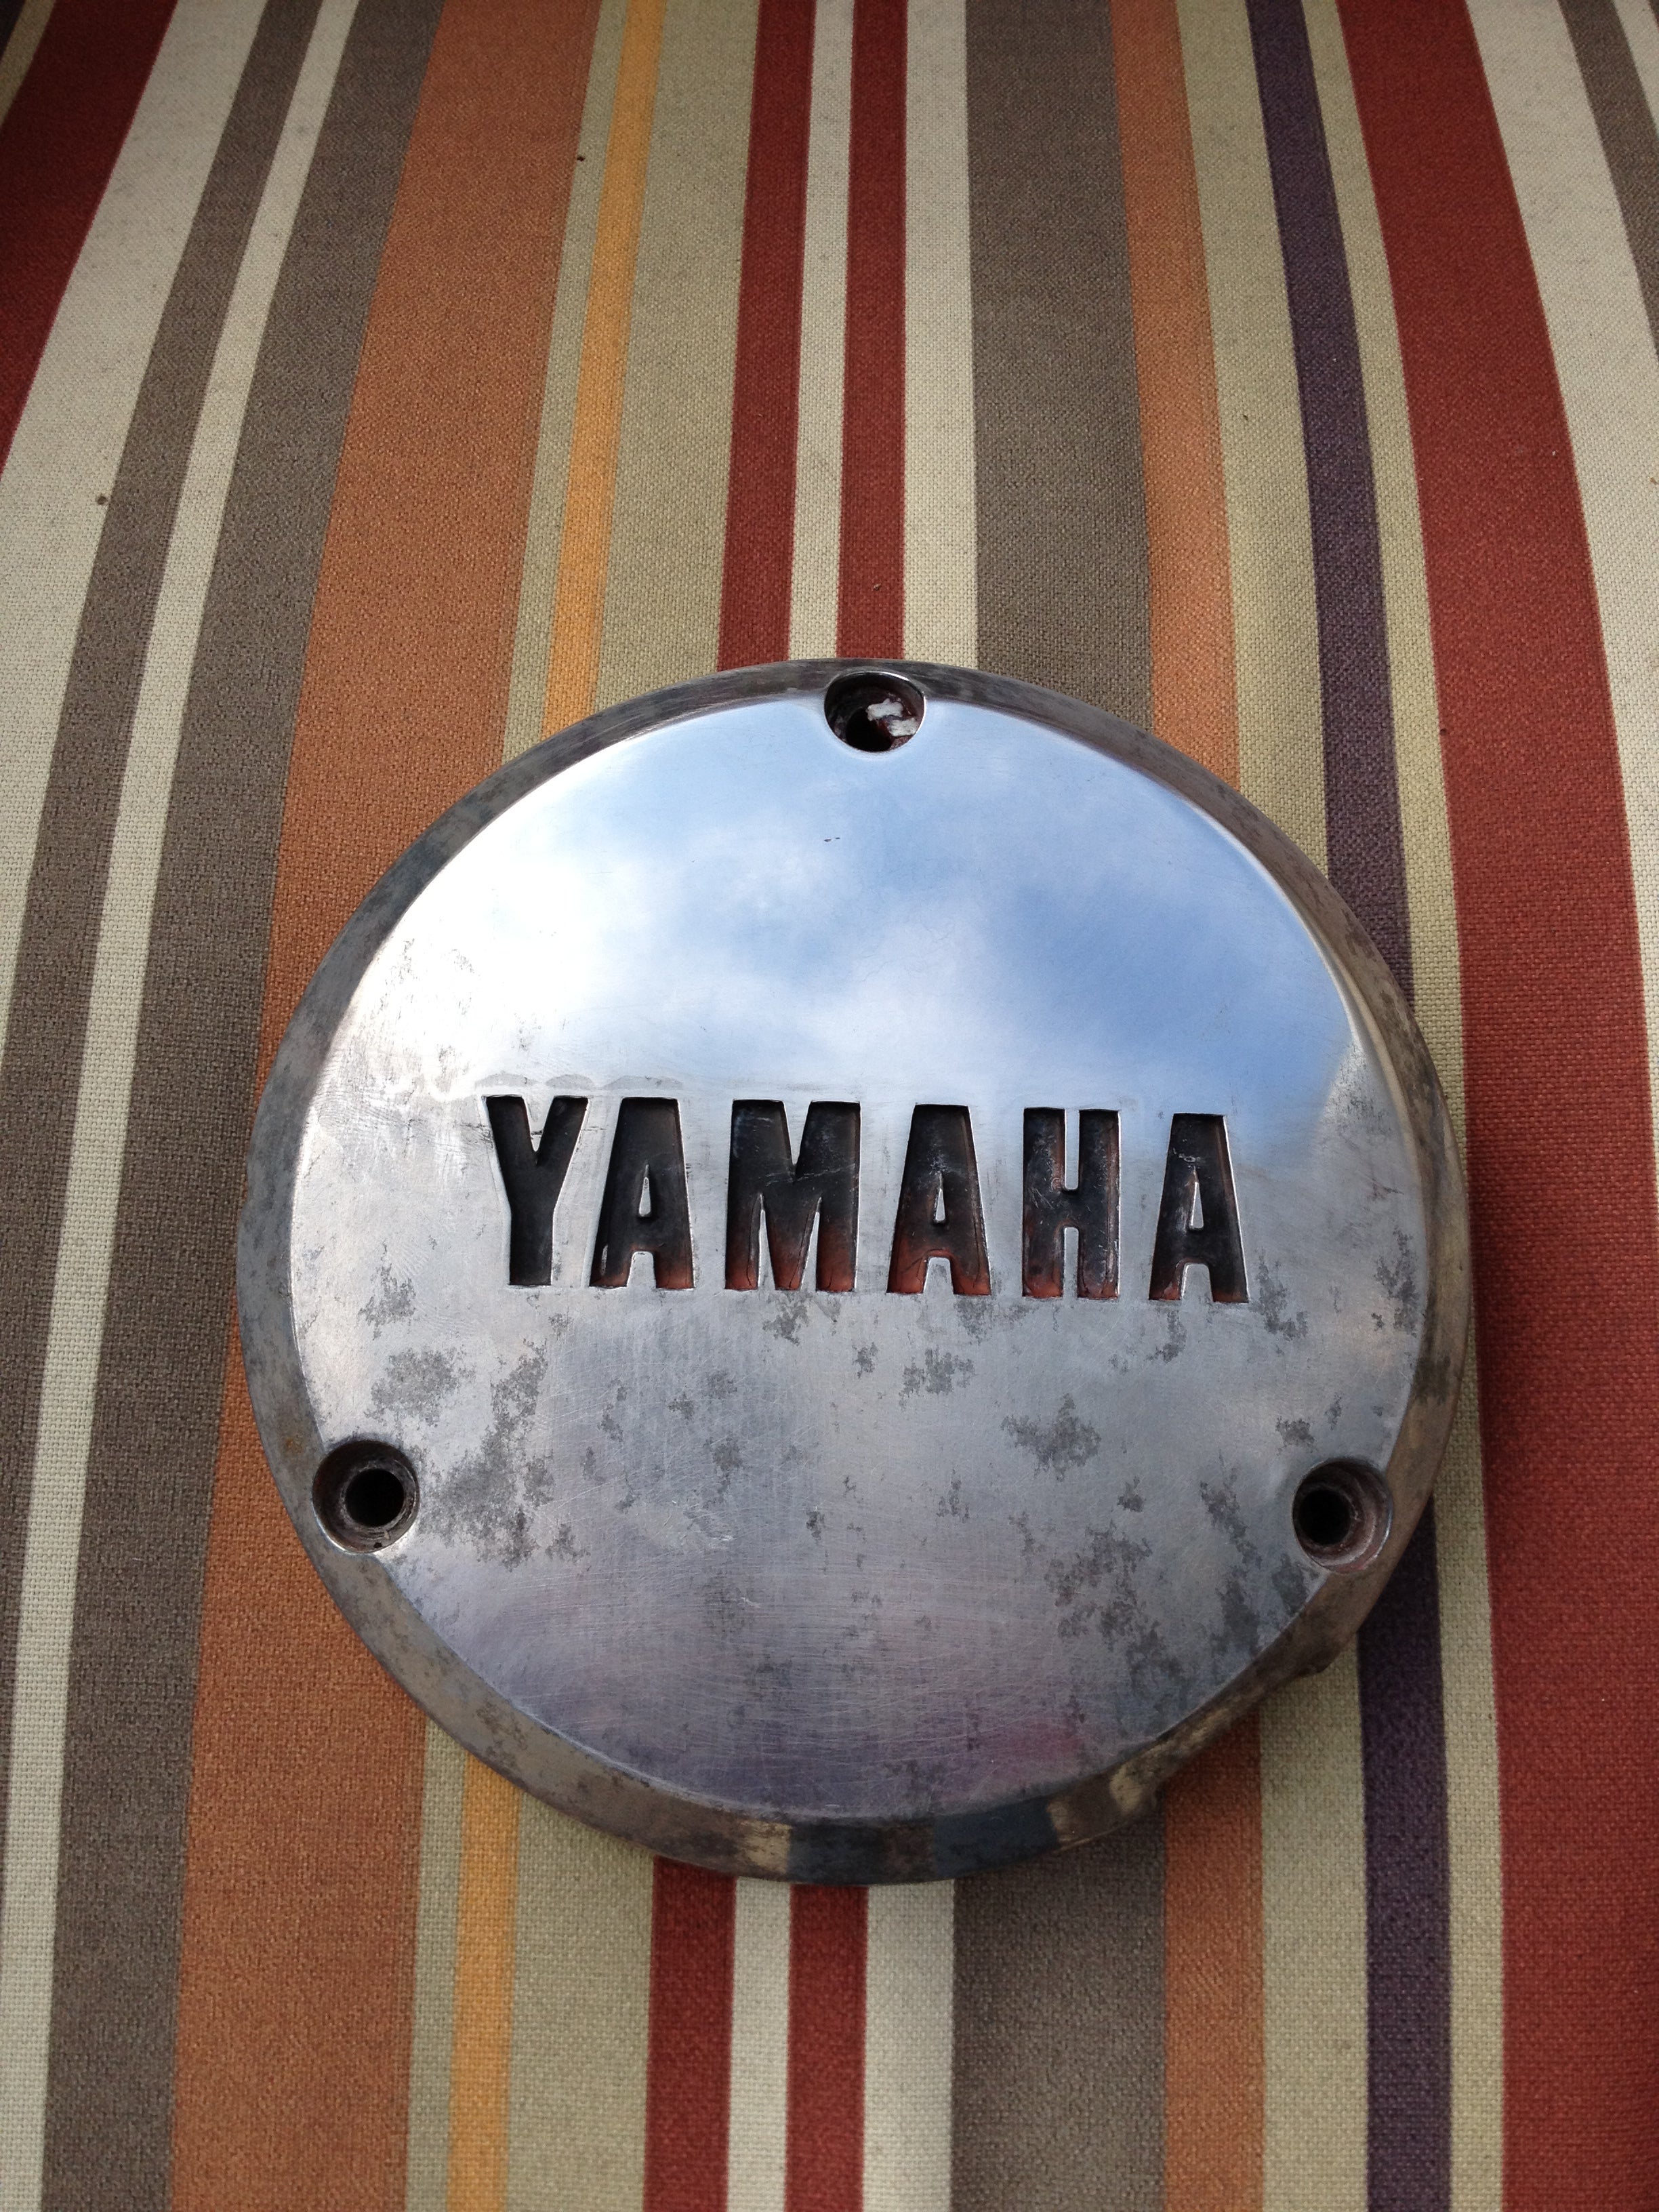
Edit: My cases are aluminum, I’m not sure if magnesium would be much different, but I can’t imagine that it would be considering you can buy polish for it.