 by "-Amateur" (amateur)
Published 02/13/2017 at 00:05
by "-Amateur" (amateur)
Published 02/13/2017 at 00:05
No Tags
STARS: 7
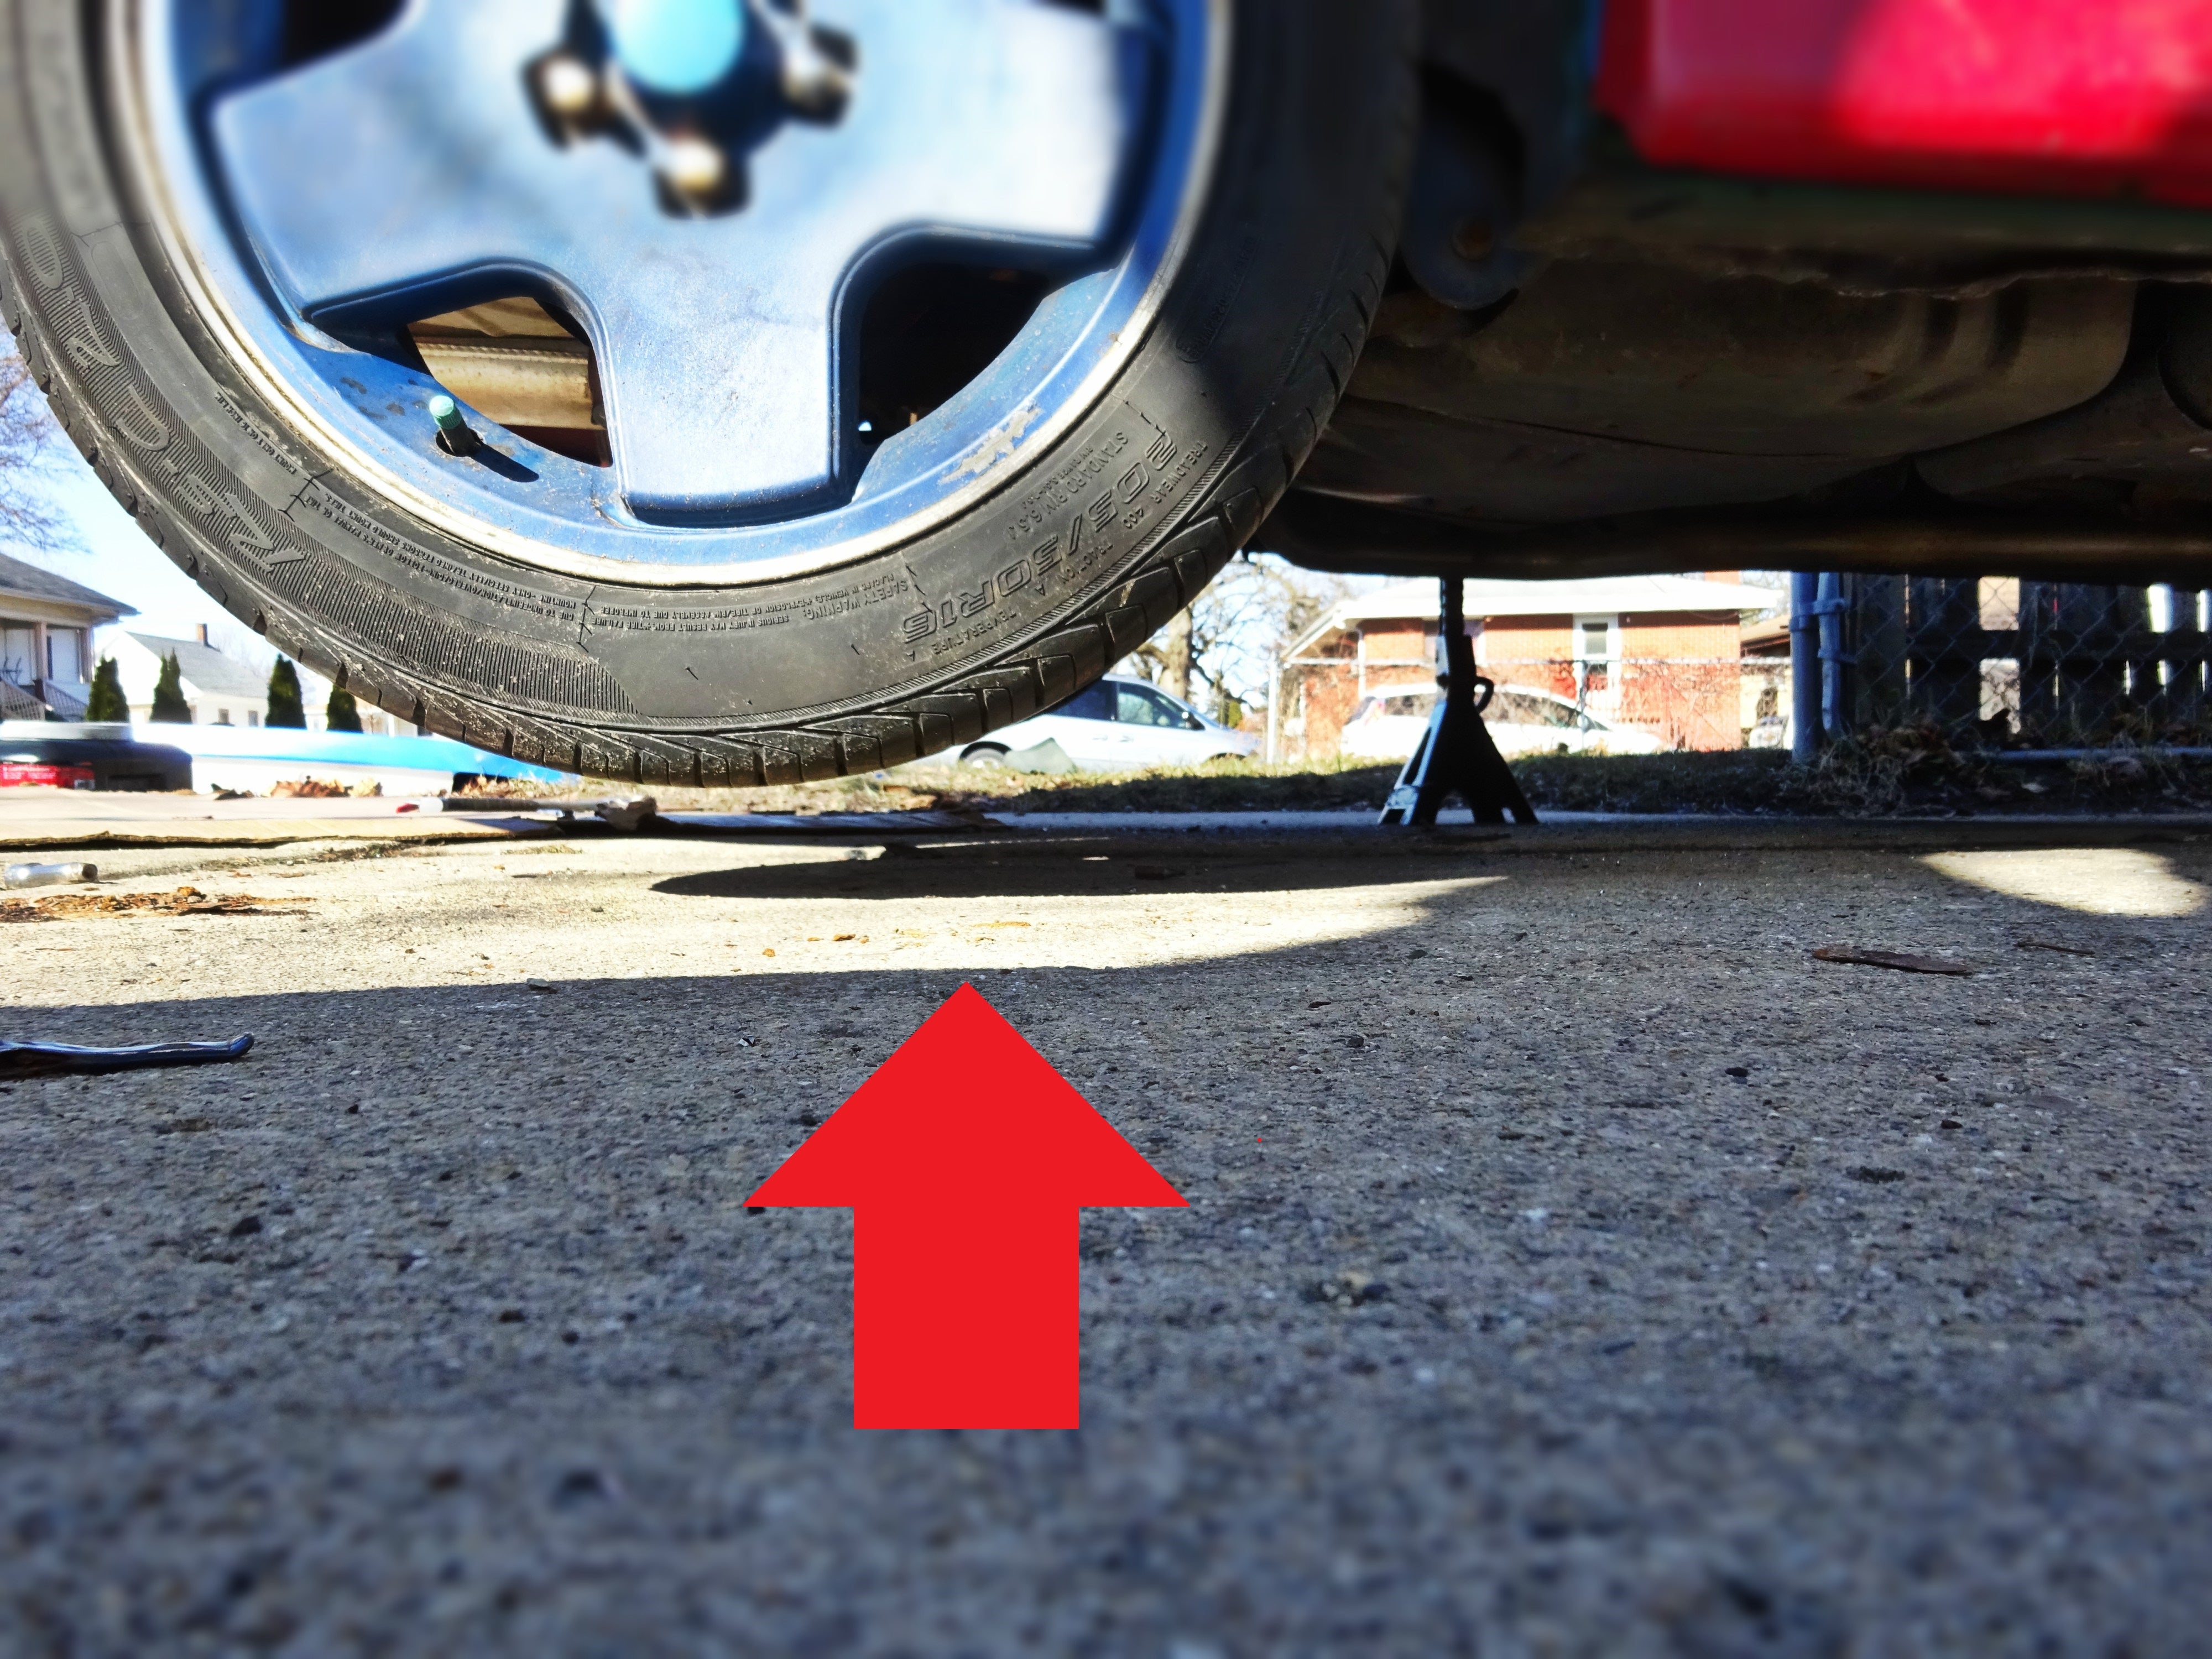
I’ve finished kicking the rear stiffness up a notch by installing 2 sway bars in back!
That pic above shows them installed and that jack stand is only on the drivers side. That’s pretty stiff—There’s like next to no slop between the two hubs. Awesome for racing conditions but I pray for my back on the street lol.
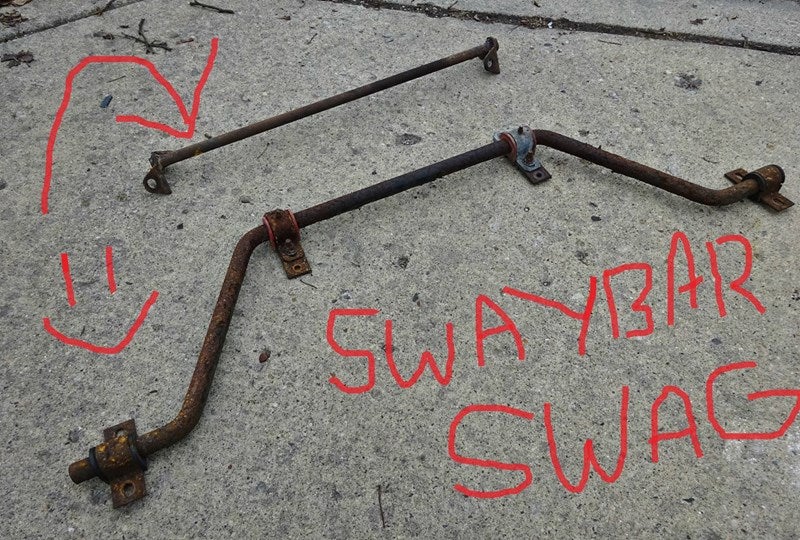
I’ve always had an oversized Addco 25mm external rear sway that piggybacks off the torsion beam. But now I’m retro fitting a smaller internal sway bar inside the torsion beam too. One internal, one external.
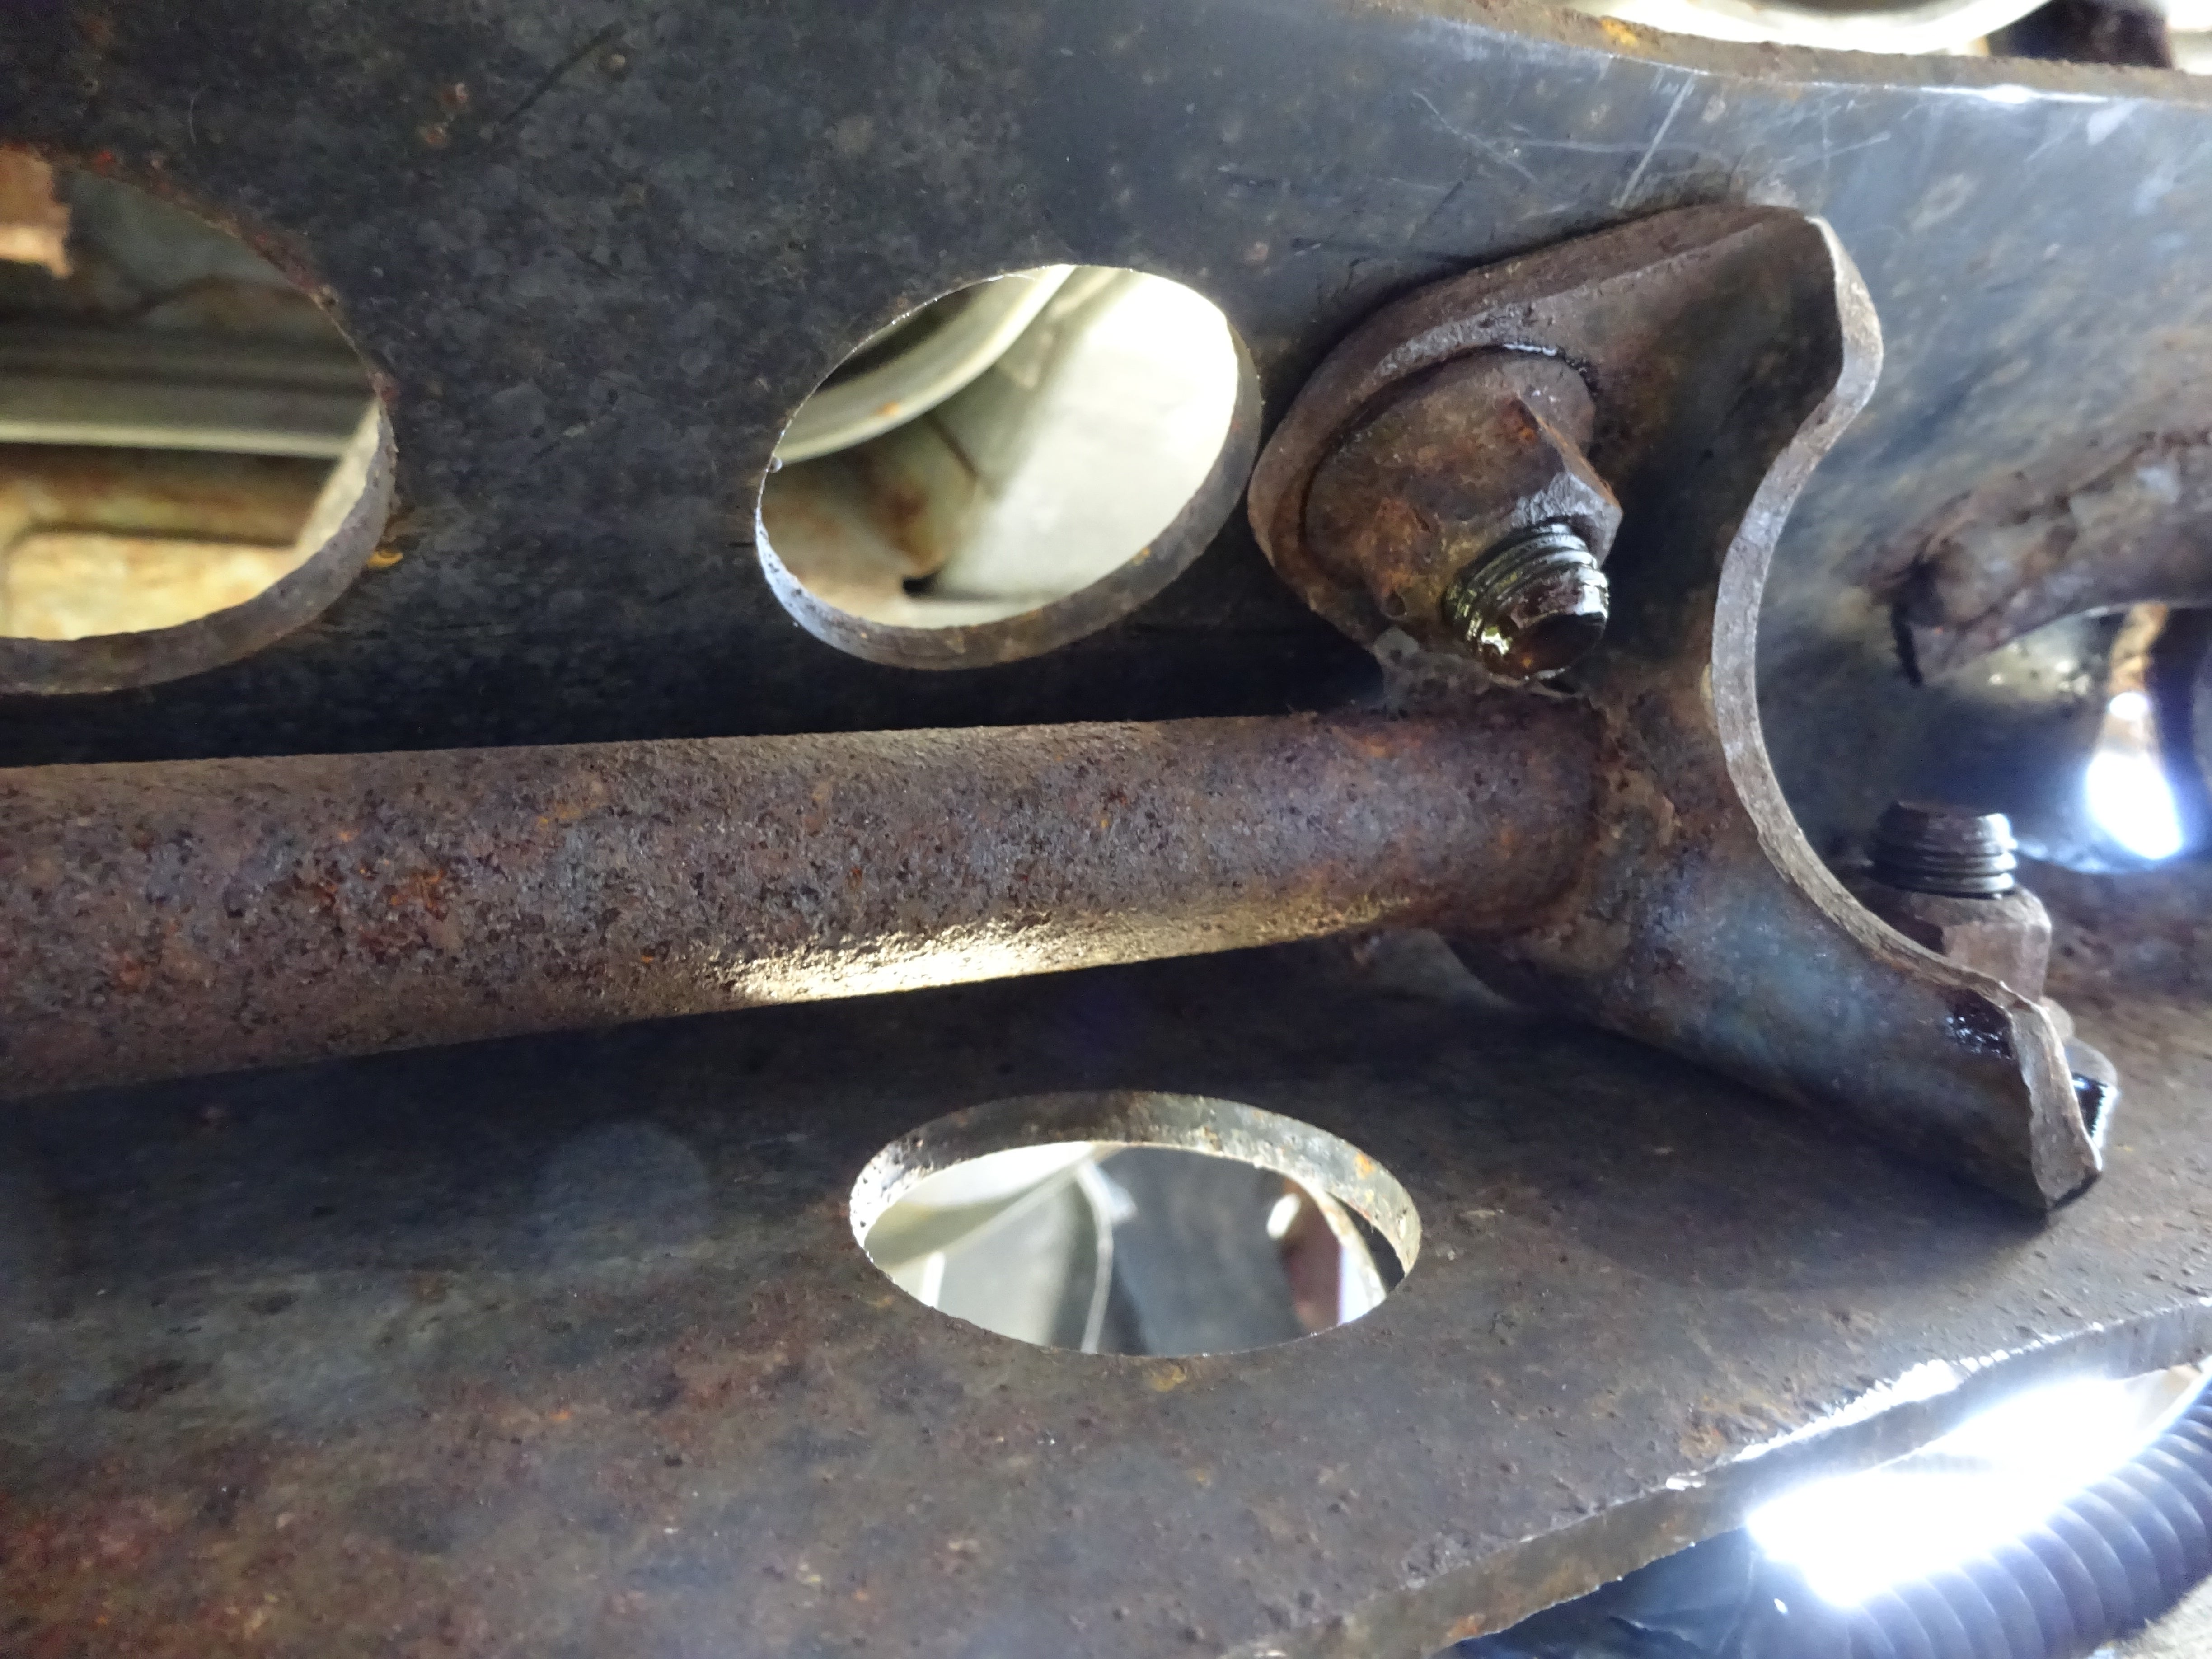
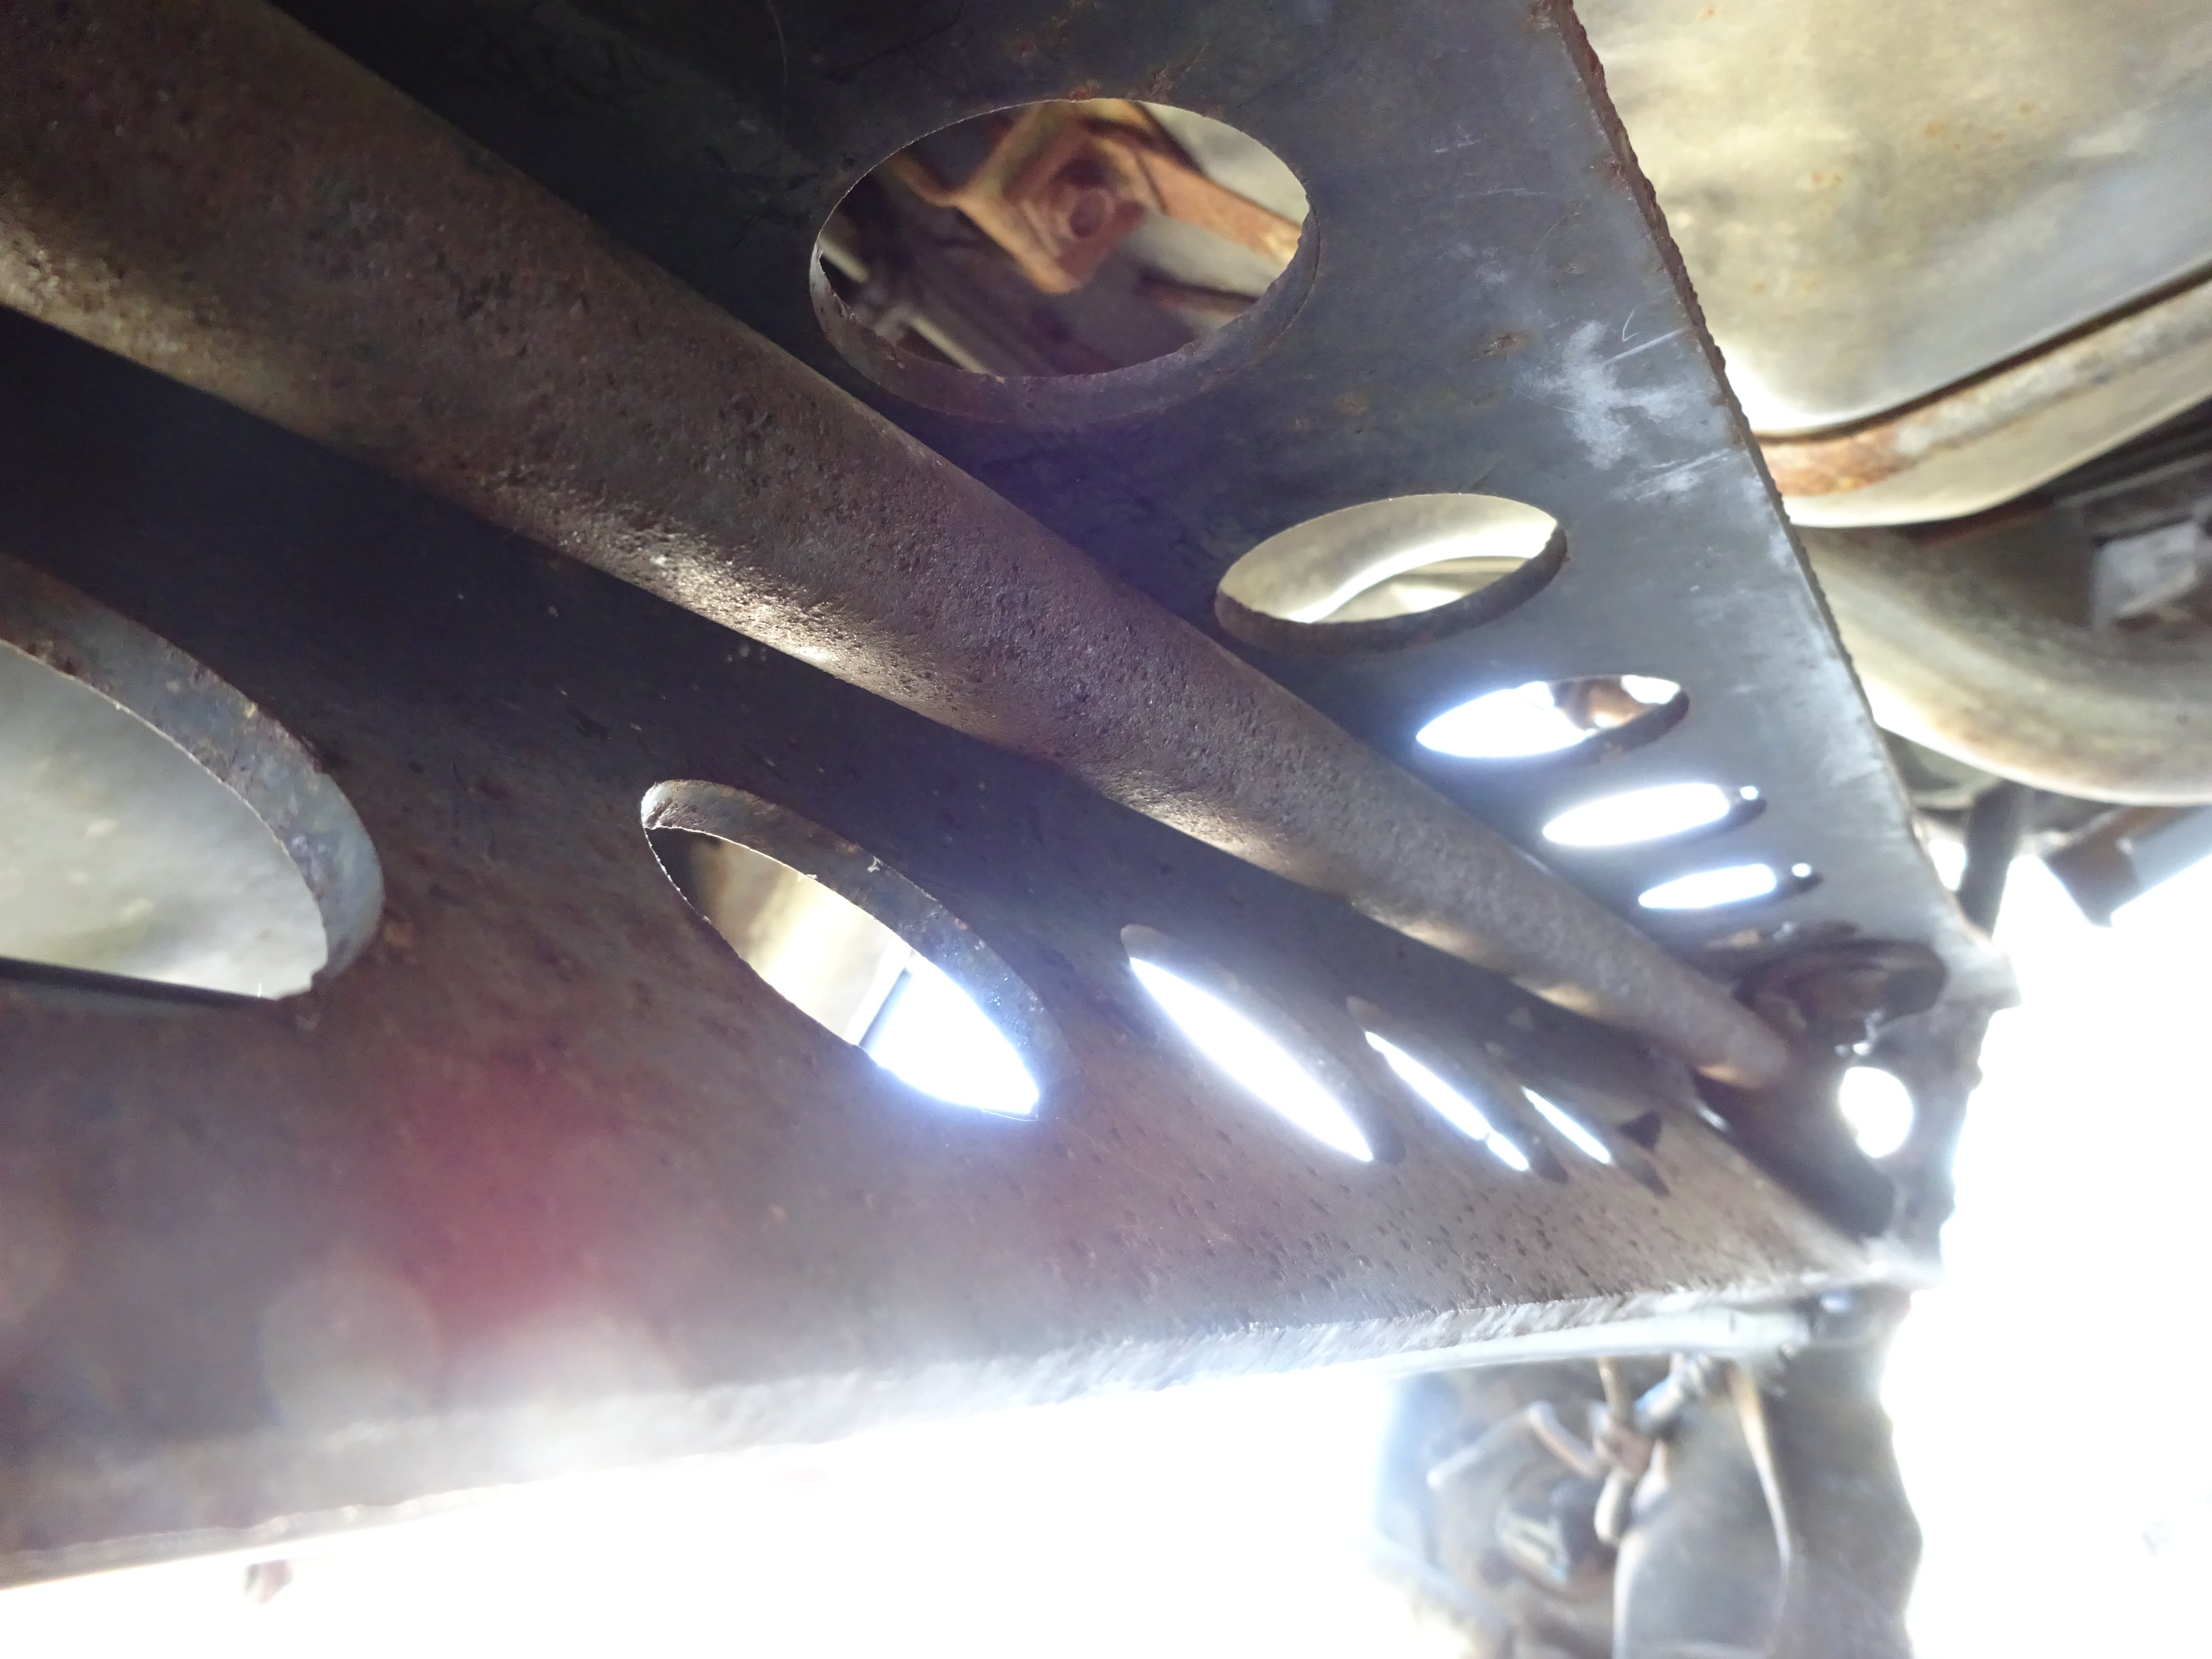
I say retrofit because the Beretta had two different rear suspension setups throughout it’s life. The 1988-94 had a solid beam with a standard coil spring and shock setup. In 1995+ the Beretta had a new rear setup which essentially relocated the spring perches more rearward for better ride quality and the solid torsion beam now had holes to save weight.
Normally the Pre ‘95 had a shorter bolt-on internal bar within the torsion beam on the GT/GTZ/Z26 models and the 95+ had a complete length running bar from end to end that was welded on within the trailing arm ends.
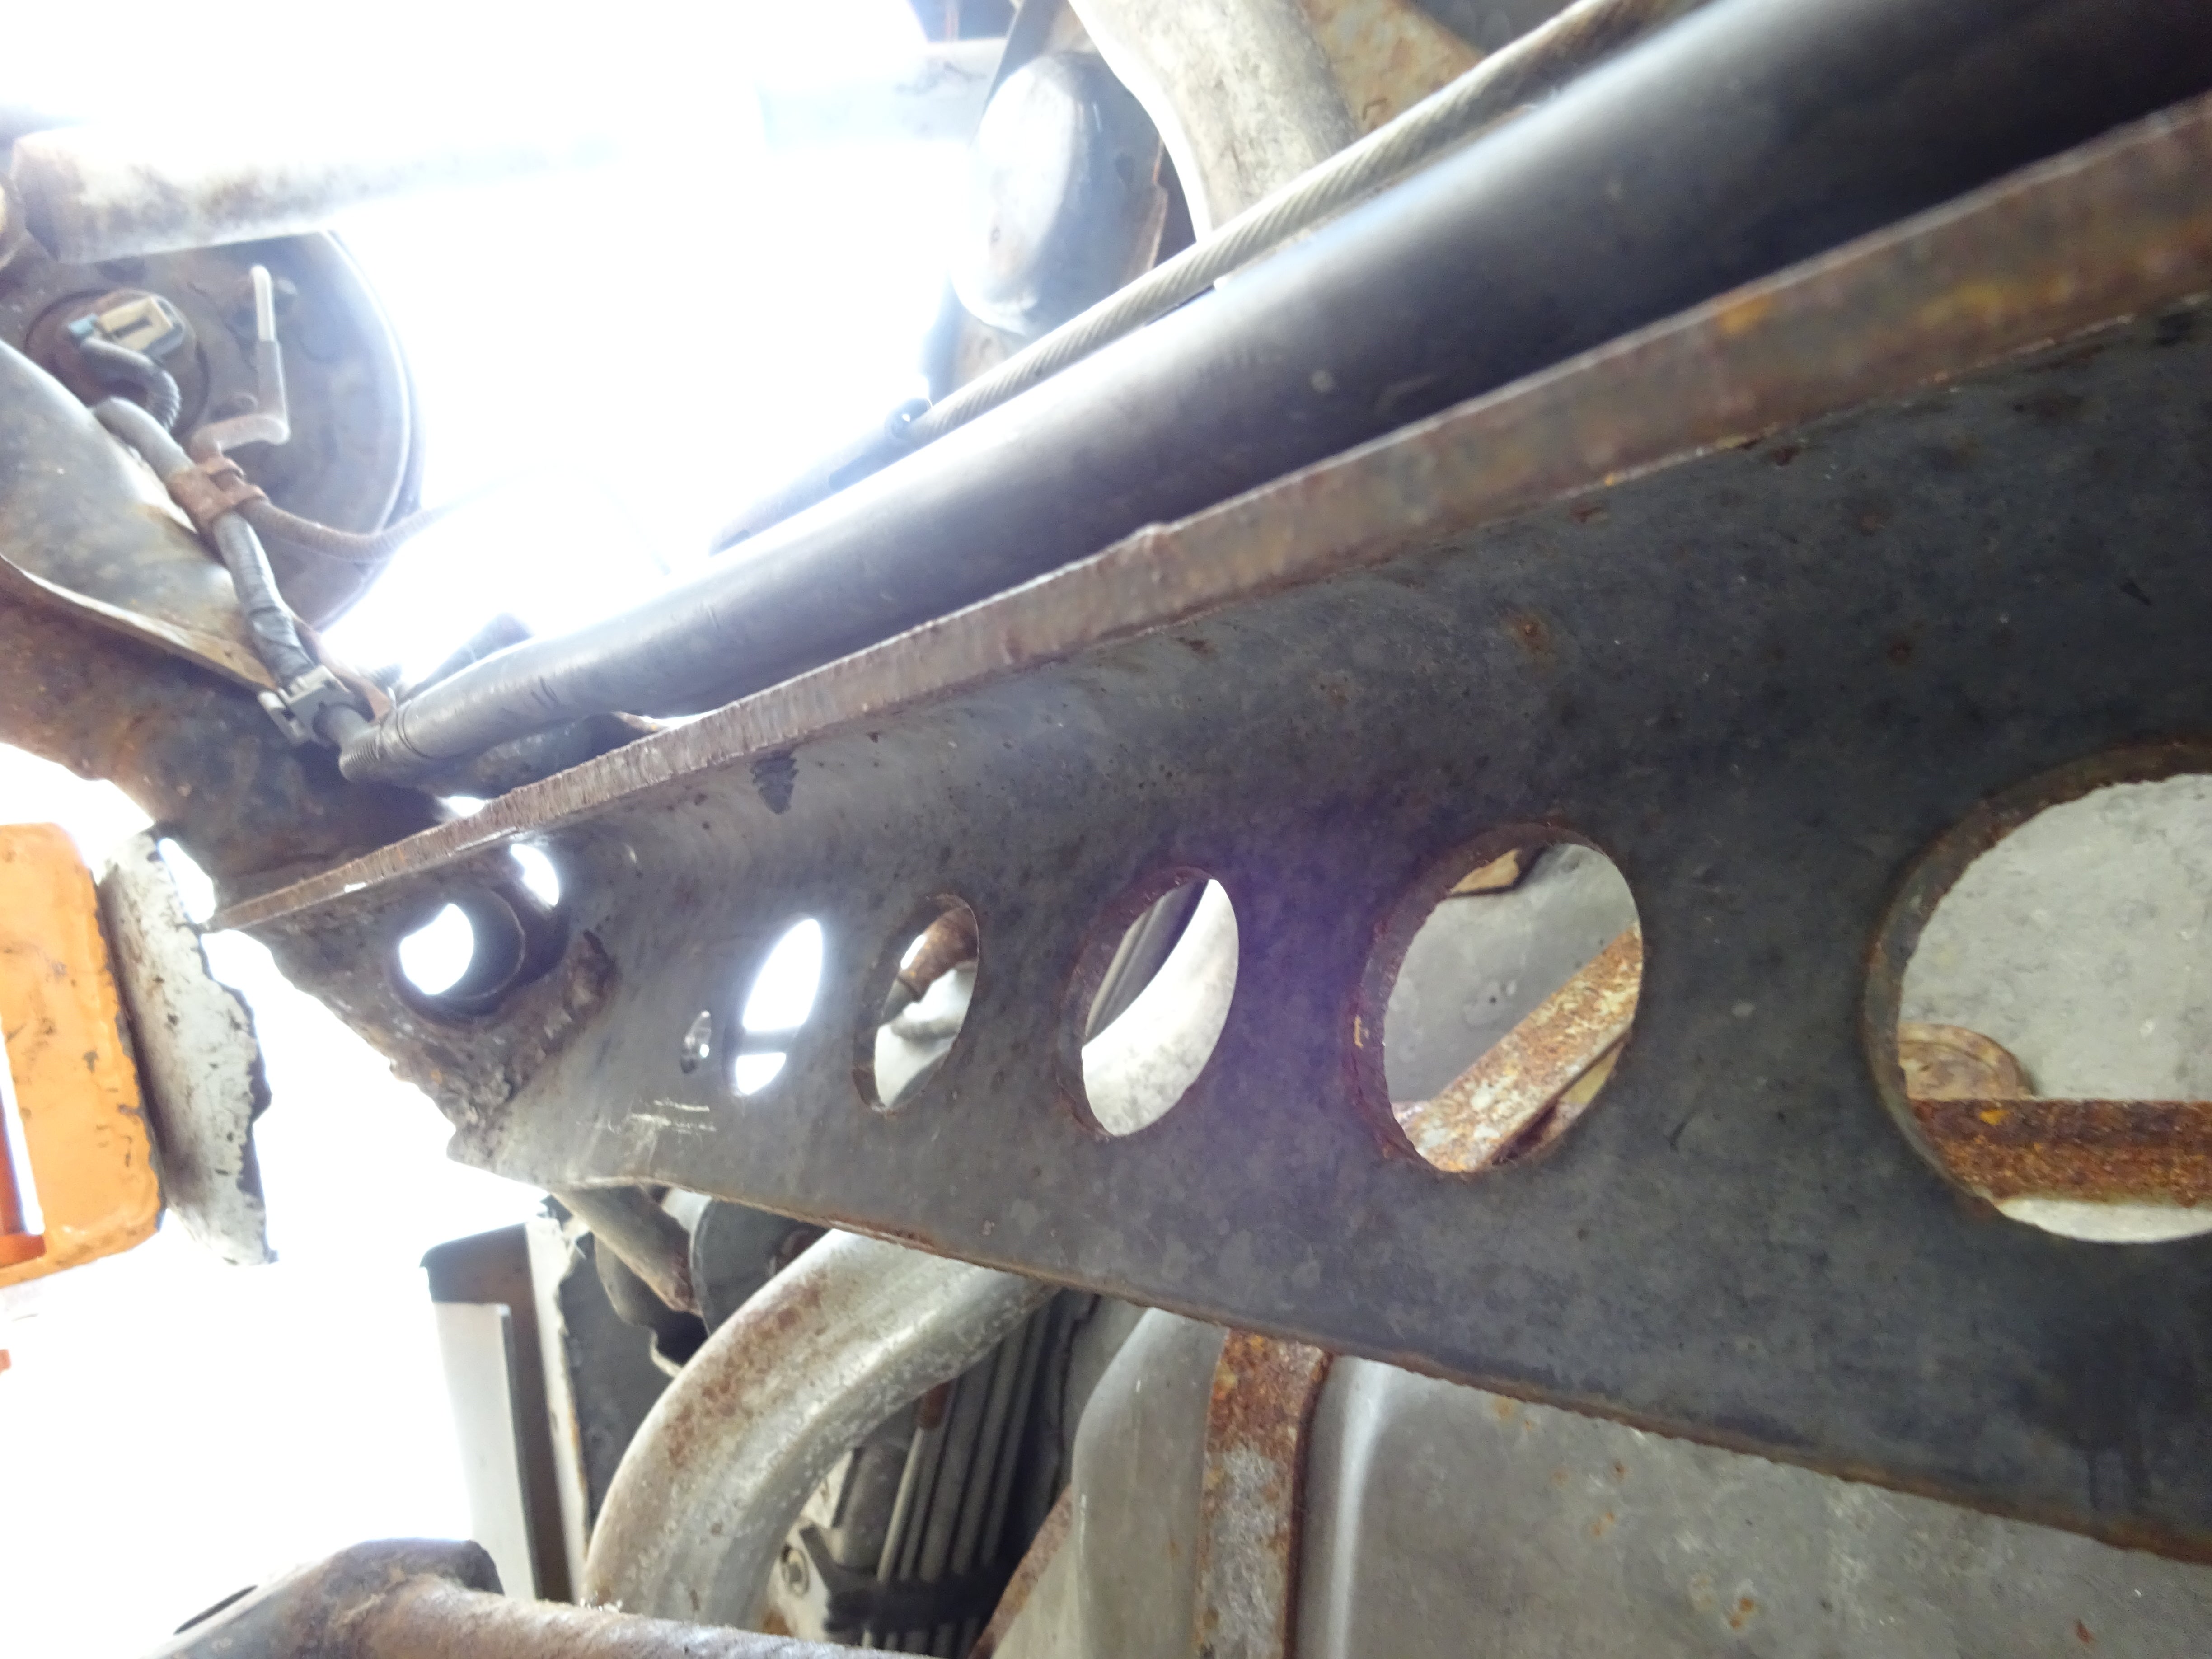
Now I picked up a bolt on from a junkyard a year ago and finally got around to installing it over the weekend.
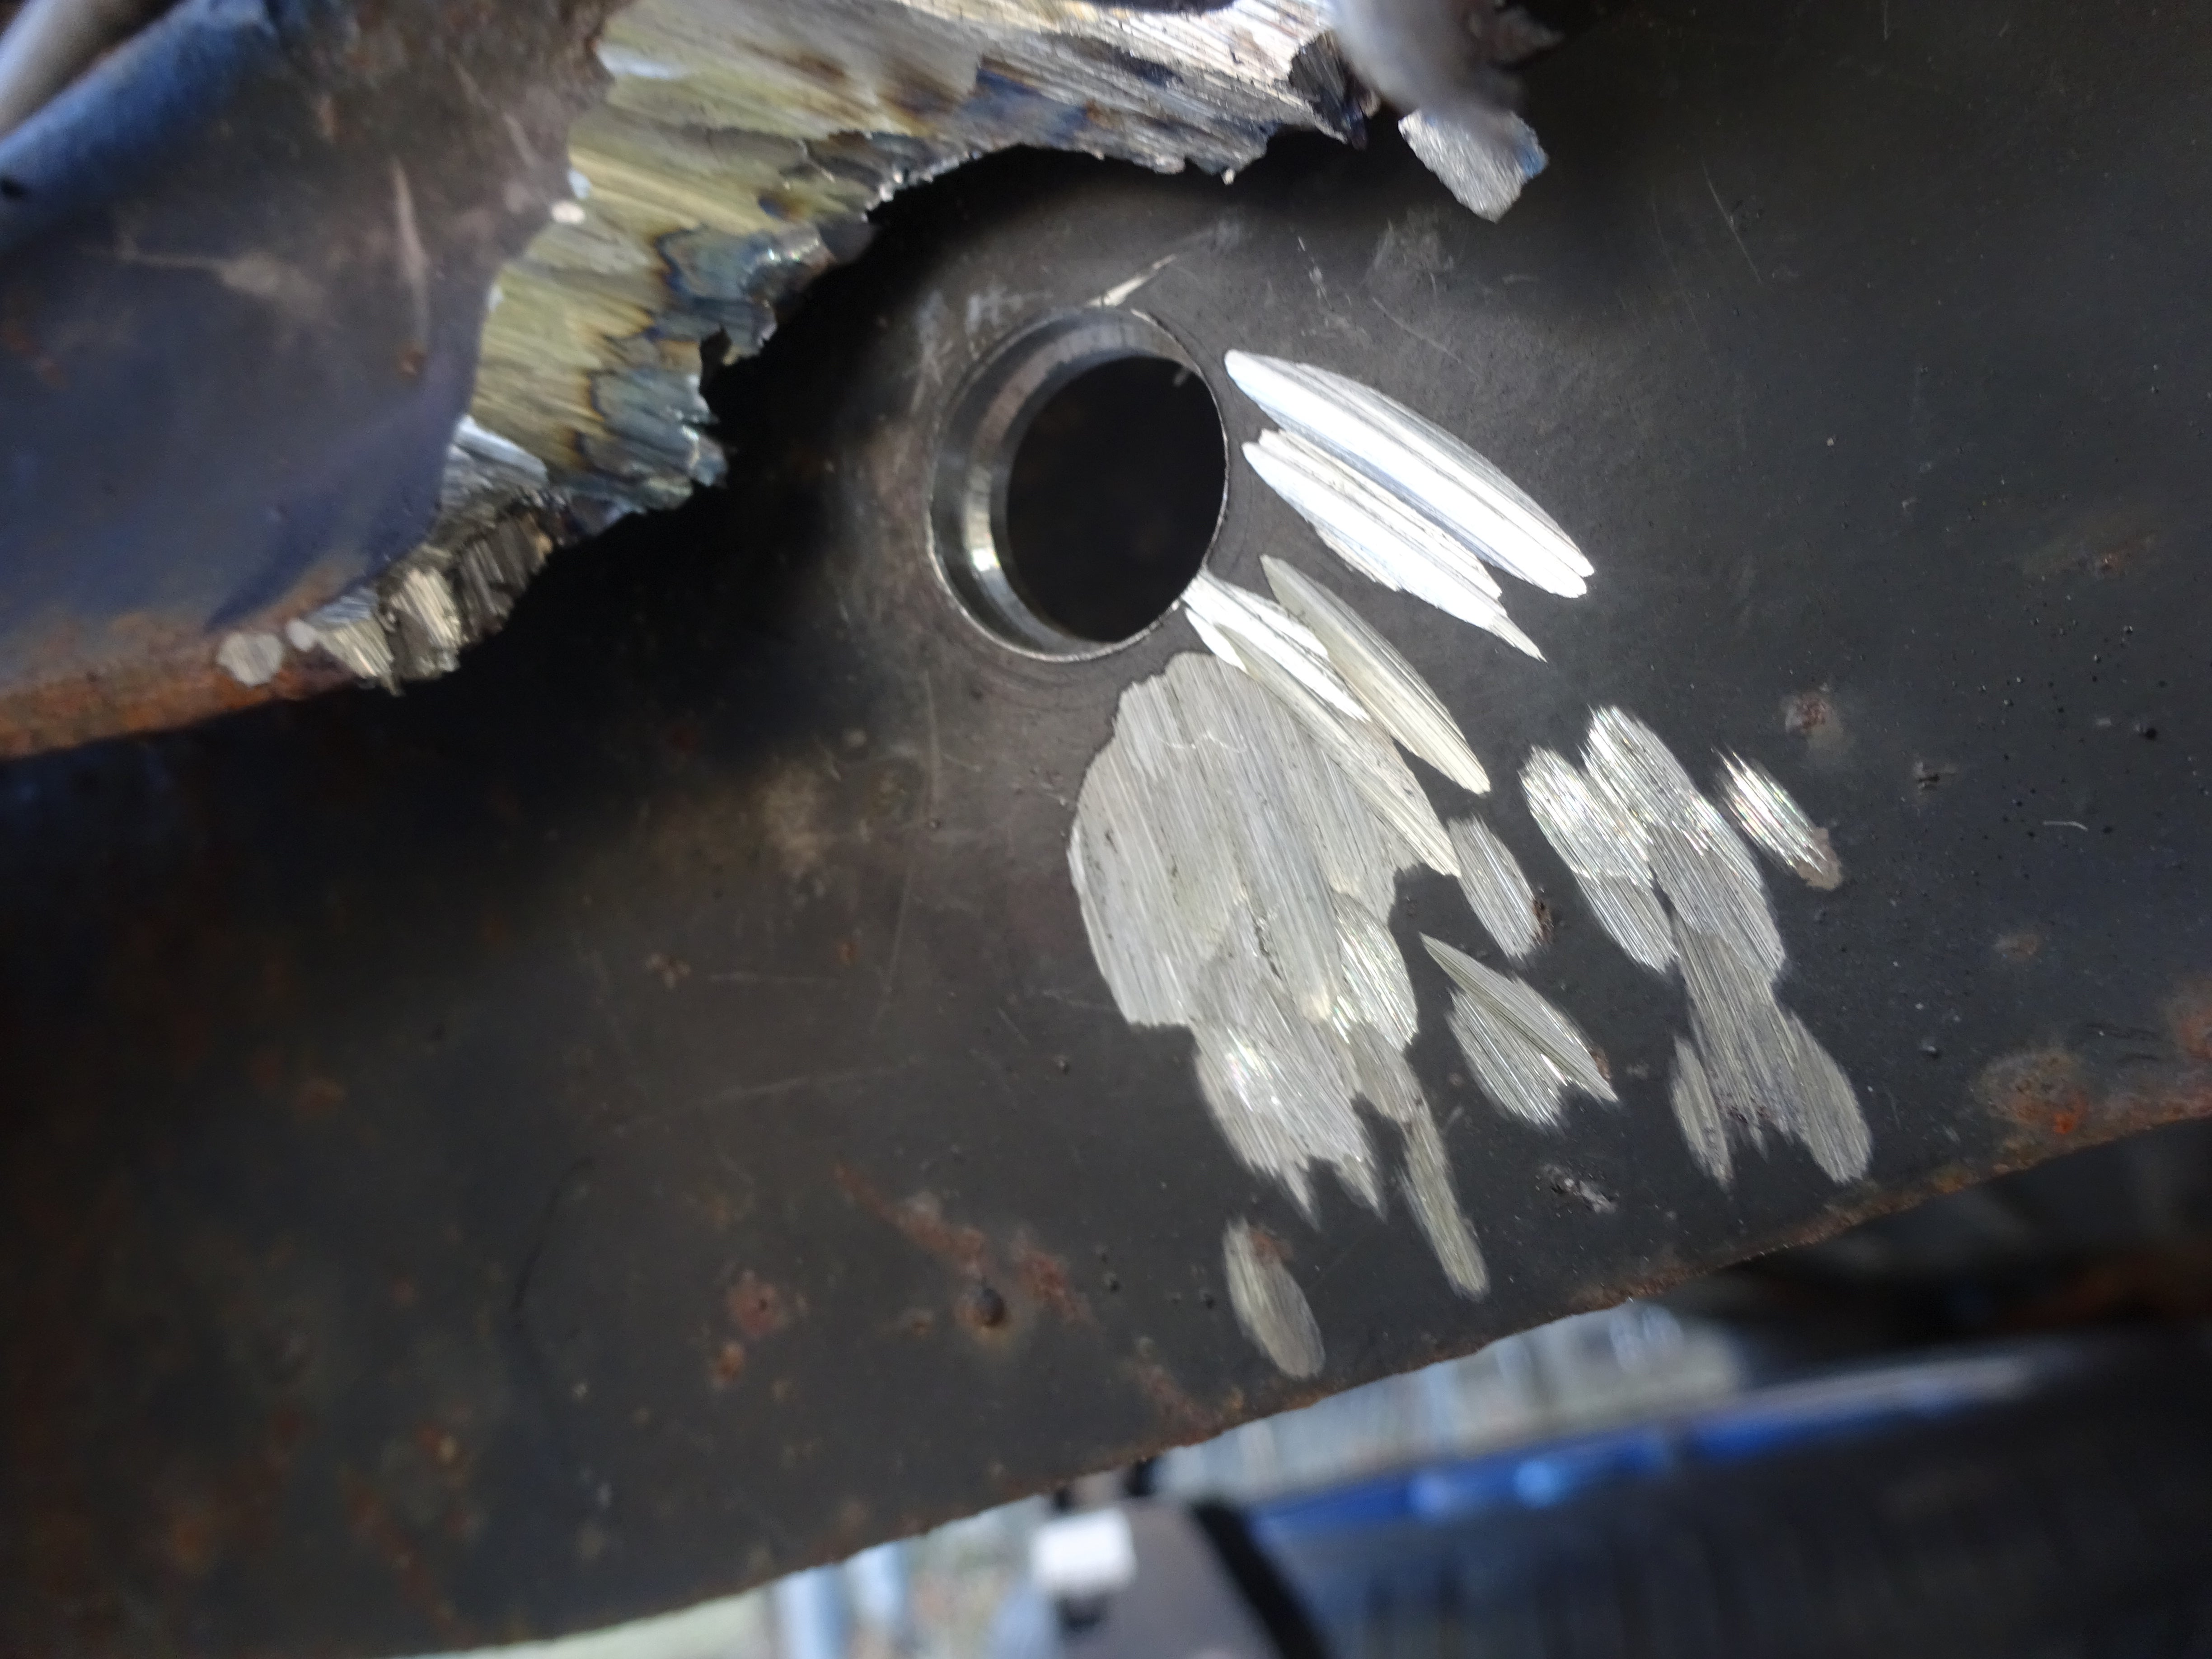
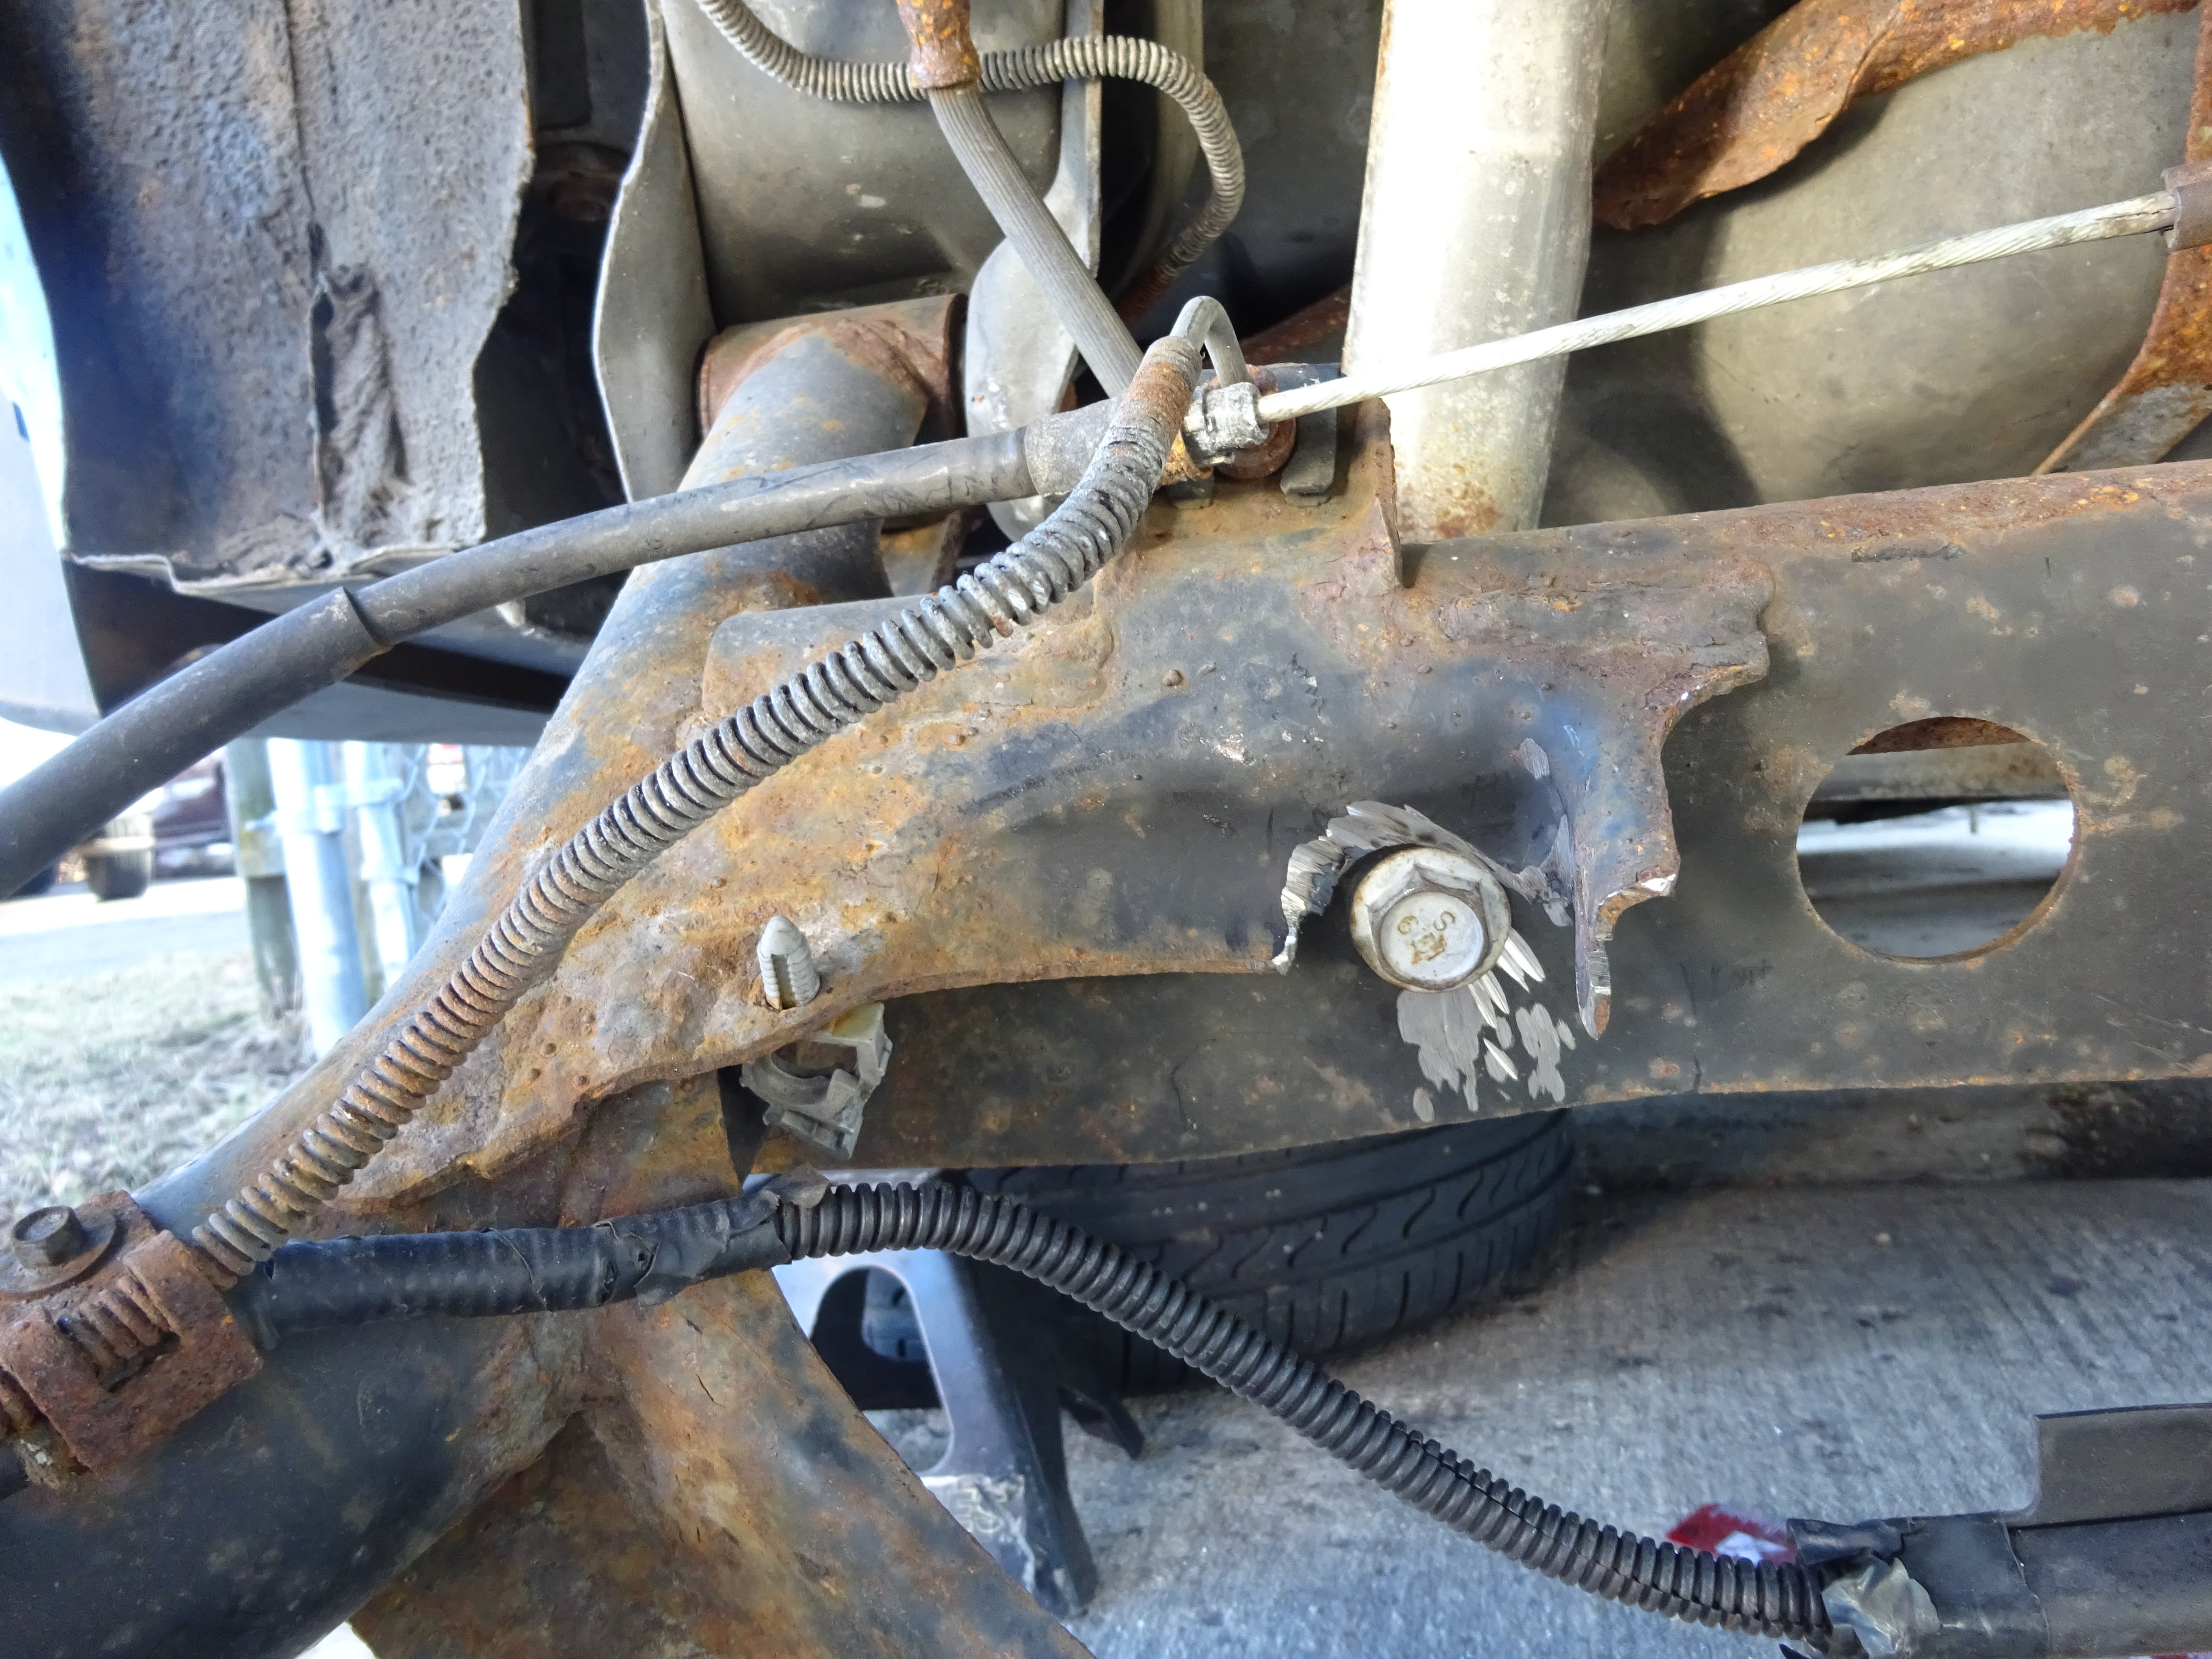
For the most part, the installation was pretty straightforward. The only issue was that I had to hack off some material for mounting bolt clearances since the two weren’t directly compatible. I’m a very messy person with an angle grinder. It ain’t pretty but it’ll get the job done. As you can see, the material cut was from a section “floating” off the beam.
Now with that done and over with, I have my next issue. the original triangle mounting bolts for my external sway bar rusted over and the ends ripped off as I unbolted them.
I needed new ones. I originally emailed the Addco for some new brackets and such but never heard back from them...

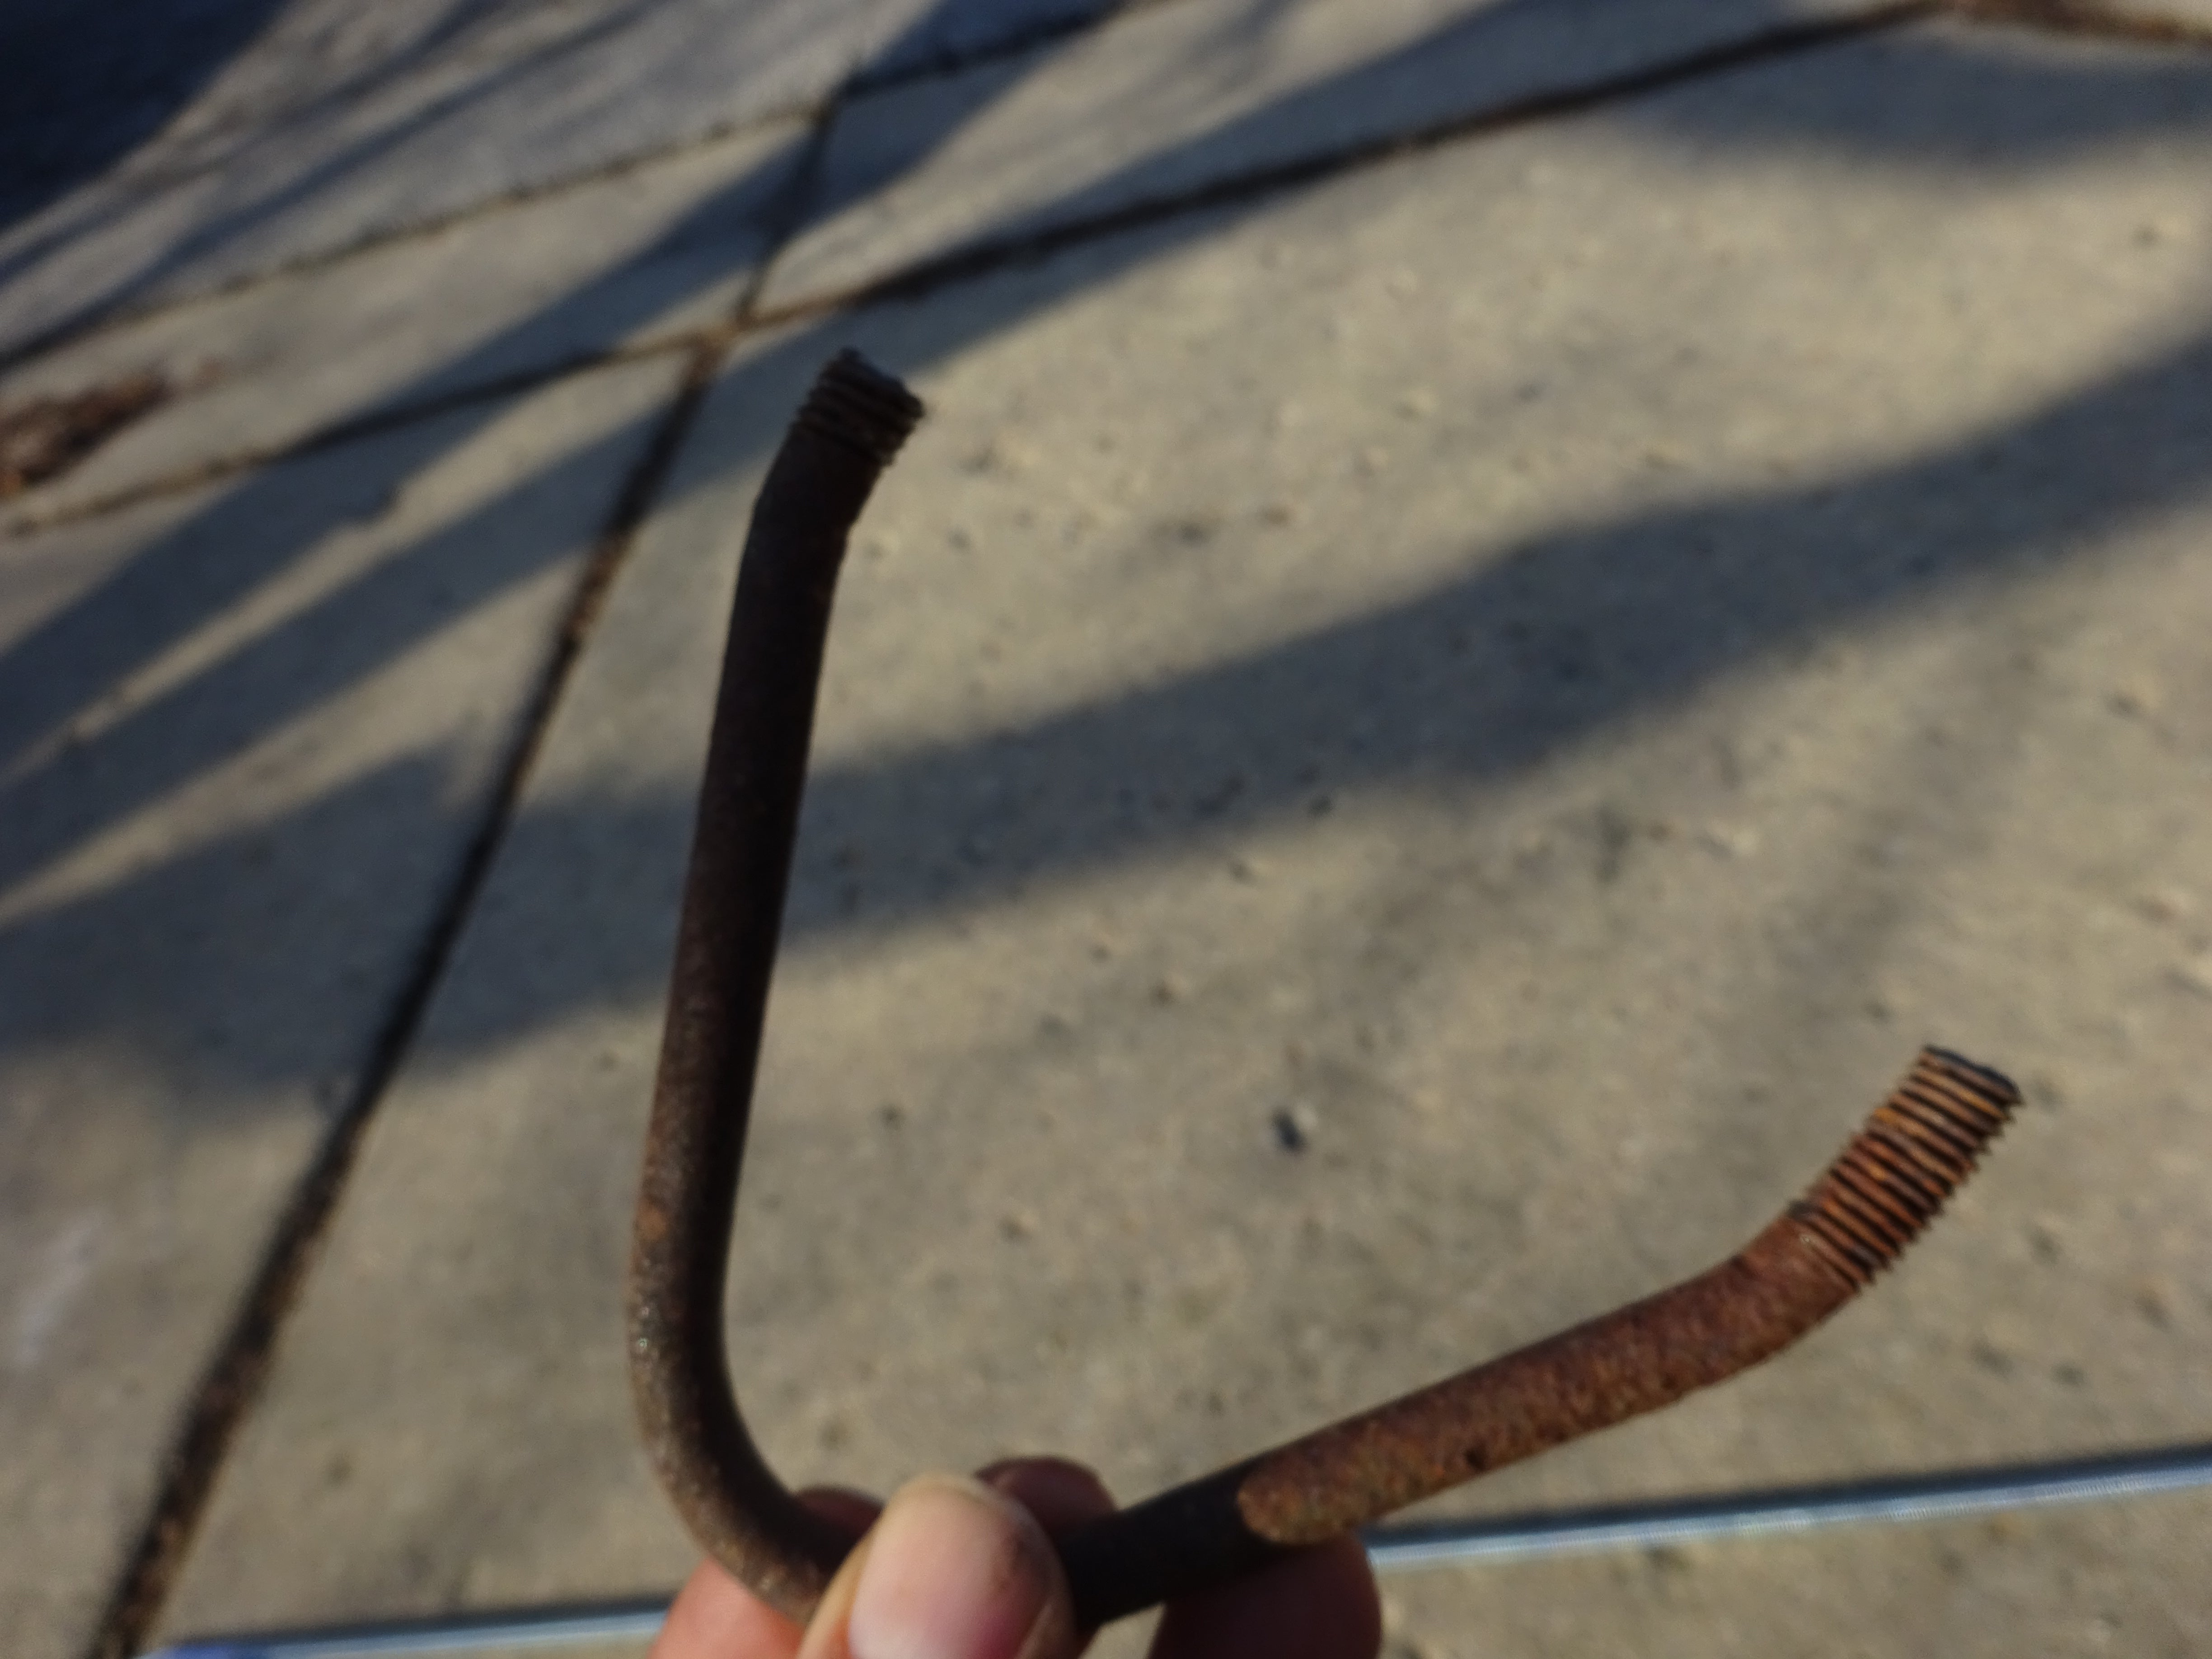
I’m a man on a mission and made my own!
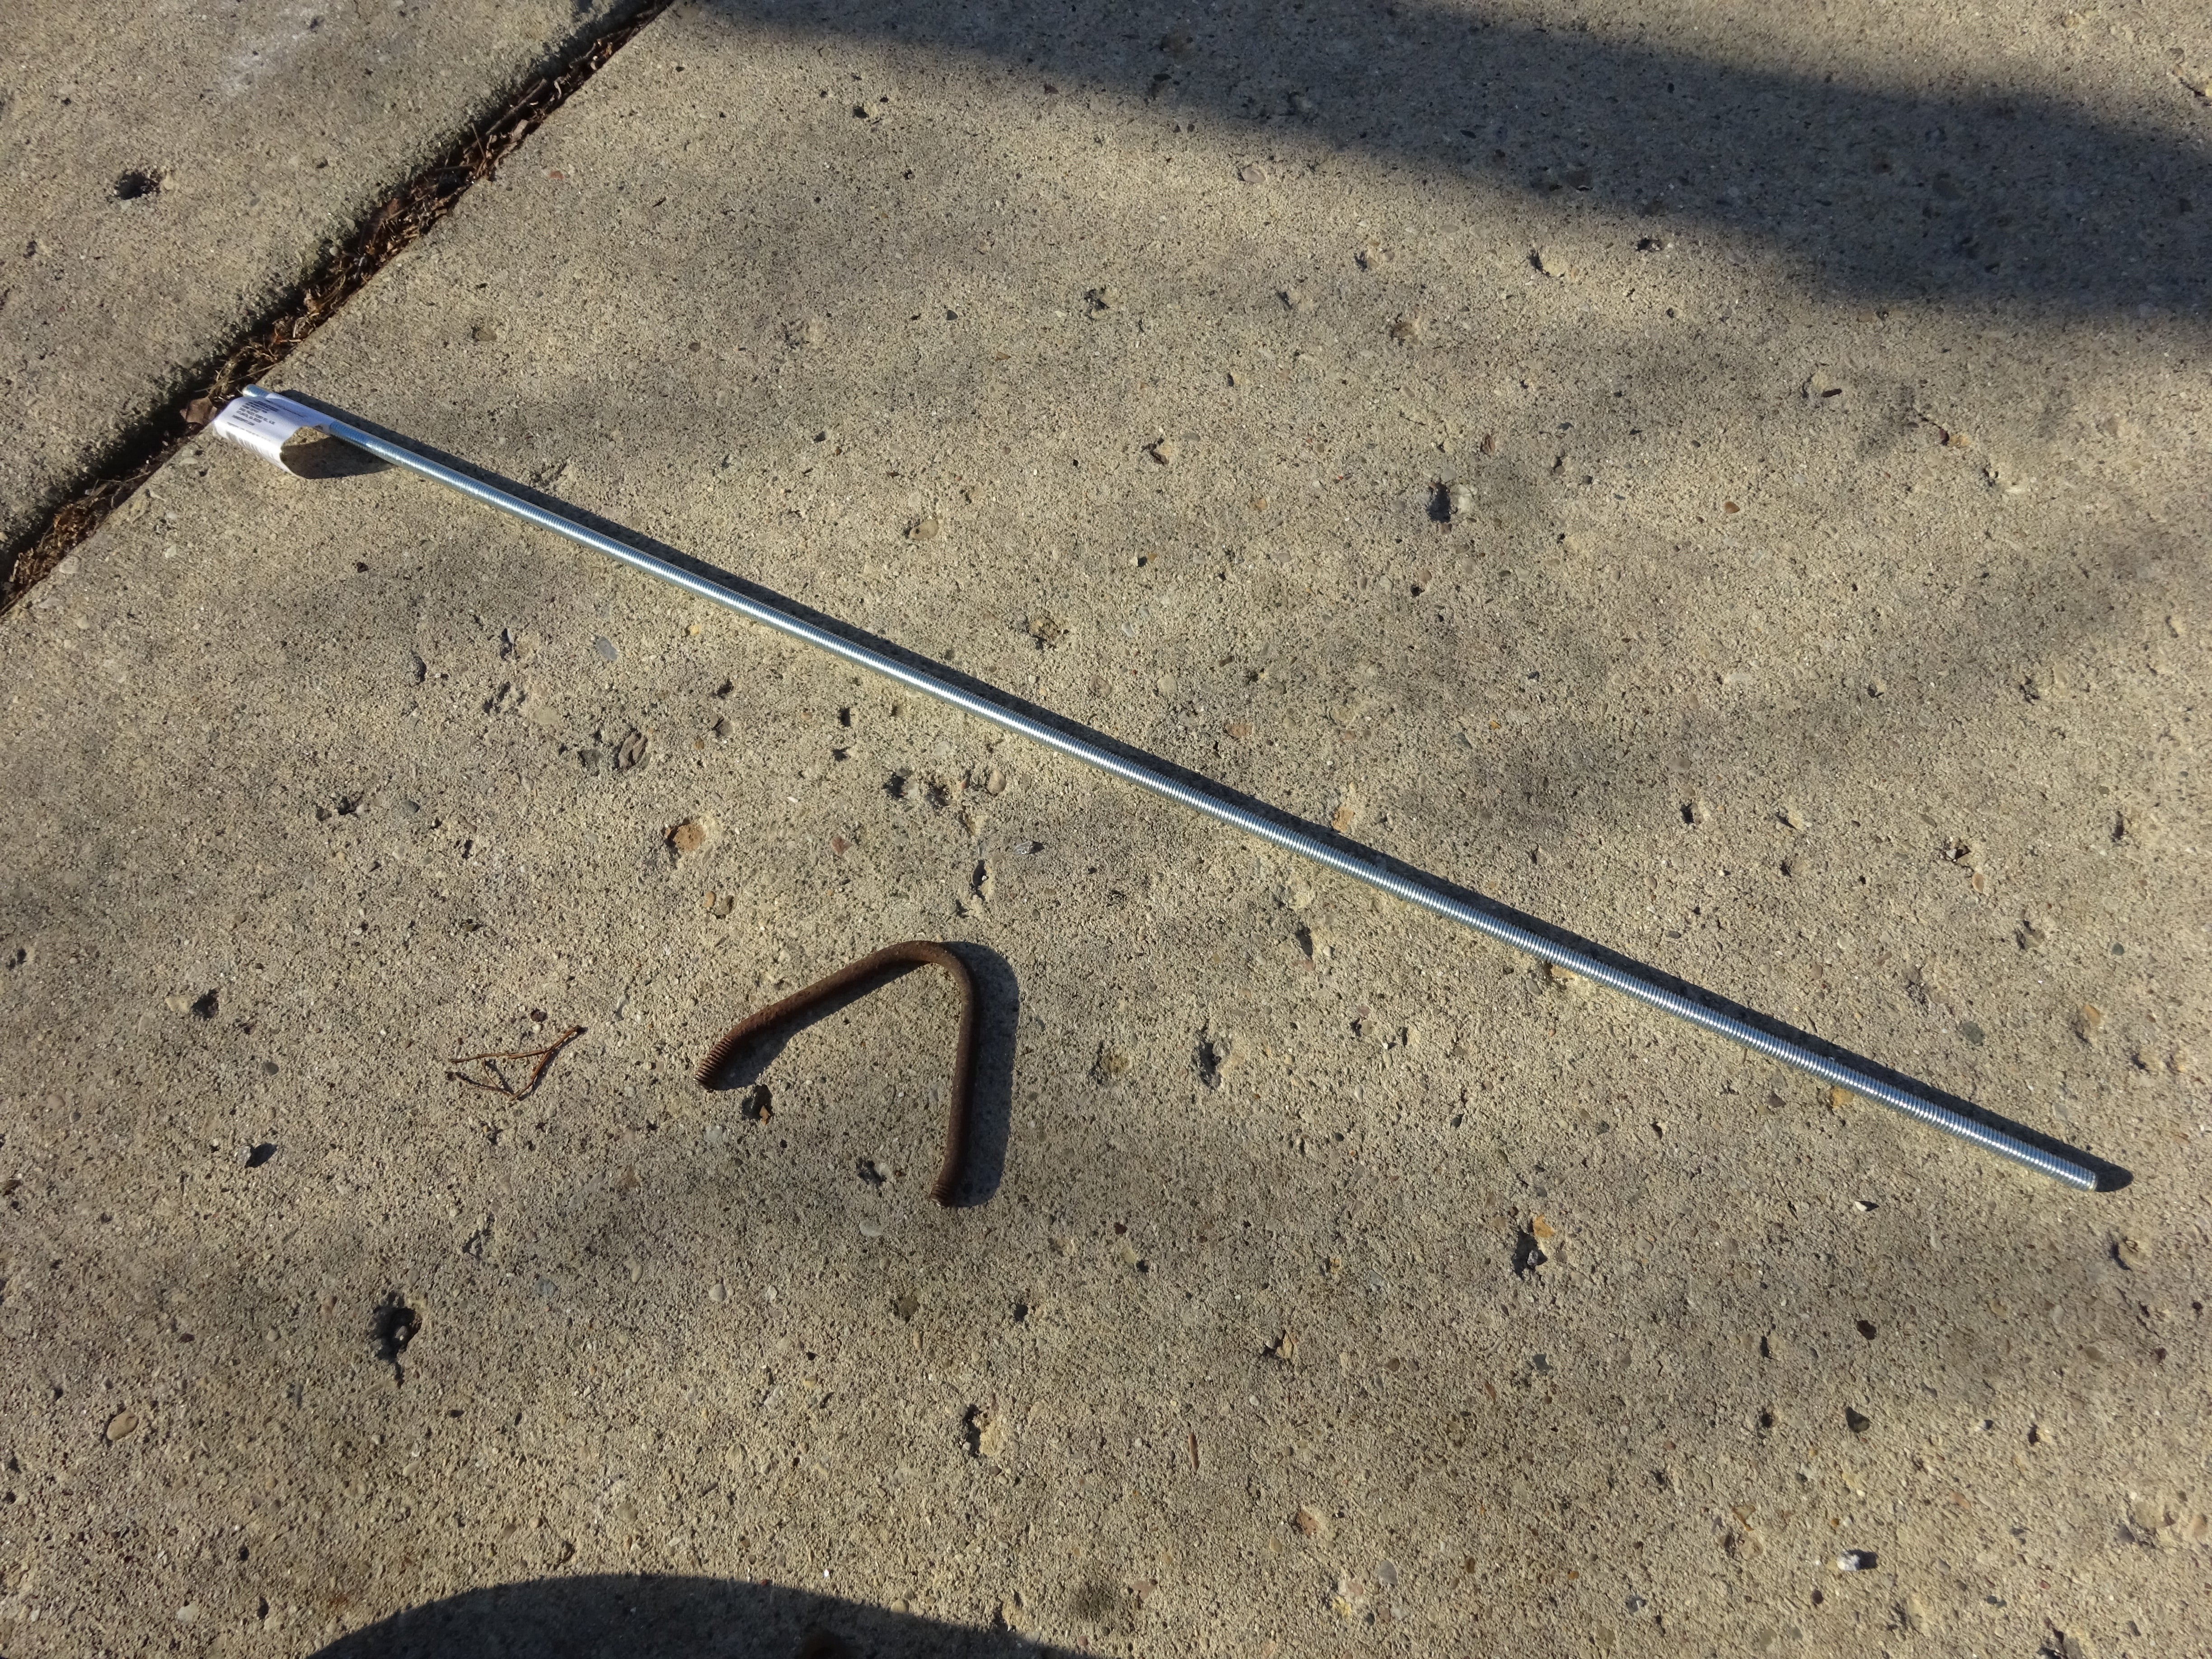
I bought some threaded rods from the Home Depot that were the same width as the originals. I needed to make two and each really long one makes one each because....

I needed the extra length as my leverage handles since I was bending them by hand with the help of “Old Bendy.” Old Bendy was a metal handrail that I’ve used countless time to bend metal, brake lines, whatever.

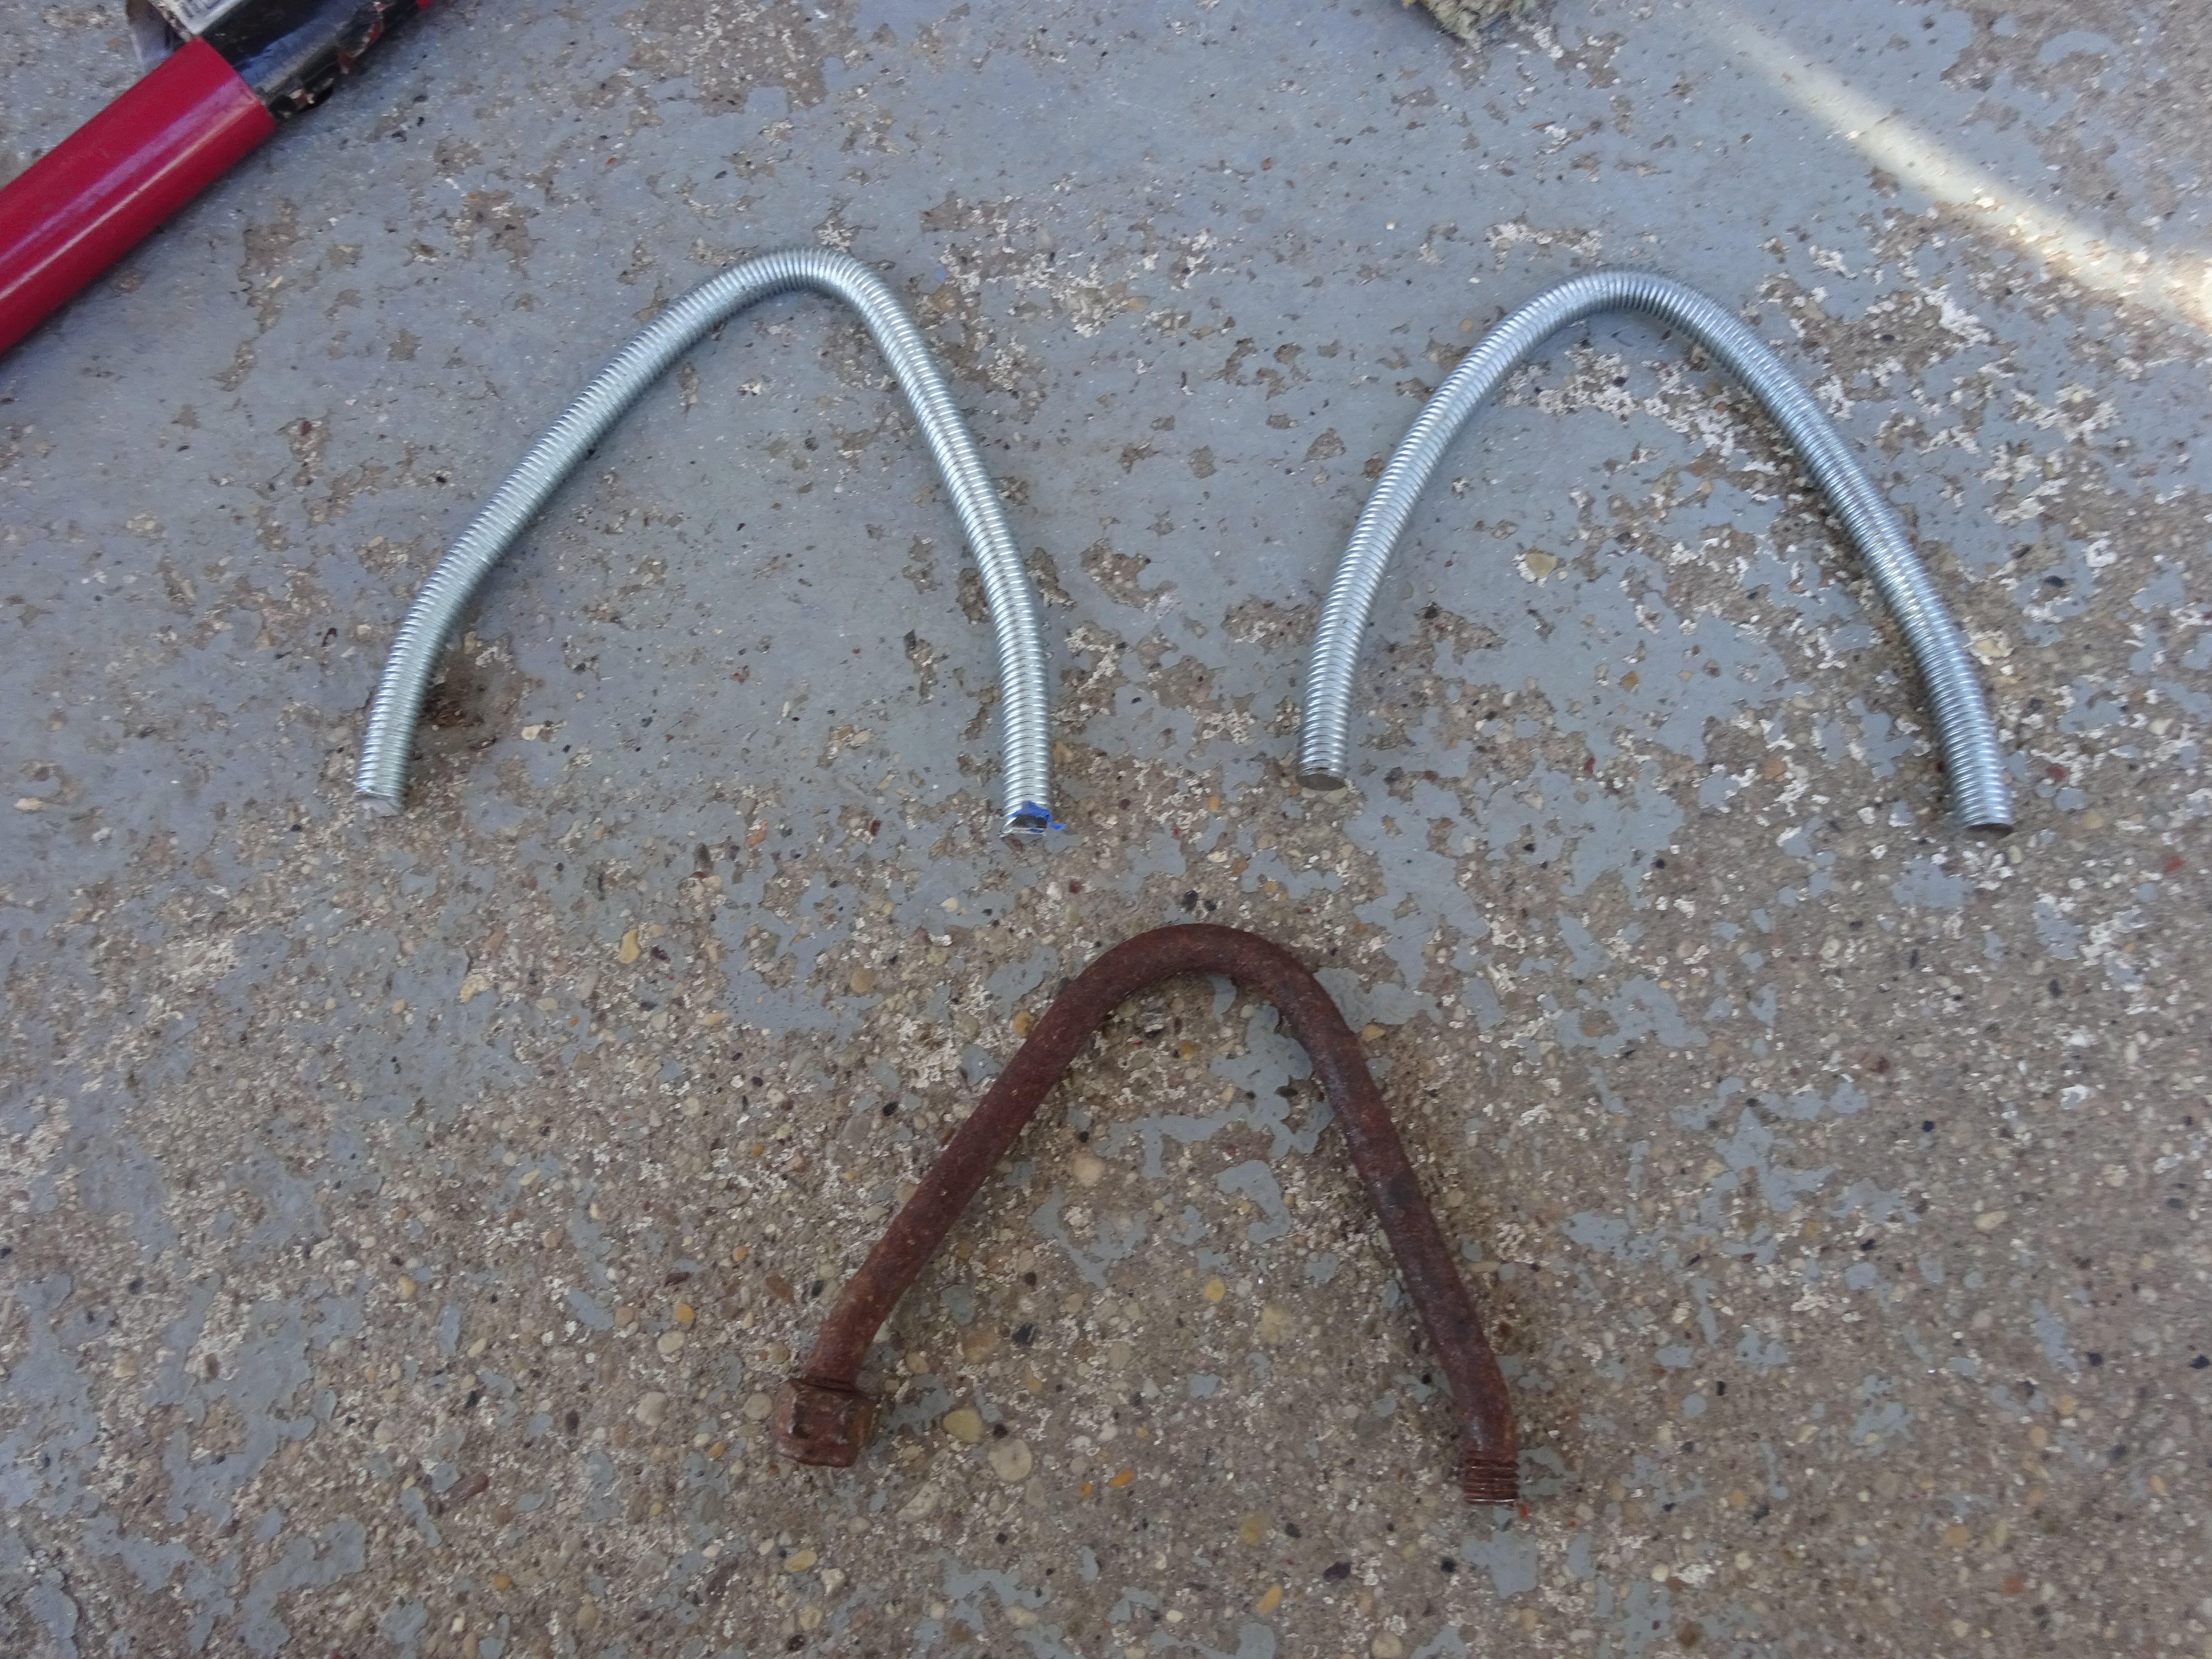
Voila! Good replicas.
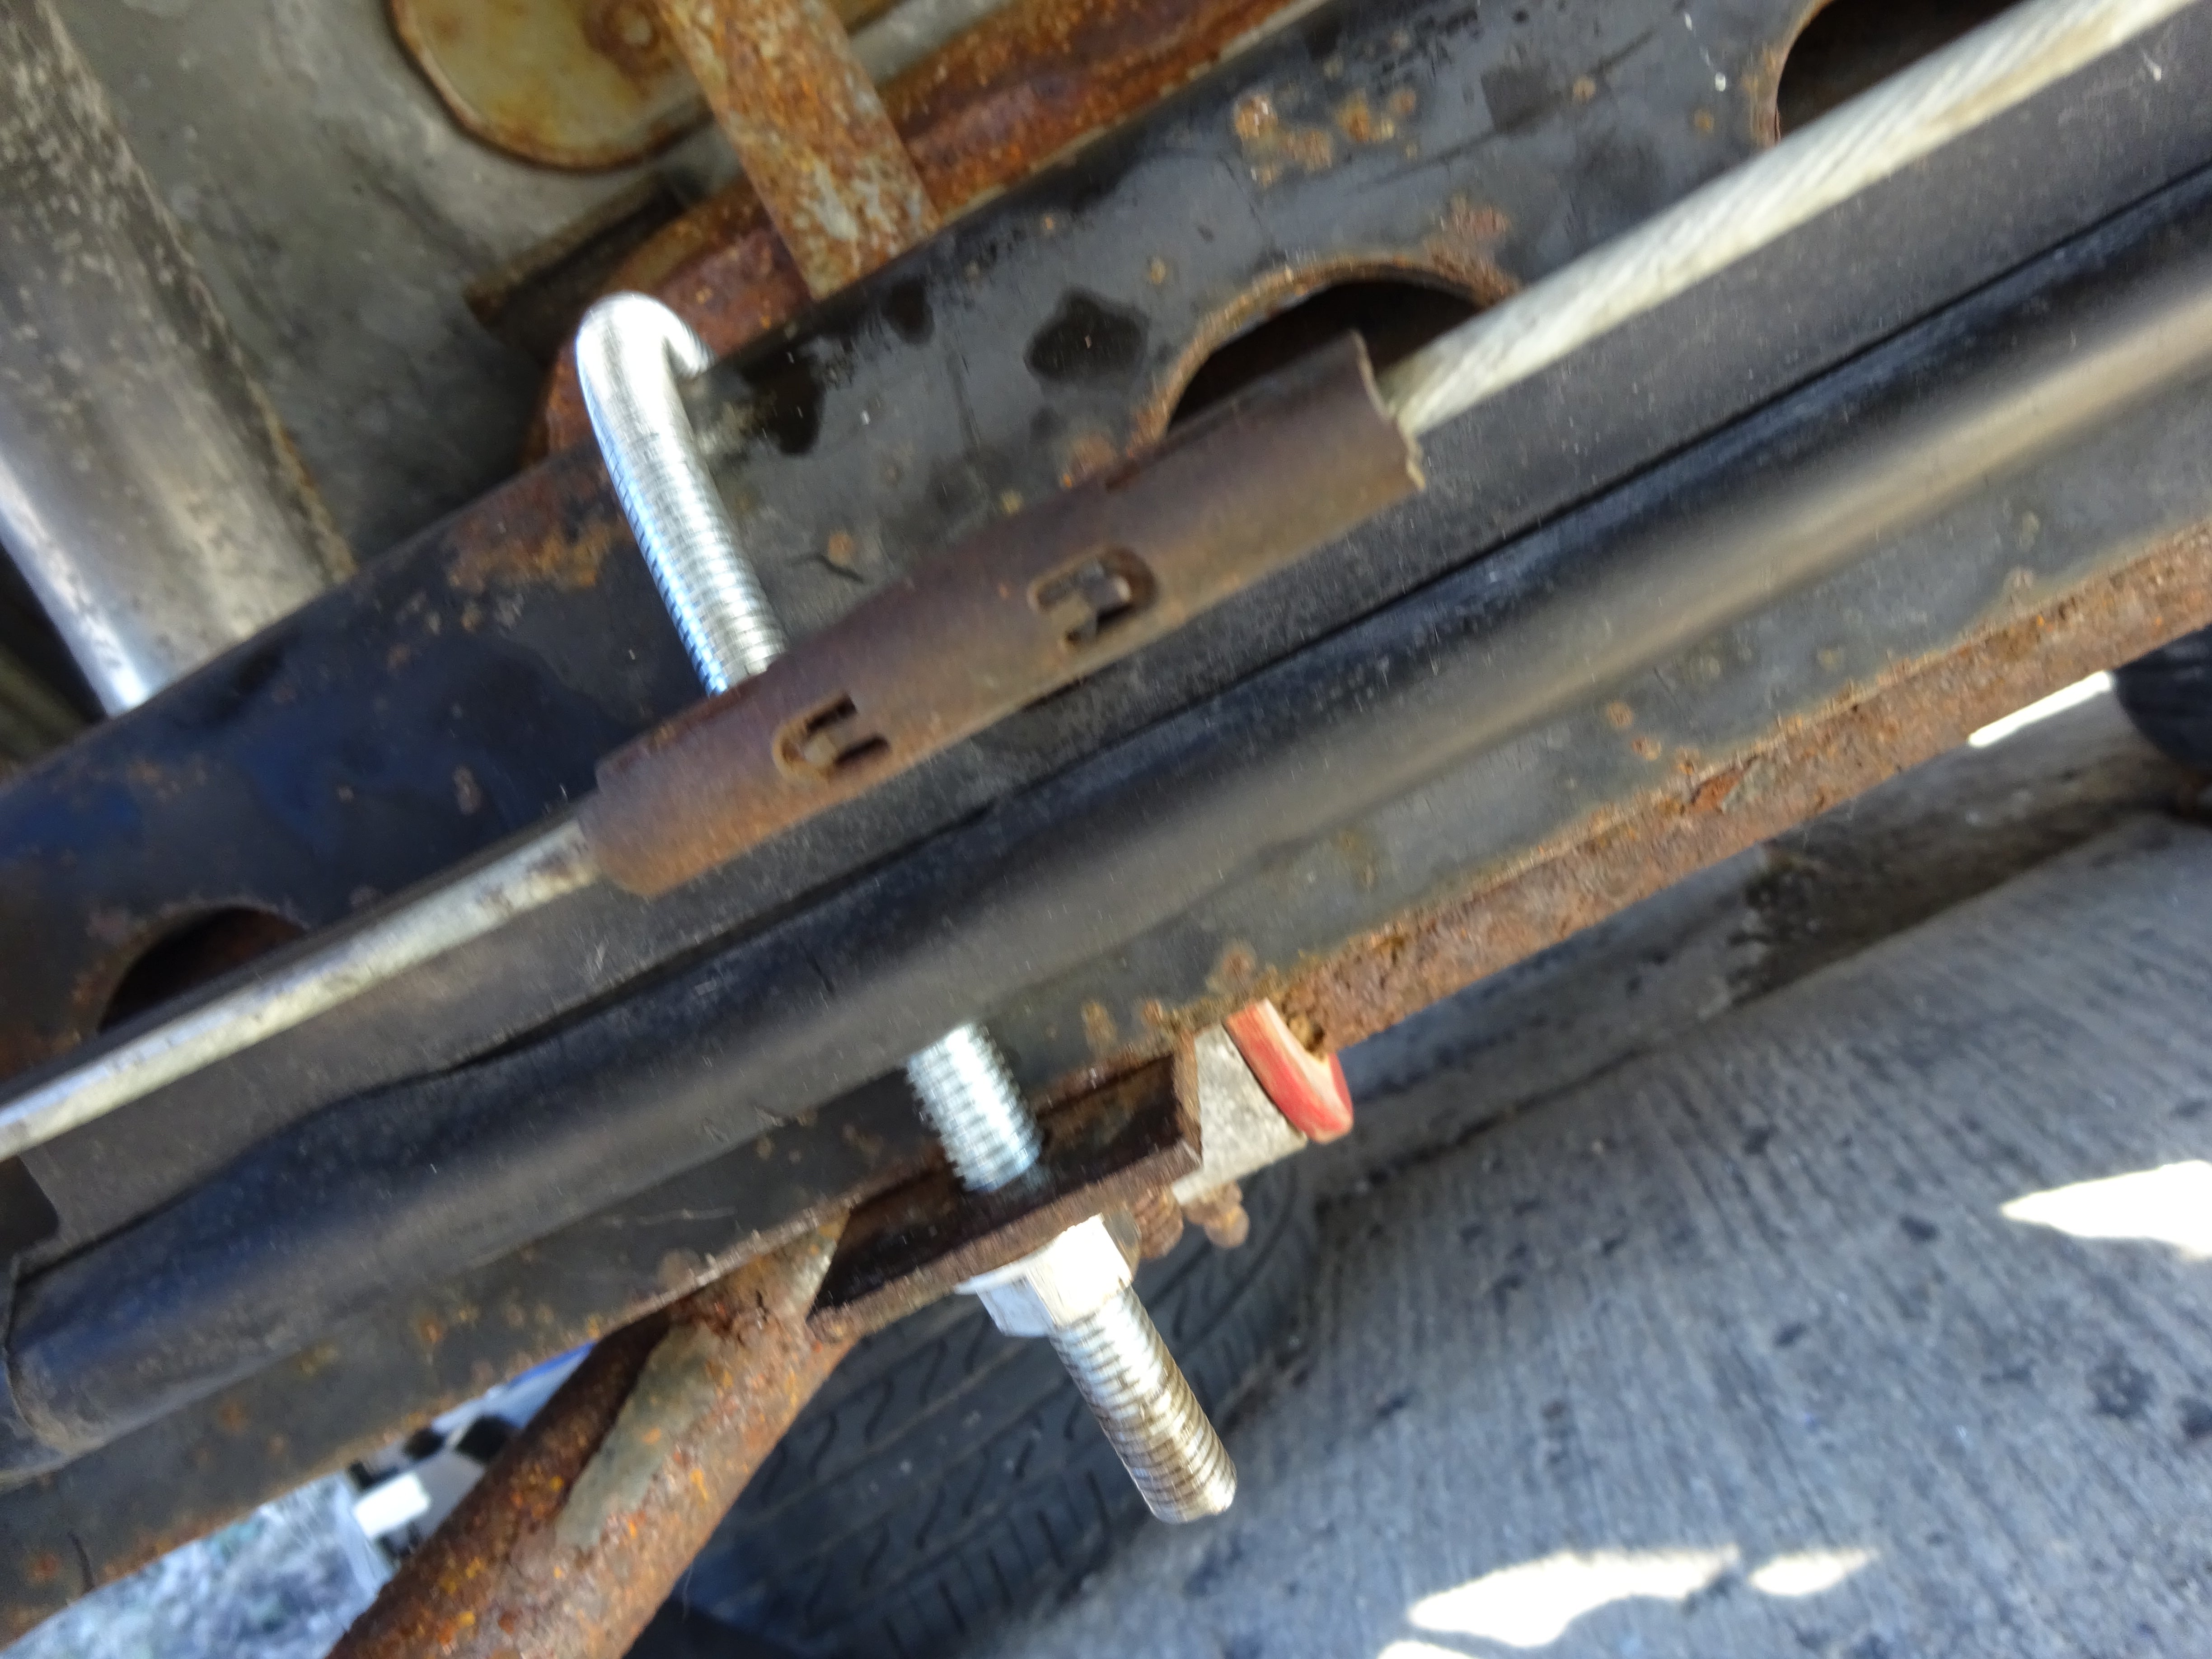
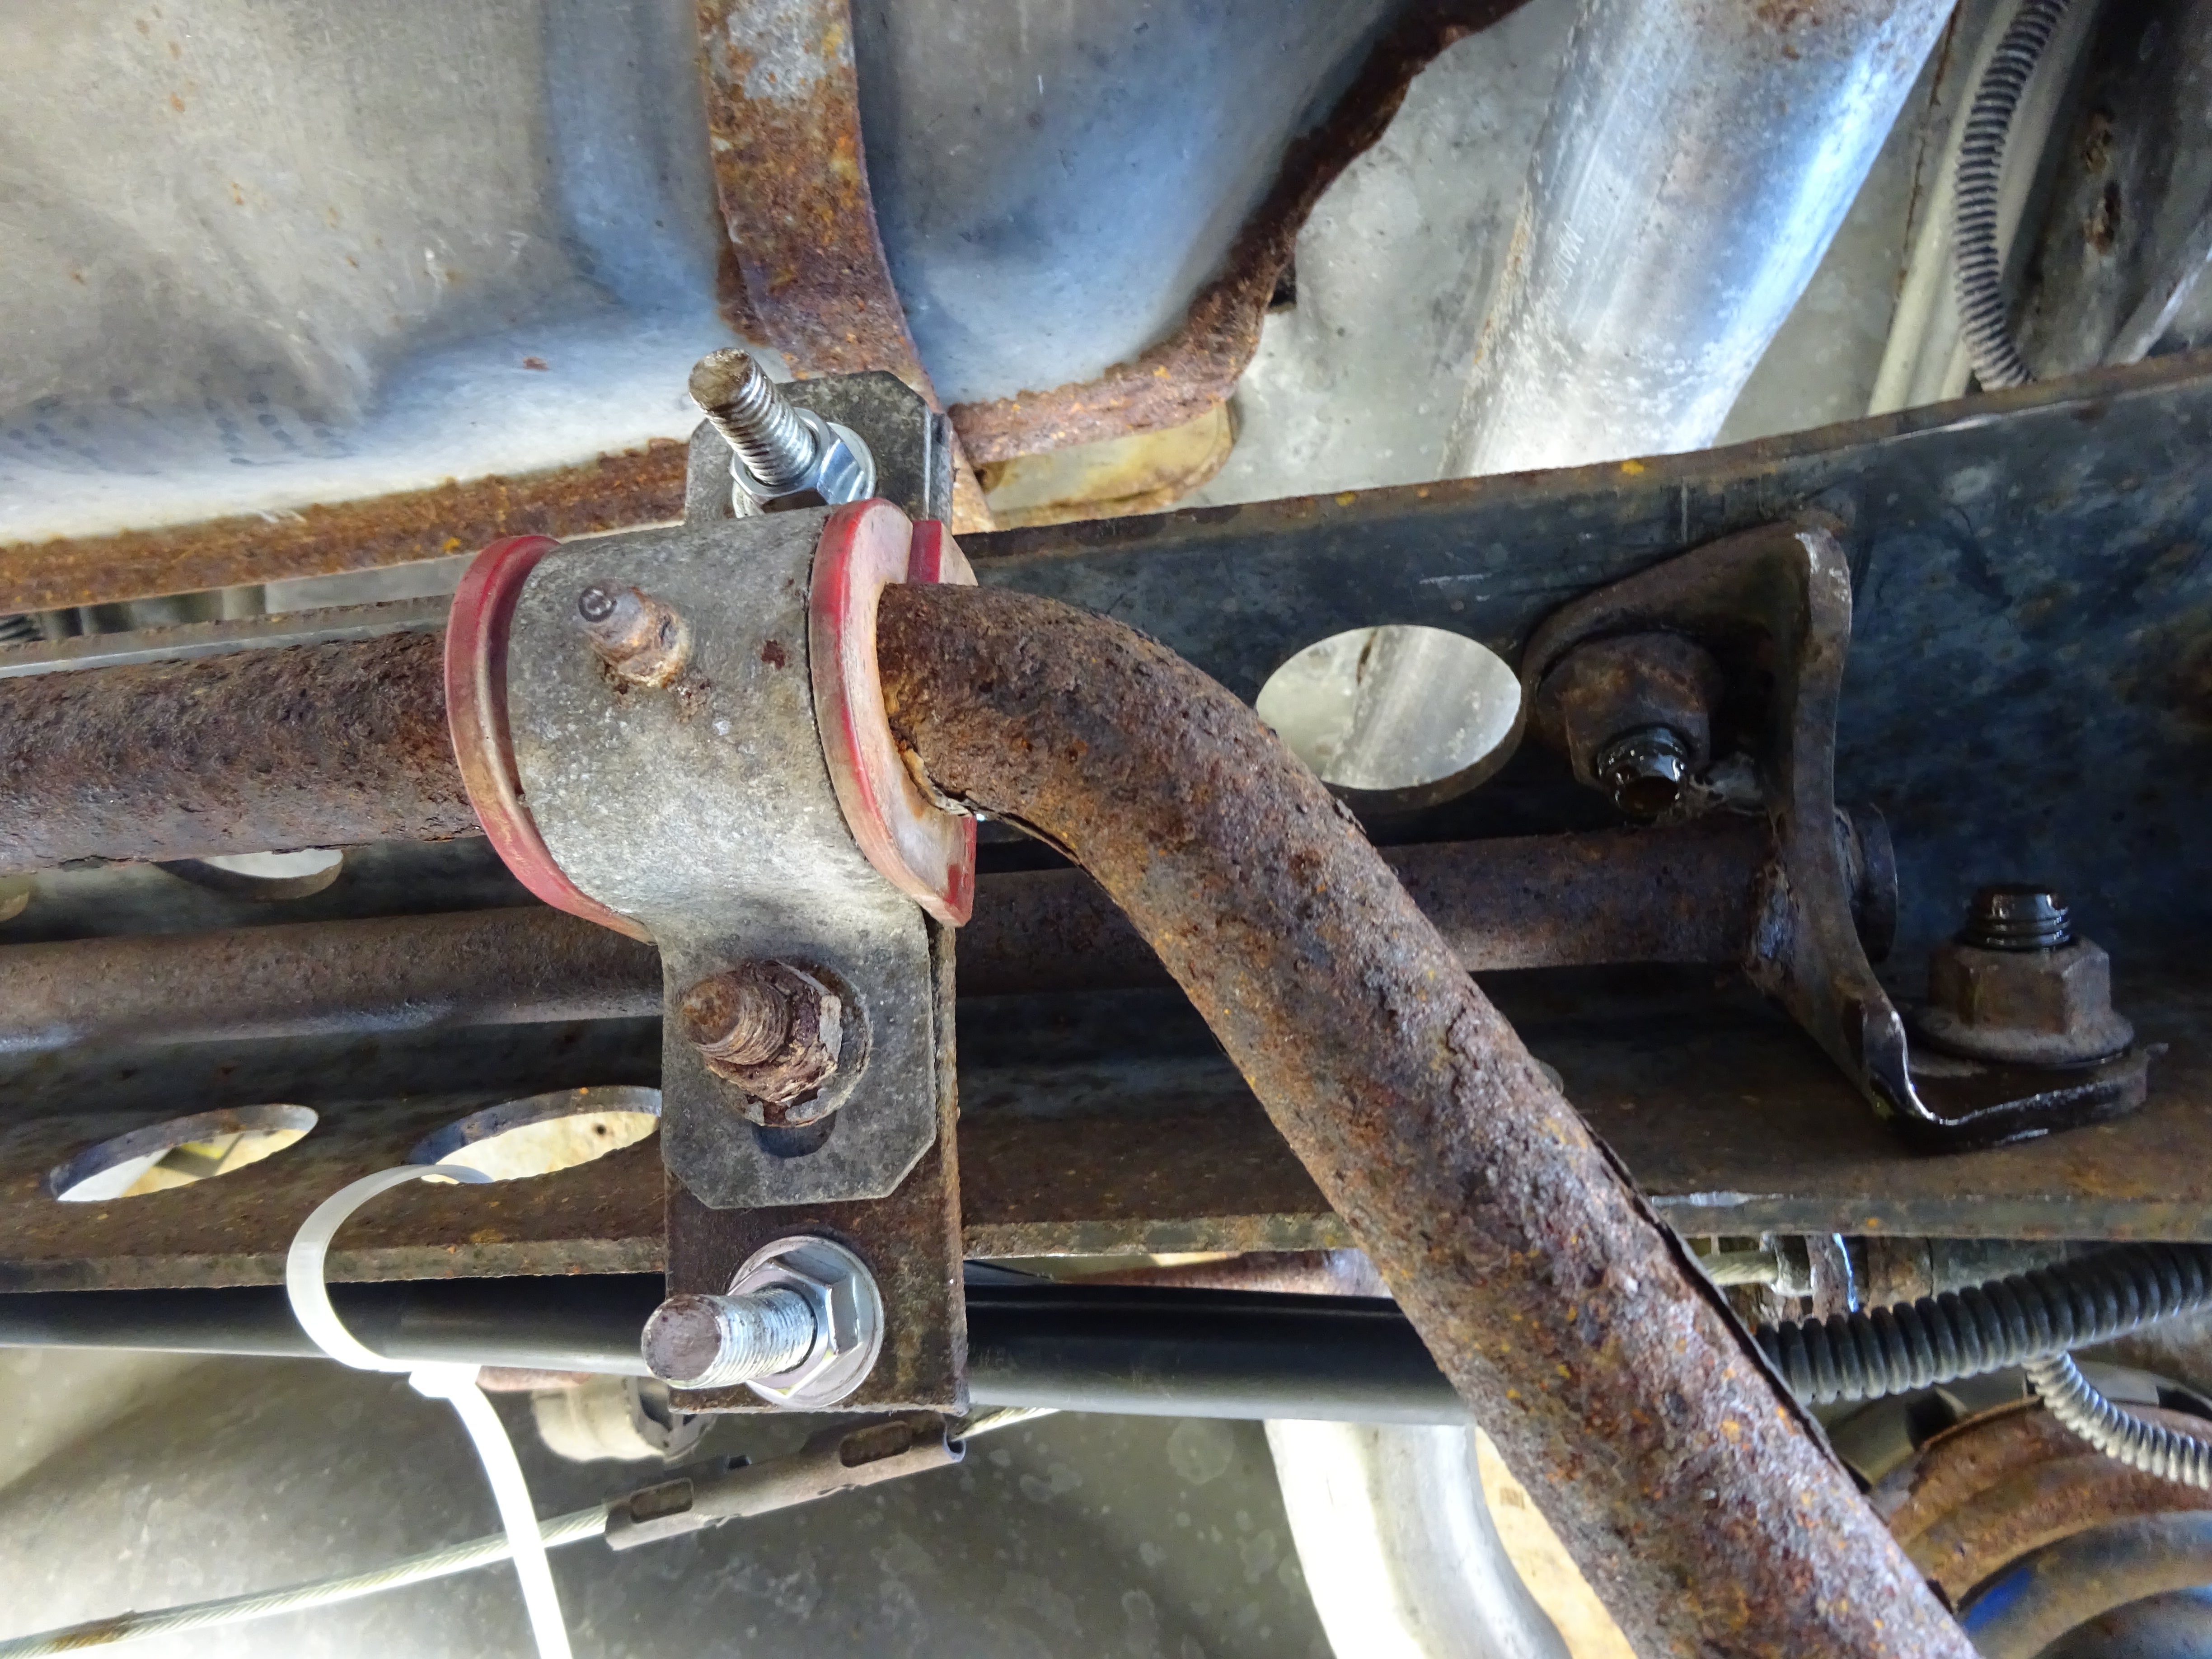
From the pic, you can see both of them mounted simultaneously.
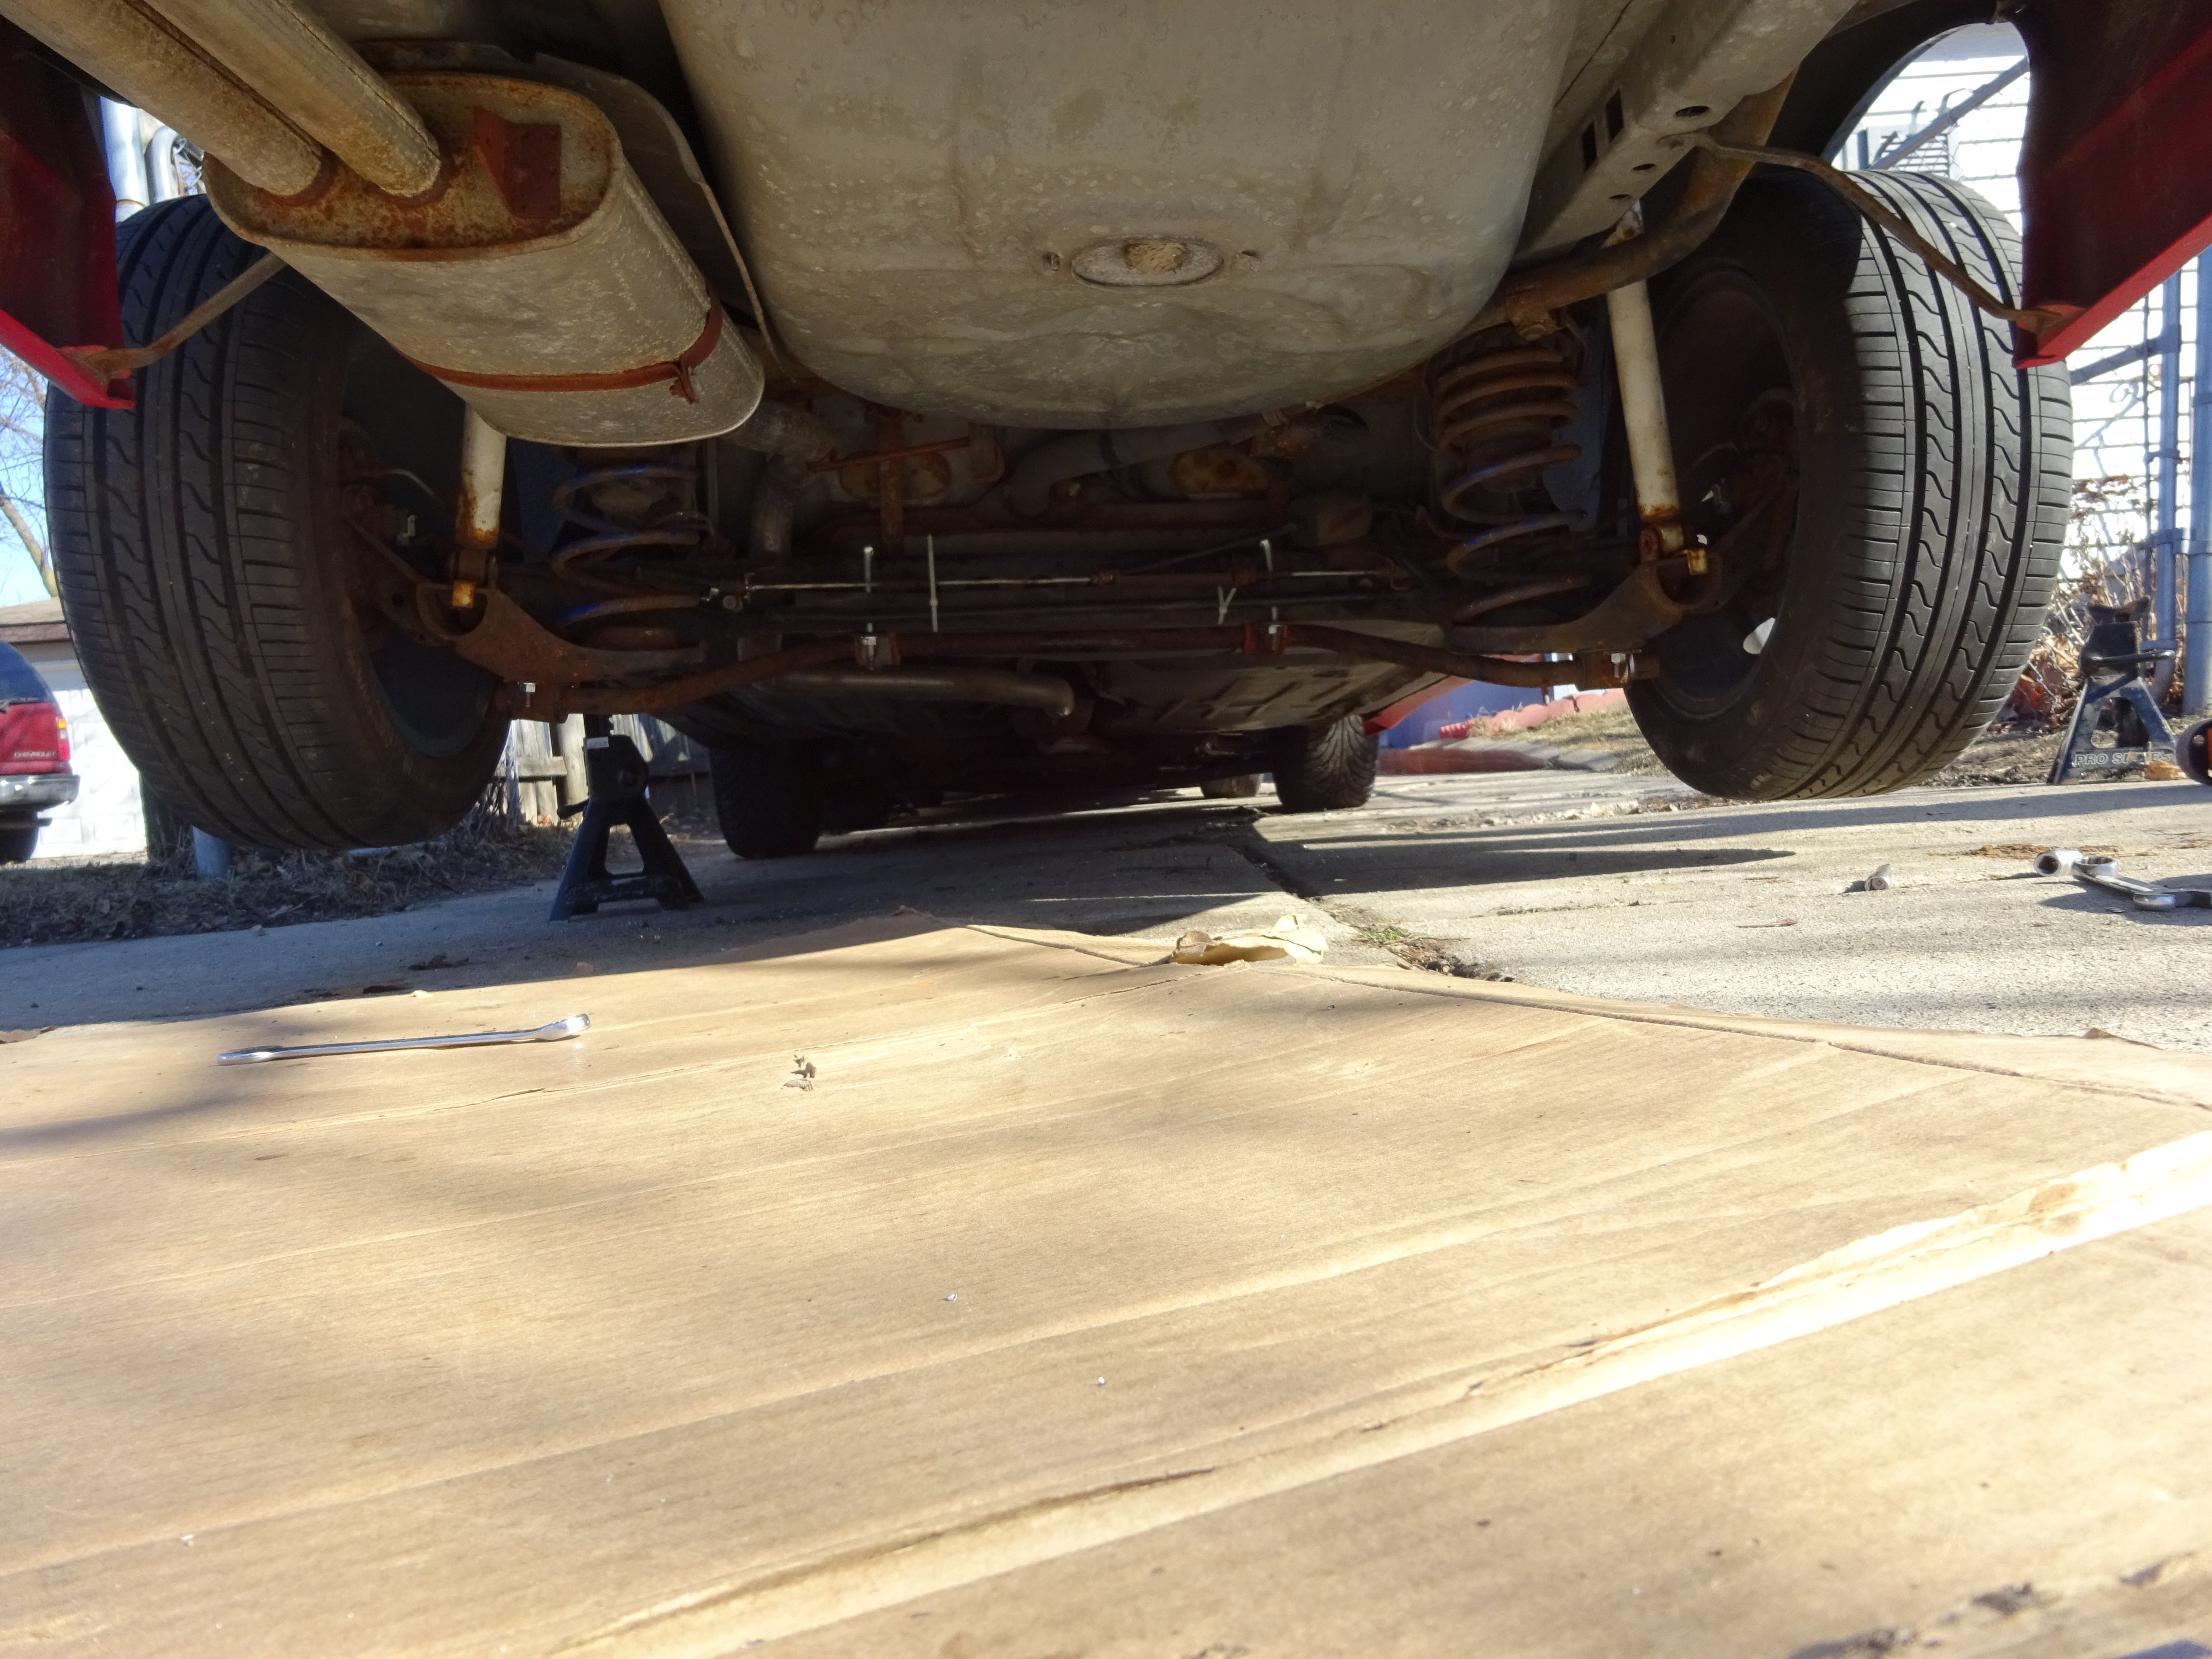
Yeah, it’s pretty stiff back there. On a FWD car, the front does all the work and the rear is just there for the ride!
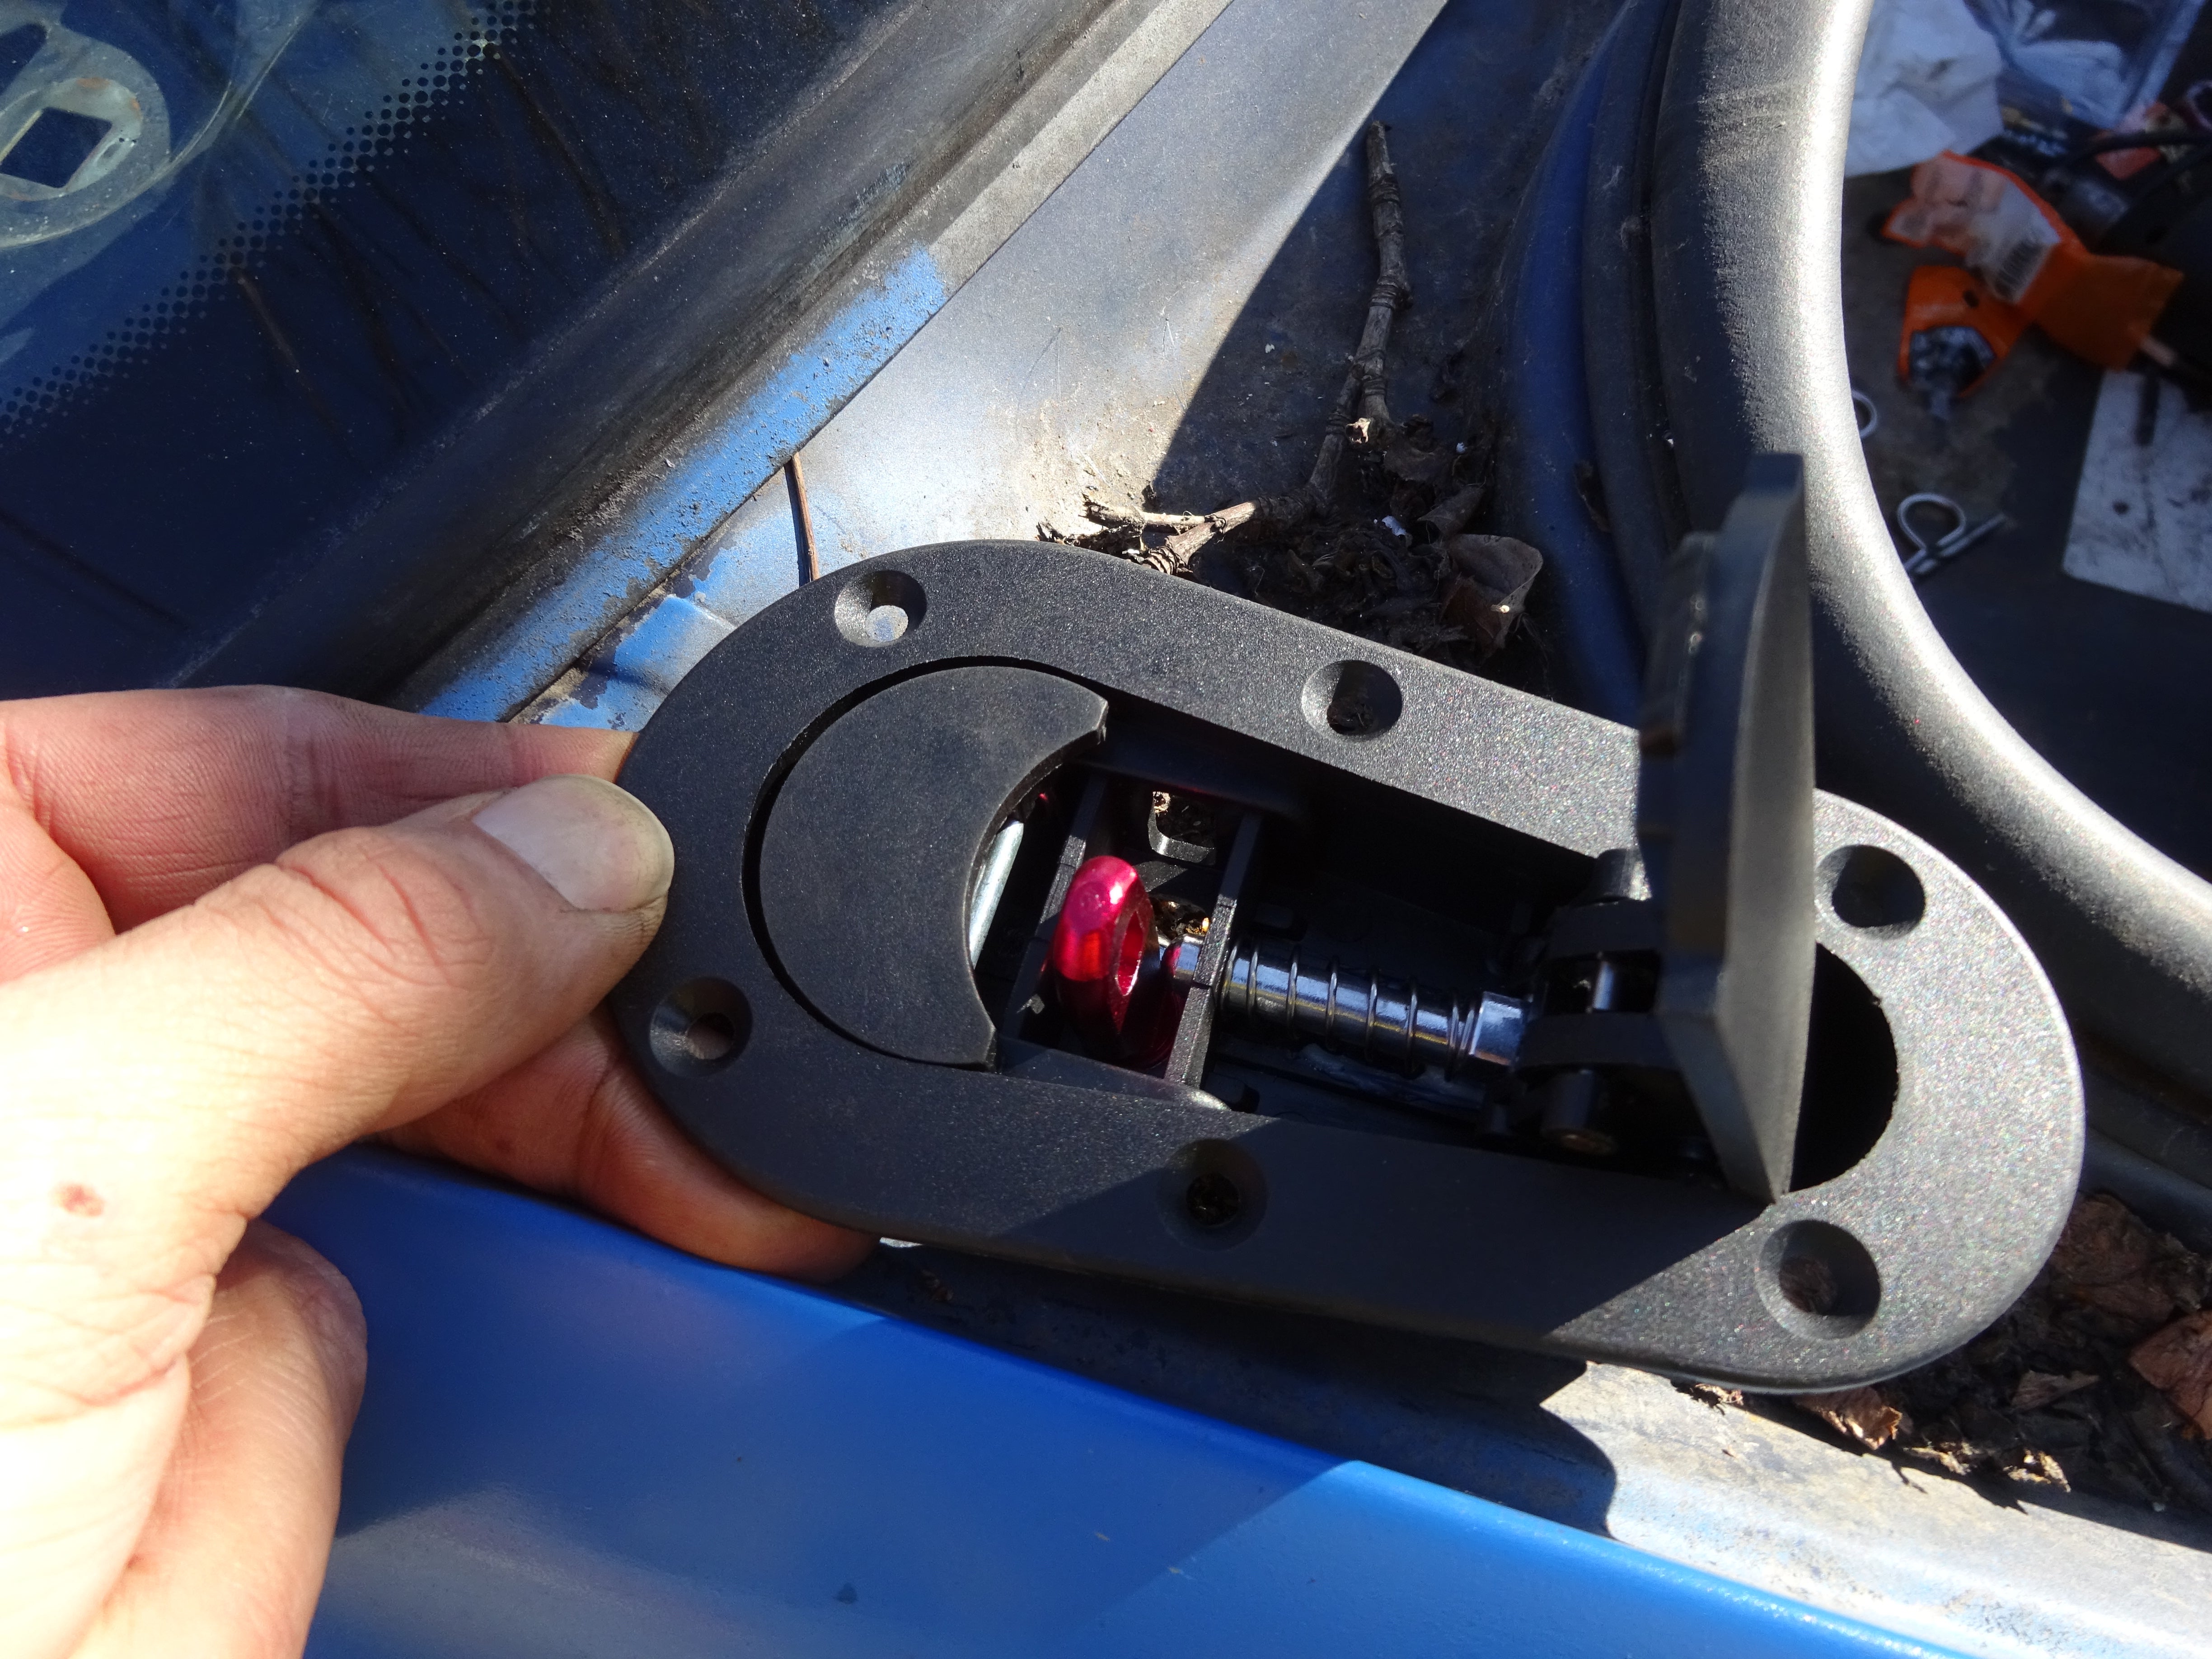
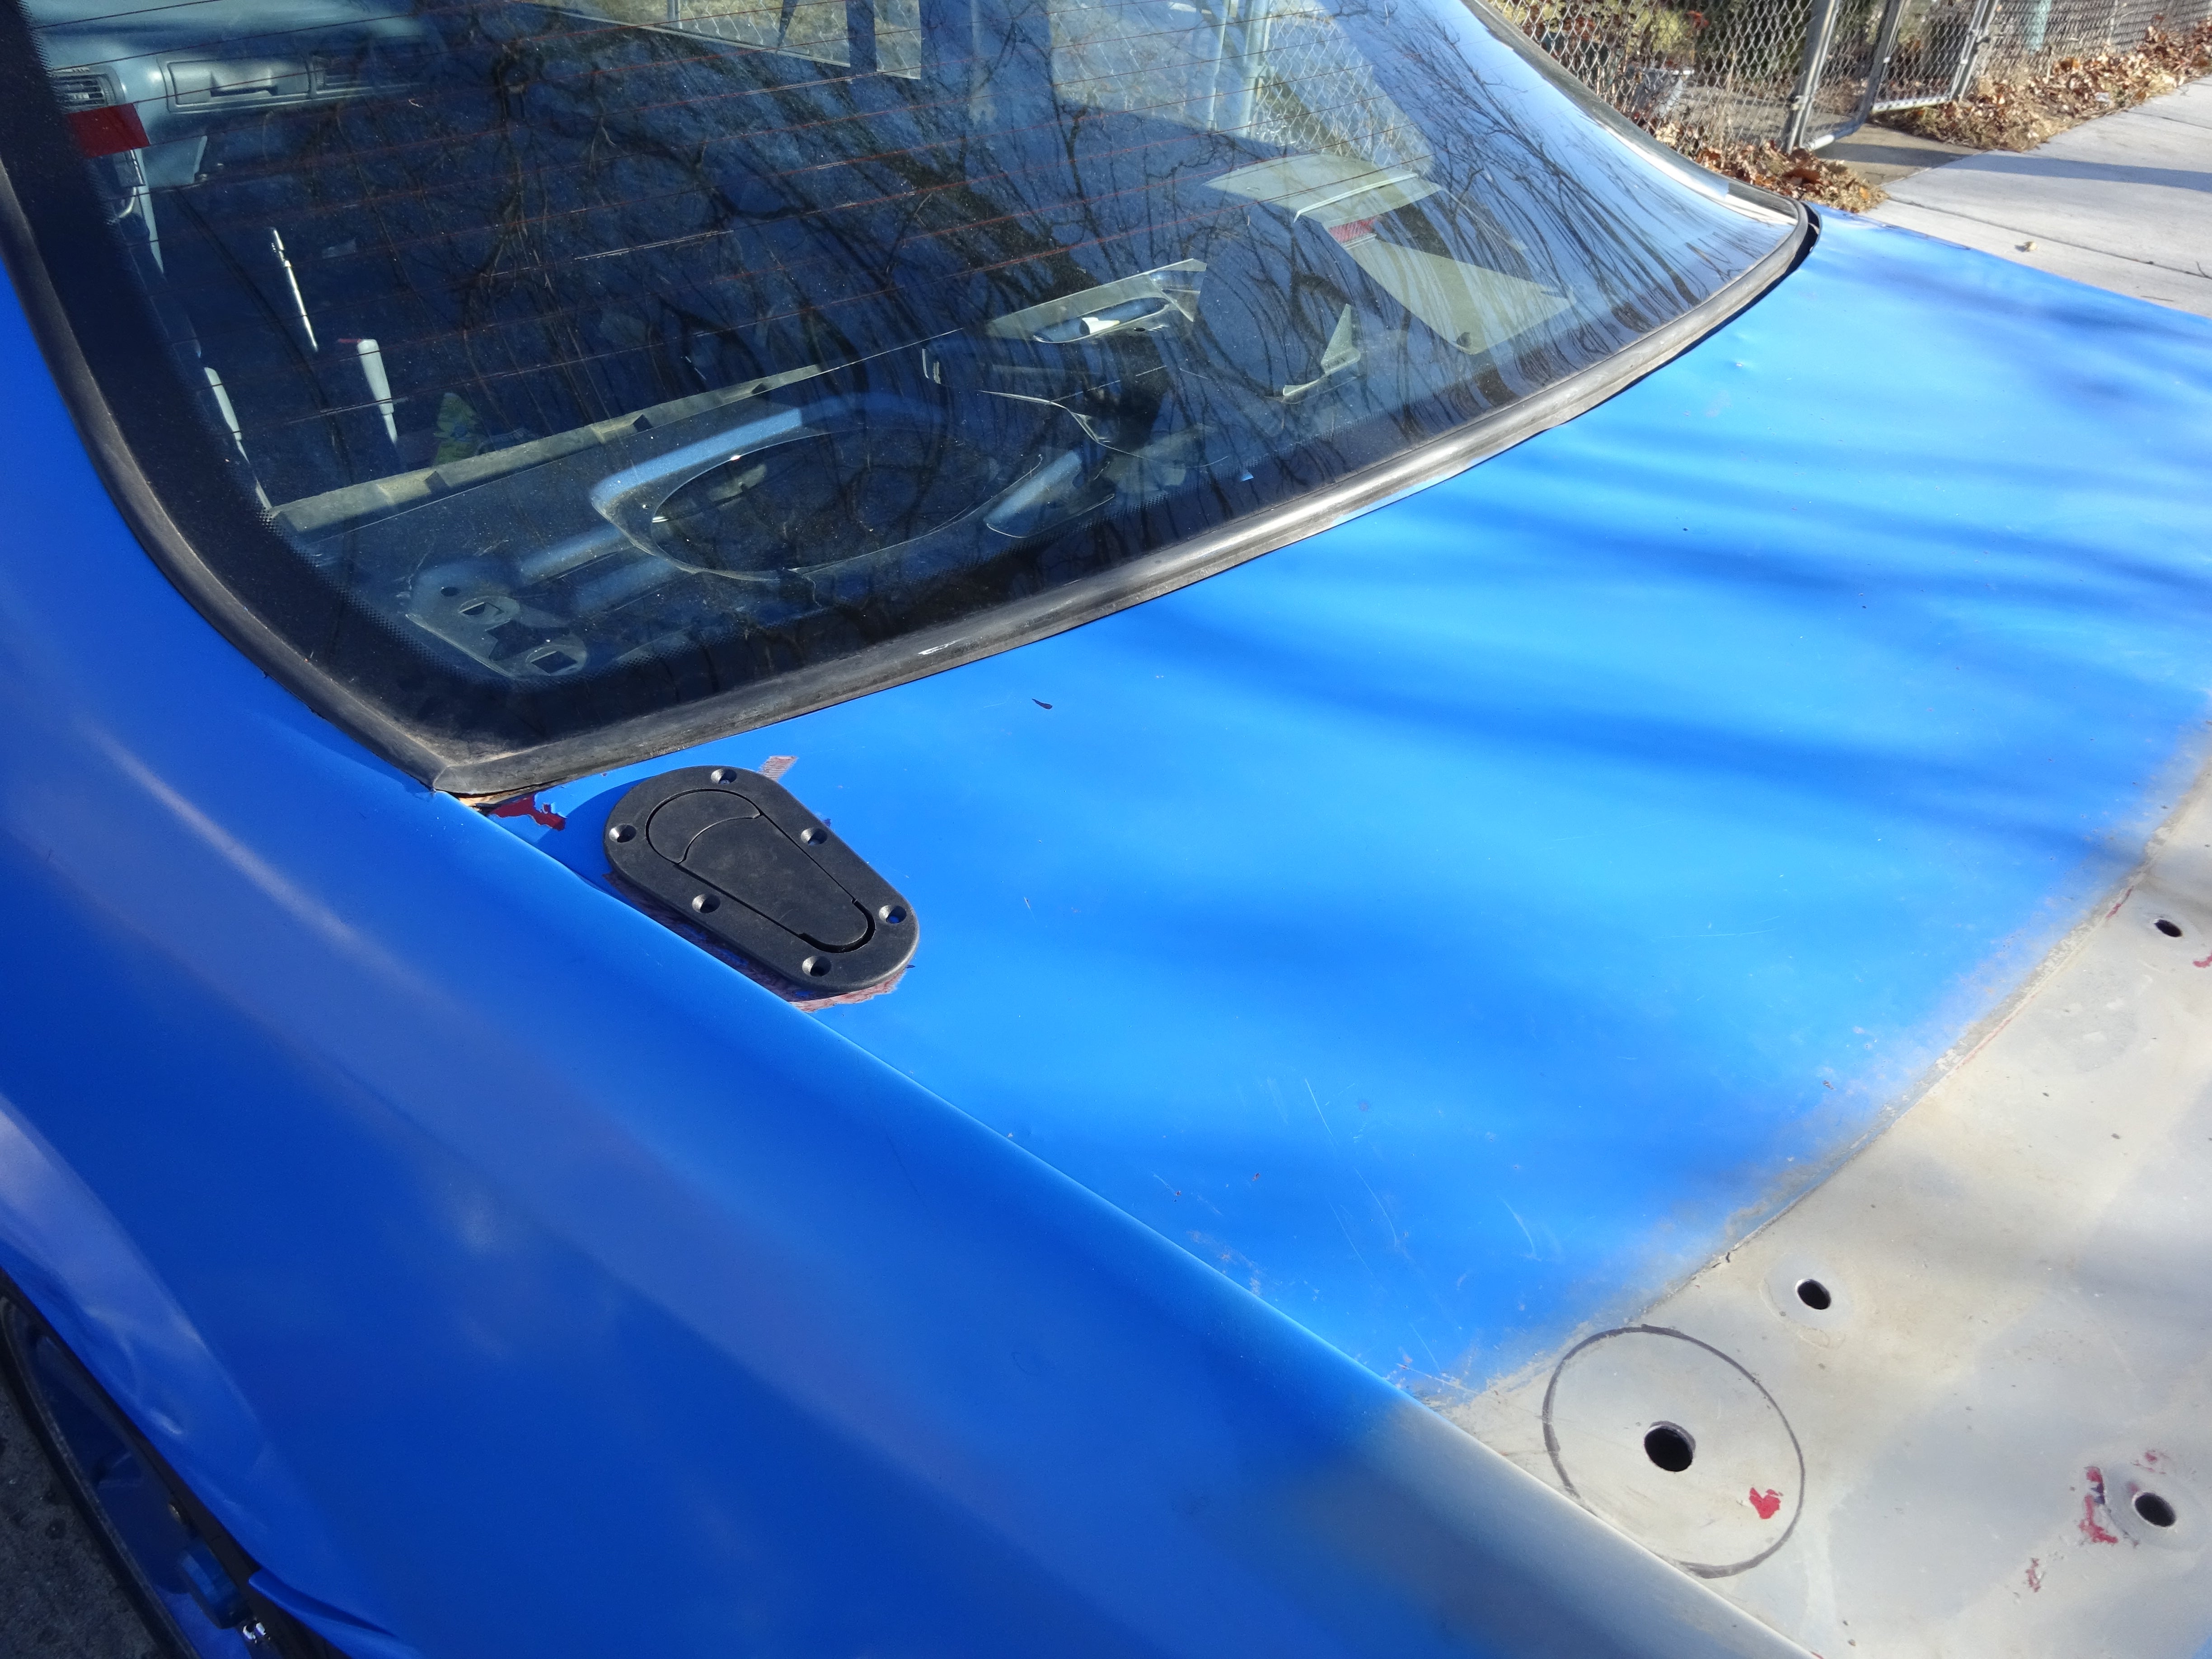
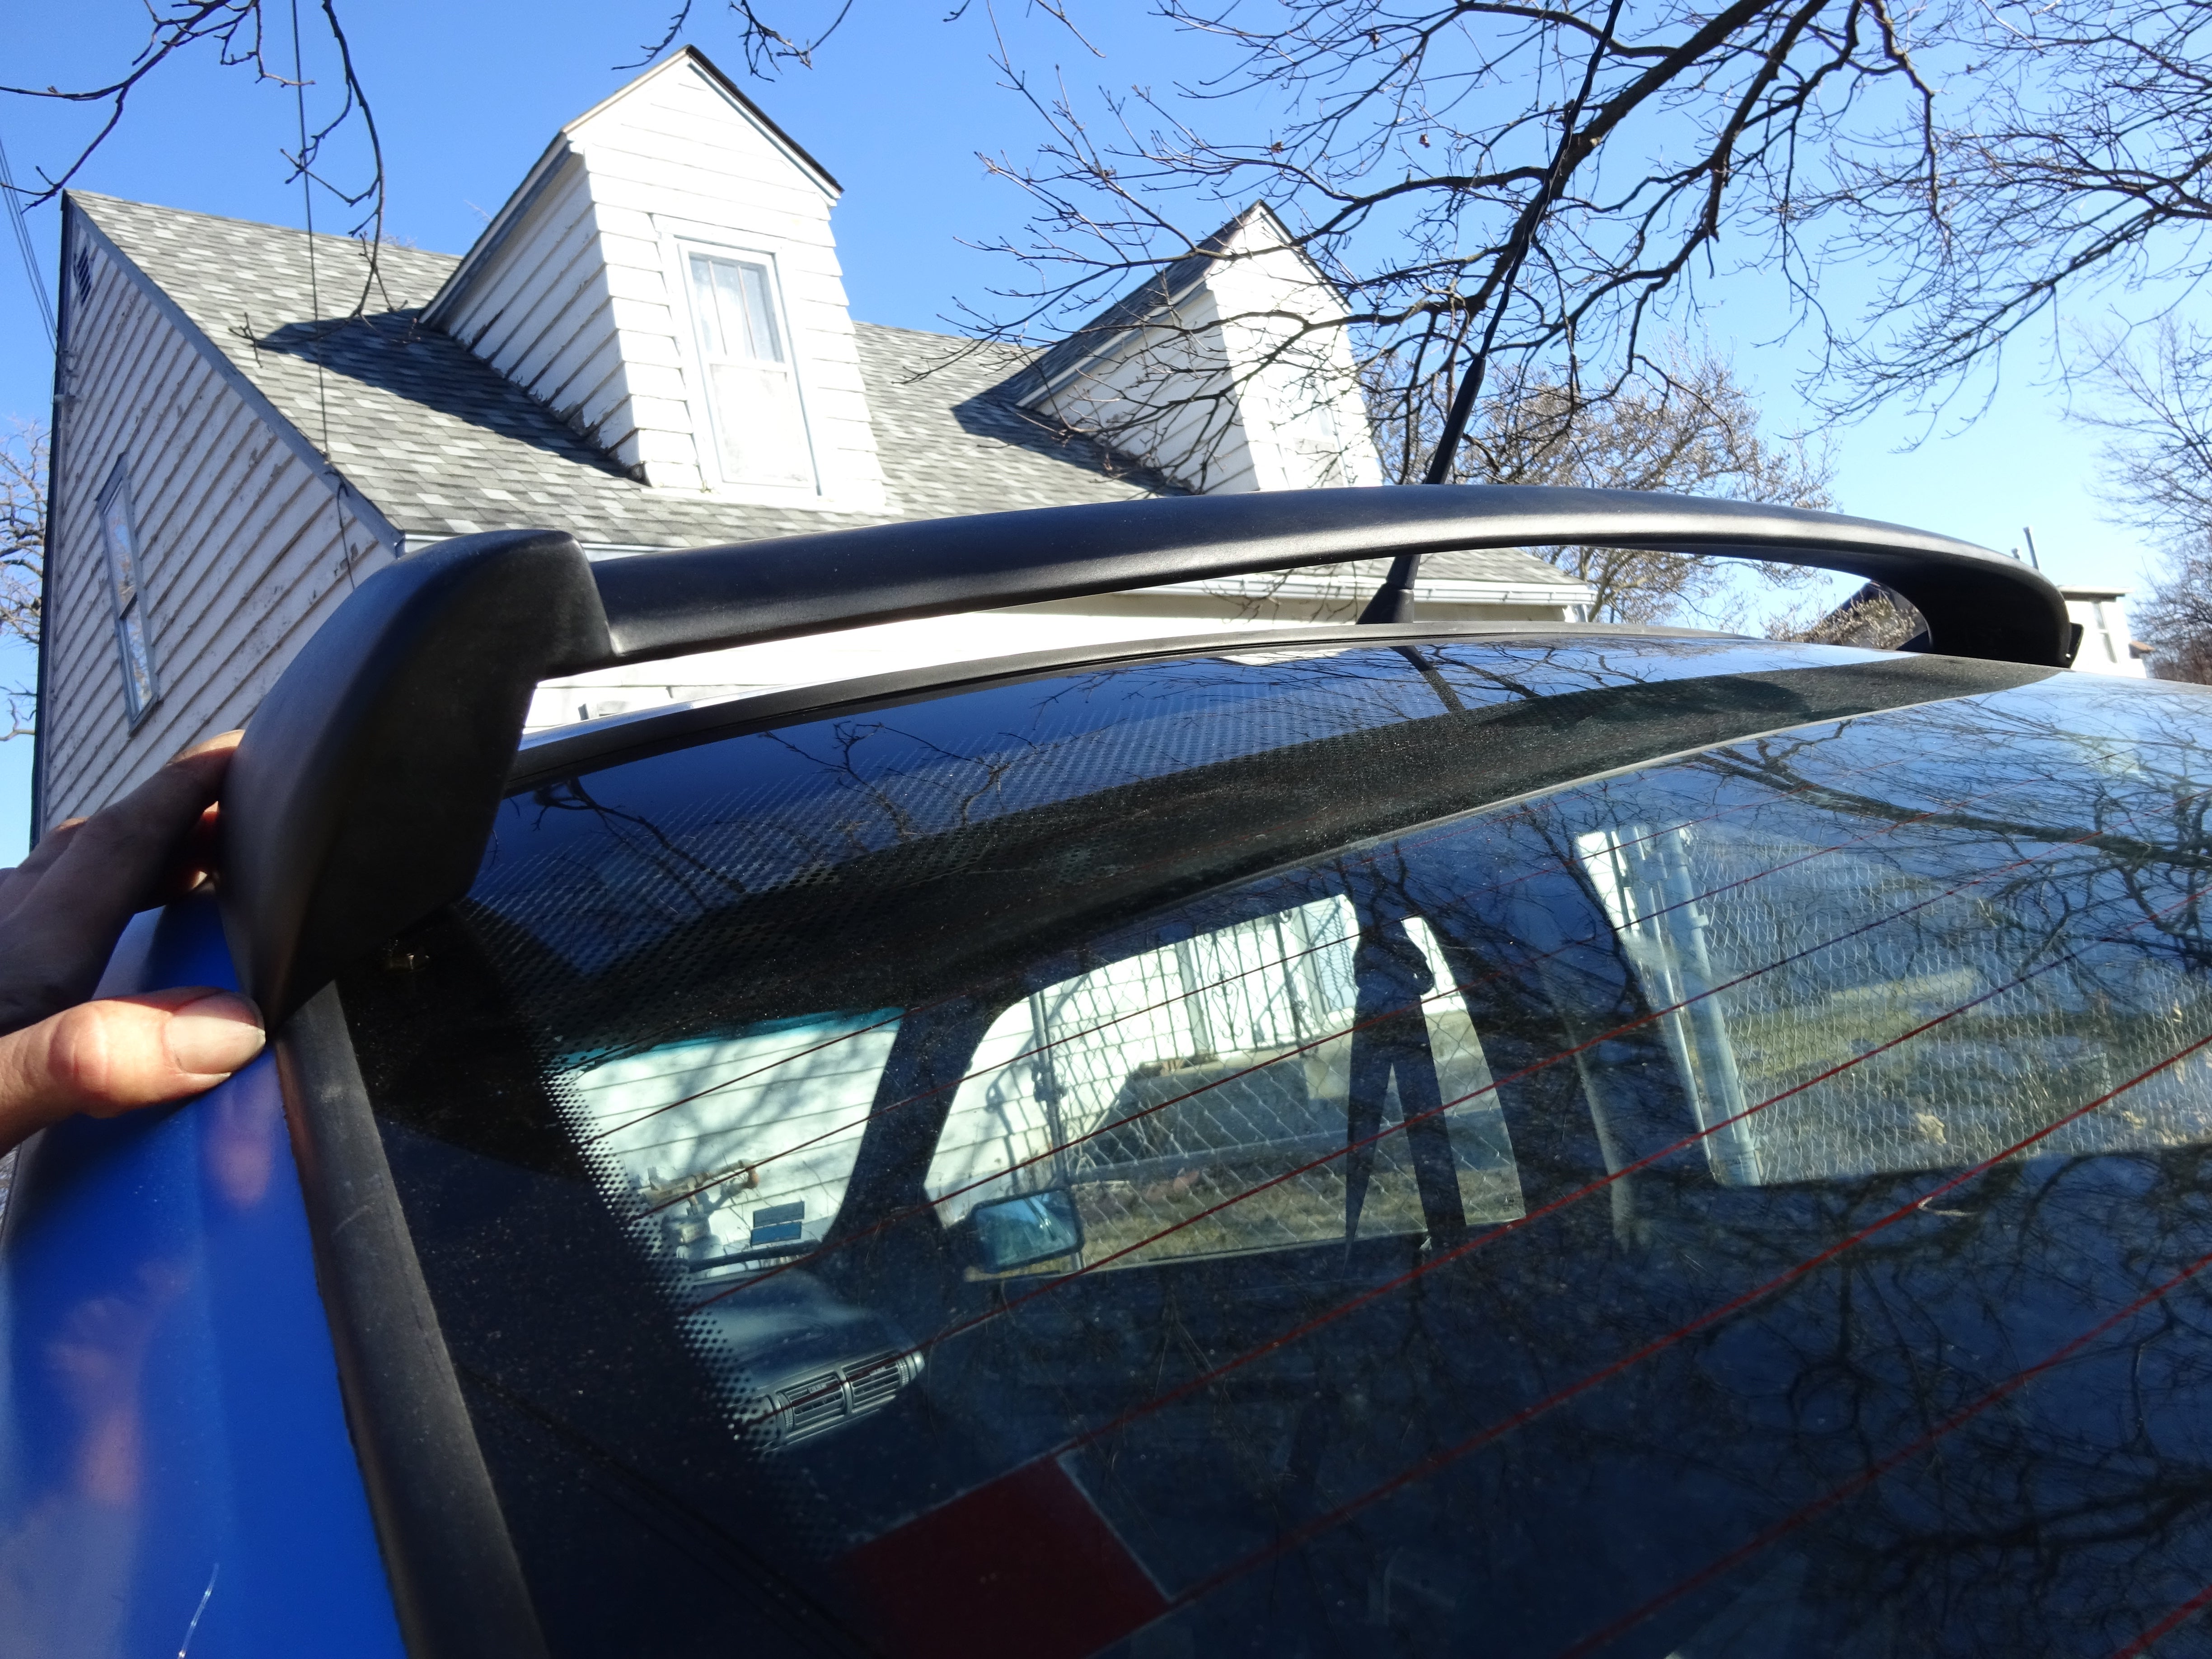
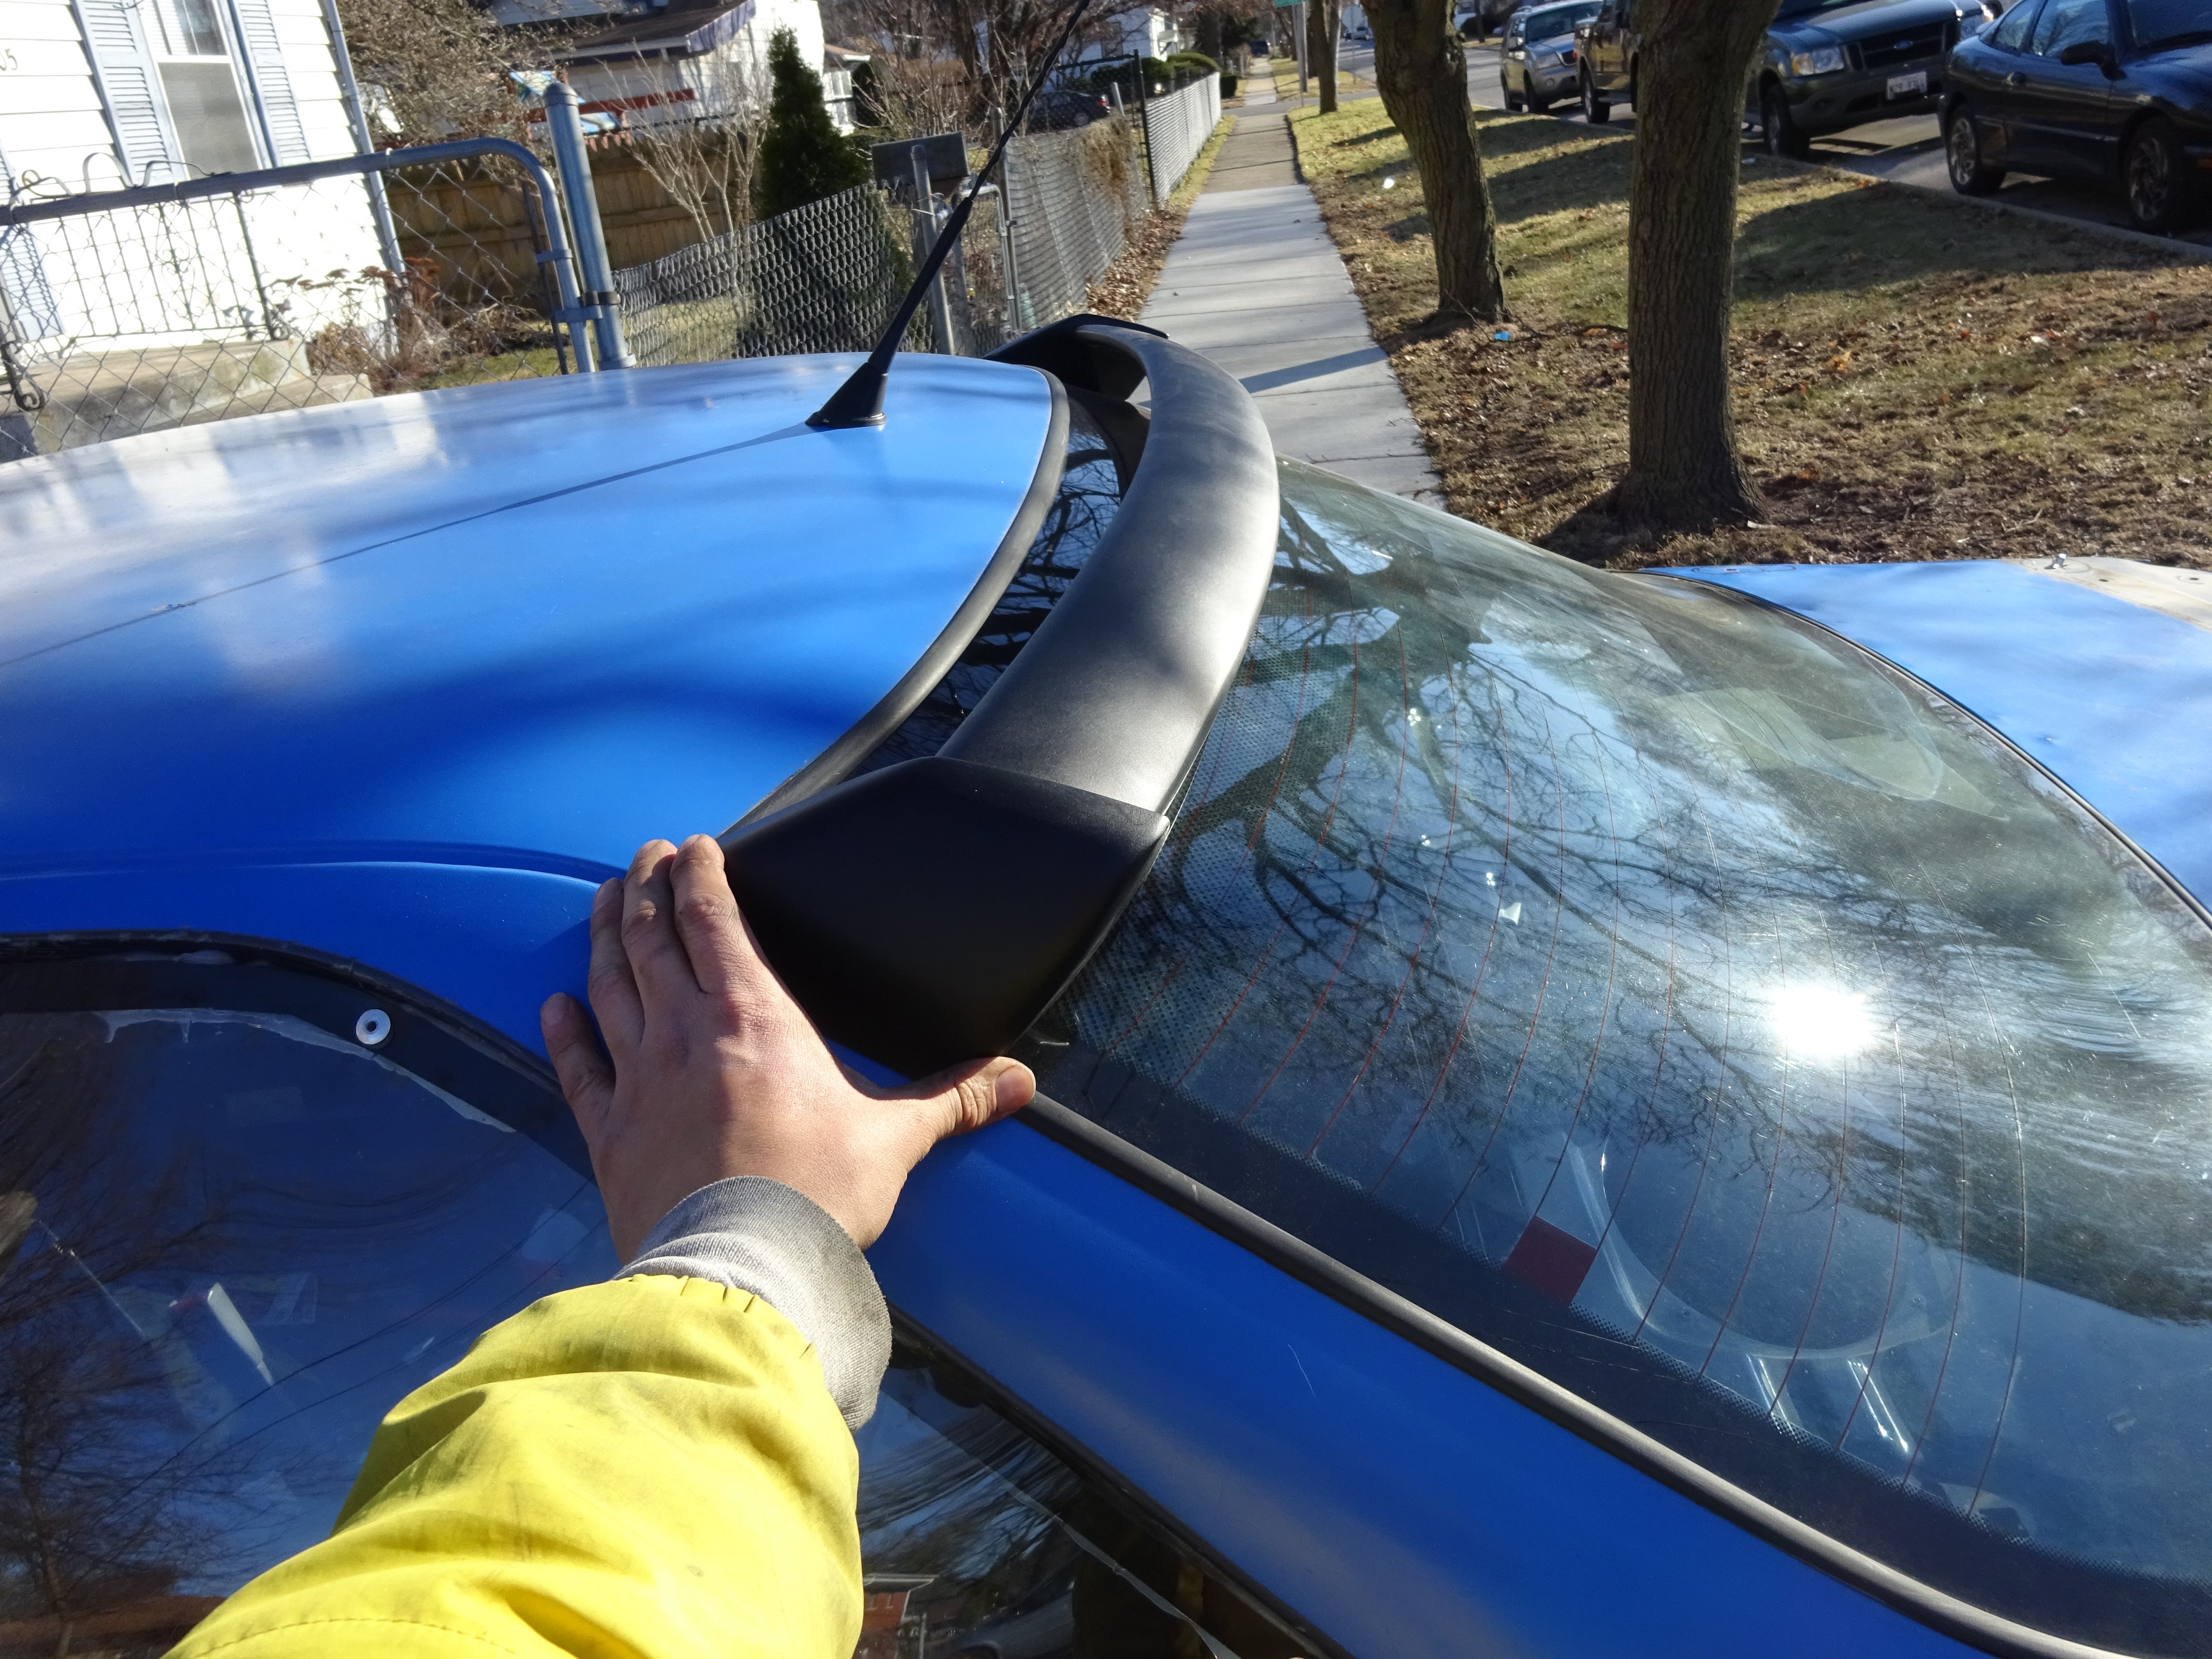
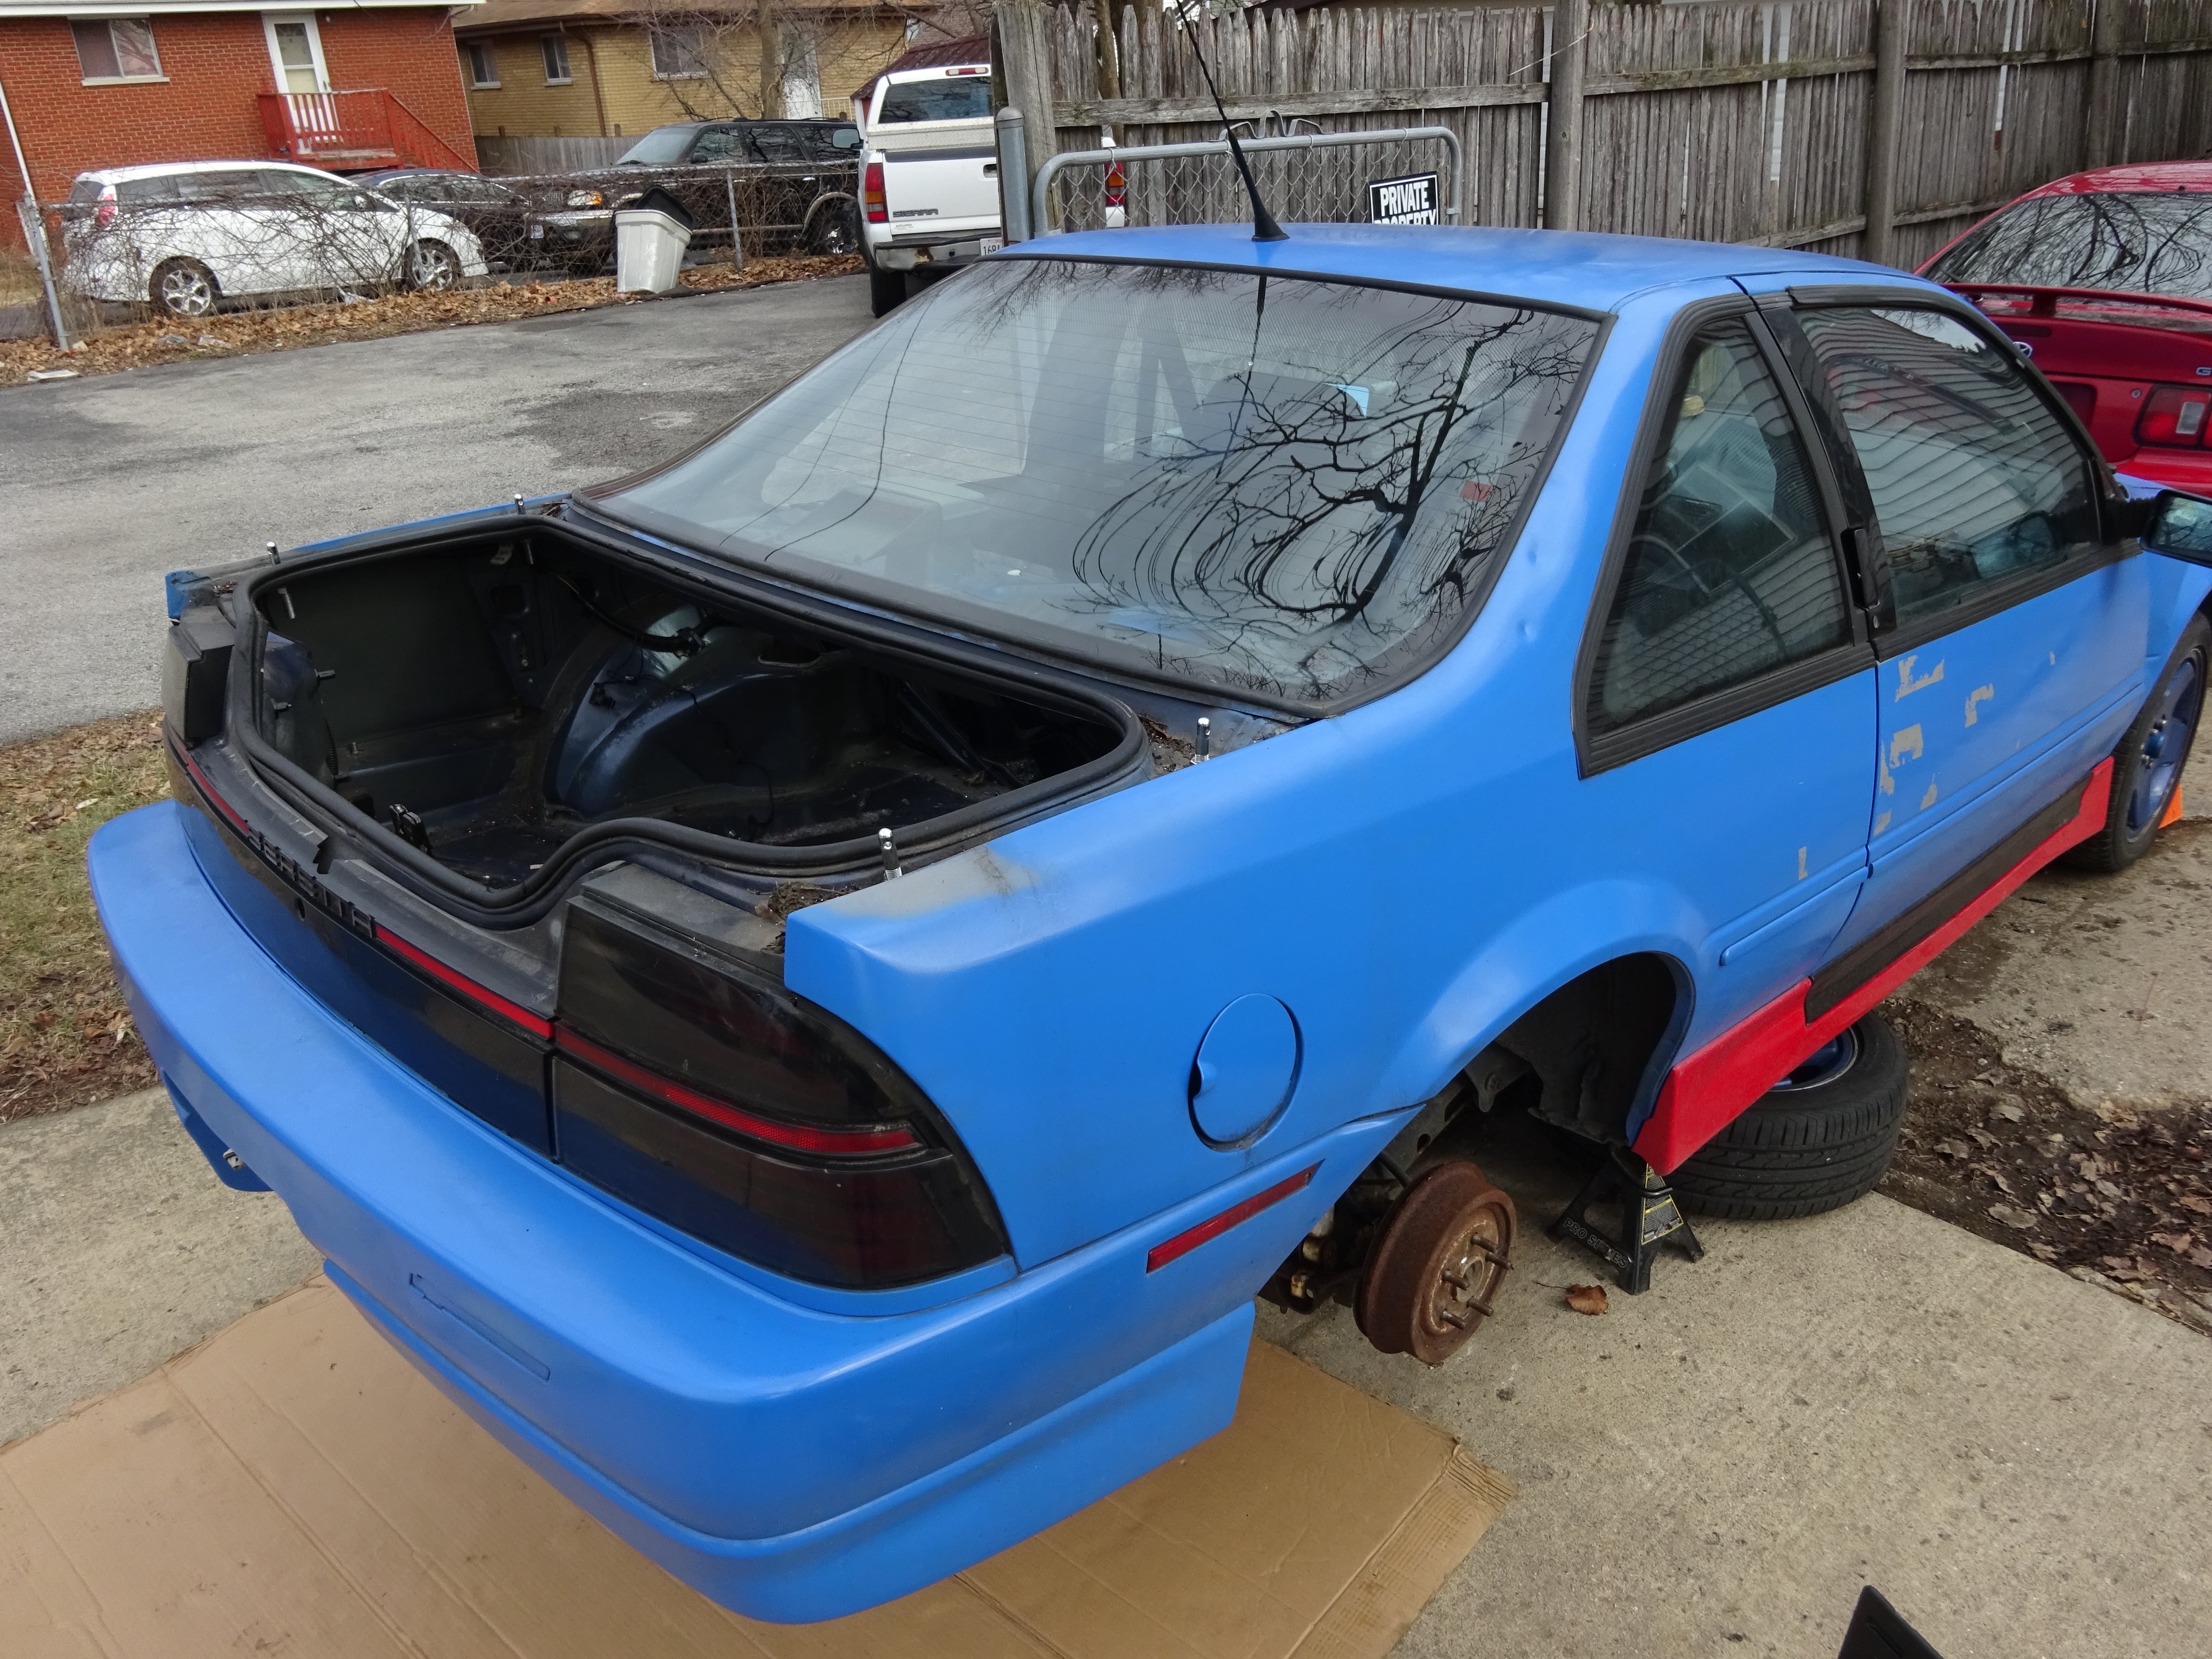
I’m also playing around with possibly installing a rear vane meant for a WRX and a different style decklid hoodpin design. I’m also mulling just making a new decklid from scratch using fiberglass. We’ll see where I go.
Beretta Pick-up truck? Jk.
 "HFV has no HFV. But somehow has 2 motorcycles" (hondasfordsvolvo)
02/13/2017 at 00:15, STARS: 1
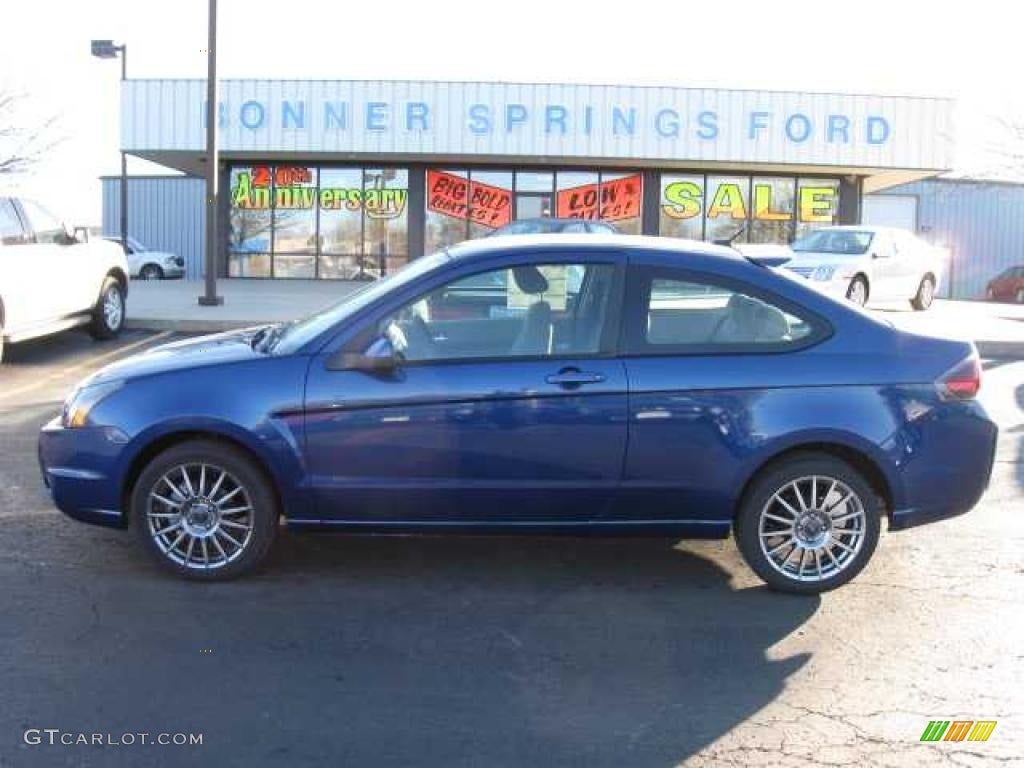
I like the rear spoiler, reminds me of the weird Focus Coupe spoiler.
"-Amateur" (amateur)
02/13/2017 at 00:36, STARS: 0
The roof vane is actually a cheap one from ebay that I bought for like $45. I just wanted to see how it would look/ mount before I take the plunge for the real deal. The quality on this one is laughably bad but it does show me that I would need to modify anyhow since the Beretta is a wider car compared to the WRX.
 "Andy Sheehan, StreetsideStig" (AndySheehan-StreetsideStig)
02/15/2017 at 16:24, STARS: 2
This build is good Oppo. Keep it up!