 by "StudyStudyStudy" (jesterjin)
Published 02/02/2017 at 14:45
by "StudyStudyStudy" (jesterjin)
Published 02/02/2017 at 14:45
No Tags
STARS: 7
With the engine block supporting it self, I cleaned up my space again making sure to leave enough room to get to my welder so I can modify my HES sensor mount.
I took out the water pump and found that it looks to be a vvti pump? The actual 2jz-ge non-vvti pump has holes for the pulley spacing that are quite a bit wider so I will have to source that.
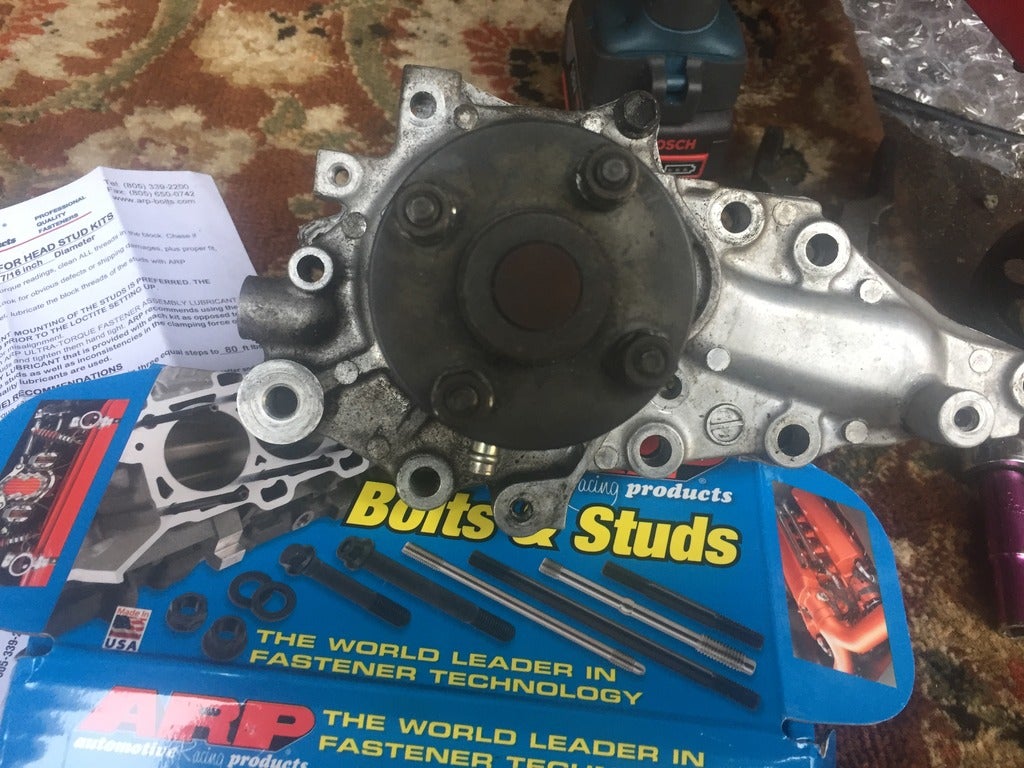
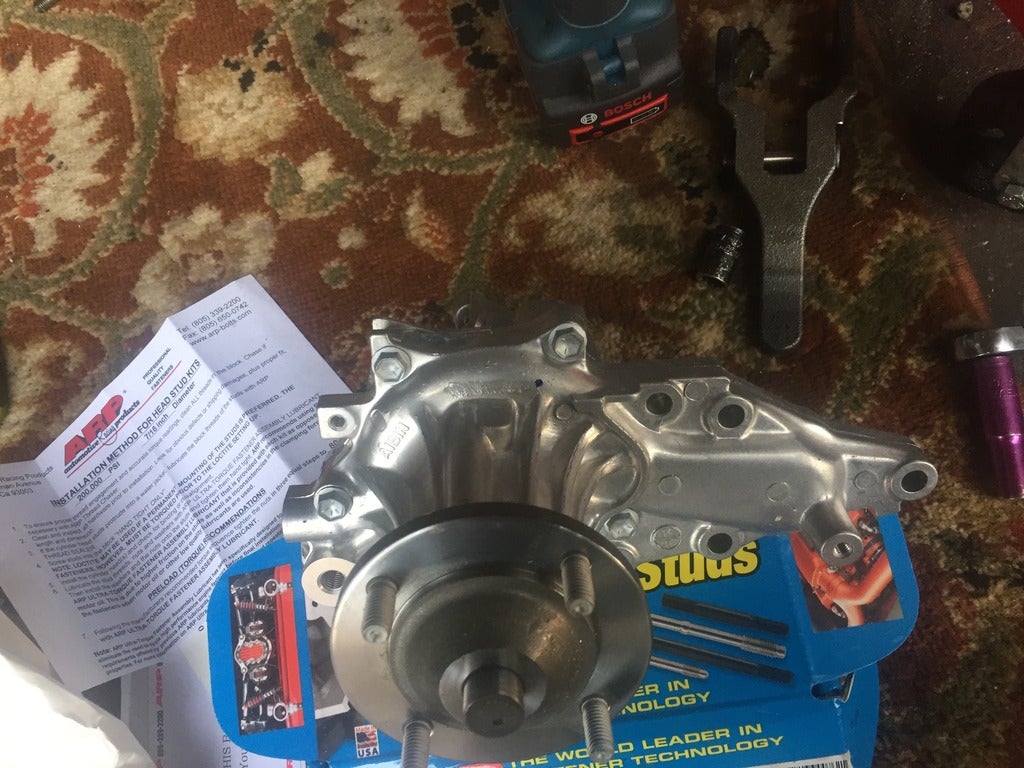
Note the number of bolts that hold the pump onto the back half, top one is the vvti pump with one bolt at the 11o’clock position, the correct pump on the correct back half has 4 bolts 9, 11, 1, 4 o’clock.
After pulling the complete pump I had to fish out the o-ring to the block.
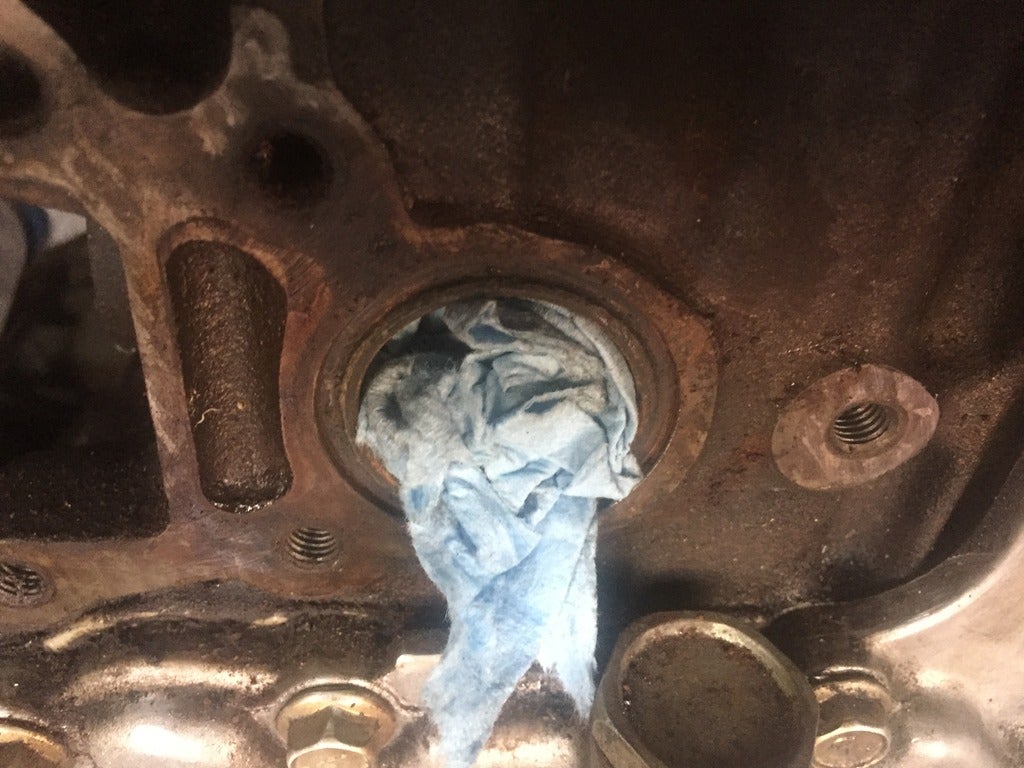
This thing was smashed and hardened. Don’t worry, I cleaned it up before installing the new one. This does makes me worry about the oil pump, but I’m drawing the line here.
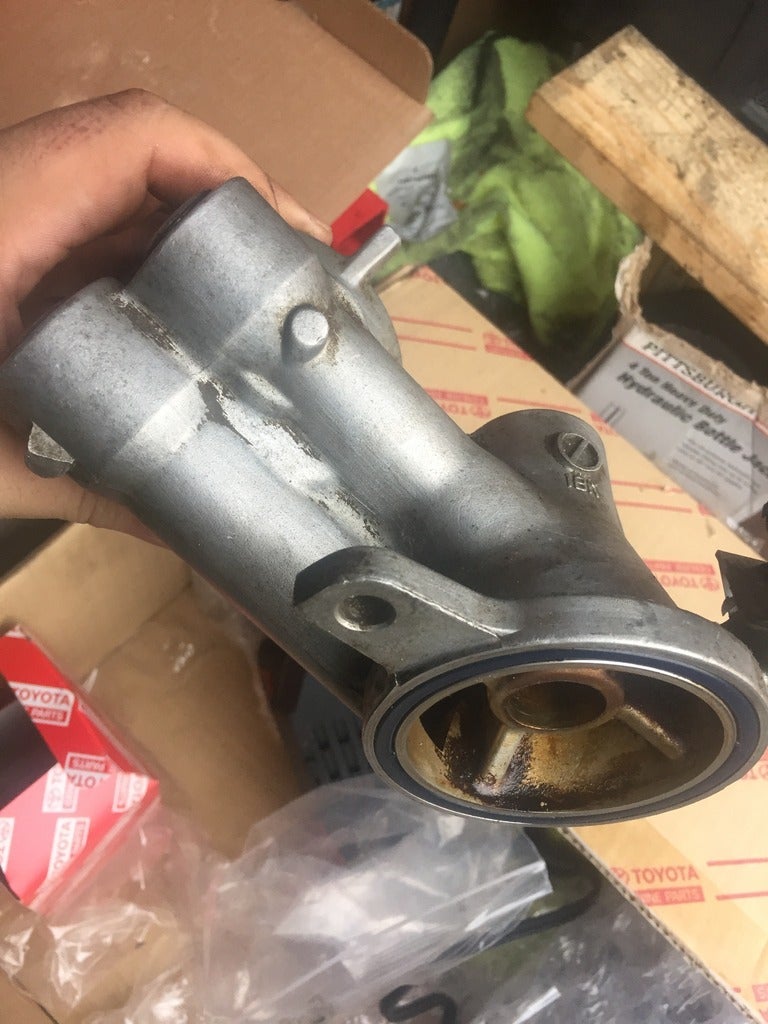
I took off the thermostat housing, bypass pipe and mount and cleaned those up and installed the new o-rings. TSRM suggests a bit of soap and it worked a treat, new o-rings slipped right in.
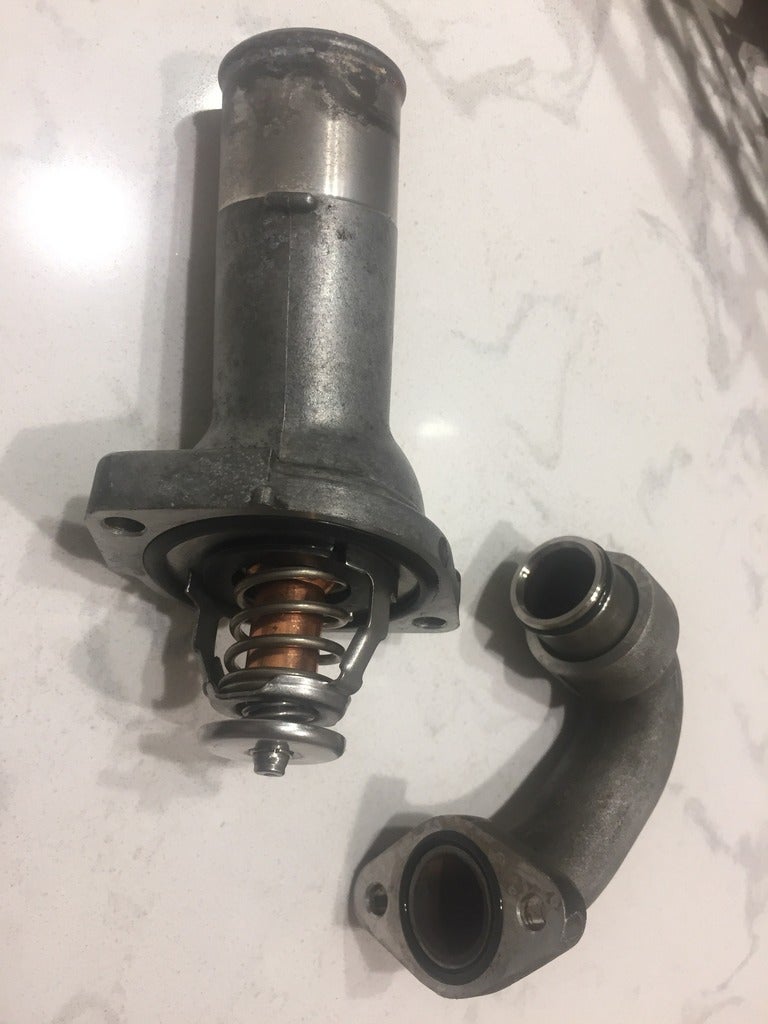
With that done, I installed the new thermostat and bolted or slipped all the accessories into place.
Nice toyota fact: See that little nub on the thermostat housing? It’s there to show you where to line up the jiggle valve. On the opposite side is a machined lip that prevents you from installing it backwards. Little things like that show they expected people to work on it.
Another thing that I recalled a bit was that I seemed to not have a washer on the back of my tensioner, removing it to replace the pump confirmed that it was missing. $2.5 for a washer is a bit steep, but I want to do this pretty right and use the right stuff. This is apparently a plate washer with machined sides so no bevel. Installed the tensioner pulley bracket with loctite and the washer this time around.
Now the only two things left to address are the block and oil pump. If I have the time/space/money, maybe I’ll build one to swap in down the road.
I also fit the oil filter adapter.
Cleaned it up a bit
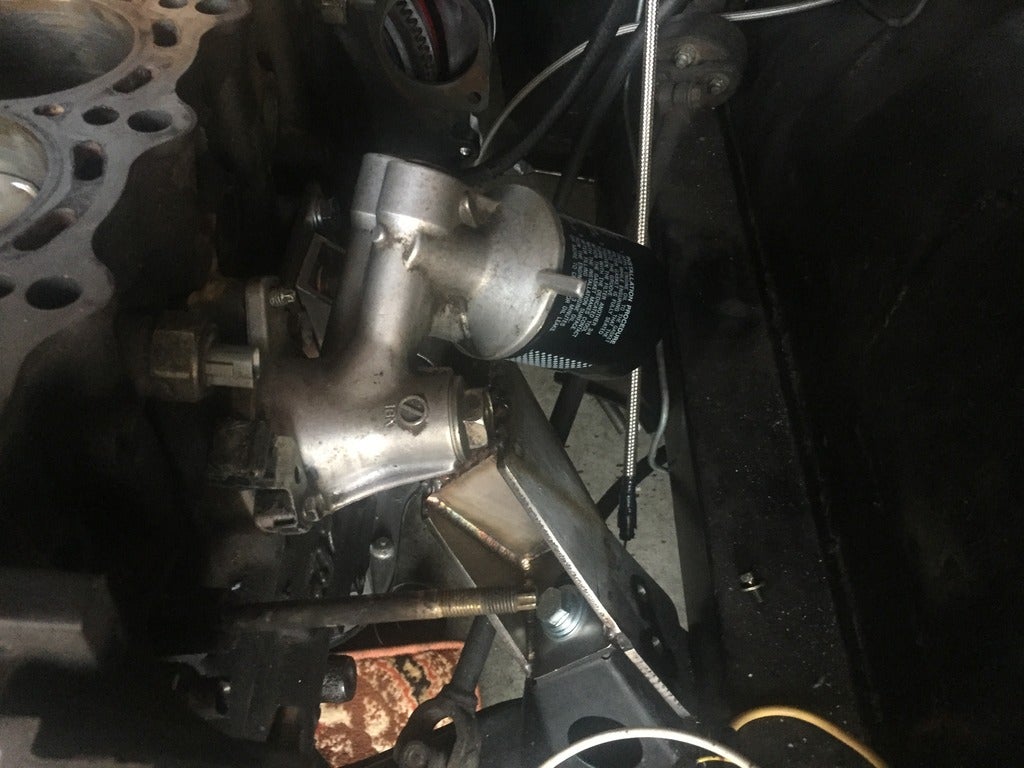
Bolted it on. Reminder to self to torque that.
Given my previous problems I was tempted to just plug the filter straight into the block with a union bolt, but the adapter is a good place to get oil for the turbo. This model turns out to have the threading in the attachment bolt for an oil pressure sensor, so I’ll be teeing off that for an oil feed.
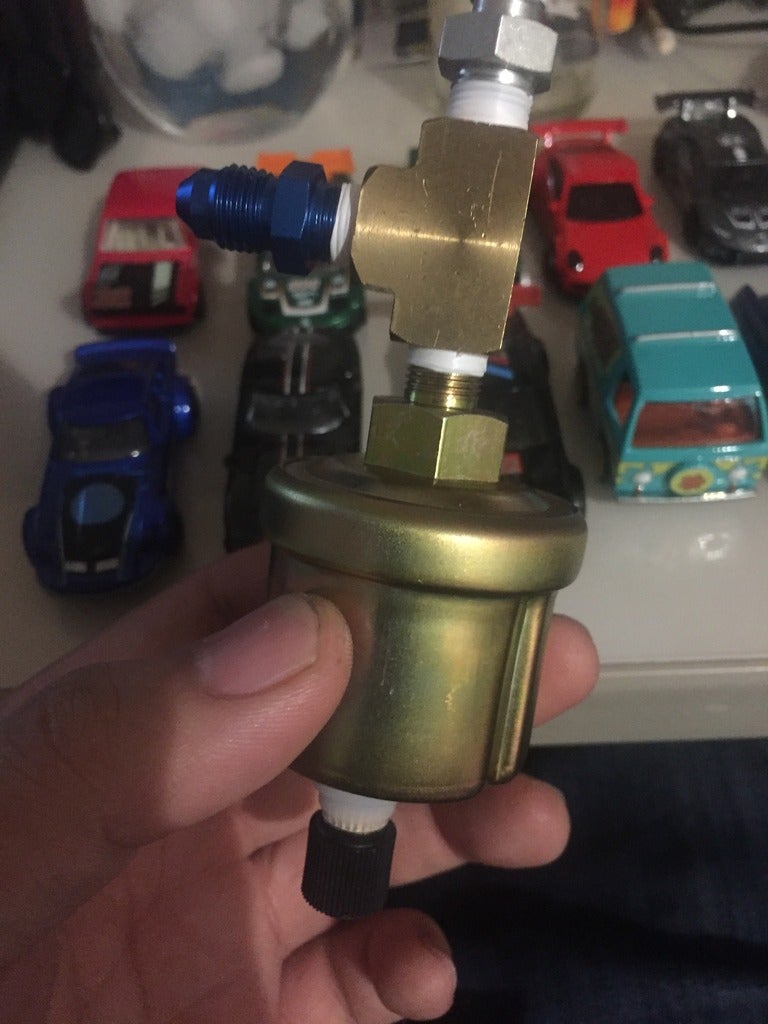
That oil pressure sending unit is for an intellitronix gauge I bought over 2 years ago. I had it wired up and found they had a faulty sender, after trying on and off to get a replacement I finally got one. It is not lost to me that had I had this gauge installed it would have been painfully obvious that my oil pressure was 0 and I might not be here, but alas.
The oil filter bolt uses the BSPT so I bought a BSPT to NPT converter, after some thinking I decided to put the filter on inline and the oil feed off to the side so that the oil pressure gauge always sees pressure first off the bat.
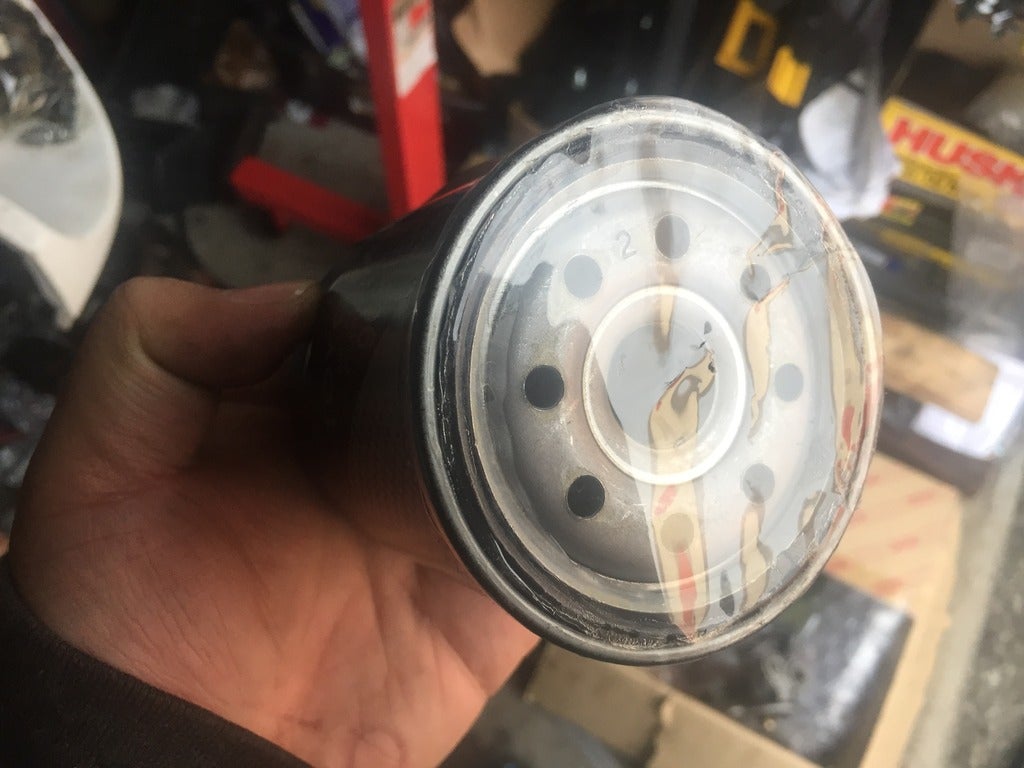
Another cool thing is the toyota filter, really affordable ($6) came in a box, the honda dealership just hands you a filter. It even comes with a cap to keep out the debris and comes lithium greased so you don’t risk installing it dry.
Now onto more serious stuff, first off was to install the studs and gasket. Head bolt holes were chased and ARP studs were used and installed hand tight per instruction I chose to get a thicker head gasket to give myself some breathing room to run more boost safely a 2.4mm cometic head gasket provides the seal. I had read about people installing it upside down or what not, but given that there is one last oil port on the back of the motor on the passenger side, I don’t see how that is possible.

Then came the head.
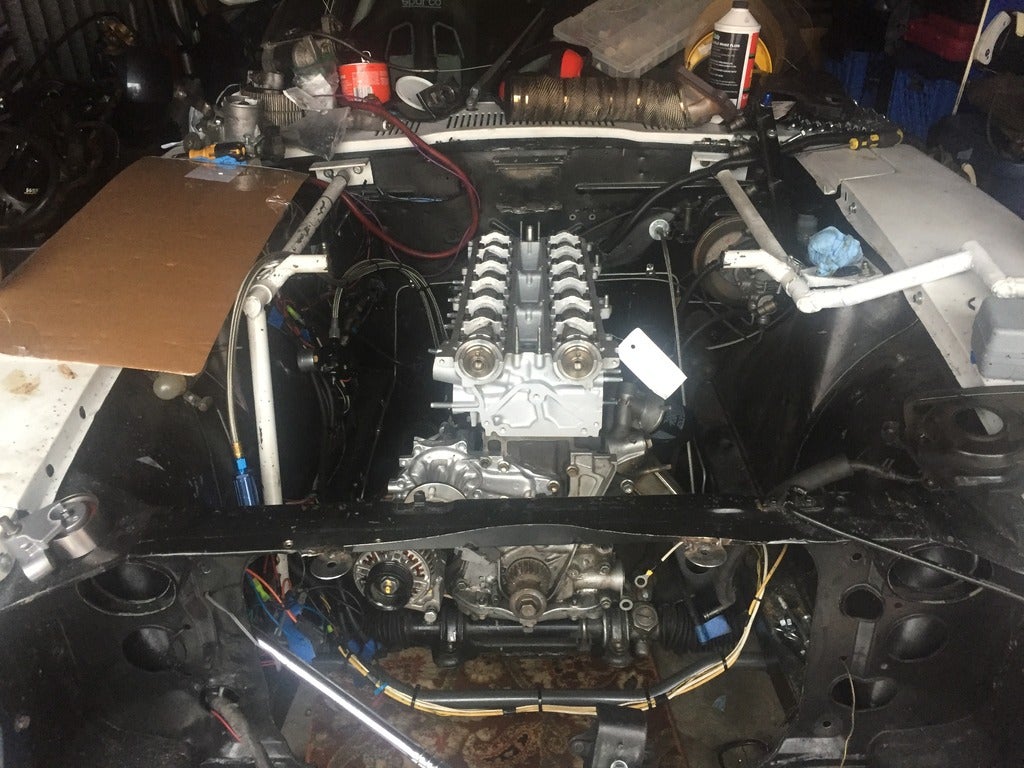
That thing was a real hassle to get on. I dropped it on the fender then stepped into the engine bay and flipped it over. Lining up all the studs without scraping the machined head was a real chore. Had to lift it then feel around with my fingers for the holes and the stud and line it up. It did slip in pretty easy though.
The machine shop had installed the caps so they set the valve gap, so I had to remove them as the head bolts install right next to the cap and need the space to put a socket it.
With the cams removed I tried installing the washer, only to find it wouldn’t fit with the studs. I had to back the stud out one by one and drop in a washer then line it up and reinstall the stud. I’m sure this is probably the better way to install as it insures that all your bores are lined up, but still fairly tedious. Placing the nuts with all the lube on the nut and the threads of the stud was quite a challenge. I wanted to get it started using my finger, but after dropping one and almost loosing it in the valley, I decided to just place it gently on top and get it started with a socket turned by hand.
I’ll have to wait to go get a 1/2 inch 12 point to do the torque, a 13mm 12 point fits, but I don’t want to start stripping these in the head.
Then I installed the valve covers just to provide some protection. Going to have to give these guys a real good scrub and paint them and get some better quality seals as I hear aftermarket seals will fail and dribble oil everywhere.
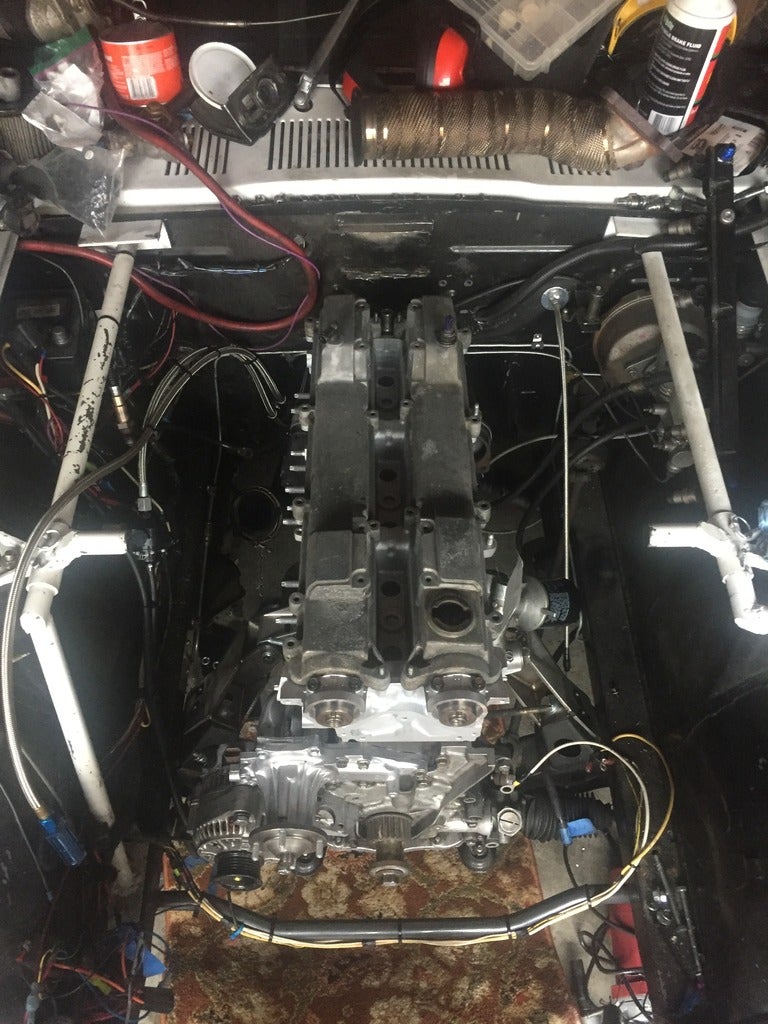
Pretty happy with how the centering of the motor turned out.
Lessons learned:
Really question the PO
Figure out what kind of person you are. If you aren’t the type to settle then do it from scratch and do it right.
Work on something long enough and it starts to come together!
Money Spent:
Comeitc Gasket - 205
ARP stud kit - 160
Head - 770
2jz-ge non vvti Water pump - 125
Water pump pulley - 25
Thermostat - 22
Oil filter - 6
Oil feed adapter fittings - 30
Subtotal - 1343
Total spent -26478
!!! UNKNOWN CONTENT TYPE !!!
!!! UNKNOWN CONTENT TYPE !!!
 "Leon711" (leon711)
02/02/2017 at 15:13, STARS: 2
Just wanna say, I love reading these.
 "Roadster Man" (roadsterman)
02/02/2017 at 15:15, STARS: 0
Me too!
"StudyStudyStudy" (jesterjin)
02/02/2017 at 15:29, STARS: 0
Thanks! I appreciate the comment, makes me feel like this is worth keeping track of.
"StudyStudyStudy" (jesterjin)
02/02/2017 at 15:29, STARS: 0
Thanks!
 "uofime-2" (uofime-2)
02/02/2017 at 15:39, STARS: 0
really coming together now!
 "Manwich - now Keto-Friendly" (manwich)
02/02/2017 at 15:50, STARS: 0
Me three!
"StudyStudyStudy" (jesterjin)
02/02/2017 at 17:34, STARS: 0
Aw shucks!
"StudyStudyStudy" (jesterjin)
02/02/2017 at 17:35, STARS: 0
Feels like it, a couple more hurdles left to go.
"uofime-2" (uofime-2)
02/03/2017 at 08:53, STARS: 0
haha, engine management and drive train, who needs those? You’ve got an engine and a chair, that’s more than enough to sit, make broom broom noises and dream!
"StudyStudyStudy" (jesterjin)
02/04/2017 at 00:15, STARS: 1
Oh I do that in the office chair with turbo noises to boot!
Unfortunately my brand new to me sparcos have been holding intercooler pipes longer then I’ve sat in them.