 by "Jake - Has Bad Luck So You Don't Have To" (murdersofa)
Published 01/13/2017 at 11:52
by "Jake - Has Bad Luck So You Don't Have To" (murdersofa)
Published 01/13/2017 at 11:52
Tags: miata
; guides
; how to
STARS: 2
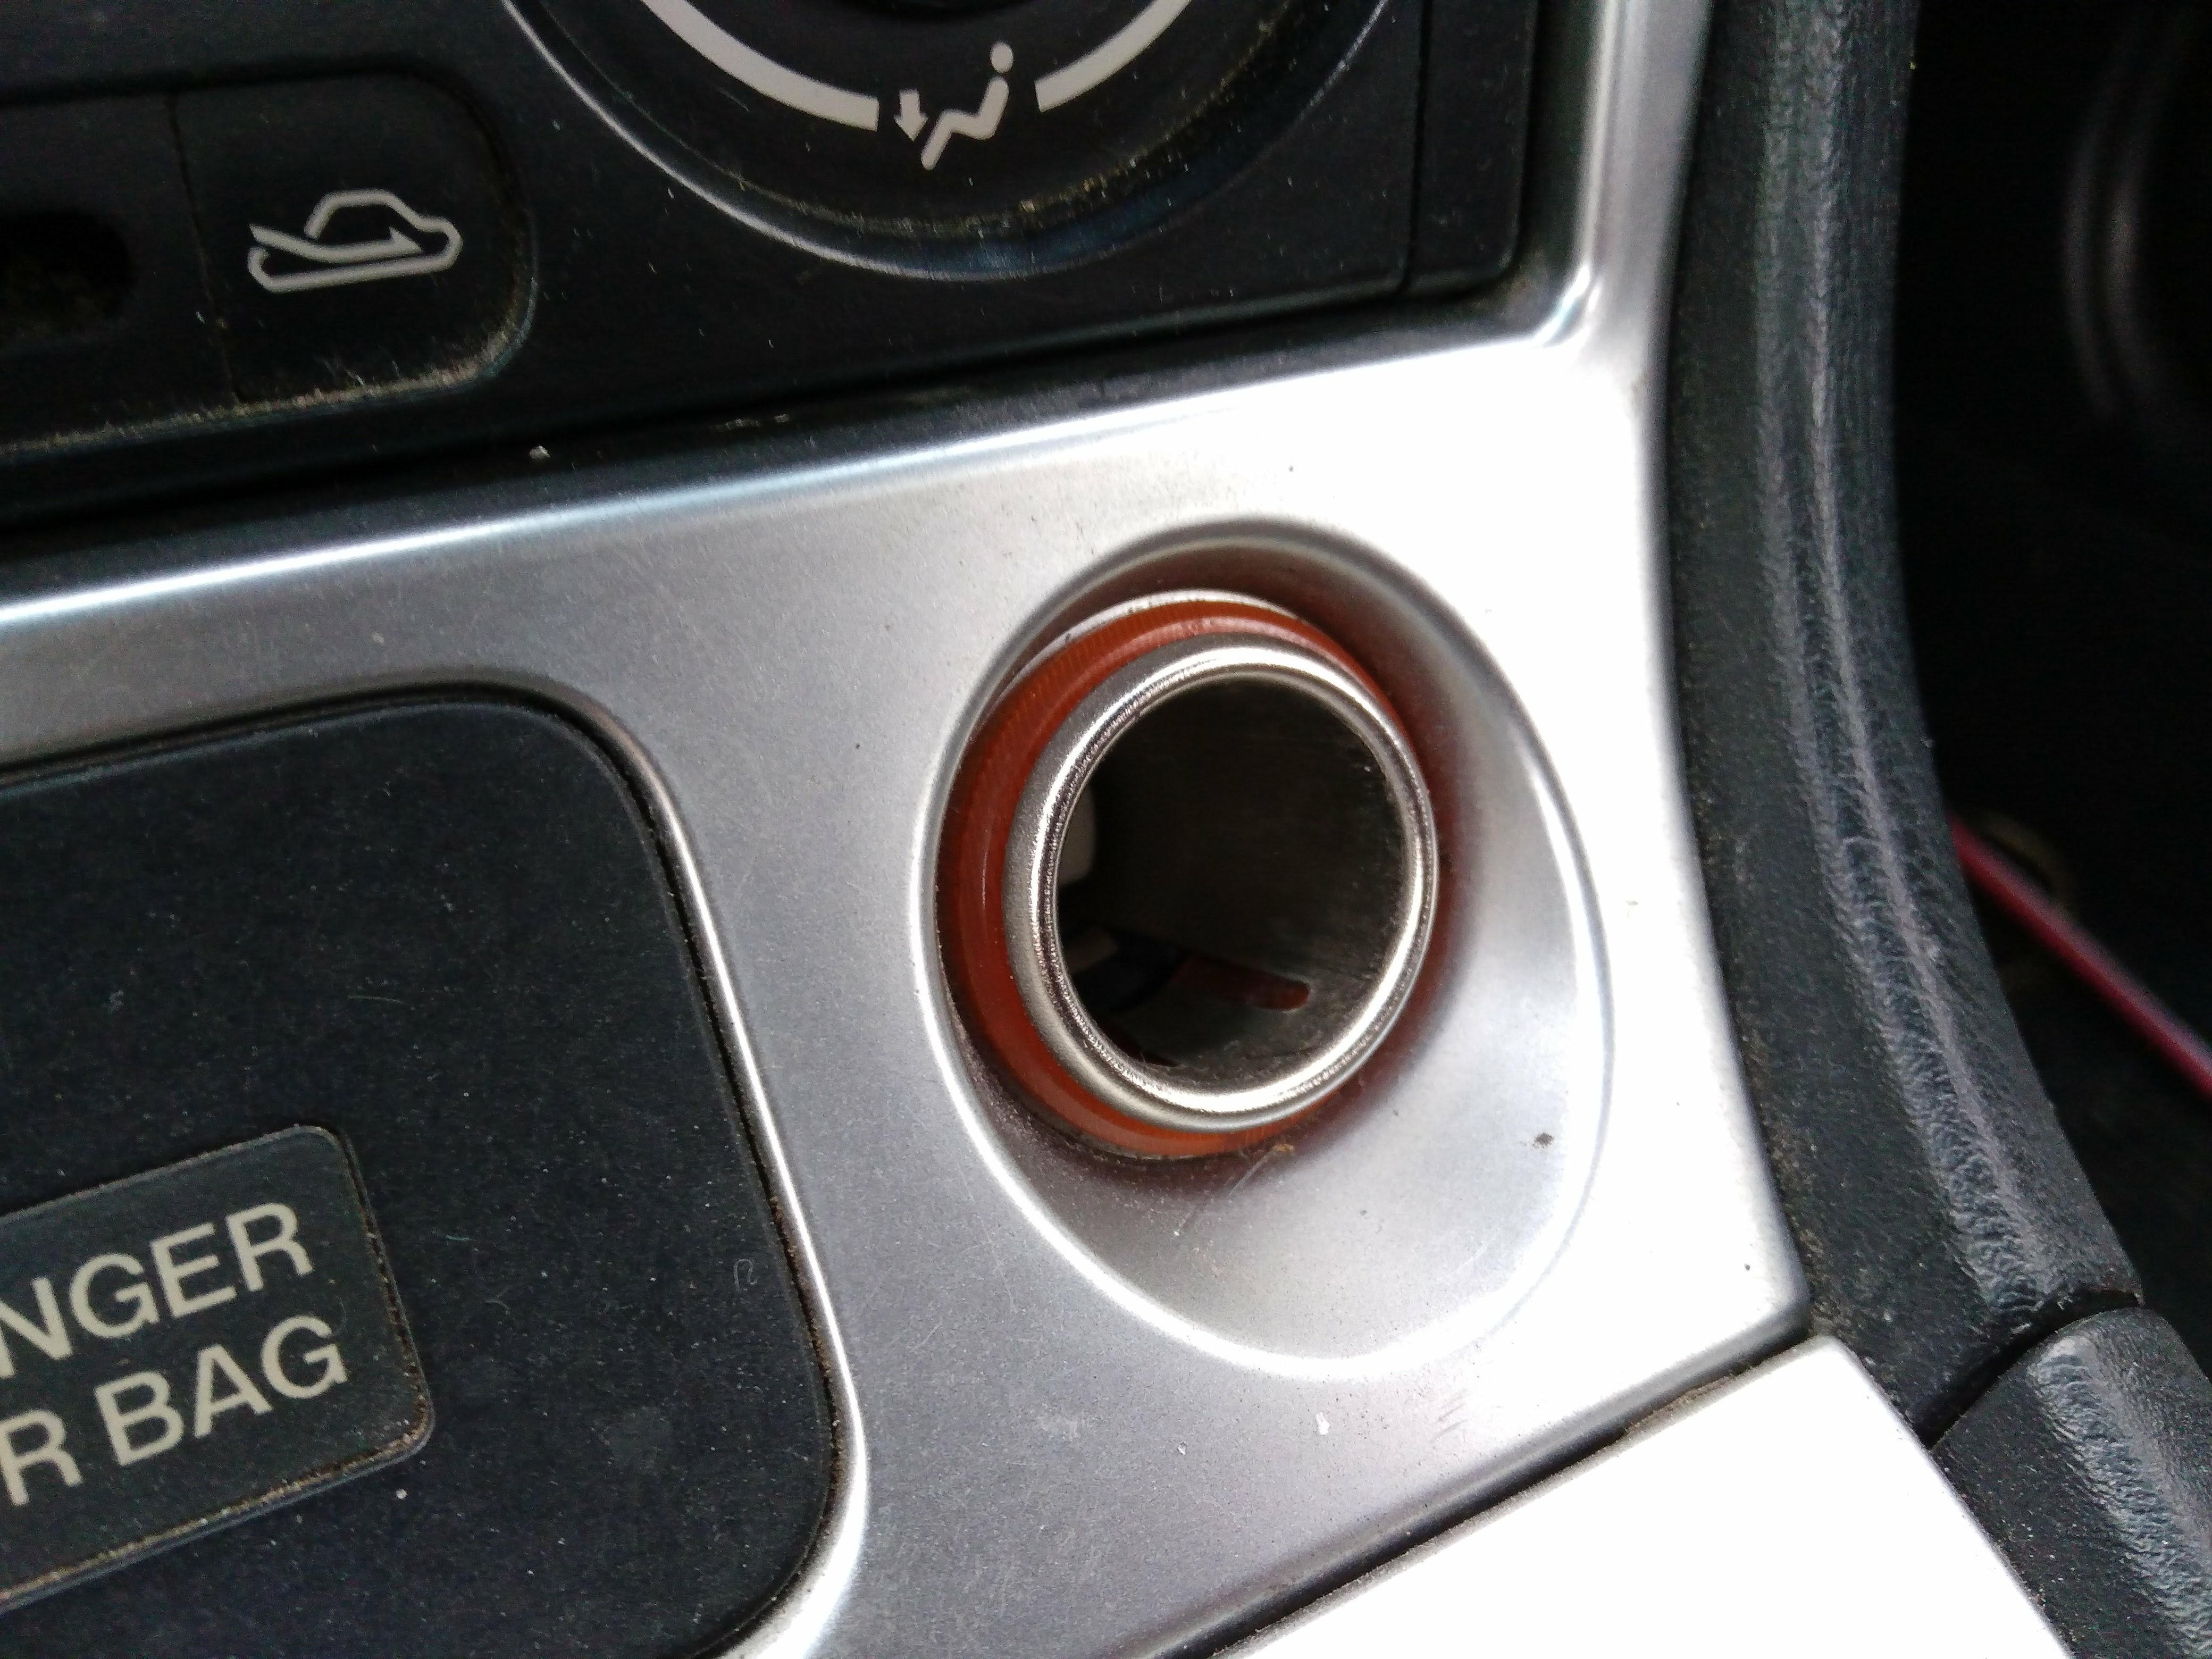
If there’s one flaw that the Mazda Miata has it is that there is but one lonely 12v accessory socket on the whole car, and that the design of it is really stupid and at the same time clever. As well as having a traditional fuse on the fusebox the back of the socket has a fusible link that is designed to burn out if a cigarette lighter gets stuck in the “on” position in the socket and starts to overheat. The link melts, the current stops flowing, and the lighter stops heating up. Cool. But over the course of time this fusible link will get brittle and just randomly shit the bed at the Worst Possible Moment, leaving you bitter and annoyed and with no way to charge your phone.
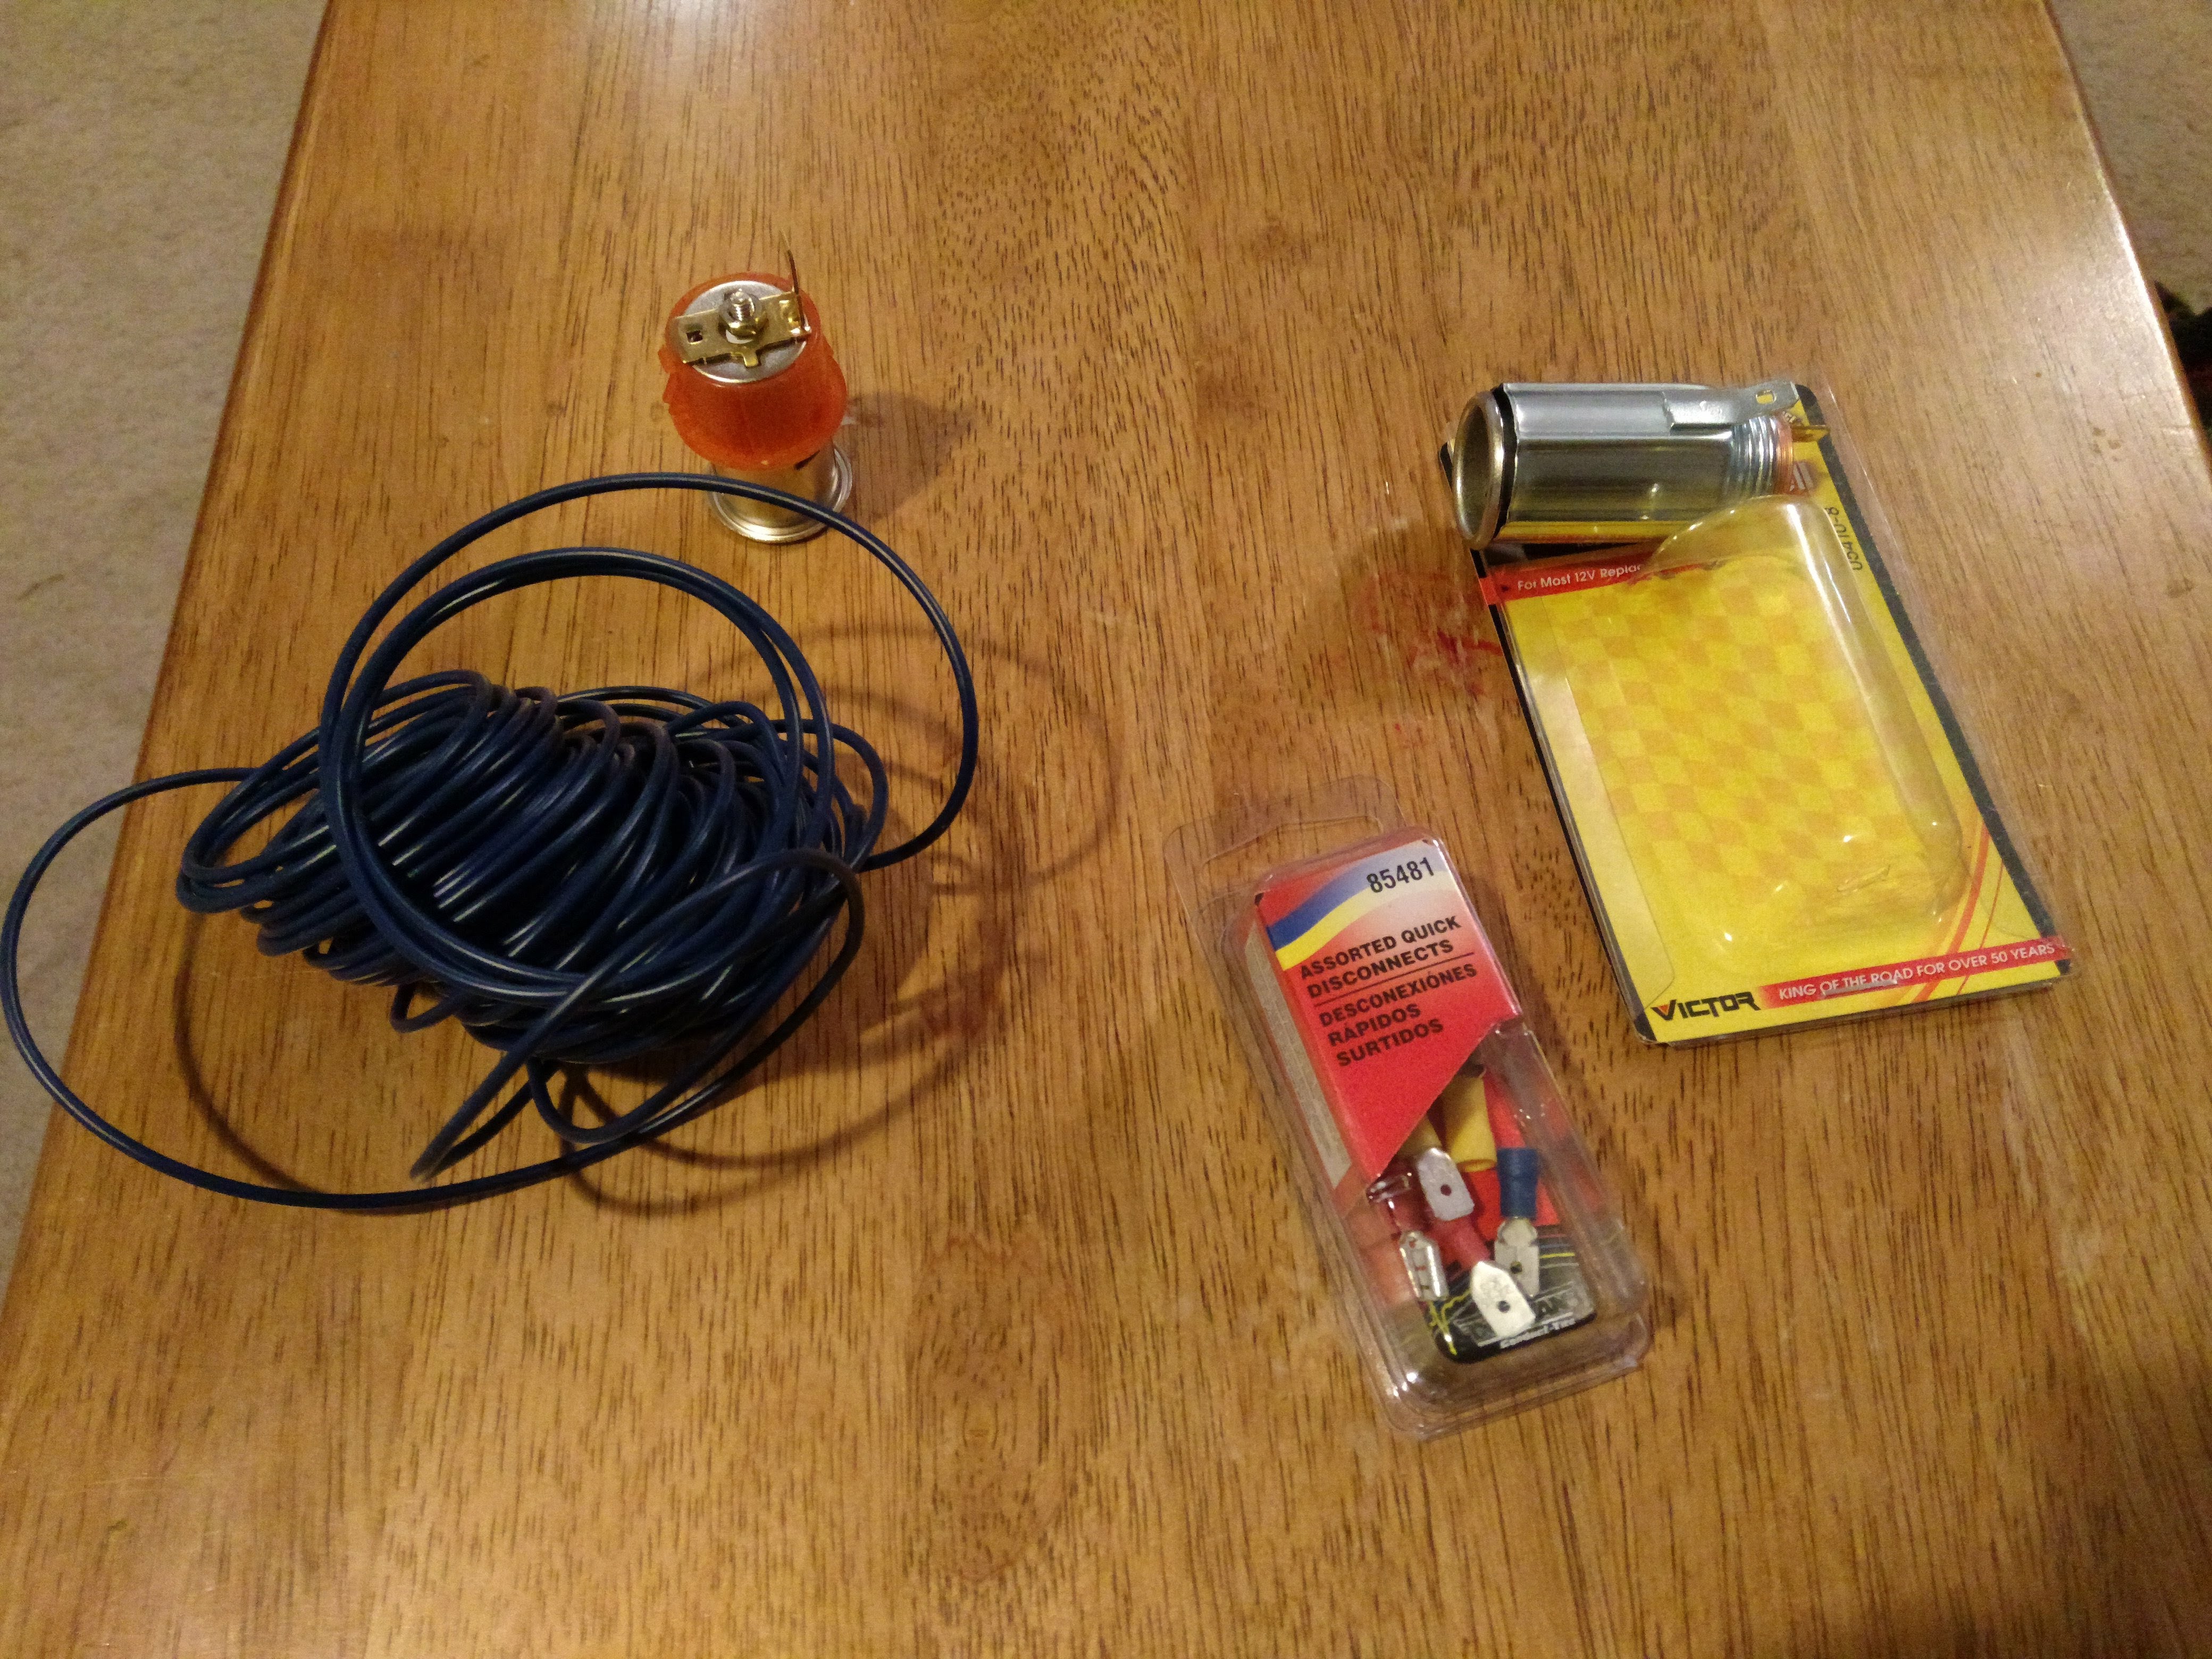
Fear not! With a box of assorted quick disconnects, some wire, and a 12v well from your local Autozone (instant gratification!) you can be up and running in 15 minutes.
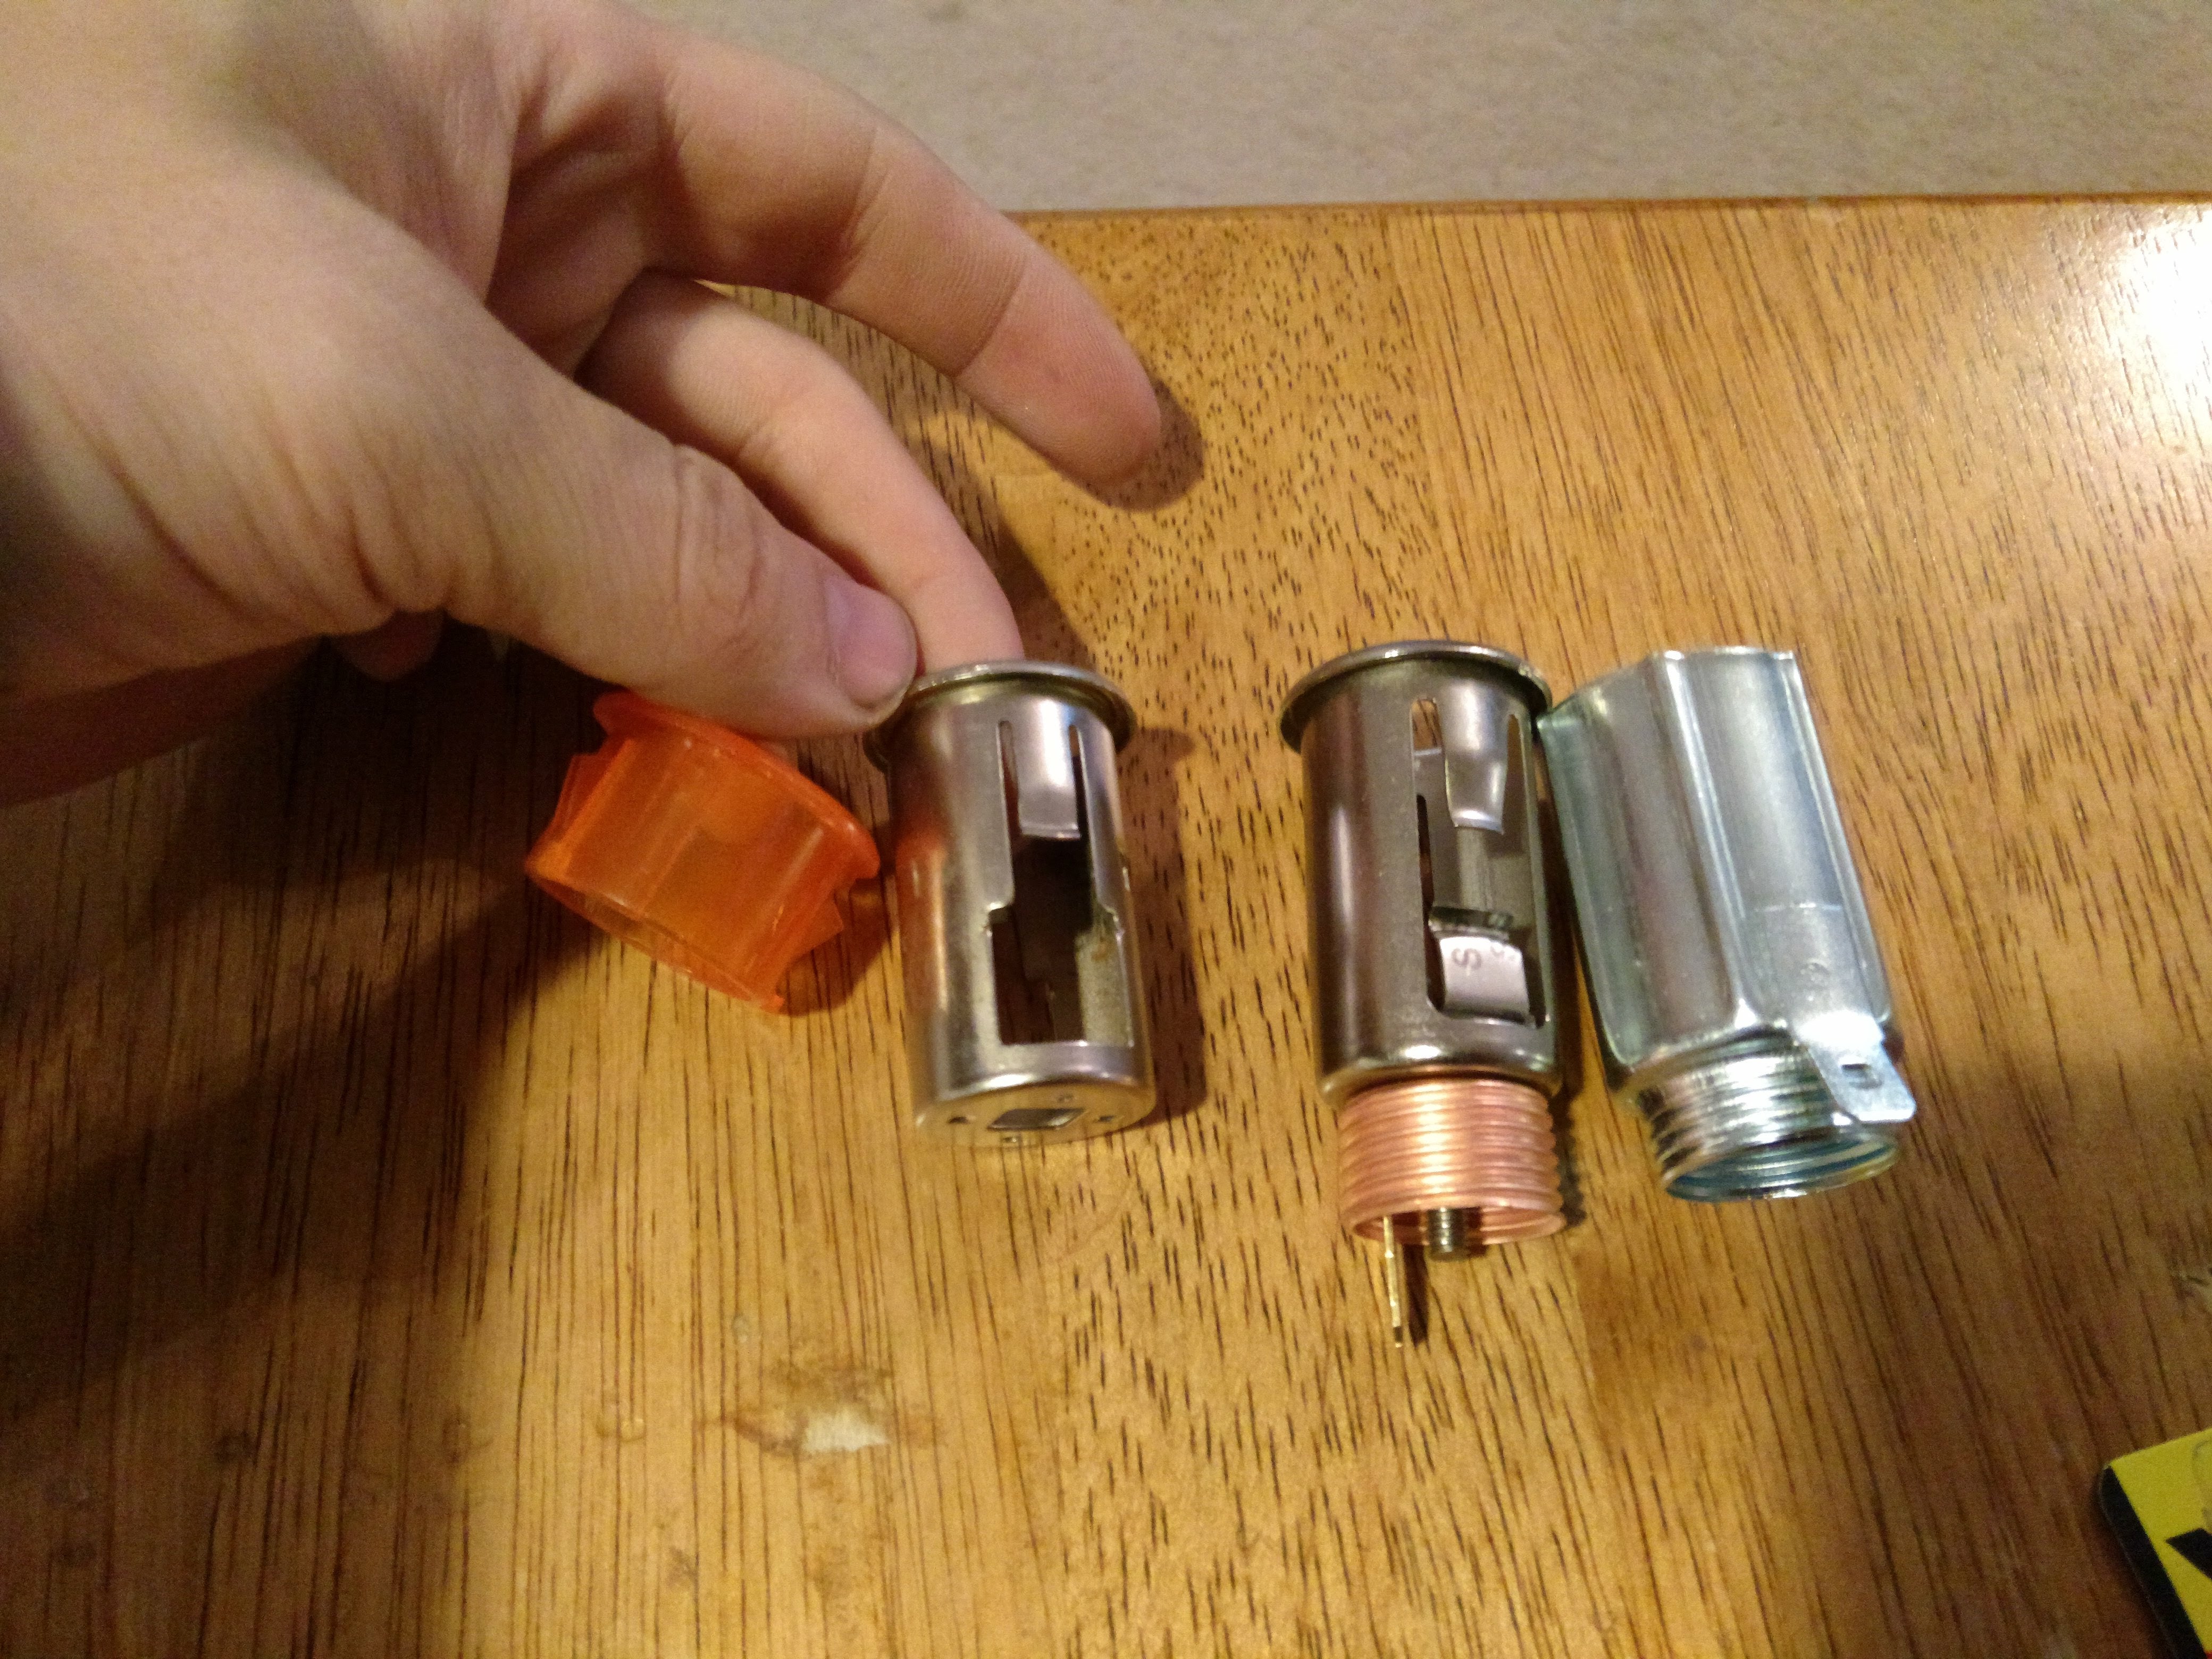
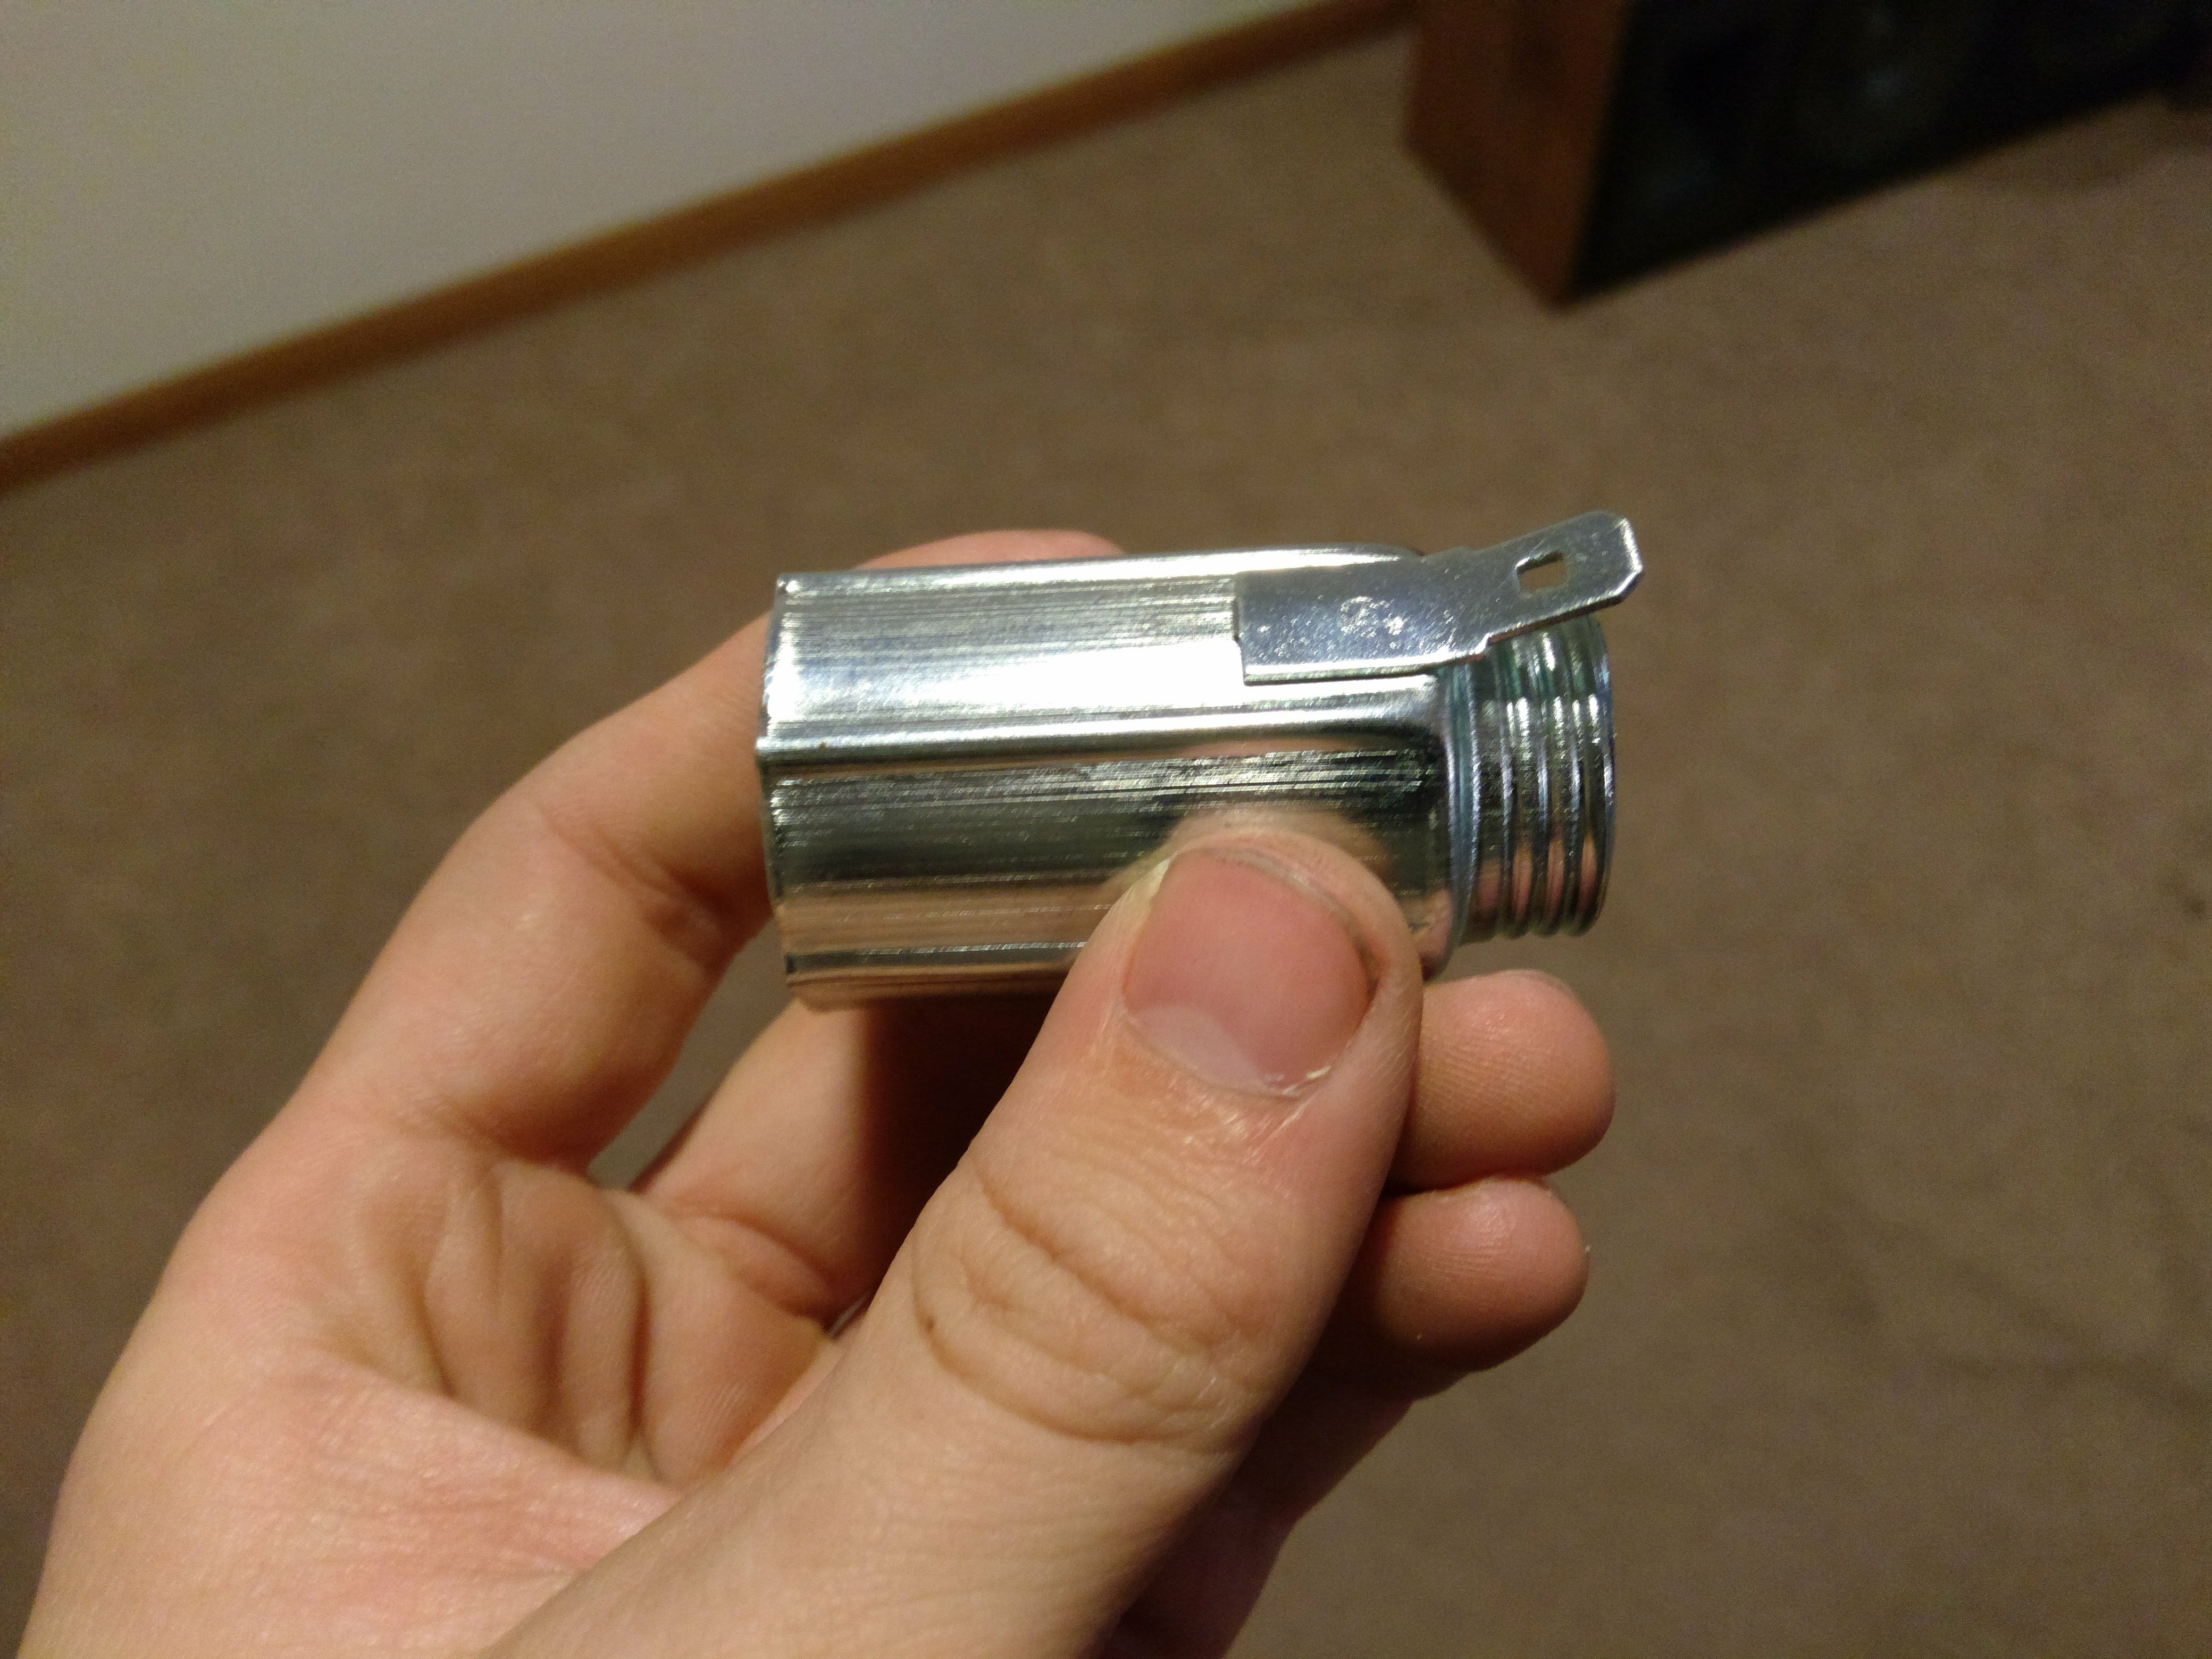
Removing the lighter socket varies from car to car, as the NB miata and Protege both use these kinds of lighter wells. You could simply solder a wire where the fusible link was in the old socket, but I managed to lose some important pieces off of mine in the process so i got a new one. On the left you can see the pink retaining ring and socket well from the Mazda. On the right is the Autozone well and its retaining sleeve.
If you use the retaining sleeve from the Autozone well you can see the front doesn’t sit at all right with the recess in the Mazda trim panel. We will have to steal some parts from the old socket to make this work.
Fortunately the barrels are similar enough thatwe can simply slide the plastic retainer over the new socket, but now the retaining sleeve which contains the ground pin won’t fit. Hmm.
Too long

Just right. Remember, it’s not the size that counts, it’s how you use it. I used tin snips, which I don’t recommend. My Dremel, annoyingly, was MIA.
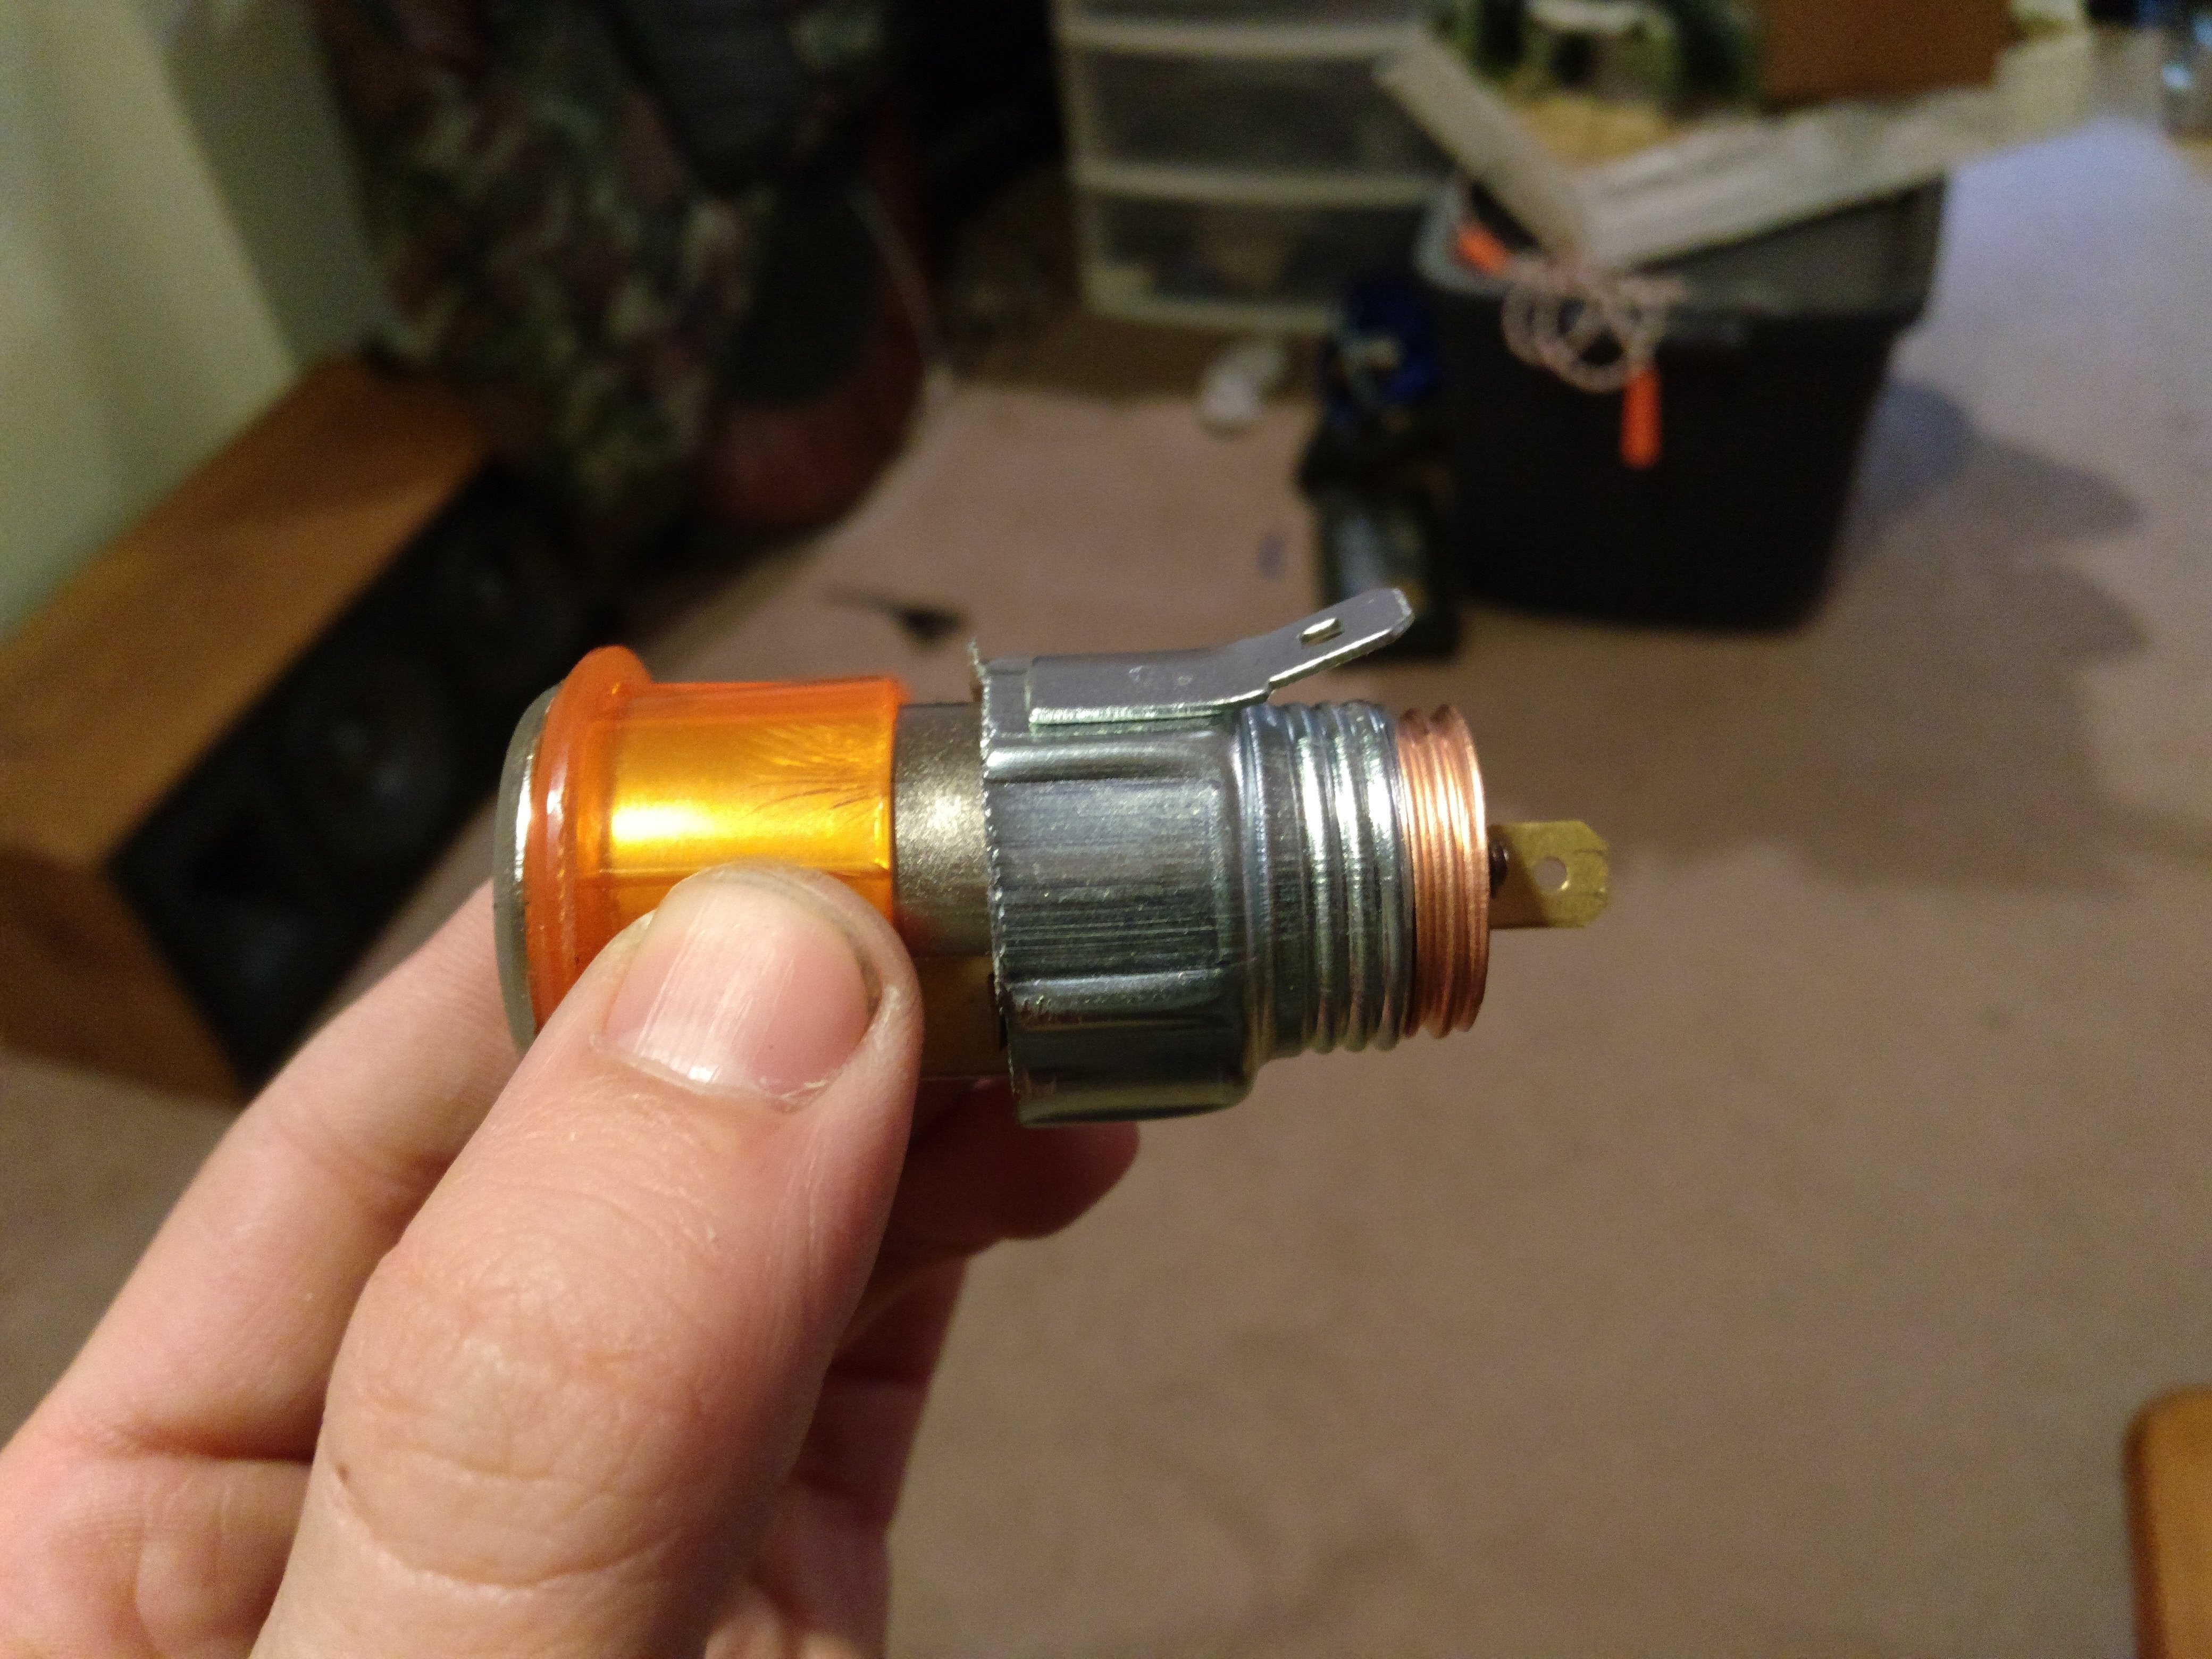
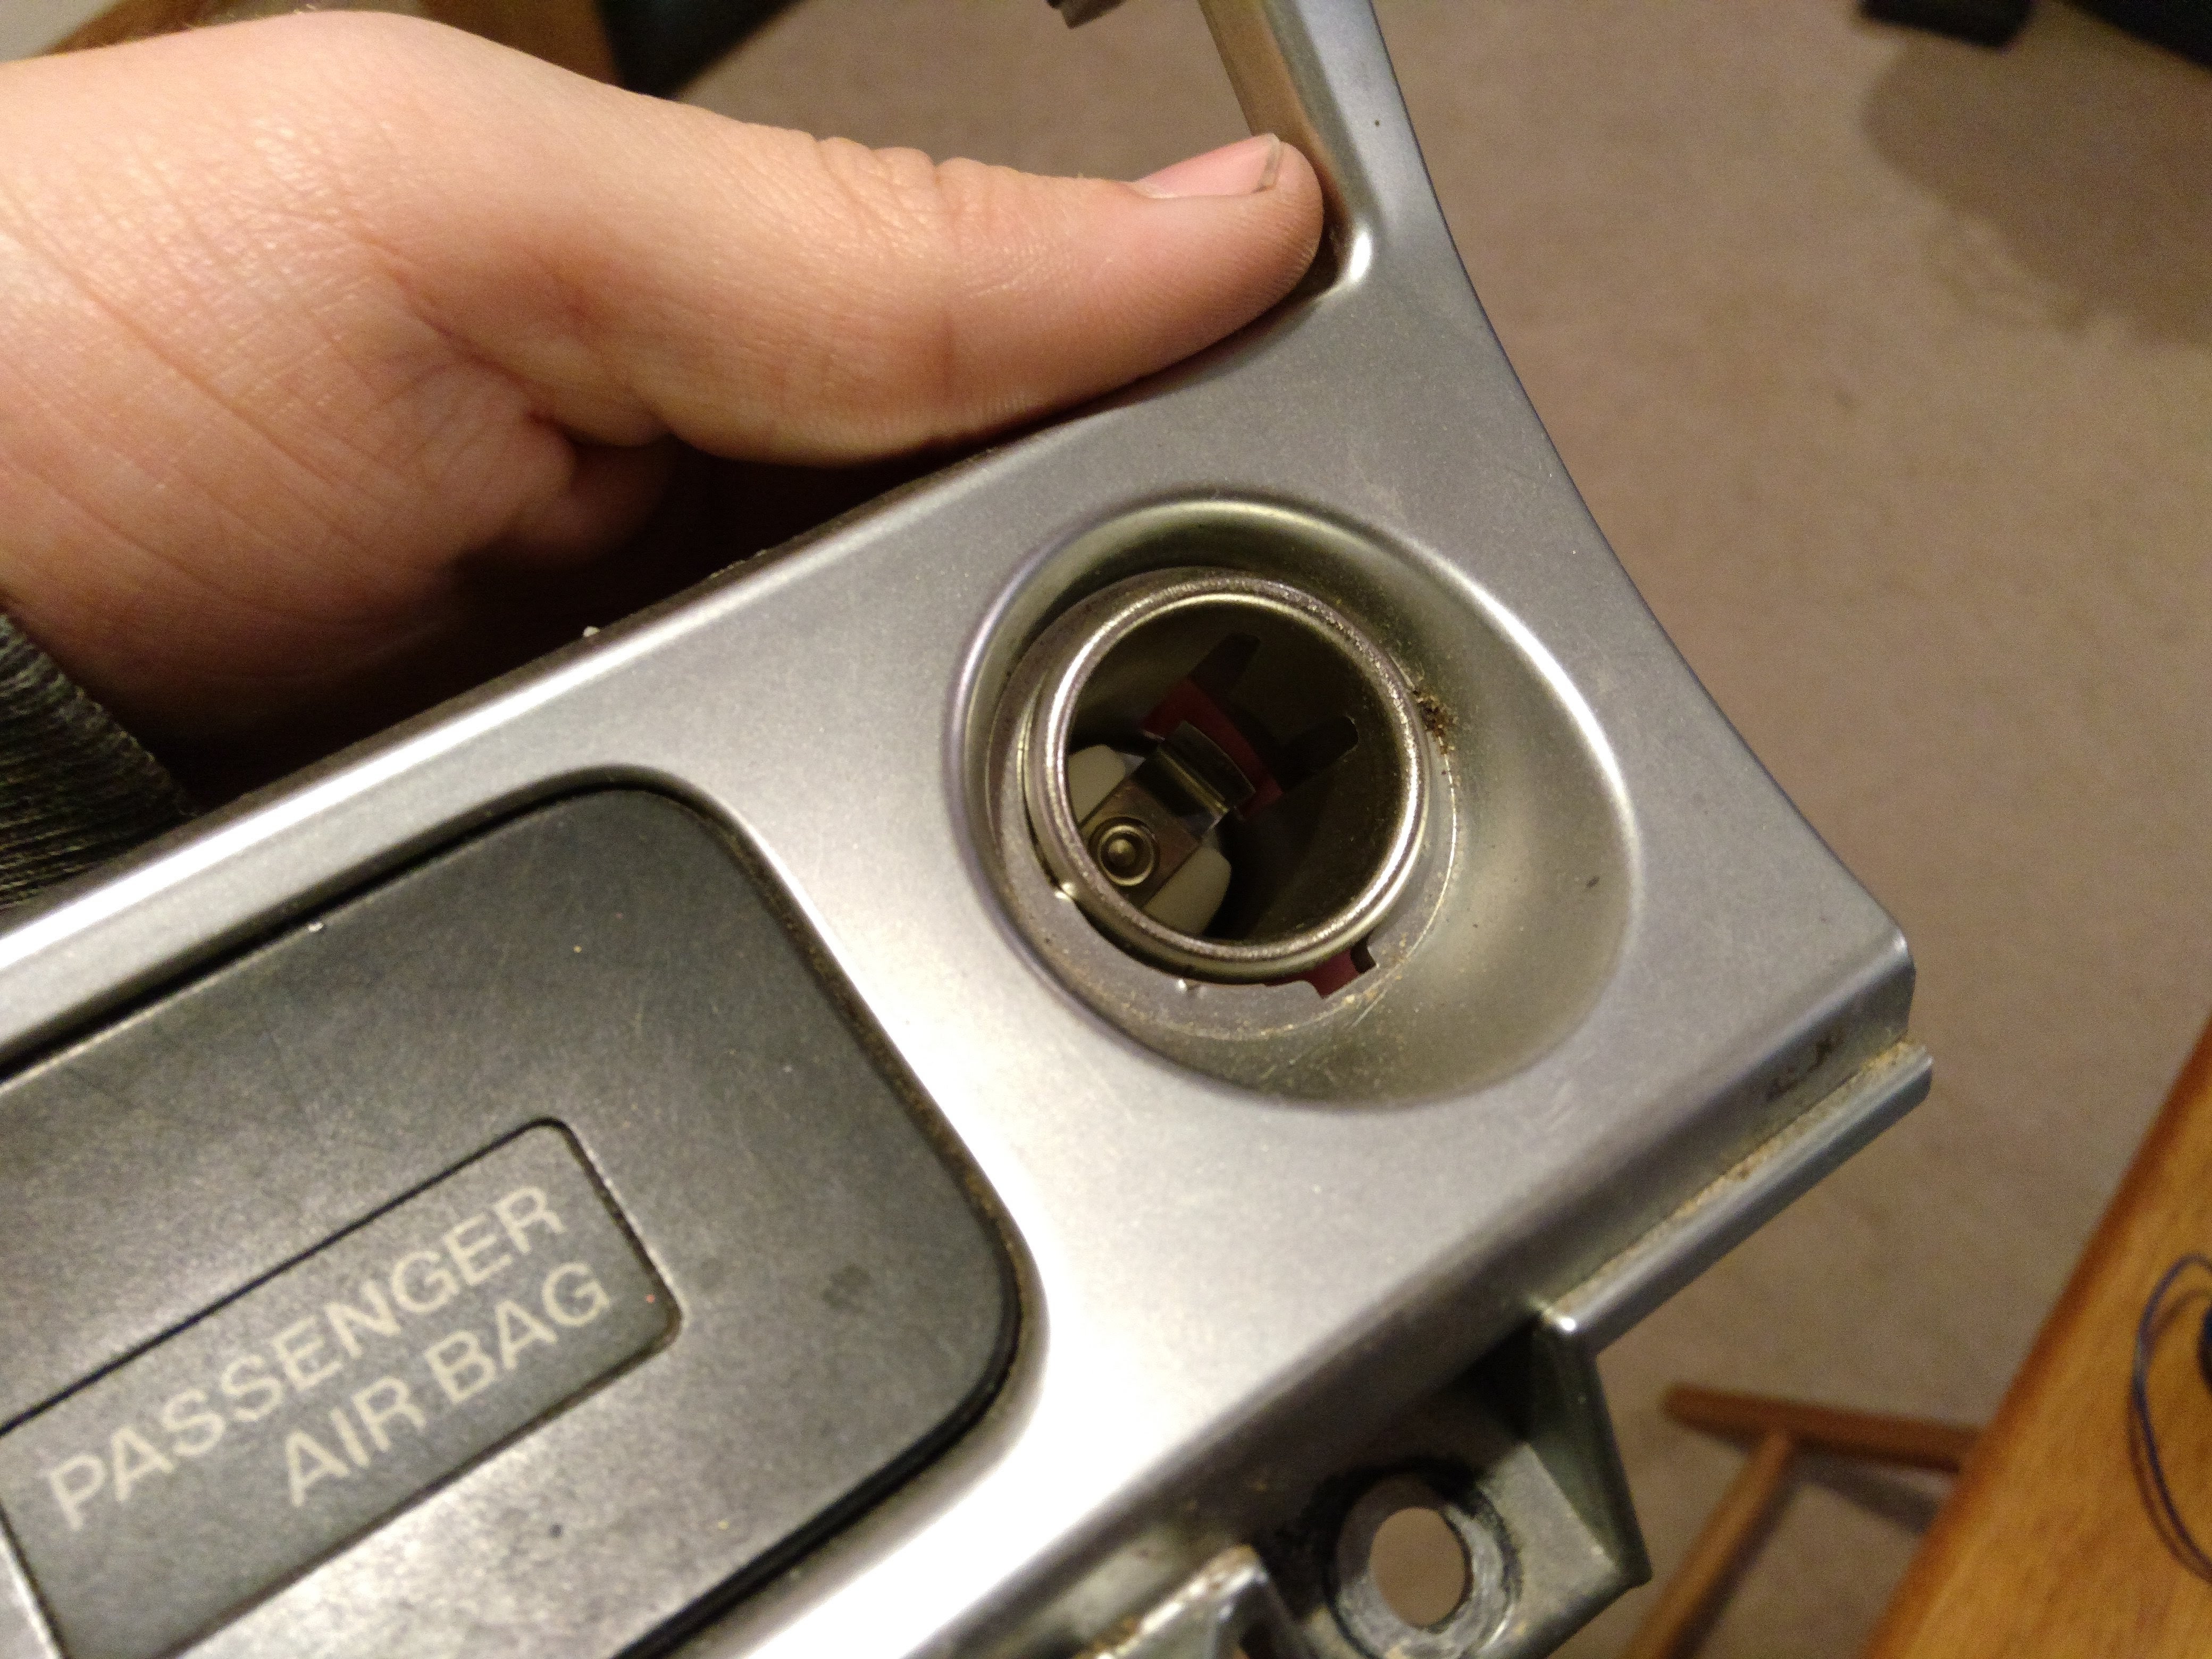
Ba-da-bing ba-da-boom. Here it is all assembled. I had to take the ground sleeve back off in order to fit the assembly back into the Mazda trim panel. I recomment putting the retaining ring in first (from the front) and then sliding the barrel through it (from the front) and then screwing the ground sleeve on from the back.
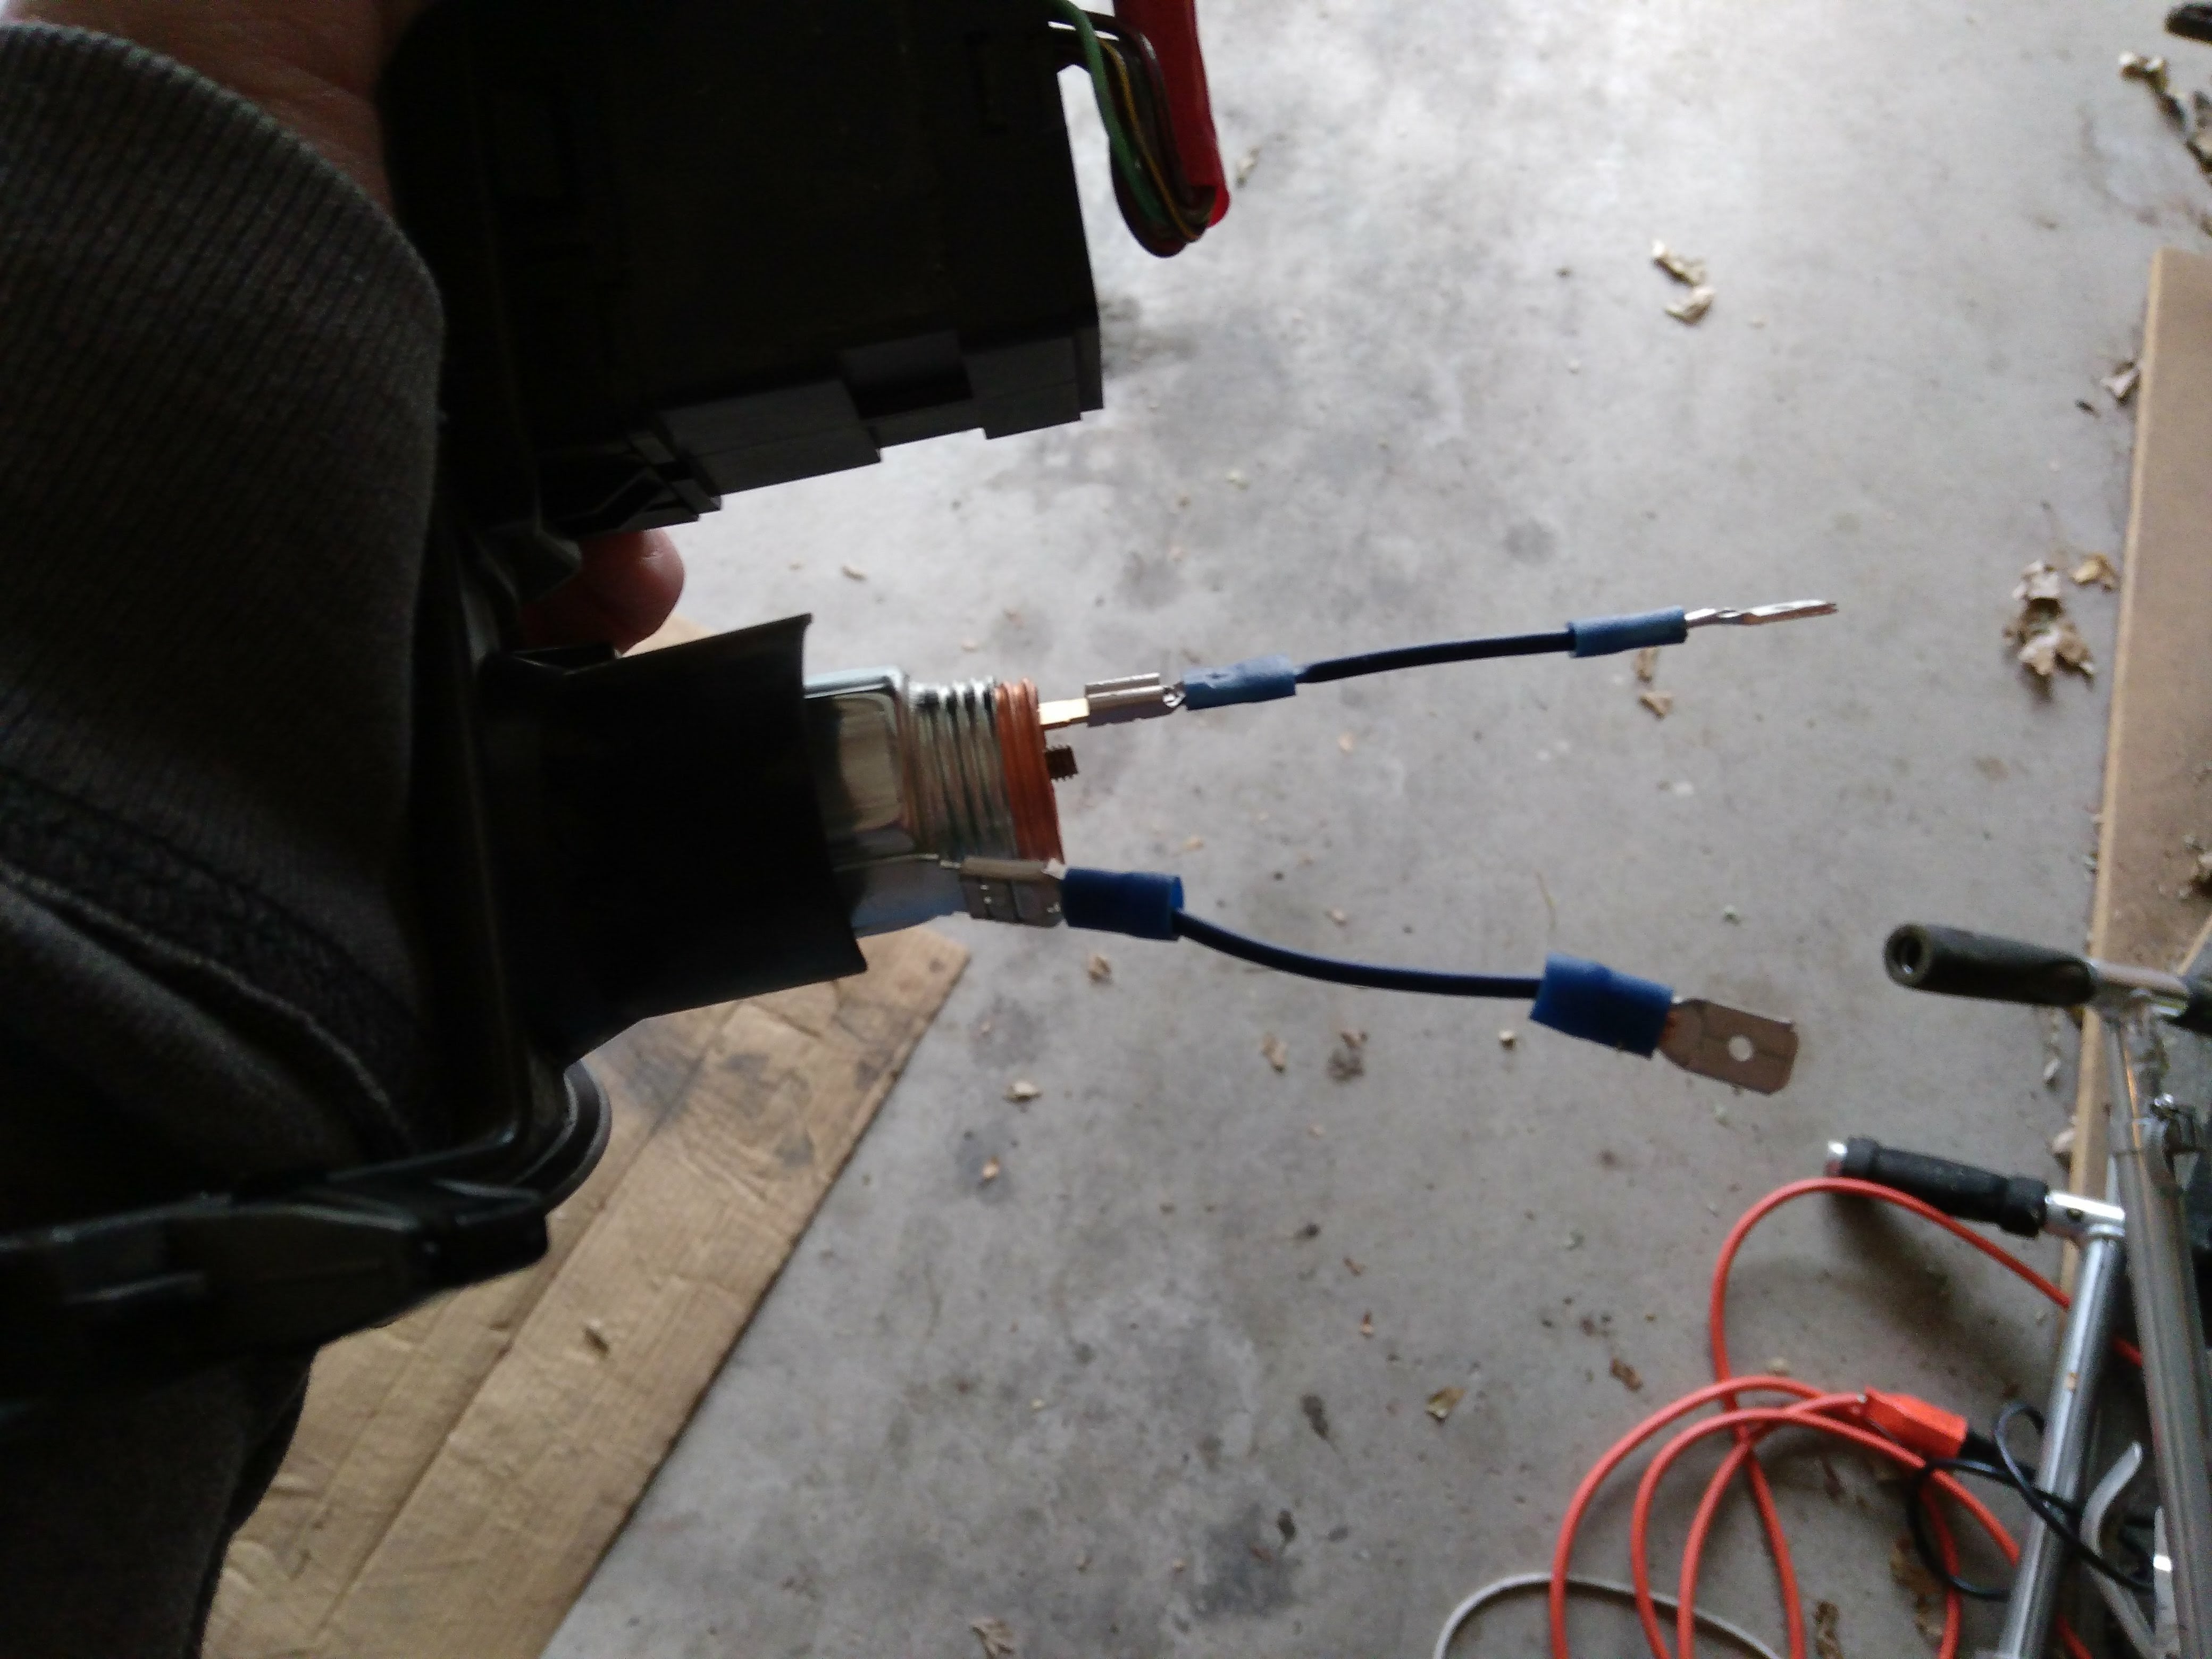
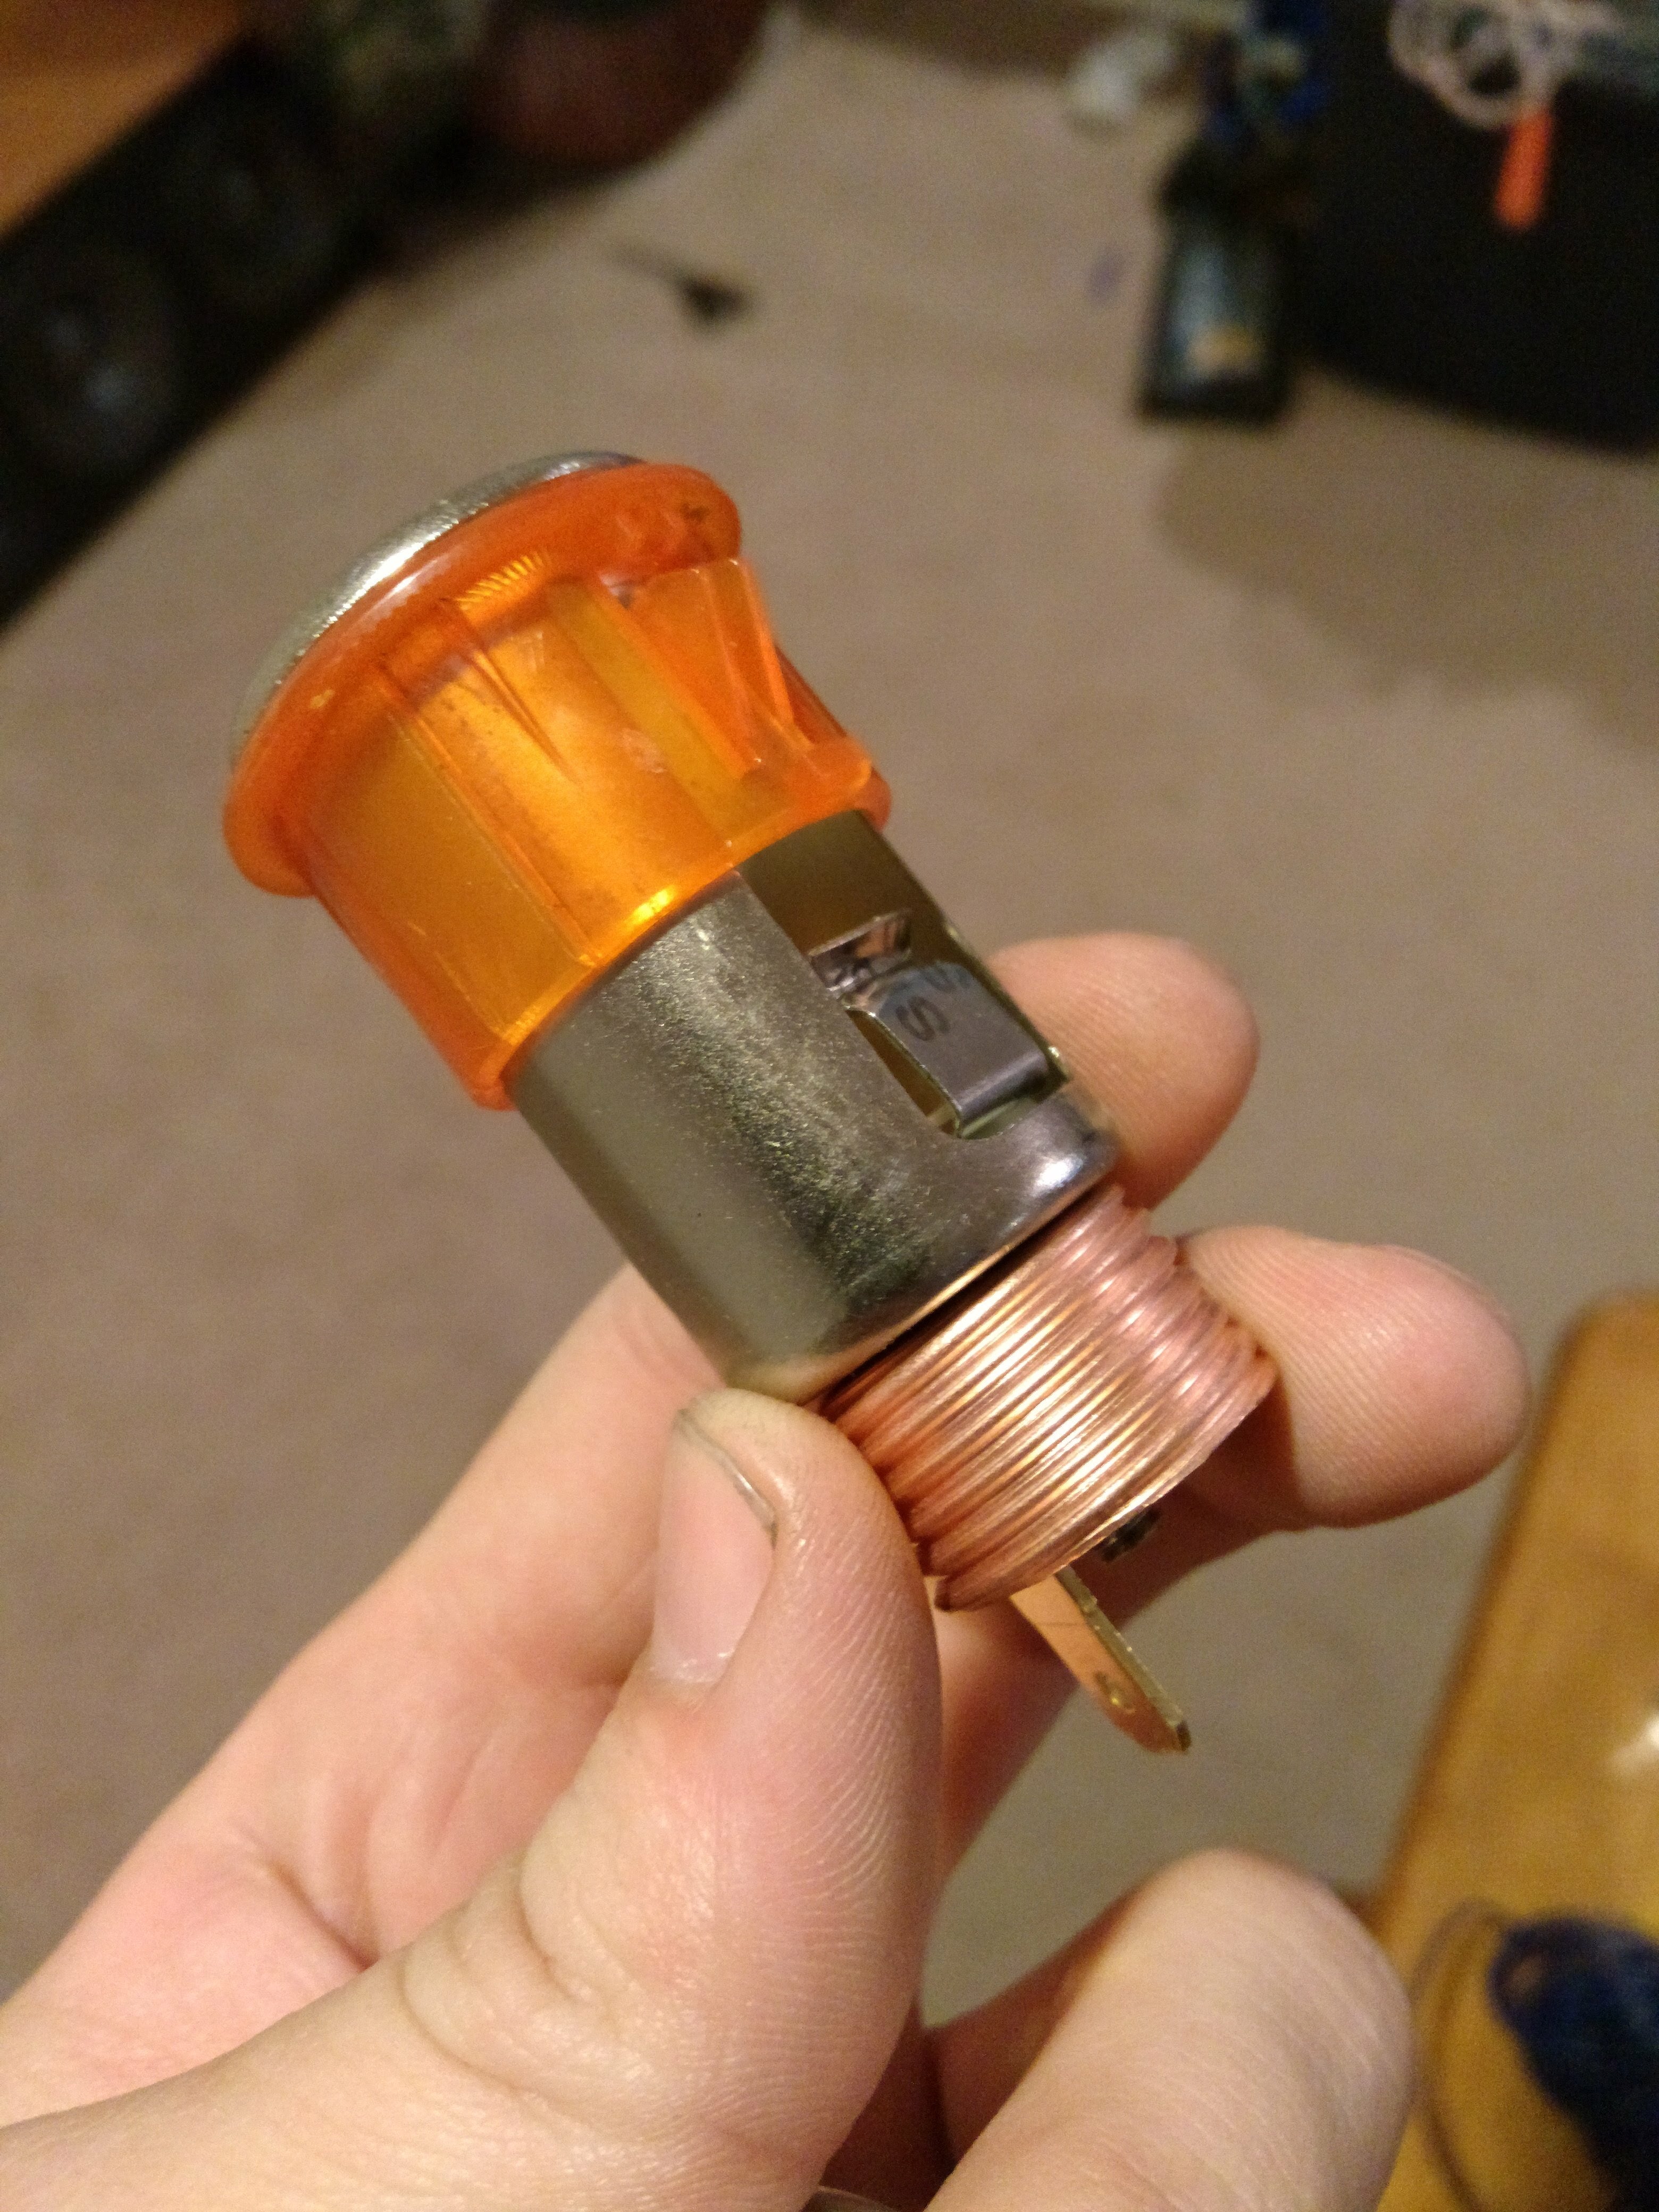
Next cut a couple short lengths of wire and crimp the connectors on as shown. I had to file one of the spades down a bit because the positive connector on the Mazda wiring harness is a slightly smaller size than the negative one.
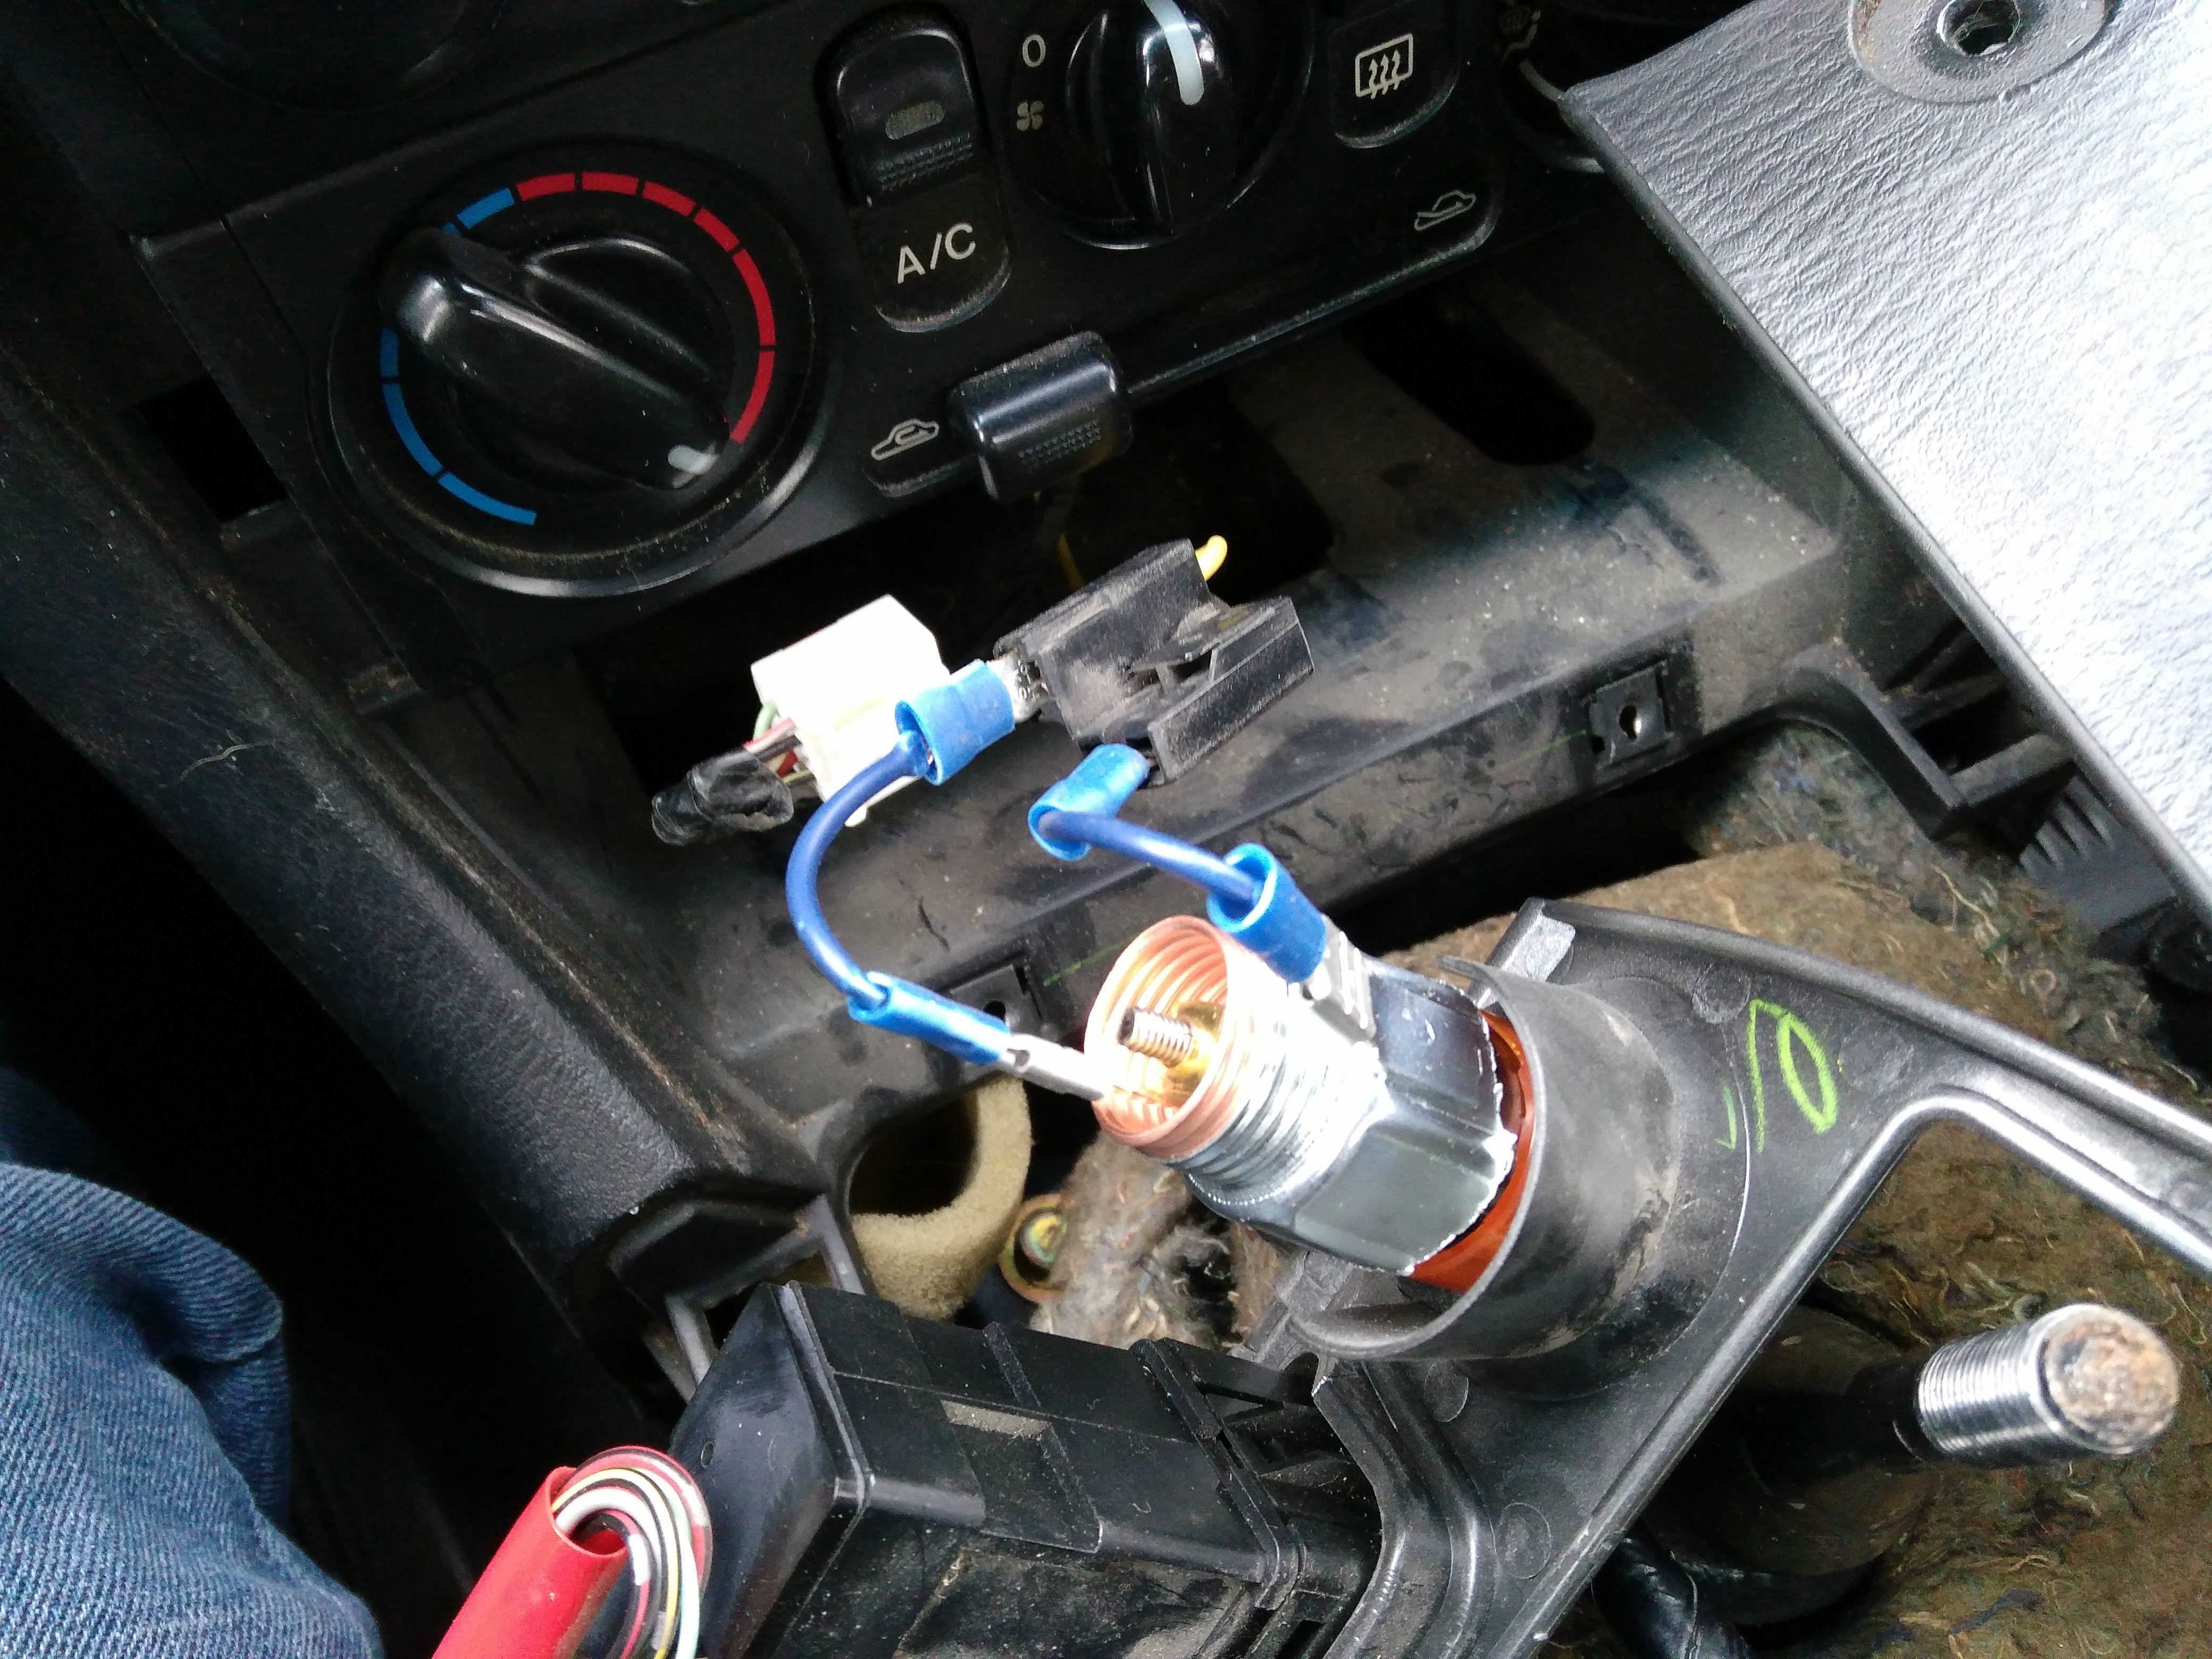
Plug that ish in like a Glade appliance and give it a test. Fortunately for me it worked first try.
Looks factory.
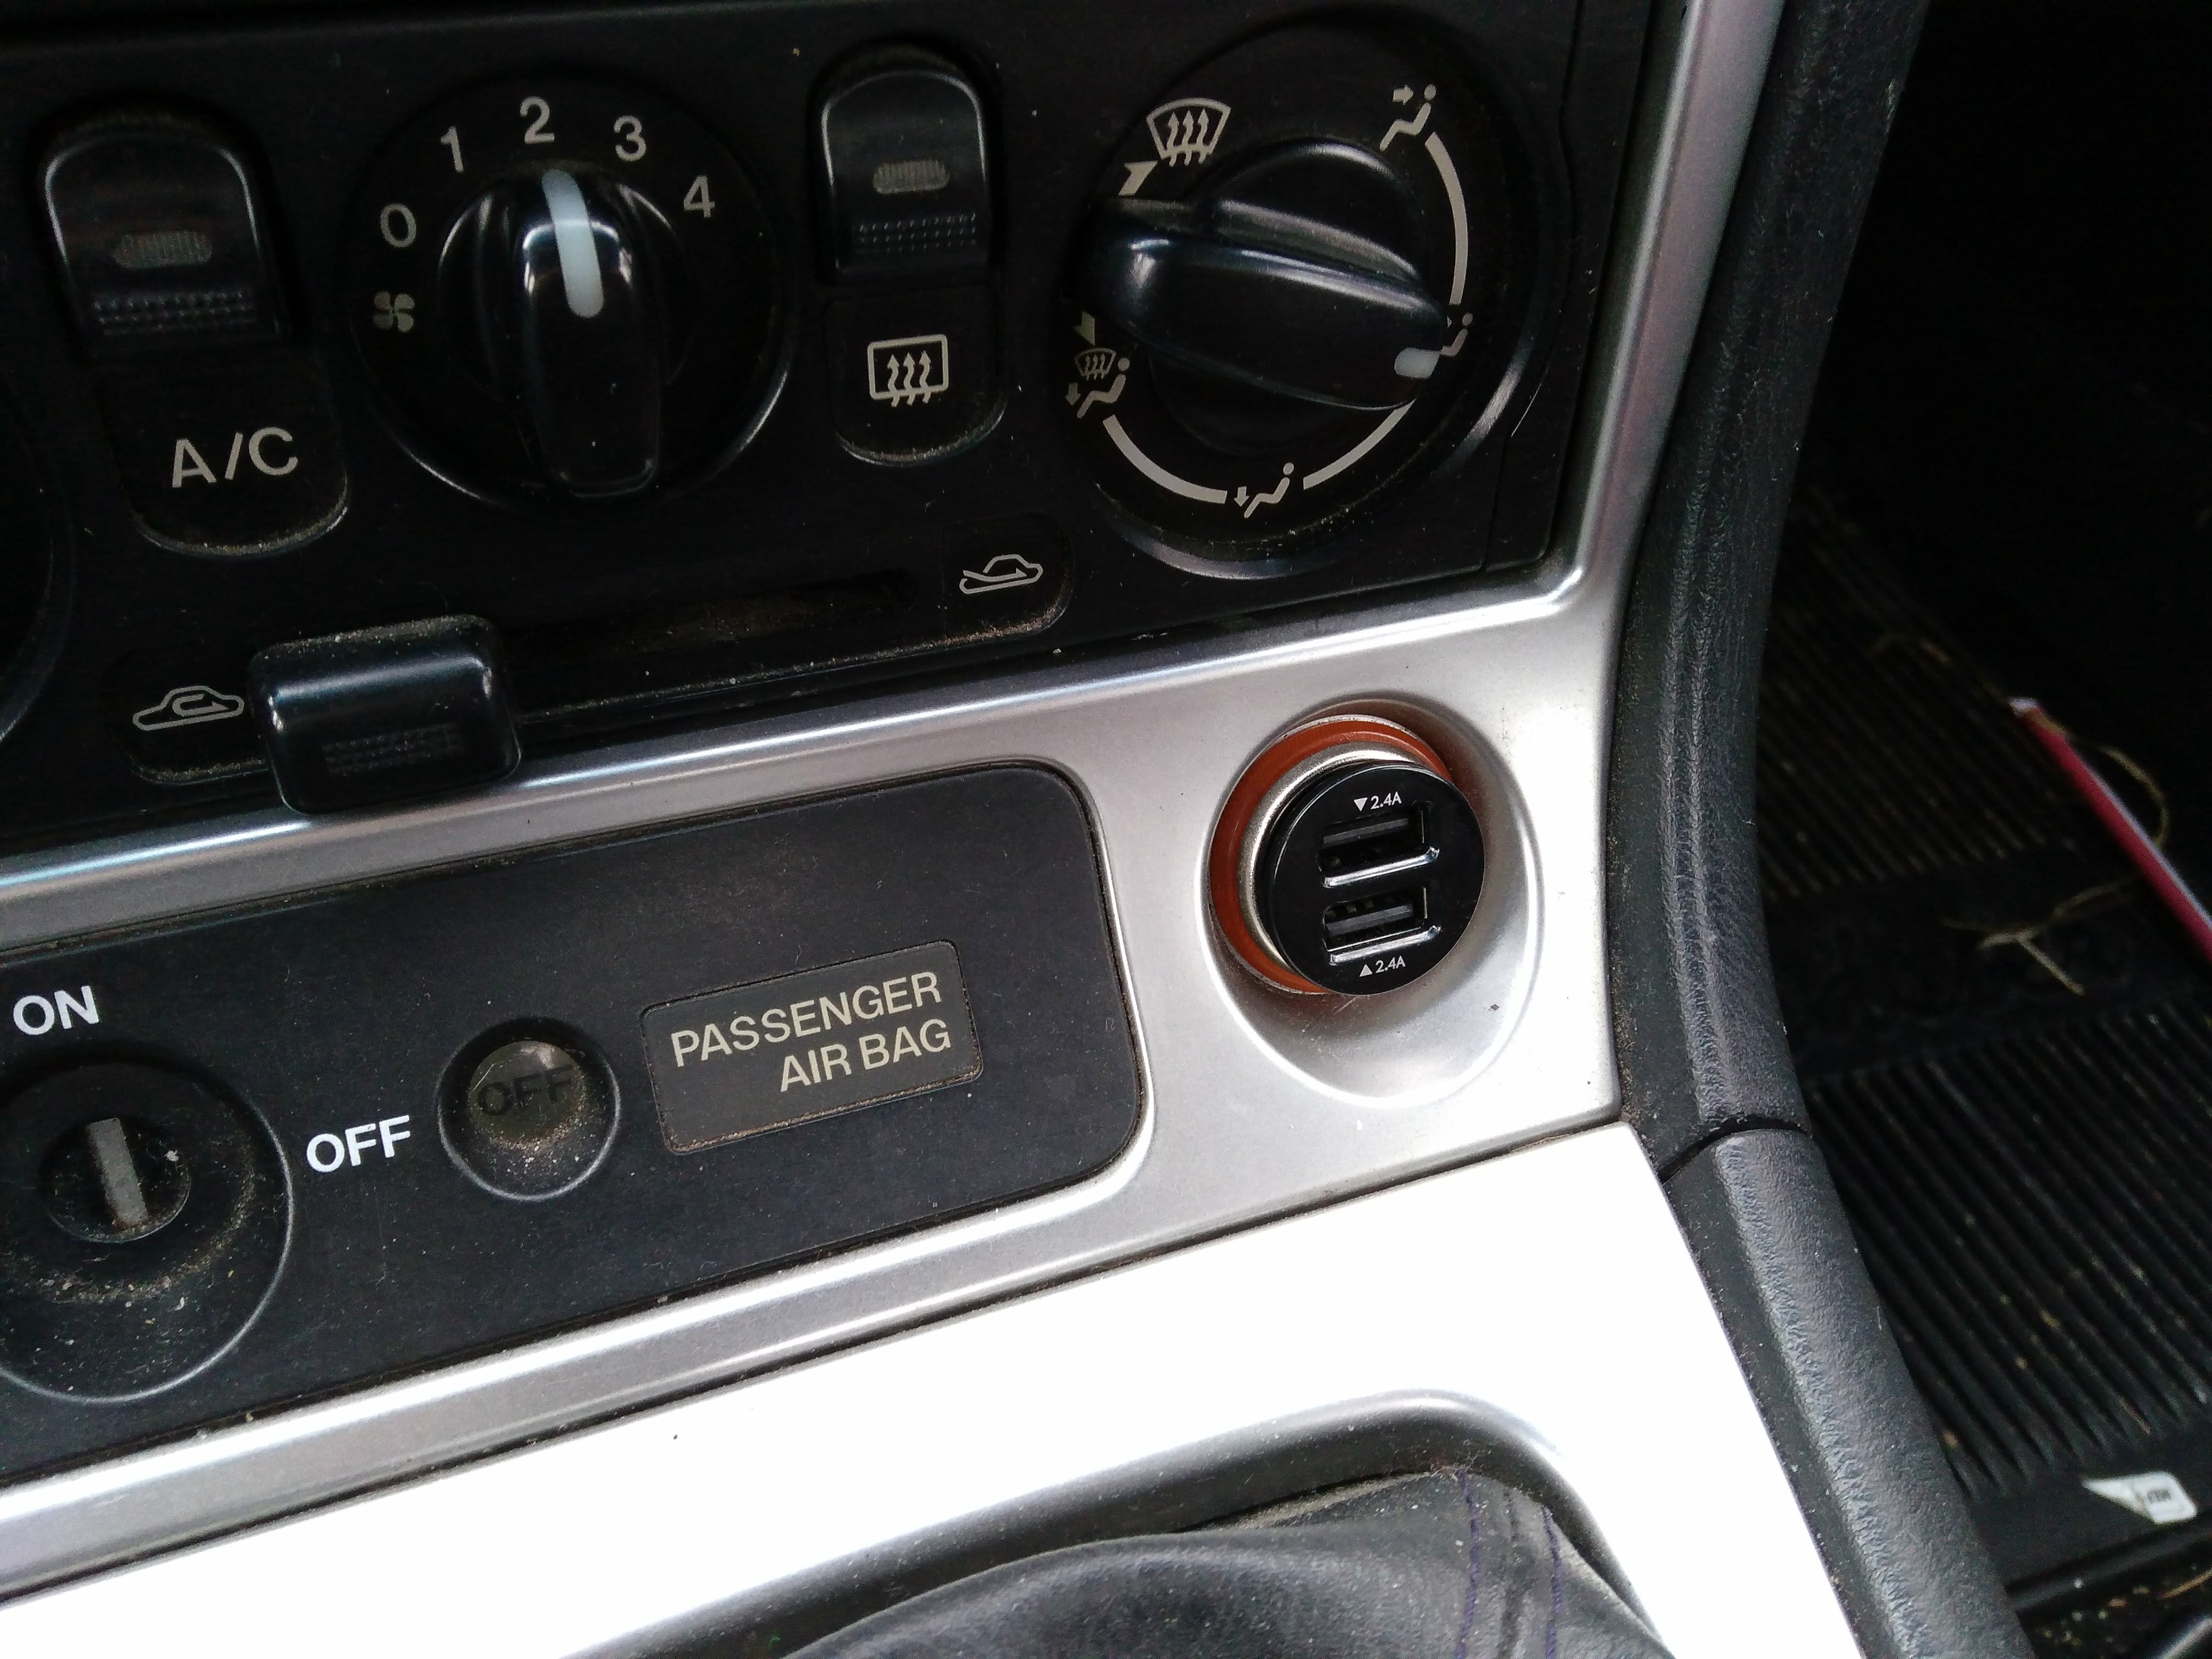
Toss in a slim high-speed USB charger for my high-speed USB charging needs and revel in your handiwork (and how dirty your car is )
 "Scary__goongala!" (corymagee)
01/13/2017 at 12:01, STARS: 1
I sorta want to install a start button where my 12V socket is. A S2000 unit works really well. I can charge my phone through the USB on the aftermarket radio. The only thing I occasionally use the 12V for is to plug a pump into to inflate my tires.
 "S65" (granthp)
01/13/2017 at 12:13, STARS: 0

!!! UNKNOWN CONTENT TYPE !!!
"Jake - Has Bad Luck So You Don't Have To" (murdersofa)
01/13/2017 at 12:15, STARS: 0
!!! UNKNOWN CONTENT TYPE !!!
"S65" (granthp)
01/13/2017 at 12:18, STARS: 1

It’s 51 here
"Jake - Has Bad Luck So You Don't Have To" (murdersofa)
01/13/2017 at 12:39, STARS: 0
neat