 by "Forge Crown Victor!" (metallicaman0258)
Published 01/04/2017 at 22:20
by "Forge Crown Victor!" (metallicaman0258)
Published 01/04/2017 at 22:20
No Tags
STARS: 3
Some of you know that my day job is actually in the automotive mechanicking business. What you may not know, is that I work at the only JLR (Jaguar-Land Rover) dealer in the great state of West (by God) Virginia. This comes with its benefits and disadvantages. The benefits being that we get a lot of business, the downside being that since I told you what state I’m in you can figure out where I work and, in turn, who I am fairly easily. Word travels quickly in a small town.
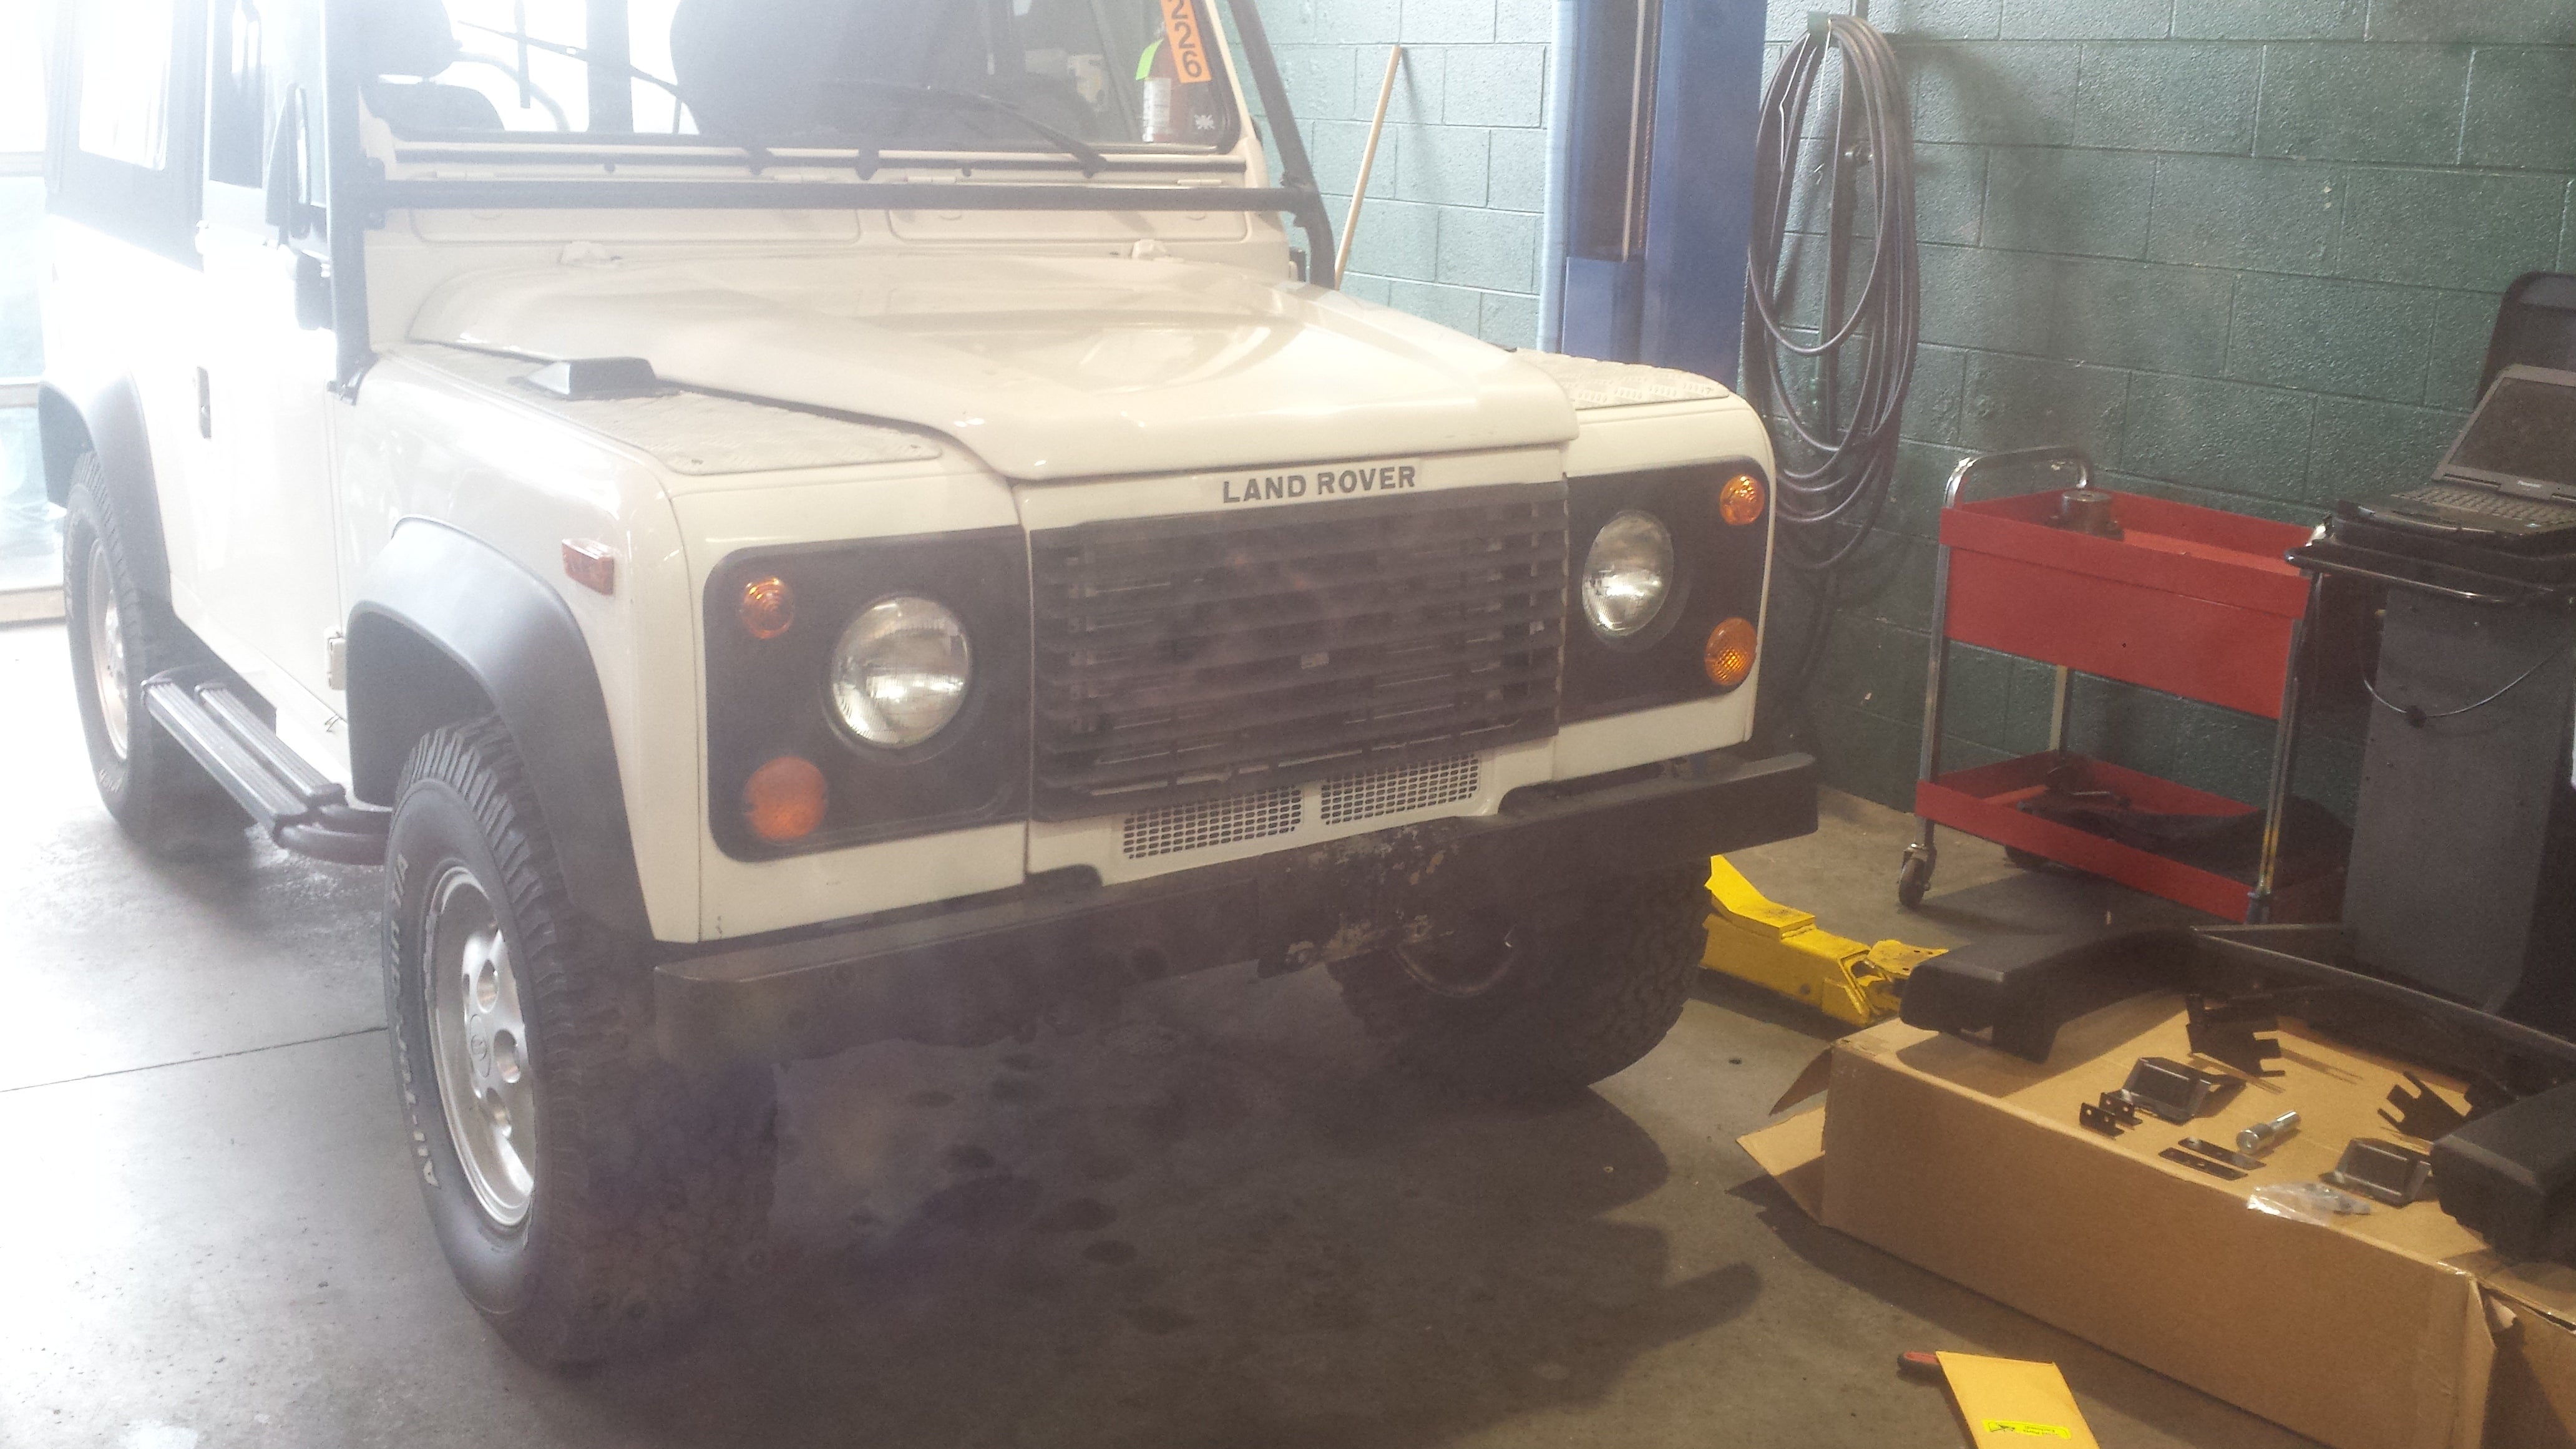
Another benefit of this is that people know what to expect when they bring their vehicles in to service. We literally have the best staff in the state! There is one customer in particular, we will call him Dave because I can’t remember his real name, that travels all the way from North Carolina (at least a 3 hour drive) JUST for us to be his EXCLUSIVE service center. This man is a really swell guy too but I really like his car, a 1997 North American spec Defender D90.
He first arrived at our dealership at the beginning of the summer with a blown engine not 50 miles after it left the body shop. We fixed it correctly and sent him down the road (post coming). He liked us so much he asked us to renew the rubber floors in the rear (short post coming). This was a custom job requiring all the holes to be cut in the proper positions to mount the seats, safety belts and ancillary equipment. I was put to task, performed admirably and since that day I have been his go-to guy for all work done on his vehicle. This is one story in the saga of Defender that I am going to be outlining in the coming weeks.
***THIS MAY ALSO SERVE AS AN INSTALL GUIDE FOR NORTH AMERICAN SPEC DEFENDERS*** That being said, every automobile is different. If using as an install guide, use at your own risk. I do not and will not take responsibility for anything that goes wrong when you do it.
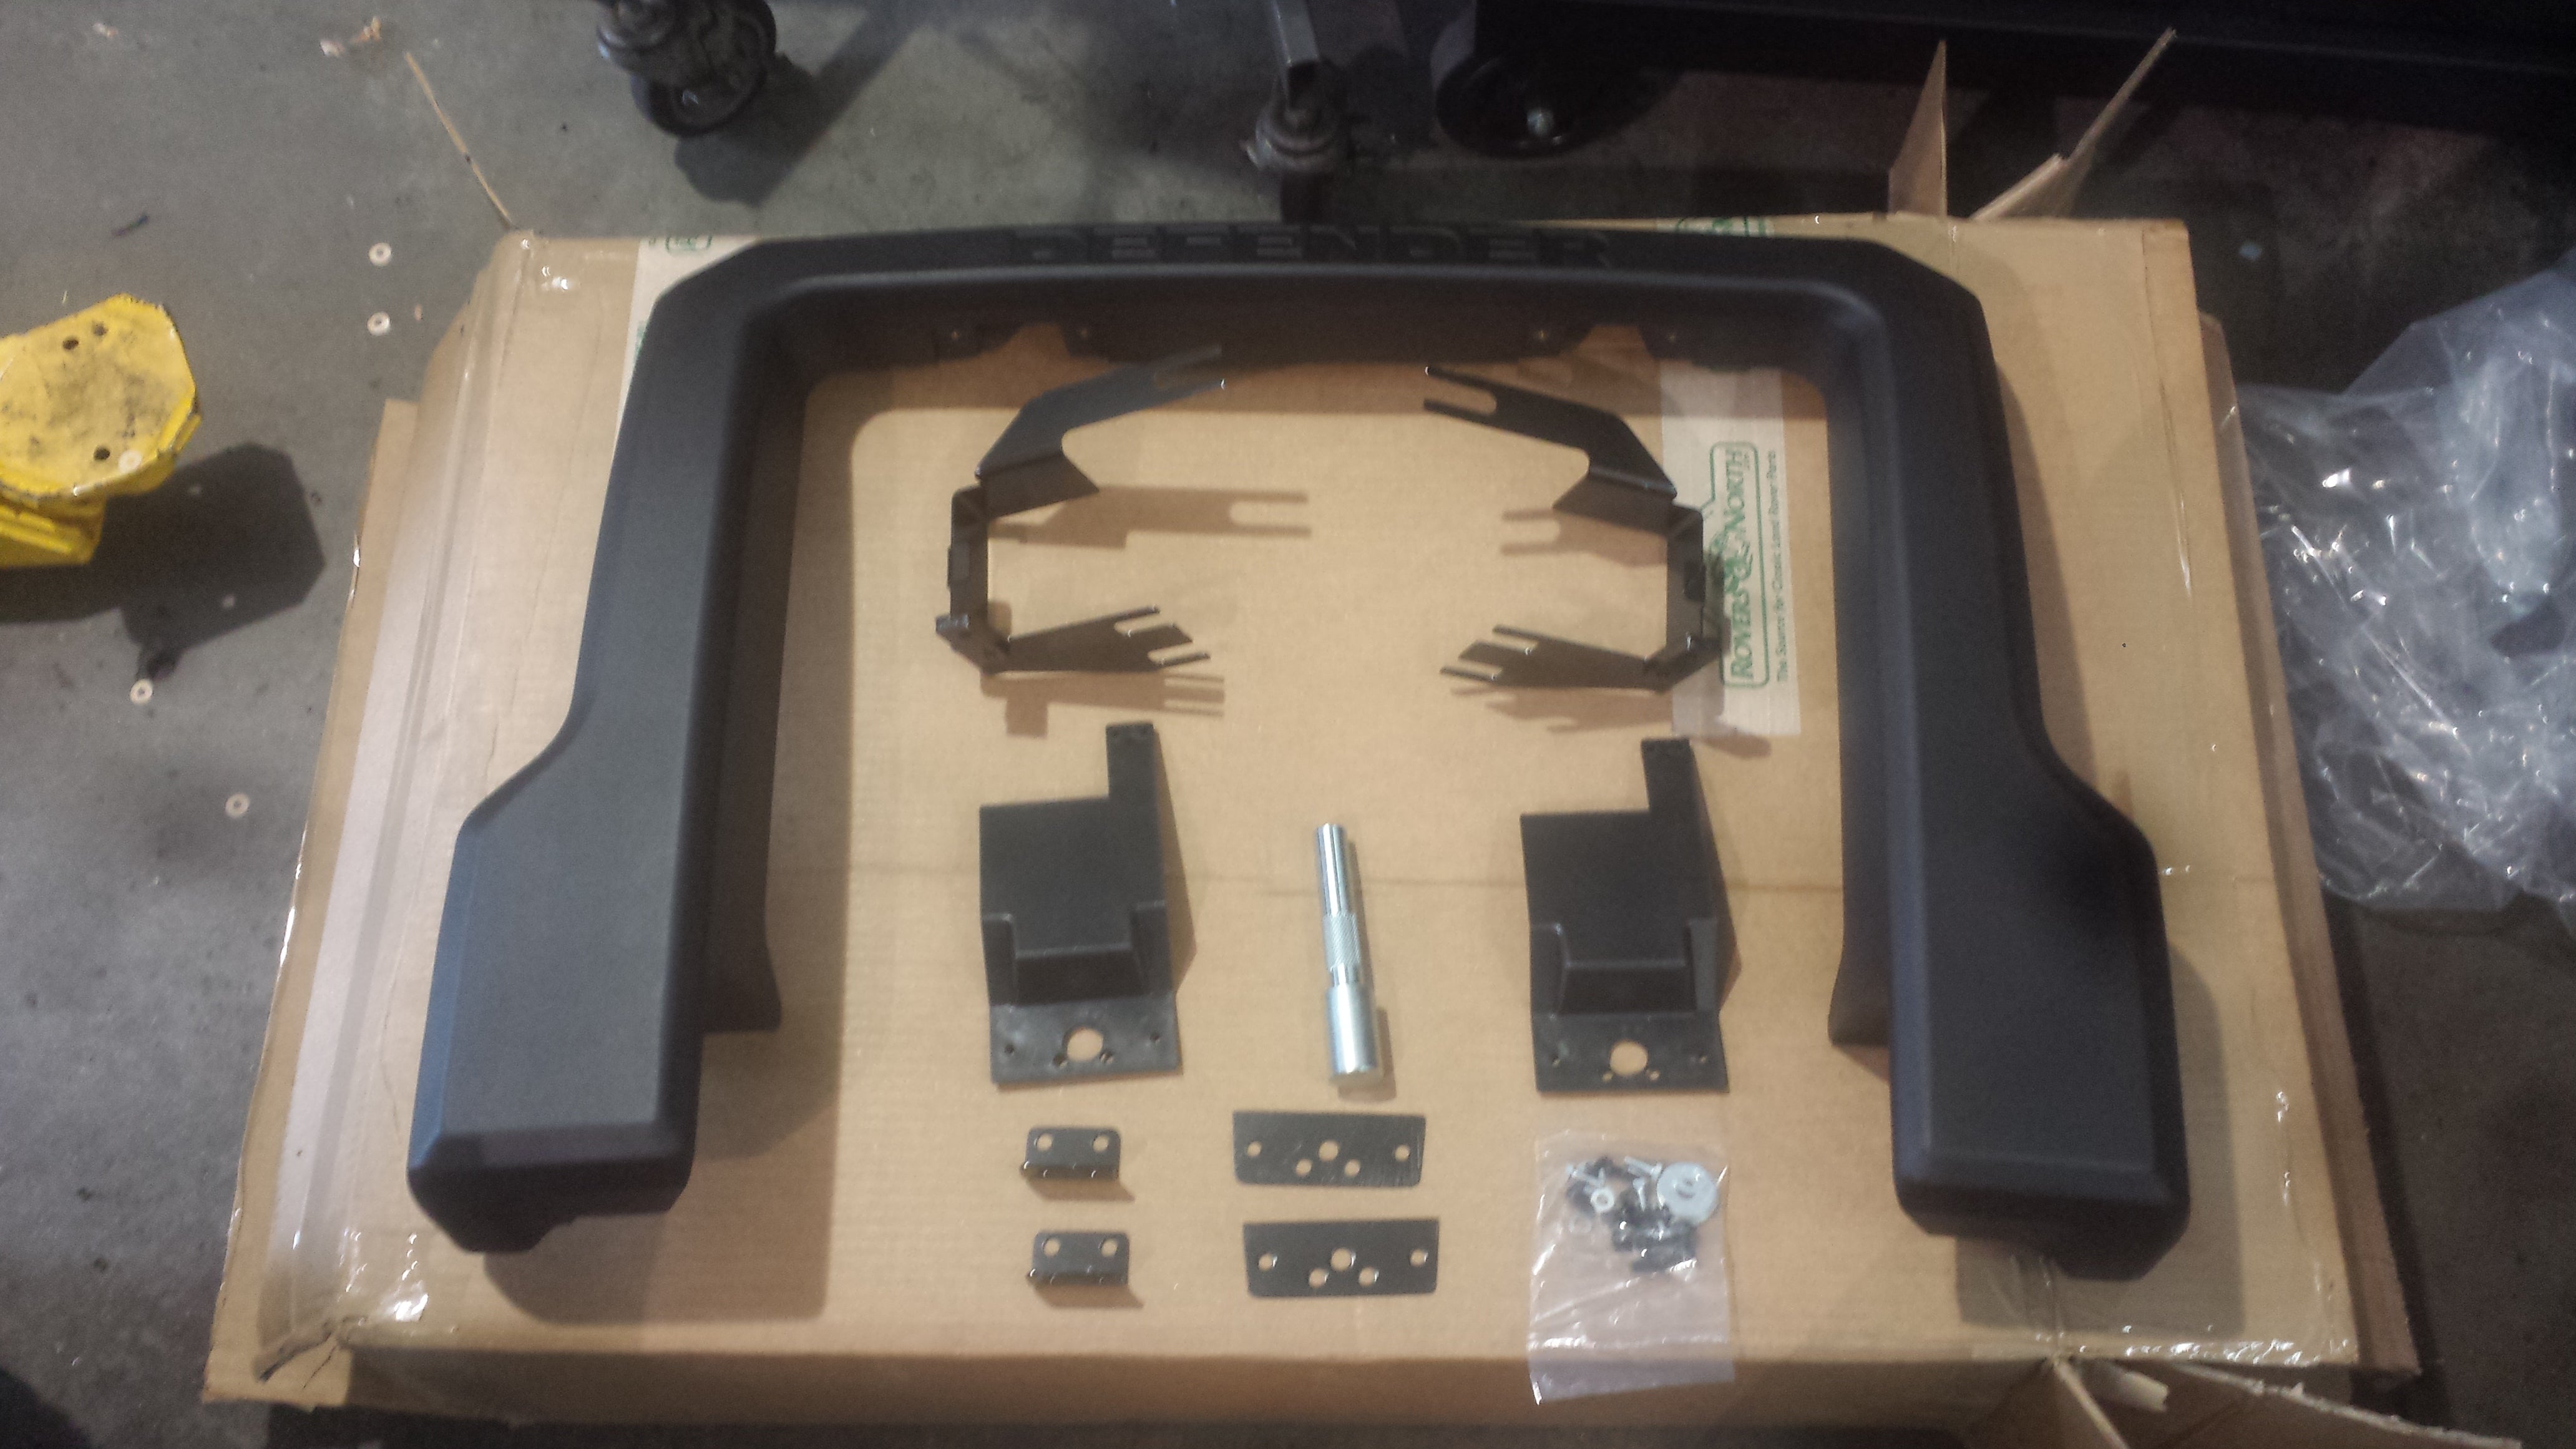
Very simple install. Only cursed 4 times! The push bar came with just a handful of parts and very clear instructions. I will present what I did as best as I can because its been a while since I completed this job.
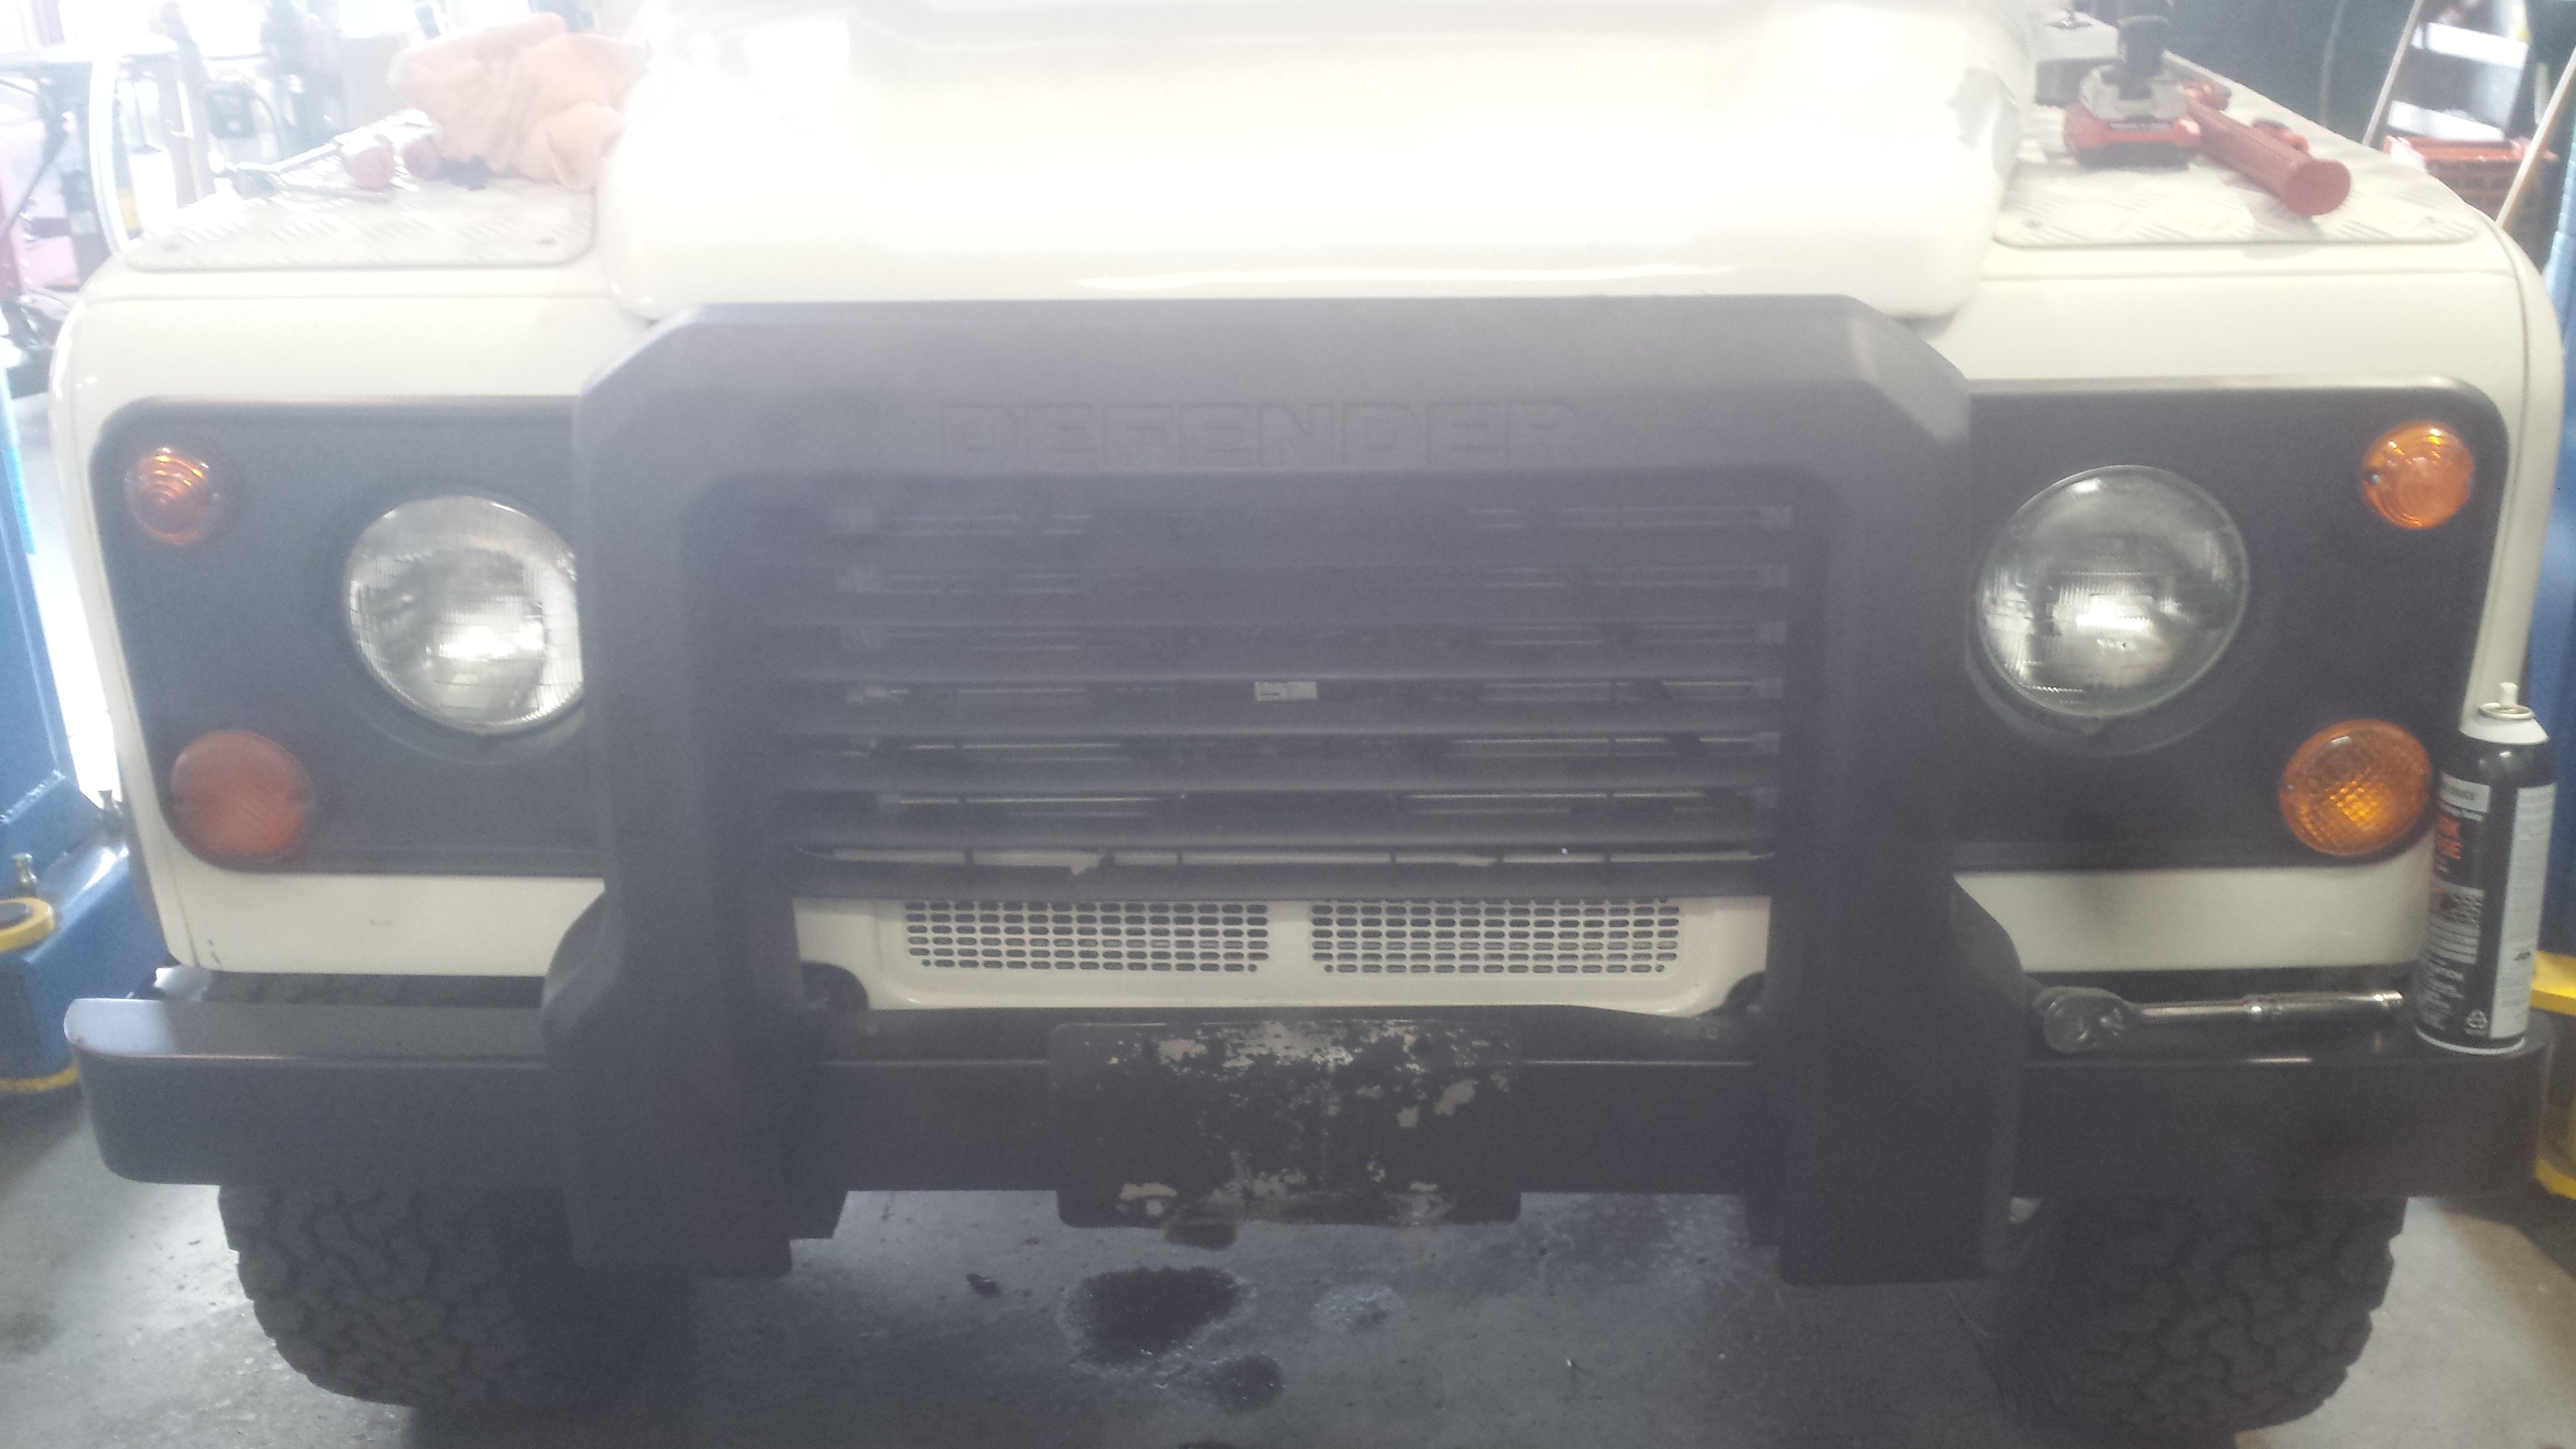
Two bolts on each side of the frame rail bolt the bumper to the truck. these are very long (4.5" or better) and are accepted by a nut welded to the underside. The great news about this is that you don’t have to double wrench or worry about the nut rounding off. Bolts must be removed to accept washers. More later. (4 total) (The keen eyed of you readers will notice the grille has been removed for this job. I had removed it prior to accomplish other work. It was nice to have it off because I didnt have to worry about marring the fresh paint.)
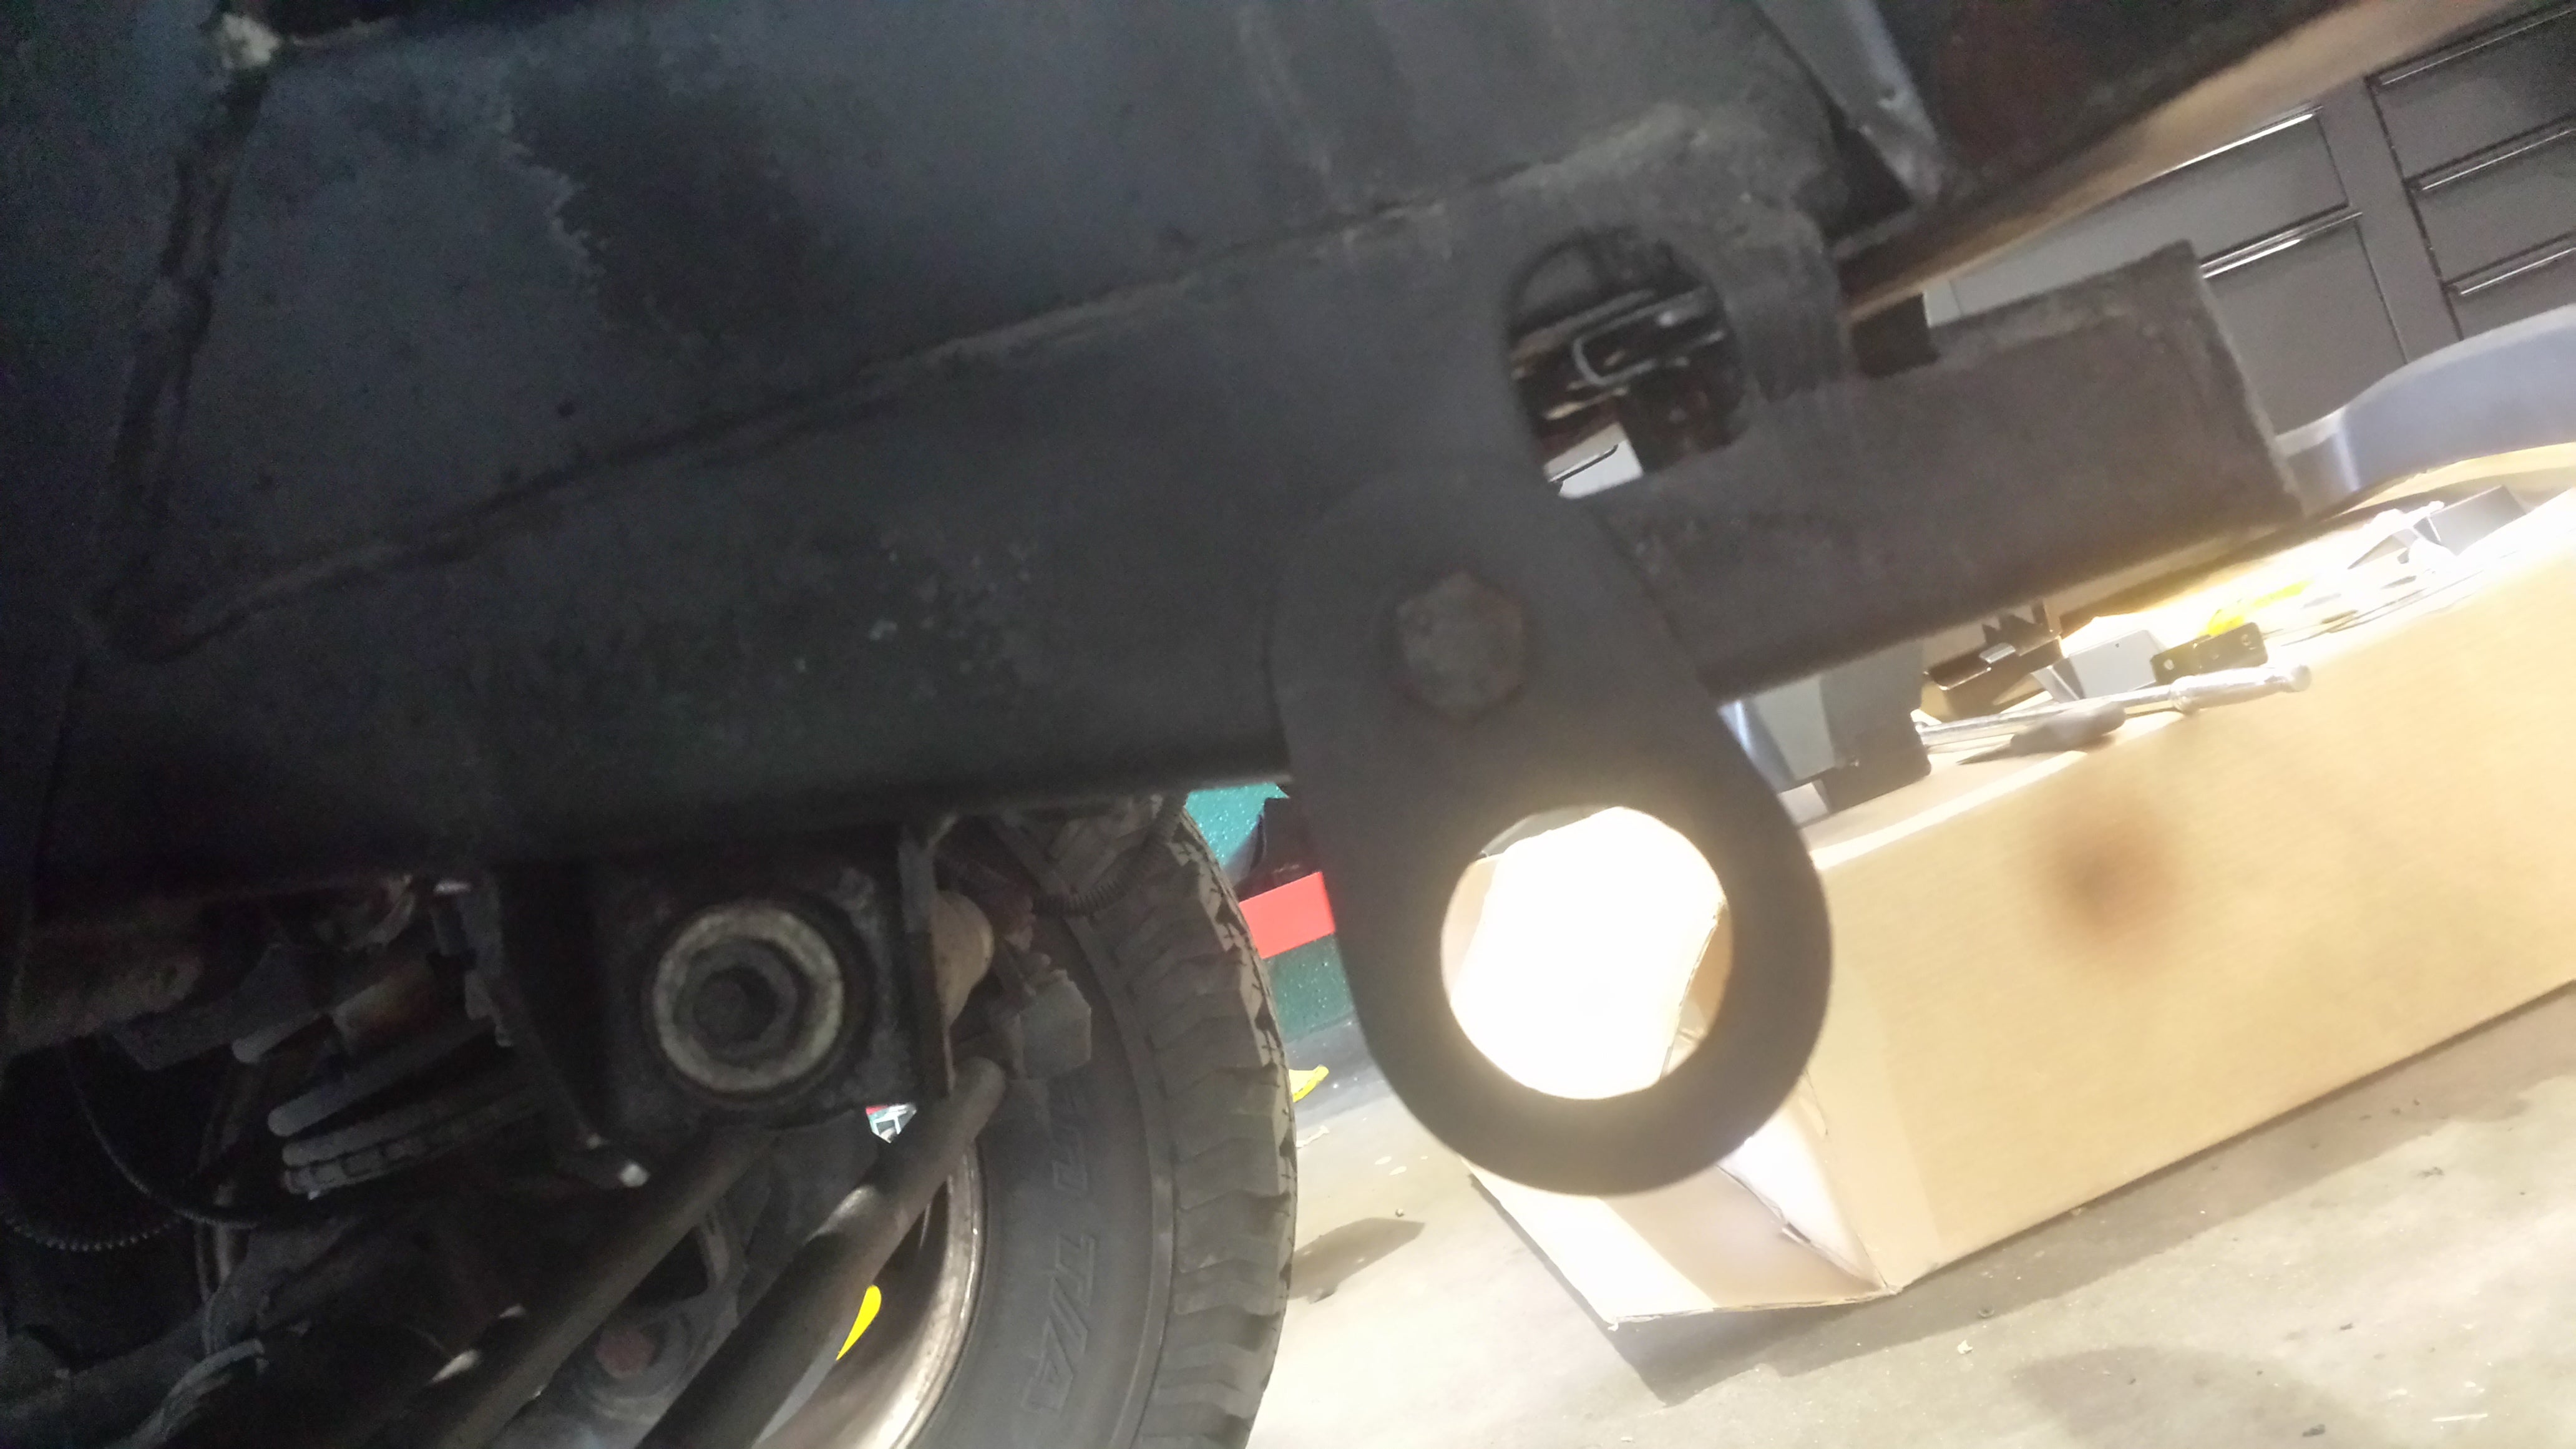
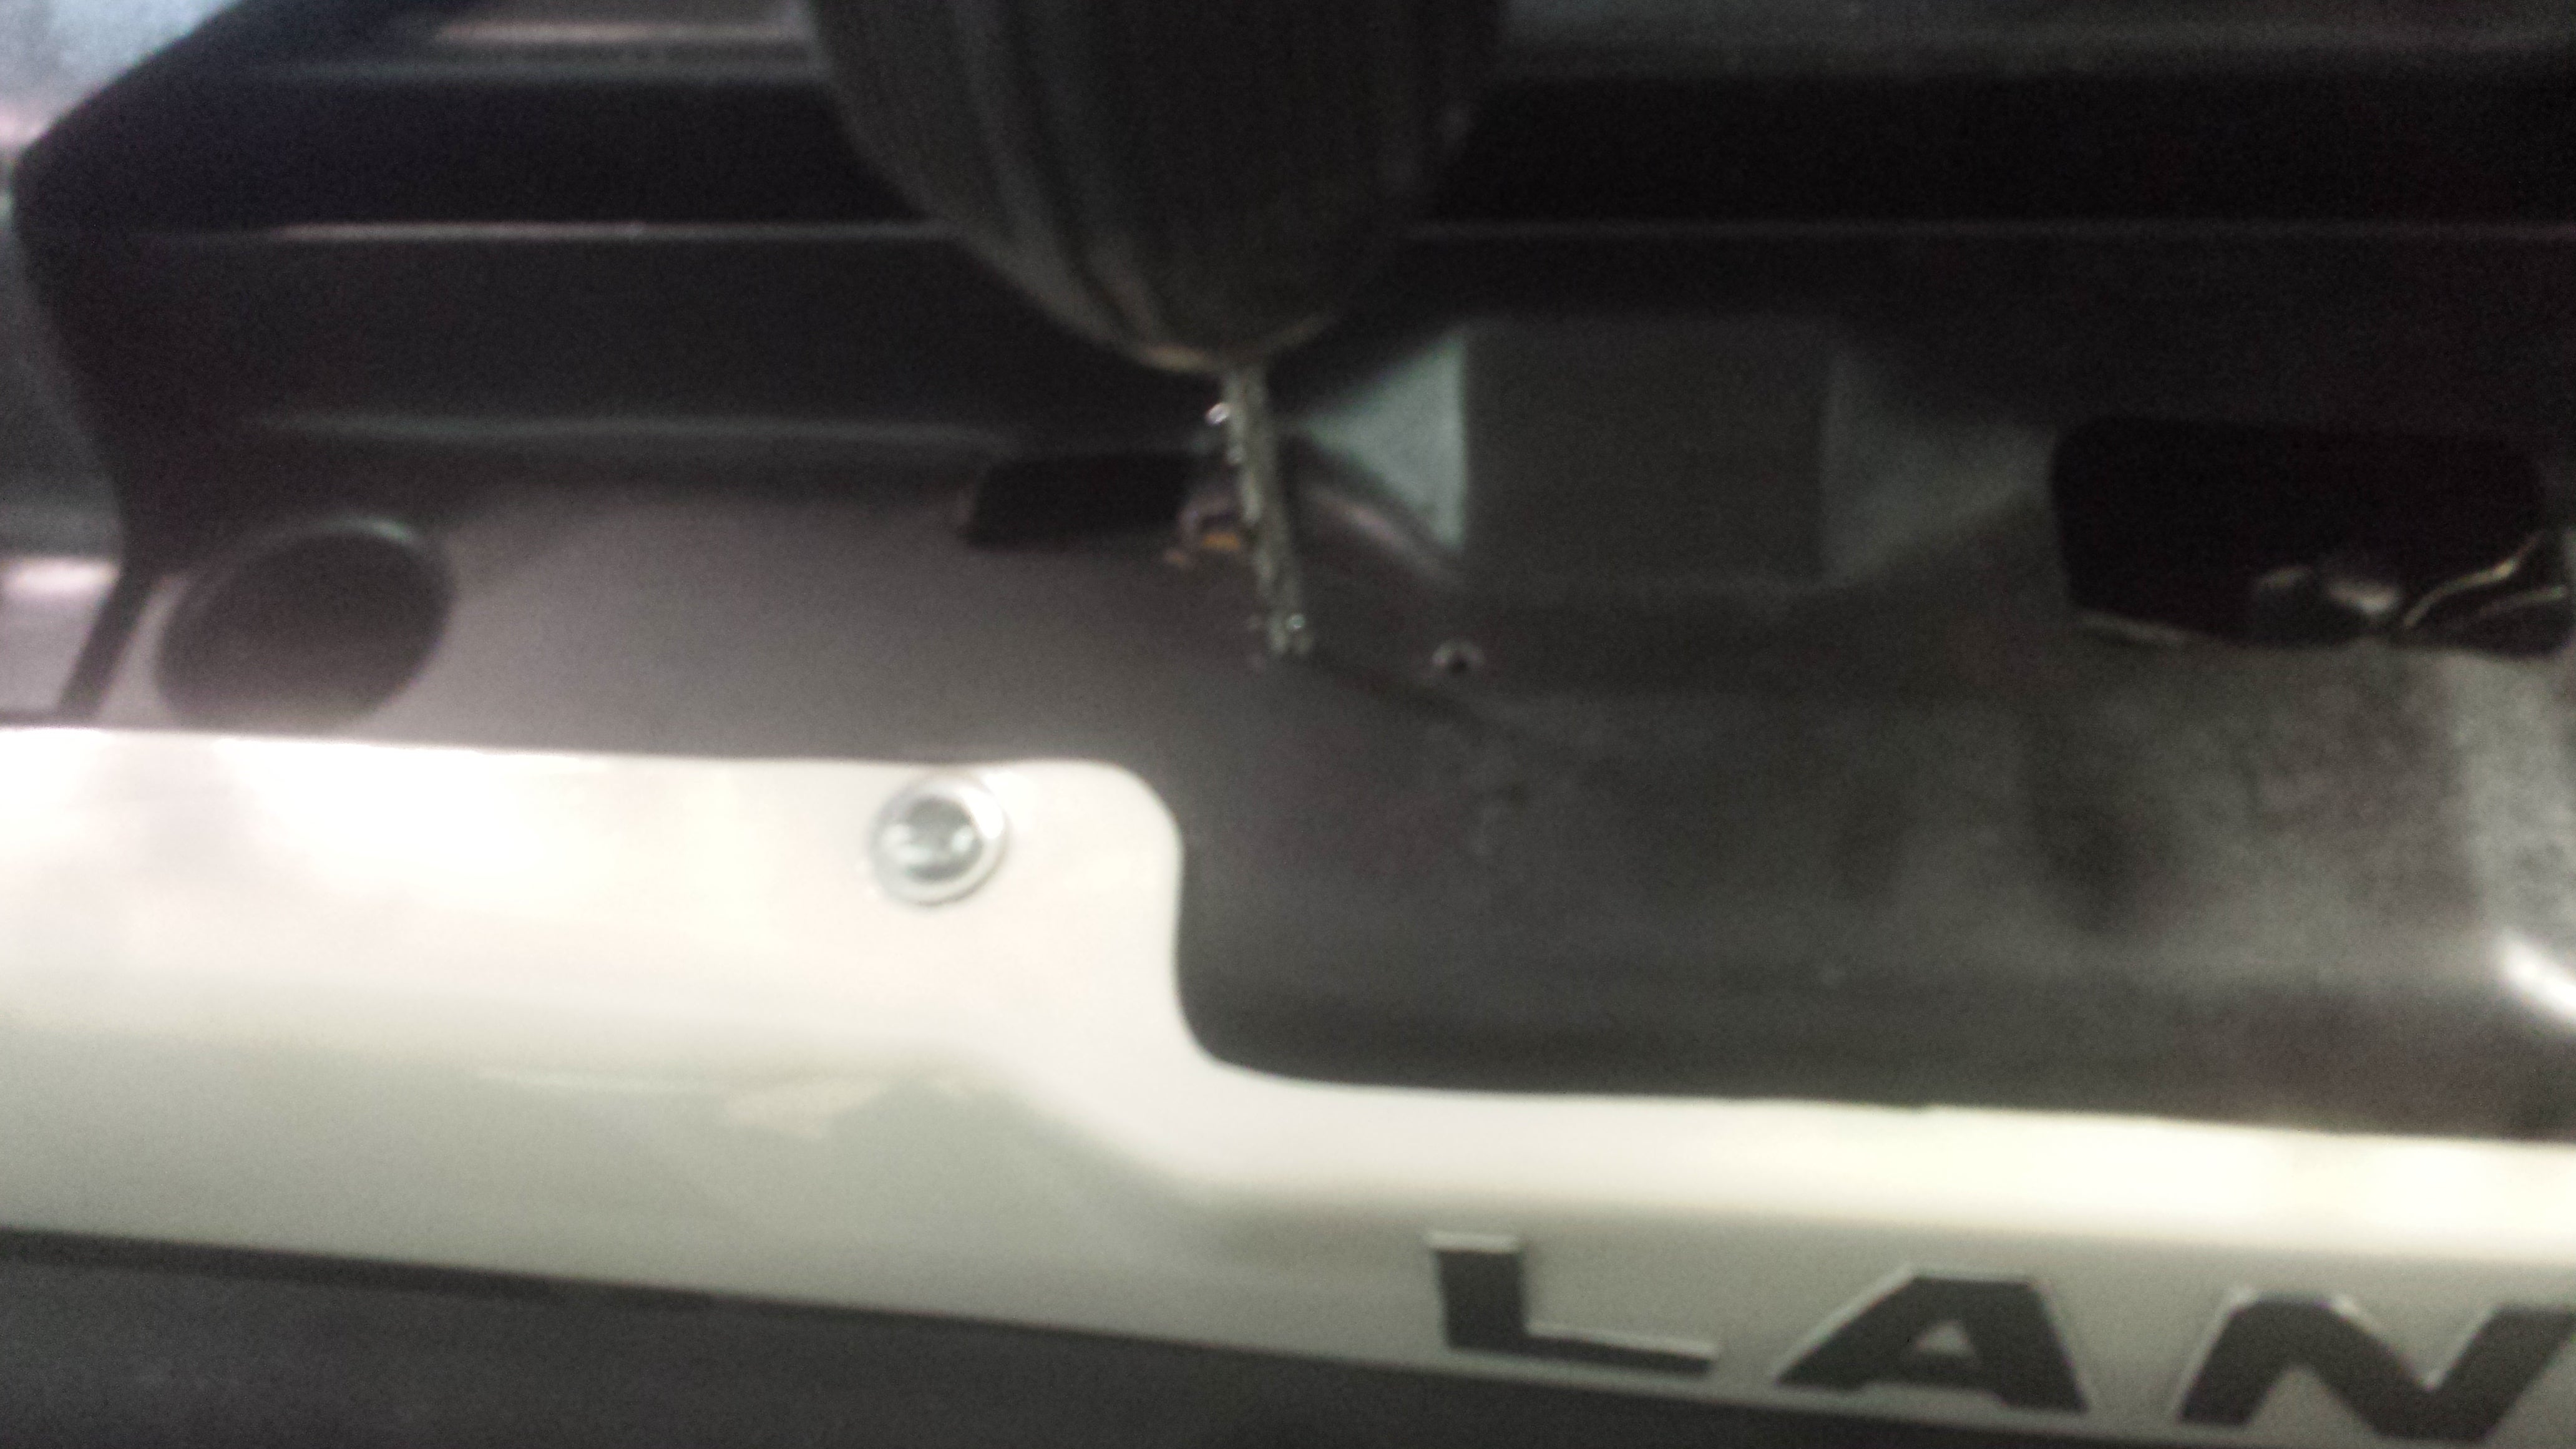
Underside of bumper viewing the tow hook. Through bolt with locking fastener. This is a stout piece and requires considerable force. Loosen the bolt so there is 1/4"-3.8" (approximately 1.5mm) space on each the head and nut side. Removal of bolt is not required. More later. Repeat on opposite side (2 bolts total)
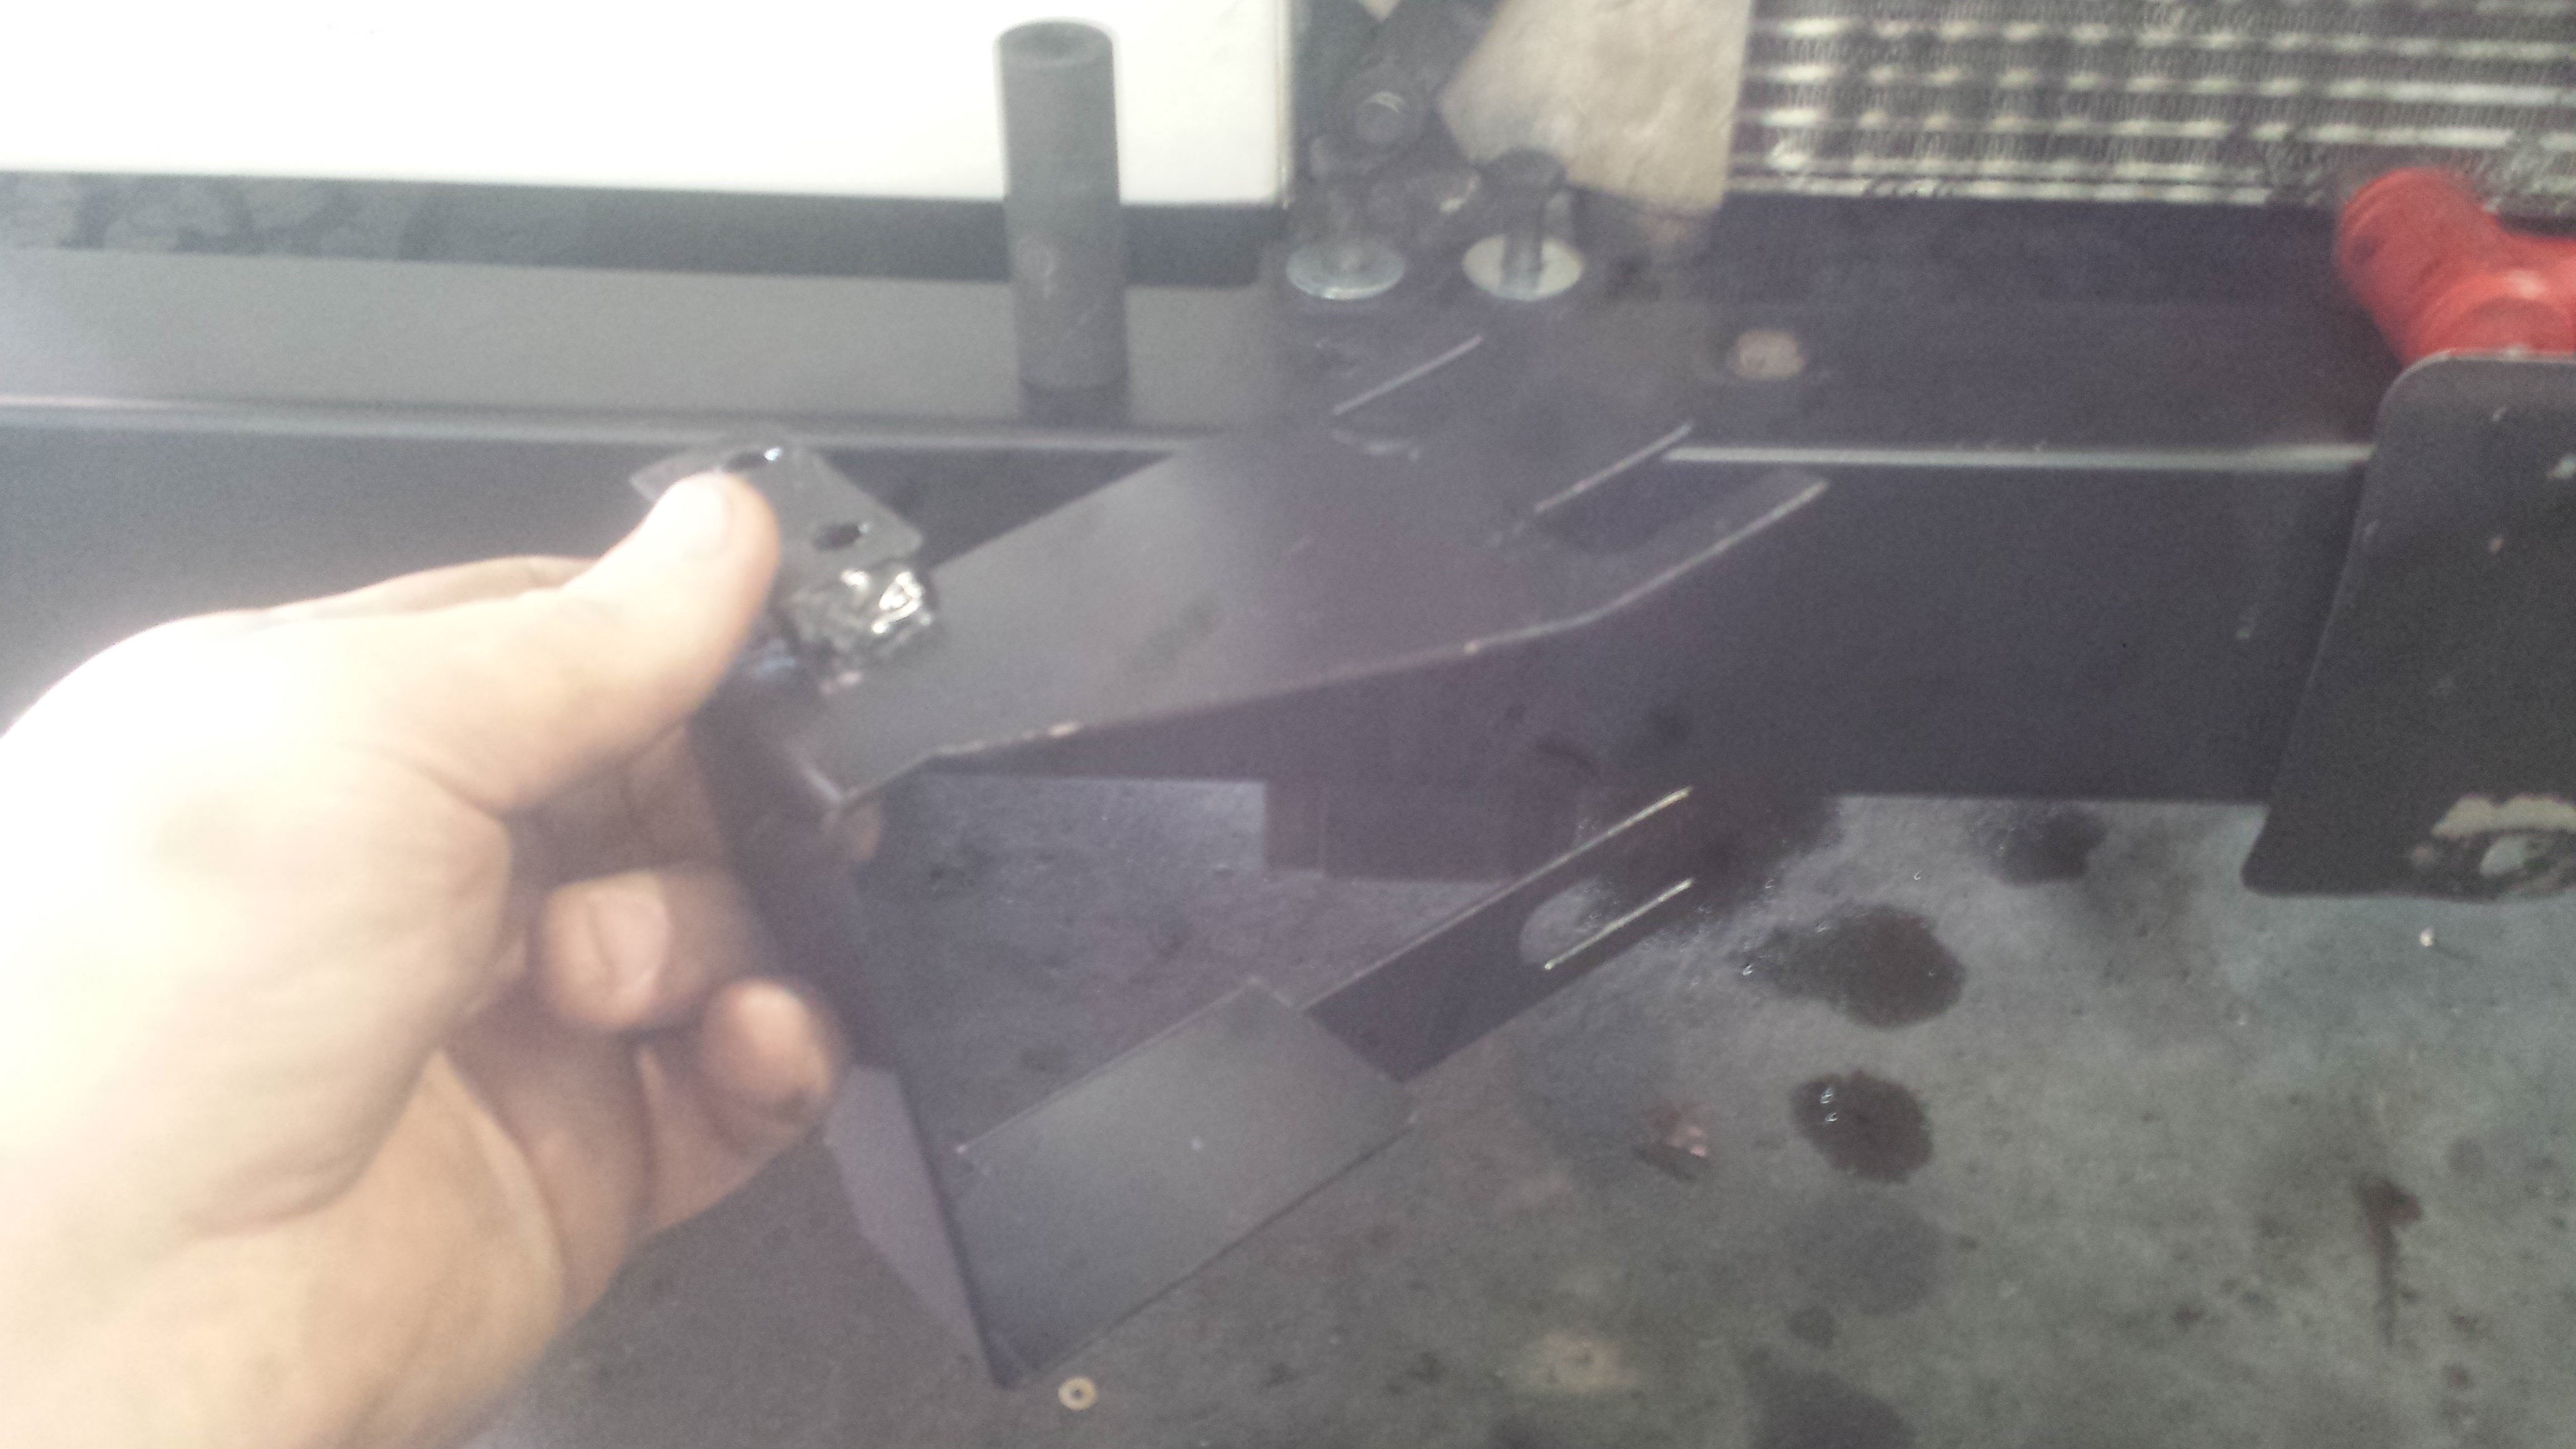
Mounting bracket for bush bar. Slips under 2 top and 1 lower bolt. Washers go on top of bracket. First add included washers to through bolts on the top of the bumper and reinstall with slack enough to accept the bracket. The bracket was conveniently slotted to allow installation without too much hassle. The trouble I ran into was actually with the lower bolt. At some point the bumper on the Defender was bent, because the owner actually uses the thing, and the lower bolt just didn’t line up right. tweaking and brute force got the brackets seated correctly for this install. (2 brackets, 4 upper and 2 lower bolts)
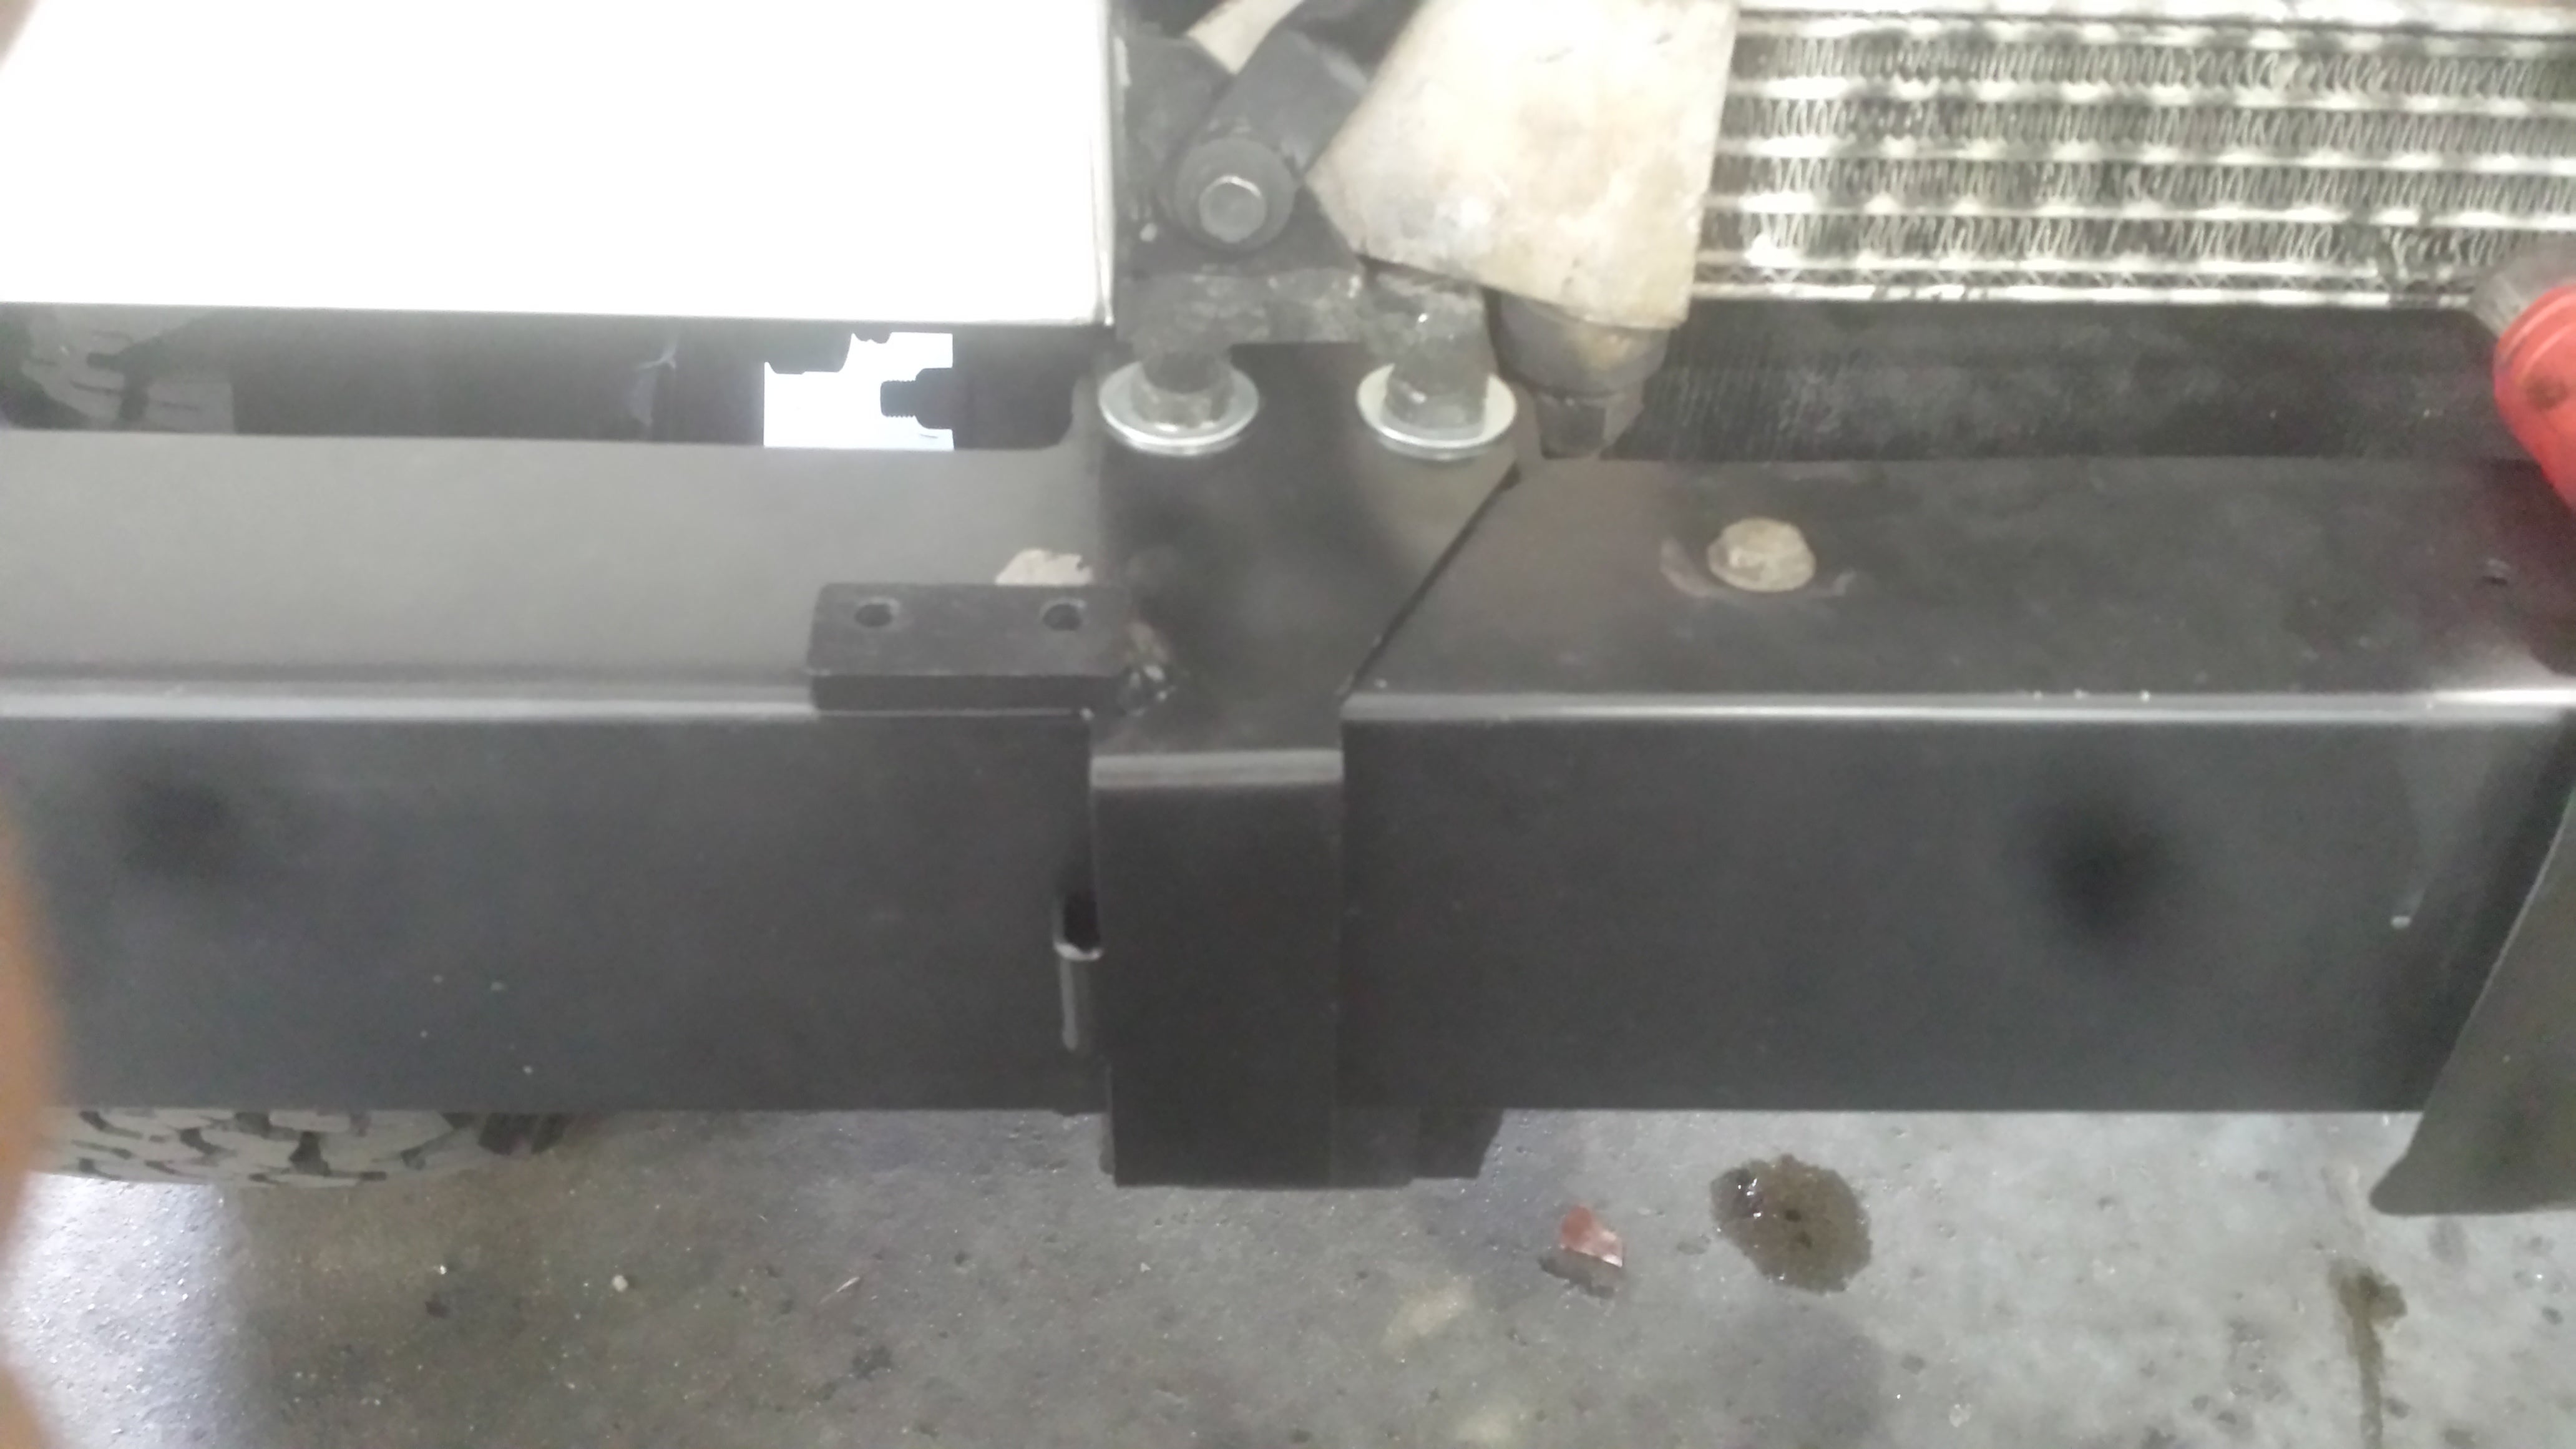
Bracket installed should look similar to this. Notice the tab bent into the bracket on the left side of the picture. This is to set the proper depth of the bracket for a clean and even install. make sure these are touching but not forced into the bumper.
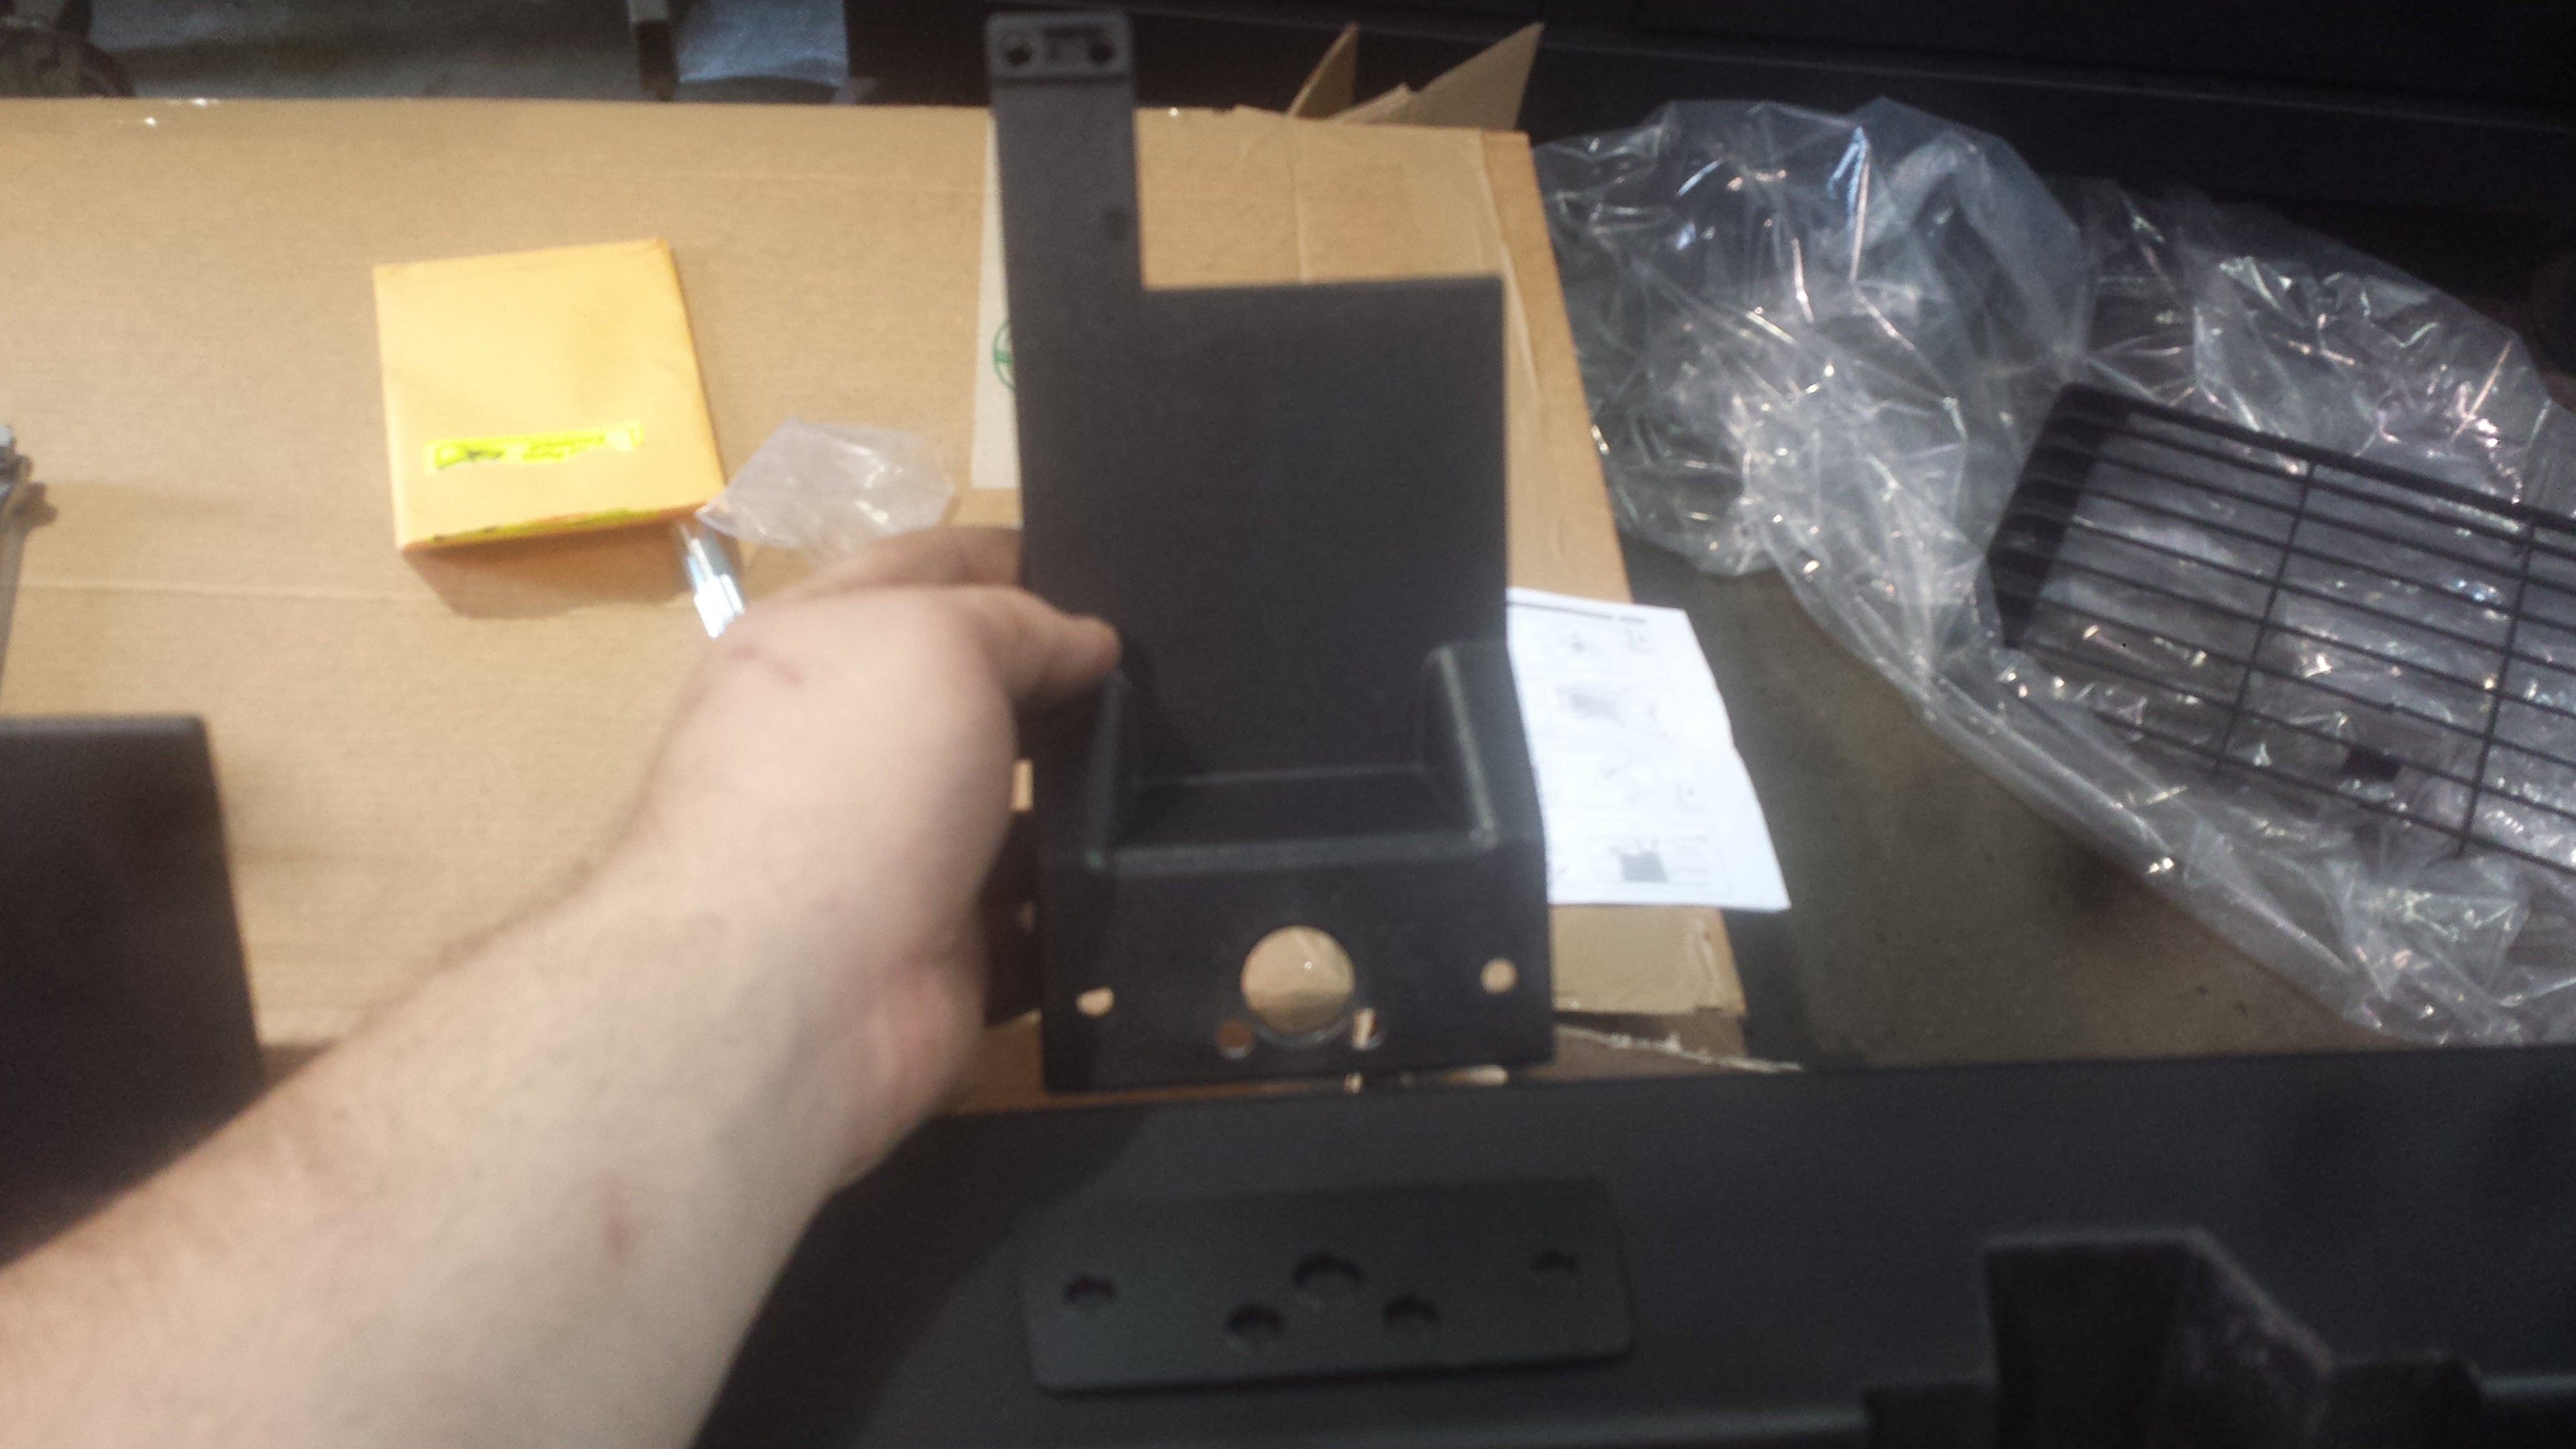
Back to the parts pile, pick up the push bar itself and the plastic bits. these mount the top of the push bar in a way that discreetly stabilizes and adds rigidity to the top of it. They attach with 2 screws and a metal plate directly into threaded holes in the push bar. “Fingers” both on the left as you look at them. This is important for later. (2 brackets, 2 plates, 4 screws)
This is the opposite side of the previous picture. both “fingers” are on the same side. also at the tip of the finger there are 2 holes. More later. Be sure to tighten according to torque specifications.
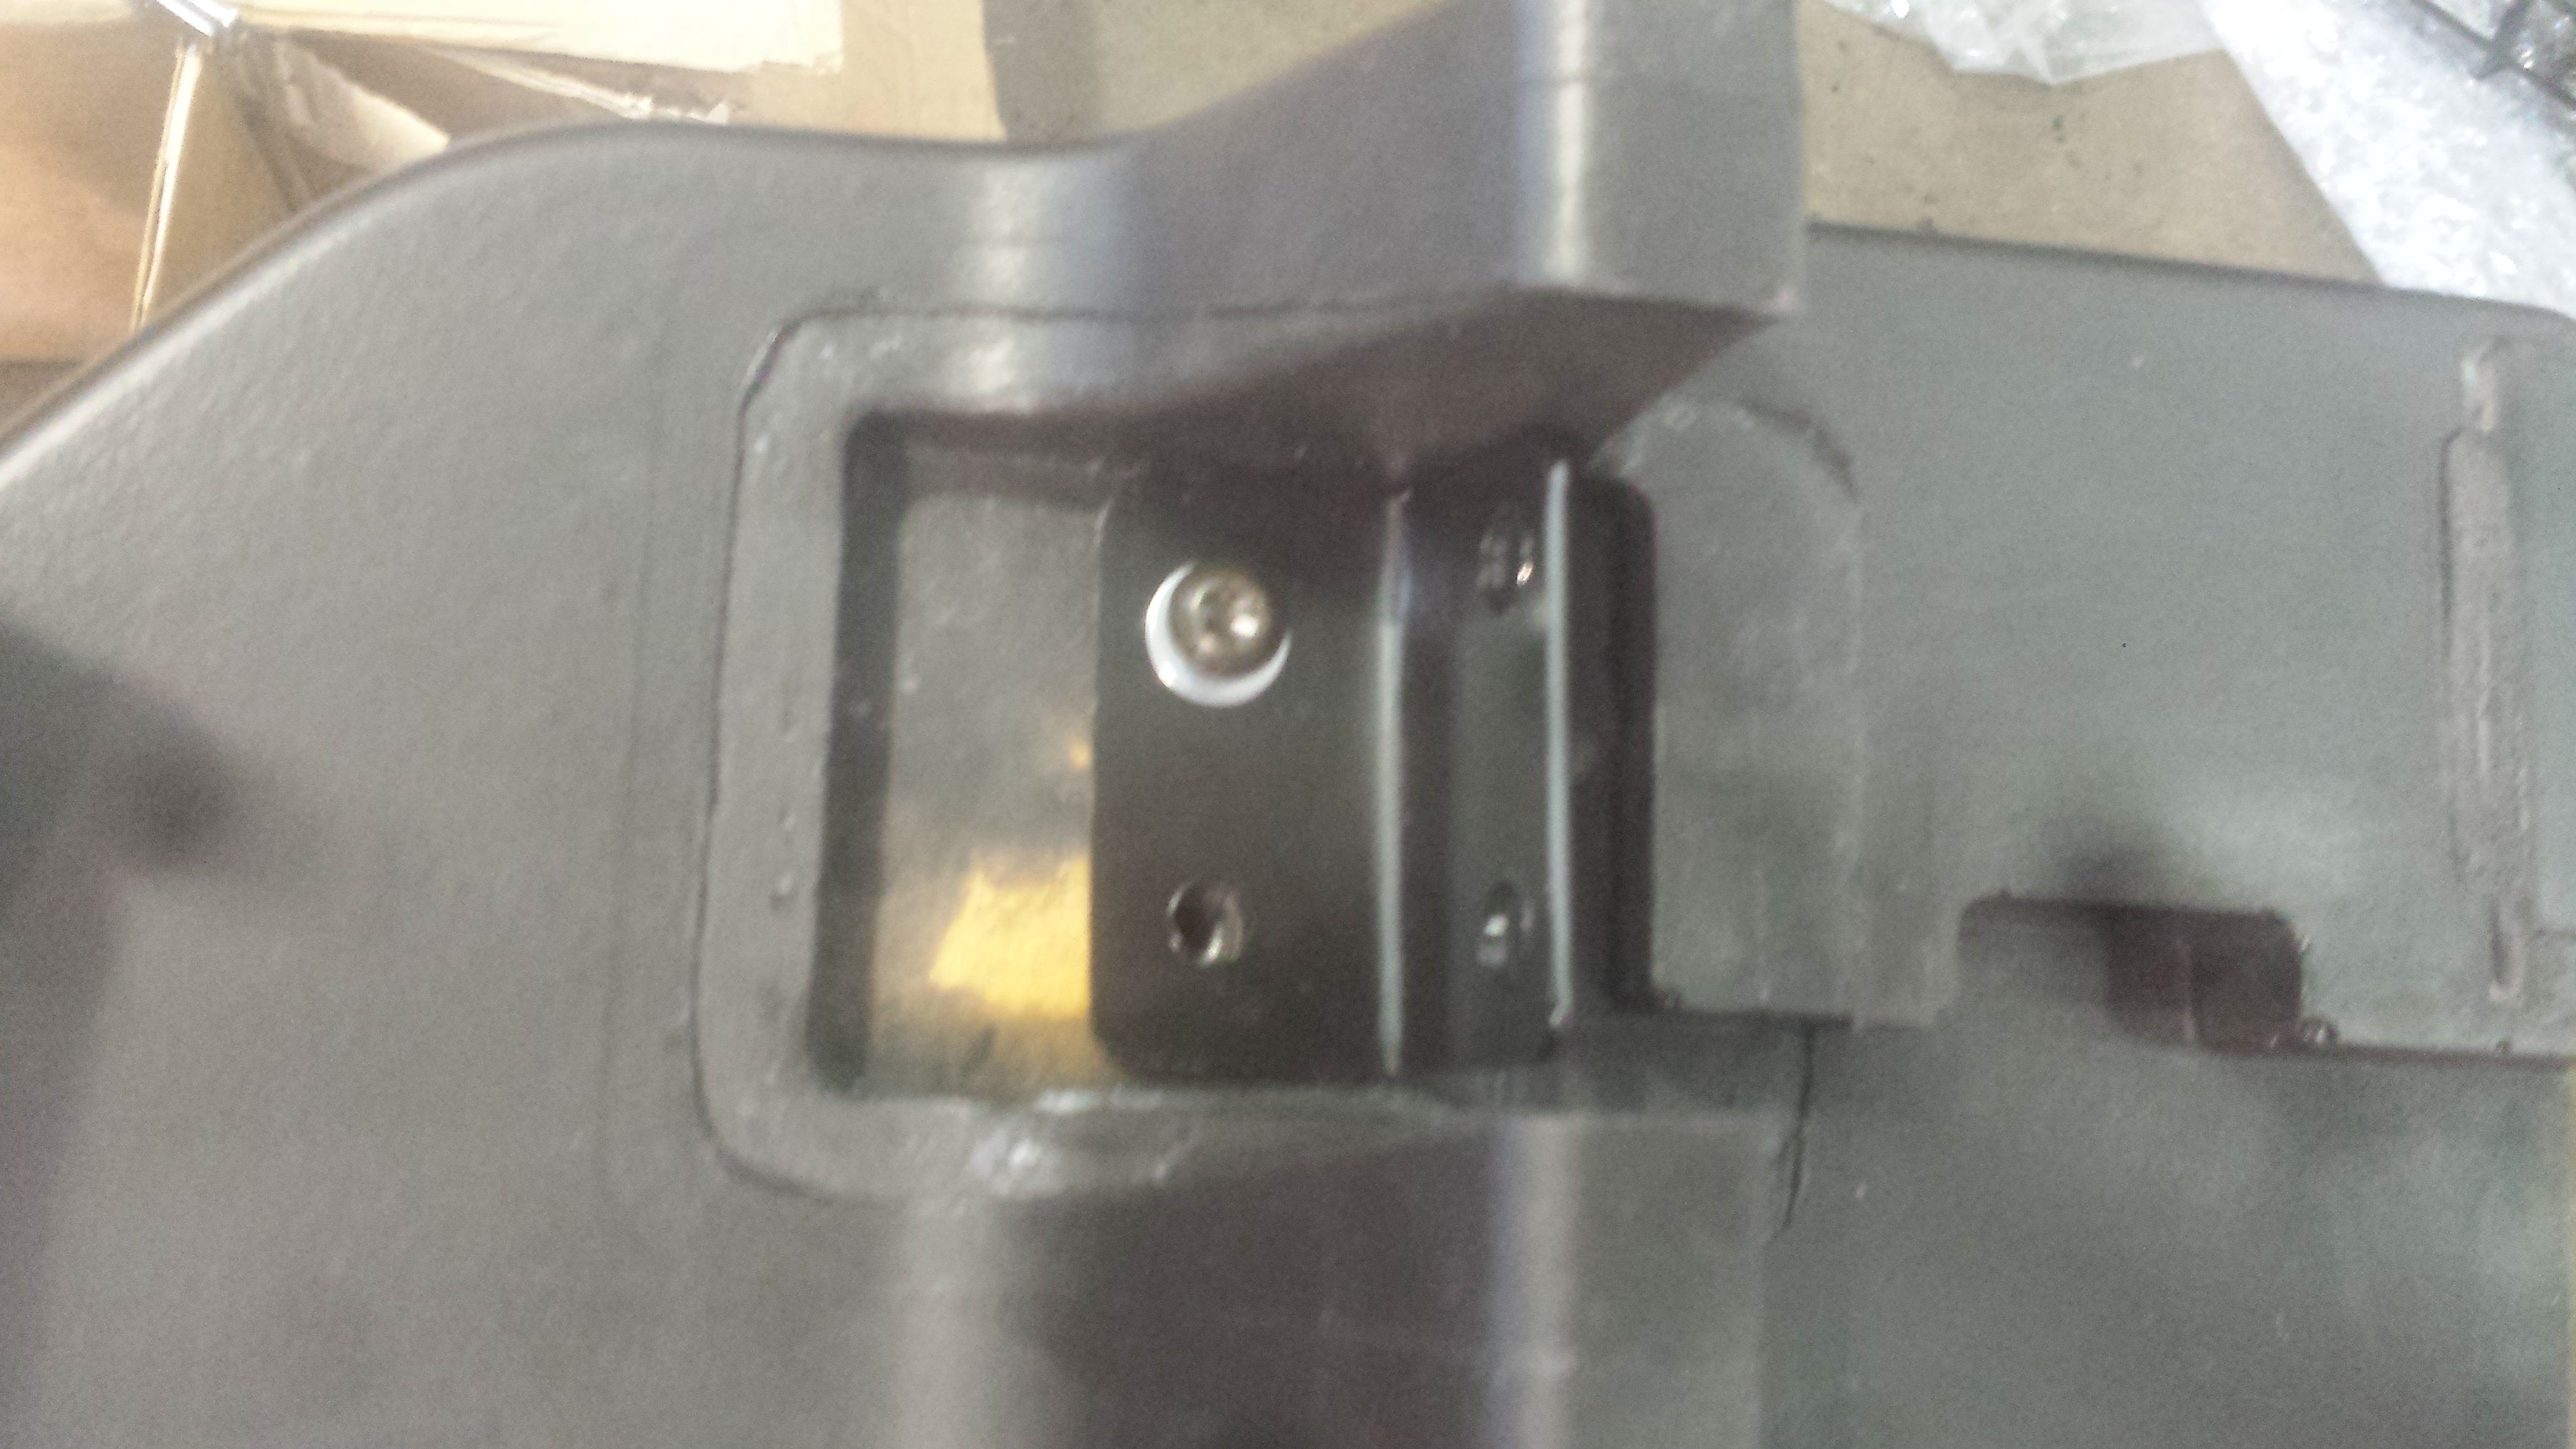
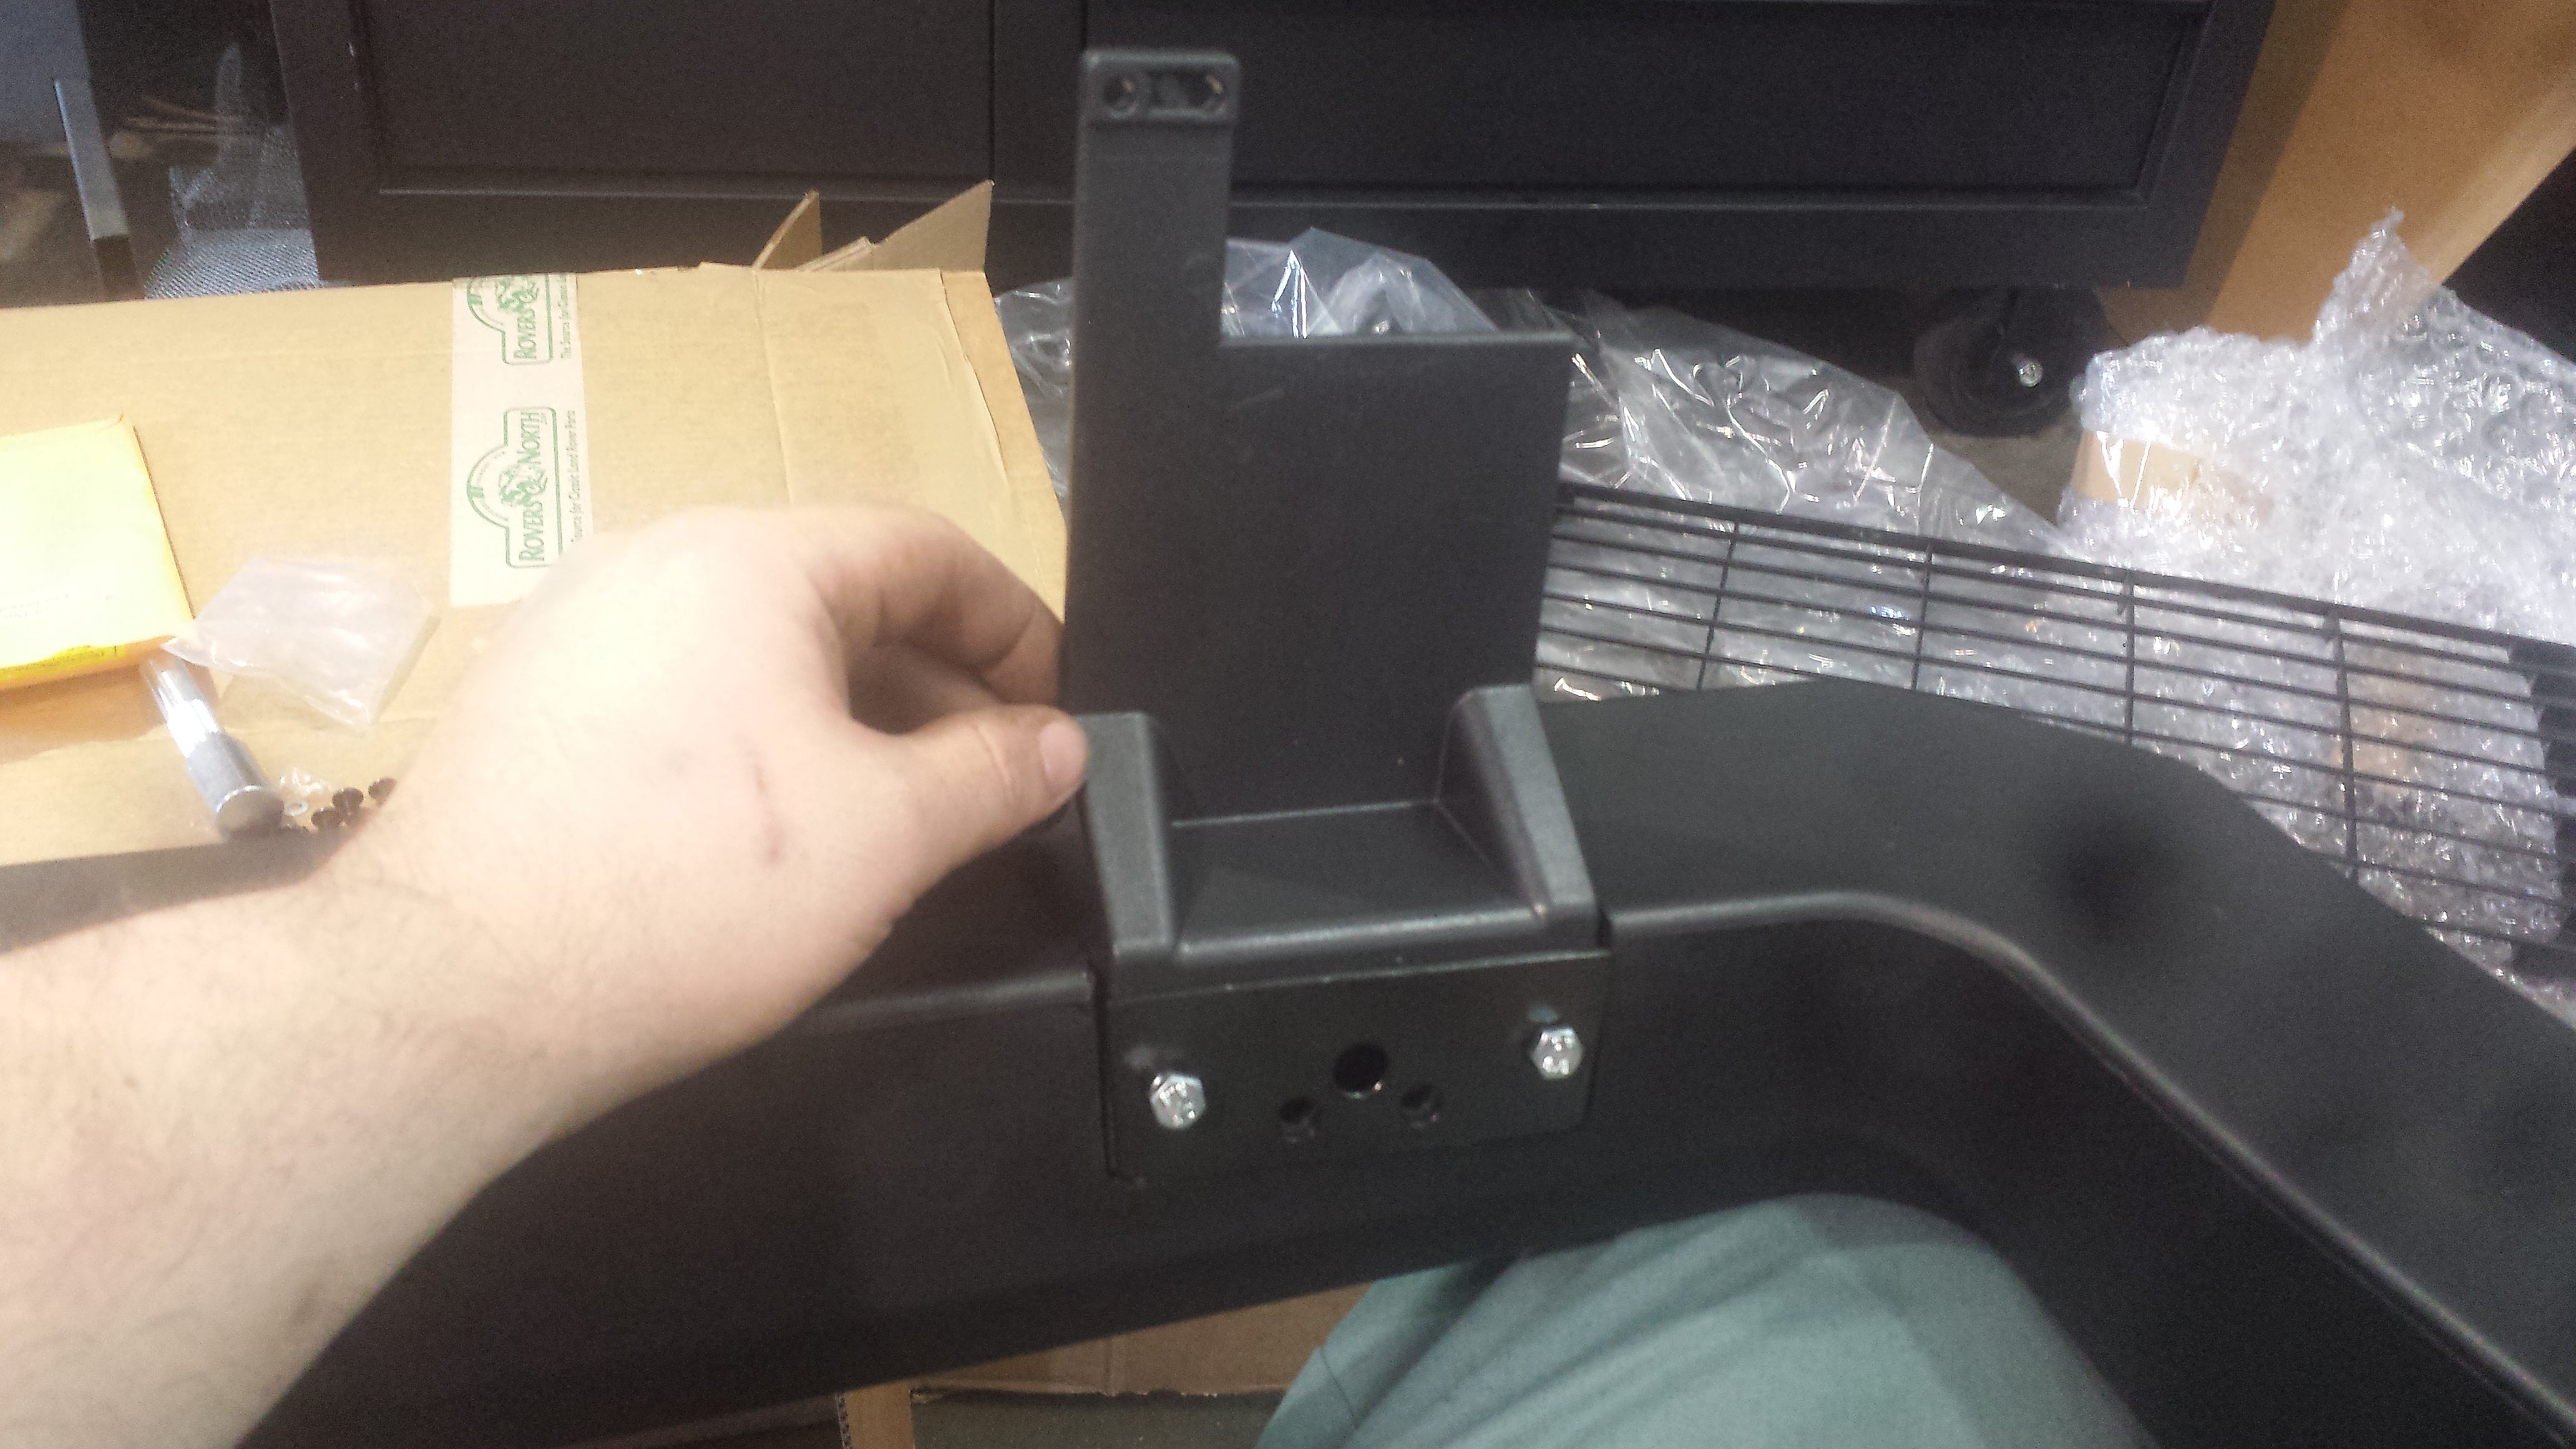
These brackets install almost directly underneath the last ones except these are the ones that bolt the the first set of brackets we installed. 2 bolts into the push bar on each side. (4 total)
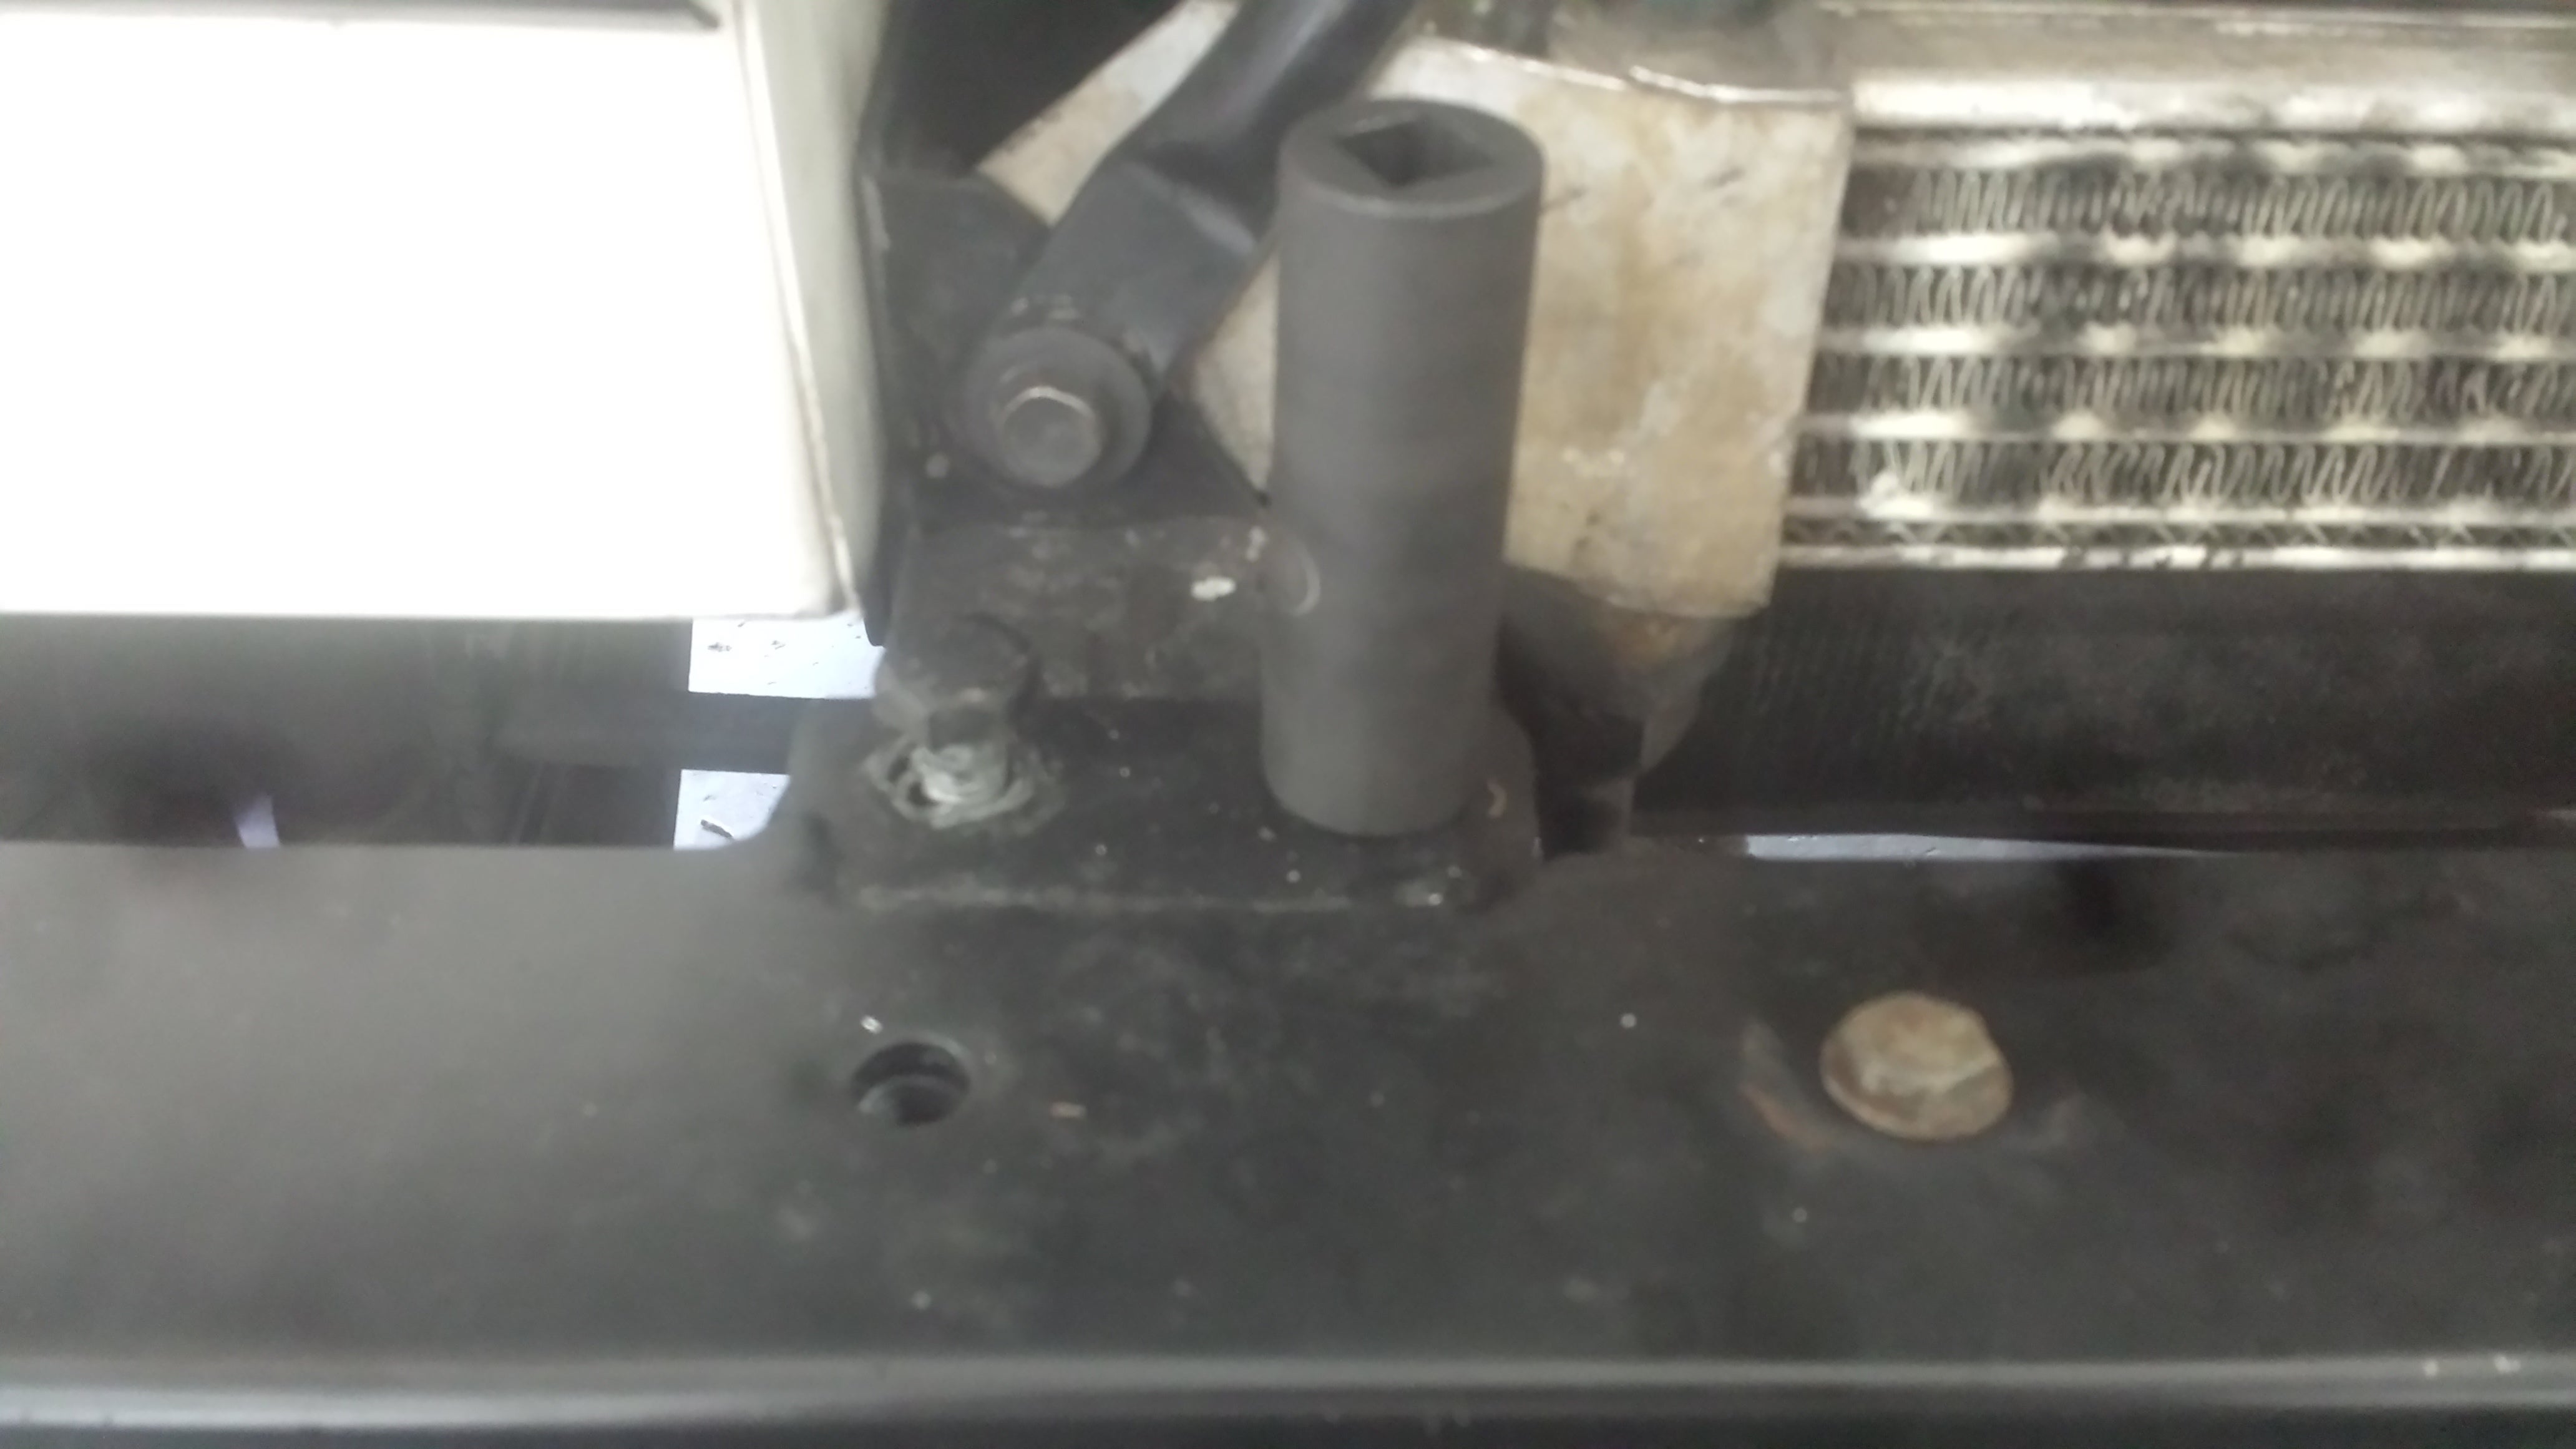
Putting holes in a $75,000 vehicle always makes me nervous. I mocked up the push bar first and used a center punch to mark the holes in the “fingers” on each side and carefully drilled through the core support. (well ahead of the condenser and radiator so don’t sweat it) 4 holes.
With an allen head socket and a few minutes I had the push bar installed . Just set the right angle bracket onto the bumper brackets and tighten. Line up the fingers and their respective holes and add self tapping screws (all included in the kit I recieved from the customer). Then step back and enjoy!

Looks goooooood., and the caveat...
If you look closely, you can see DEFENDER script on the front top face of this thing.
Yes I did this by myself in the mechanics shop of the dealership I work at. It took about 2 hours because I took my time with it. No its not that heavy. Its made mostly of really dense foam like the wing on a Scirocco.
Thanks for the views, Like Comment and subscribe! and check out Flat Sideways Full Lock (FSFL) on Facebook! We are fellow Opponauts that share a news podcast every week as well as industry information on the Facebook feed.