 by "StudyStudyStudy" (jesterjin)
Published 01/05/2017 at 16:10
by "StudyStudyStudy" (jesterjin)
Published 01/05/2017 at 16:10
No Tags
STARS: 2
With the block sealed up and the head off to the machine shop, I decided to go ahead and try and get the block in the engine bay.
First that involved cutting out the hood latch while sensitive and open bores would be far from the flying metal. Given that the 2jz should in theory be close to the same distance from the firewall as the 7m that meant getting the head on later would be a chore with the latch in the way.
In addition I went ahead and ordered a 1jz bell housing. The MkIII supra got the 1jzgte in japan and as such ran the same R154 transmission. Since they kept the 2jz bell housing pattern the same, by using the 1jz bell housing you can run the R154 transmission.
For the final important piece, I took the easy way out. With the car in the state it was I didn’t have room in my meager garage to fabricate a set of engine mounts. Luckily this swap is not new and there are actually quite a few mount kits. 1 from betamotorsports is no longer in production (I almost bought the jig for this a while back, but ended up passing) someone else has the jig but is deployed so no timeline on that, another mount kit is complete with drive shaft and cross member etc etc, since I already have all the trans parts I was left with one choice, the CX racing kit.
While I’m still skeptical on their turbo’s it seems quality is going up. With the allure of just bolting the engine in I ordered the kit.
Unfortunately it had problems right out of the box, the tabs on the side were bent in so far that the mount refused to sit flat, cocking the bolt at an angle. I hammered that into shape.
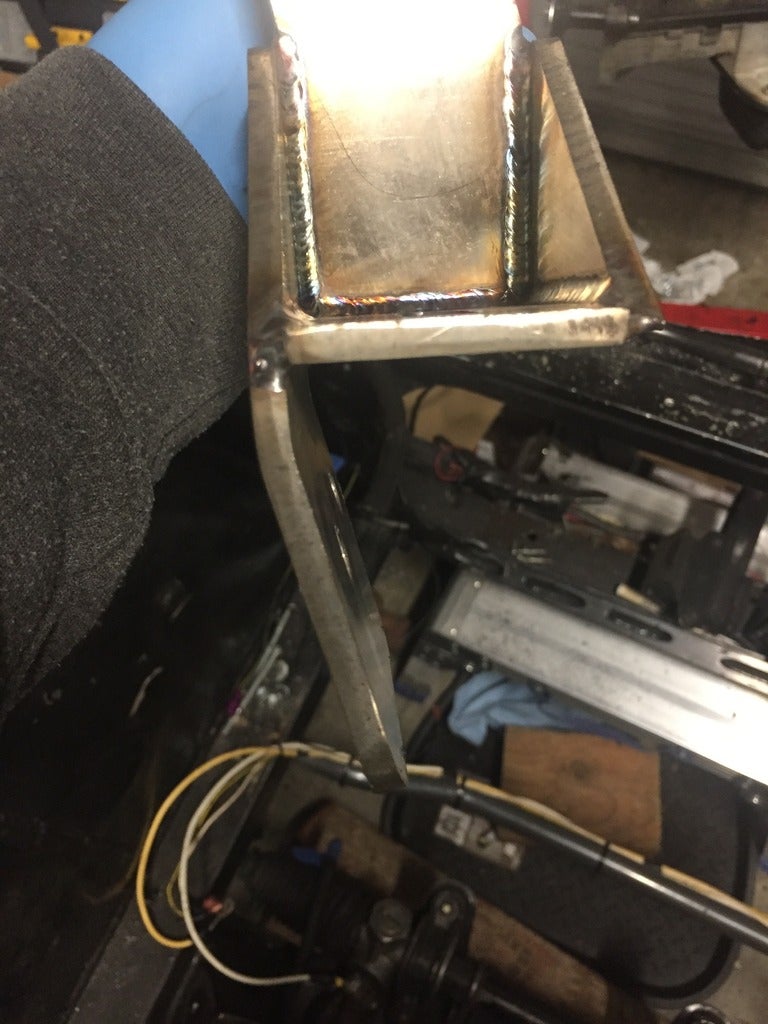
With the mounts tweaked I bolted them in.
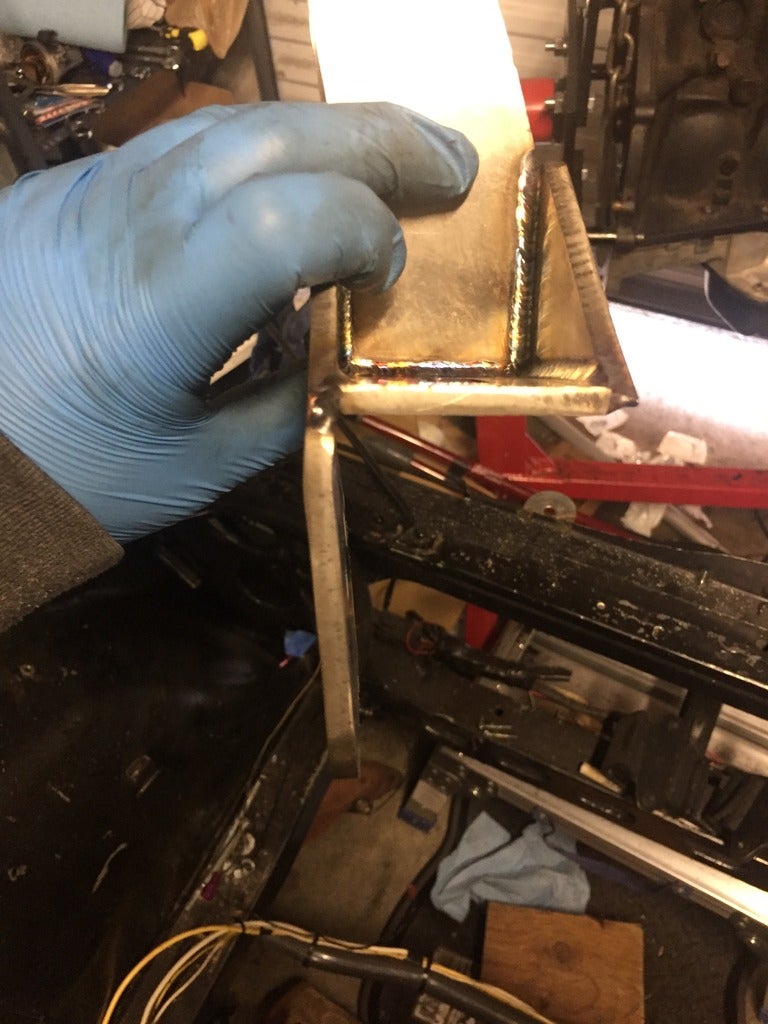
Then I noticed...it sits really cockeyed pushed far over to the passenger side.

I was thinking maybe my kit was welded incorrectly, but carefully looking online and asking other forum members it seemed like for this kit that was the norm. I was confused as to why as it looked like everything cleared. I e-mailed customer support and the response was for extra clearance for the column and booster, but in all the other images I found where the engine was straight this was not an issue in the least.
I am hoping to death that at least one of these mounts will be useable, or at the very least I will take some very detailed measurements and plan on making my own up at a later date. Because it just looks haphazard when an engine sits off center like that.
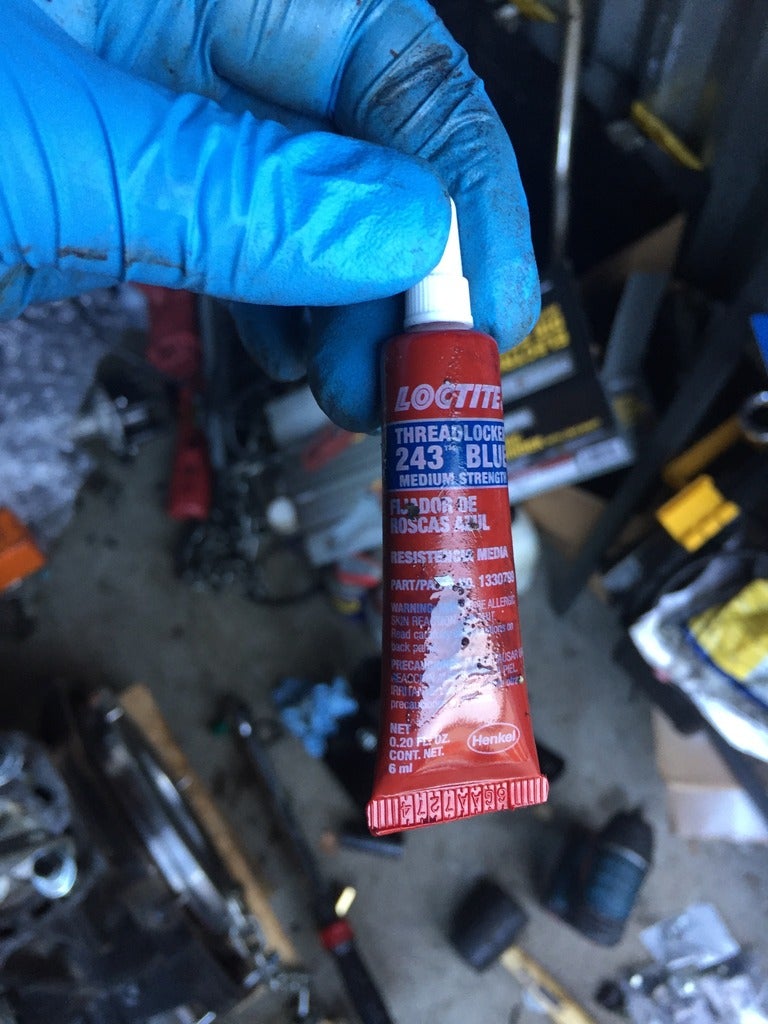
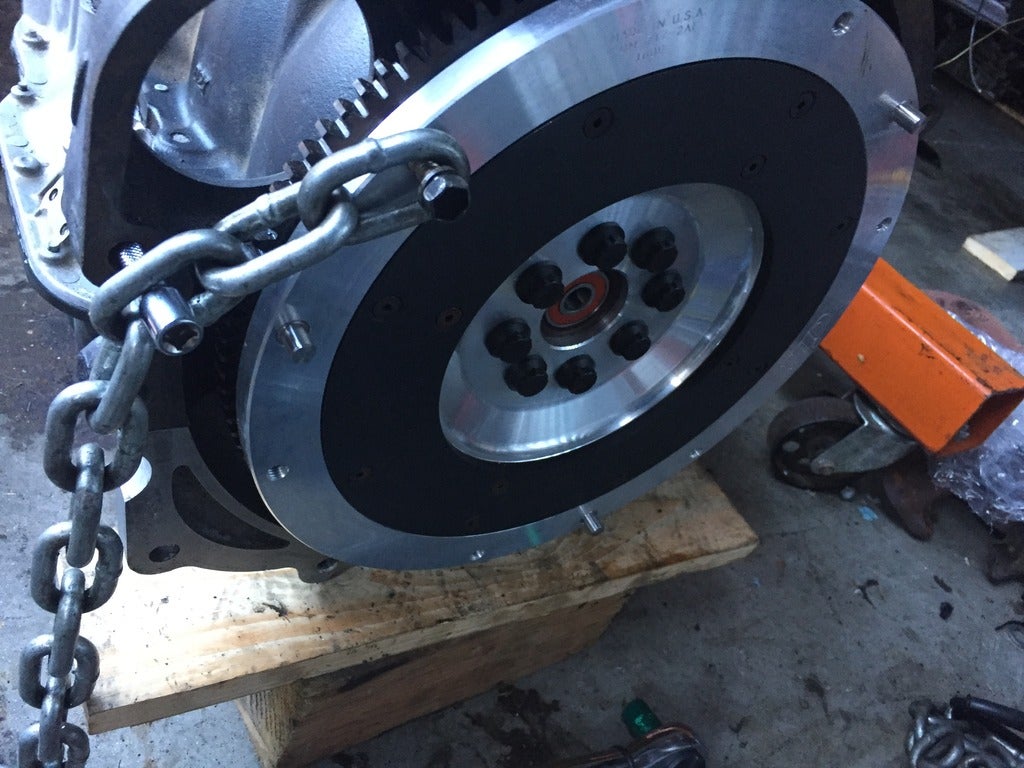
With that aside, I went ahead and started buttoning up the rest of the engine. The flywheel also has to be from a jz unit, so that was purchased new, ARP bolts were used with Loctite 243 which apparently is a sealing and thread locking compound. Visibly thicker then the regular 242 formula it has some oil tolerance which is needed as the holes for the flywheel are open to the oil passages.
Note the little trick of locking the flywheel to torque the bolts, use an old pressure plate bolt and an extension and a piece of chain, make sure the extension goes in a non threaded hole.
Both surfaces were cleaned with brake clean on the flywheel and the pressure plate. I also ordered a stronger pressure plate and new clutch disk. Some people say that if you go with ACT or RPS that you can cause crank walk from the extreme pressure required to pull the pressure plate for disengagement, so I went with a mild uprated one and a factory full face clutch disk, should be good for 400hp and the associated tq.
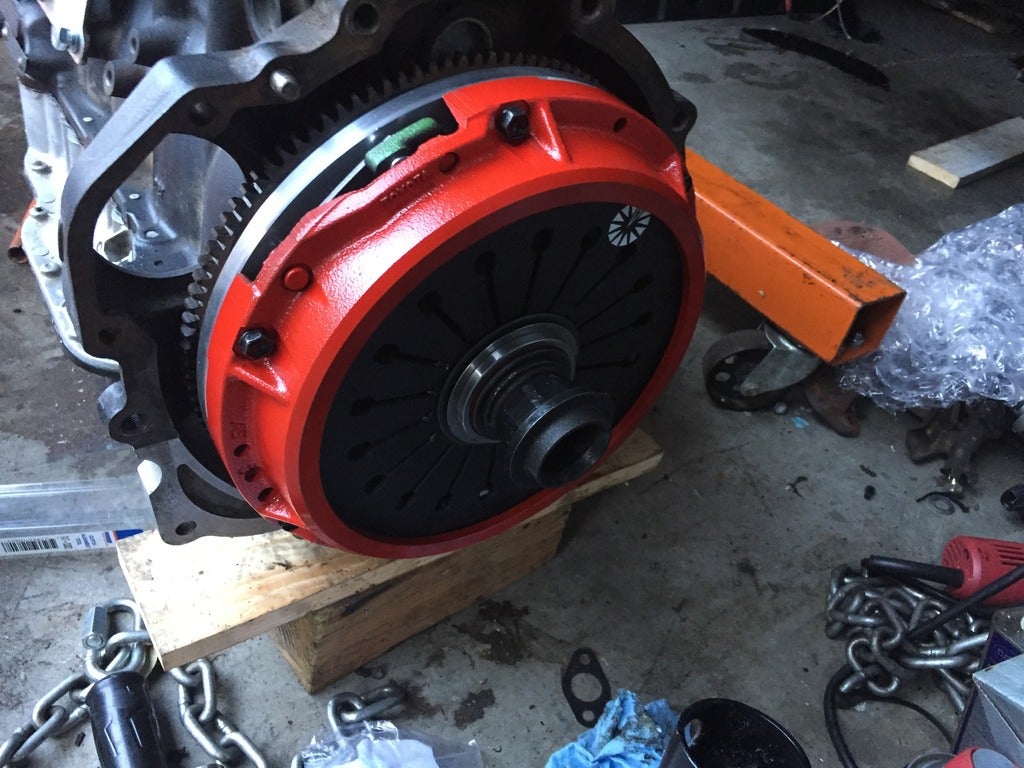
The TSRM says to put the pressure plate and clutch disk onto the transmission and button it up once it is together, but I and others agree that that is much more time consuming as this is a pull type slave setup and has a lot of resistance when you bolt the pressure plate down to the flywheel. New bolts from toyota replaced the TTY bolts from the 7m clutch.
I had to wait a little bit as I wanted to order JIS spec bolts for the smaller wrench head size. The 1jz bell housing sits 1 inch closer to the rear of the car and also uses a bigger bolt, so being able to get a ratchet on it will be essential to tightening these.
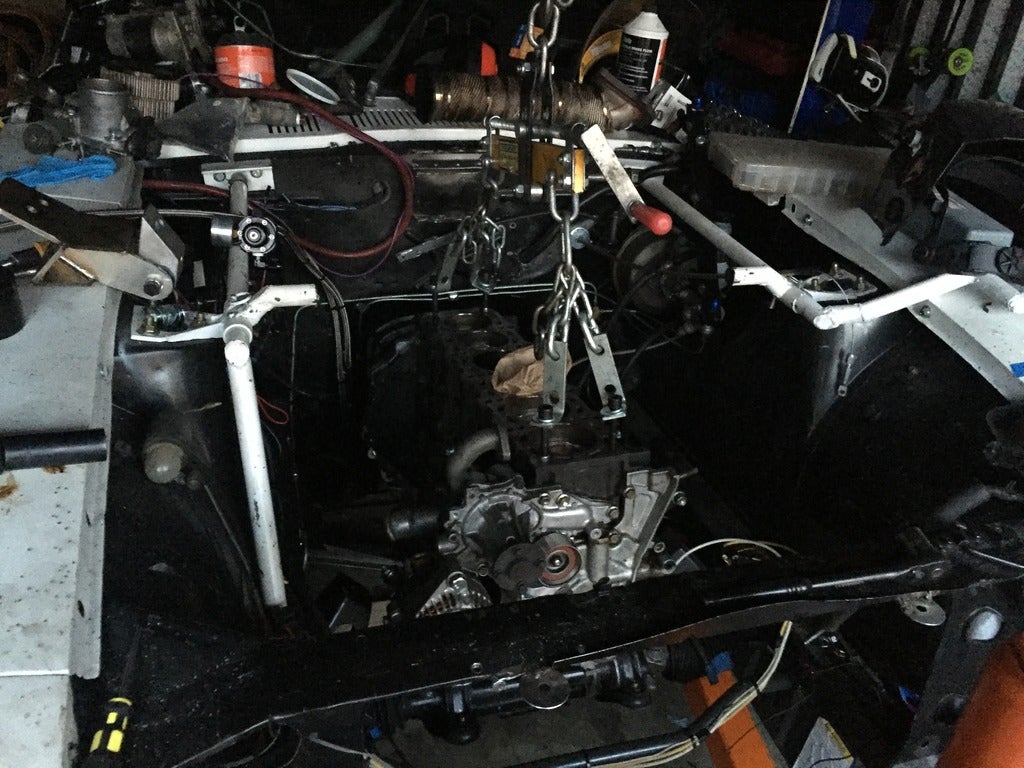
With both those bolted on the engine went airborne. I went off to buy some bolts, but found out the stock head bolts are M11. No store had them in stock. After thinking for quite a long time I realized I had a bunch of sacrifical bolts since I had ARP studs in the wings. A 7/16 washer is almost exactly M11 size so with those screwed in I lifted the block into the air

After a bit of adjusting and shimmying the engine and transmission bolted together. I had a jack under the transmission and had a hard time lining everything up. Then I realized the jack was acting like a kink in the alignment preventing the assembly from sliding together as it was lowered. I took off the jack and slowly lowered the engine and the assembly just slipped right together.
Machine shop said the head should be ready this week so more progress soon. I’m still on the fence with these mounts. If I go ahead now I will have to redo intercooler and exhaust routing later if the mounts change, but I really can’t stand the cockeyed look and further more my turbo manifold already puts room near the passenger shock tower at a premium.
Money spent:
1jz bell housing -330
Driftmotion 1jz flywheel - 330
Driftmotion R154 stage 2 clutch kit - 430
Alignment tool -5
Genuine toyota OEM pressure plate bolts - 24
New spring clips - 20
ARP flywheel bolts - 30
Loctite 243 - 7
CX racing 2jz into 240-280z kit - 300
Misc bolts and hardware for mount kit - 40
Brake clean and other supplies - 20
Subtotal - 2031
Total spent - 24830